Prom season is an exhilarating time, but it also comes with countless decisions to make! From your dress and makeup to accessories and hairstyle, there’s a lot to consider. If you’re struggling to come up with cute hairstyle ideas for this special occasion, check out these picture-perfect looks for prom below. Keep reading!
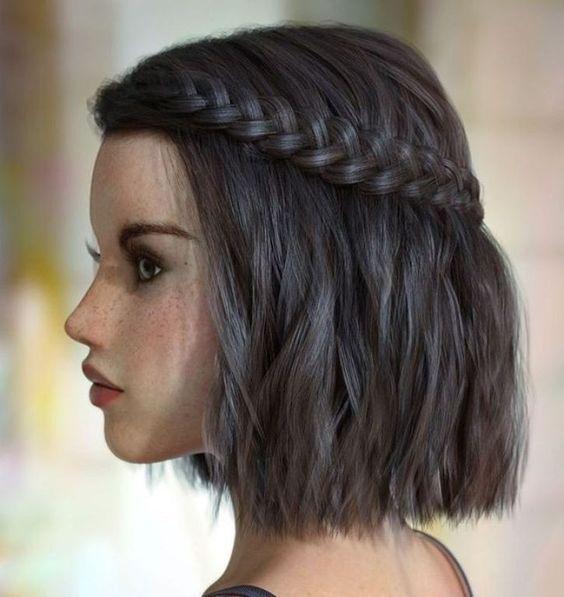
Easy Short Hair Updo Tutorial
Whether you want to make your everyday style a bit fancier or find the perfect prom hairstyle, you can easily create beautiful updos with short hair. All you need are some bobby pins and a bit of hairspray to achieve a look that’s classy and timeless. Start by gently teasing the top of your hair for some volume, then sweep your hair back and pin it in place. You can add a pretty hairpiece or some delicate flowers to make your updo extra special for prom. Enjoy your short hair with this stylish and simple look!
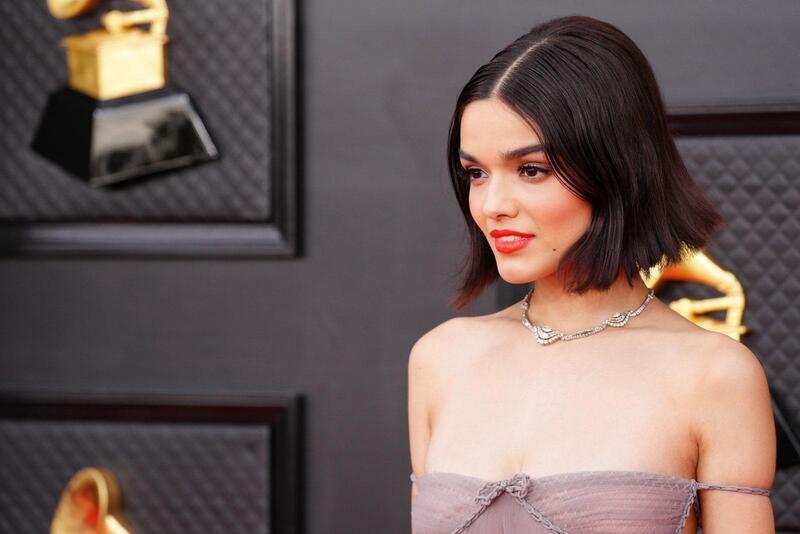
Saweetie’s Subtle Curls
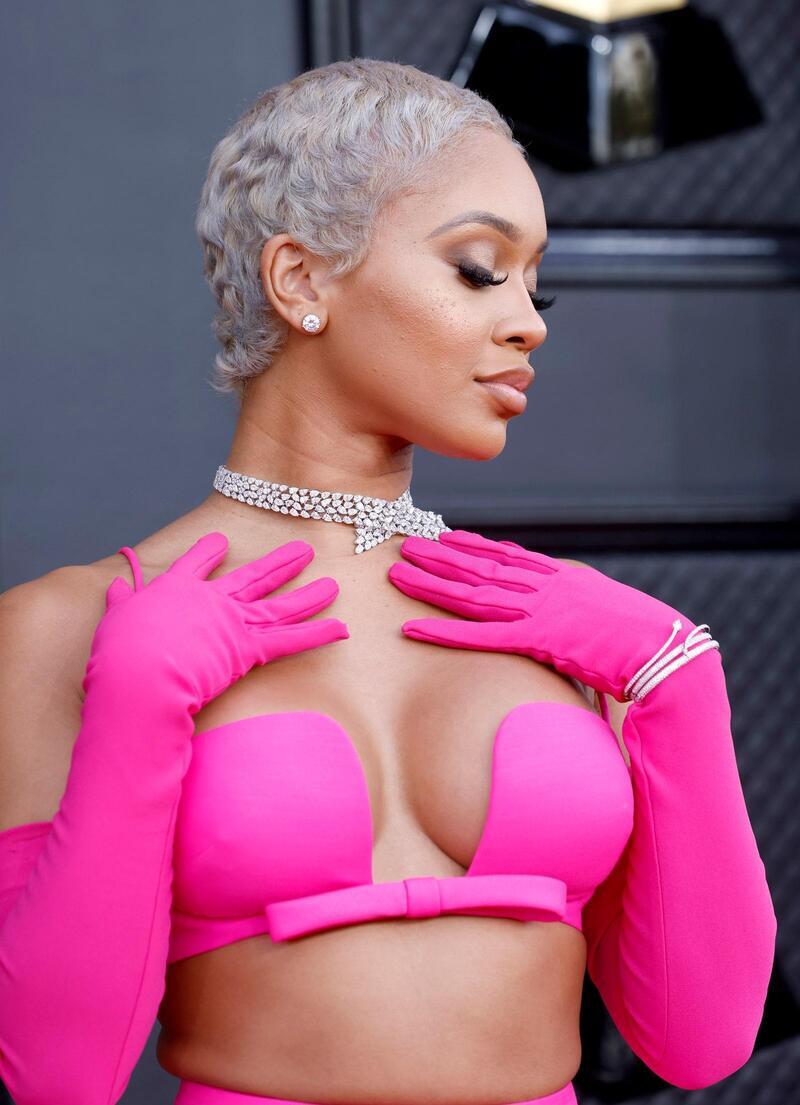
Saweetie’s Grammy red carpet look was stunning for several reasons, but her chic short hair truly stood out. Simple yet elegant, the style features soft curls at the ends that fall right at the nape of her neck. To achieve this look, consider using a sea salt spray.
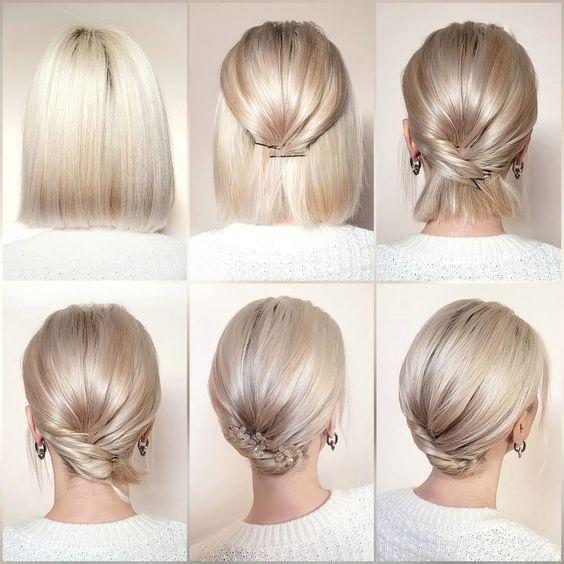
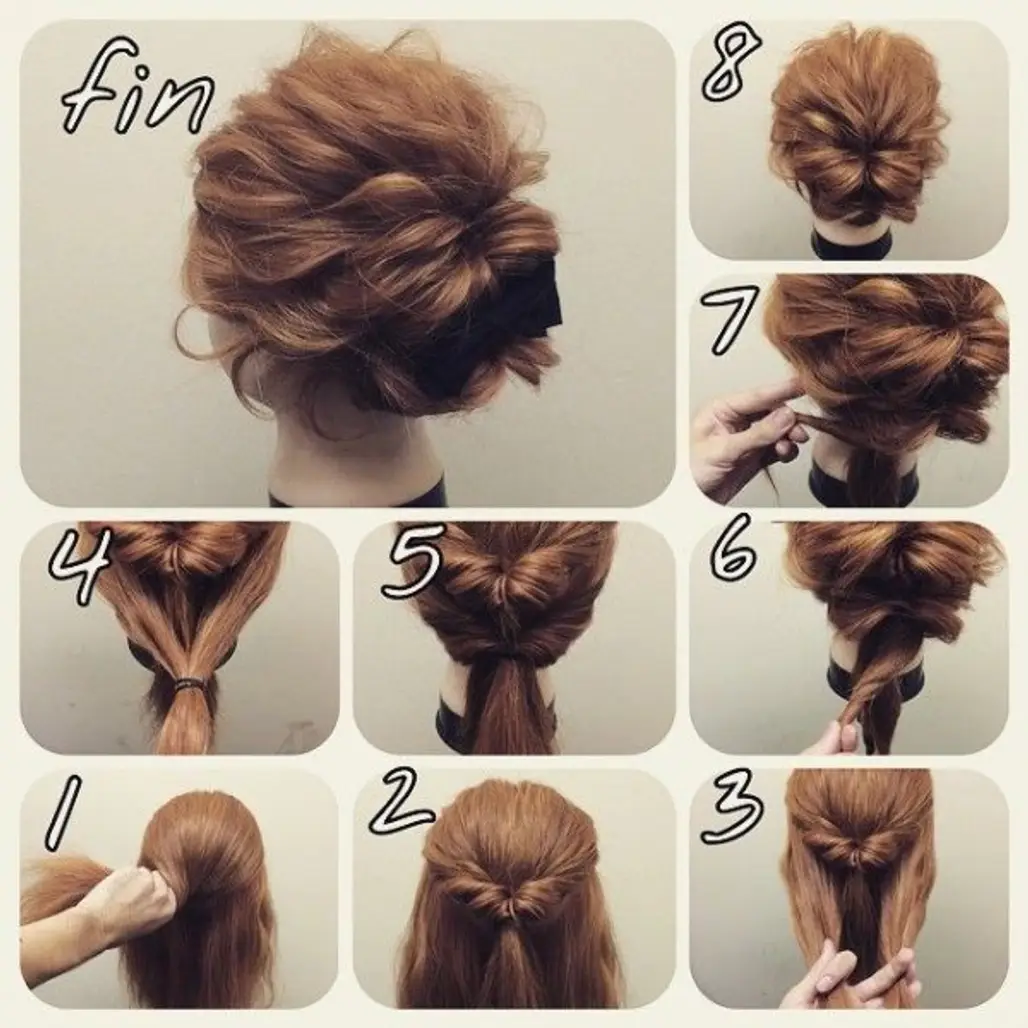
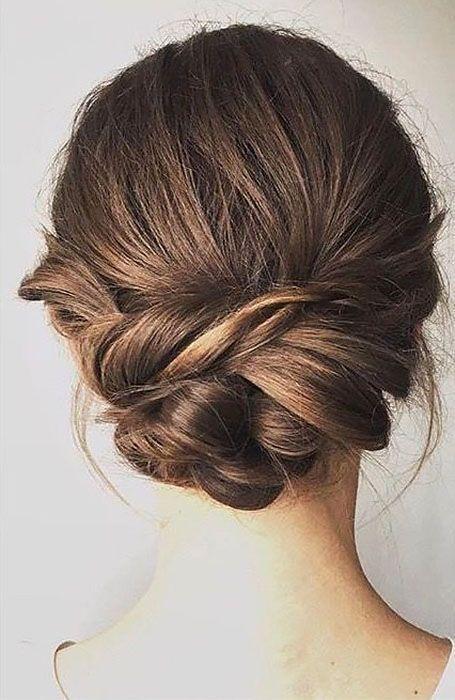
Sweet and Simple Updo on Naturally Curly Hair
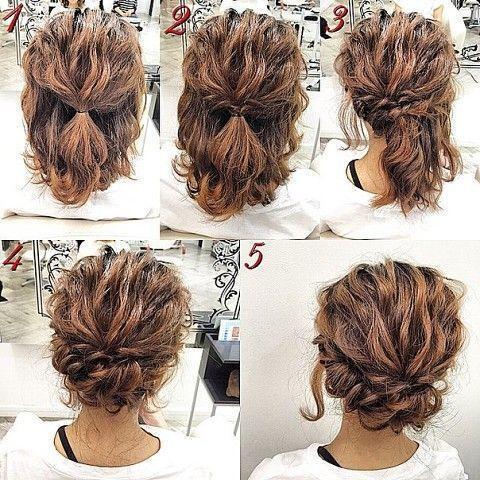
This sweet and simple updo is ideal for girls with naturally curly or wavy hair who want a beautiful prom hairstyle. In just five easy steps, you can create a romantic updo that will look fantastic in photos and last all night long.
Ariana DeBose’s Volume

Ariana is on fire with her awards and hairstyles! We’re in love with her signature short hair, and this look is especially great for prom. To add some volume to your hair, you can use a flat iron or a large curling wand. If you prefer to avoid heat, a classic teasing technique with a comb works wonders too!
Side Twists
Side twists add an effortlessly chic flair to any short hairstyle, making them a fun choice for prom night. Whether you want a bohemian vibe or a more polished look, you can use colorful barrettes or simple pins to personalize your style. These accessories not only enhance the twists but also help keep your hairstyle secure while you dance and enjoy the festivities.
Pin-up Style
This hairstyle is known as a pin-up style, drawing inspiration from the classic looks of the 1940s. It often features victory rolls, which are made by rolling the hair up and securing it with bobby pins. This glamorous and elegant style is perfect for prom, while still offering a vintage vibe. You can enhance the look further with hair accessories like headbands, scarves, and bows.
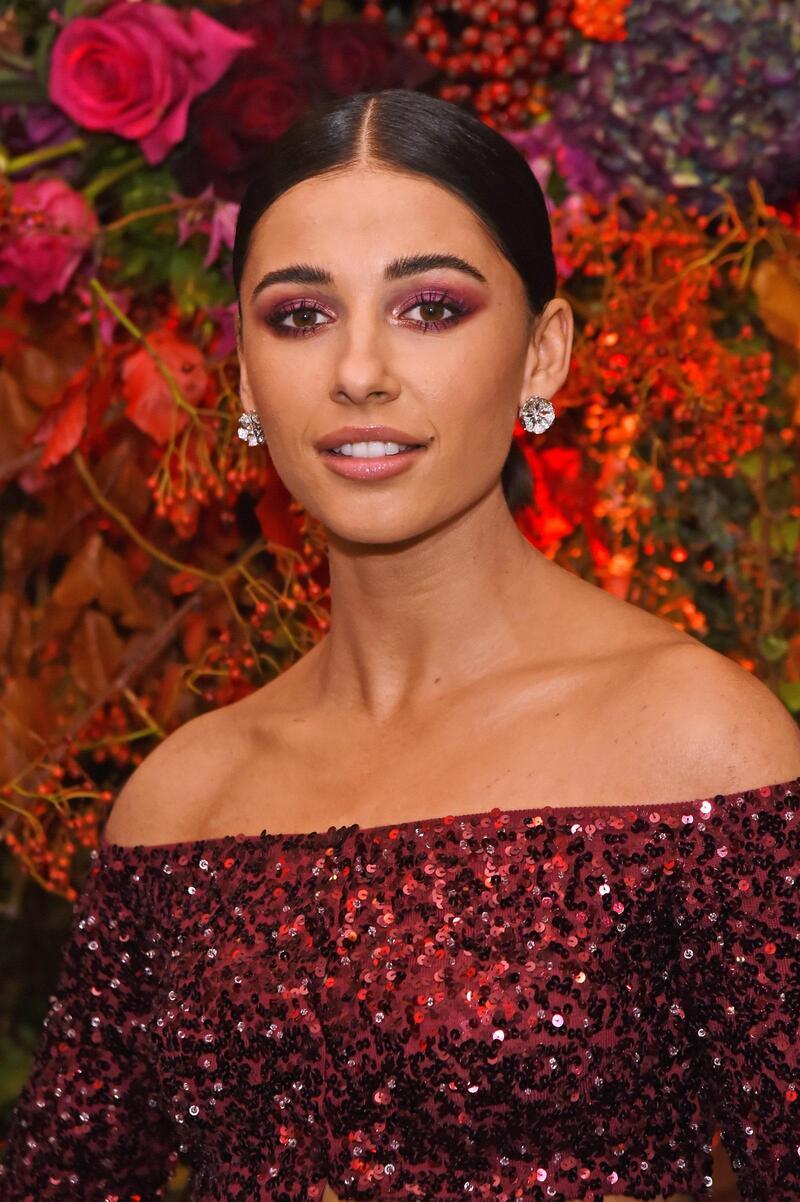
Coco Jones’ Middle Part
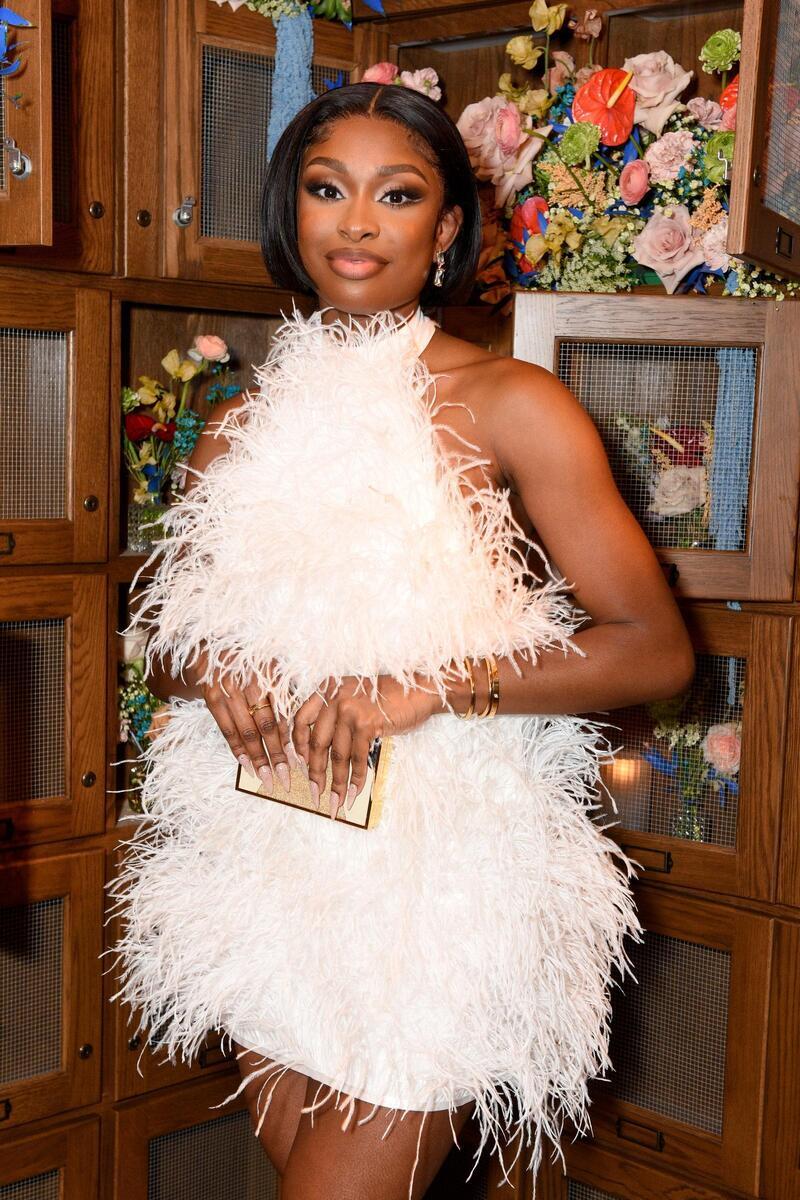
If you’re still a fan of the middle part, Coco Jones has the perfect inspiration for you! Looking absolutely angelic, she showcased stunning prom hair at the Teen Vogue New Hollywood party. To recreate her look, use a tail comb to create a straight part down the center of your hair, then flat iron each side for a sleek finish.
Messy Topknot
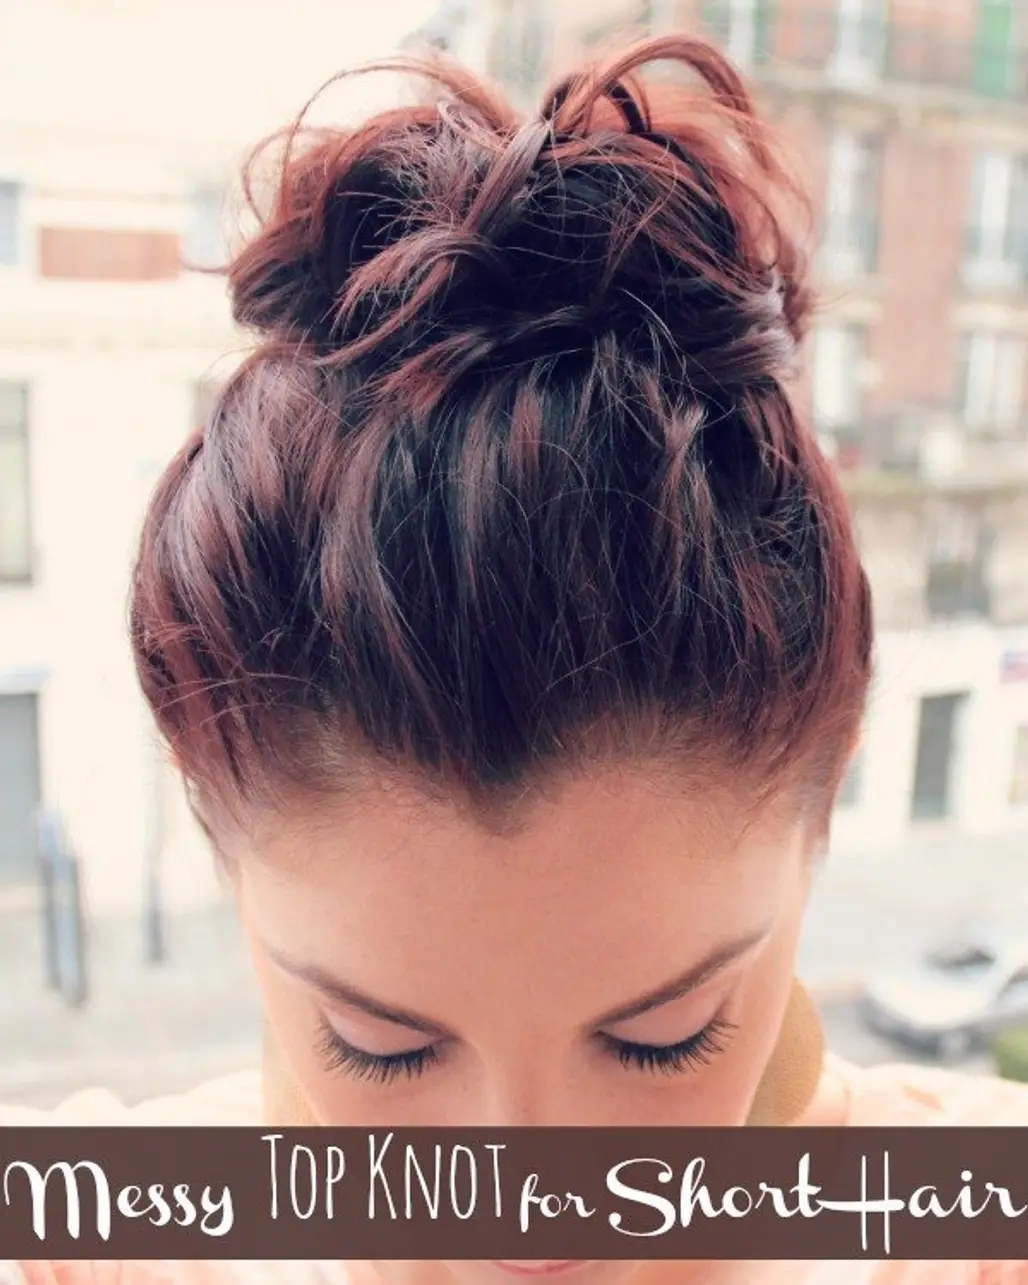
This hairstyle is the perfect example of effortless elegance, especially for those with shorter hair. Sweep your hair up, letting a few stray strands frame your face for a relaxed, prom-perfect vibe. Secure your knot loosely at the crown, and just like that, you’ve mastered the art of casual glamour. To elevate your look, pair this style with a bold lip or smoky eye, ensuring you’ll turn heads at the event!
Daisy’s Side-Swept Crop
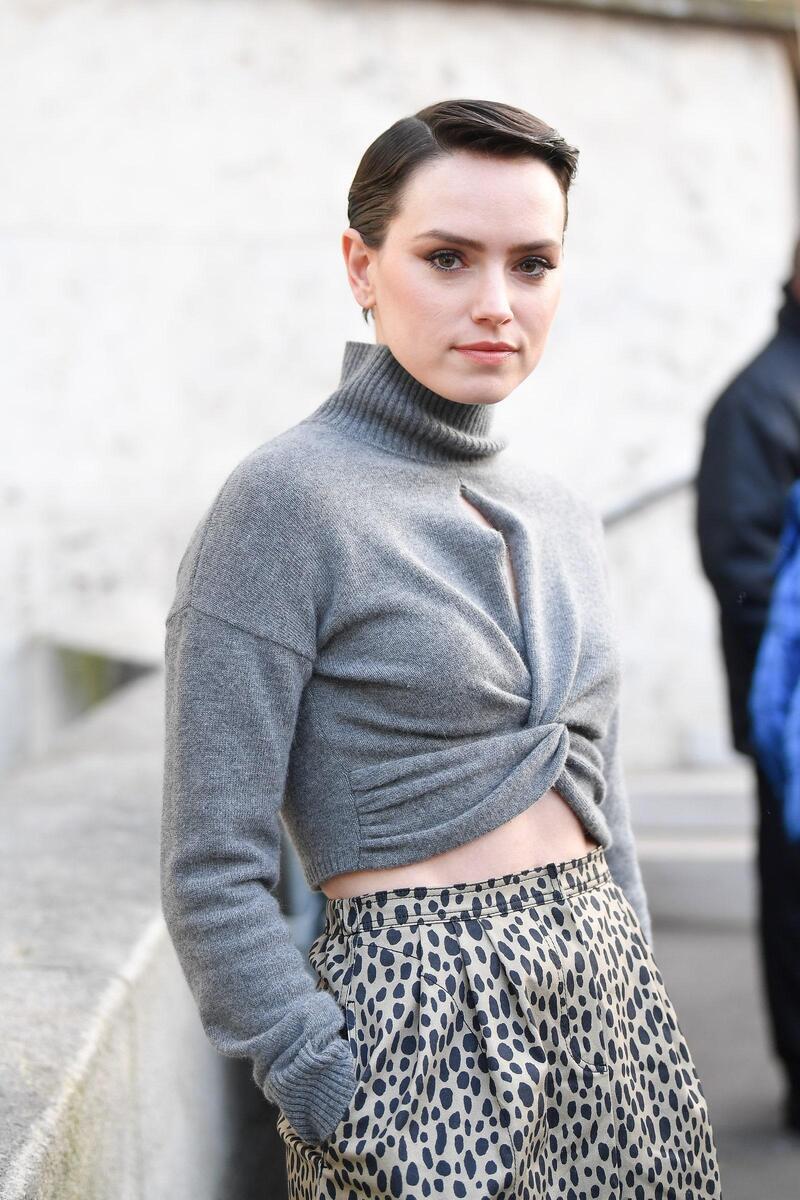
If you’re in need of a quick and easy hairstyle, take inspiration from Daisy Ridley! Use styling gel to sweep back your bangs or face-framing pieces, curling the ends slightly upwards for a polished finish.
Knot Tie Updo
This stylish twist on the classic updo is both playful and chic, making it a great choice for prom night. To achieve this look, tie sections of your hair into small, secure knots and pin them in place to create an intricate formation. This technique adds an artistic touch to your overall style, ensuring you’ll stand out among traditional hairstyles. No matter your hair color or type, the Knot Tie Updo is versatile and easy to manage, keeping you comfortable as you dance the night away.
Seo-Yeon’s Soft Waves
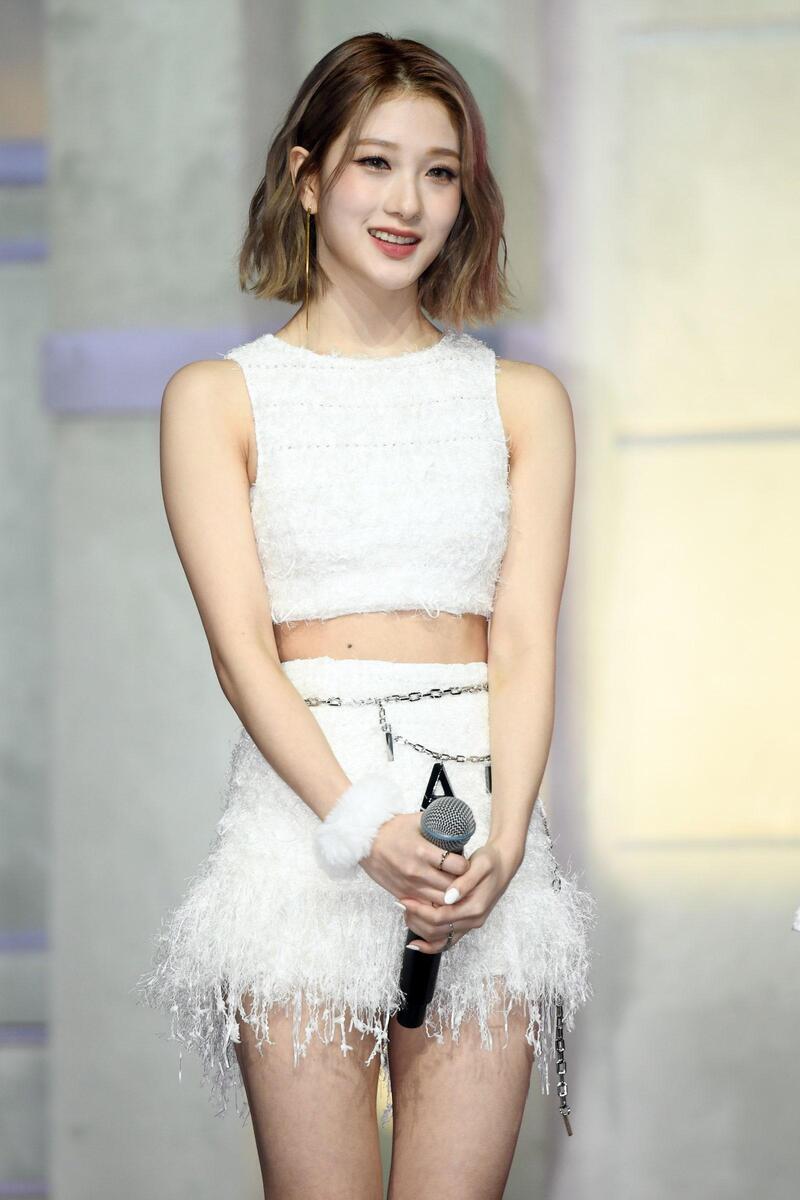
If you enjoy following seasonal trends, you’ll adore this short hairstyle worn by Seo-Yeon from fromis_9. With soft waves, it’s perfect for spring or summer—just in time for prom! To achieve this look, use a flat iron to create gentle waves or curls, then brush them out to get your desired style. If you want to avoid heat, consider leaving your hair in braids for a few hours or overnight for a similar effect.
Knotted Updo
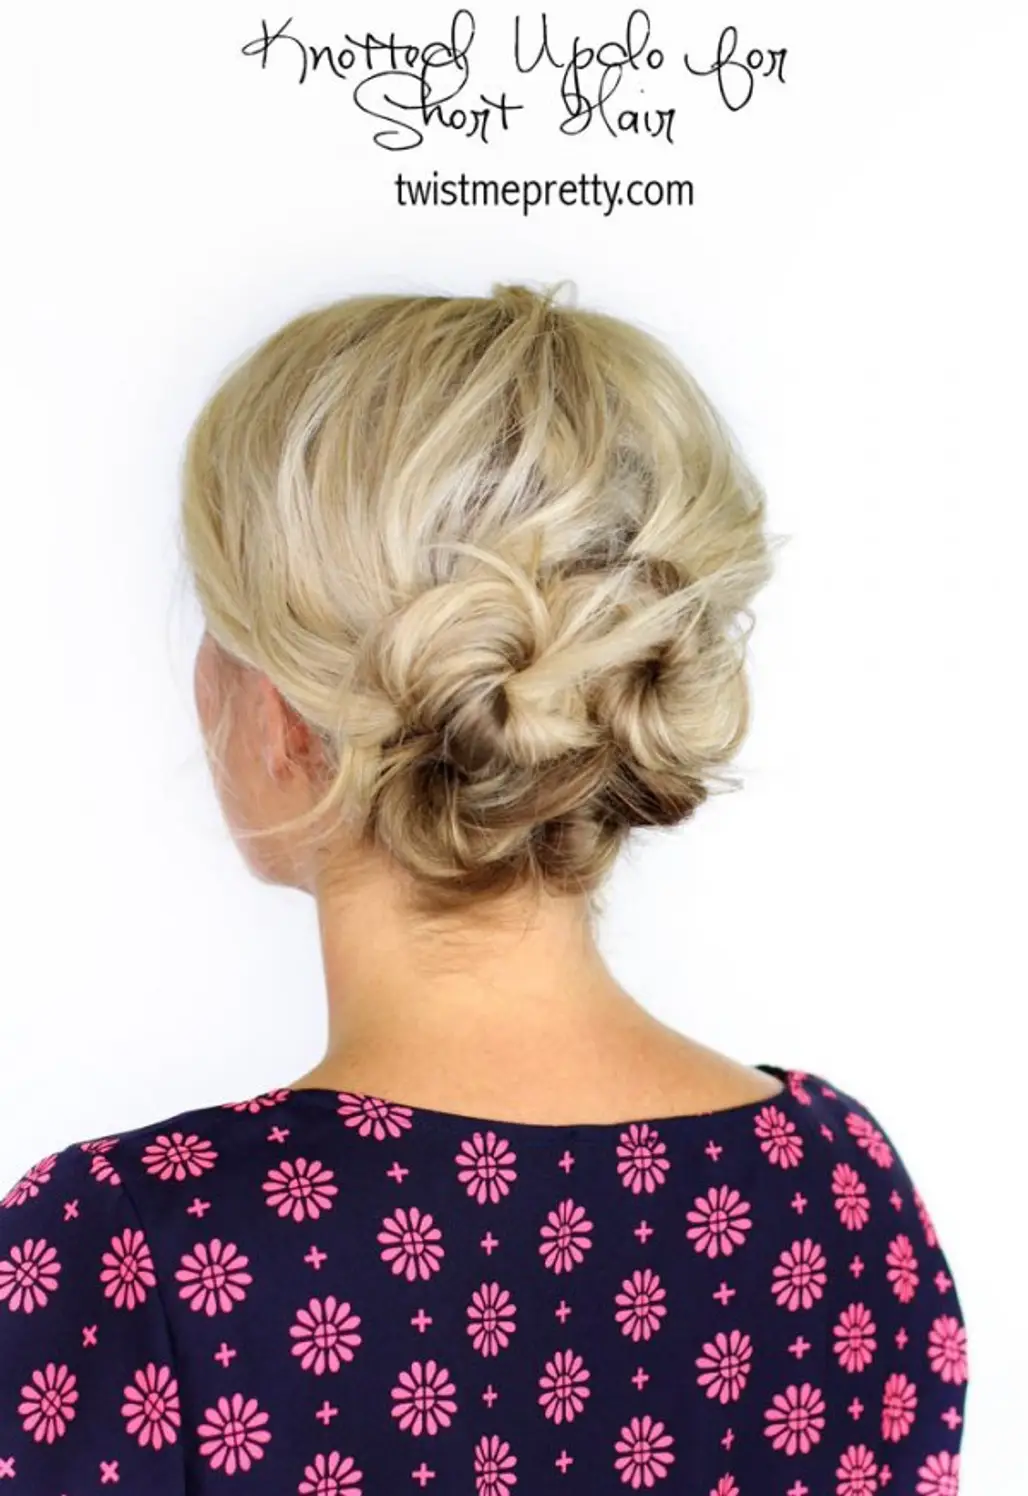
To achieve this chic and playful knotted updo, start by dividing your hair into two equal sections. Create two ponytails, one above the other, and secure them with hair ties. Twist each ponytail into a small knot and pin it in place, ensuring the ends are tucked in neatly for a polished finish. This hairstyle is great for various occasions, from casual get-togethers to more formal events, making it a versatile and stylish choice for those with shorter hair. Follow the linked tutorial for a detailed step-by-step guide to ensure a flawless result every time.
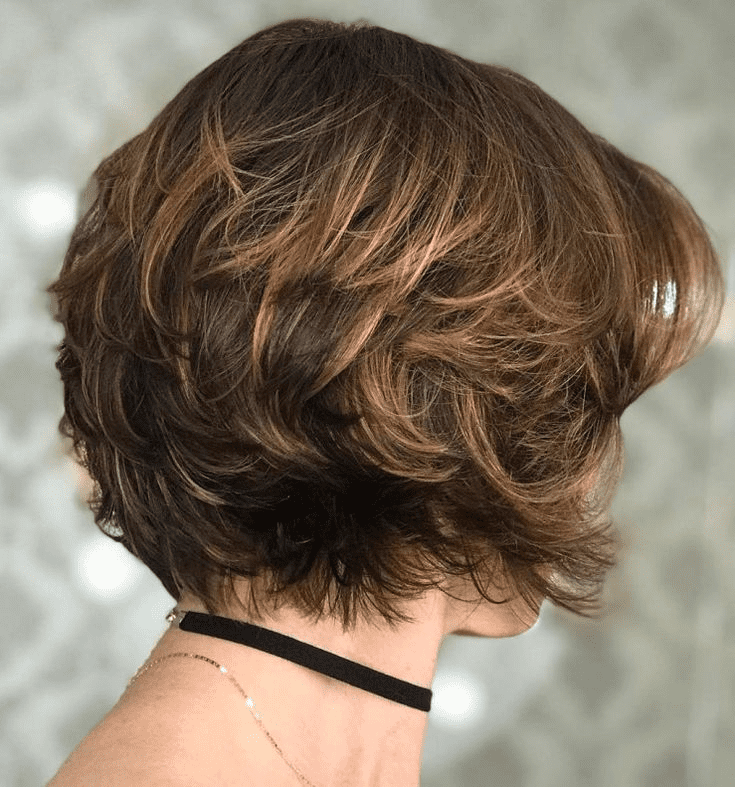
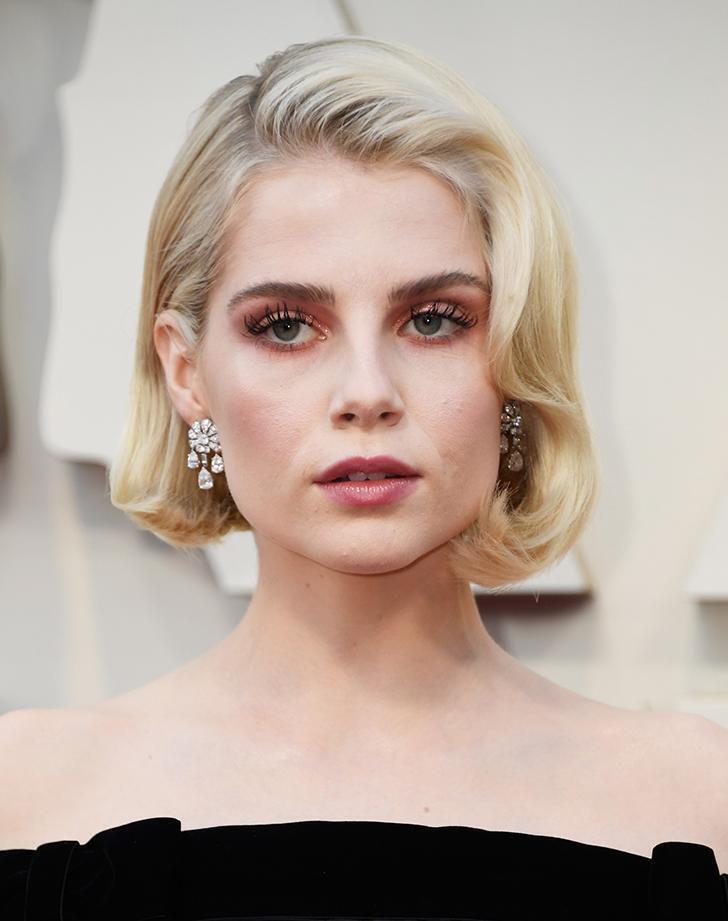
Rachel’s Bumped Bob
Short, straight hair can have plenty of volume, as demonstrated by Rachel Zegler. For this look, part the front of your hair down the middle while letting the back hang straight down, creating a lifted effect. You can also curl the ends slightly outward for an added touch of flair.
Twisted Updo
This Twisted Updo is an ideal hairstyle for girls with short hair who want to achieve a romantic and wispy look for prom night. Created by popular Japanese hairstylist Kazuya Mizoguchi, who has over 33K followers, the style begins with pulling the hair back into a low ponytail and twisting it into a bun. A few strands are left out to frame the face, adding a soft, romantic touch. It’s a simple yet elegant style that’s sure to make you look stunning on your special night.
Naomi’s Low Ponytail
If your main goal for prom night is to dance, a low ponytail like Naomi Scott’s is a great way to keep your hair out of your face. Simply part your hair in the middle and secure it with a hair tie at the nape of your neck. To prevent flyaway strands, use some gel and bobby pins to keep everything neatly in place.
Braided Updo
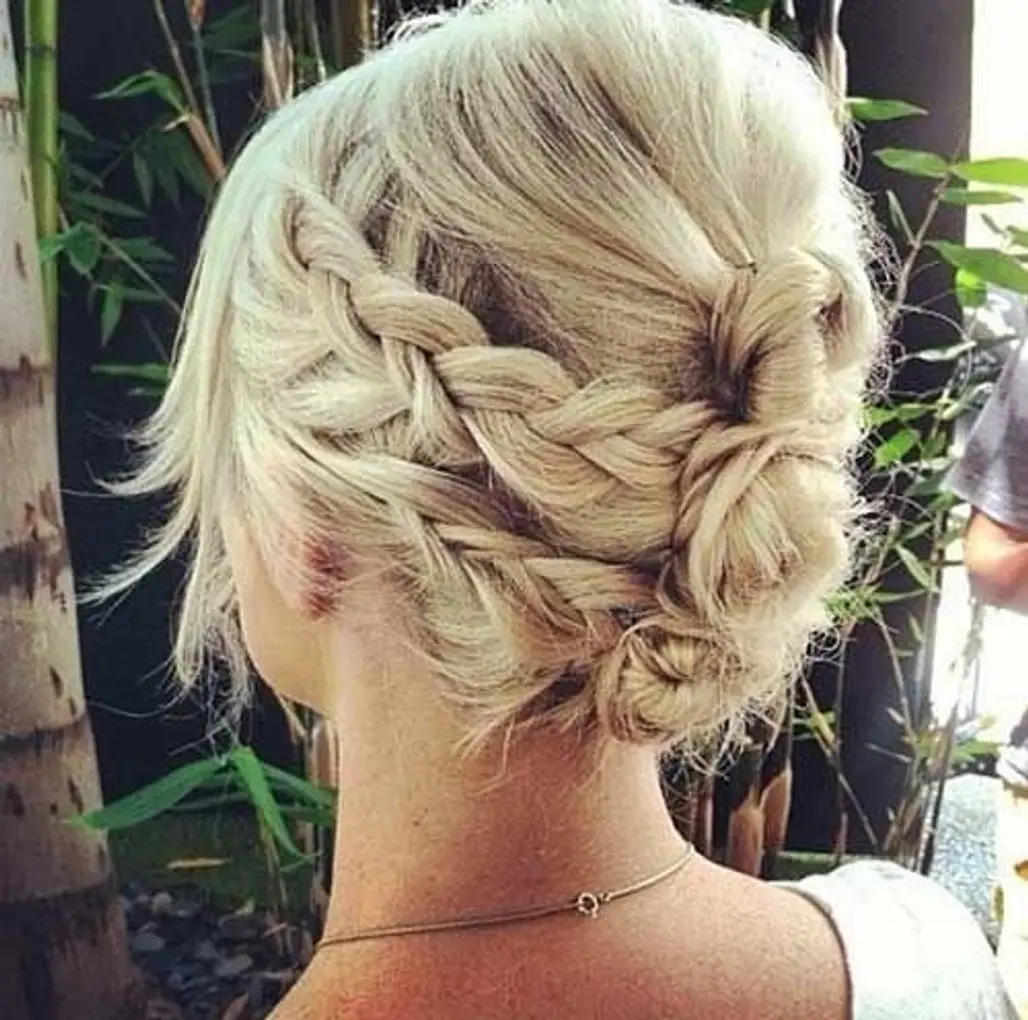
The braided updo is a timeless option for prom night, radiating elegance and charm. This versatile hairstyle can be enhanced with delicate flowers or shimmering hairpins for an extra touch of glamour. Even those with shorter hair can achieve this sophisticated look—just start with a side or back French braid and tuck the ends in to form a lovely bun. Both practical and chic, this updo keeps your hair neatly out of your face all evening while ensuring you look impeccably stylish. It’s the perfect choice for dancing the night away!
The Chic Updo
The Chic Updo is an excellent choice for those with short hair seeking a stylish prom hairstyle. It’s simple to create and requires minimal styling products. To achieve this look, make a low bun at the nape of your neck, then wrap a section of hair around it for a polished finish. This hairstyle is perfect for anyone wanting to look elegant without spending too much time on styling. It complements any outfit and can be easily dressed up or down with a few accessories.
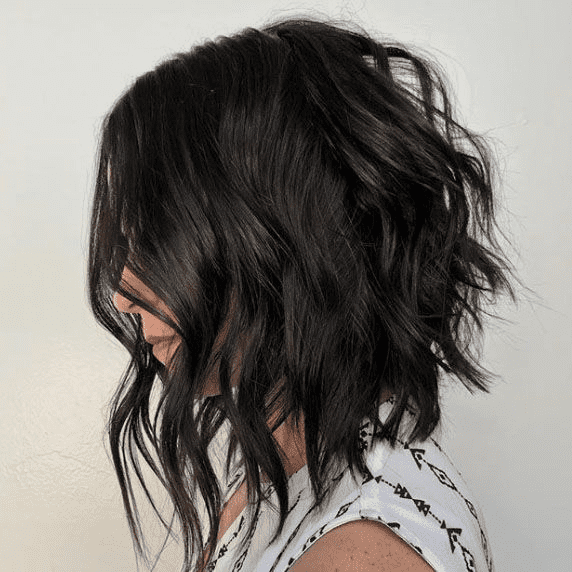
Kristen’s Shaggy Cut
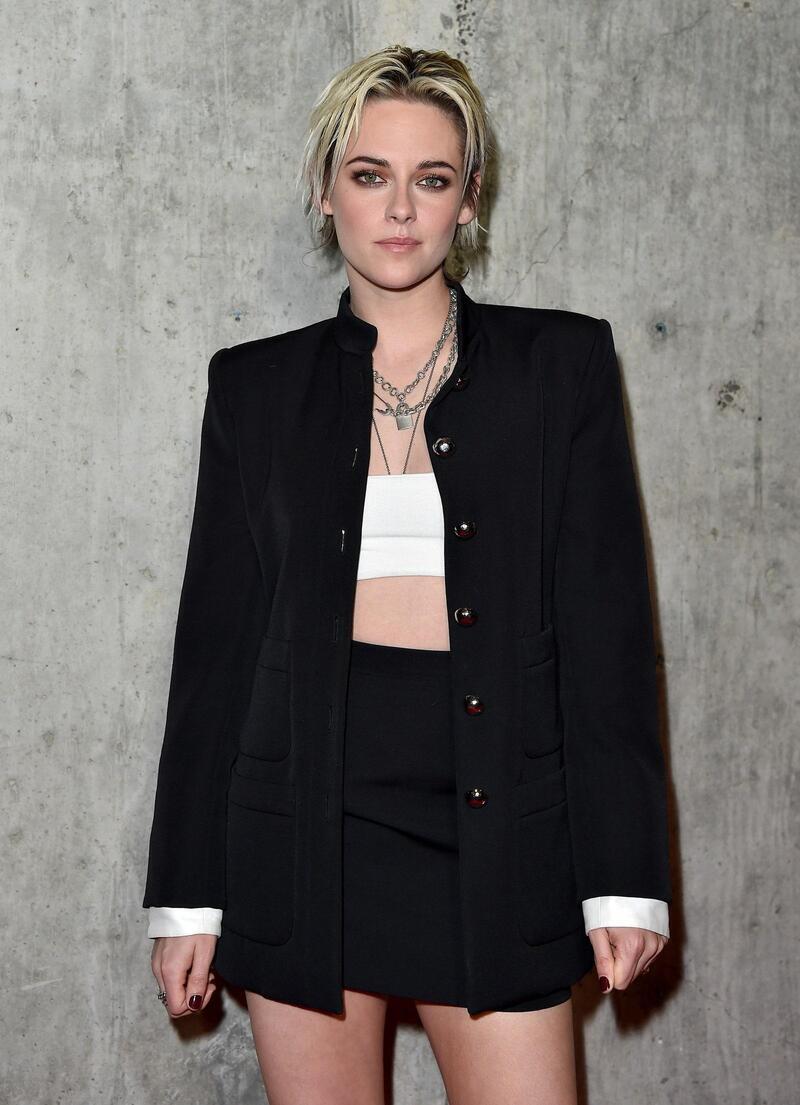
Kristen Stewart has sported numerous short hairstyles, but this one particularly embodies the cool girl vibe. If that’s your aesthetic, simply apply a texturizing spray to your hair and go for a more relaxed, natural part instead of a perfectly straight line.
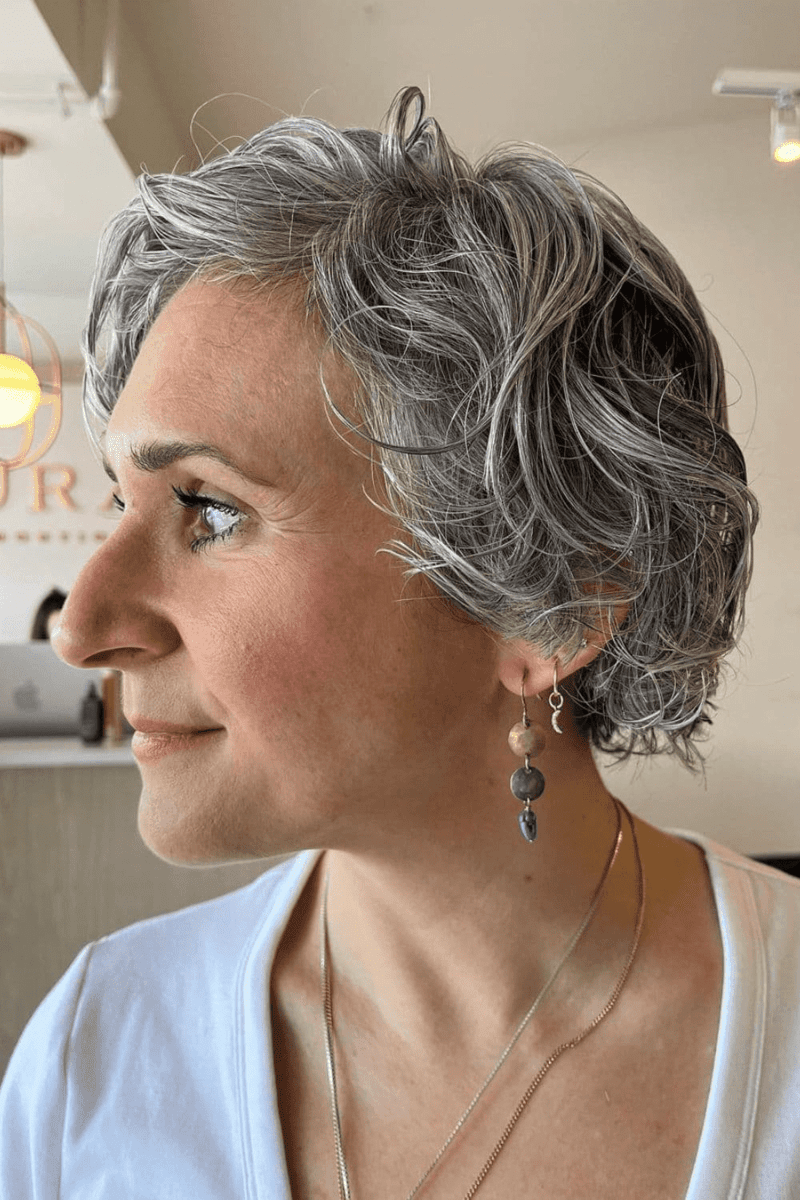
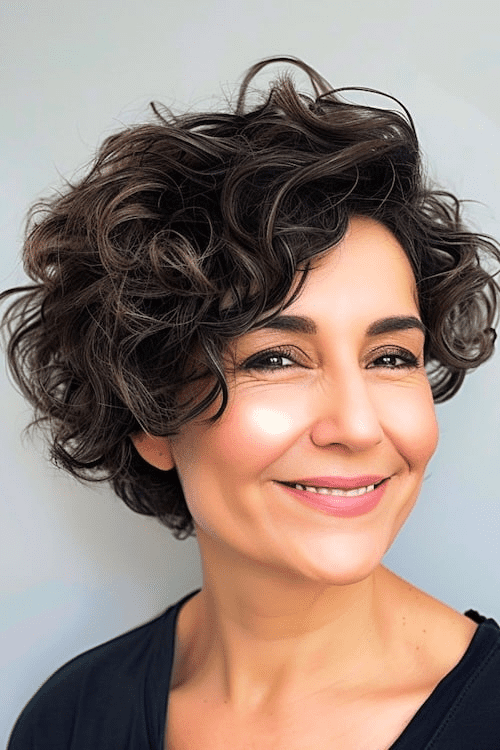
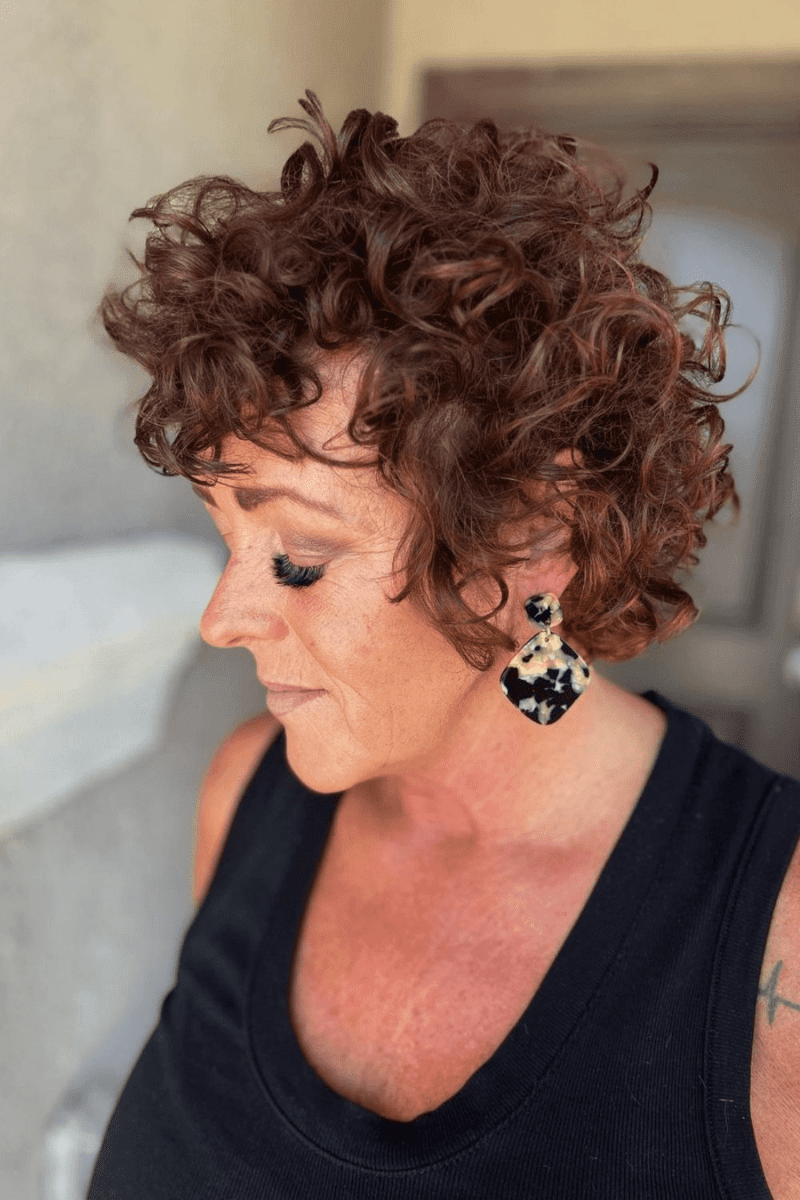
Retro Chic Short Curls
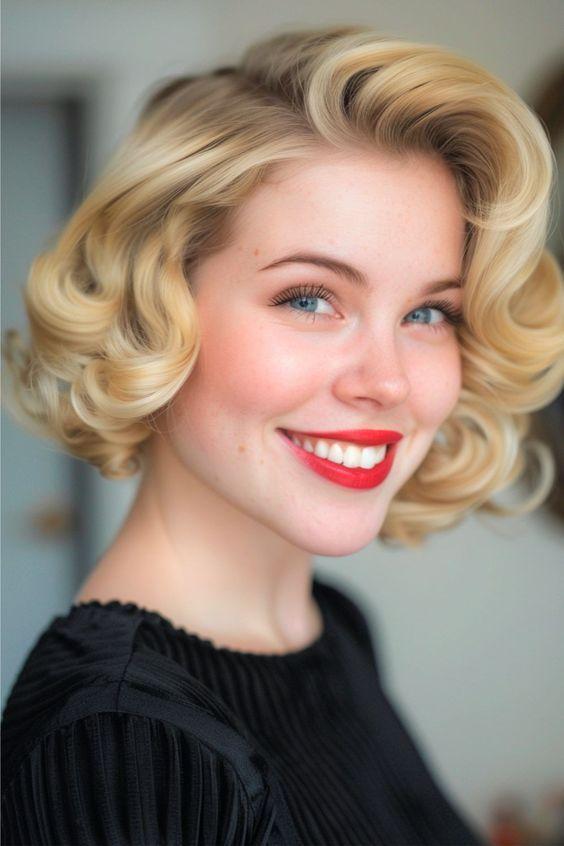
Here’s another retro look to consider! Tight curls paired with a hair clip create a romantic vibe. This hairstyle adds sophistication and timeless elegance to your ensemble. Channeling vintage glamour, these curls beautifully frame your face, highlighting your features with a nostalgic touch.
Emilia’s Chic Curls
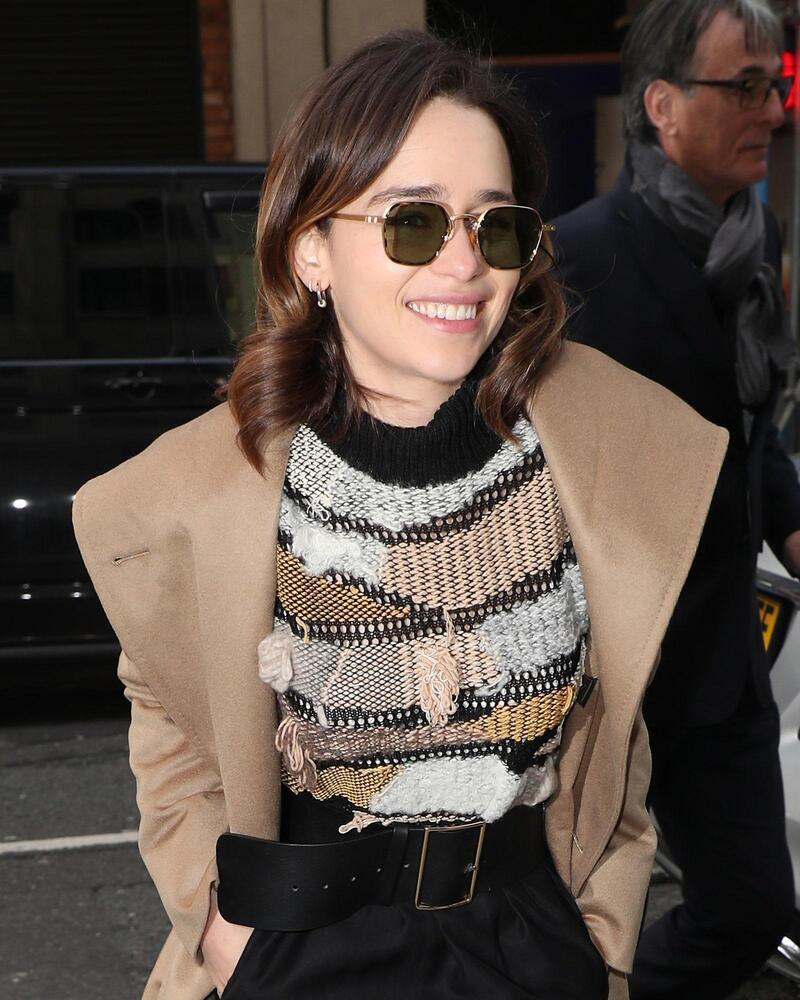
If you want something unique yet understated, Emilia Clarke’s curls offer a fun twist on a classic style. To achieve this look, curl the hair on both sides of your face in the same direction. This technique creates curls that go both inward and outward, giving you a distinctive yet cohesive appearance.
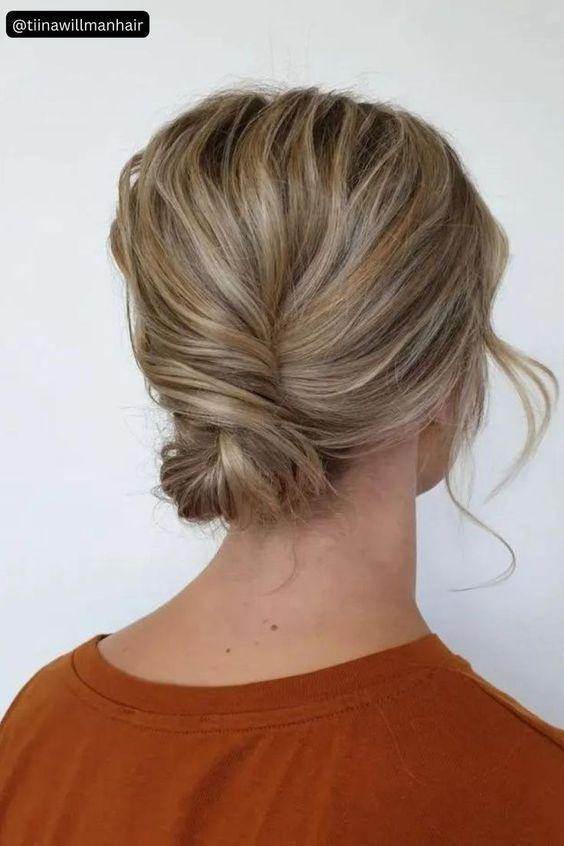
Loose Low Updo
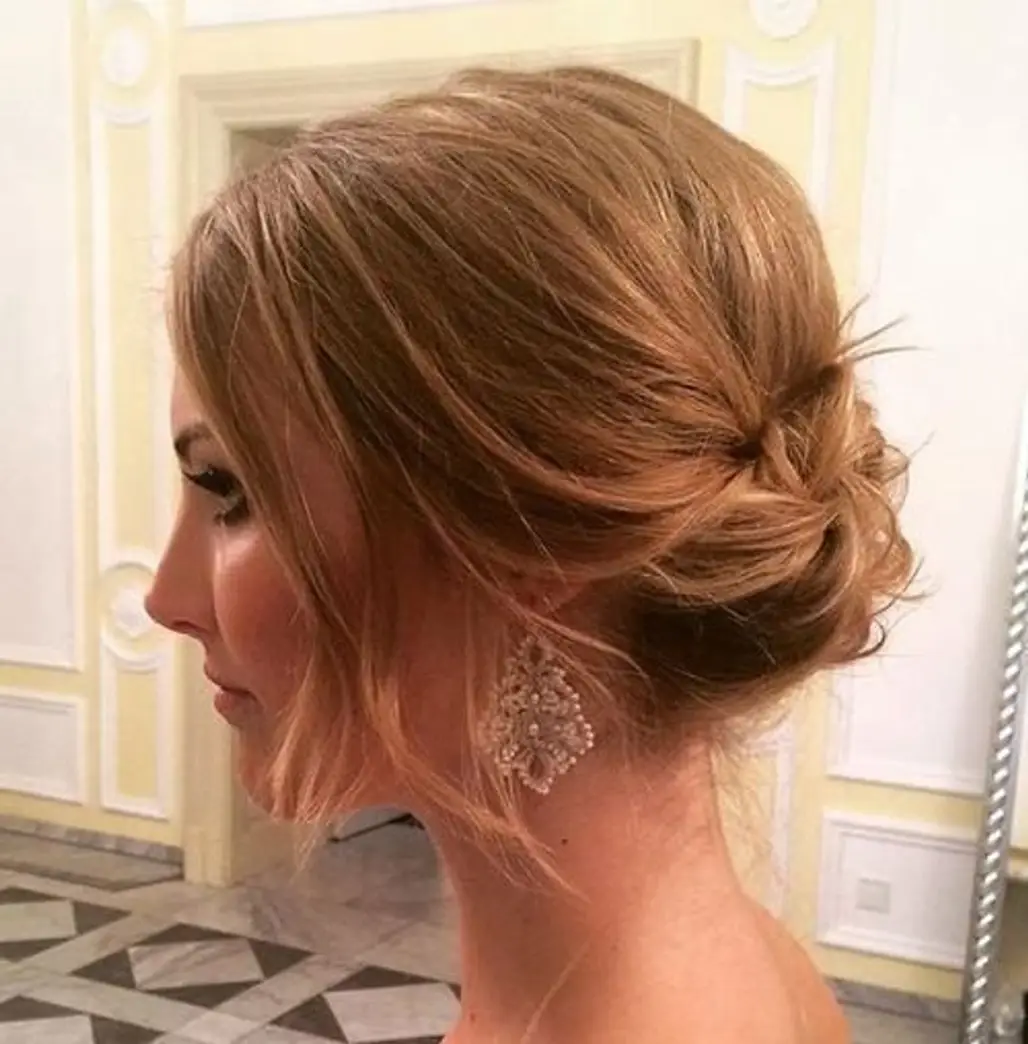
This loose, low updo is a fantastic choice for girls with short hair seeking a sophisticated hairstyle for prom. To create this look, gather your hair at the nape of your neck and secure it with bobby pins. For added flair, leave out some wispy strands around your face to create a soft frame. This style is perfect for anyone wanting to look polished and stylish without spending too much time on hair styling.
CONCLUSION
Short hair doesn’t mean limited style! There are countless ways to rock short hair, from chic and sleek to playful and fun. Whether you prefer a pixie cut, bob, or something in between, the possibilities are endless. Experiment with different products, accessories, and styling techniques to find the perfect look that suits your personality and lifestyle.