If you’re looking for a hairstyle that will give you the flexibility of wearing your hair up or down, then the sew-in with leave out is just what you need. This particular style gives you the best of both worlds – the coverage and fullness of a sew-in combined with the natural look of leave-out hair.
So, let’s unravel the secrets of achieving a stunning sew in with leave out extensions that will turn heads and boost your confidence.
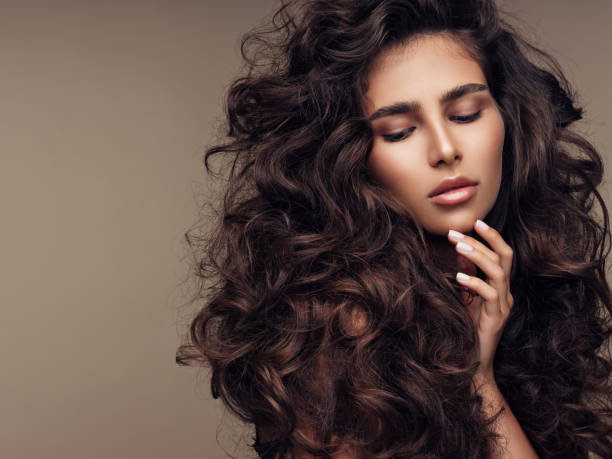
What is a Sew-In with Leave Out?
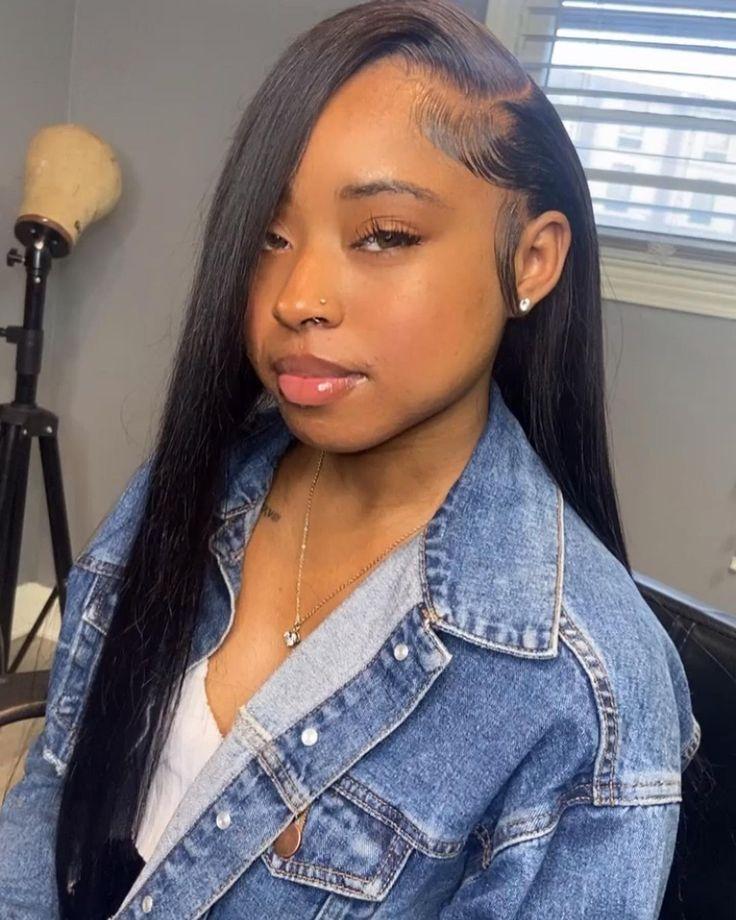
A sew-in with leave out is a popular hairstyle that involves sewing in extensions to create a fuller and longer look. With this style, some of your natural hair is left out at the top and around the edges while the rest is braided and sewn down. The leave-out hair can be styled to match the texture of the extensions, creating a seamless blend.
Preparing for Your Sew-In with Leave Out
Hair Extension Selection
When it comes to choosing between human hair and synthetic hair for your extensions, there are essential distinctions to consider. Human hair extensions offer a more authentic appearance and texture, closely resembling your own hair. Conversely, synthetic hair extensions are a more budget-friendly alternative, although they might come with limitations regarding styling versatility due to the potential damage synthetic fibers can incur from heat.
Choose hair extensions that closely match your natural hair texture, whether it’s straight, wavy, curly, or kinky. This will help in achieving a seamless blend between your leave-out and the extensions.
Choosing the Right Stylist
Seek out a professional stylist experienced in sew-in installations, especially if you’re new to this hairstyle. They can guide you through the process and ensure the extensions are securely attached.
Pre-Installation Hair Care
- Wash your natural hair thoroughly before the installation to ensure it’s clean and free of any product buildup.
- Use a moisturizing shampoo and conditioner to keep your hair hydrated.
- Gently detangle your hair to remove knots and tangles.
- Consider getting a trim to eliminate split ends and ensure your natural hair is in its best condition.
Preparing Your Natural Hair
- Identify the section of your natural hair that you’ll leave out to blend with the extensions.
- Part this section neatly to ensure it can be easily styled and hidden within your extensions.
- Apply a leave-in conditioner or heat protectant to your leave-out section to shield it from potential heat damage during styling.
- Consider braiding or twisting this section if you have highly textured hair to prevent excessive manipulation and stress on your natural hair.
The Sew-In Process
Installation Steps
- Begin by creating a secure base for your extensions. Depending on your preference and the stylist’s recommendation, you can opt for various braid patterns like the traditional straight-back braids or a more versatile vixen or circle braid pattern.
- Ensure that the braids are not too tight to avoid discomfort and potential damage to your natural hair.
- With the braided base ready, it’s time to start attaching the hair wefts. Begin at the back and work your way up.
- Sew the hair wefts onto the braids using a curved hair needle and strong weaving thread. Make sure the wefts are securely attached to prevent any slipping or shifting.
- As you sew in each weft, double-check for even tension and positioning. Proper spacing and alignment are crucial for a natural look.
- Continue attaching wefts until you reach the leave-out section. Be careful not to sew through your natural hair.
Leave Out Maintenance
Once you’ve sewn in the extensions up to the leave-out area, carefully blend your natural hair with the extensions. Use a flat iron or curling wand to match the texture of your extensions and ensure a seamless blend.
You have various styling options for your leave-out section. You can wear it straight, curly, wavy, or in any style that complements your look.
Experiment with different hairstyles to find the one that suits you best.
Sew-In Aftercare
- Maintain the sew-in by washing your extensions and leave-out section regularly. Use a sulfate-free shampoo and conditioner to prevent excessive drying.
- Be gentle while washing, focusing on the scalp and roots to avoid tangling.
- Protect your sew-in while sleeping by wrapping your hair in a silk or satin scarf or using a silk pillowcase.
- Avoid excessive pulling or tugging on the extensions to prevent loosening or damage.
Sew-In with Leave Out Hairstyle Ideas
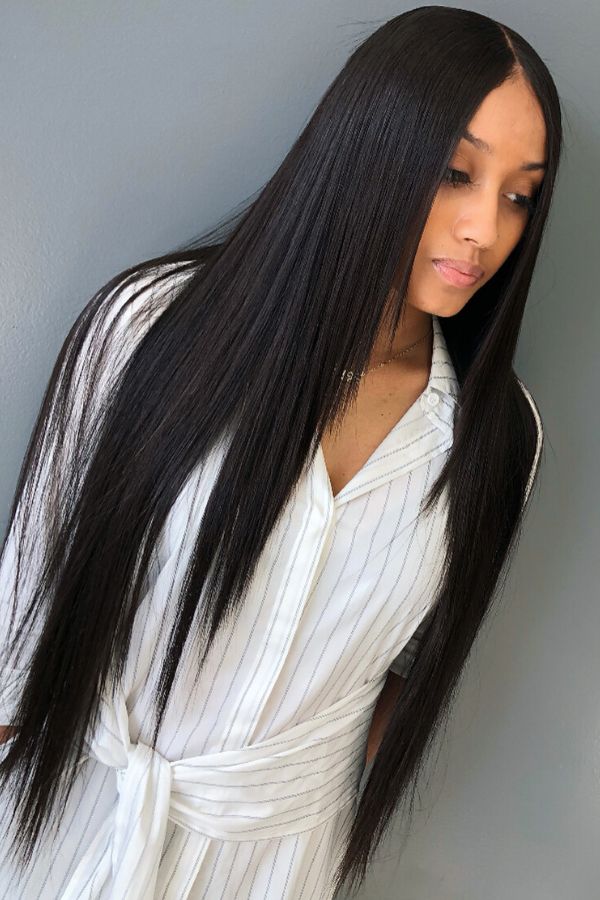
Classic Straight and Sleek
A timeless and elegant choice is to have your sew-in extensions styled straight and sleek, while leaving out your natural hair for a smooth and polished look. This style works well for any occasion, from formal events to everyday wear.

Curly and Carefree
If you love the bounce and volume of curly hair, consider getting curly or wavy sew-in extensions while leaving out your own curls at the front. This combination creates a beautiful contrast and a fun, carefree vibe.

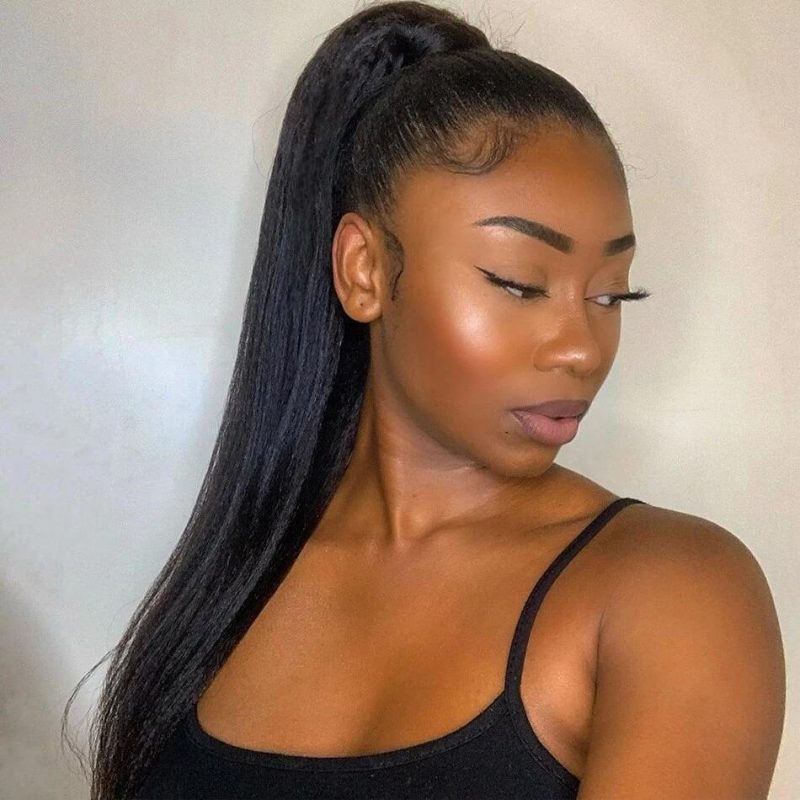
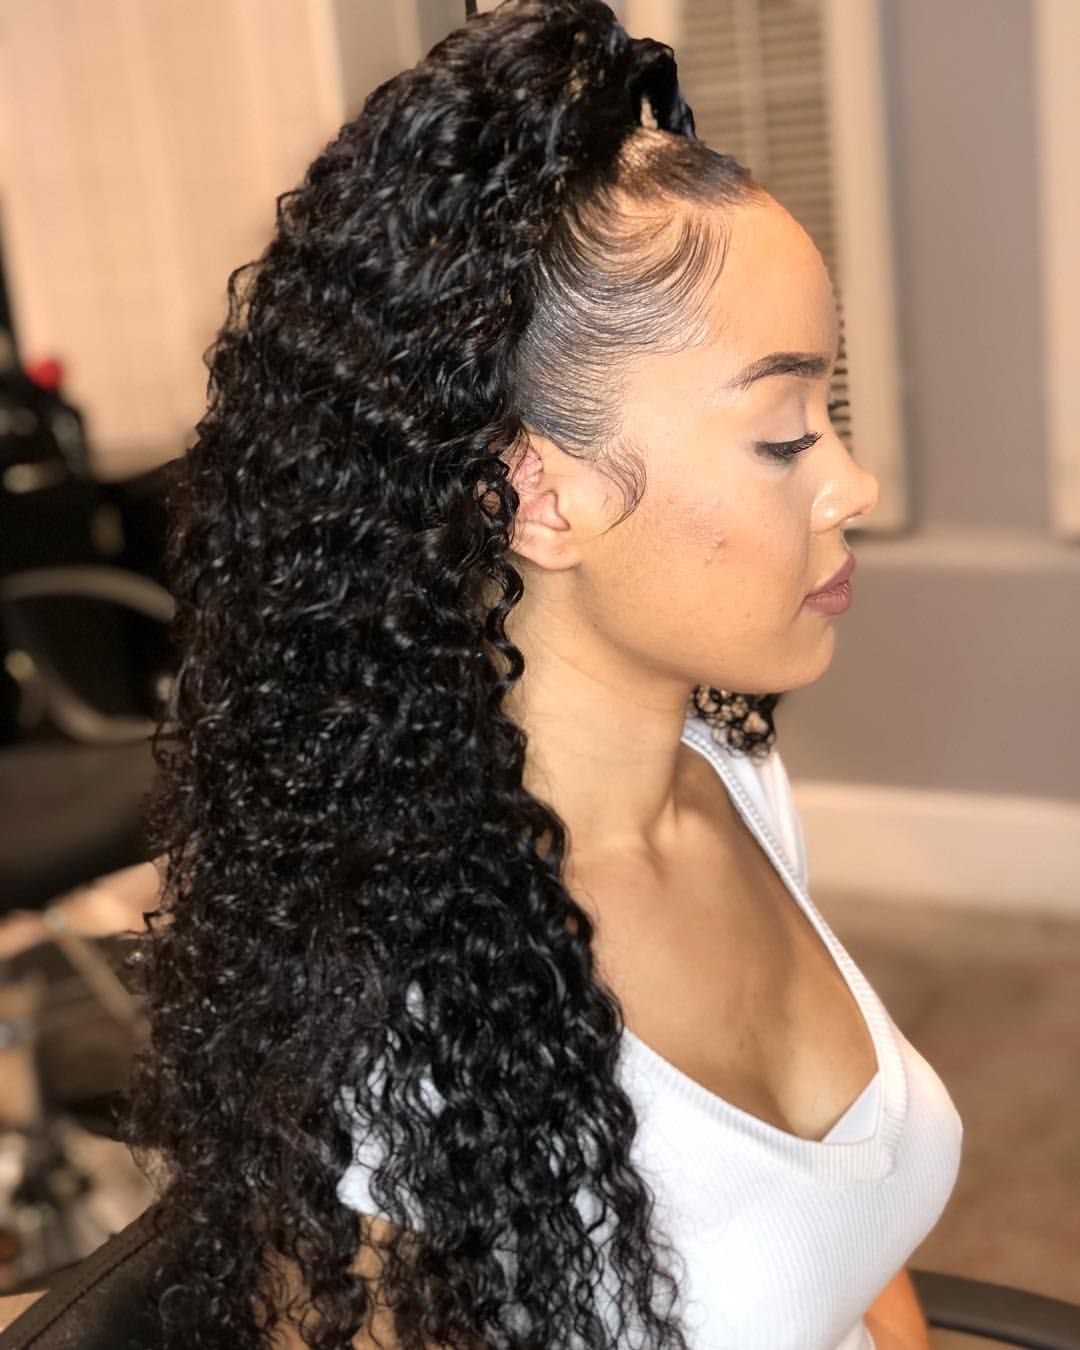
High Ponytail Perfection
A sew-in with leave out can be transformed into a high ponytail for a chic and sophisticated look. The leave-out at the front adds a touch of natural elegance to the overall style.
Braided Beauty
Combine braids with your sew-in for a striking look. Cornrows or box braids can be used to create intricate patterns, while the sew-in extensions provide length and volume.

Half-Up, Half-Down
Opt for a half-up, half-down style with your sew-in. You can curl or straighten the leave-out portion, giving you a variety of styling options within the same look.
Bangs and Bob
A sew-in with leave out can also be transformed into a chic bob hairstyle with bangs. This look offers a trendy and youthful appearance.

Colorful Accents
Add some flair to your sew-in by experimenting with hair color. You can leave out a section of your hair to be dyed in a contrasting color, creating a striking visual effect.

Side Swept Glamour
Sweep your leave-out to one side for a glamorous Hollywood-inspired look. This style exudes sophistication and works well for special occasions.

Voluminous Curls
If you’re all about volume, consider opting for sew-in extensions that provide extra thickness and fullness. The natural leave-out will blend seamlessly with the extensions, creating a glamorous, voluminous look.
Accessorize Your Sew-In
Elevate your sew-in with leave out by adding accessories like hairpins, headbands, or scarves. These can help you create unique and eye-catching styles effortlessly.

Removing and Reinstalling
Firstly, recognizing the right time for removal is pivotal. Signs such as increased itching, discomfort, or loosening of the extensions may indicate that it’s time to remove the sew-in. Attempting to wear it for an extended period can lead to tangling, matting, and potential damage to your natural hair.
The removal process should be meticulous and gentle. Start by carefully cutting the threads that secure the extensions to your braided base, ensuring you avoid cutting your natural hair. Once the extensions are detached, proceed to gently unravel the braids while detangling your natural hair. Proper care during removal minimizes damage and tangling, making the reinstallation process smoother.
Reinstalling the sew-in can be a great way to extend your style. Ensure that your natural hair is well-moisturized and conditioned before the reinstallation. Choose a new braiding pattern if possible to prevent strain on the same areas of your scalp. By reinstalling the sew-in correctly and caring for your natural hair in between, you can enjoy an extended period of flaunting your stylish sew-in with leave-out look.
FAQs About Sew-Ins with Leave-Out
- How long does a sew-in with leave-out last? A sew-in with leave-out can last up to six to eight weeks, depending on how well you take care of it.
- Can I wash my hair with a sew-in with leave-out? Yes, you can wash your hair with a sew-in with leave-out. However, make sure to use a gentle shampoo and avoid rubbing your hair too vigorously to prevent tangling.
- Can I swim with a sew-in with leave-out? Yes, you can swim with a sew-in with leave-out.
- How often should I moisturize my leave-out? You should moisturize your leave-out every few days to keep it healthy and prevent breakage.
- Can I style my sew-in with leave-out with heat tools? Yes, you can style your sew-in with leave-out with heat tools, but make sure to use a heat protectant spray to avoid damage.
Final Thoughts
Sew-ins with leave-out are an excellent choice for anyone looking for a versatile hairstyle that’s easy to maintain. With the tips and information provided in this article, you can achieve a beautiful and natural-looking sew-in with leave-out that lasts for weeks. Remember to take care of your natural hair and visit a professional stylist if you’re unsure about the installation or maintenance process.