
Integrating an extra step into your skincare routine can be a hassle, especially when it leaves you feeling greasy. That’s why the best spray sunscreens are a game-changer. Quick and easy to apply, they make sun protection effortless.
“Spray sunscreens are ideal for covering large or hard-to-reach areas, as well as the head and scalp, where thicker lotions can be difficult to apply evenly,” says Dr. Jody A. Levine, a board-certified dermatologist in New York. “They are convenient, quick to apply, and typically less greasy, leaving no residue like many lotions.”
To help you find the best spray sunscreen, we’ve put countless options to the test. Our rigorous evaluation process focused on key factors like lightweight texture, rapid absorption, and broad-spectrum SPF 30 or higher, as recommended by dermatologists.
BEST VACATION CLASSIC SPRAY
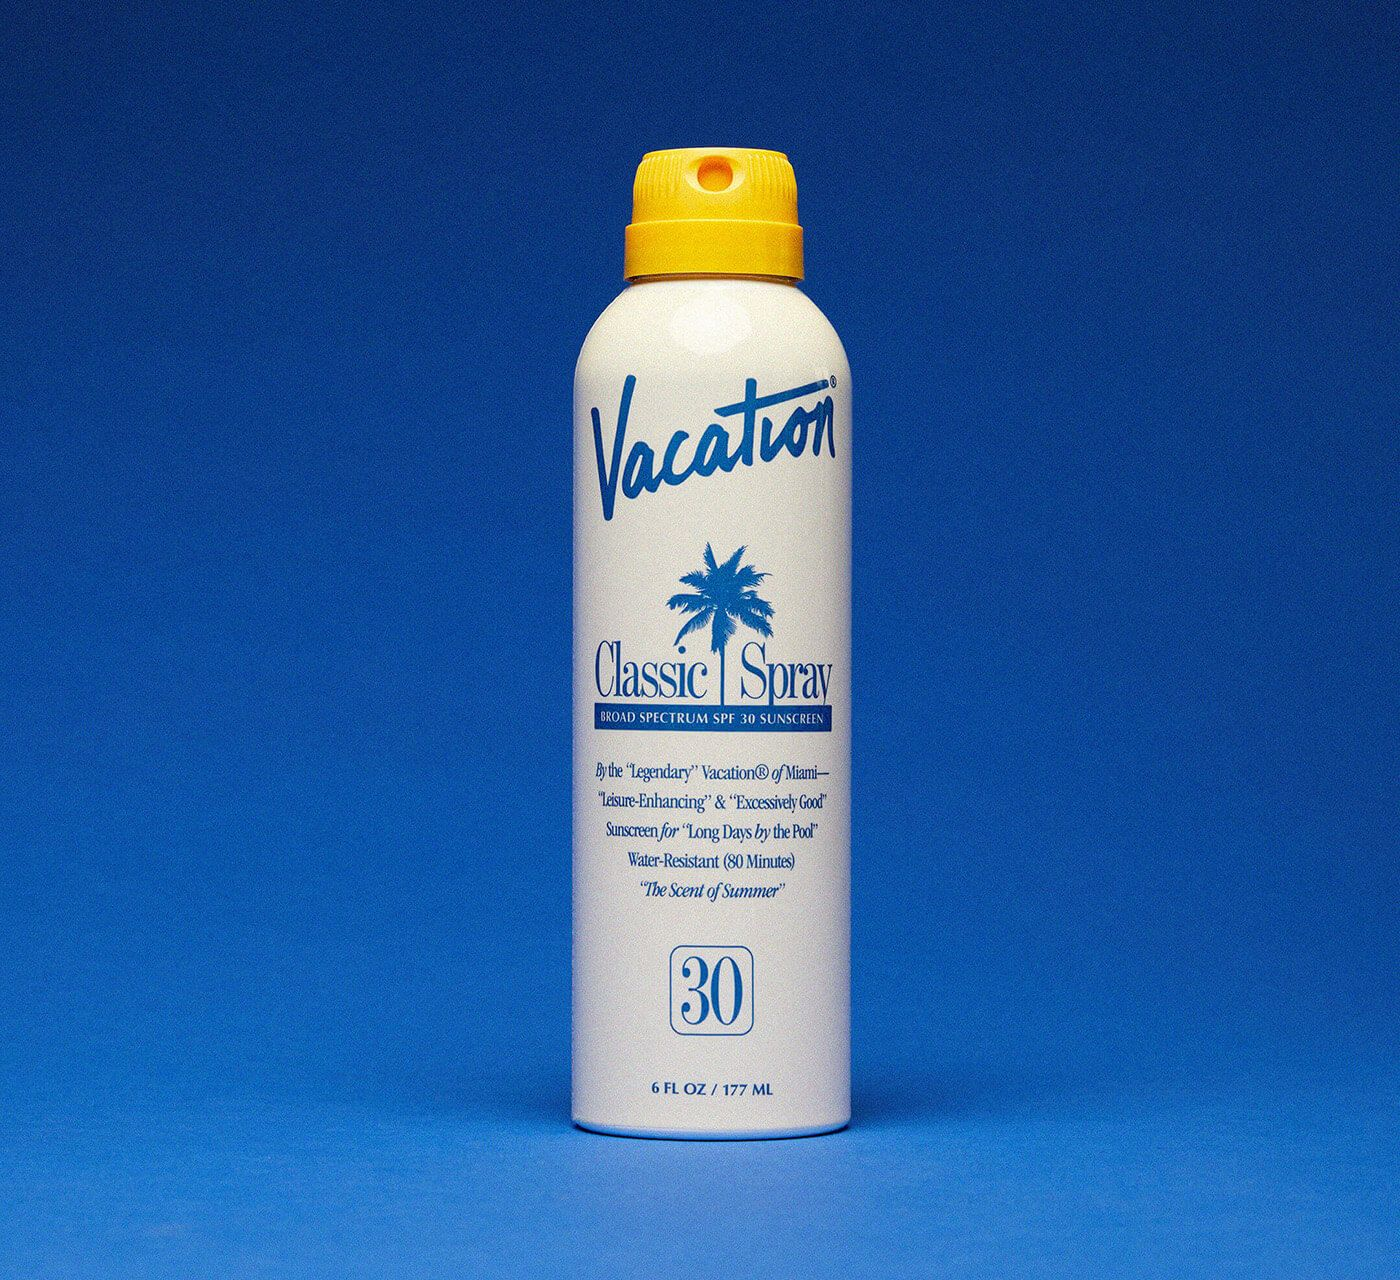
Vacation’s Classic Spray SPF 30 is loaded with skin-nourishing ingredients suitable for all skin tones. This refreshing formula boasts a blend of moisturizing coconut oil, softening shea butter, and soothing aloe vera. The addition of banana extract not only imparts a delightful tropical scent but also delivers skin-benefiting potassium.
BEST KATE SOMERVILLE UNCOMPLIKATED
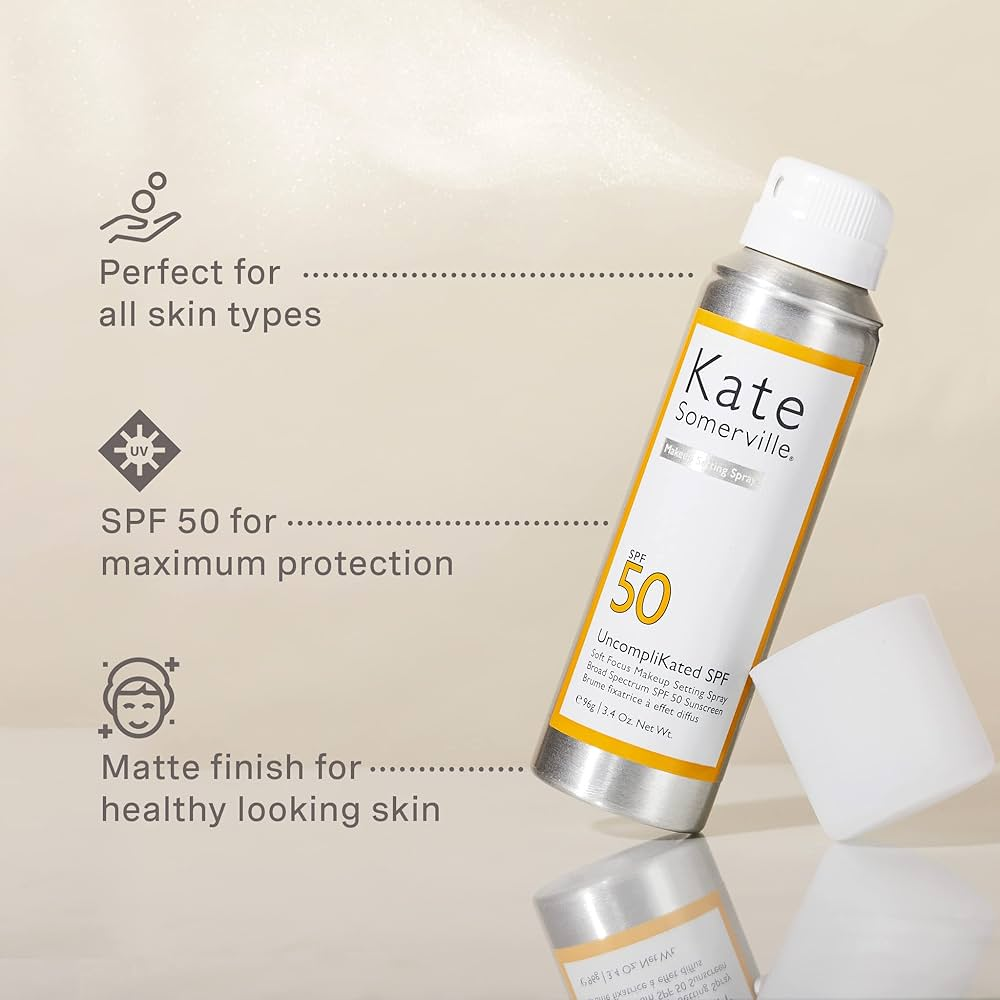
Kate Somerville’s UncompliKated sunscreen SPF 50 is a skincare and makeup lover’s dream. It offers robust SPF 50 protection while doubling as a makeup setting spray. The formula’s unique blend includes silicone powder that blurs imperfections, controls shine, and extends makeup wear, making it a true multitasking product.
BEST NEUTROGENA ULTRA SHEER BODY MIST SUNSCREEN
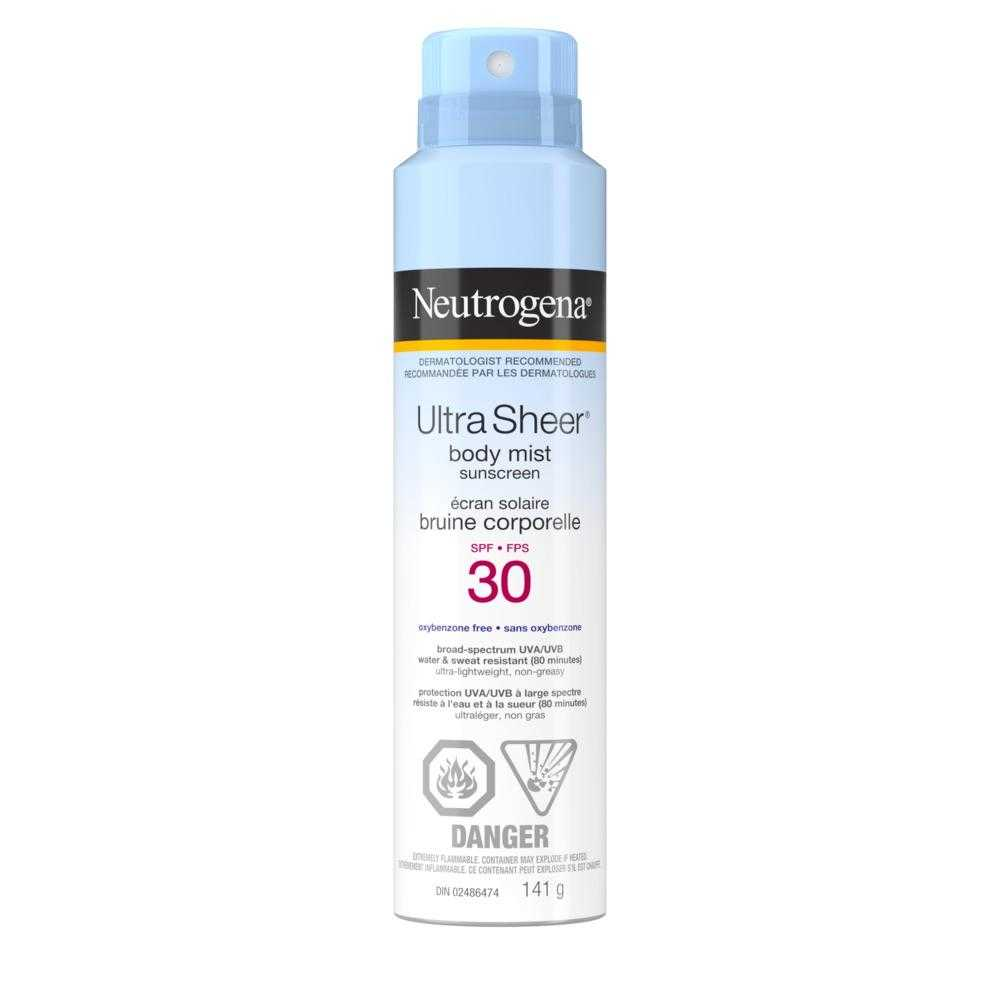
A truly convenient spray sunscreen should dry instantly without excessive rubbing. Neutrogena Ultra Sheer Body Mist Sunscreen SPF 70 ticks all the boxes. Its sheer formula absorbs quickly, leaving no sticky residue. Dr. Zaineb H. Makhzoumi, a dermatologist, praises its affordability and effectiveness, recommending it for the entire body, including the scalp, due to its clear, lightweight consistency.
BEST SPRAY SUNSCREEN: SUN BUM MINERAL SUNSCREEN SPRAY
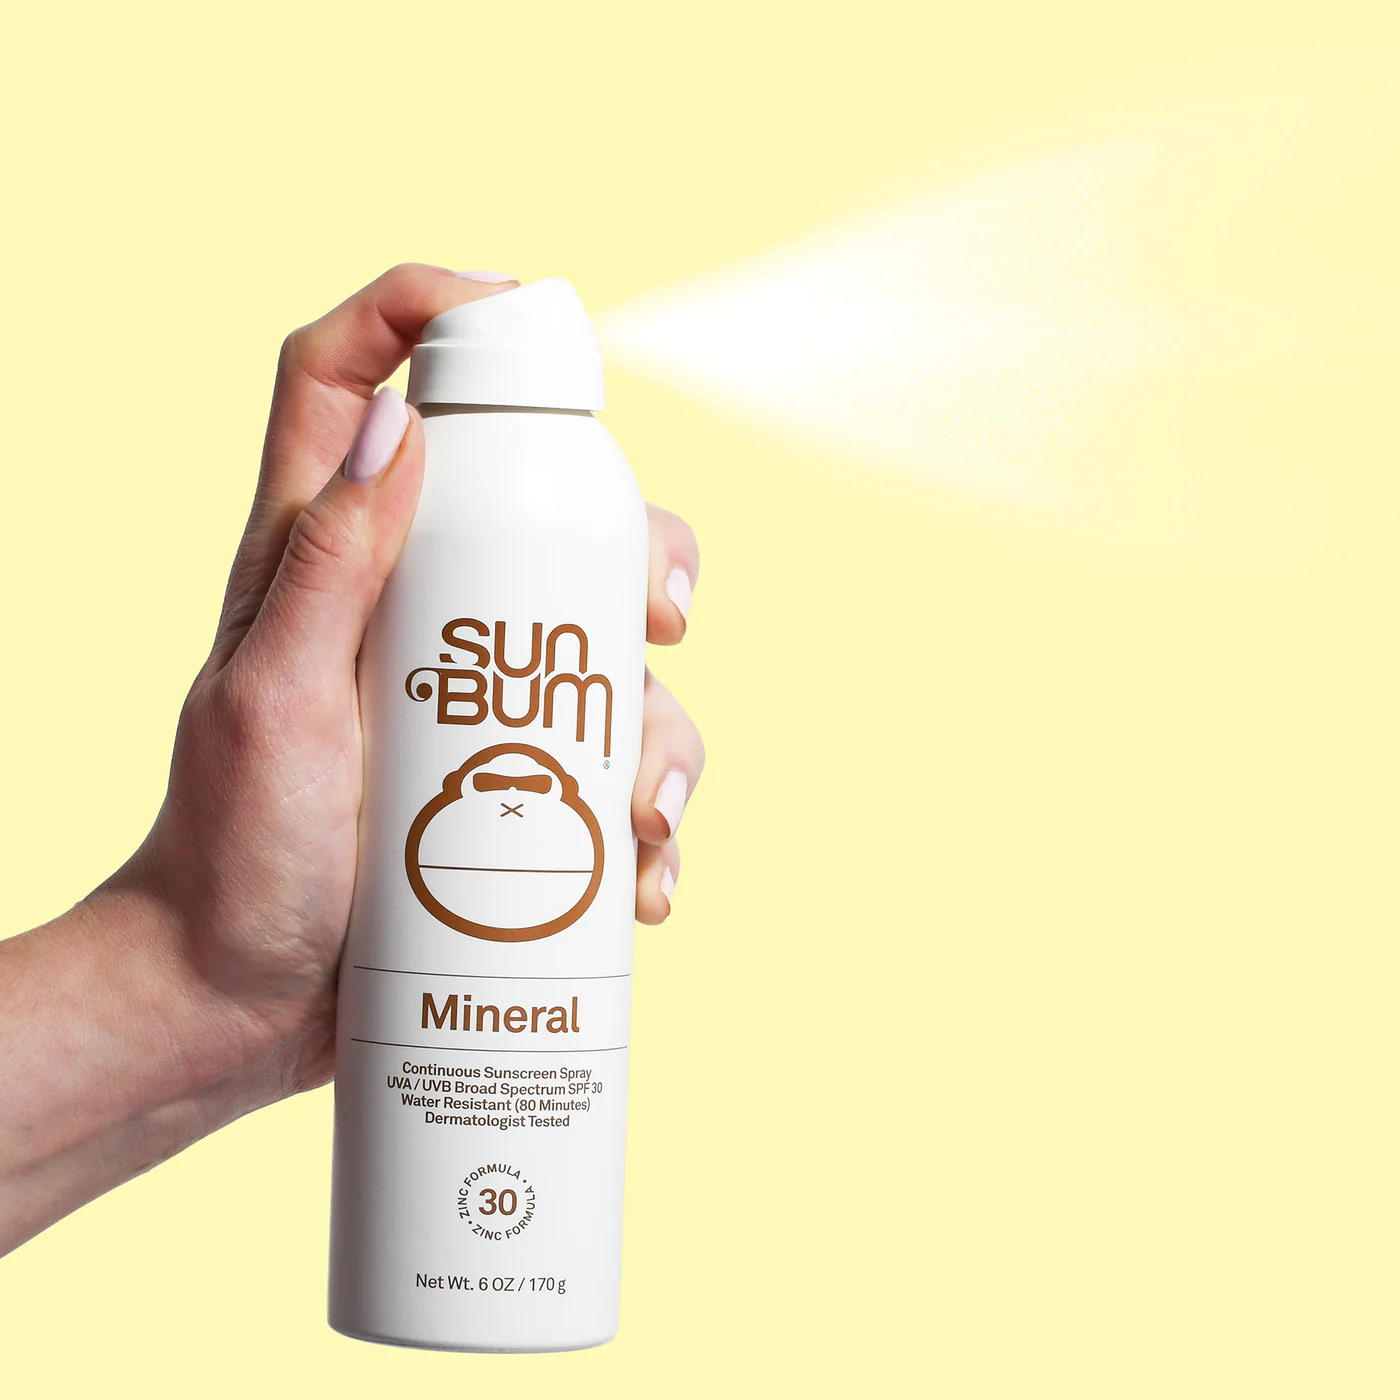
Sun Bum’s Mineral Sunscreen Spray SPF 50 is a convenient, travel-friendly option that delivers on both protection and comfort. Dermatologist praises its moisturizing formula and fragrance-free composition, making it suitable for sensitive skin. While the mineral formula does leave a slight white cast on darker skin tones, its rich, hydrating texture and availability in SPF 30 and 50 options make it a solid choice for many.
BEST MINERAL SPRAY SUNSCREEN: ELTAMD UV AOX MIST
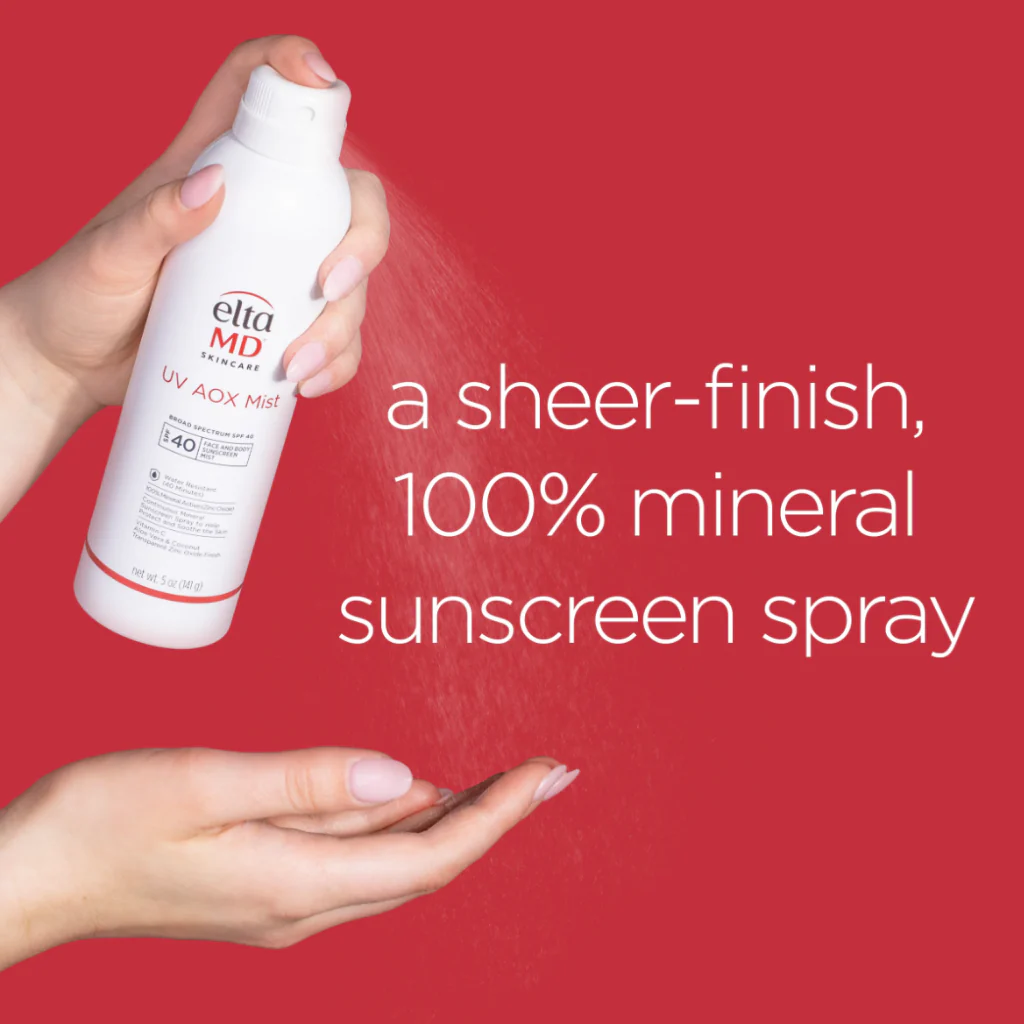
EltaMD’s Mineral Sunscreen Spray SPF 60 is a dermatologist-loved favorite for its exceptional sun protection and skin-friendly formula. This 100% mineral-based spray offers broad-spectrum UVA/UVB defense, making it ideal for sensitive skin. Its lightweight, moisturizing texture absorbs easily without leaving a white cast, ensuring comfortable wear throughout the day.
While it requires a bit more rubbing in compared to clear chemical sunscreens, this extra effort guarantees thorough coverage and optimal protection. EltaMD’s spray is water-resistant for up to 80 minutes, making it a reliable choice for outdoor activities.
Whether you have oily, dry, or combination skin, this versatile sunscreen provides a strong defense against harmful sun rays without irritating or clogging pores.
BEST SPRAY SUNSCREEN FOR SENSITIVE SKIN: BLUE LIZARD SENSITIVE MINERAL SUNSCREEN SPRAY
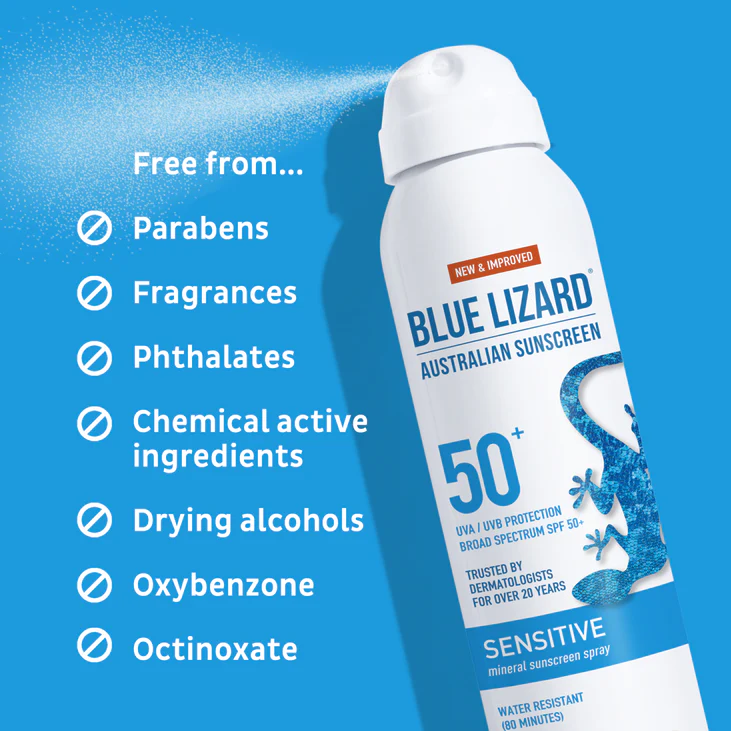
Blue Lizard Sensitive Mineral Sunscreen SPF 50 is a dermatologist-recommended choice, particularly for those with sensitive skin. Its mineral-based, fragrance-free formula, free of phthalates and parabens, makes it a gentle option for both adults and children.
While it requires brief rubbing in, the lotion-like texture is refreshing and non-greasy. Unlike many spray sunscreens, Blue Lizard lacks a strong chemical scent. Its gentle nature was particularly appreciated by a tester with sensitive skin who experienced no irritation.
This broad-spectrum sunscreen offers robust protection against both UVA and UVB rays, helping to prevent sunburn and premature aging. It’s also water-resistant for up to 80 minutes, making it suitable for outdoor activities.
BEST SPRAY SUNSCREEN FOR OILY SKIN: LA ROCHE-POSAY ANTHELIOS ULTRA-LIGHT SPRAY LOTION SUNSCREEN
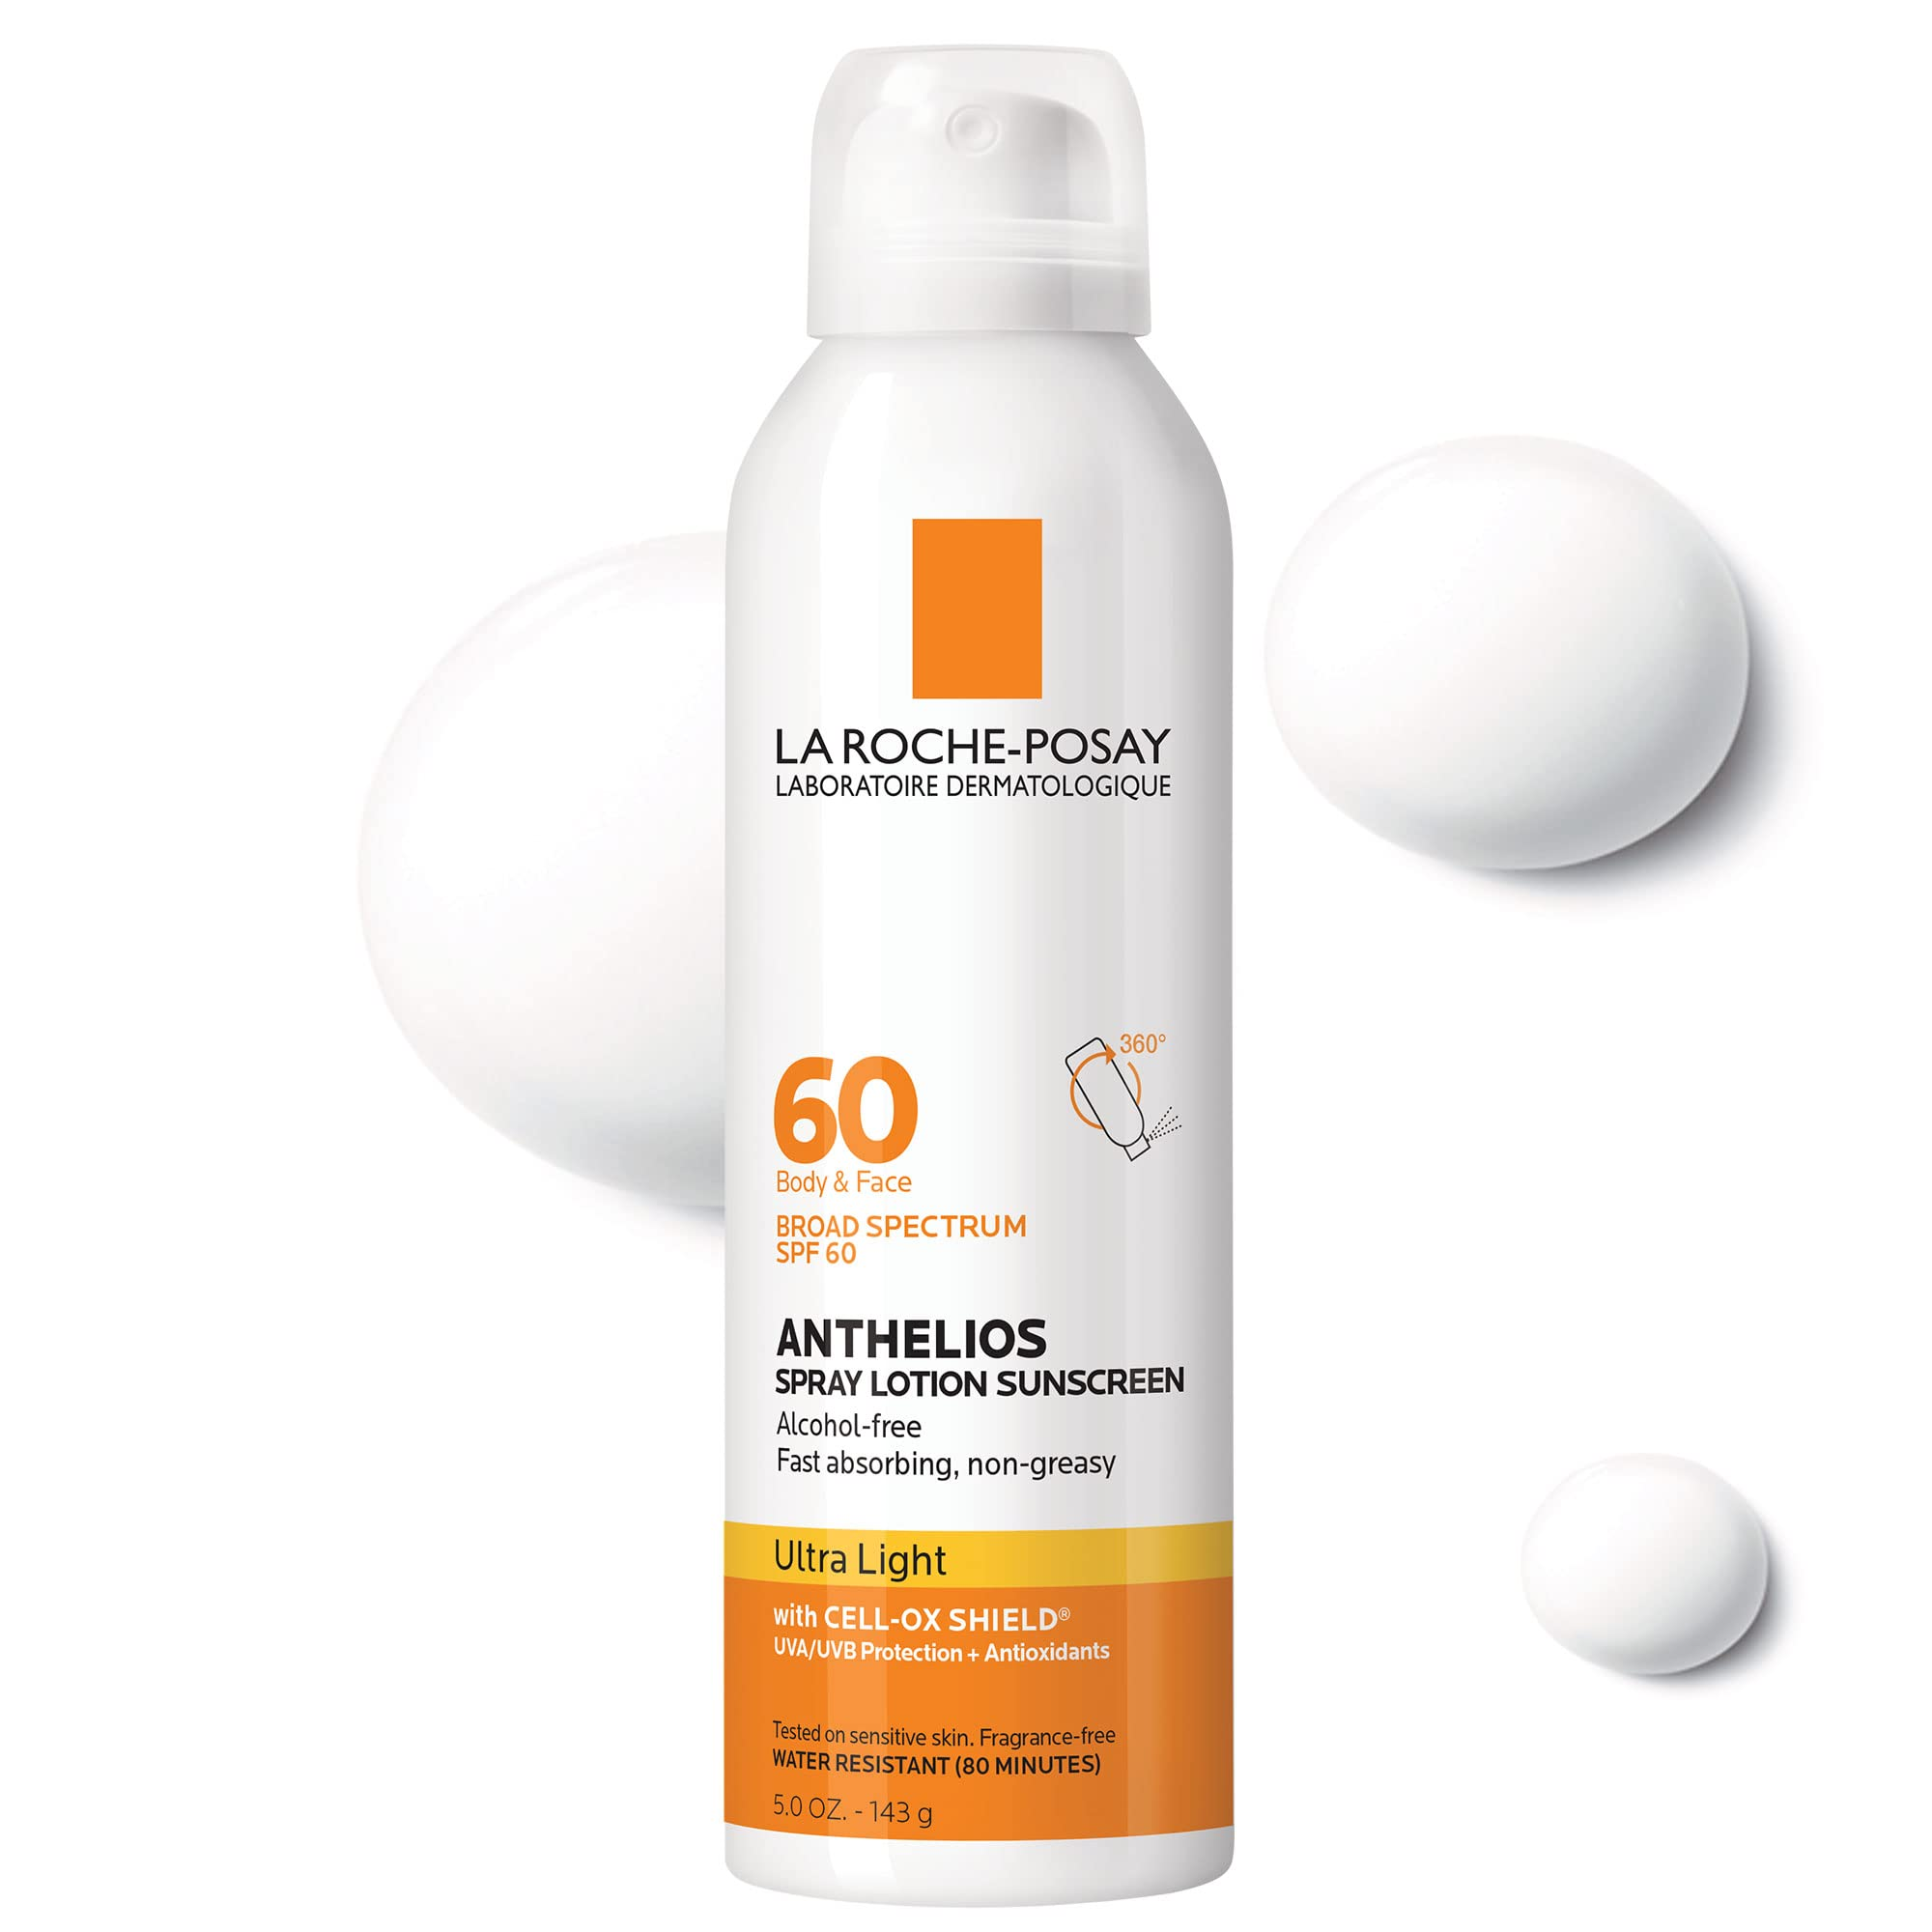
La Roche-Posay Anthelios Ultra-Light Spray Lotion SPF 60 is a game-changer in the world of spray sunscreens. Its lightweight, oil-free formula absorbs quickly, leaving behind a silky, non-greasy finish. Dermatologist-recommended for both oily and sensitive skin, this sunscreen is gentle yet effective.
The spray’s even application ensures complete coverage, and its broad-spectrum SPF 60 provides robust protection against both UVA and UVB rays. Water-resistant for up to 80 minutes, it’s ideal for outdoor activities. While the brand claims it’s safe for the face, caution is advised when applying near the eyes as it may cause stinging.
This sunscreen’s combination of high performance, gentle formula, and convenient spray application makes it a top choice for sun protection.
BEST SPRAY SUNSCREEN FOR ACNE-PRONE SKIN: HAMPTON SUN CONTINUOUS MIST SUNSCREEN
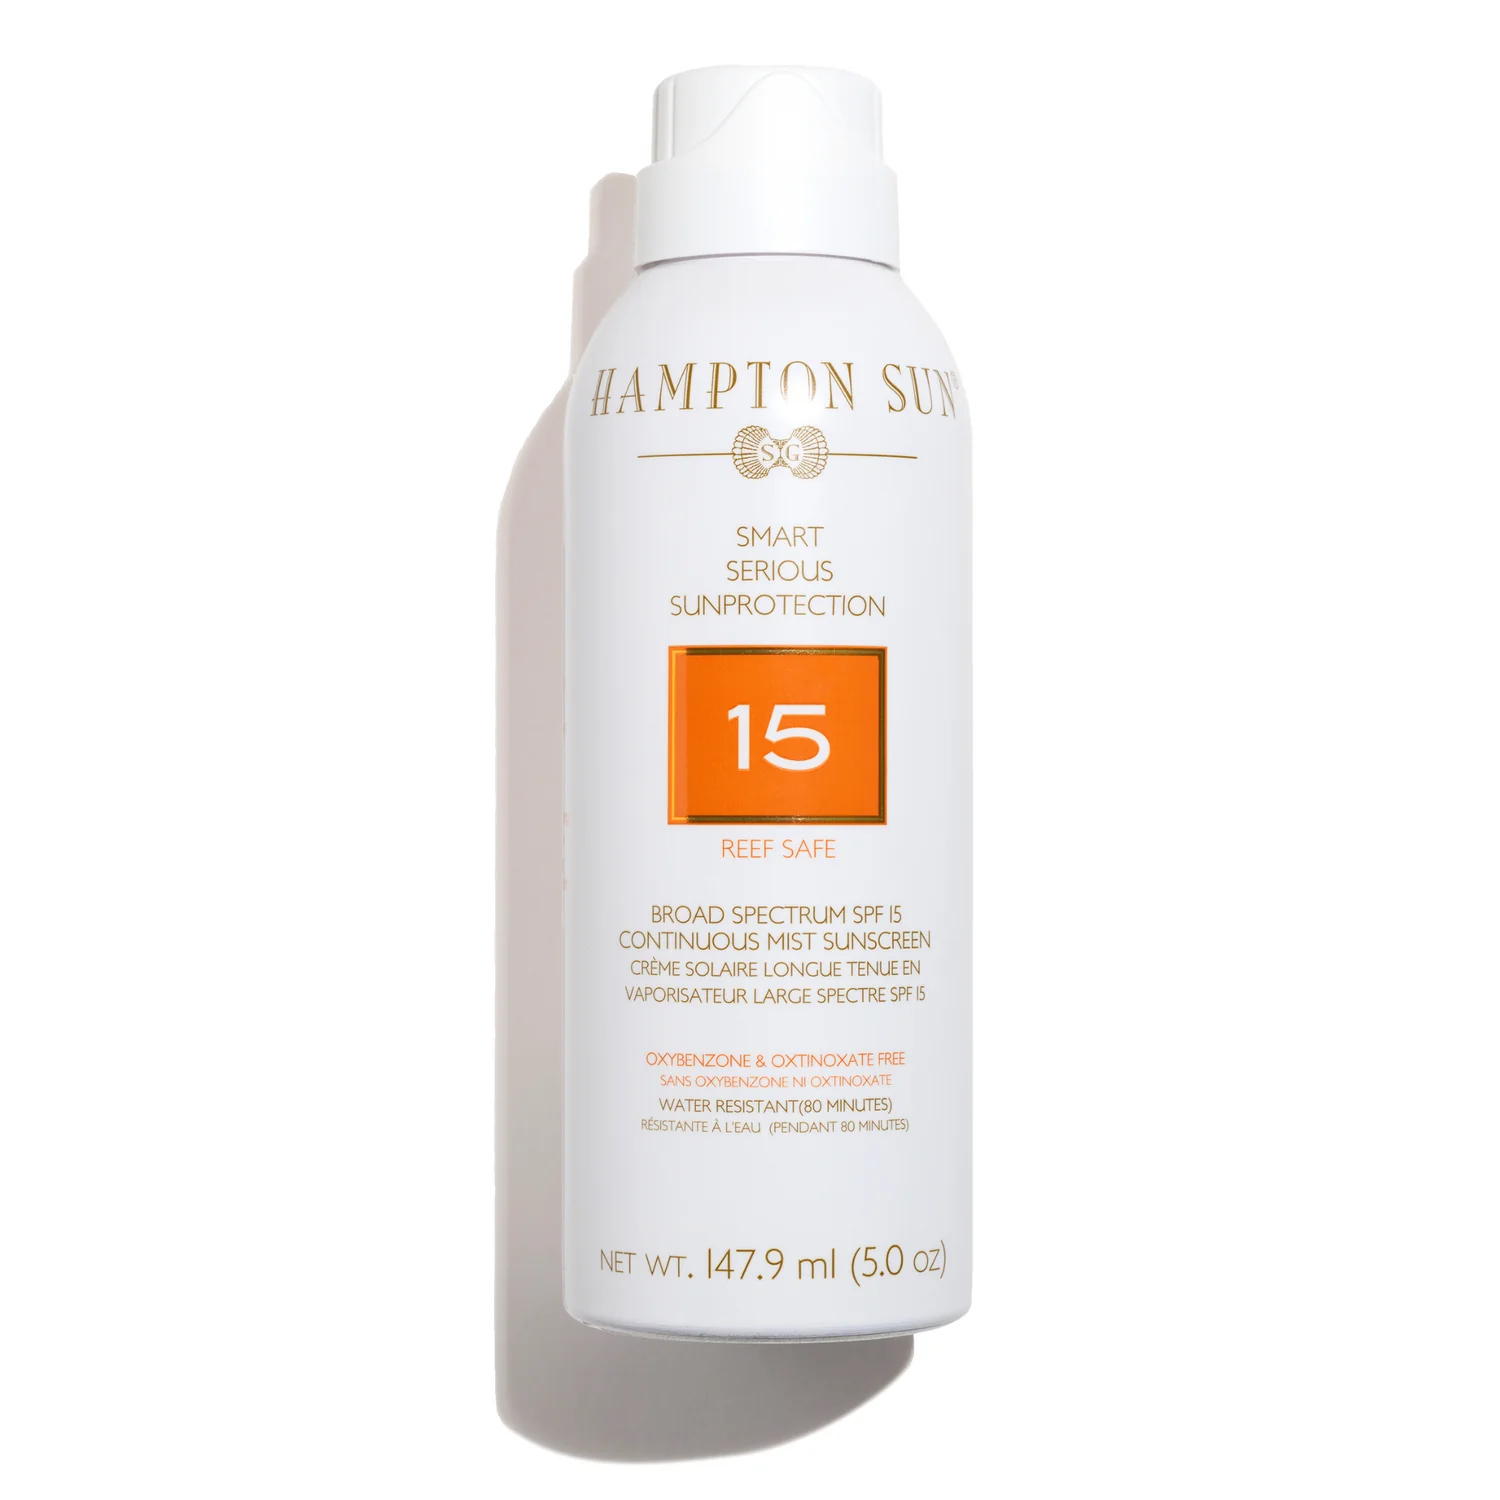
Hampton Sun Continuous Mist Sunscreen SPF 50 bag-on-valve sunscreen is a premium choice recommended by dermatologist. This innovative formula utilizes a less aggressive propellant, minimizing skin irritation and reducing the risk of contamination. The spray’s comfortable temperature and fast-absorbing nature make it a standout option.
Ideal for those with sensitive or acne-prone skin, this oil-free sunscreen is hypoallergenic and offers 80 minutes of water resistance. While it comes with a slightly higher price tag, its unique delivery system and skin-friendly benefits justify the investment.
BEST SPRAY SUNSCREEN FOR BODY: COOLA MINERAL SUNSCREEN SPRAY
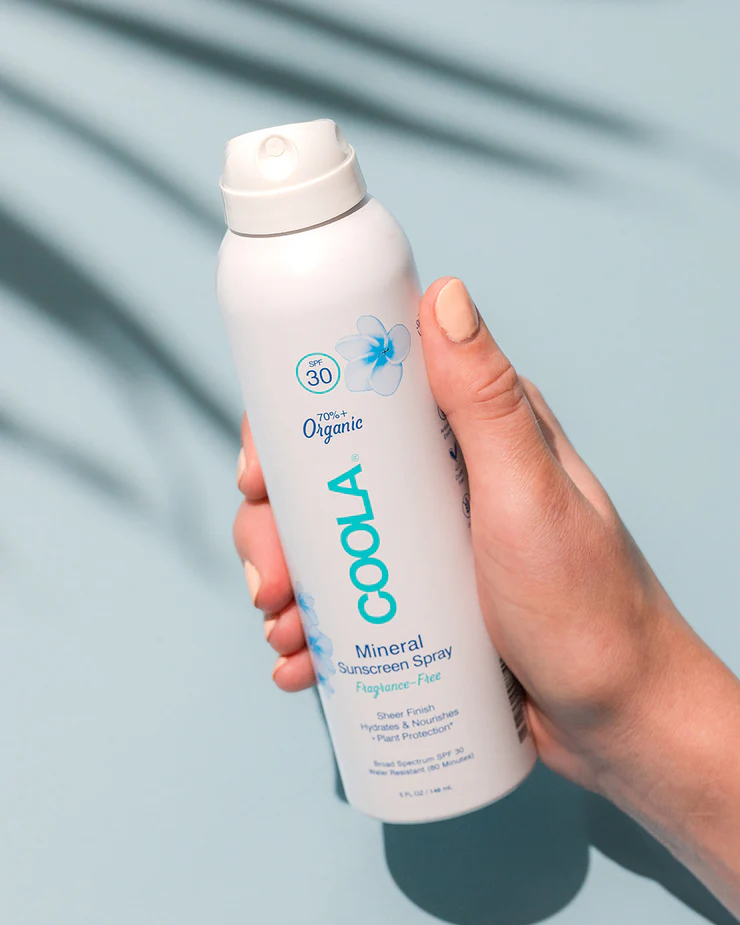
Coola Mineral Sunscreen Spray SPF 50 is a standout choice for those seeking a lightweight, oil-free sun protection. Its refreshing gel texture absorbs quickly, leaving skin hydrated and protected without a greasy feel. Dermatologist recommends it for both oily and sensitive skin types due to its non-comedogenic formula.
This broad-spectrum sunscreen provides robust UVA and UVB protection, helping to shield your skin from harmful rays and premature aging. It’s also water-resistant for up to 80 minutes, making it ideal for outdoor activities. While the formula is gentle, it’s advisable to avoid applying it directly to the eyes as it may cause stinging.
With its combination of hydration, sun protection, and lightweight feel, Coola Mineral Sunscreen Spray is a popular choice for many.
BEST SPRAY SUNSCREEN FOR FACE: DAILY PREVENTION PROTECT AND REFRESH MIST
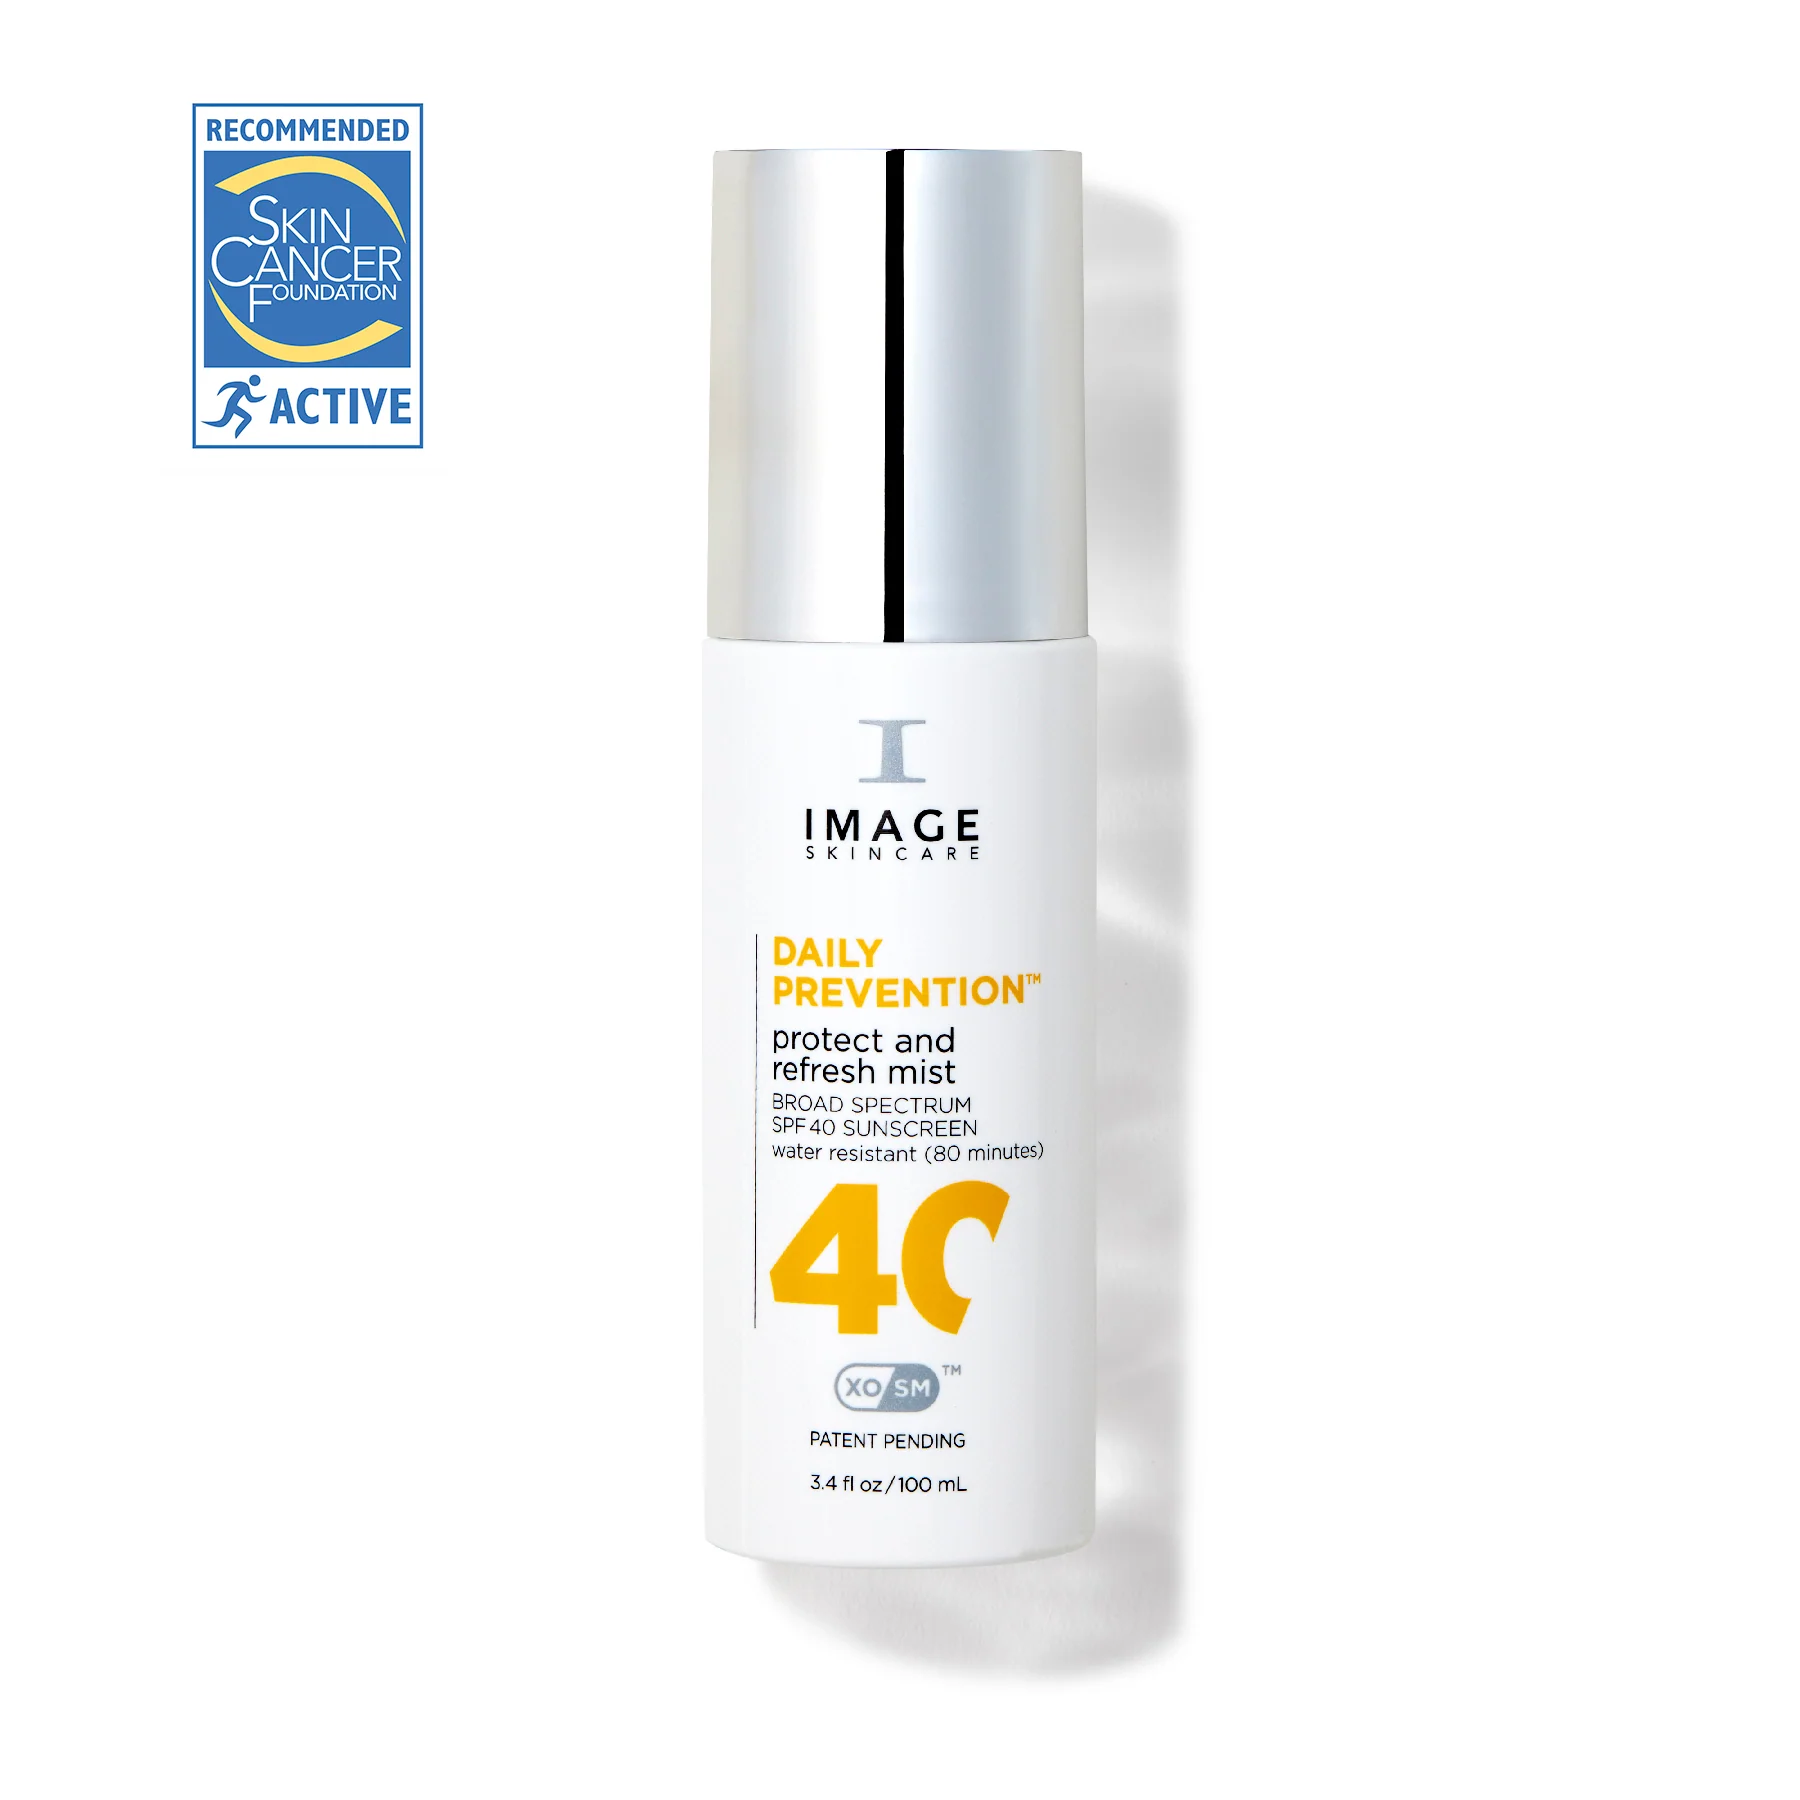
Daily Prevention Protect And Refresh Mist SPF 40 is a unique facial sunscreen that defies the traditional spray sunscreen application. Dermatologist Dr. Dendy Engelman, director of dermatologic surgery, at Metropolitan Hospital. praises its skincare-like formula, infused with hydrating ingredients like meadowfoam seed and buriti fruit oil. This makes it particularly beneficial for those with dry skin.
Unlike other spray sunscreens, Supergoop! Daily Prevention Protect And Refresh Mist can be applied directly to the face as a refreshing mist, offering a convenient and hydrating application. Its clear, dry oil texture ensures a seamless finish that can be worn alone or under makeup.
While ideal for many, individuals with sensitive skin may experience irritation due to the inclusion of alcohol in the formula.
BEST SPRAY SUNSCREEN FOR SCALP: COOLA SUNCARE SCALP & HAIR MIST
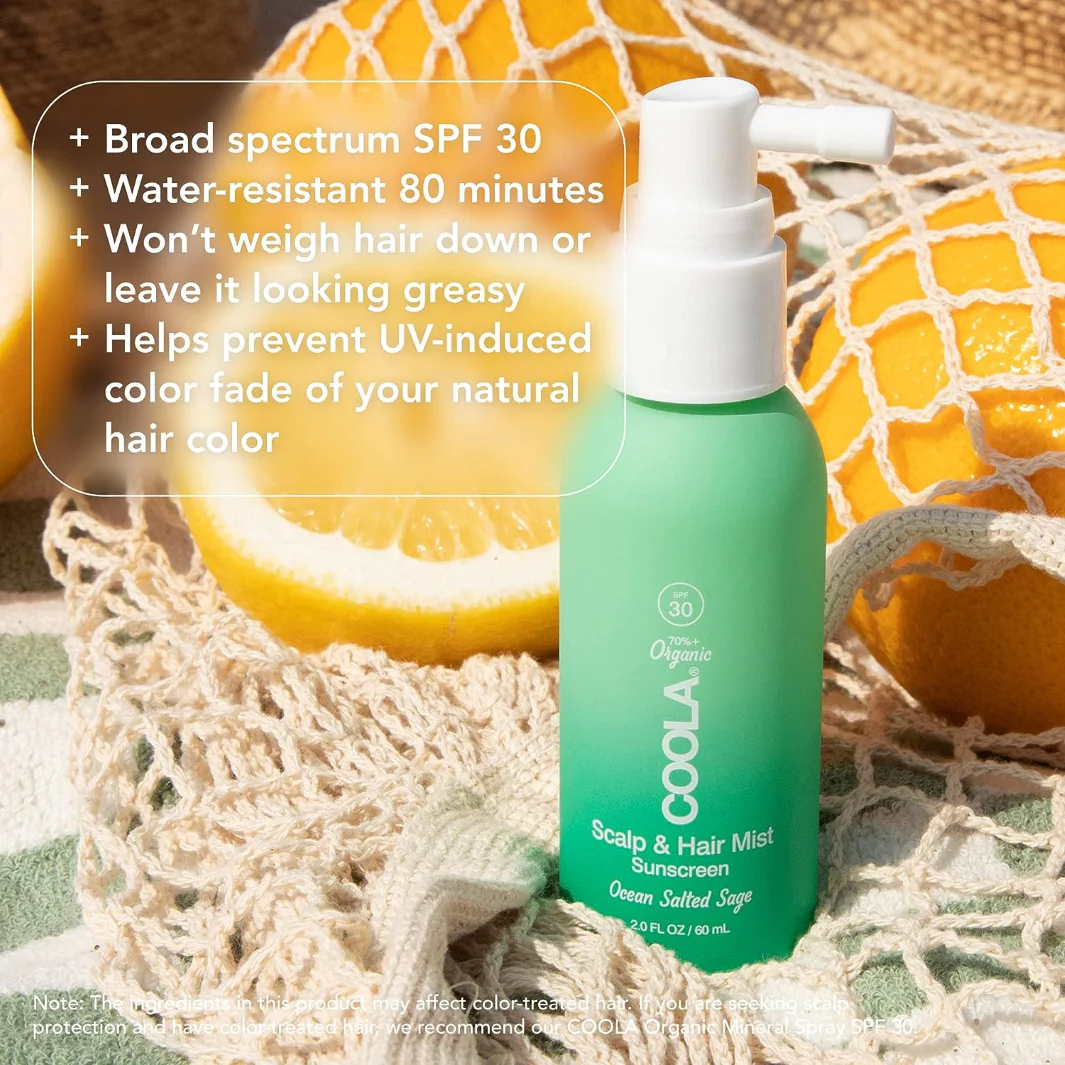
Coola Scalp & Hair Sunscreen Mist SPF 30 is a specialized product designed to protect both your scalp and hair from harmful UV rays. Dermatologist Dr. Melanie Palm, is a clinical researcher, advisory board member, speaker and consultant for BTL, the company that makes Emsculpt Neo praises its antioxidant-rich formula, which not only shields hair from sun damage but also helps maintain color vibrancy and strengthen strands.
The addition of monoi oil provides deep hydration and nourishment, while panthenol boosts shine and reduces breakage. However, for those with finer hair, a more targeted application by applying the product to the hands first is recommended to avoid a greasy feel.
This innovative sunscreen offers a unique solution for comprehensive sun protection, ensuring both your hair and scalp remain healthy and shielded from the sun’s damaging rays.
MOST POPULAR SPRAY SUNSCREEN: SUPERGOOP PLAY ANTIOXIDANT BODY MIST
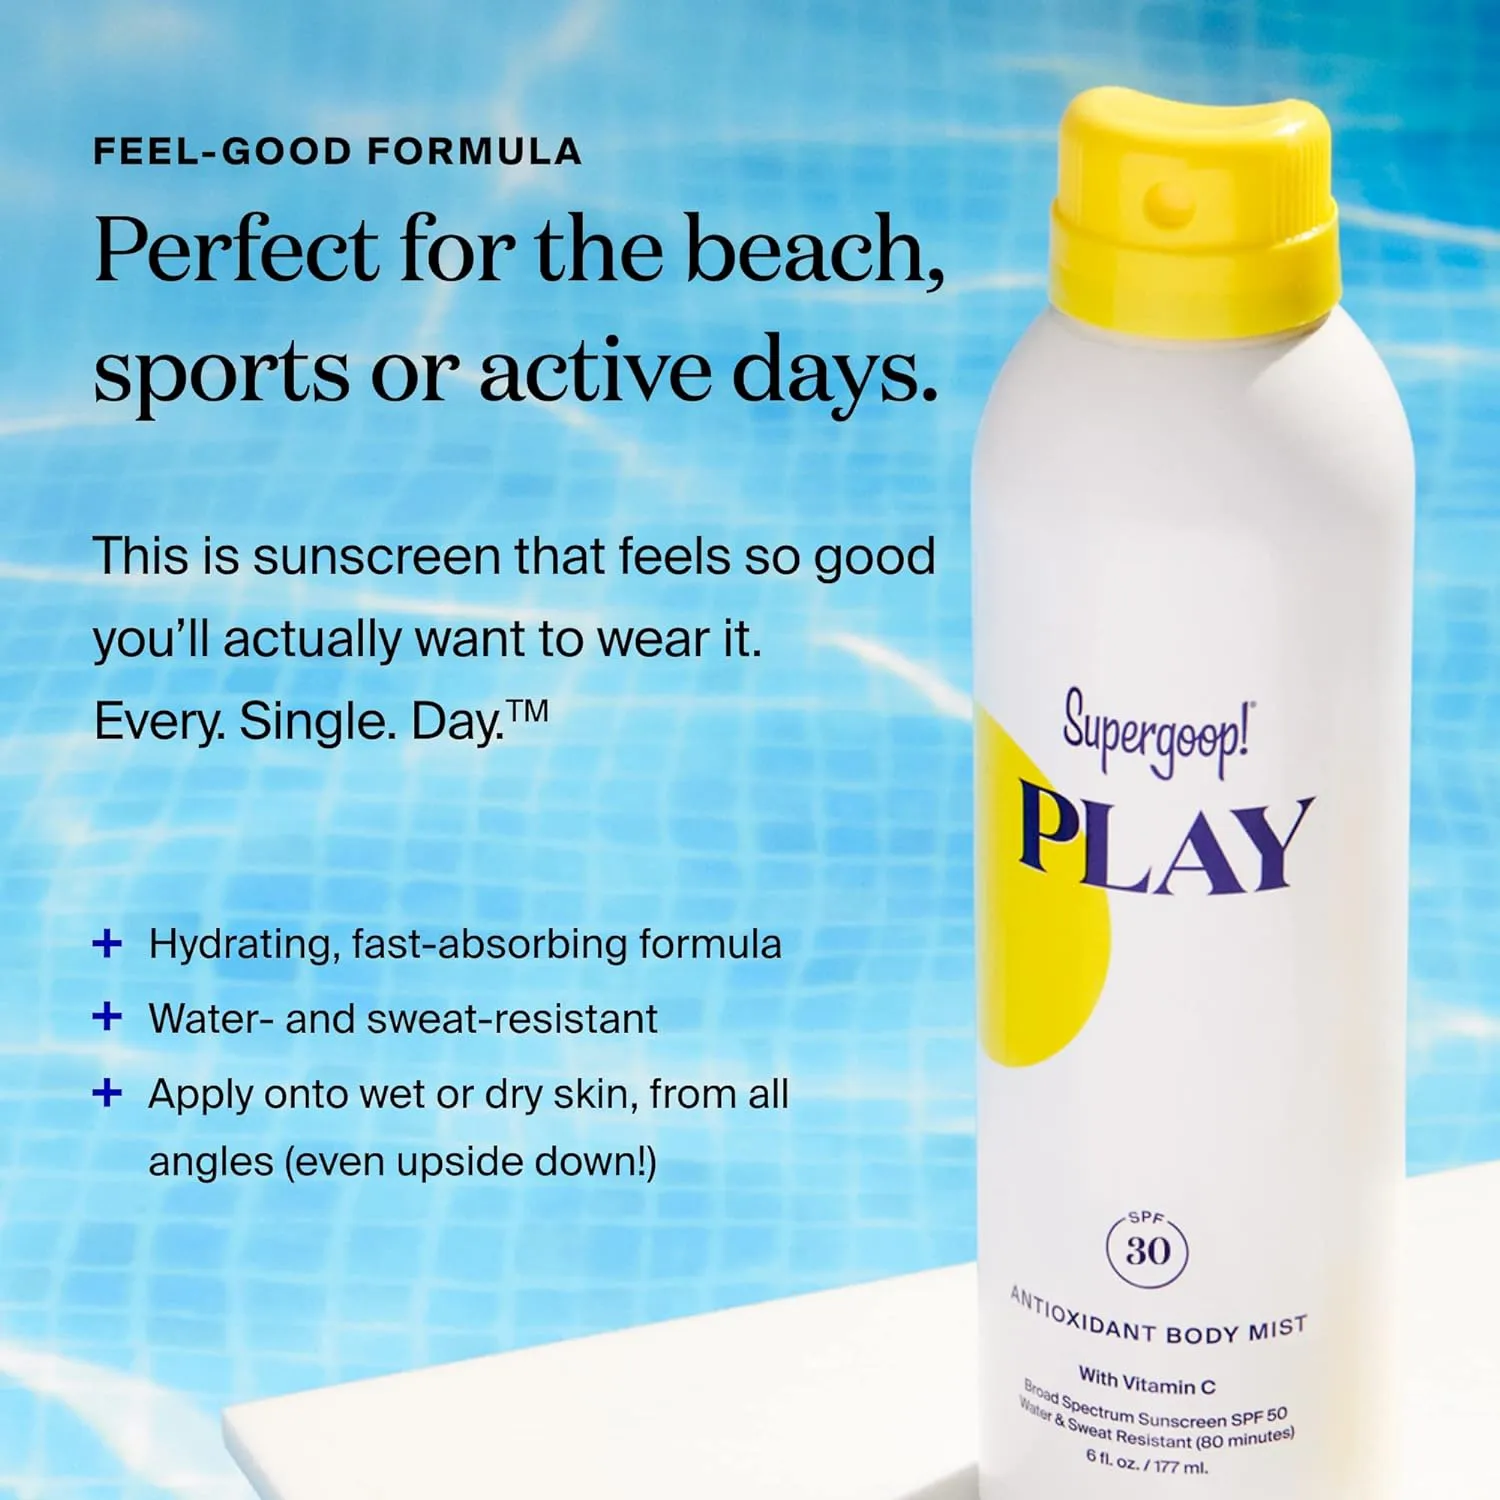
This supergoop play antioxidant body mist spf 50 is a refreshing and convenient option for sun protection. its user-friendly spray application and invigorating citrus scent make it a popular choice. with an impressive spf 50 and 80-minute water resistance, it offers reliable protection against harmful uv rays.
This lightweight, non-greasy formula absorbs quickly into the skin, leaving a refreshing finish. The addition of antioxidant vitamin C helps protect against environmental stressors while hydrating the skin. Suitable for most skin types, it’s a versatile option for both everyday wear and outdoor activities.
While the smaller 3-ounce size might require more frequent reapplication, the overall convenience and effectiveness of Supergoop! Play Antioxidant Body Mist make it a strong contender in the sunscreen market.
BEST SPRAY SUNSCREEN FOR TRAVEL: VACATION SUPER SPRITZ FACE MIST SPF 50
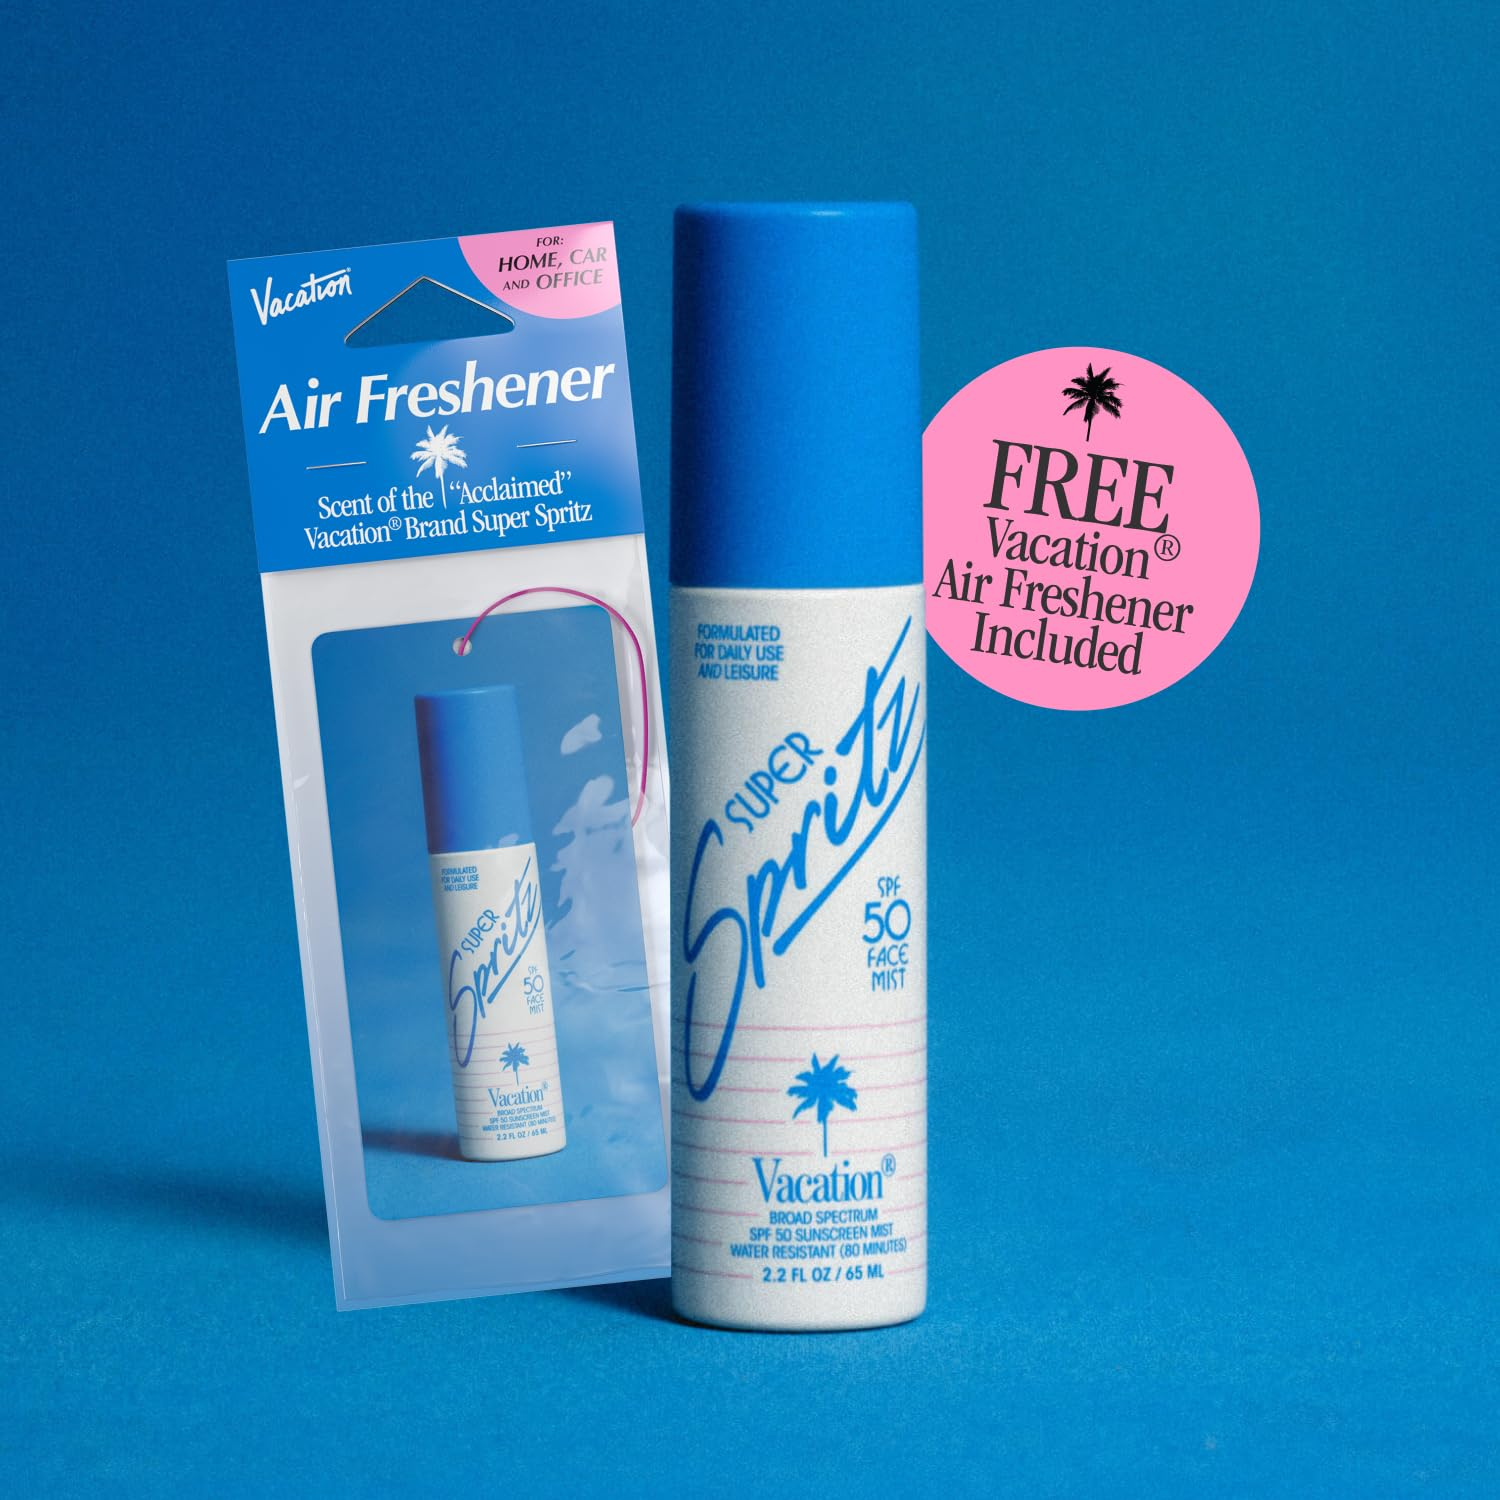
Vacation’s Classic Spray SPF 50 is more than just a sunscreen; it’s a travel essential. Its compact 2.2-ounce bottle fits perfectly into any luggage, making it the ideal companion for your adventures. This TikTok-famous brand delivers not only on style but also on substance.
Formulated with a blend of skincare superstars like aloe vera, shea butter, and vitamin E, this sunscreen hydrates and protects your skin. The lightweight, oil-free formula absorbs quickly, leaving a matte finish. Its tropical scent is an added bonus.
While the sunscreen’s performance is impressive, some users found the spray to be a bit jet-like, making application less precise. Despite this minor drawback, its overall effectiveness and travel-friendly size make it a popular choice among suncare enthusiasts.
BEST SPORT SUNSCREEN SPRAY: BANANA BOAT SPORT 360 COVERAGE SUNSCREEN SPRAY
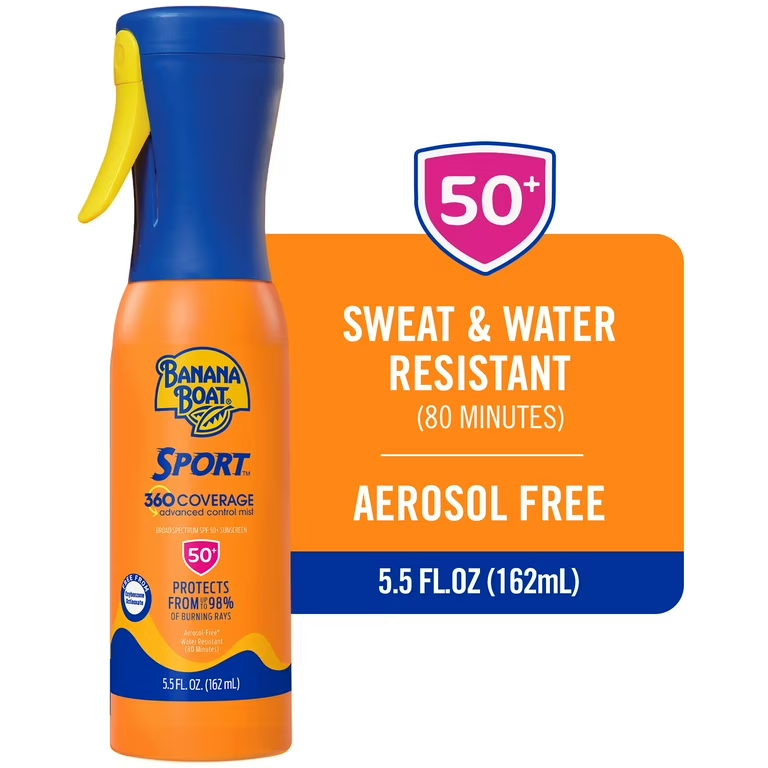
Banana Boat Sport 360 Coverage Sunscreen Spray SPF 50 offers a convenient and family-friendly non-aerosol spray option. Its unique design allows for even application from any angle, making it easy to use on yourself and others. While occasional clogging may occur, a simple shake resolves the issue. The refillable bottle is an eco-conscious choice, reducing plastic waste.
This mineral sunscreen provides a fine mist that dries to a slightly slick finish, ensuring complete coverage. Its water resistance of 80 minutes makes it suitable for various water activities. While it may not be as fast-absorbing as some options, the even application and lack of greasy residue make it a popular choice for families.
MOST LIGHTWEIGHT: MDSOLARSCIENCES QUICK DRY BODY SPRAY
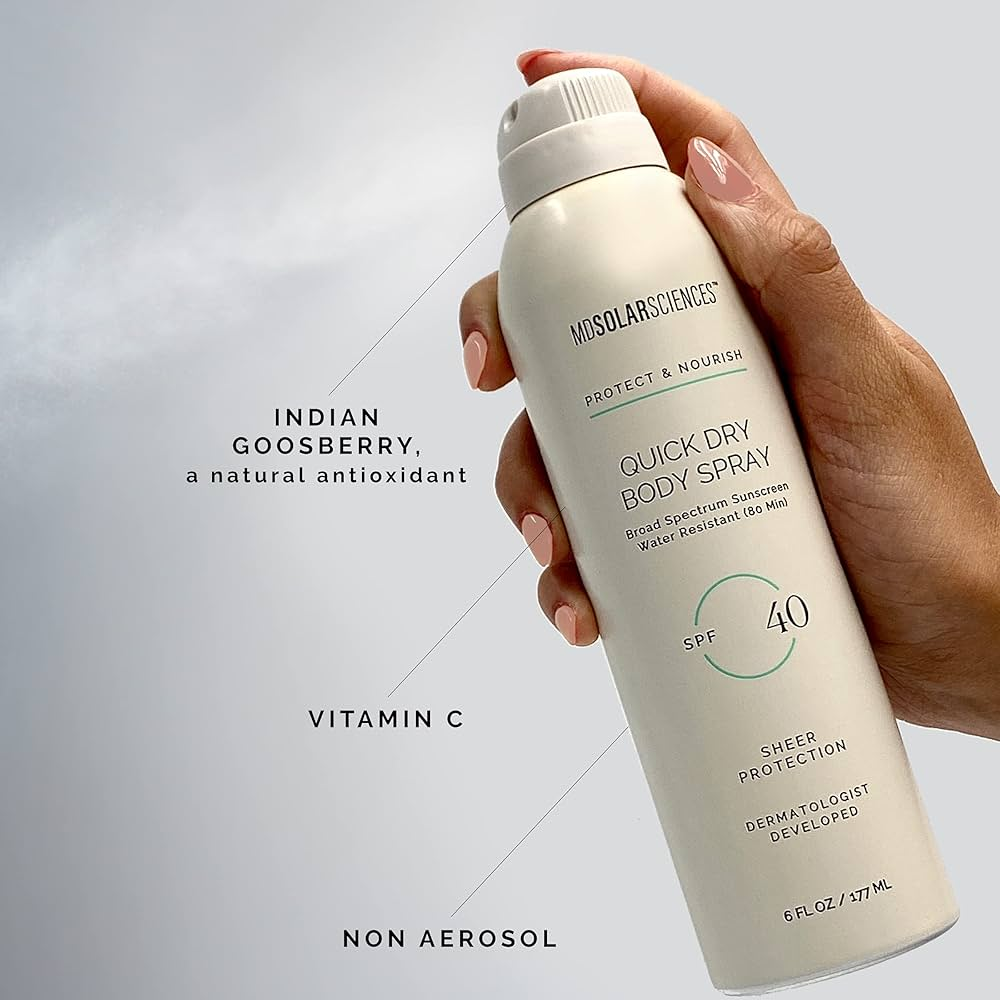
Enriched with antioxidants like vitamin C and Indian gooseberry, this sunscreen not only protects against harmful UV rays but also helps combat free radical damage. Its generous 6-ounce size provides ample product for extended outdoor activities. Overall, Mdsolarsciences Quick Dry Body Spray Spf 40 offers a balance of effectiveness, convenience, and skin-friendly ingredients.
CONCLUSION
Selecting the optimal sunscreen spray for your face is crucial for safeguarding your skin from the sun’s harmful rays. By carefully considering factors like SPF, ingredients, skin type, and application method, you can find the perfect product to shield your skin without compromising its health. Remember, consistent and generous application is key. Don’t forget to reapply every two hours, or more frequently if swimming or sweating. Protect your skin, embrace the sun safely, and enjoy a radiant complexion!