How to Remove Gel X Nails: A Quick and Easy Guide

Are you tired of spending time and money at the salon for gel X nail removal? Look no further! We understand how frustrating it can be when your beautiful gel X nails start to chip or lose their shine, but don’t worry, we’ve got you covered with our step-by-step guide on how to remove gel X nails.

what are Gel X Nails?

Gel X Nails are a type of nail extension that are made from a soft gel polish. They are pre-formed and come in a variety of shapes and sizes, making them easy to apply and customize. 

They are applied using a system that involves pre-made gel nail extensions. These extensions come in various shapes and sizes, allowing you to customize the look of your nails. The process typically involves preparing the natural nails, applying a base coat, attaching the gel extensions, and then curing them under a UV or LED lamp.

Gel X nails are very durable and can last for up to 6 weeks with proper care.

How to Remove Gel X Nails without damage

While it’s typically recommended to have Gel-X nails removed by a professional nail technician to minimize damage to your natural nails, you can attempt to remove them at home if necessary. Here’s a step-by-step guide on how to remove Gel-X nails at home:

Supplies You’ll Need

  • 100% acetone nail polish remover
  • Aluminum foil
  • Cotton balls or cotton pads
  • Nail file or buffer
  • Cuticle oil or nail and cuticle conditioner
  • Nail clippers (if needed)

Step 1: Tidy Up (Optional)

If your Gel-X nails have grown a lot, you can use nail clippers to trim them down a bit. It’s optional, but it can make the removal process easier.

Step 2: Gently File the Top

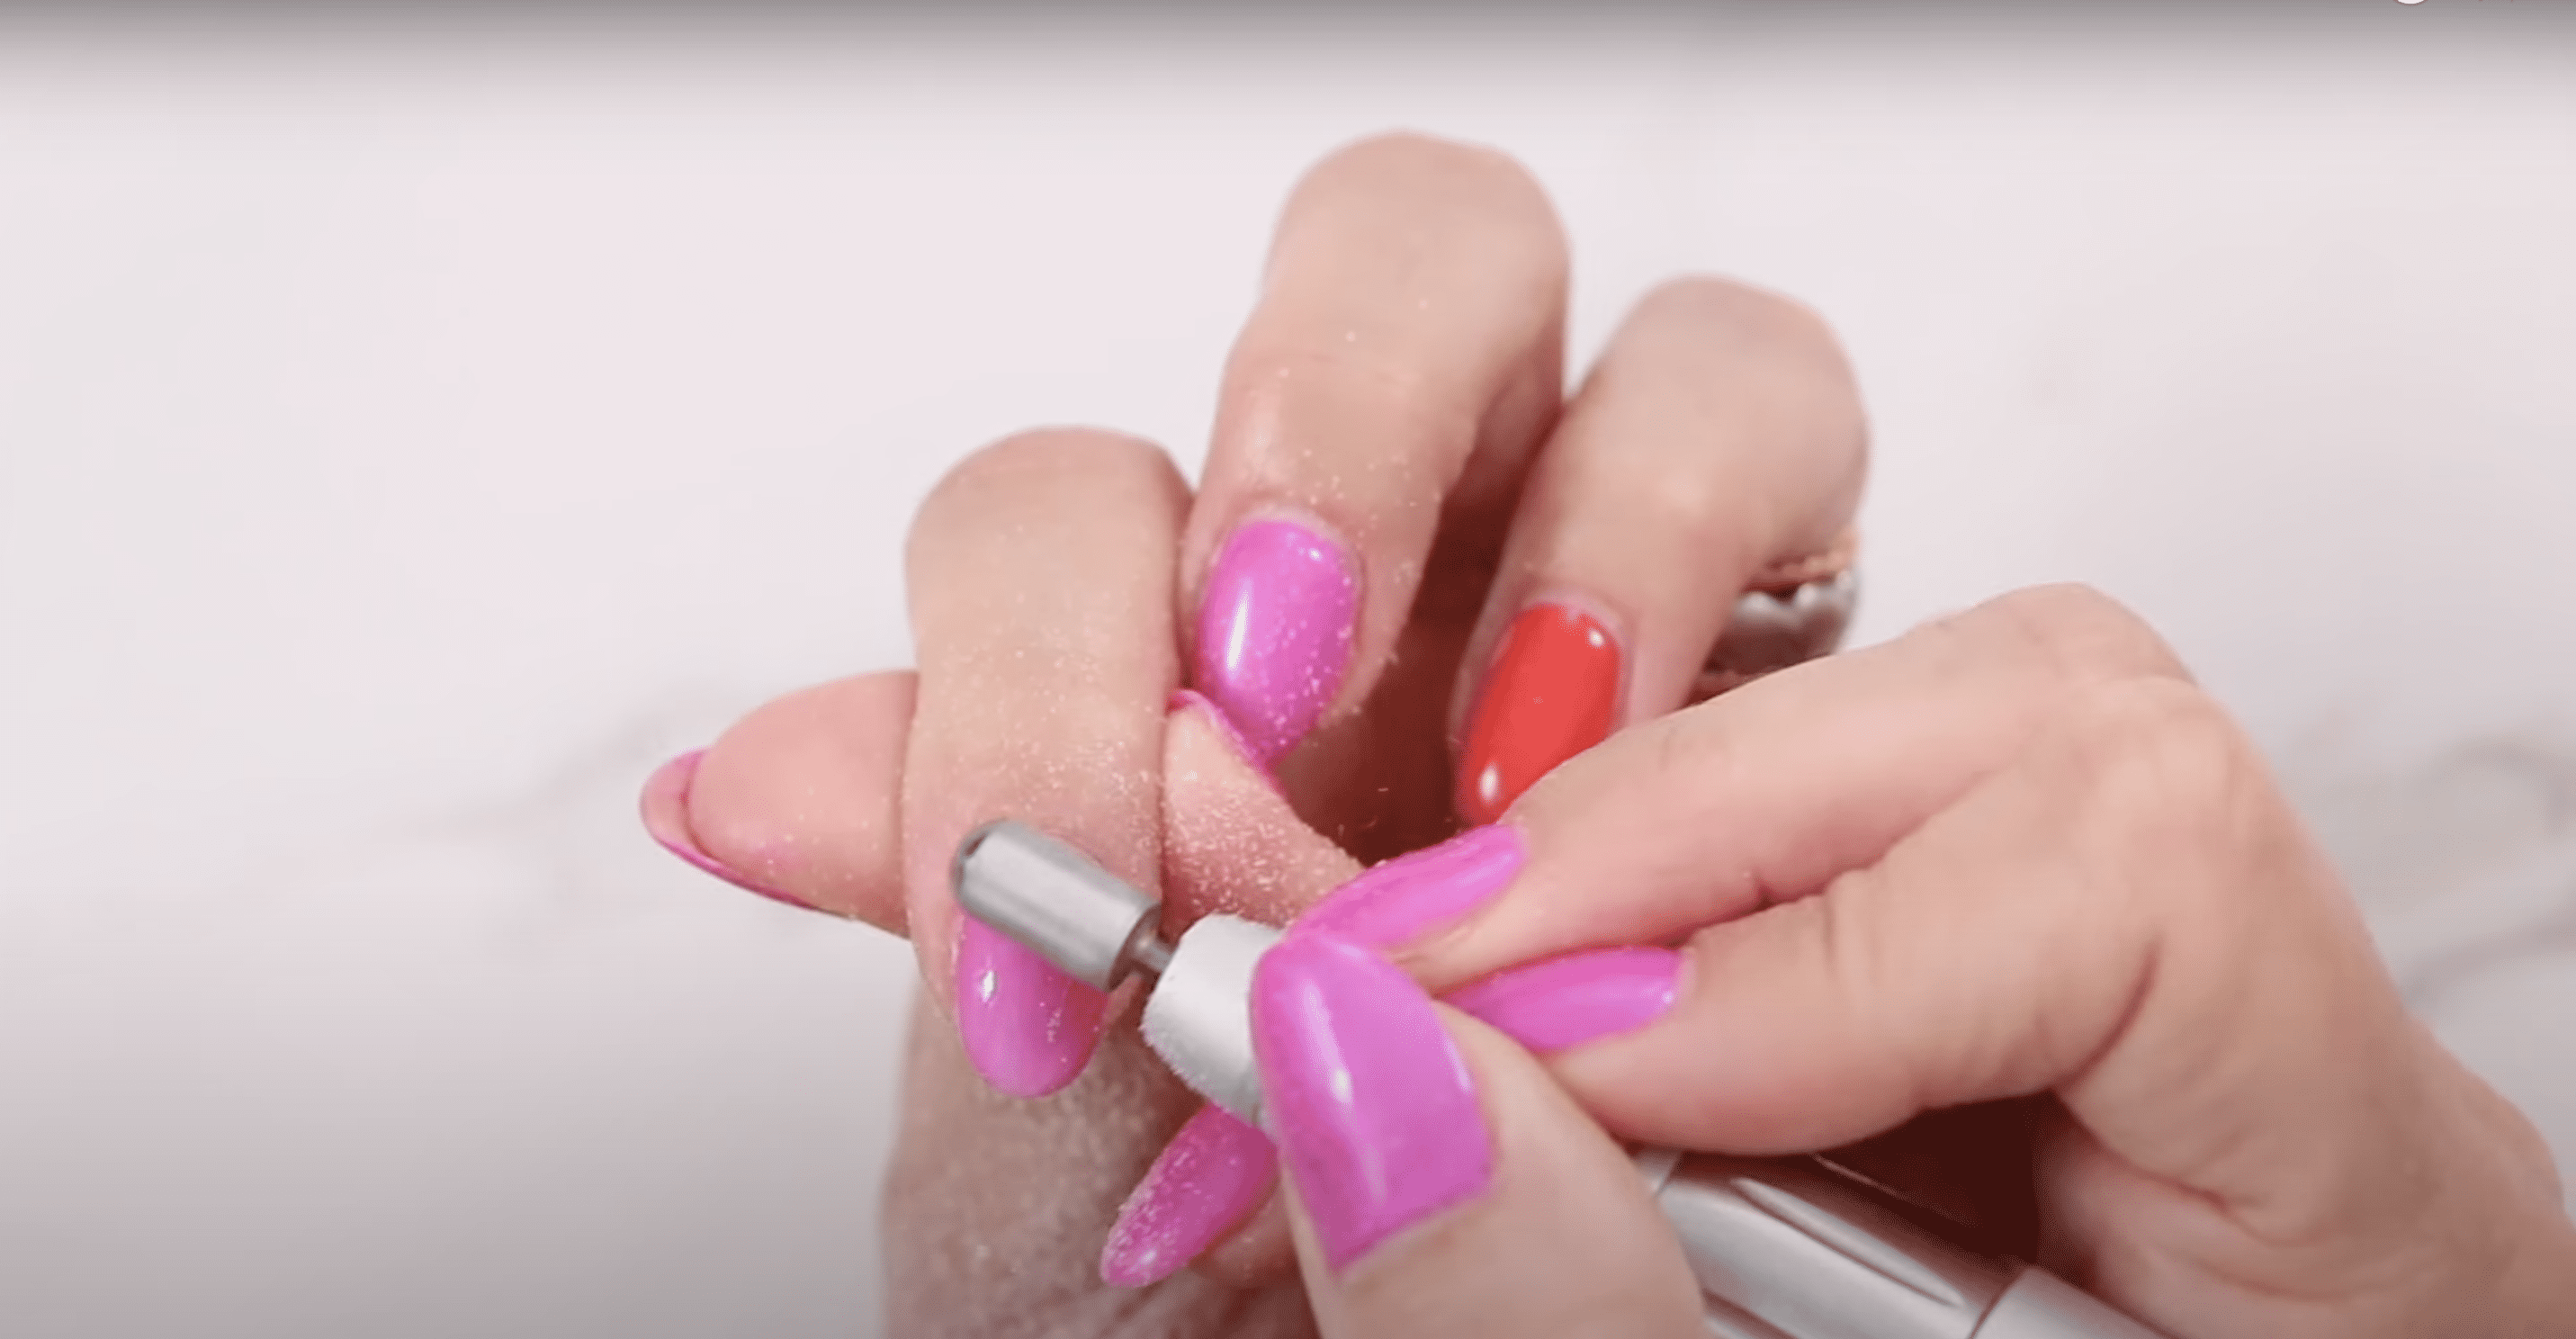
Grab a nail file or buffer and gently file the top coat of your Gel-X nails. This step helps the acetone work its magic. Be gentle, though; we don’t want any damage.

Step 3: Get Your Soak On

Soak some cotton balls or pads in 100% acetone nail polish remover. Each piece should be big enough to cover one nail.

Step 4: Apply the Cotton and Foil

Place one soaked cotton ball or pad on top of a Gel-X nail and wrap a small piece of aluminum foil around it to keep it snug. Repeat this for all your nails.

Step 5: Wait for Soaking

Now, let your nails relax and soak in the acetone for about 15-20 minutes. It’s like a little spa session for your nails!

Step 6: Check and Slide

After soaking, press down gently on the foil-wrapped cotton. Slide it off your nail. The softened gel should come away with it. If there are bits left, use a wooden cuticle stick or a soft nail buffer to gently remove them.

Step 7: Show Some Love

Once you’ve removed your Gel-X nails, wash your hands to get rid of any leftover acetone. Then, show your nails some love by applying a cuticle oil or nail conditioner. Acetone can be a bit drying, so this helps keep your nails happy.

Step 8: Nail Check

Take a moment to admire your natural nails. Make sure they’re feeling strong and healthy. If you’re worried about anything, don’t hesitate to consult a professional nail technician for advice.

how to take off gel-x nails without acetone

Acetone is the most effective way to remove gel X nails, but if you don’t have any on hand, there are a few alternatives you can try. One option is to use a non-acetone nail polish remover, although this may take longer and be less effective than using acetone. You can also try soaking your nails in warm water mixed with a bit of dish soap, which can help loosen the gel X.

  • File the top coat of your Gel X nails to break the seal.
  • Soak your nails in warm water for 10-15 minutes.
  • Use a wooden orange stick or cuticle pusher to gently pry up the Gel X nails from your natural nails.
  • If the Gel X nails do not come off easily, soak your nails in warm water for a longer period of time or try using a different tool, such as a metal cuticle pusher.
  • Once the Gel X nails have been removed, buff your natural nails to remove any remaining gel residue.
  • Apply a moisturizer or cuticle oil to your nails and hands.

Tips and Advice for Removing Gel X Nails

  • Be patient: Removing gel X nails can take time, especially if you have multiple layers to remove. Don’t rush the process, as this can damage your natural nails.
  • Don’t pick at your nails: It can be tempting to try to peel off the gel X, but this can cause damage to your natural nails. Instead, follow the proper removal process.
  • Moisturize your nails: Acetone can be drying to your nails and cuticles, so make sure to apply cuticle oil after removing your gel X nails.
  • Don’t forget the prep: Buffing the surface of your nails before soaking them can help the acetone penetrate the gel more easily, making the removal process smoother.

FAQs

  1. How often should I remove my gel X nails? It’s recommended to remove your gel X nails every three weeks to prevent damage to your natural nails. Leaving them on for too long can cause them to grow out and lift, which can lead to breakage and infection.
  2. Can I reuse the aluminum foil for gel X nail removal? While it may be tempting to reuse the aluminum foil, it’s best to use fresh pieces each time you remove your gel X nails. This will ensure that the acetone is able to penetrate the gel properly, resulting in an easier removal process.
  3. Will removing gel X nails damage my natural nails? If done properly, removing gel X nails should not damage your natural nails. However, if you peel or pick at the gel X, or if you don’t follow the proper removal process, you can cause damage to your nails. Make sure to be gentle and patient during the removal process.
  4. Can I paint my nails right after removing gel X nails? Yes, you can paint your nails right after removing gel X nails. Just make sure to clean your nails thoroughly to remove any remaining acetone or debris before applying new polish.

Final Takeaway

Removing gel X nails at home is a simple and cost-effective process that anyone can do. By following our step-by-step guide and tips, you can easily remove your gel X nails without damaging your natural nails. Remember to be patient, moisturize your nails, and follow the proper removal process for the best results. With these tips, you can enjoy a fresh new manicure in no time!

What Are the Different Types of Hair Extensions?

If you’ve ever wished for longer, fuller hair, you’re not alone. Many people struggle with growing their hair to the desired length or volume. Fortunately, types of hair extensions can help you achieve the look you desire. 

In this article, we will cover everything you need to know about different types of hair extensions. Choose one and dress up to slay. Scroll down to check them all out!

Real Human Hair Extensions vs. Synthetic Hair Extensions

Appearance and Texture

Real Human Hair Extensions closely mimic the appearance and texture of natural hair, offering a highly realistic look. They blend seamlessly with your own hair.

While synthetic extensions have improved in quality, they may not look as natural as human hair extensions. The texture can sometimes appear artificial.

Styling Versatility

Human hair extensions offer extensive styling versatility. You can use heat styling tools, apply dyes or treatments, and achieve a wide range of hairstyles.

Styling synthetic extensions is more limited. They cannot withstand heat styling, and attempts to do so can damage or melt the fibers.

Durability

With proper care, human hair extensions are highly durable and can last for a year or longer. Regular maintenance is essential to prolong their lifespan.

Synthetic extensions have a shorter lifespan compared to human hair extensions. They may last for a few months with proper care but tend to wear out sooner.

Comfort

Human hair extensions are lightweight and comfortable to wear. They feel natural against the scalp and do not typically cause discomfort.

Synthetic extensions are also lightweight and comfortable, although some individuals may find them slightly less natural-feeling compared to human hair.

Affordability

Human hair extensions are generally more expensive due to their natural origin and quality. They may be a higher initial investment.

Synthetic extensions are more budget-friendly and cost-effective, making them accessible to a wider range of consumers.

Maintenance

Proper maintenance is crucial for human hair extensions to retain their quality. This includes regular washing, conditioning, and styling.

Synthetic extensions require less maintenance since they come pre-styled. However, they should still be washed and cared for to extend their lifespan.

Color Variety

The color variety for human hair extensions is vast, but it may not be as extensive as synthetic options. You can also dye human hair extensions to match your specific shade.

Synthetic extensions offer a wide range of colors and textures, providing creative options for those who enjoy experimenting with different looks.

Types of Hair Extensions

There are several types of hair extensions available in the market, and each type has its own unique features and benefits. Below are some common types of hair extensions:

Clip-in Hair Extensions

Clip-in hair extensions are a popular choice for those who want temporary hair extensions. These extensions are attached to your hair using small clips and can be easily removed whenever you want. Clip-in hair extensions come in various lengths, styles, and colors, making them easy to use for any occasion.

Tape-in Hair Extensions

Tape-in hair extensions are semi-permanent and are applied by attaching a thin strip of adhesive tape to your natural hair. This method is ideal for individuals with thin hair as the tape creates a flat and seamless look. Unlike clip-in extensions, tape-in extensions can last up to six to eight weeks, depending on how well you maintain them.

Sew-In or Weave Hair Extensions

Weave hair extensions are one of the oldest types of hair extensions, and they remain popular today. This extension is achieved by braiding your natural hair into cornrows and sewing wefts of hair onto the braids. Weave hair extensions can last up to three months.

Micro Ring or Micro-Bead Hair Extensions

Micro Ring hair extensions involve attaching small metal rings to your natural hair and then threading a bundle of hair through the ring. The hair is then clamped down on the ring, holding it in place. This method is relatively gentle on your hair, making it ideal for those with fine or thin hair. Micro Ring hair extensions can last up to three to four months.

Fusion or Bonded Hair Extensions

Fusion hair extensions are applied by melting a keratin bond to your natural hair using a heating tool. This method creates a strong and durable bond, making it ideal for people who lead an active lifestyle. However, this method can be expensive and time-consuming.

Comparisons of Hair Extensions

While there are several types of hair extensions available, choosing the right one can be challenging. Below are some comparisons between different types of hair extensions that can help you make an informed decision:

Temporary vs. Semi-Permanent

If you’re looking for temporary extensions for a one-time event or occasion, clip-in extensions are an excellent choice. On the other hand, if you want something more long-lasting, semi-permanent extensions like tape-in, weave, micro ring, or fusion hair extensions are a better option.

Cost

The cost of hair extensions varies depending on the type and quality of hair used. Clip-in hair extensions tend to be the most affordable, while fusion hair extensions are the most expensive.

Maintenance

Maintaining your hair extensions is essential to ensure they look great and last as long as possible. Tape-in hair extensions require minimal maintenance, while weave and micro ring hair extensions need to be tightened every six to eight weeks. Fusion hair extensions take longer to install and require more maintenance.

Advice on Choosing Hair Extensions

Choosing the right type of hair extension can be overwhelming, but here are some tips to help you make an informed decision:

Choose high-quality hair

Invest in high-quality hair extensions as these tend to last longer and look more natural than cheaper alternatives.

Consider your lifestyle

Consider your lifestyle when choosing hair extensions. If you lead an active lifestyle, you may want to opt for a more durable type of extension like fusion hair extensions.

Consult with a professional

Consult with a professional stylist before choosing a type of hair extension, as they can help you choose the best option for your hair type and lifestyle.

Take care of your extensions

To ensure your extensions last as long as possible, follow the manufacturer’s instructions regarding washing, styling, and maintenance.

Choose a reputable supplier

Choose a reputable supplier when purchasing hair extensions to ensure you receive high-quality hair that matches your natural hair color and texture.

FAQs 

  1. Are hair extensions safe to use? Yes, hair extensions are generally safe to use. However, it’s essential to choose a reputable supplier and have them installed by a professional stylist.
  2. Can I style my hair extensions like natural hair? Yes, you can style your hair extensions just like your natural hair. However, avoid using excessive heat or chemicals on them to prolong their lifespan.
  3. How long do hair extensions last? The lifespan of hair extensions varies depending on the type of extension and how well you maintain them. Clip-in extensions can last up to six months, while semi-permanent extensions like tape-in, weave, micro ring, or fusion hair extensions can last up to three to four months with proper care.
  4. Can I color or dye my hair extensions? In most cases, it is not recommended to color or dye your hair extensions yourself. Hair extensions are often pre-treated and colored, so attempting to change the color can result in damage. If you want a different shade, consult with a professional stylist who specializes in working with hair extensions.
  5. Can I swim or exercise with hair extensions? Yes, you can swim and exercise with hair extensions, but it’s important to take some precautions. For swimming, it is best to tie your hair up or wear a swimming cap to prevent tangling. After swimming or exercising, make sure to thoroughly rinse and dry your extensions to prevent any damage or matting.

Final Takeaway

Hair extensions offer a versatile solution for achieving longer and fuller hair. With various types of hair extensions available, you can choose the option that suits your needs and preferences. Whether you opt for clip-in, tape-in, weave, micro ring, or fusion hair extensions, each type has its own advantages and considerations. By considering factors such as cost, maintenance, and lifestyle, you can find the perfect hair extensions to enhance your natural beauty and boost your confidence.