Are you tired of spending time and money at the salon for gel X nail removal? Look no further! We understand how frustrating it can be when your beautiful gel X nails start to chip or lose their shine, but don’t worry, we’ve got you covered with our step-by-step guide on how to remove gel X nails.
what are Gel X Nails?
Gel X Nails are a type of nail extension that are made from a soft gel polish. They are pre-formed and come in a variety of shapes and sizes, making them easy to apply and customize.
They are applied using a system that involves pre-made gel nail extensions. These extensions come in various shapes and sizes, allowing you to customize the look of your nails. The process typically involves preparing the natural nails, applying a base coat, attaching the gel extensions, and then curing them under a UV or LED lamp.
Gel X nails are very durable and can last for up to 6 weeks with proper care.
How to Remove Gel X Nails without damage
While it’s typically recommended to have Gel-X nails removed by a professional nail technician to minimize damage to your natural nails, you can attempt to remove them at home if necessary. Here’s a step-by-step guide on how to remove Gel-X nails at home:
Supplies You’ll Need
- 100% acetone nail polish remover
- Aluminum foil
- Cotton balls or cotton pads
- Nail file or buffer
- Cuticle oil or nail and cuticle conditioner
- Nail clippers (if needed)
Step 1: Tidy Up (Optional)
If your Gel-X nails have grown a lot, you can use nail clippers to trim them down a bit. It’s optional, but it can make the removal process easier.
Step 2: Gently File the Top

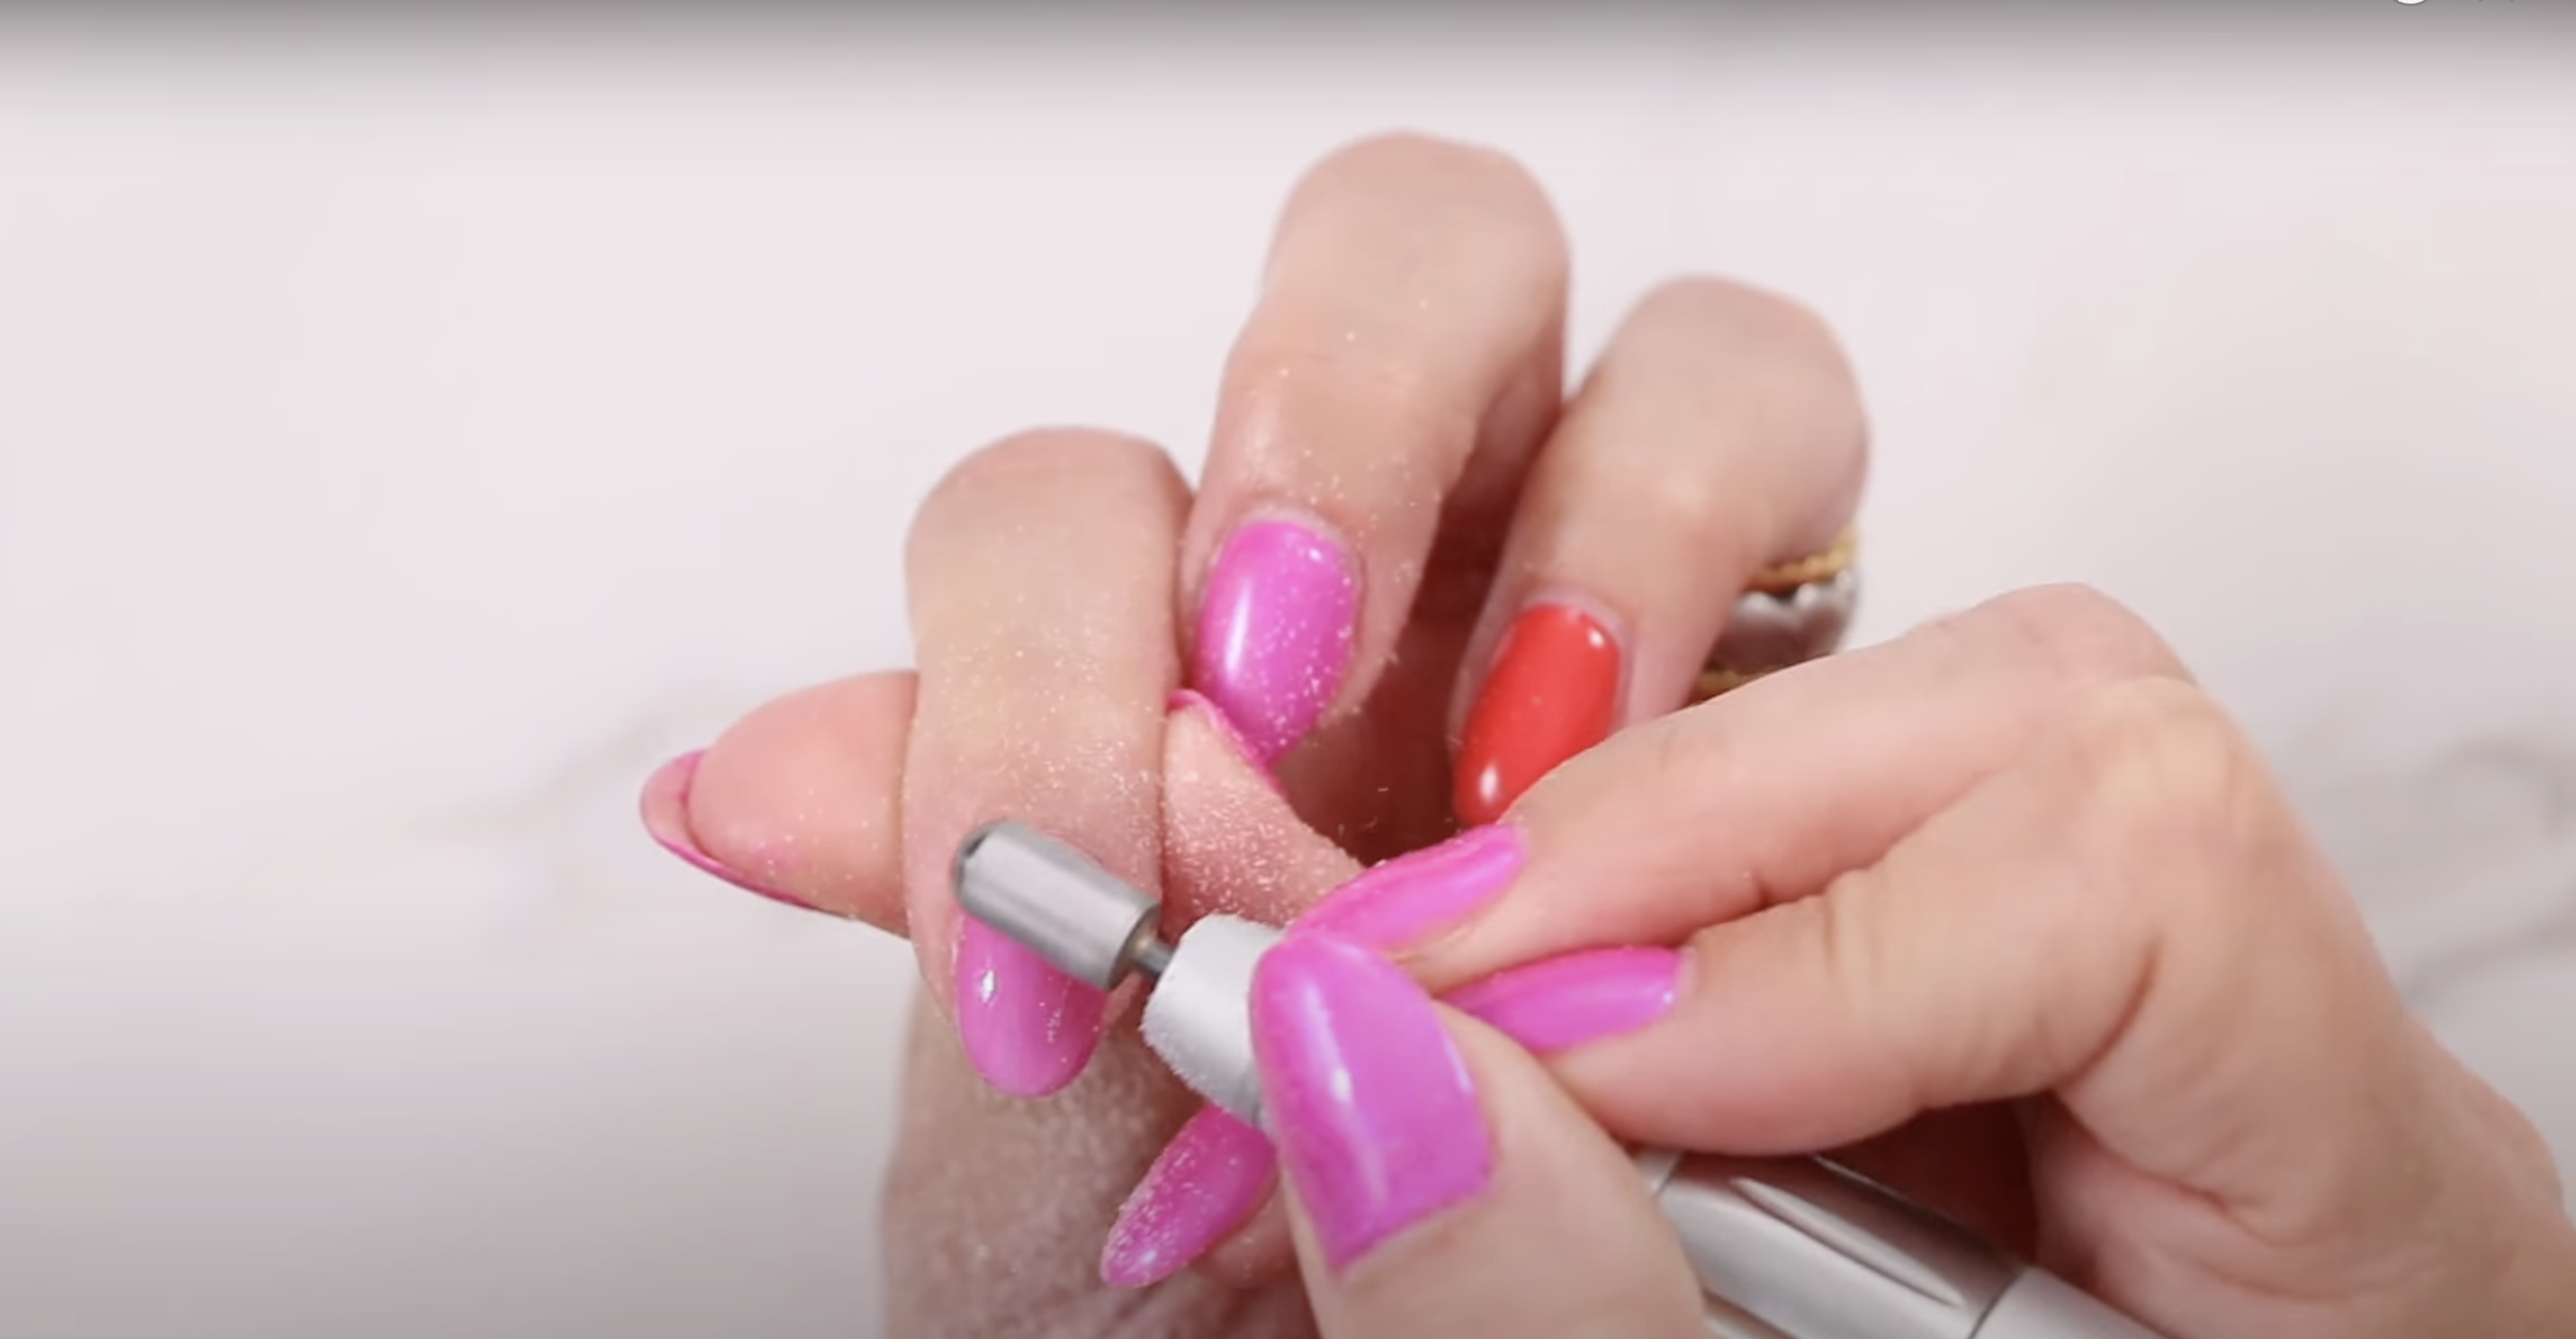
Grab a nail file or buffer and gently file the top coat of your Gel-X nails. This step helps the acetone work its magic. Be gentle, though; we don’t want any damage.
Step 3: Get Your Soak On

Soak some cotton balls or pads in 100% acetone nail polish remover. Each piece should be big enough to cover one nail.
Step 4: Apply the Cotton and Foil
Place one soaked cotton ball or pad on top of a Gel-X nail and wrap a small piece of aluminum foil around it to keep it snug. Repeat this for all your nails.
Step 5: Wait for Soaking
Now, let your nails relax and soak in the acetone for about 15-20 minutes. It’s like a little spa session for your nails!
Step 6: Check and Slide
After soaking, press down gently on the foil-wrapped cotton. Slide it off your nail. The softened gel should come away with it. If there are bits left, use a wooden cuticle stick or a soft nail buffer to gently remove them.
Step 7: Show Some Love
Once you’ve removed your Gel-X nails, wash your hands to get rid of any leftover acetone. Then, show your nails some love by applying a cuticle oil or nail conditioner. Acetone can be a bit drying, so this helps keep your nails happy.
Step 8: Nail Check
Take a moment to admire your natural nails. Make sure they’re feeling strong and healthy. If you’re worried about anything, don’t hesitate to consult a professional nail technician for advice.
how to take off gel-x nails without acetone
Acetone is the most effective way to remove gel X nails, but if you don’t have any on hand, there are a few alternatives you can try. One option is to use a non-acetone nail polish remover, although this may take longer and be less effective than using acetone. You can also try soaking your nails in warm water mixed with a bit of dish soap, which can help loosen the gel X.
- File the top coat of your Gel X nails to break the seal.
- Soak your nails in warm water for 10-15 minutes.
- Use a wooden orange stick or cuticle pusher to gently pry up the Gel X nails from your natural nails.
- If the Gel X nails do not come off easily, soak your nails in warm water for a longer period of time or try using a different tool, such as a metal cuticle pusher.
- Once the Gel X nails have been removed, buff your natural nails to remove any remaining gel residue.
- Apply a moisturizer or cuticle oil to your nails and hands.
Tips and Advice for Removing Gel X Nails
- Be patient: Removing gel X nails can take time, especially if you have multiple layers to remove. Don’t rush the process, as this can damage your natural nails.
- Don’t pick at your nails: It can be tempting to try to peel off the gel X, but this can cause damage to your natural nails. Instead, follow the proper removal process.
- Moisturize your nails: Acetone can be drying to your nails and cuticles, so make sure to apply cuticle oil after removing your gel X nails.
- Don’t forget the prep: Buffing the surface of your nails before soaking them can help the acetone penetrate the gel more easily, making the removal process smoother.
FAQs
- How often should I remove my gel X nails? It’s recommended to remove your gel X nails every three weeks to prevent damage to your natural nails. Leaving them on for too long can cause them to grow out and lift, which can lead to breakage and infection.
- Can I reuse the aluminum foil for gel X nail removal? While it may be tempting to reuse the aluminum foil, it’s best to use fresh pieces each time you remove your gel X nails. This will ensure that the acetone is able to penetrate the gel properly, resulting in an easier removal process.
- Will removing gel X nails damage my natural nails? If done properly, removing gel X nails should not damage your natural nails. However, if you peel or pick at the gel X, or if you don’t follow the proper removal process, you can cause damage to your nails. Make sure to be gentle and patient during the removal process.
- Can I paint my nails right after removing gel X nails? Yes, you can paint your nails right after removing gel X nails. Just make sure to clean your nails thoroughly to remove any remaining acetone or debris before applying new polish.
Final Takeaway
Removing gel X nails at home is a simple and cost-effective process that anyone can do. By following our step-by-step guide and tips, you can easily remove your gel X nails without damaging your natural nails. Remember to be patient, moisturize your nails, and follow the proper removal process for the best results. With these tips, you can enjoy a fresh new manicure in no time!


