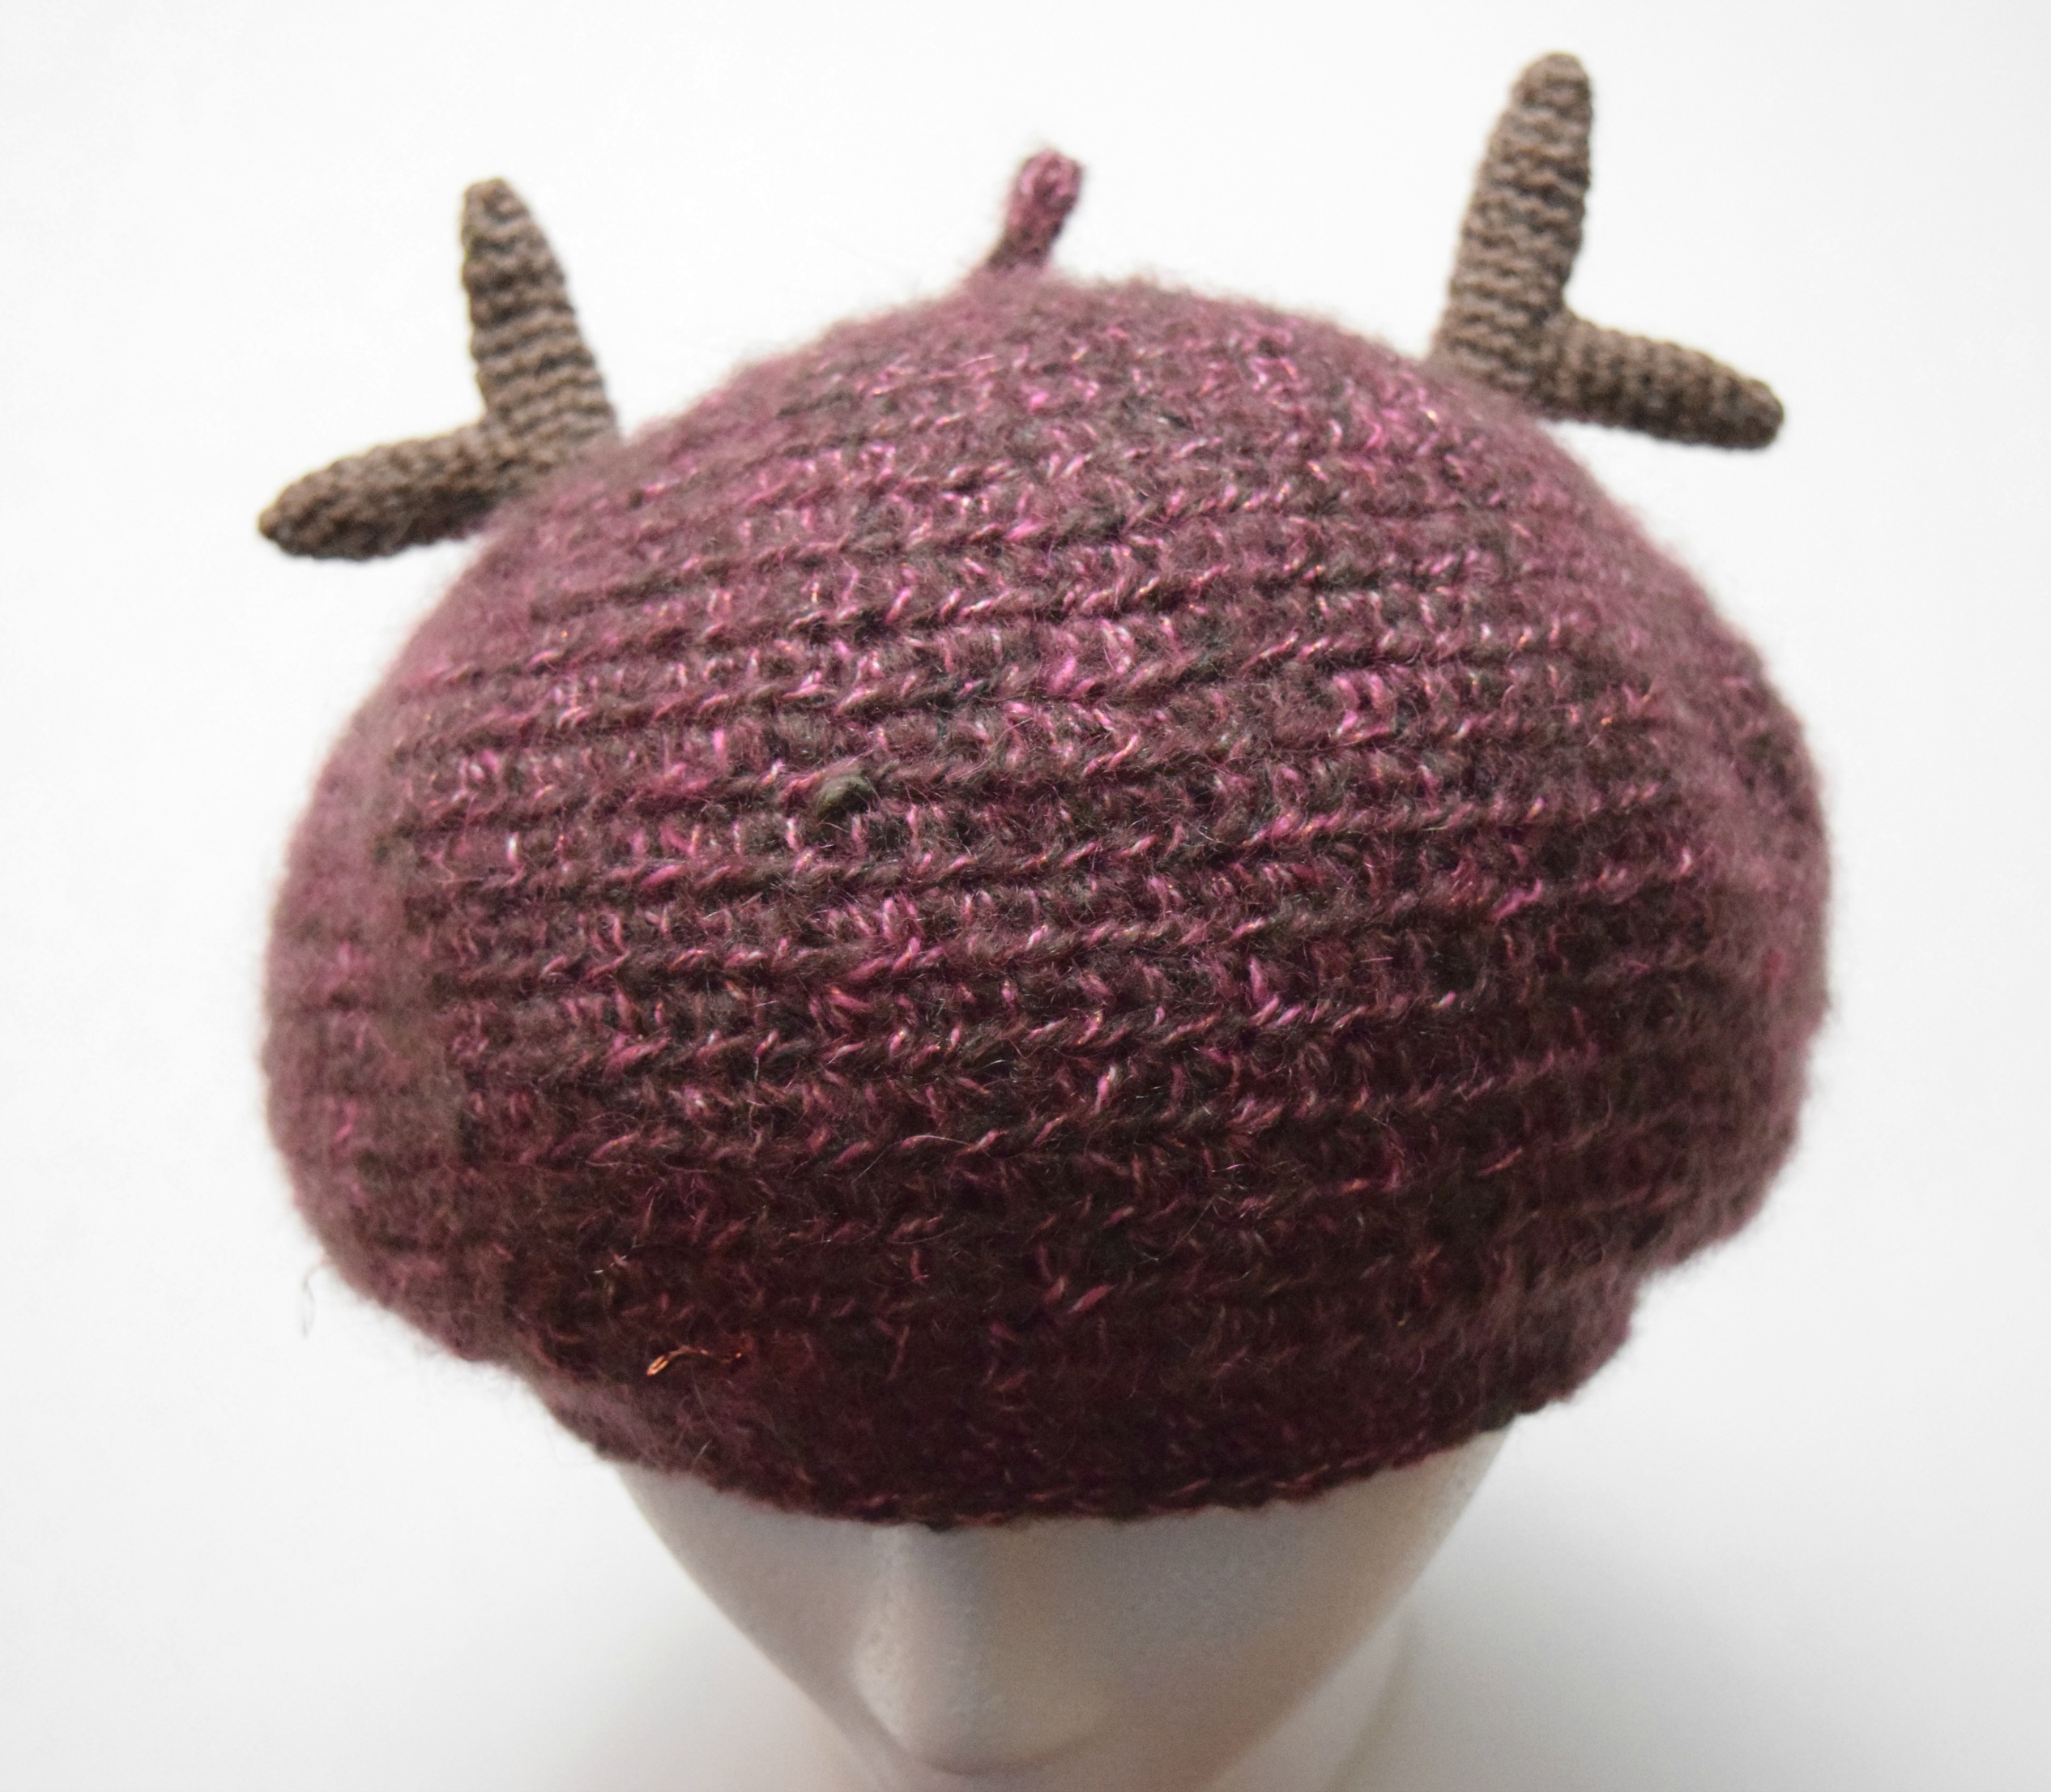
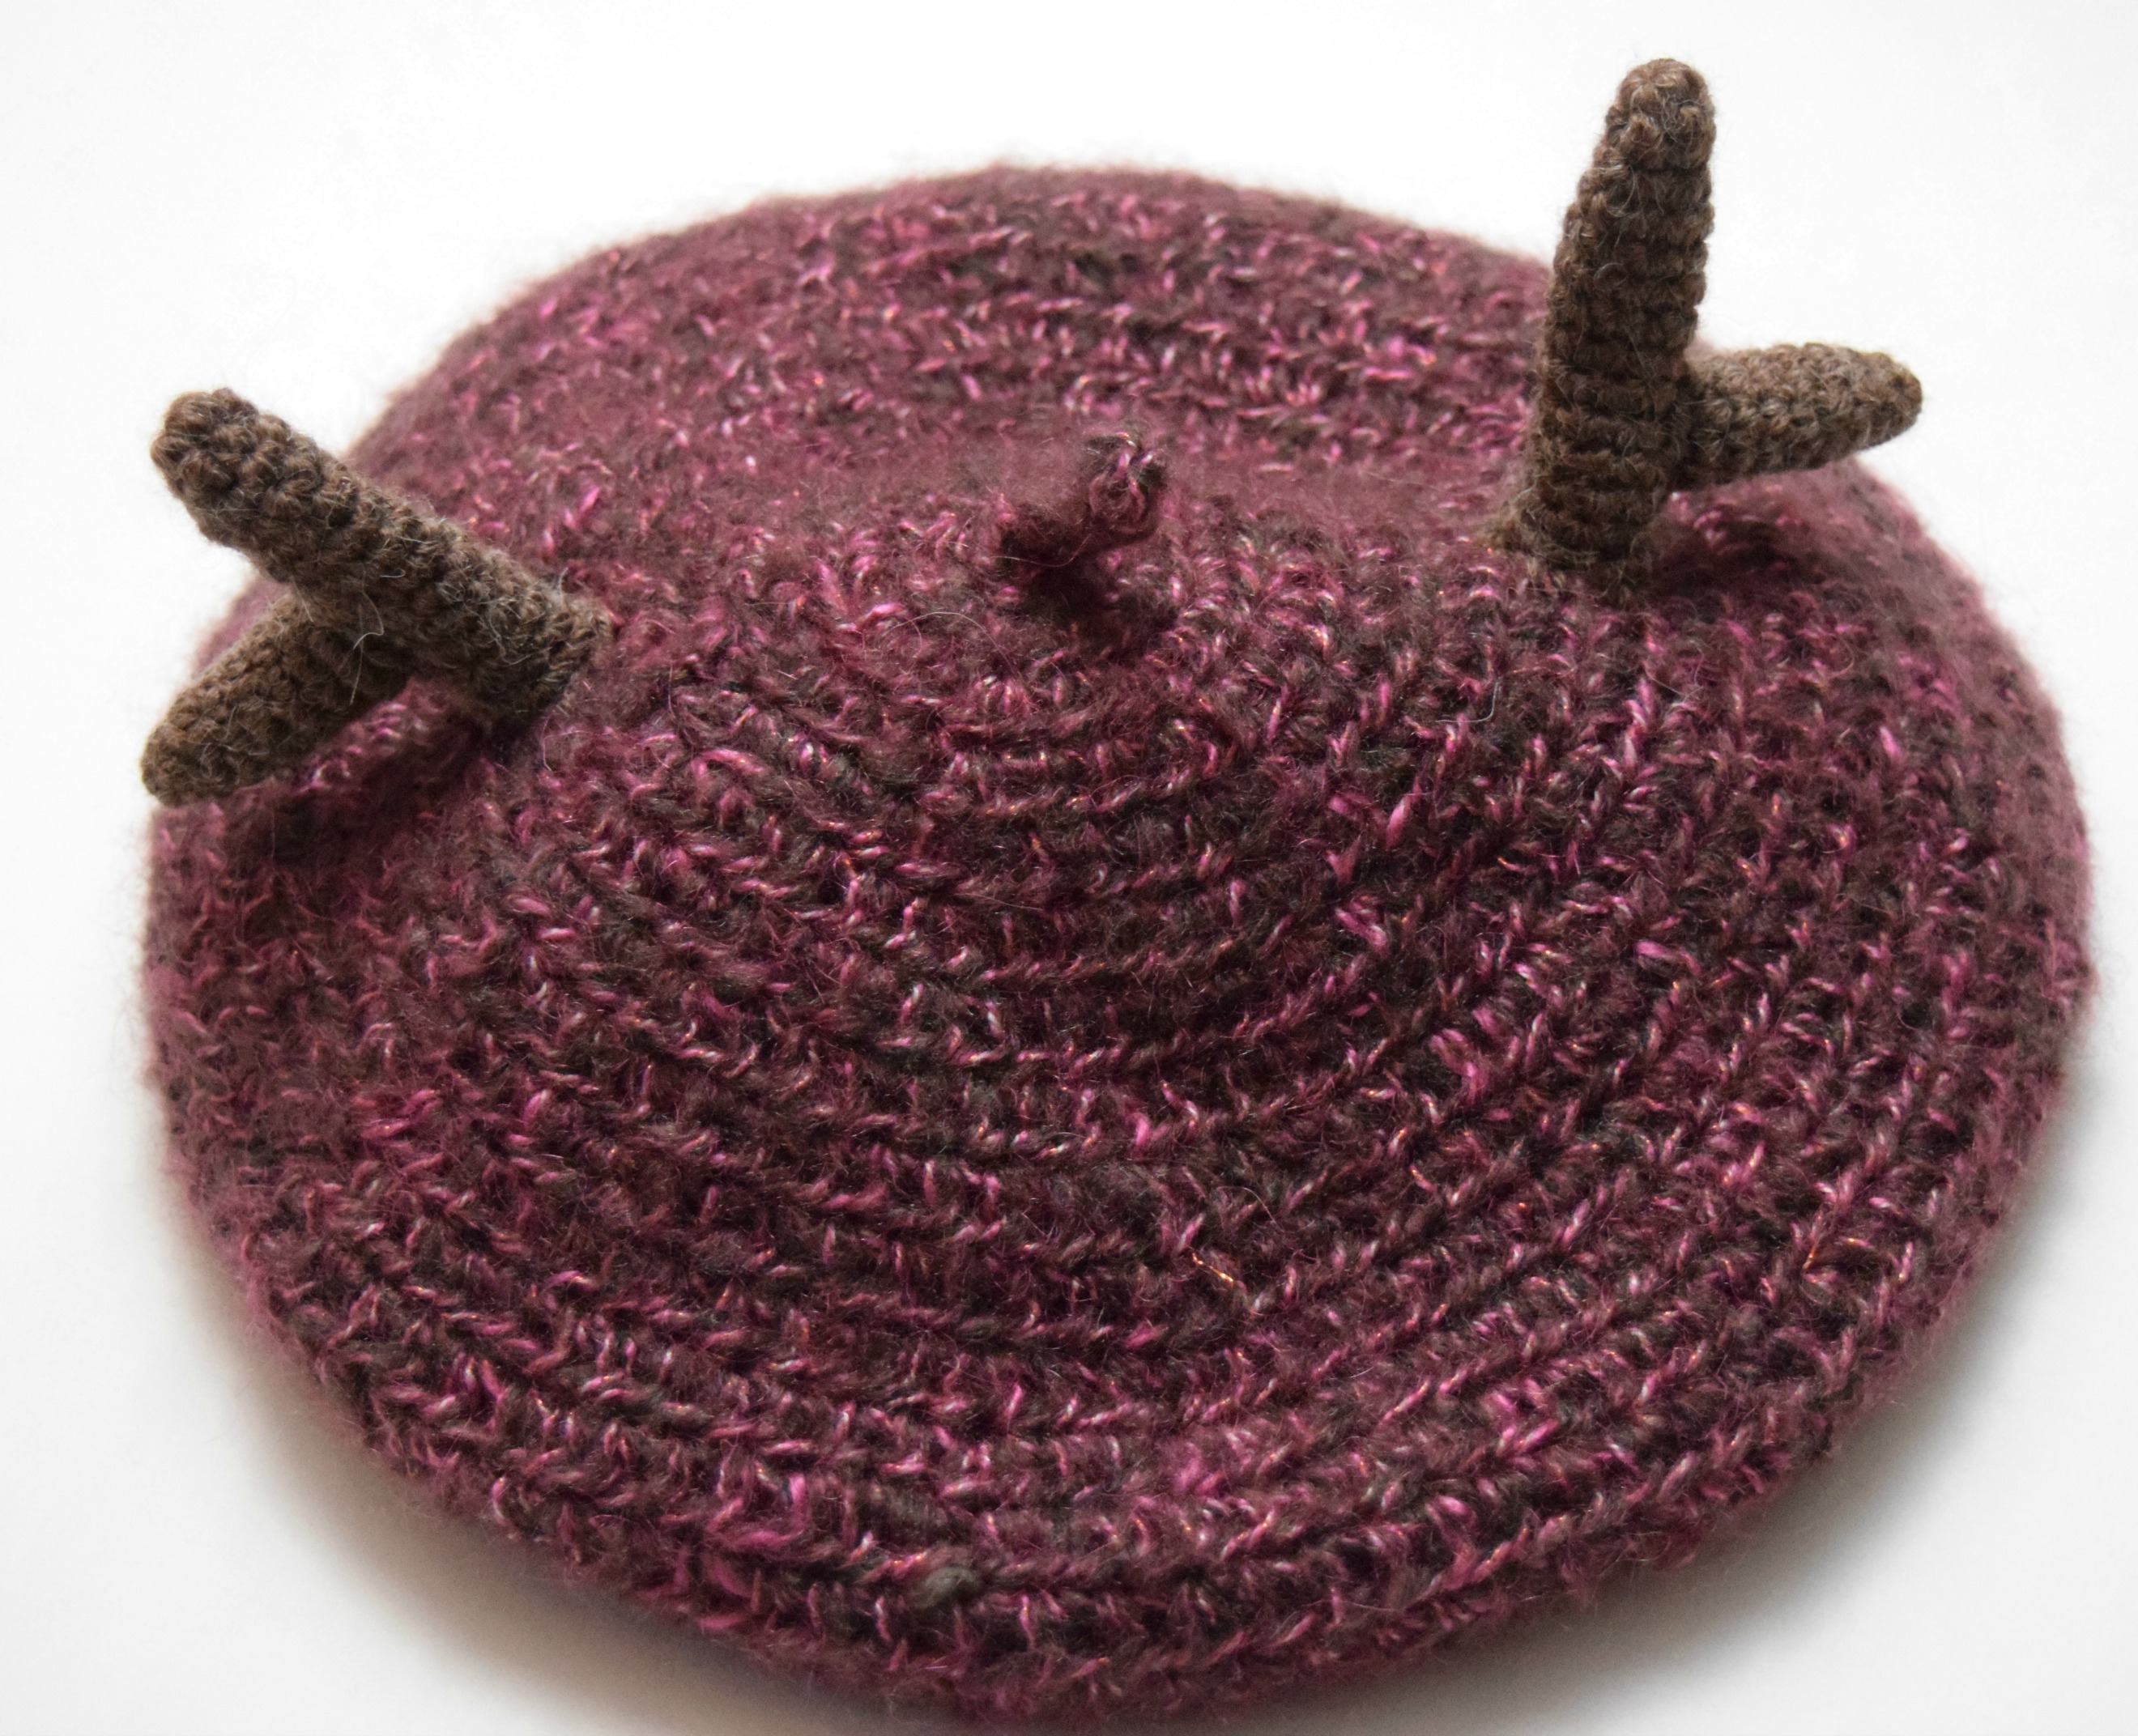
Looking for a whimsical and cozy crochet project? The Forest Girl Beret is the perfect choice! This adorable beret features a charming woodland creature design, making it a must-have for nature lovers and those who appreciate unique crochet accessories.
Materials
- 5.00 mm hook, 3.50 mm hook
- 1 skein Buttercream Mohair Metallic (#5 Bulky, 3.5 oz, 188 yds)
- 30-40 yds brown DK weight yarn for antlers (Worsted weight is fine, too)
- Tapestry needle
- Size 5 knitting DPNs (optional)
- Gauge: 7 sts & 5 rows = 2” in hd
Notes: The Ch 2 at the beginning of each round does not count as the first stitch.
Instructions
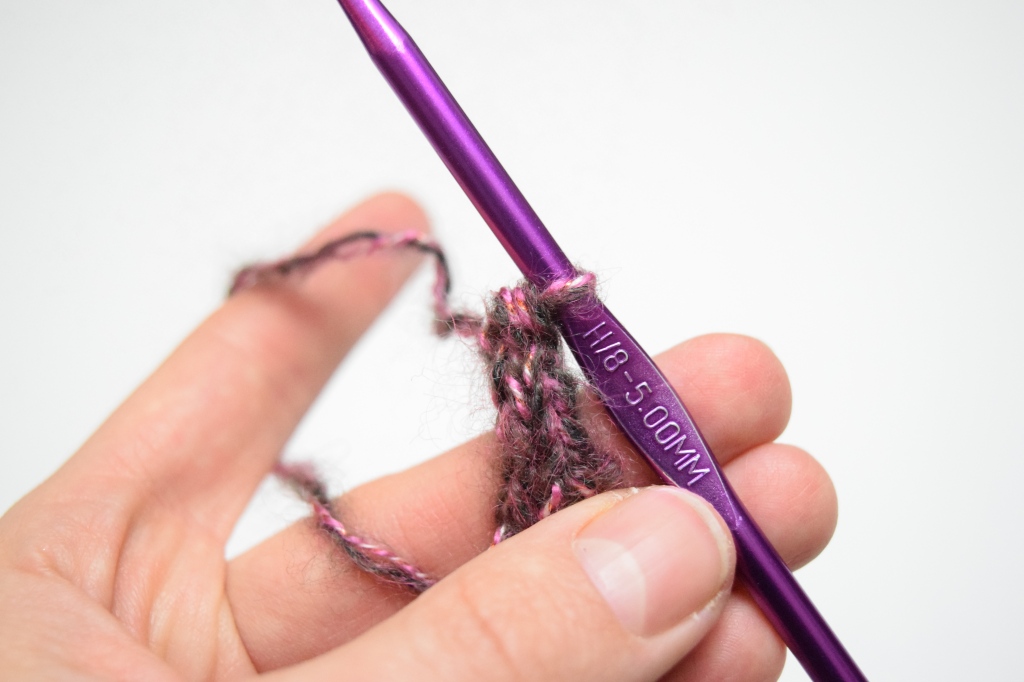
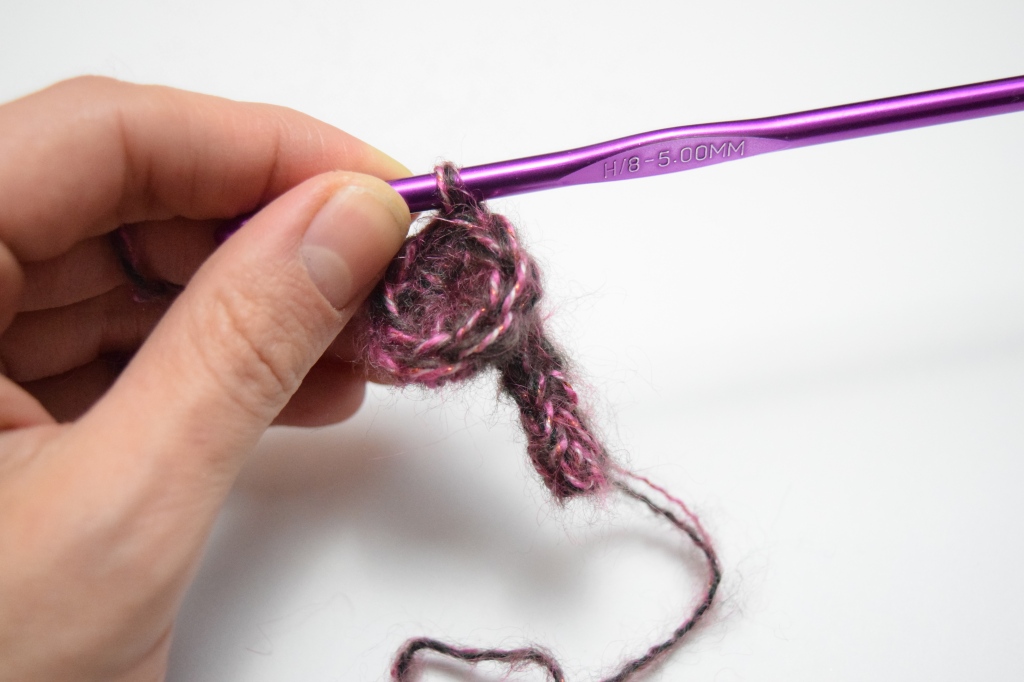
First, create a 6-row I-Cord using either the knitting method or the crochet I-Cord technique. (Planet June offers a great tutorial for the crochet version). On the sixth row, transfer all three stitches (if knitting) onto your 5.00 mm crochet hook.
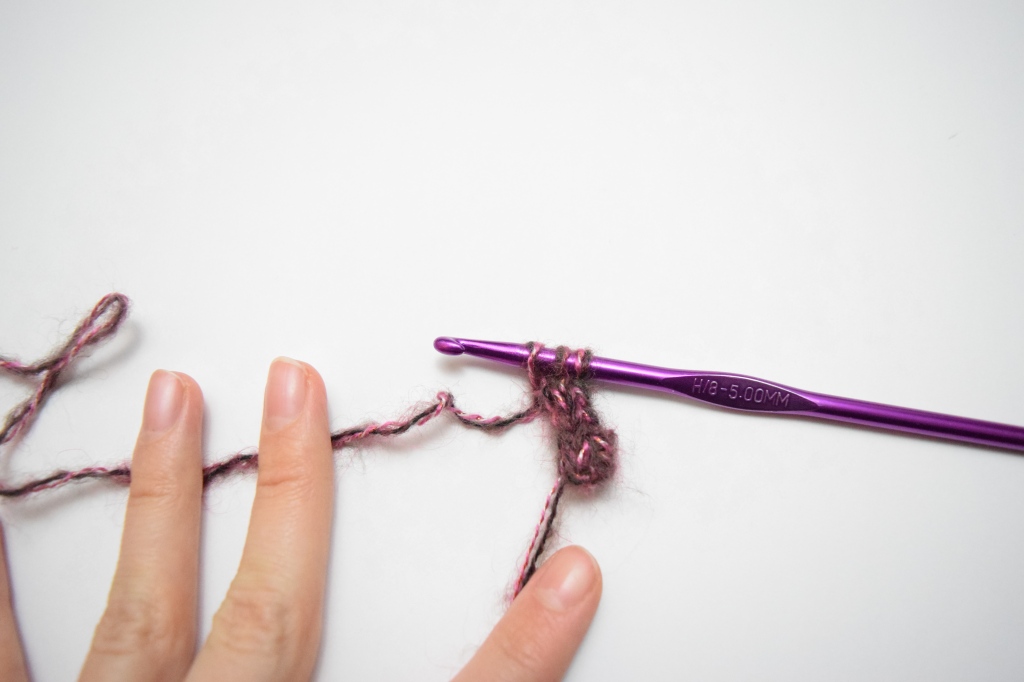
Take the loop closest to the tip of your hook and pull it through the other two loops, leaving just one loop remaining on your hook.
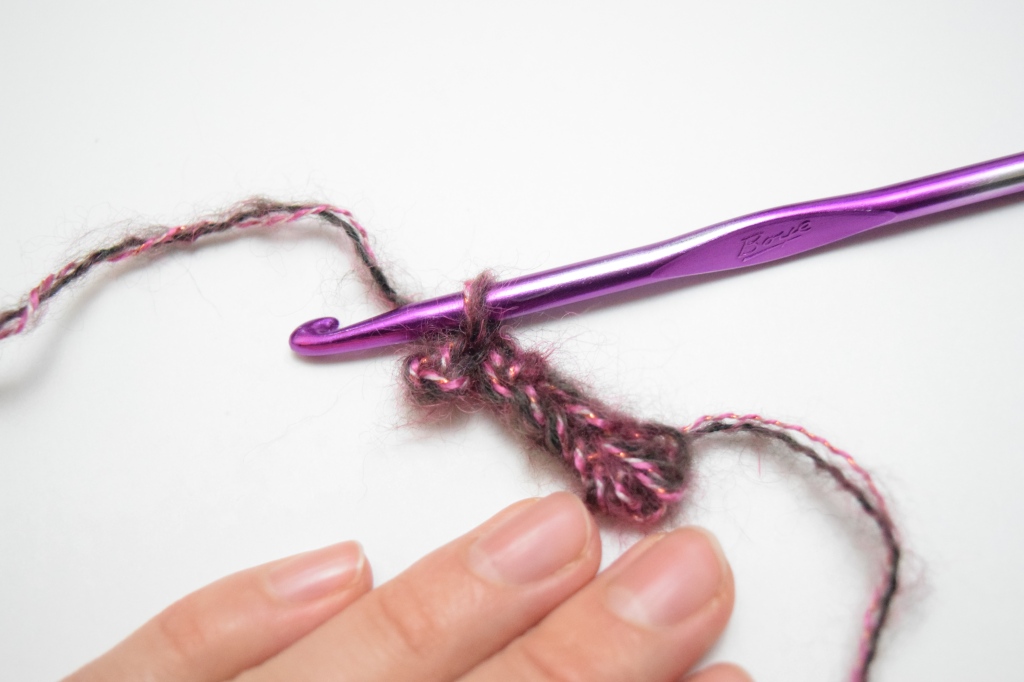
Round 1: Chain 3 and join with a slip stitch to the first chain to form a ring. This creates a ring attached to the base of the I-Cord. With the I-Cord positioned at the back, chain 2 and work 8 half double crochet (hdc) stitches into the ring. Then, join with a slip stitch to the first hdc (note that this is NOT the beginning chain-2). You will end up with a circle of 8 hdc stitches, with the I-Cord off-center from the beginning ring, resting on the wrong side of your work. It will remain in this position until we center it later.
Round 2: Chain 2 and work 2 half double crochet (hdc) into the same stitch. Then, (2 hdc in the next stitch) 7 times. Join with a slip stitch. You will have 16 stitches.
Round 3: Chain 2, hdc into the same stitch, then work 2 hdc in the next stitch. Next, (1 hdc in the next stitch, 2 hdc in the following stitch) 7 times. Join with a slip stitch. You will have 24 stitches.
Round 4: Chain 2, work 1 hdc in the same stitch and in the next stitch. Then, work 2 hdc in the following stitch. Next, (1 hdc in each of the next 2 stitches, 2 hdc in the next stitch) 7 times. Join with a slip stitch. You will have 32 stitches.
Round 5: Chain 2, work 1 hdc in the same stitch and in each of the next 2 stitches. Then, work 2 hdc in the following stitch. Next, (1 hdc in each of the next 3 stitches, 2 hdc in the next stitch) 7 times. Join with a slip stitch. You will have 40 stitches.
Round 6: Chain 2, work 1 hdc in the same stitch and in each of the next 3 stitches. Then, work 2 hdc in the following stitch. Next, (1 hdc in each of the next 4 stitches, 2 hdc in the next stitch) 7 times. Join with a slip stitch. You will have 48 stitches.
Round 7: Chain 2, work 1 hdc in the same stitch and in each of the next 4 stitches. Then, work 2 hdc in the following stitch. Next, (1 hdc in each of the next 5 stitches, 2 hdc in the next stitch) 7 times. Join with a slip stitch. You will have 56 stitches.
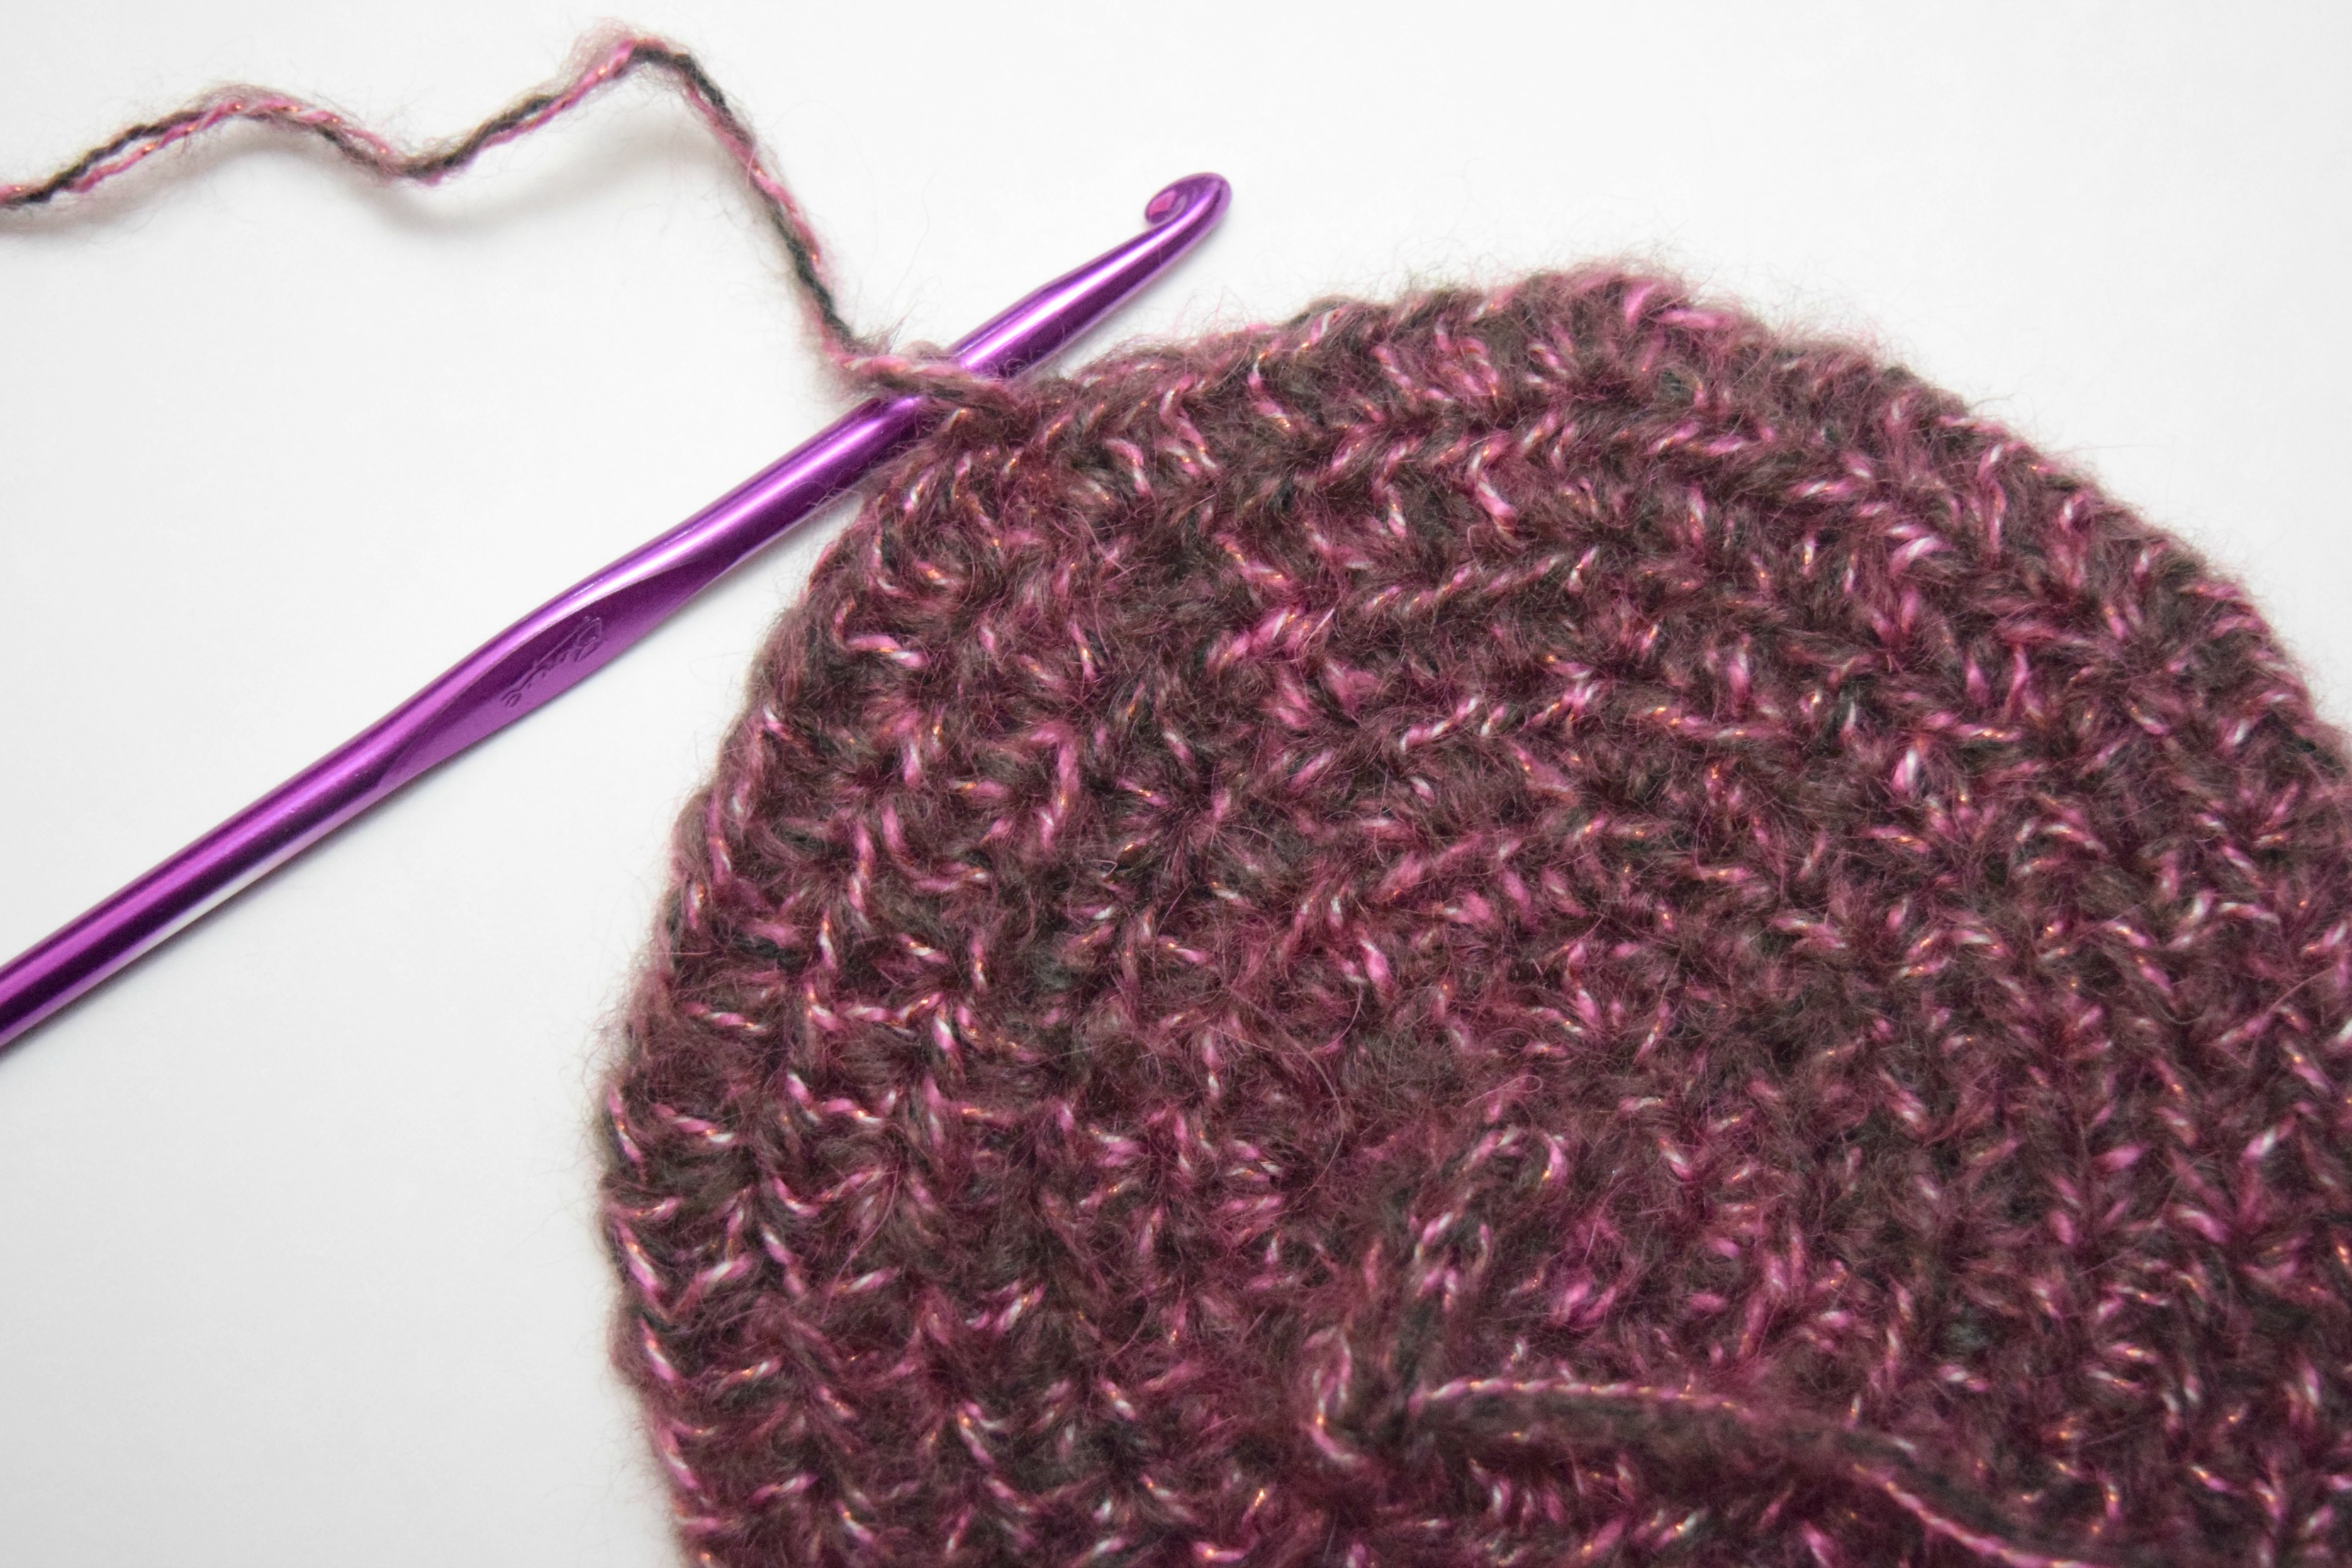
At this stage, your circular pattern is likely starting to show points at the increases. To maintain a smooth, rounded shape, the next round will offset the increases, while keeping the total number of increases the same.
Round 8: Chain 2 and work 1 half double crochet (hdc) in the same stitch and in each of the next 2 stitches. Then, work 2 hdc in the next stitch. Next, (1 hdc in each of the next 6 stitches, 2 hdc in the following stitch) 7 times. After that, work 1 hdc in each of the next 3 stitches. Join with a slip stitch. You will have 64 stitches.
Round 9: Chain 2 and work 1 hdc in the same stitch and in each of the next 3 stitches. Then, work 2 hdc in the next stitch. Next, (1 hdc in each of the next 7 stitches, 2 hdc in the following stitch) 7 times. After that, work 1 hdc in each of the next 3 stitches. Join with a slip stitch. You will have 72 stitches.
Round 10: Chain 2 and work 1 half double crochet (hdc) in the same stitch and in each of the next 4 stitches. Then, work 2 hdc in the next stitch. Next, (1 hdc in each of the next 8 stitches, 2 hdc in the following stitch) 7 times. After that, work 1 hdc in each of the next 3 stitches. Join with a slip stitch. You will have 80 stitches.
In the next round, we will offset the increases again.
Round 11: Chain 2 and work 1 hdc in the same stitch and in each of the next 8 stitches. Then, work 2 hdc in the next stitch. Next, (1 hdc in each of the next 9 stitches, 2 hdc in the following stitch) 7 times. Join with a slip stitch. You will have 88 stitches.
Round 12: Chain 2 and work 1 hdc in the same stitch and in each of the next 9 stitches. Then, work 2 hdc in the next stitch. Next, (1 hdc in each of the next 10 stitches, 2 hdc in the following stitch) 7 times. Join with a slip stitch. You will have 96 stitches.
Rounds 13-16: Chain 2 and work 1 hdc in the same stitch and in each of the next 95 stitches. Join with a slip stitch. You will have 96 stitches.
Round 17: Chain 2 and work 1 hdc in the same stitch and in each of the next 9 stitches. Then, work a hdc2tog over the next 2 stitches. Next, (1 hdc in each of the next 10 stitches, hdc2tog over the next 2 stitches) 7 times. You will have 88 stitches.
Rounds 18-20: Chain 2 and work 1 hdc in the same stitch and in each of the next 87 stitches. You will have 88 stitches.
Round 21: Chain 2 and work 1 hdc in the same stitch and in each of the next 3 stitches. Then, work a hdc2tog over the next 2 stitches. Next, (1 hdc in each of the next 3 stitches, hdc2tog over the next 2 stitches, 1 hdc in each of the next 4 stitches, hdc2tog over the next 2 stitches) 7 times. Finally, work 1 hdc in each of the next 3 stitches, and hdc2tog over the next 2 stitches. Join with a slip stitch. You will have 72 stitches.
Round 22: Chain 2 and work 1 hdc in the same stitch and in each of the next 6 stitches. Then, work a hdc2tog over the next 2 stitches. Next, (1 hdc in each of the next 7 stitches, hdc2tog over the next 2 stitches) around. You will have 64 stitches.
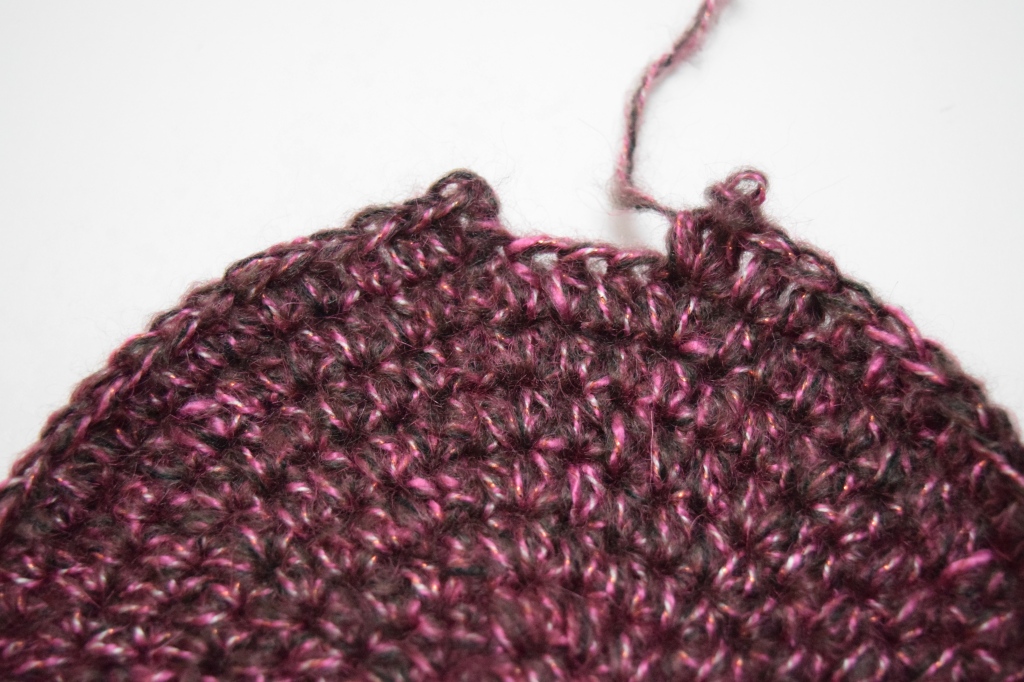
The next round begins with a turn, working with the wrong side (WS) facing. The rest of the hat will be worked from this side.
Round 23: Chain 1, turn. Work 1 single crochet (sc) in the same stitch and in each of the next 63 stitches. Join with a slip stitch. You will have 64 stitches.
Rounds 24-25: Chain 1, sc in the same stitch and in each of the next 63 stitches. Join with a slip stitch. You will have 64 stitches.
Round 26: Work a loose slip stitch in the next stitch and in each of the remaining 63 stitches. Try on the hat to check the fit. If the slip stitching makes the brim too tight, you can skip this round. Cut the yarn and tie off.
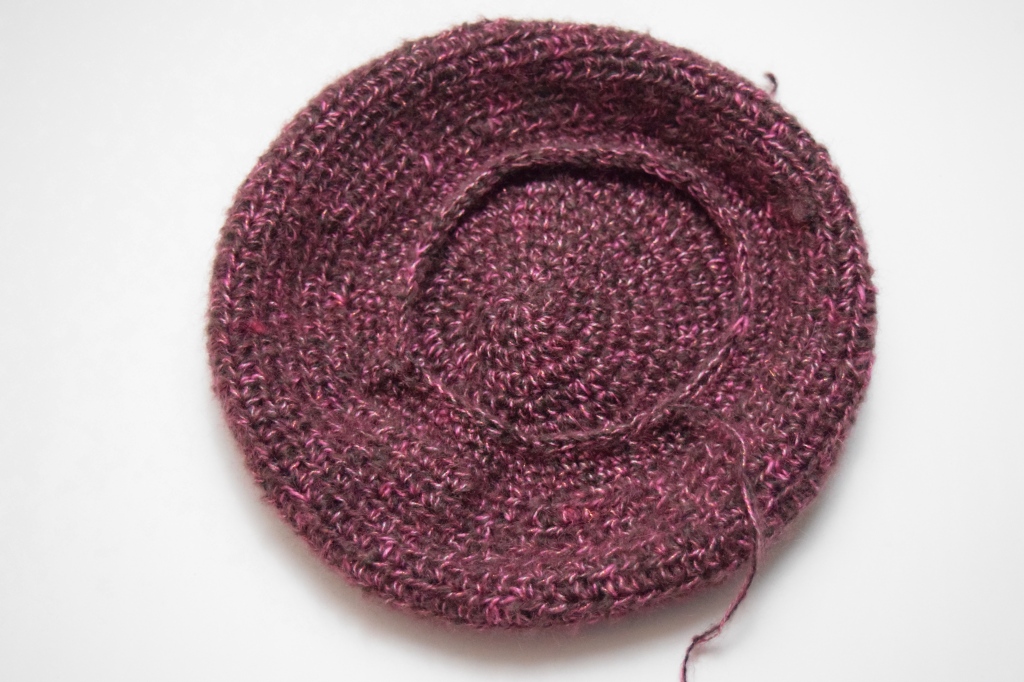
This hat is designed to use the wrong side of the piece as the outside surface, so ensure that the wrong side is facing out before weaving in all your ends!
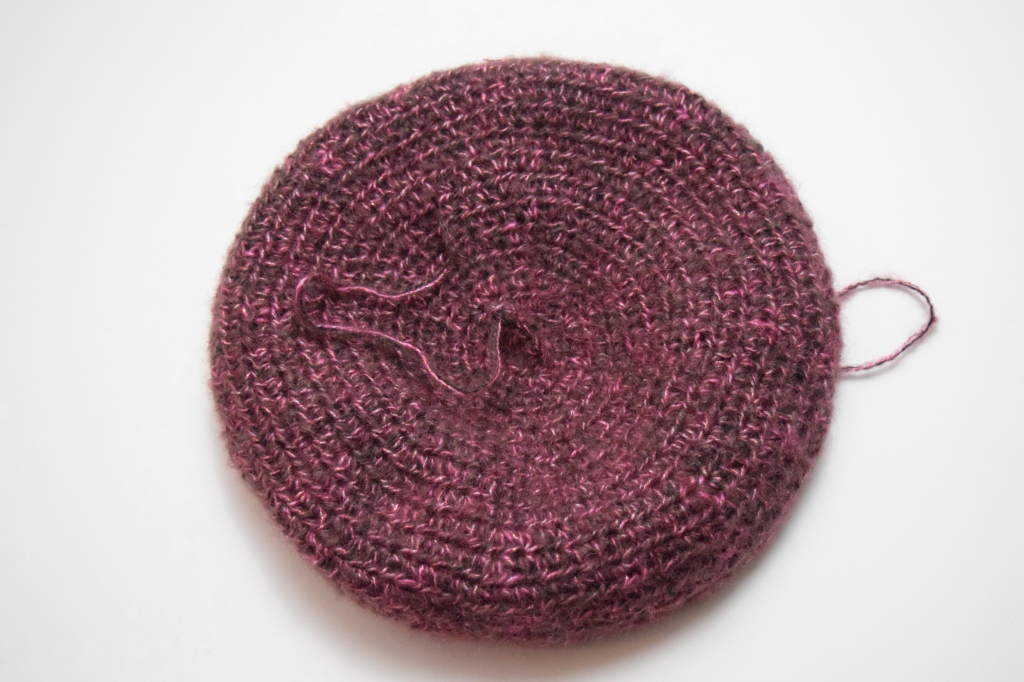
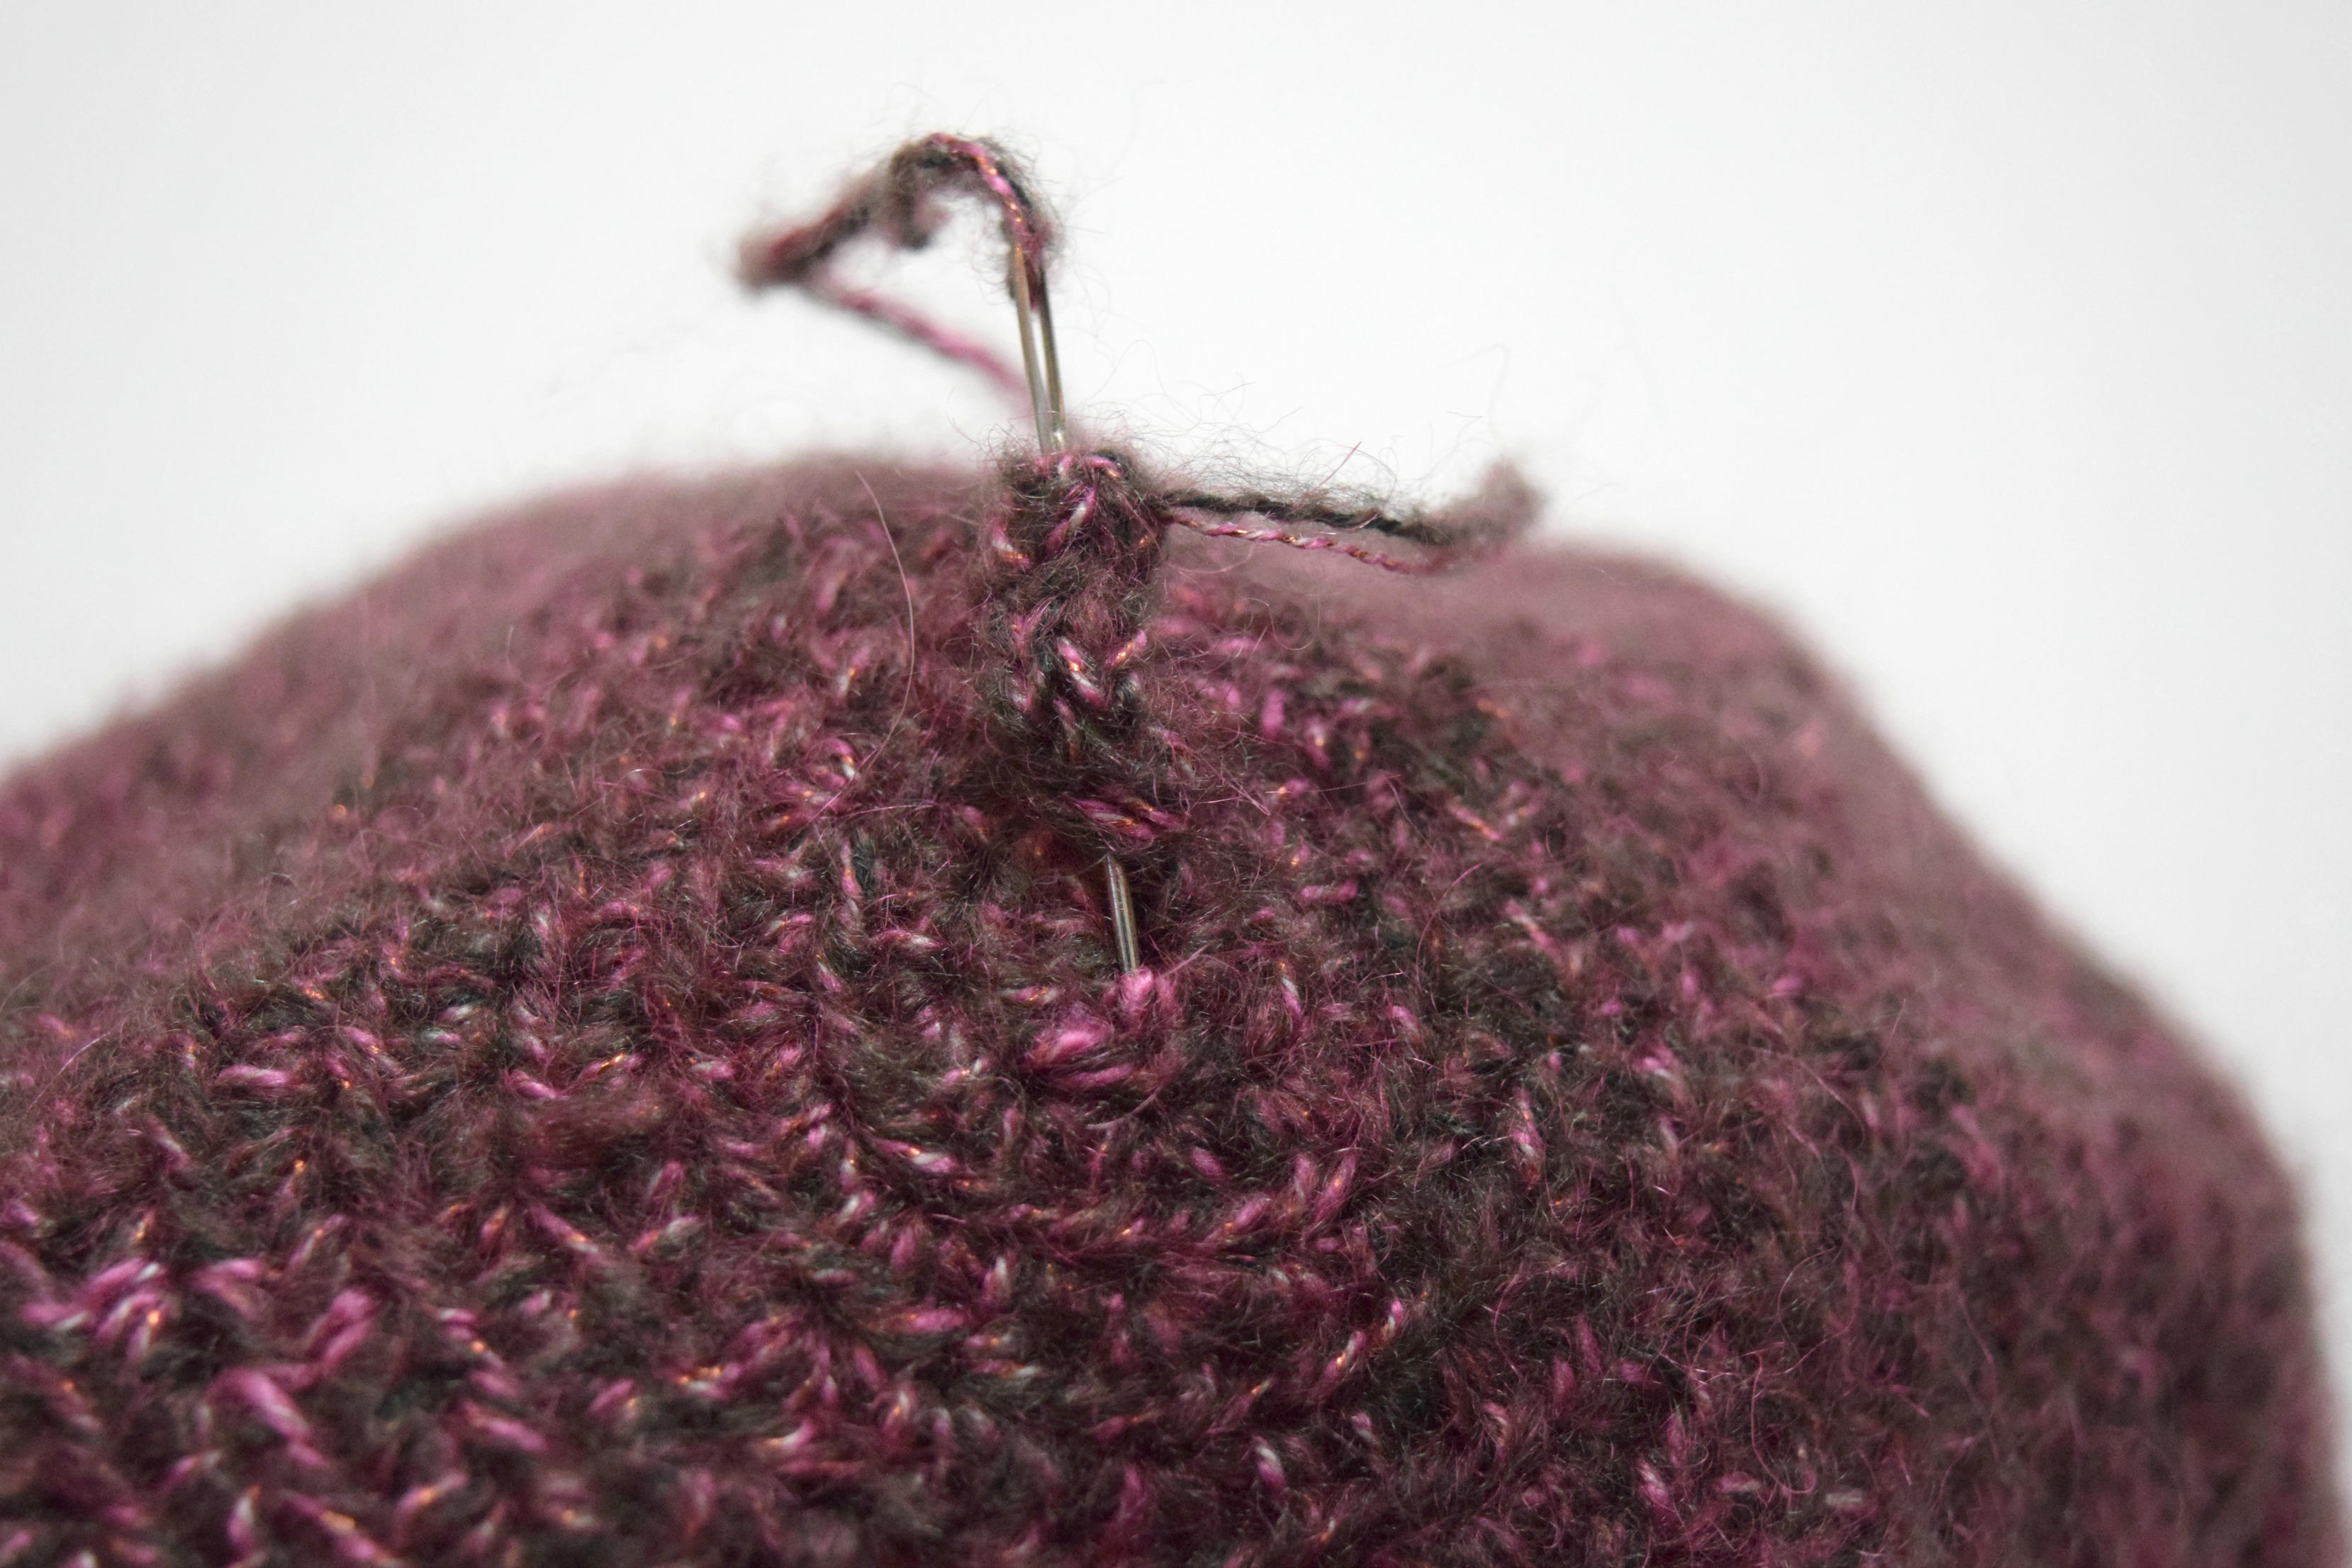
Thread your yarn needle with the yarn tail from the i-cord.
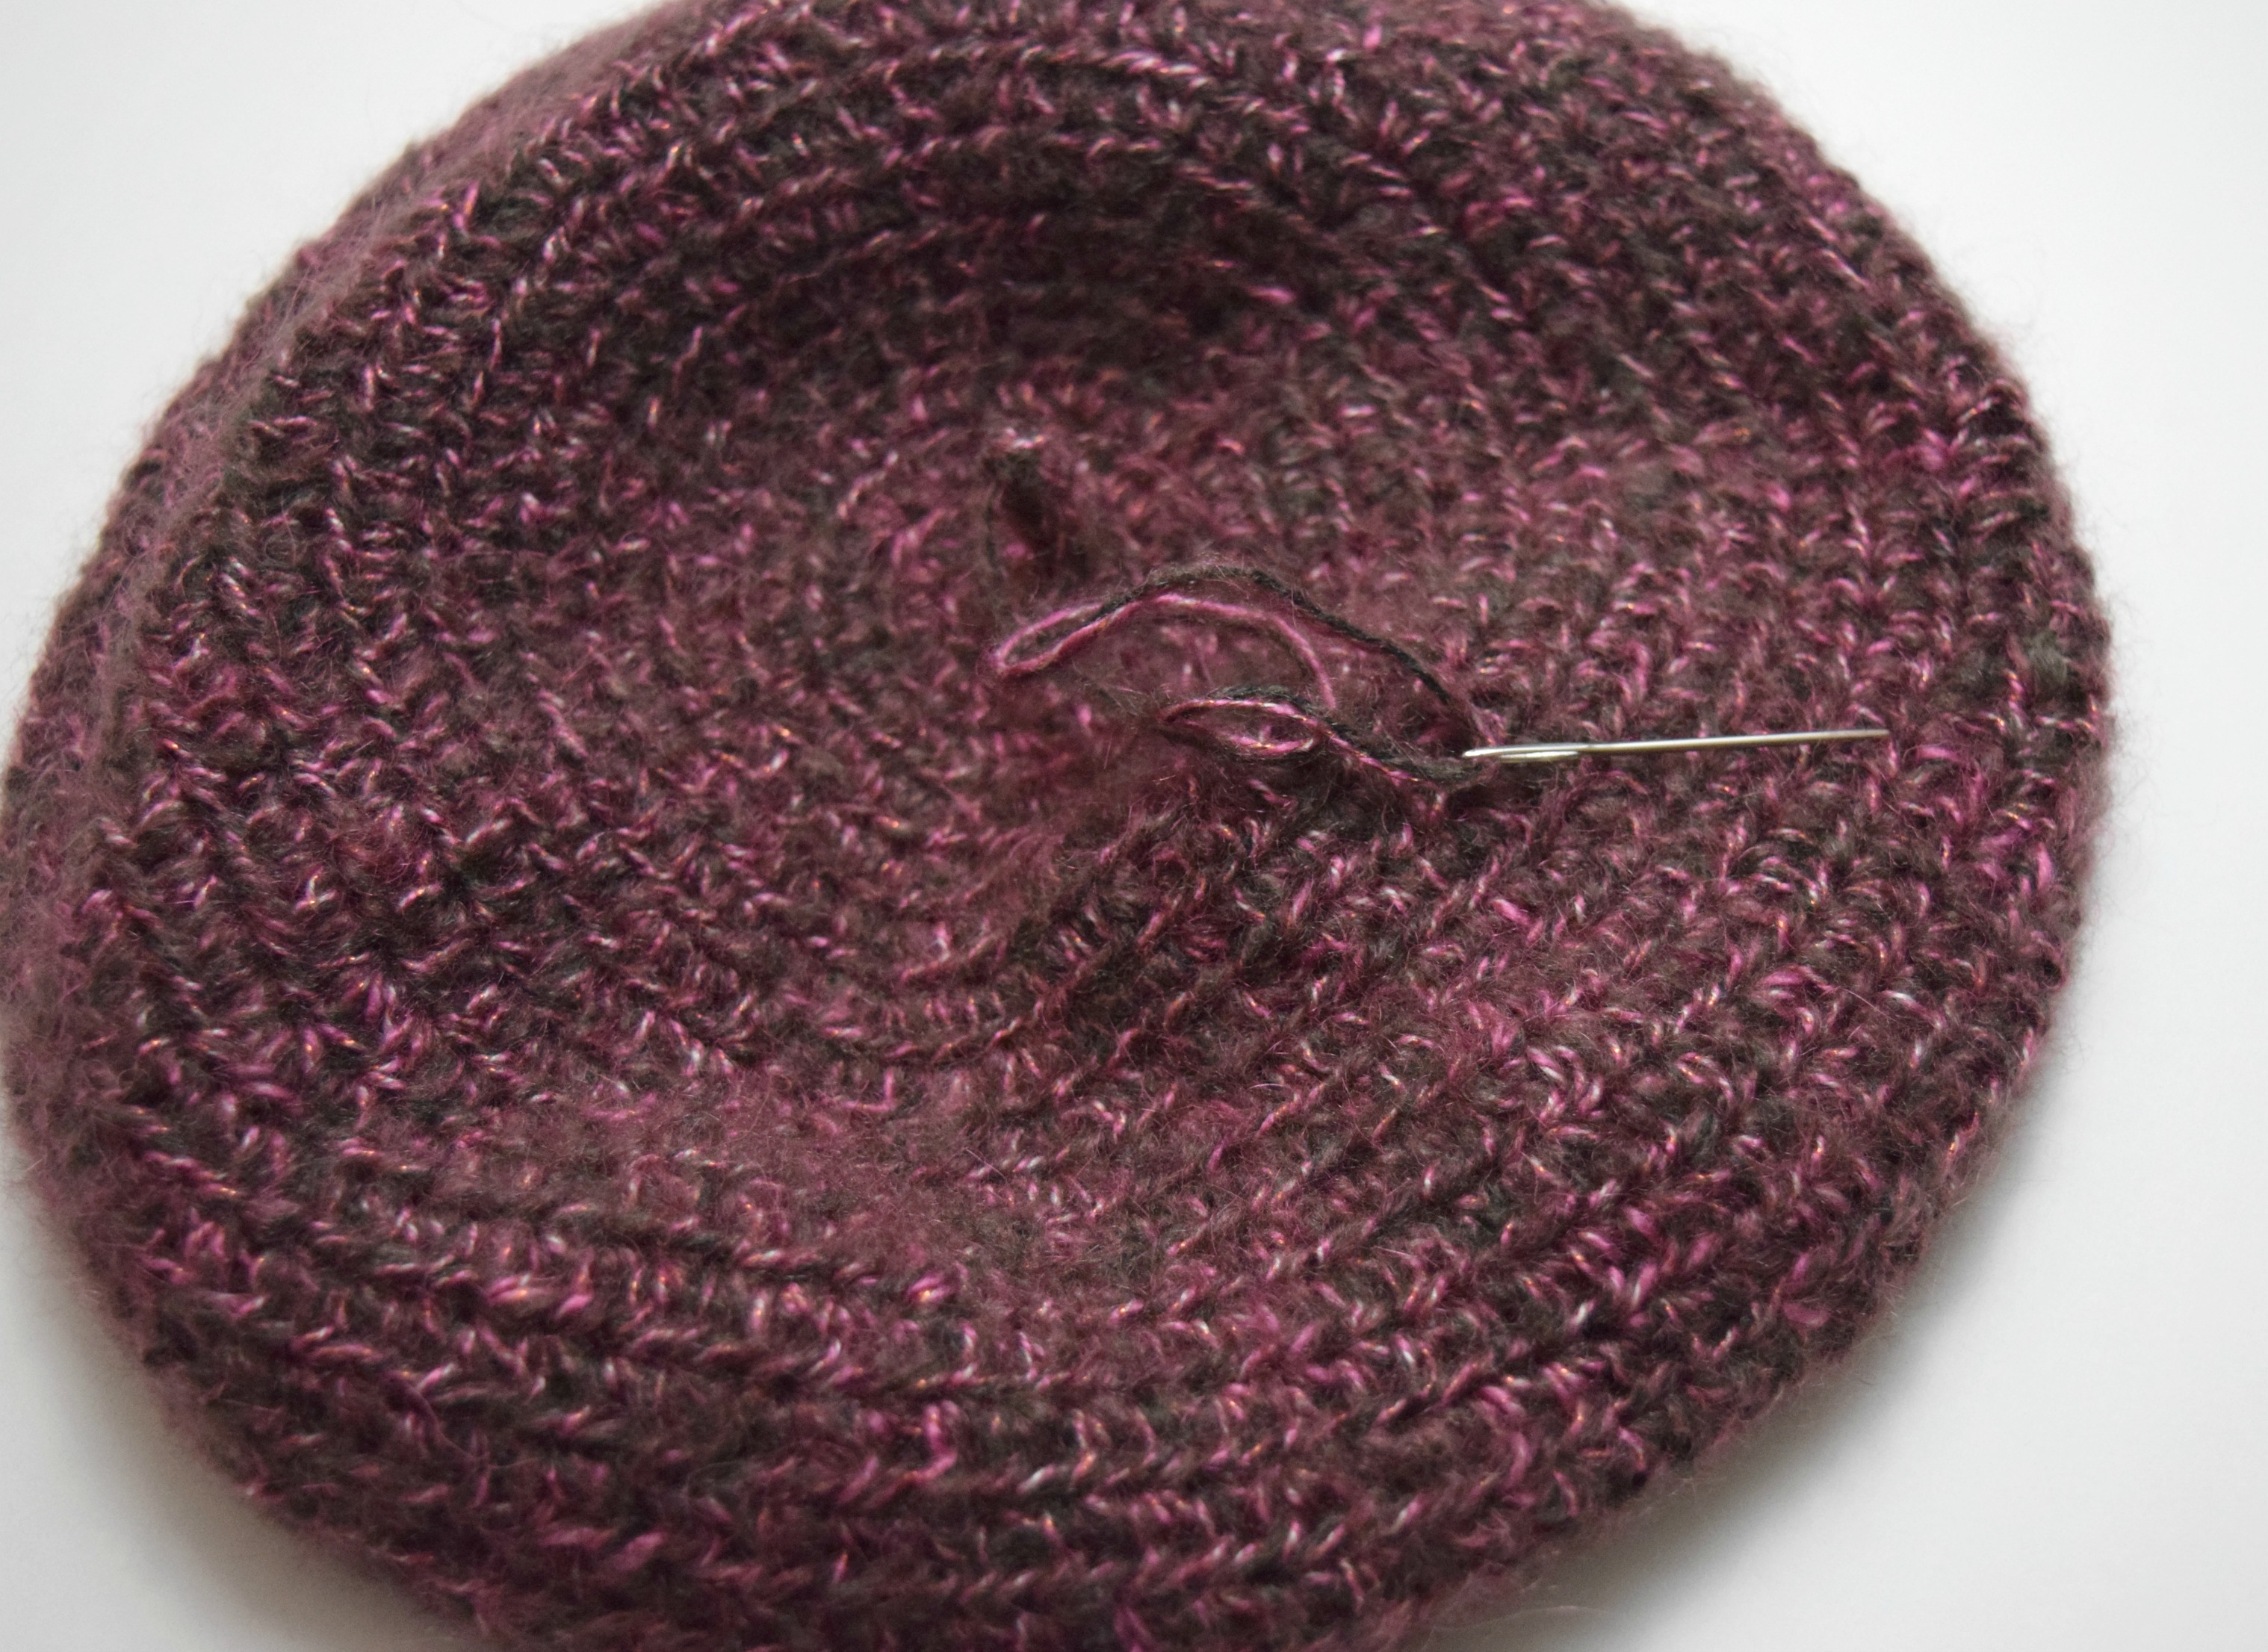
Slip the needle end down through the i-cord and then through the opposite side of the starting ring to center the i-cord over the middle of the ring. Adjust your yarn tension so that the i-cord can stretch out fully and appear natural. Weave in the remaining yarn tail and all other ends.
Antlers
Using a 3.50 mm Hook and DK Weight Yarn
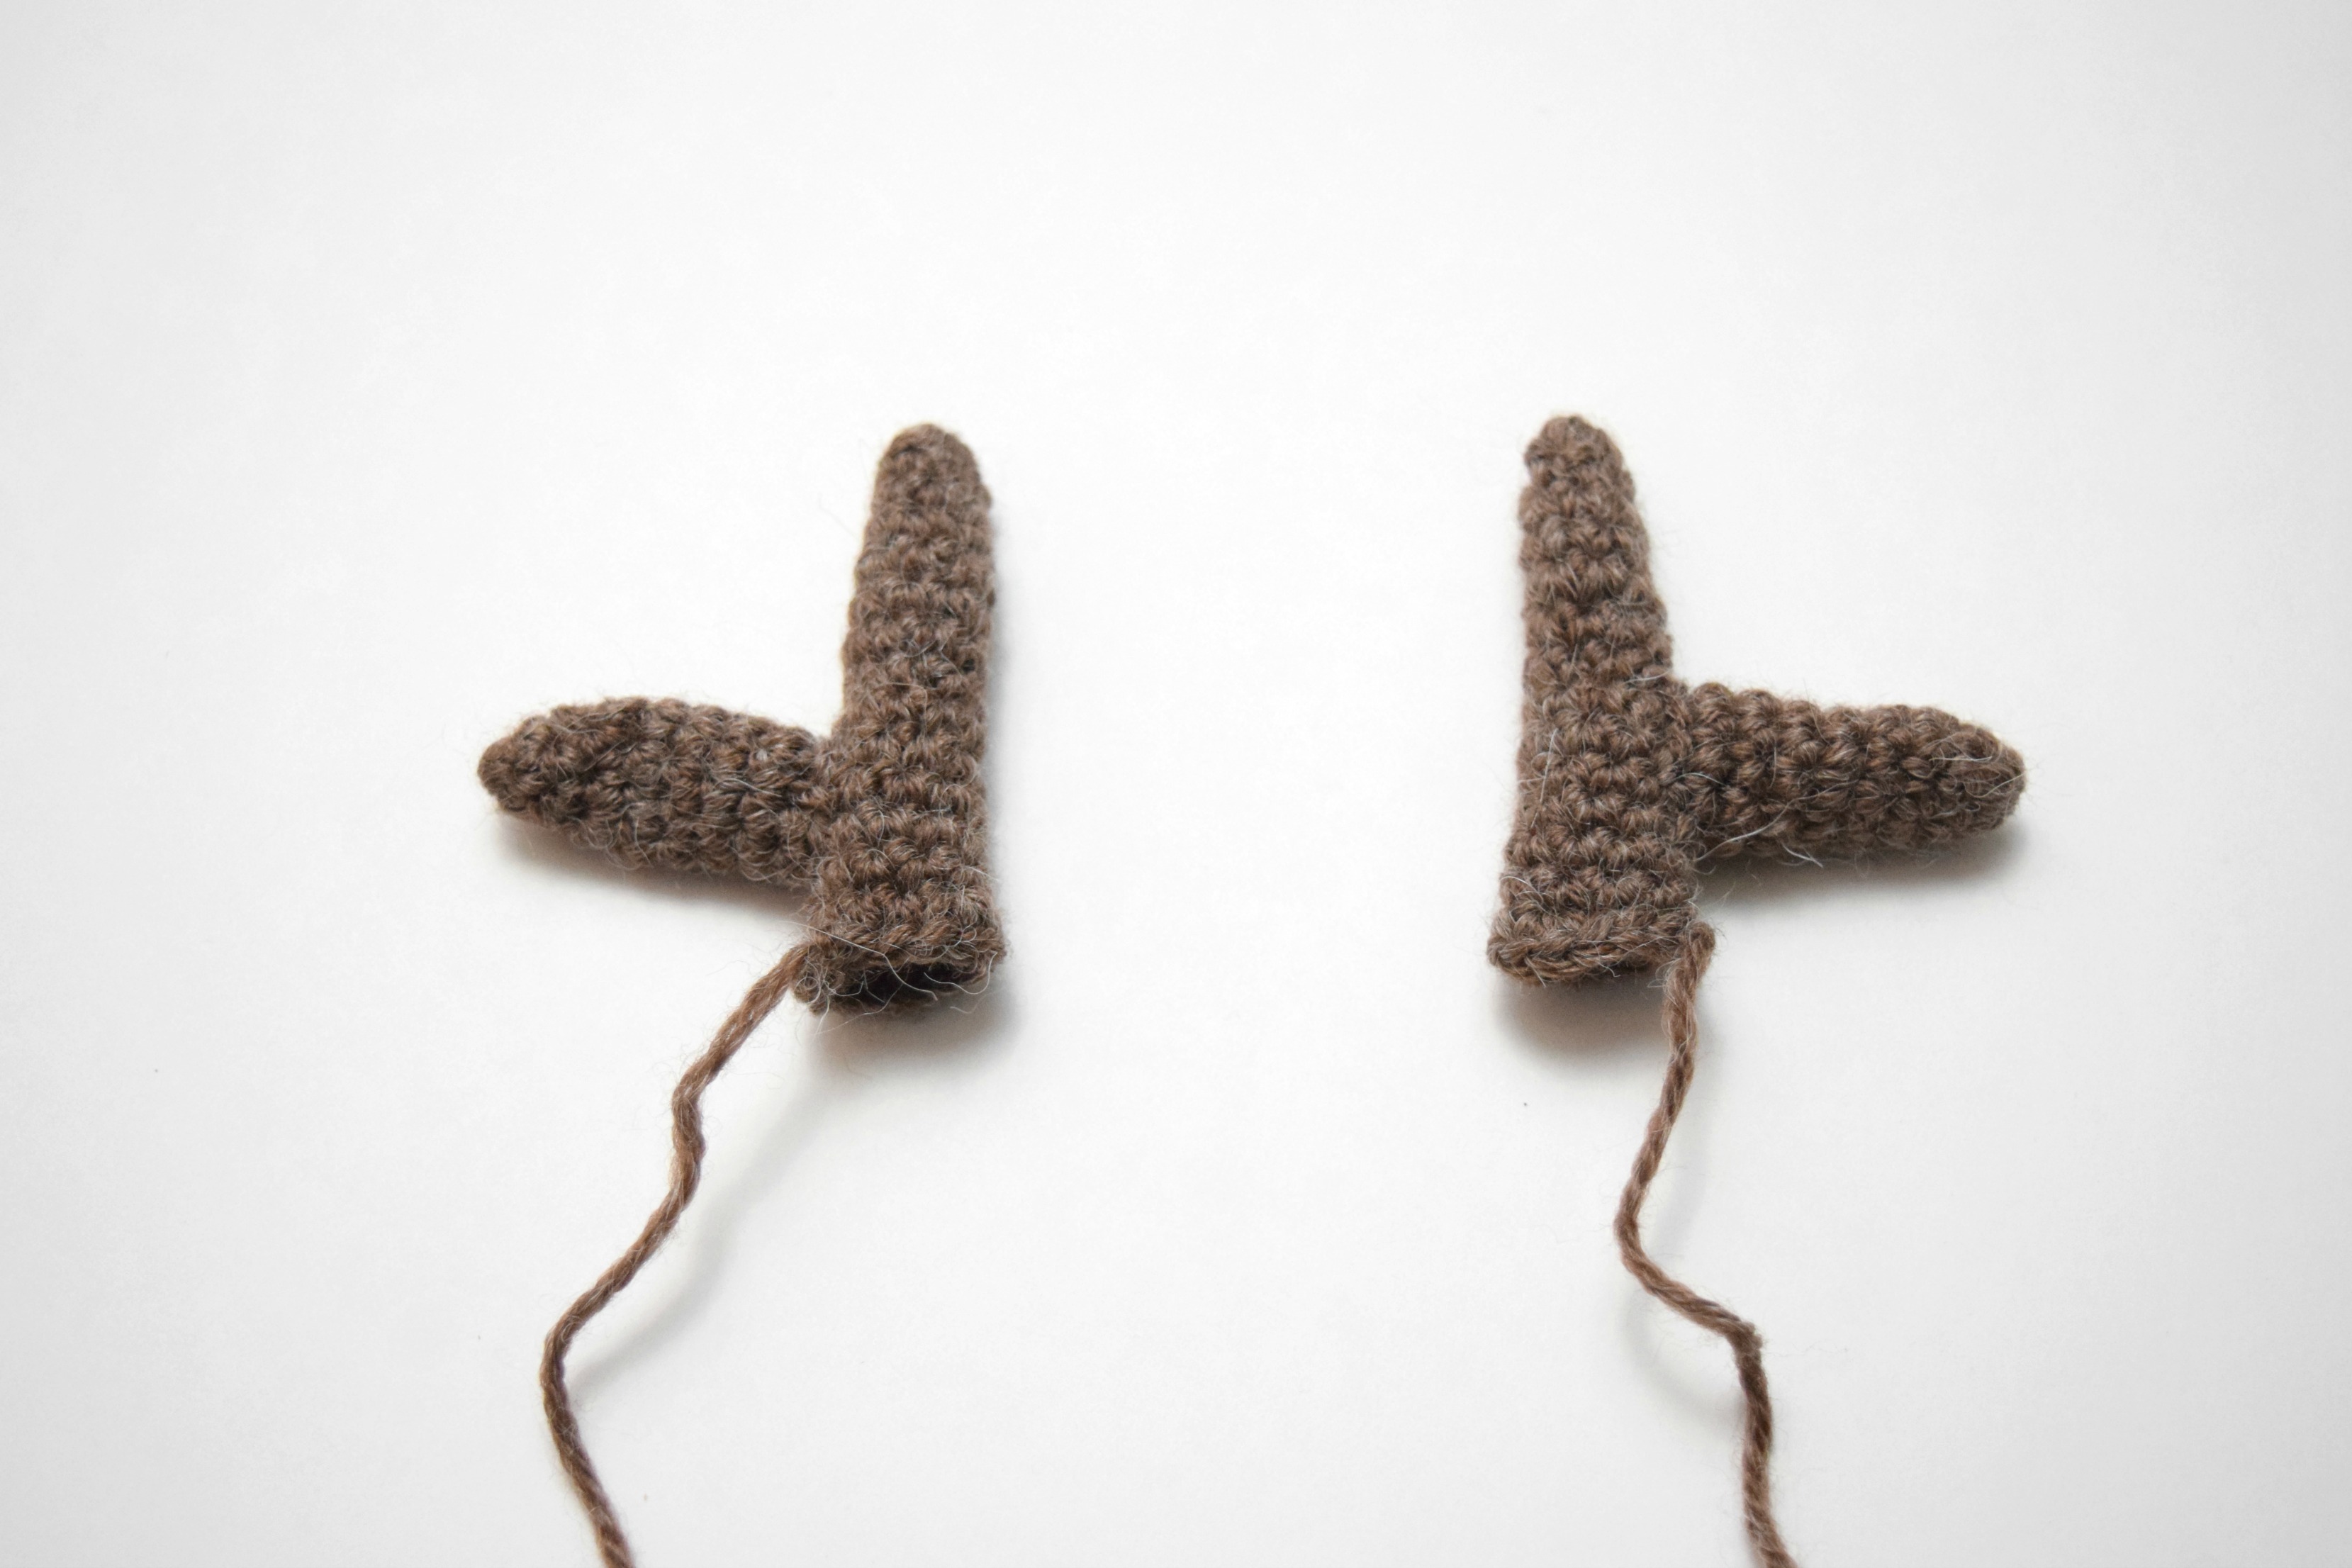
Make 2 of Each Tine:
Worked continuously in the round. Use a stitch marker to keep track of rounds. Gauge is amigurumi-style, which means work as tightly as possible. 😉
Main Tine
Rnd 1: Make a magic ring. Work 6 sc into the ring. Pull the ring closed tightly.
Rnd 2: 1 sc in each sc around. — 6 sts
Rnd 3: *1 sc in the next sc, 2 sc in the next sc. Repeat from * around. — 9 sts
Rnds 4-13: 1 sc in each st around. — 9 sts
Rnd 14: *1 sc in each of the next 2 sc, 2 sc in the next sc. Repeat from * around. — 12 sts
Slip stitch in the next 2-3 sts, cut the yarn, and tie off, leaving a long tail for sewing.
2nd Tine
Rnd 1: Make a magic ring. Work 6 sc into the ring. Pull the ring closed tightly.
Rnd 2: 1 sc in each sc around. — 6 sts
Rnd 3: *1 sc in the next sc, 2 sc in the next sc. Repeat from * around. — 9 sts
Rnds 4-8: 1 sc in each st around. — 9 sts
Slip stitch in the next 2-3 sts. Cut the yarn and tie off, leaving a long tail for sewing.
Assembly
- Attach the 2nd Tine:
Thread the long tail of the 2nd tine onto a tapestry needle and sew it around the base of the main tine. Weave in the end. Repeat for the other antler. - Position Antlers on the Beret:
Thread the long tail of the main tine onto a tapestry needle and position your antlers on the beret. Aim to place them roughly equally spaced around the 6th to 7th round of the beret for a subtle look, allowing them to be mostly visible from the back. Alternatively, you can place them further forward for a different effect. - Stabilizing the Antlers:
If your stitching isn’t tight enough to keep the antlers stiff on their own, consider stuffing a tiny bit of fiberfill into the base of the main tine to help stabilize them.
Sew around the base of the antler to attach it securely to the beret. Weave in any remaining ends to finish the piece neatly.