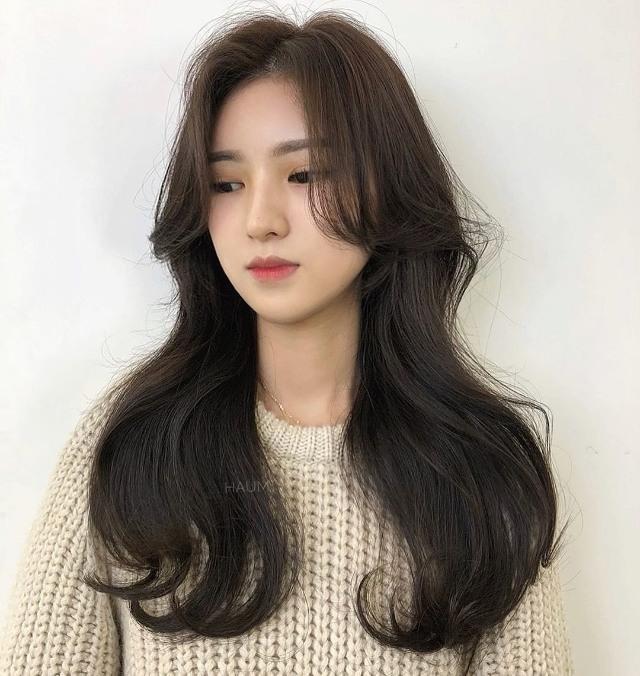
Bangs are a classic hairstyle that never goes out of style. Right now, Korean-inspired bangs are taking the beauty world by storm.
Have you seen those airy see-through or curtain bangs? They’re absolutely stunning! These trendy fringe styles are all the rage for a good reason—they’re incredibly flattering and gorgeous.
The best part? There’s a Korean bang hairstyle for everyone. Whether you’re feeling edgy or chic, these bangs will complement your look perfectly.
With Korean bangs, you’ll feel like a total boss. Ready to explore the latest styles? Keep scrolling for a roundup of the most trendy options. Don’t miss out on these inspiring ideas—you won’t regret it!
WHAT ARE KOREAN BANGS?
Korean bangs are a popular and stylish trend that originated in South Korea. These fringes are typically characterized by wispy, face-framing layers that create a soft and feminine look.
From full and blunt to see-through and curtain styles, Korean bangs come in various shapes and sizes to suit different face shapes and hair types.
WHY ARE BANGS POPULAR IN KOREA?
Korean beauty standards emphasize natural and youthful looks, and bangs are a key element in achieving this aesthetic. Bangs can soften facial features and draw attention to the eyes.
They’re also a fun and low-commitment way to change up your hairstyle without sacrificing length.
11 BEST KOREAN BANGS HAIRSTYLES
Now, let’s dive into the exciting world of Korean bangs! These 11 hairstyles are sure to turn heads and capture hearts. Get ready to bookmark your favorites and find the perfect style for you.
PUPPY BANGS (CURLED BANGS)
Puppy bangs are a great way to add a touch of sweetness and playfulness to your look. If you’re tired of straightening your bangs, these wavy bangs can make your hair appear thicker and fuller.
Depending on the length and texture, puppy bangs can create different vibes. Longer, curly bangs that frame your face can give a feminine look, while combining wispy and curly bangs can create a doll-like appearance.
For a trendy Korean hairstyle, try pairing puppy bangs with a hippie perm, which is one of the most popular styles among girls right now.
ONION BANGS
If you’re looking for a fresh and cute hairstyle, onion bangs might be just what you need.
As the name suggests, onion bangs resemble the layers of an onion, blending seamlessly into the rest of your hair. These barely-there bangs are perfect for those who want to hide their hairline without committing to a full fringe.
Onion bangs add a playful and youthful touch to your overall look.
CHOPPY BANGS
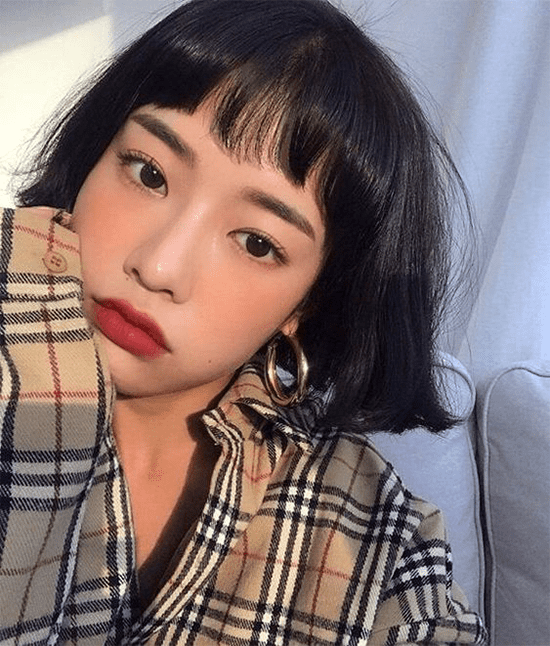
Choppy bangs are short, chunky, and straight, making them a great way to change up your hairstyle without a full haircut. They also draw attention to your eyes and add a fashionable, cute touch to any look.
One of the best things about choppy bangs is their versatility. You can pair them with trendy hair colors like black with highlights or K-pop-inspired hues. For a unique and playful touch, add fun hair accessories like butterfly clips or scrunchies.
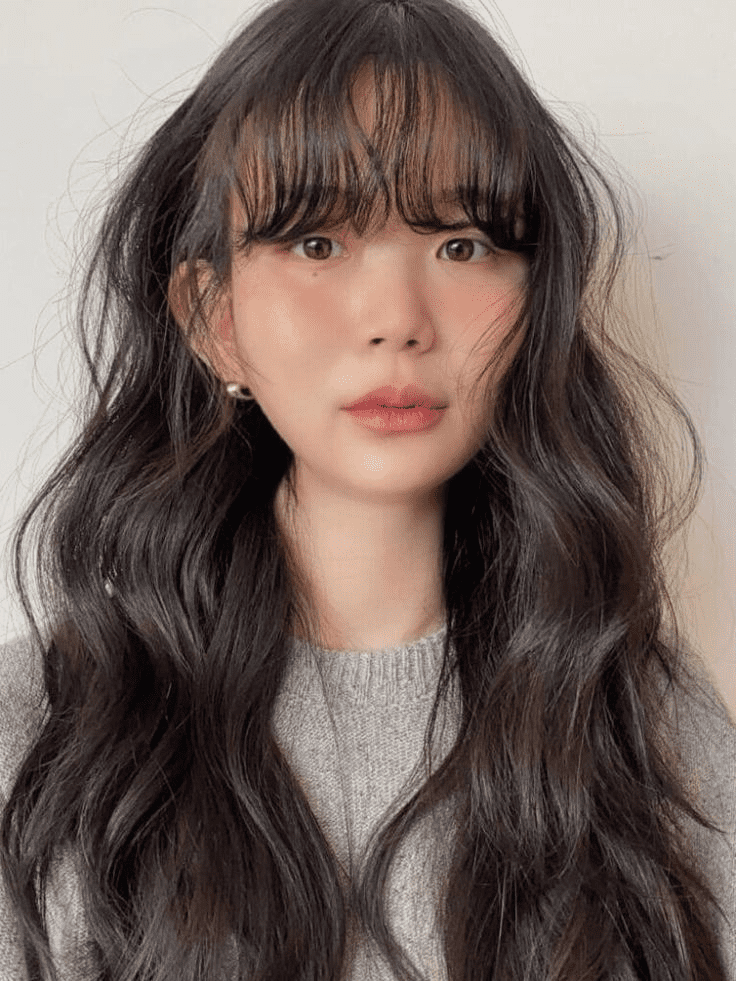
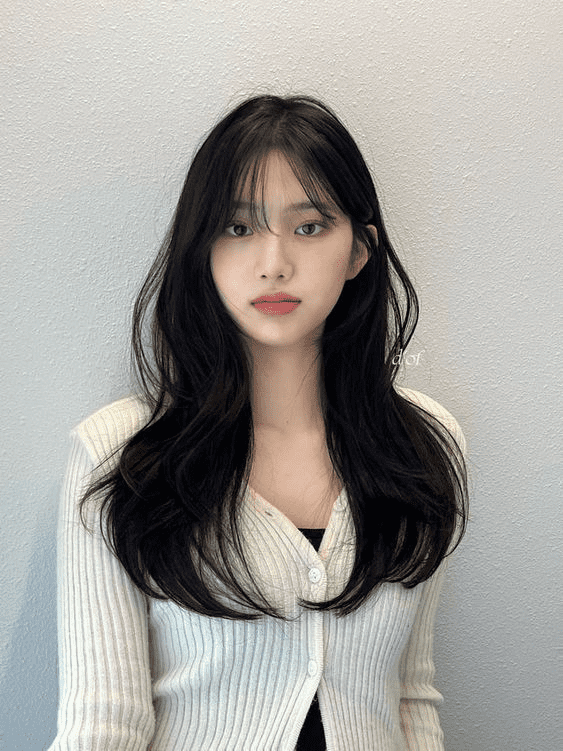
CURTAIN BANGS
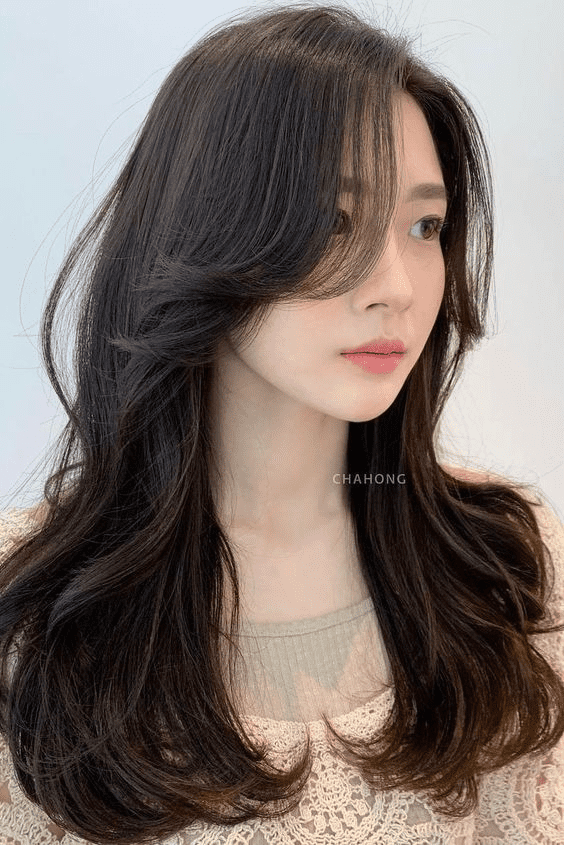
Curtain bangs, also known as side bangs, are angled bangs that are shorter in the center and longer at the sides. The wispy and soft ends flow to the side of your face, creating a flattering and feminine look.
Not only do curtain bangs soften and frame your face, but they’re also incredibly versatile. They work well with all hair types, from straight and fine to thick and curly, and even with two-tone hair colors.
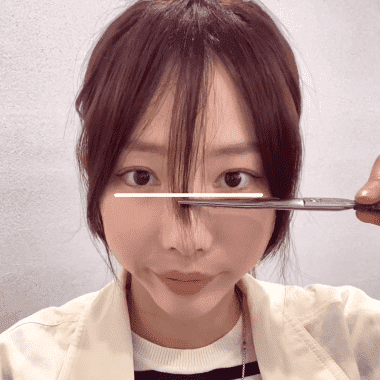
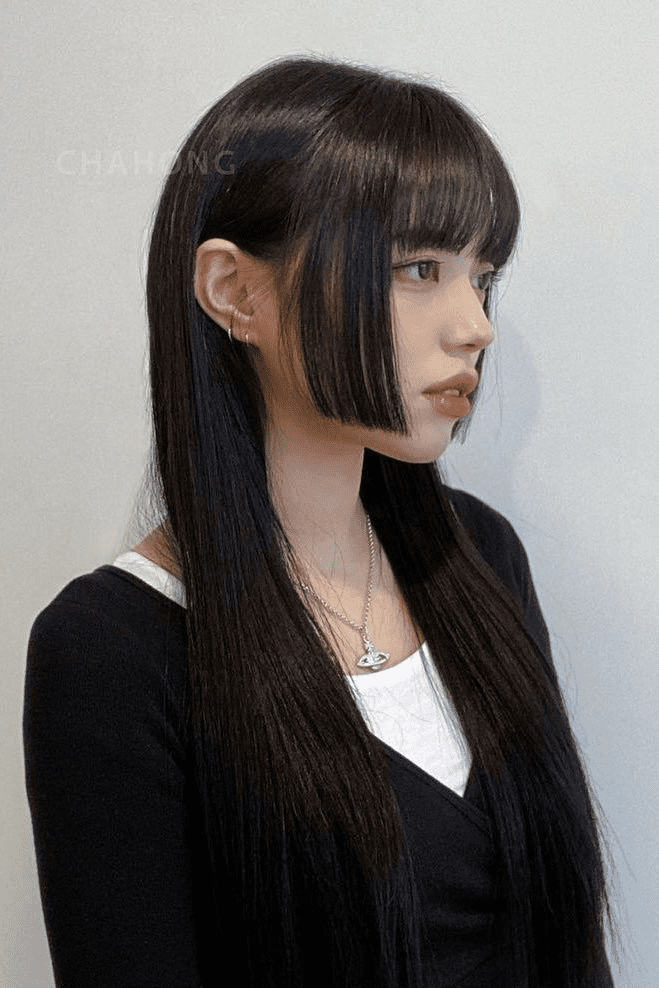
FULL BANGS (BLUNT BANGS)

Full bangs, also known as blunt bangs, are the opposite of see-through bangs. They’re cut straight across the forehead without any layers.
Typically, full bangs fall at or around eyebrow length, but some people prefer a longer length for a more dramatic effect. They’re perfect for highlighting your eyes and framing your face. You can also curl them under for a retro look.
The best part about full bangs is that they look great on both long and short hair. So, no matter your hair length, you can rock these bangs with confidence and style.
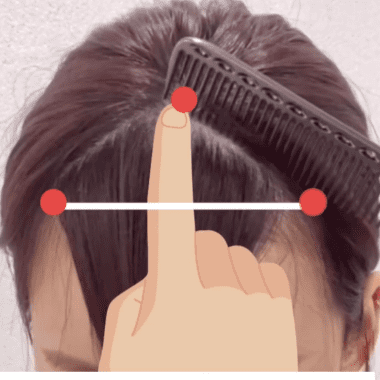
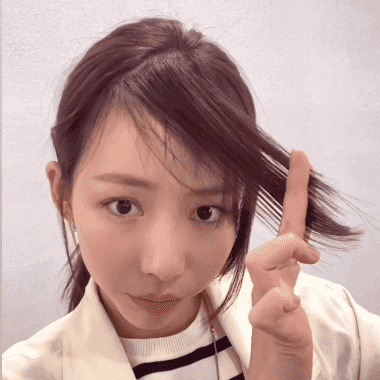
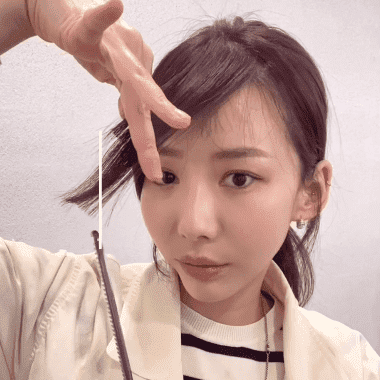
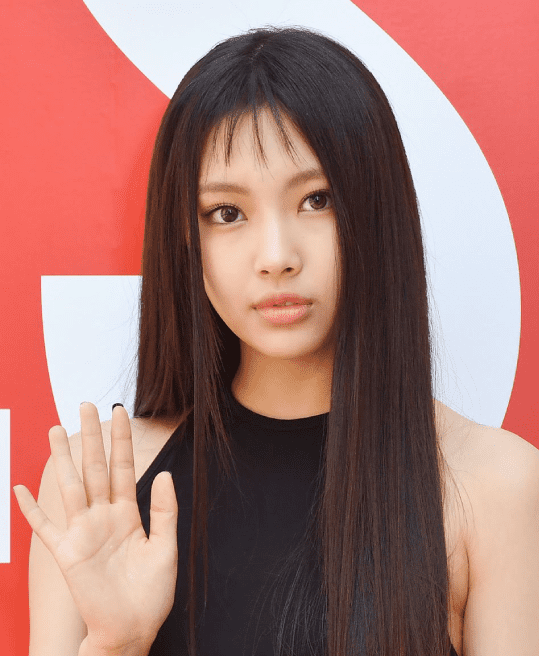
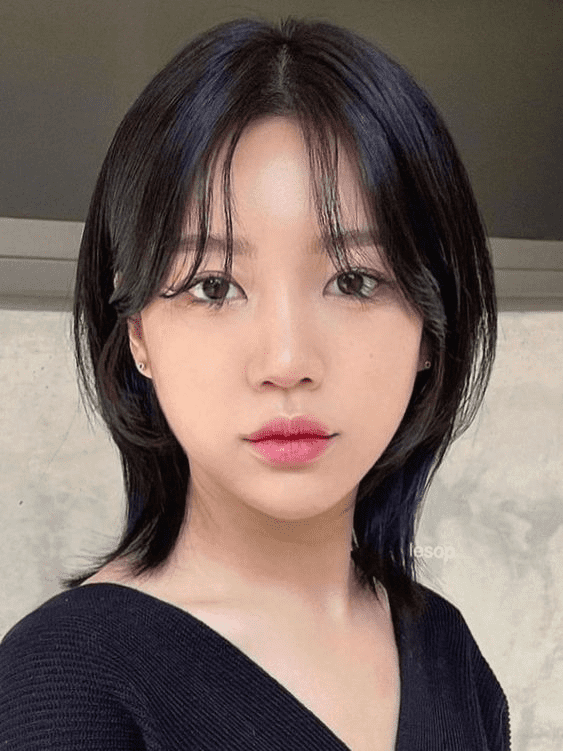
SEE-THROUGH BANGS (WISPY BANGS)
One of the most popular Korean bang styles, see-through bangs (also known as wispy bangs or air bangs) are a thin layer of fringe that falls between your top lashes and eyebrows. The subtle see-through effect on your forehead and gentle sweep to each side create a delicate and piecey look.
If you’re new to bangs, see-through bangs are a great starting point. They’re stylish, versatile, and add a touch of sophistication to any look.
DYED BANGS (HIGHLIGHTED BANGS)
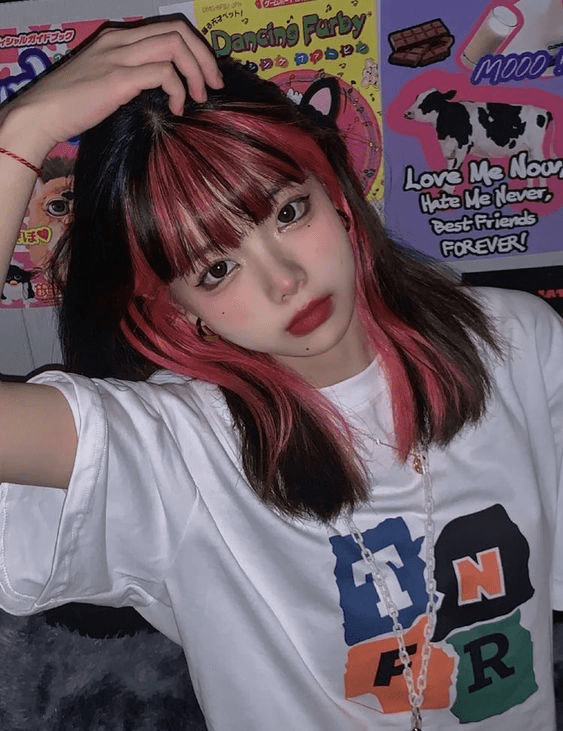
Dyed bangs, also known as highlighted bangs, have been a popular trend among Korean celebrities this year. They’re a versatile and stylish option that can complement any hairstyle and hair length.
Dyed bangs look especially striking when paired with two-tone hair colors or hidden hair color ideas. It’s a great way to add a touch of uniqueness and flair to your appearance.
SUBTLE BANGS (BABY BANGS)
Baby bangs are a great option for those seeking a more subtle bang look. These soft and blended bangs have volume on the sides, creating a natural and effortless vibe.
This trend is currently popular and easy to maintain, making it a perfect choice for those who want a low-maintenance hairstyle.
HIME BANGS
The Hime Cut is a popular Japanese hairstyle featuring blunt, cheek-length sidelocks and brow-length bangs, typically paired with long, straight black hair. This bold and statement-making cut has gained popularity in Korea and offers a variety of styling options, from classic styles to curly waves and short bobs.
Give the Hime Cut a try for a fresh and exciting new look!
SIDE-SWEPT BANGS
Side-swept bangs are back and more stylish than ever. Unlike the thick, heavy bangs of the 90s, the new trend features longer, wispy bangs that give you a fresh and modern look.
Super-thin side-swept bangs are one of the hottest Korean hairstyles of the year. They’re a great way to achieve a natural and effortless vibe.
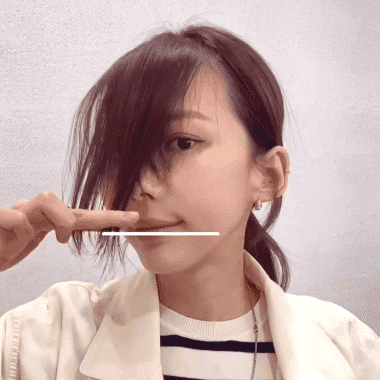
LONG BANGS (STICK BANGS)

Get ready to rock the ’90s-inspired Korean stick bangs! These longer, more subtle bangs reach the corners of the lips or beyond, helping to lengthen and narrow the face for a sleek and modern look.
Pair Korean stick bangs with long, sleek hair for the ultimate K-beauty vibe.
WRAP UP
Congratulations! You’re now armed with 11 of the best Korean bang hairstyles to elevate your look and turn heads.
Whether you’re feeling bold or subtle, classic or trendy, these K-bangs will help you achieve your desired style.
So, what are you waiting for? Go out there and rock your new look with confidence! Here’s to a fresh start and fabulous hair!