GEL NAILS VS DIPPED NAILS VS ACRYLIC

There are several types of nail extensions available, each offering its own set of benefits and drawbacks. Whether you’re considering dip powder nails, gel nails, or acrylics, it’s important to know what to look for when deciding which option is best for you. Before diving into the details, let’s explore the pros and cons of dip nails, gel nails, and acrylics to help you make an informed choice.

WHAT ARE GEL NAILS?

Gel nails are created using a gel formula that is cured under UV or LED light. They’re much more flexible than traditional acrylics, making them less prone to breakage.

While applying gel nails can be a bit challenging due to the sticky residue left behind, which must be wiped off with alcohol, they are highly durable once set and typically last 2-3 weeks.

Unlike hard gel extensions, which are ideal for salon use, gel polish is easier to apply and suitable for both at-home and professional applications.

Disadvantages of Gel Nails

  • Time-consuming application: The process can take a while, as each nail needs to be shaped individually and cured under UV or LED light.
  • UV/LED light exposure: Some individuals may be sensitive to UV or LED light used during the curing process, which can cause skin irritation. To reduce this risk, it’s recommended to apply sunscreen to your hands before exposure.
  • Harsh chemicals: Some gel brands may contain harsh chemicals like BHA, so it’s best to avoid those when possible.

WHAT ARE DIPPED NAILS?

Dip powder nails, or dipped nails, are made using finely milled acrylic powder and are bonded with a special adhesive called cyanoacrylate.

The powder is applied to the nail and sealed with a top coat. Dip powder nails are known for being both flexible and durable, making them longer-lasting than other types of artificial nails. When applied properly, they are also resistant to chipping and breaking.

The dipping method is particularly suited for home use. Unlike hard gels and acrylics, which require skill and experience to sculpt the nails, dip nails don’t involve sculpting, making them easier to apply.

In addition, dip powders are flexible, durable, odorless, non-toxic, and don’t require curing lights.

Disadvantages of Dip Nails

  • Hygiene concerns: While dip powders are great for home application, if you’re getting them done at a salon, ensure your fingers aren’t being dipped into shared powder pots, as this can lead to infections.
  • Messy application: The process of applying dip powder nails can get a bit messy.

WHAT ARE ACRYLIC NAILS?

Traditional acrylic nails are created by combining a liquid monomer with a powder polymer, typically applied with a brush and then shaped to the desired look.

Acrylic nails are the most popular type of artificial nails due to their durability, longevity, and relatively simple application process. However, if not applied correctly, they can cause significant damage to your natural nails.

Disadvantages of Acrylic Nails

  • Toxic smell: Liquid monomers often contain harsh chemicals like MMA, which can be harmful to your health, potentially causing allergies or asthma.
  • Harsh chemicals: Some types of acrylics contain dangerous substances such as formaldehyde and toluene. While it hasn’t been definitively proven, toluene has been linked to potential health issues.
  • Lack of flexibility: Unlike gel or dip powder nails, traditional acrylics are quite rigid. This means that if they hit something hard, they are more likely to break due to their stiffness.
  • Bacterial or fungal infections: Improper application or trauma to the nails can lead to gaps between the acrylic and the natural nail, creating a breeding ground for bacteria or fungi.
  • Acrylic nail removal: Removing acrylic nails is a lengthy process, requiring soaking the nails in 100% acetone for 30-40 minutes. It’s recommended to have a professional handle the removal, as attempting it on your own can risk damaging your nails.

DIPPED NAILS VS GEL NAILS – WHAT’S THE DIFFERENCE

Dipped nails and gel nails are both popular options for fake nails, but how do they differ? Let’s break it down.

APPLICATION PROCESS

Both dip powder and gel nails are great for home use. However, applying hard gel (gel extensions) can be much trickier for a DIY project.

Gel nails usually take longer to apply than dip nails because gel polish or hard gel needs to be cured under an LED or UV light.

For a gel manicure, the process includes prepping the nails, applying a base coat, gel polish color, a top coat, and curing under a lamp.

A dip powder manicure involves prepping the nails, applying a base coat, dipping them in powder, adding a top coat, and using an activator.

Traditional acrylics include prepping the nail, applying acrylic powder and liquid with a brush, and finishing with nail polish and a top coat.

UV/LED LIGHT EXPOSURE

Dip powder nails don’t need UV or LED light to set, unlike gel nails, which require curing under these lights.

LASTING POWER

Gel polish: If done right, gel polish can last 2-3 weeks.

Hard gel extensions: They can last more than 3 weeks but usually need a fill-in after 3-4 weeks.

Dip powder nails: When applied properly, they can last over 3 weeks without chipping.

Acrylic nails: Acrylics are very strong and can also last over 3 weeks without cracking or chipping.

NAIL DAMAGE

If not applied or removed properly, all three types—gel, dip powder, and acrylics—can harm your natural nails. This can range from mild irritation to more serious issues like infections or allergies, depending on the person and the process used.

COST AND TIME

Gel polish: Costs $35-$50 and takes about 45 minutes to an hour. In the U.S., the average price is $40.

Hard gel extensions: Cost around $80 and take 1-1.5 hours. Prices may rise if you add decorations like rhinestones.

Dip nails: Typically cost $40-$50 and take about 45 minutes.

Acrylic extensions: Cost between $75-$100 and take 1-1.5 hours in a salon.

REMOVAL PROCESS

For gel nails and dip powder nails, the removal process is similar: first, file off the top coat, then soak the nails in acetone for 15-20 minutes. For acrylic nails, removal takes longer. You need to soak them in acetone for 30-40 minutes and then file them off.

CONCLUSION

So, what’s the verdict? It really comes down to your preferences. If you’re looking for something quick and easy to do at home, both a gel polish manicure and a dip powder manicure are great options. If you prefer to visit the salon for a full set of extensions, then gel or acrylic nail extensions might be more your style.

Acrylic allergy: If you’re allergic to acrylics, none of these options will work for you since they all contain acrylic. In that case, you could try a regular polish manicure or a shellac manicure. While these won’t last as long, they are gentler on your nails in the long run. Whatever you decide, remember to care for your nails and give them a break every now and then!

12 AMAZING VERY PERI NAIL DESIGNS: BEDECK YOUR TIPS IN TREND

Calling all trendsetters! Get ready to be dazzled by the hottest nail color of the season – Very Peri! This enchanting periwinkle shade, crowned as the 2022 Pantone Color of the Year, is taking the nail art world by storm.

Forget boring manicures! We’re diving into 12 amazing Very Peri nail designs that will transform your fingertips into tiny works of art. From classic and chic to bold and artistic, there’s a Very Peri mani waiting to match your unique style. So, grab your favorite polishes, unleash your creativity, and get ready to bedeck your tips in trend!

CLASSIC VERY PERI DIP MANI

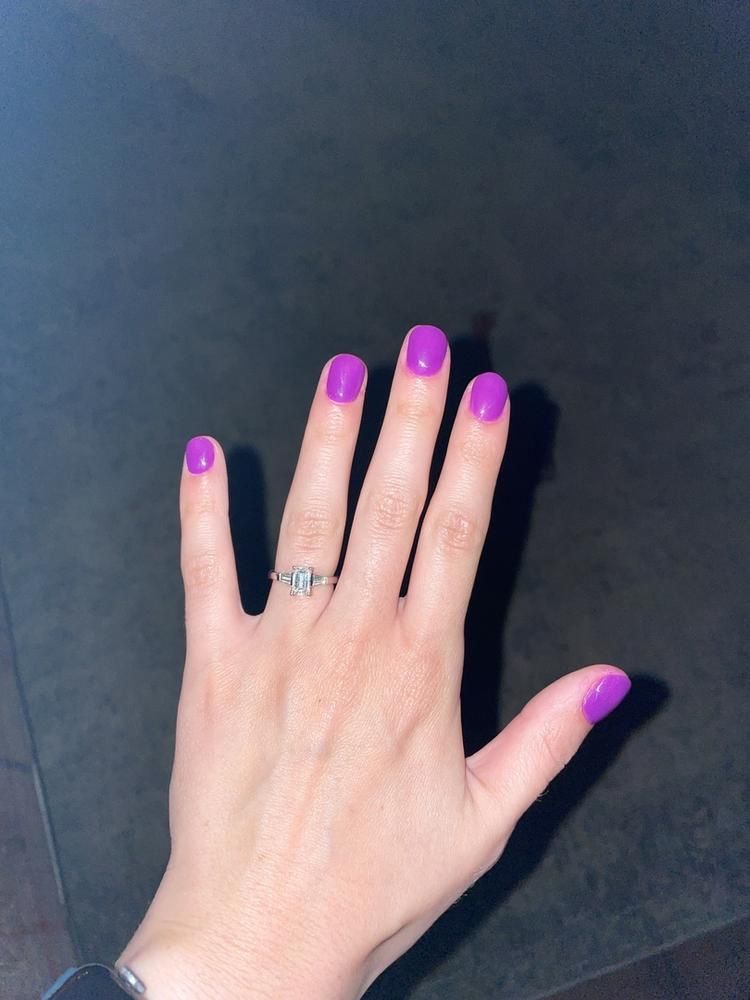
Can’t decide which Very Peri look to go for? The classic Very Peri dip mani is a perfect choice for those who love timeless elegance. This design allows the captivating color to take center stage. A flawless coat of Very Peri dip powder creates a smooth, chip-resistant finish that will turn heads wherever you go. It’s sophisticated enough for work yet glamorous enough for a night out, making it a versatile option for any occasion. Plus, the simplicity of this mani means it can easily be achieved at home with a DIY dip powder kit or at your favorite nail salon.

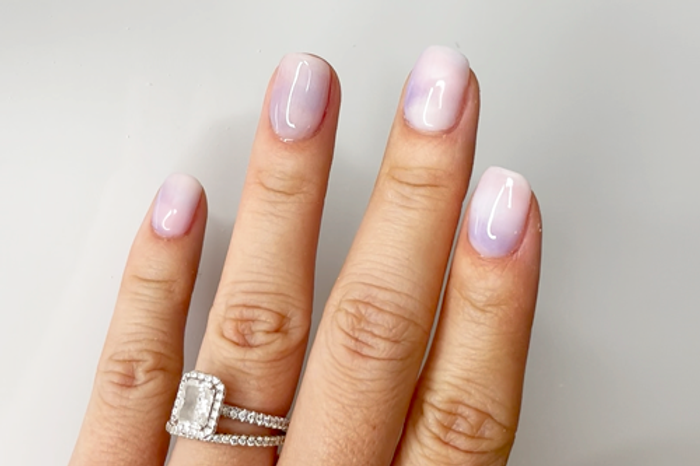
MILKY VERY PERI DIP MANI

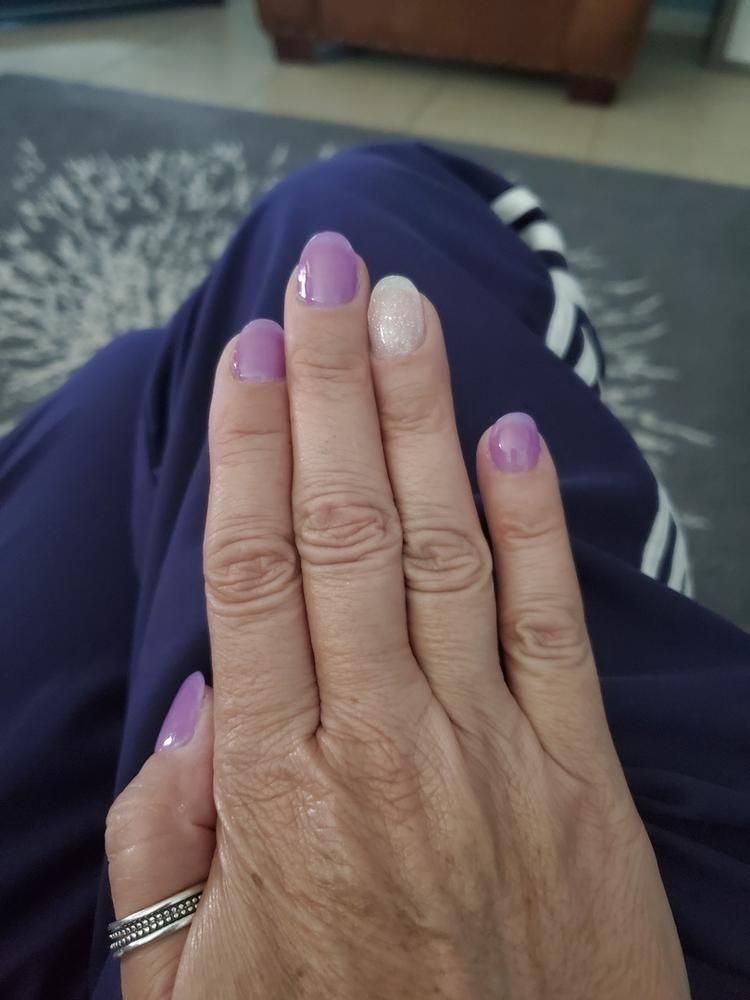
For a dreamy twist on the classic Very Peri dip mani, consider a milky Very Peri version. Here, a sheer or translucent dip powder in the Very Peri hue is used, creating a softer, ethereal look. This approach is perfect for those who love the color but prefer a more subtle effect. The milky finish adds a touch of whimsy and romance, making it ideal for special occasions or for those who gravitate towards a more delicate aesthetic. This ethereal mani can be easily achieved using a sheer Very Peri dip powder or by layering a translucent activator over a regular Very Peri powder for a custom milky effect.

JELLY VERY PERI DIP MANI

Feeling a touch of nostalgia for your younger years? The jelly Very Peri dip mani is the perfect way to capture that playful vibe. This design utilizes a translucent dip powder with a strong concentration of Very Peri pigment. The result is a stunning stained-glass effect, reminiscent of childhood favorites like grape drink mixed with lime-flavored Kool-Aid. This playful mani is ideal for those who want to embrace the fun and energetic side of Very Peri. It’s a great choice for summer days or for adding a pop of personality to your everyday look. While pre-made jelly Very Peri dip powders might be available, you can also achieve this look by mixing a clear dip powder with Very Peri pigment for a custom touch.

PASTEL VERY PERI DIP MANI

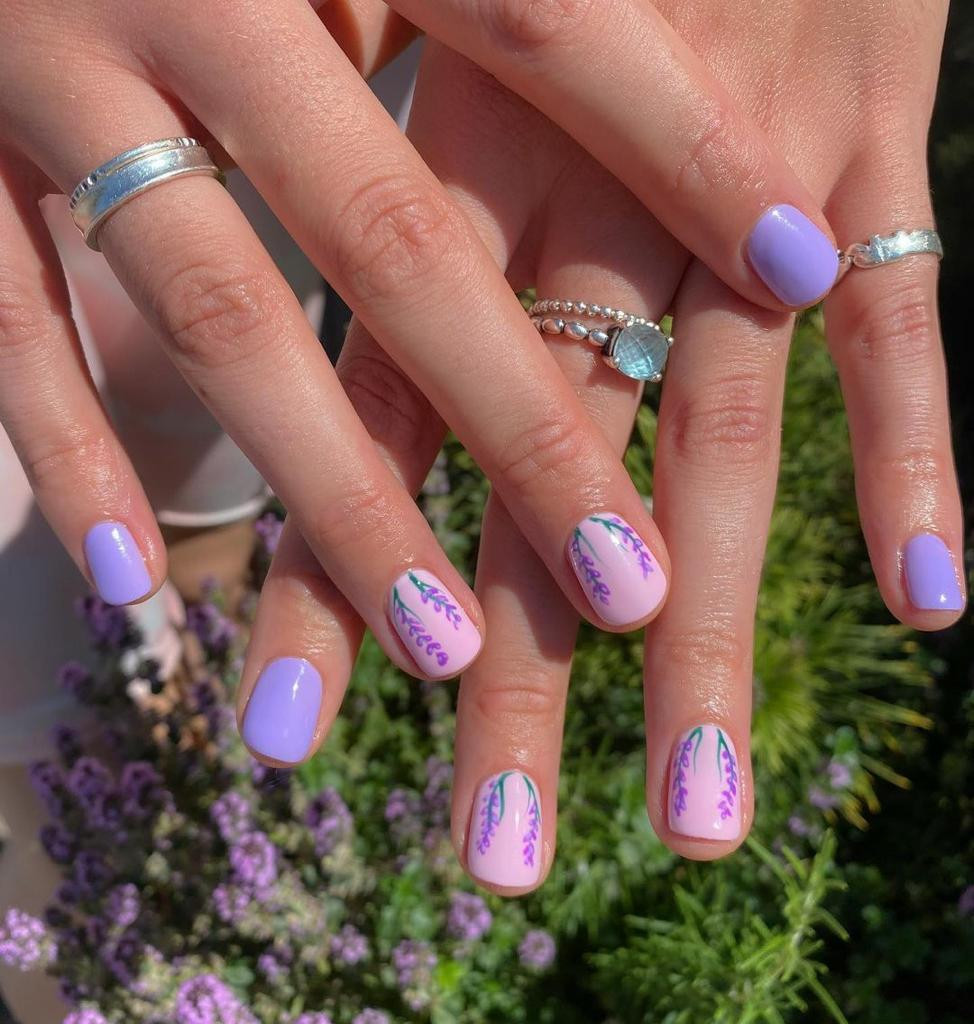
Spring lovers, rejoice! The pastel Very Peri dip mani is a breath of fresh air for your fingertips. This design uses a soft, muted version of the Very Peri hue, creating a look that’s both playful and sophisticated. The pastel shade evokes feelings of springtime blooms and gentle breezes, making it perfect for those who want to embrace the lighter side of Very Peri. This mani is incredibly versatile, complementing both casual and dressy outfits. For a flawless pastel Very Peri dip mani, opt for a pre-made powder in the desired shade or consult with your nail technician about achieving the perfect pastel hue by mixing a touch of white or lavender with a regular Very Peri dip powder.

VERY PERI DIP NAIL TUTORIALS

So you’ve chosen your perfect Very Peri dipped manicure design, and now it’s time to make it a reality! Thankfully, achieving the magic of Very Peri dip nails can be done at home or at your favorite nail salon. If you’re a DIY enthusiast, search online for a “Very Peri Dip Nail Tutorial.” These tutorials will provide step-by-step instructions on how to prepare your nails, apply the base coat and activator, dip your nails in Very Peri powder, and achieve a flawless finish. There are even tutorials dedicated to specific designs like the milky or jelly Very Peri manicure, offering helpful tips and tricks for achieving those unique effects.

For a more professional touch, head to your local nail salon and request a Very Peri dip manicure. Remember to bring inspirational photos or describe your desired design to your nail technician. They will have the expertise and tools to create a stunning and long-lasting Very Peri manicure that will help you feel confident and stylish.

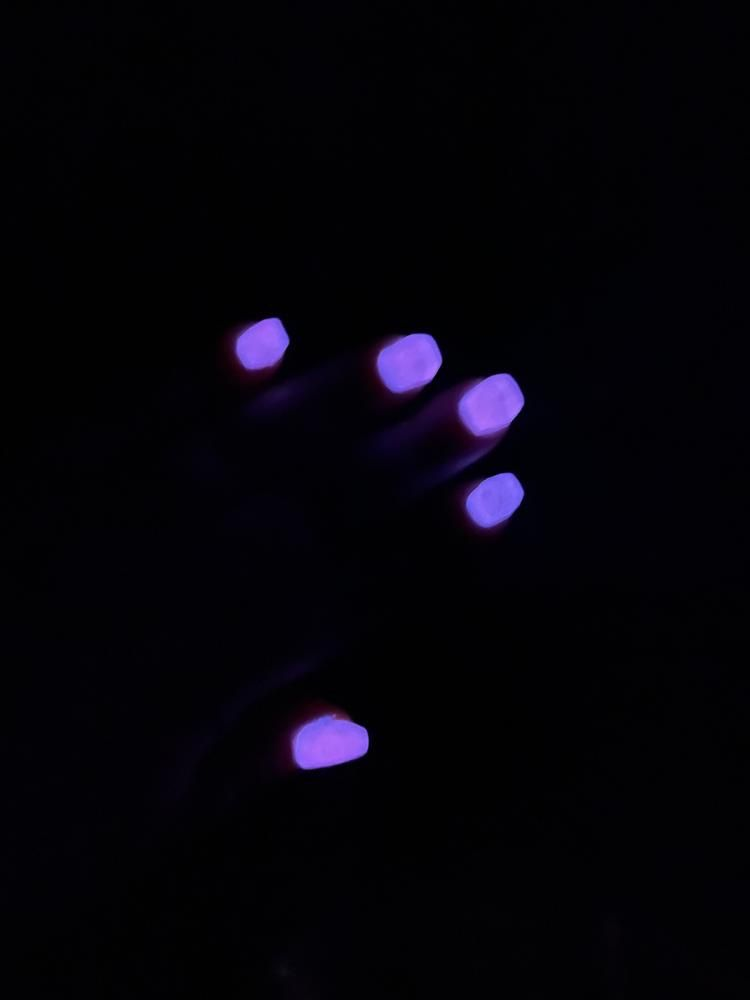
GLOW IN THE DARK VERY PERI DIP MANI

Channel your inner nightlight with a glow-in-the-dark Very Peri dip mani! This design adds a touch of whimsy and fun to the classic Very Peri hue. By incorporating glow-in-the-dark pigments into the dip powder, your nails will transform under UV light, revealing a luminous Very Peri glow. This eye-catching mani is perfect for nighttime adventures or for anyone who wants to make a statement. Finding pre-made glow-in-the-dark Very Peri dip powder might require some searching from specialist nail art suppliers, but the hunt will be worth it for the unique effect. Alternatively, some nail technicians might be able to create a custom glow-in-the-dark Very Peri mani by mixing glow pigment with clear or regular Very Peri dip powder.

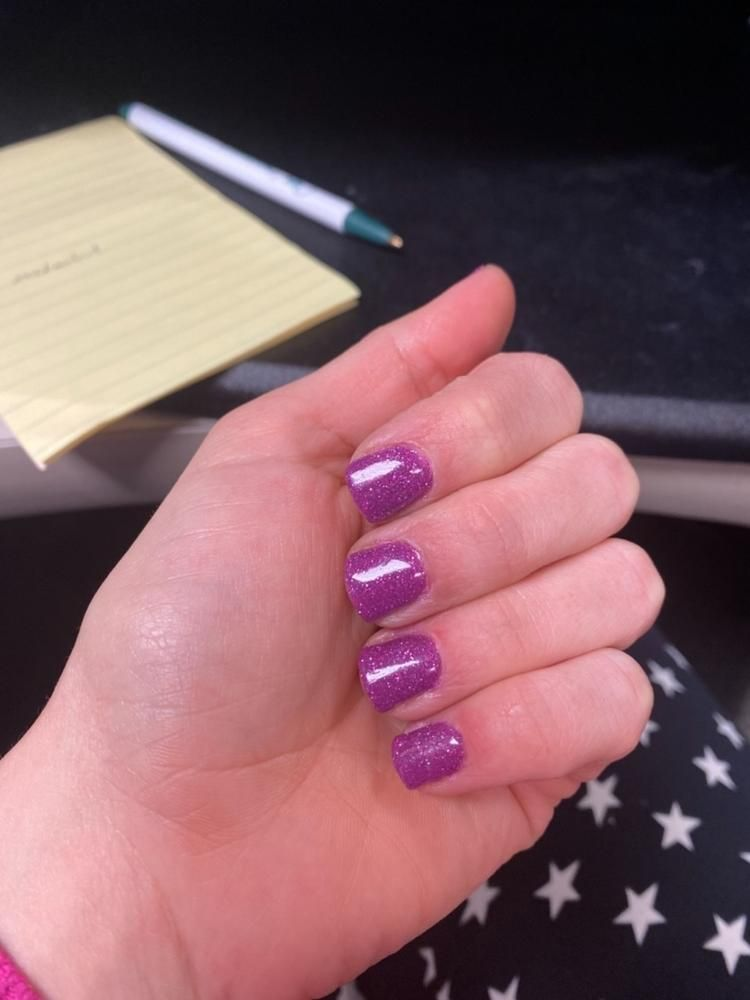
GLITTER VERY PERI DIP MANI

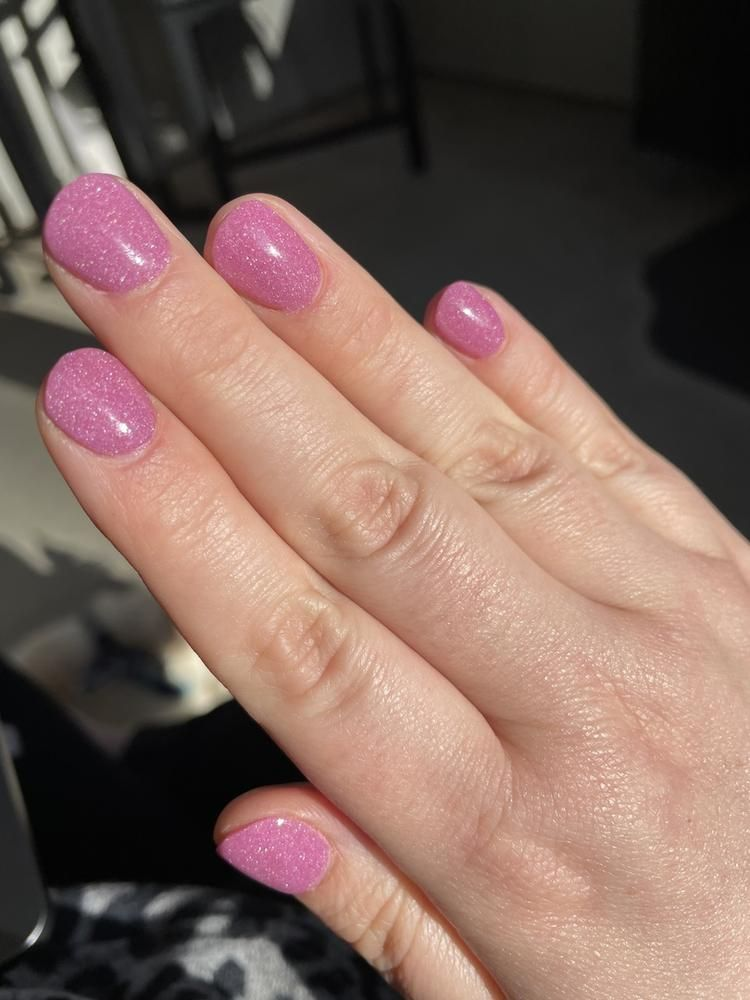
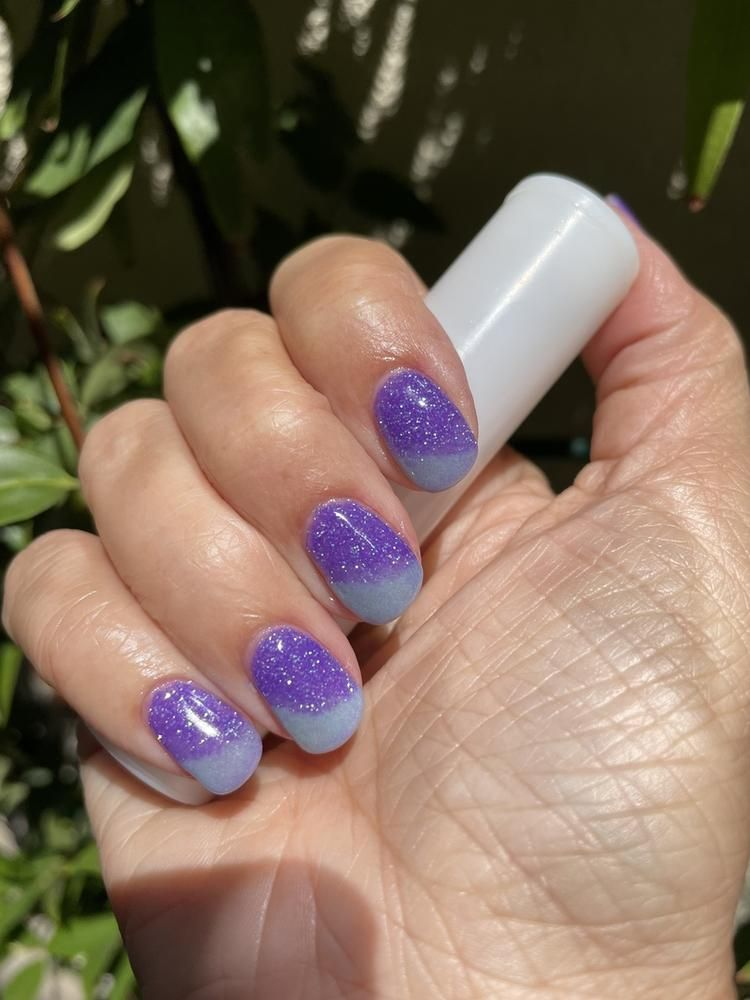
Craving some extra sparkle? A glitter Very Peri dip mani is the answer! This dazzling design takes your love for Very Peri to the next level. Here, fine or chunky glitters in complementary colors like silver, gold, or even iridescent hues are mixed with the Very Peri dip powder. The result is a mesmerizing explosion of color and texture that will catch the light with every move. This glamorous mani is perfect for special occasions, a night out, or for anyone who loves to add a touch of magic to their fingertips. There are pre-mixed Very Peri dip powders with glitters readily available, but you can also personalize your mani by mixing your favorite glitter with clear or regular Very Peri dip powder. So unleash your inner magpie and embrace the captivating world of glitter Very Peri nails!

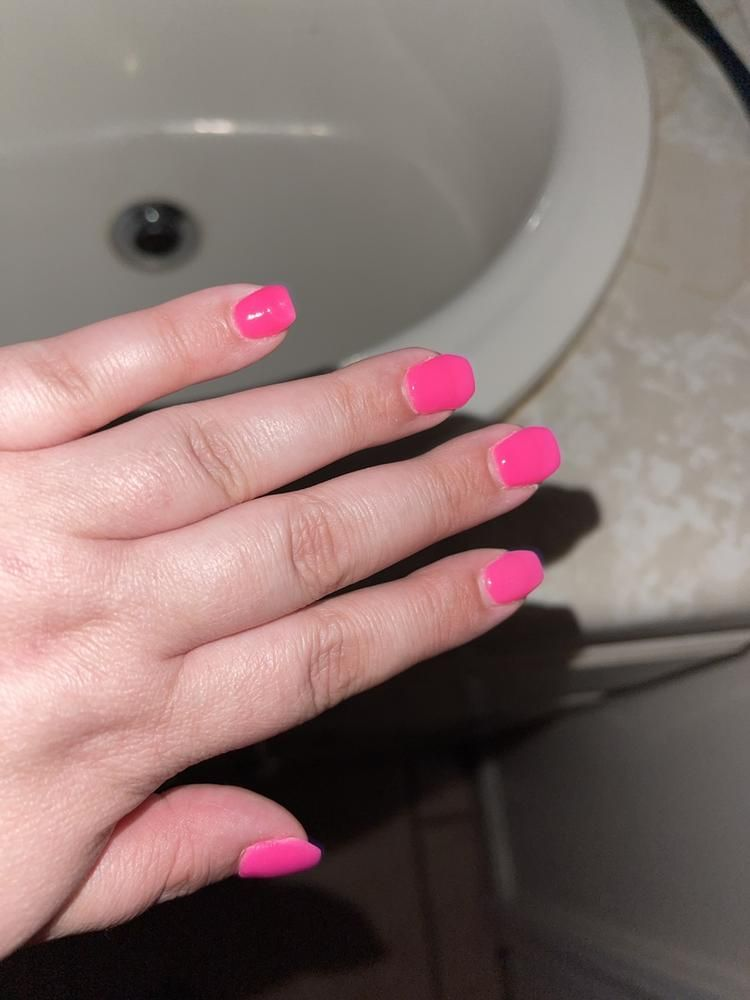
NEON VERY PERI DIP MANI

Want to make a bold statement with your fingertips? Look no further than the neon Very Peri dip mani! This design dials up the vibrancy of the classic Very Peri hue, resulting in a head-turning explosion of color. Neon pigments are used in the dip powder, creating an intensely bright and electric shade of Very Peri. This mani is perfect for those who embrace bold aesthetics and want their nails to be the center of attention.  Keep in mind that due to the neon’s intensity, this mani might not be suitable for professional settings with stricter dress codes. However, for a night out with friends, a music festival, or simply for those who love to embrace color, the neon Very Peri dip mani is a guaranteed showstopper.  Finding pre-made neon Very Peri dip powder might be easier than glow-in-the-dark options, but searching online or at specialist nail art stores will ensure you find the perfect shade to light up your fingertips.

V-SHAPE FRENCH TIP

The V-french tip is a fresh and stylish twist on the classic french manicure. Instead of the usual curved white crescent moon at the tip, a V-shape takes center stage. This creates a sharper, more modern look that flatters a variety of nail shapes. The V-french can be done in a variety of colors, but it pairs particularly well with Very Peri. A crisp white V-tip against a base of Very Peri polish creates a stunning contrast, while a neon or pastel V-tip adds a playful pop of color. This design is surprisingly versatile, being both elegant and edgy at the same time. For a touch of extra flair, you can even add a thin line of glitter or another contrasting color along the edge of the V-shape.

MARBLE MANI

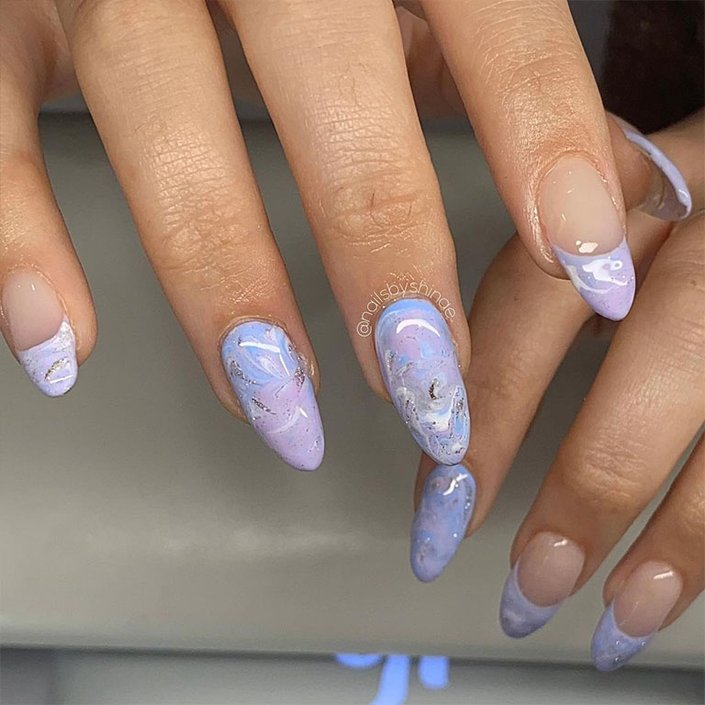
For a touch of effortless elegance, consider a marble mani in Very Peri. This technique creates a mesmerizing swirl of colors that resembles real marble stone. Here, white or a lighter shade of lavender is combined with Very Peri polish to create a beautiful veined effect. The beauty of the marble mani lies in its organic nature, meaning each nail will be unique. This design pairs well with a variety of nail shapes and lengths, making it a versatile choice for any occasion. While achieving a perfect marble mani can take some practice, there are online tutorials and even water marbling techniques that can help you master this captivating look at home.

DREAMY NAILS

When it comes to nail art, the term “dreamy” can conjure a variety of images. It might evoke soft, ethereal colors like milky Very Peri or pastel lavenders. Perhaps it brings to mind shimmering accents like glitter or a touch of glow-in-the-dark magic. But dreamy nails can also encompass artistic techniques like delicate marble swirls or captivating negative space designs. Ultimately, dreamy nails are all about embracing your own sense of whimsy and transforming your fingertips into tiny works of art. Whether you crave a classic and sophisticated look or desire a vibrant and playful mani, there’s a dreamy nail design waiting to be brought to life.

GRAPHIC DESIGN NAIL

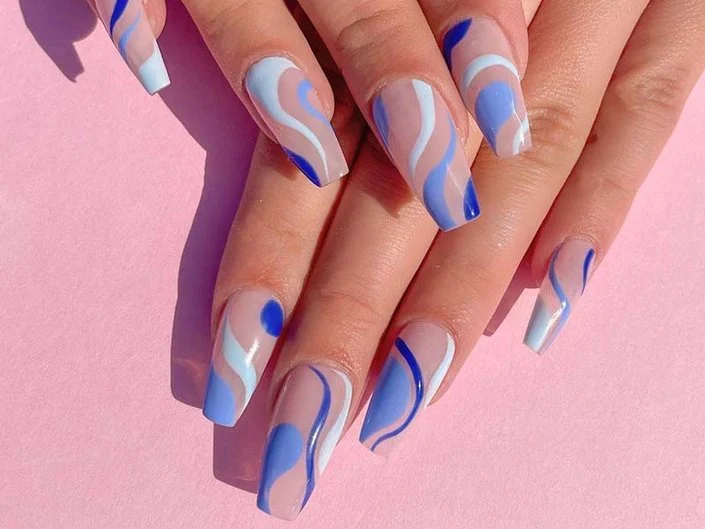
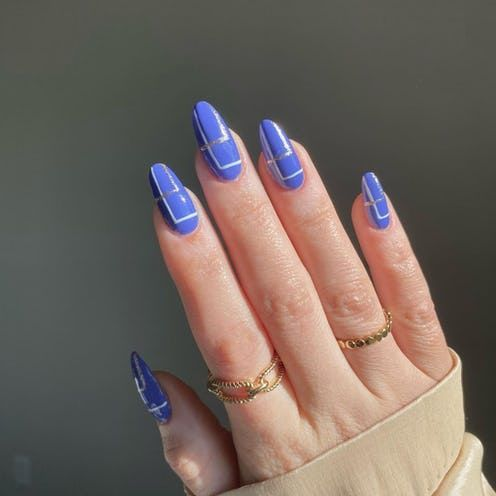
This trend takes inspiration from the world of graphic design, incorporating bold lines, geometric shapes, and negative space into your mani. The beauty of graphic design nails lies in their versatility. You can keep things simple with clean lines and contrasting colors like white or black against a base of Very Peri. Or, for a more complex look, incorporate geometric shapes like triangles, squares, or chevrons in various sizes and orientations. Feeling extra creative? Play with negative space by leaving sections of your natural nail exposed while creating interesting shapes or patterns with Very Peri polish. This artistic approach allows you to showcase your unique style and create a mani that’s truly one-of-a-kind. Remember, there are no hard and fast rules with graphic design nails.

CONCLUSION

So there you have it, twelve amazing Very Peri nail designs to inspire your next manicure! From classic elegance to playful brightness and artistic sophistication, there’s a Very Peri mani to suit every mood and personality. So grab the trend, choose your perfect Very Peri look, and get ready to dress up your tips in style! Lastly, after every beautiful nail style, you should know some nail care tips to keep your nails healthy and ready for the exciting styling sessions to come!