Jelena Ostapenko, the fiery Latvian tennis star, has grabbed headlines for her powerful game and stunning upset victory at the 2017 French Open. But recently, discussions around her have shifted to focus on her body type. Let’s move beyond that. This is about Jelena Ostapenko, the athlete, her journey, and her achievements on the court. We’ll delve into her career highlights, playing style, and what makes her such a compelling competitor, all while acknowledging that her physique is just one aspect of a much more interesting story.
WHO IS JELENA OSTAPENKO?
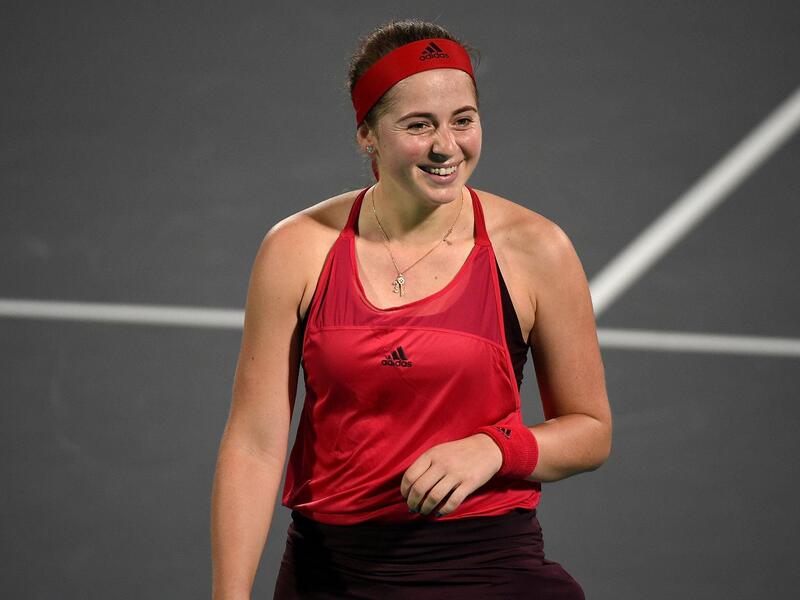
Jeļena (Aļona) Ostapenko, born on June 8, 1997, is a professional tennis player from Latvia. She achieved her highest WTA singles ranking of world No. 5 in March 2018 and reached No. 32 in doubles in June 2017. Ostapenko made history by winning the 2017 French Open women’s singles title, becoming the first Latvian to win a Grand Slam and the first unseeded player to claim the French Open since 1933. She has also been an active member of the Latvian Fed Cup team. In her career, Ostapenko has won seven ITF singles titles and eight ITF doubles titles. She also triumphed in the junior women’s singles event at the 2014 Wimbledon Championships. Ostapenko is known for her aggressive playing style, particularly her powerful vertical shots.
FAN RESPONSE TO KIRSTEN STORMS WEIGHT GAIN
There are many mixed opinions about this athlete’s unique appearance. However, most people think that she has a toned body and this is appropriate for her profession. Only a few criticized her appearance.
“I agree that Ostapenko is not actually “fat”. But it’s pretty obvious that she’s not exactly disciplined about her food and training regimen. And yeah, the cut of her clothes aren’t flattering, either.
Take Iga’s ON kits, for example. She looks a good deal more athletic in them than she did in Asics this year.”
“She’s not fat. 🙄 She might not have a svelte body type but her movement is still very good and I don’t think I’ve ever seen Jelena get tired in a match before.”
“There’s nothing like a case of beer and a few bags of chips after a good practice session!
Let her enjoy her meals, and her snacks.”
“& TV adds pounds to their physique. Like I thought Petra Martic looked slim on tv but in person, she looked really really thin. Im just using Petra btw as an example coz I really like how she looks on tv .
“
“She’s a little too big maybe, but I actually think it works for her. I’m the first to be critical of players with poor discipline that are completely unfit and thus affects their performance. However I can understand some of the benefits for her , as others have mentioned she has more weight to put behind the ball, and it doesn’t seem to affect her movement much. She also has great stamina and doesn’t seem to fizzle out in long matches, possibly due to her extra “ reserves”. Like someone else said I think she might be doing a Bartoli.”
“Yeah. Love those fat shaming threads… it is always the big BUT.
no you are trying to be offensive, you have chosen the word with negative connotations
And you opened thread judging someone appears someone clearly does not have any issues regarding her weight
anyway she is not fat and even if she was that is none of our business”
“She always was. Fat and annoying.”
DID JELENA OSTAPENKO REALLY GAIN WEIGHT?
Jelena Ostapenko’s weight gain has been a topic of discussion among some fans. However, she seems unfazed and has remained largely injury-free. Some speculate that her love of sweets, evident from her active baking hobby showcased on her second Instagram account, might be a contributing factor.
Her social media posts featuring dessert preparation highlight her passion for baking and enjoying delicious food. However, her continued success on the court suggests a good balance between diet and fitness. This is further supported by her recent interview where she discussed her health and training routine with her coach.
With over ten years of professional experience, Jelena clearly understands what works best for her in terms of weight management and overall well-being. Her recent return to the top ten rankings and victory at the Adelaide International Tournament serve as testaments to her competence and fitness. Her ongoing participation and achievements in international tournaments further demonstrate her fitness and readiness to compete at the highest level.
“Honestly, yes, because everyone expected you almost to win every single tournament, which is crazy because you are still a human and you cannot feel great every day. Yeah, I needed some time to get used to it,” Jelena Ostapenko said. “Of course, a lot of attention from everywhere outside the court, like photo shoots and all those kinds of things. You became more popular in your country. Everybody is watching you. Of course, it’s great, but I needed some time to get used to it,” she added.
It seems that this statement is an expression of opinion about fans’ high expectations about her performance on the field as well as her life or appearance off the field.
DID JELENA OSTAPENKO HAVE DIABETES?
Latvian tennis star Jelena Ostapenko’s health has been a topic of curiosity among fans, with rumors circulating about a possible Type 1 diabetes diagnosis. However, Ostapenko herself has never addressed any health concerns in interviews.
While athletes with Type 1 diabetes can compete at the highest level, like German tennis star Alexander Zverev, who manages the condition despite being diagnosed at a young age, such a diagnosis would likely require some level of public acknowledgement due to the constant management involved.
Therefore, the lack of any mention from Ostapenko suggests that the Type 1 diabetes rumors might be unfounded.
JELENA OSTAPENKO PERSONAL LIFE
Jelena Ostapenko was born in Riga to Jevgēnijs Ostapenko, a former Ukrainian footballer who played for Metalurh Zaporizhzhia, and Jeļena Jakovļeva, a Latvian-Russian tennis coach and former player. She has one half-brother, Maksim, who resides in the United States. Introduced to tennis at the age of five by her mother, Ostapenko idolized Serena Williams as she grew up. Alongside tennis, she began dancing at a young age, eventually competing in Latvia’s national ballroom dance championships. Despite her early interest in dance, she decided to focus on tennis at the age of 12, crediting her years of dancing for her coordination and footwork skills. Fluent in Latvian, Russian, and English, Ostapenko’s legal name is Jeļena, but she is known as Aļona among family and friends. Initially named Jeļena because her parents’ desired name, Aļona, was not on the Latvian name calendar, she uses her legal name professionally to avoid administrative confusion.
JELENA OSTAPENKO TENNIS CAREER
Jelena Ostapenko, a Latvian tennis star, has had a remarkable career with both highs and lows.
Early in her career, she achieved great success. In 2014, she won the junior singles title at Wimbledon and quickly rose through the professional ranks. By 2016, she had reached the final of a Premier 5 tournament and the mixed doubles semifinals at Wimbledon.
Her most stunning achievement came in 2017, when she won the French Open as an unseeded player. This victory propelled her into the top 10 of the world rankings. Over the next few years, she continued to find success, reaching the Wimbledon semifinals in 2018 and winning another WTA title in Korea.
However, 2019 proved to be a challenging year for Ostapenko. Her ranking dropped significantly, and she struggled to find consistent results. Despite this, she did manage to win a doubles title in Luxembourg and reach the finals of two other tournaments.
Since 2020, Ostapenko has shown signs of a resurgence. She won a title at the Eastbourne International in 2021 and reached the semifinals of the US Open doubles tournament. In 2022, she captured the Dubai Championships title and reached the semifinals of both the French Open and Cincinnati doubles tournaments. Her ranking climbed back into the top 10 in doubles.
2023 saw her reach the quarterfinals of the Australian Open and achieve a clay-court semifinal at the Italian Open. She also won the Birmingham Classic and continued her strong play by upsetting the number one ranked Iga Swiatek at the US Open.
Ostapenko’s strong start to 2024 has seen her win two WTA 500 titles and return to the top 10 in the singles rankings. She also reached her first Grand Slam final in doubles at the Australian Open. Her career continues to be one of exciting potential and impressive achievements.
JELENA OSTAPENKO AWARDS
Jelena Ostapenko’s talent has been recognized throughout her career. In recognition of her early promise, she was named Latvian Sports Rising Star of the Year in 2014. As she broke onto the professional scene, her achievements were further acknowledged with WTA Tour Breakthrough of the Month awards in both February and May of 2017.
That same year, her exceptional improvement was solidified with the WTA Tour Most Improved Player of the Year award. Finally, her achievements culminated in being named Latvian Sportswoman of the Year in 2017. These accolades stand as a testament to Ostapenko’s dedication and the impact she has made in the world of tennis.
FAQ
1. What size is Ostapenko?
1.77 m (5 ft 10 in).
2. What did Ostapenko say to Tomljanovic?
Tensions flared after the match as Ostapenko slammed Tomljanovic’s behavior as “terrible” and declared she had “zero respect” for her opponent. Tomljanovic fired back, calling Ostapenko’s comments “disgraceful.”
3. How much is Ostapenko net worth?
Around $15.5 million as of 2024.
CONCLUSION
Jelena Ostapenko’s career has been a rollercoaster of achievements and challenges. While speculation about her weight gain has swirled around her, her performances on the court continue to be the true measure of her success. From her stunning upset at the 2017 French Open to her recent resurgence and return to the top 10 rankings, Ostapenko’s dedication and talent are undeniable. Let’s celebrate her athleticism and keep the spotlight on her powerful game, rather than her physical appearance.