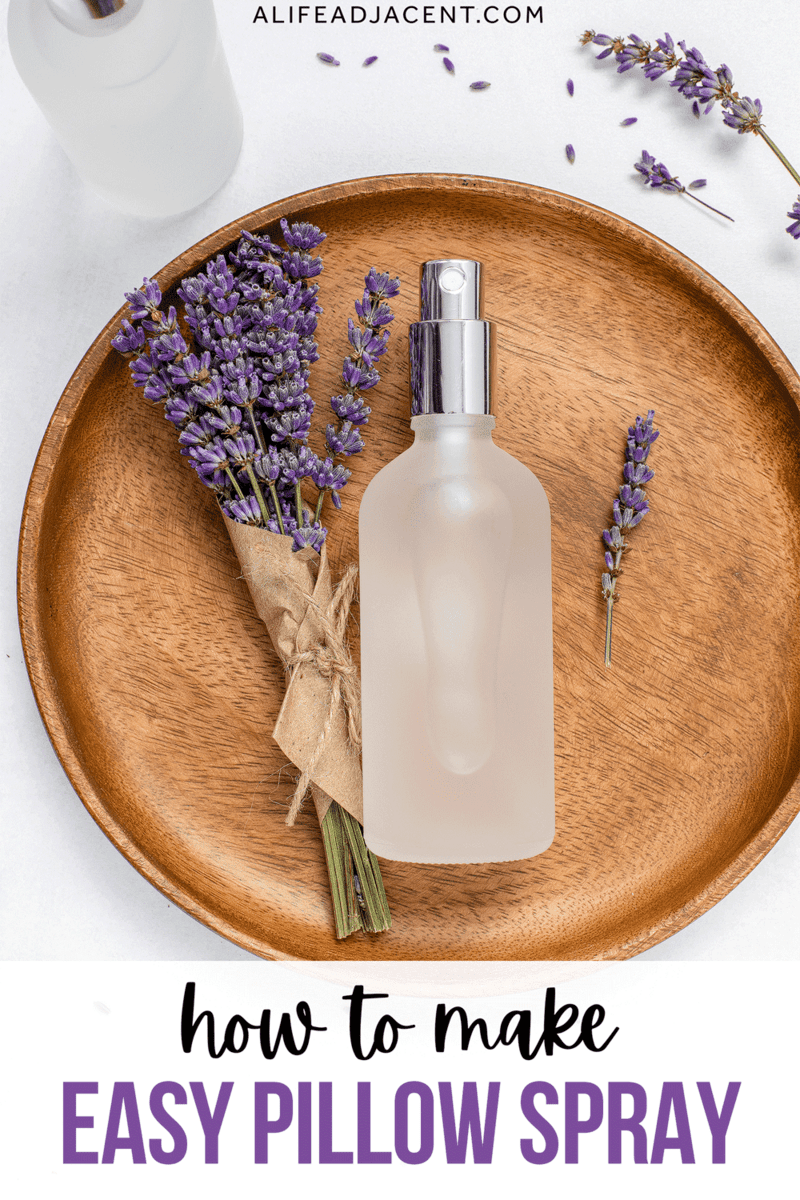
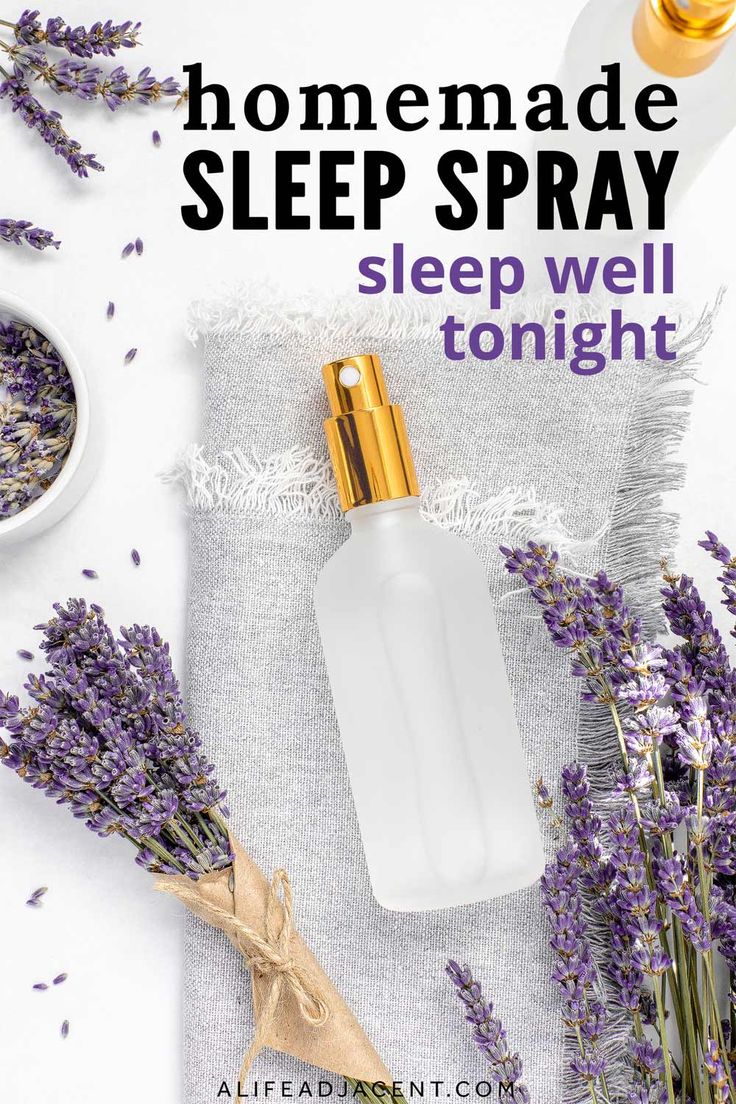
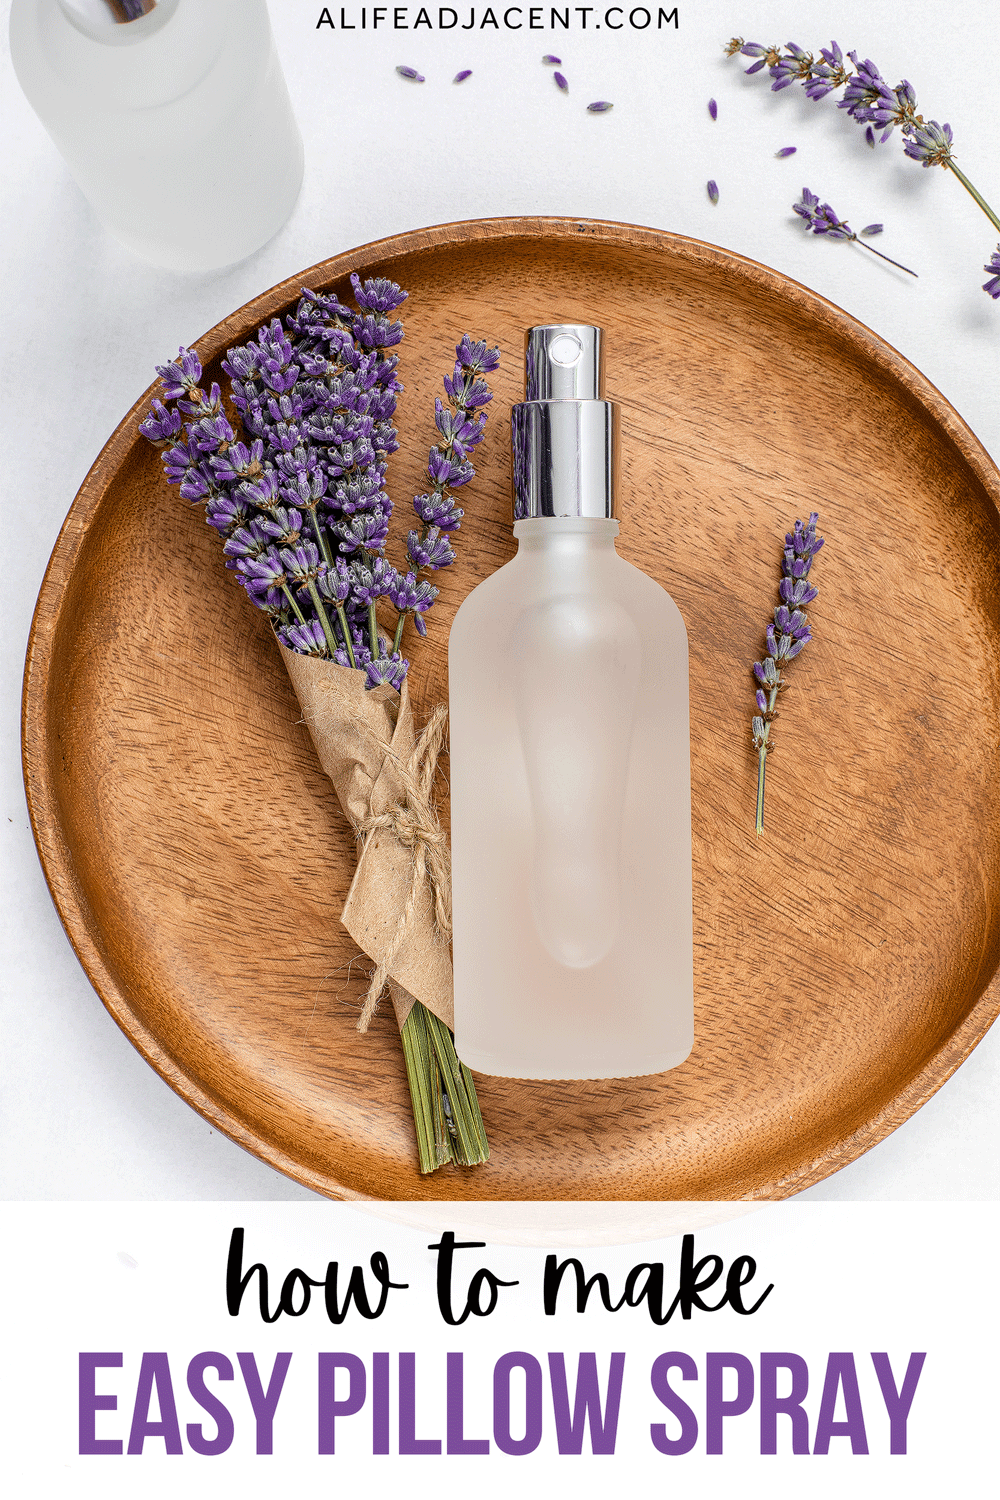
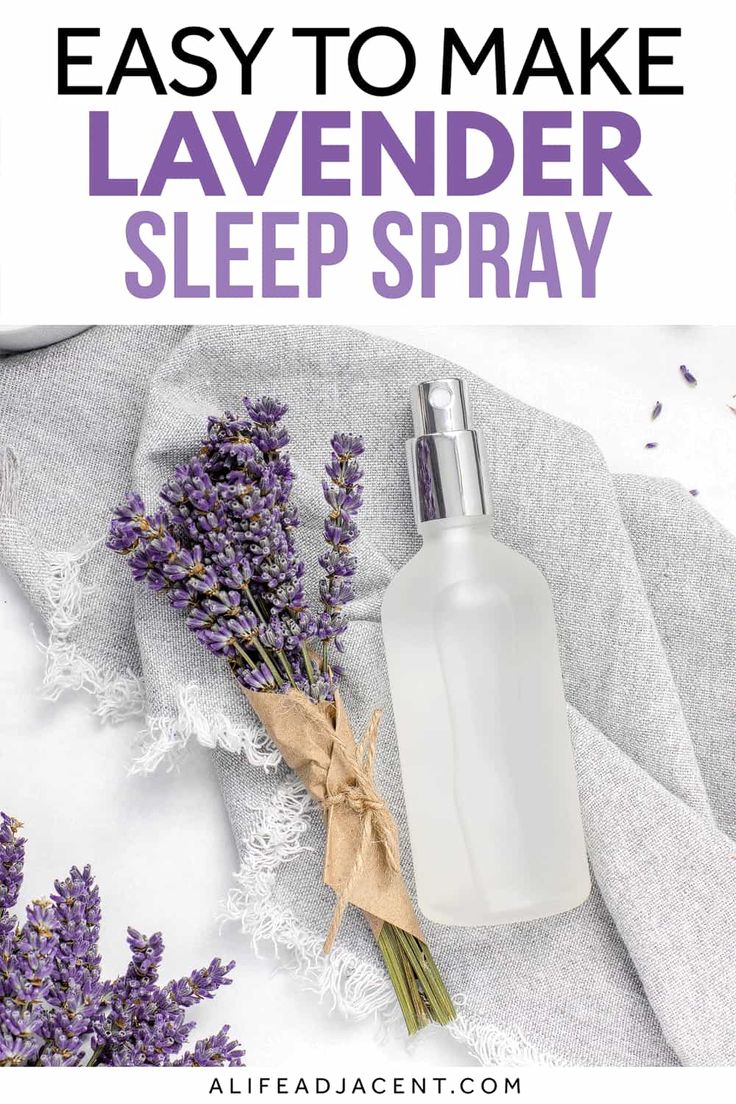
If you’re having trouble getting a good night’s sleep, a DIY pillow spray might be just what you need. This simple homemade sleep spray features three soothing lavender essential oil blends designed to encourage relaxation and help you drift into a deep, restful slumber.
Winding down after a stressful day can feel impossible. Despite eating well, exercising, and taking care of ourselves, sleep is often the hardest part of maintaining a healthy lifestyle.
And in today’s fast-paced world, it’s easy to see why!
Creating a calming bedroom sanctuary is more important than ever for restful sleep. Along with healthy sleep habits, natural remedies like aromatherapy can help set the stage for a peaceful slumber.
This is where a soothing essential oil pillow spray for beauty sleep comes in. This DIY pillow spray recipe is a simple way to add a calming fragrance to your bedding, encouraging relaxation and helping you drift off into a deep sleep.
Whether you have essential oils or not, this recipe includes options for both, as well as an alcohol-free version. Whatever supplies you have on hand, you’ll be able to create your own pillow mist.
For the ultimate wind-down, try pairing this spray with a relaxing lavender shower steamer during your bedtime routine. To take it even further, apply a homemade magnesium lotion once you’re tucked into bed for extra relaxation!
How this pillow spray helps for sleep
As we explored in our post on DIY aromatherapy perfume, the scents of certain essential oils have the ability to soothe the mind and body. If sleep is a struggle for you, essential oils can be a powerful addition to your nighttime routine.
And what better place to experience their calming effects than right beside your head, on your pillow?
It’s not recommended to apply essential oils directly to your pillow, as they can be too concentrated. However, by making your own DIY sleep spray, you can safely dilute the oils for proper use.
Plus, it’s a fantastic way to enjoy the benefits of essential oils without the need for a diffuser!
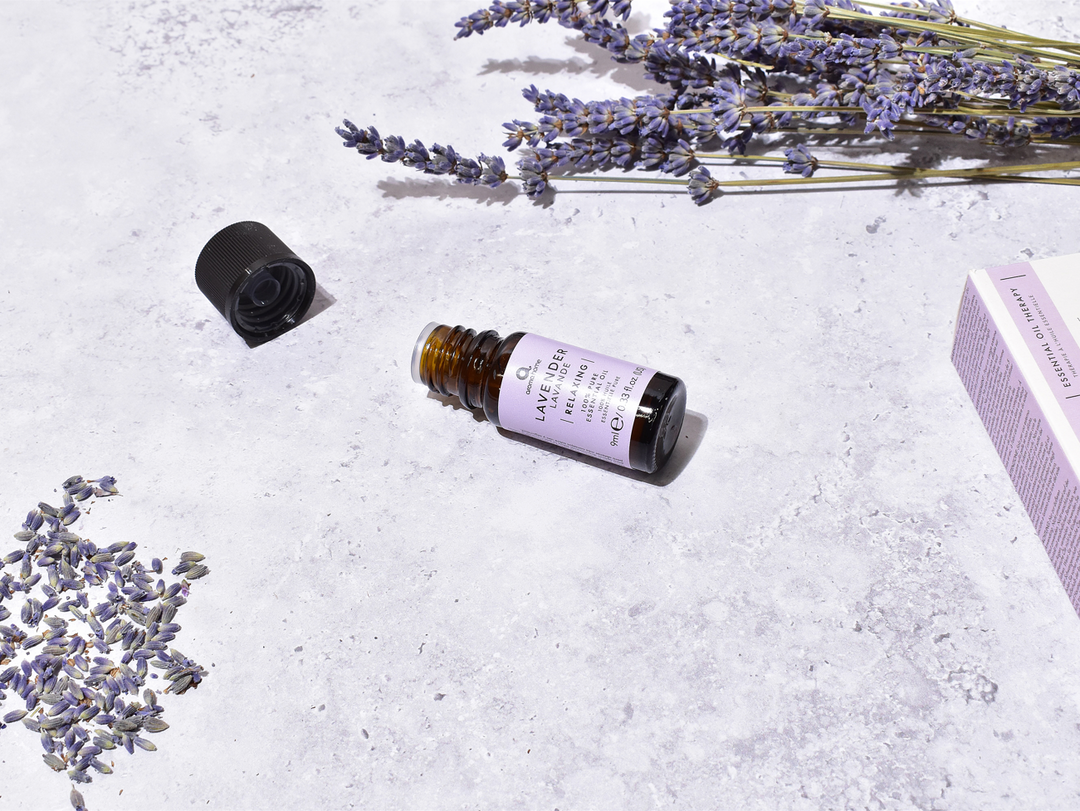
Lavender essential oil for sleep
Below, I’ve shared 3 calming essential oil blends for your pillow spray, each featuring Bulgarian lavender oil.
Why choose lavender for your sleep spray? Lavender is one of the most renowned and well-researched essential oils for promoting rest and reducing stress. Numerous studies have highlighted lavender oil’s powerful sedative, anxiety-relieving, and calming properties, making it a go-to choice for improving sleep through aromatherapy.

Lavender’s sleep-enhancing benefits are threefold. First, as a sedative, lavender oil can help you feel sleepy. Second, its anxiolytic properties can ease the anxiety that might be keeping you awake.
Not only can lavender essential oil help you fall asleep faster, but it can also improve the quality of your sleep. Research has shown that lavender’s soothing fragrance enhances sleep quality and promotes deeper rest.3,1
However, it’s important to note that this effect is even stronger when combined with good sleep hygiene. So, be sure to incorporate healthy habits into your nighttime routine, like limiting blue light exposure before bed.
Engaging in relaxing activities is also key. One calming ritual you can try? Gently massaging your face with a homemade lavender cleansing balm. While you’re at it, check out 5 tips to protect yourself from blue light!
DIY sleep spray ingredients
While there are plenty of store-bought pillow sprays available, there’s really no need to buy one when making your own at home is so simple.
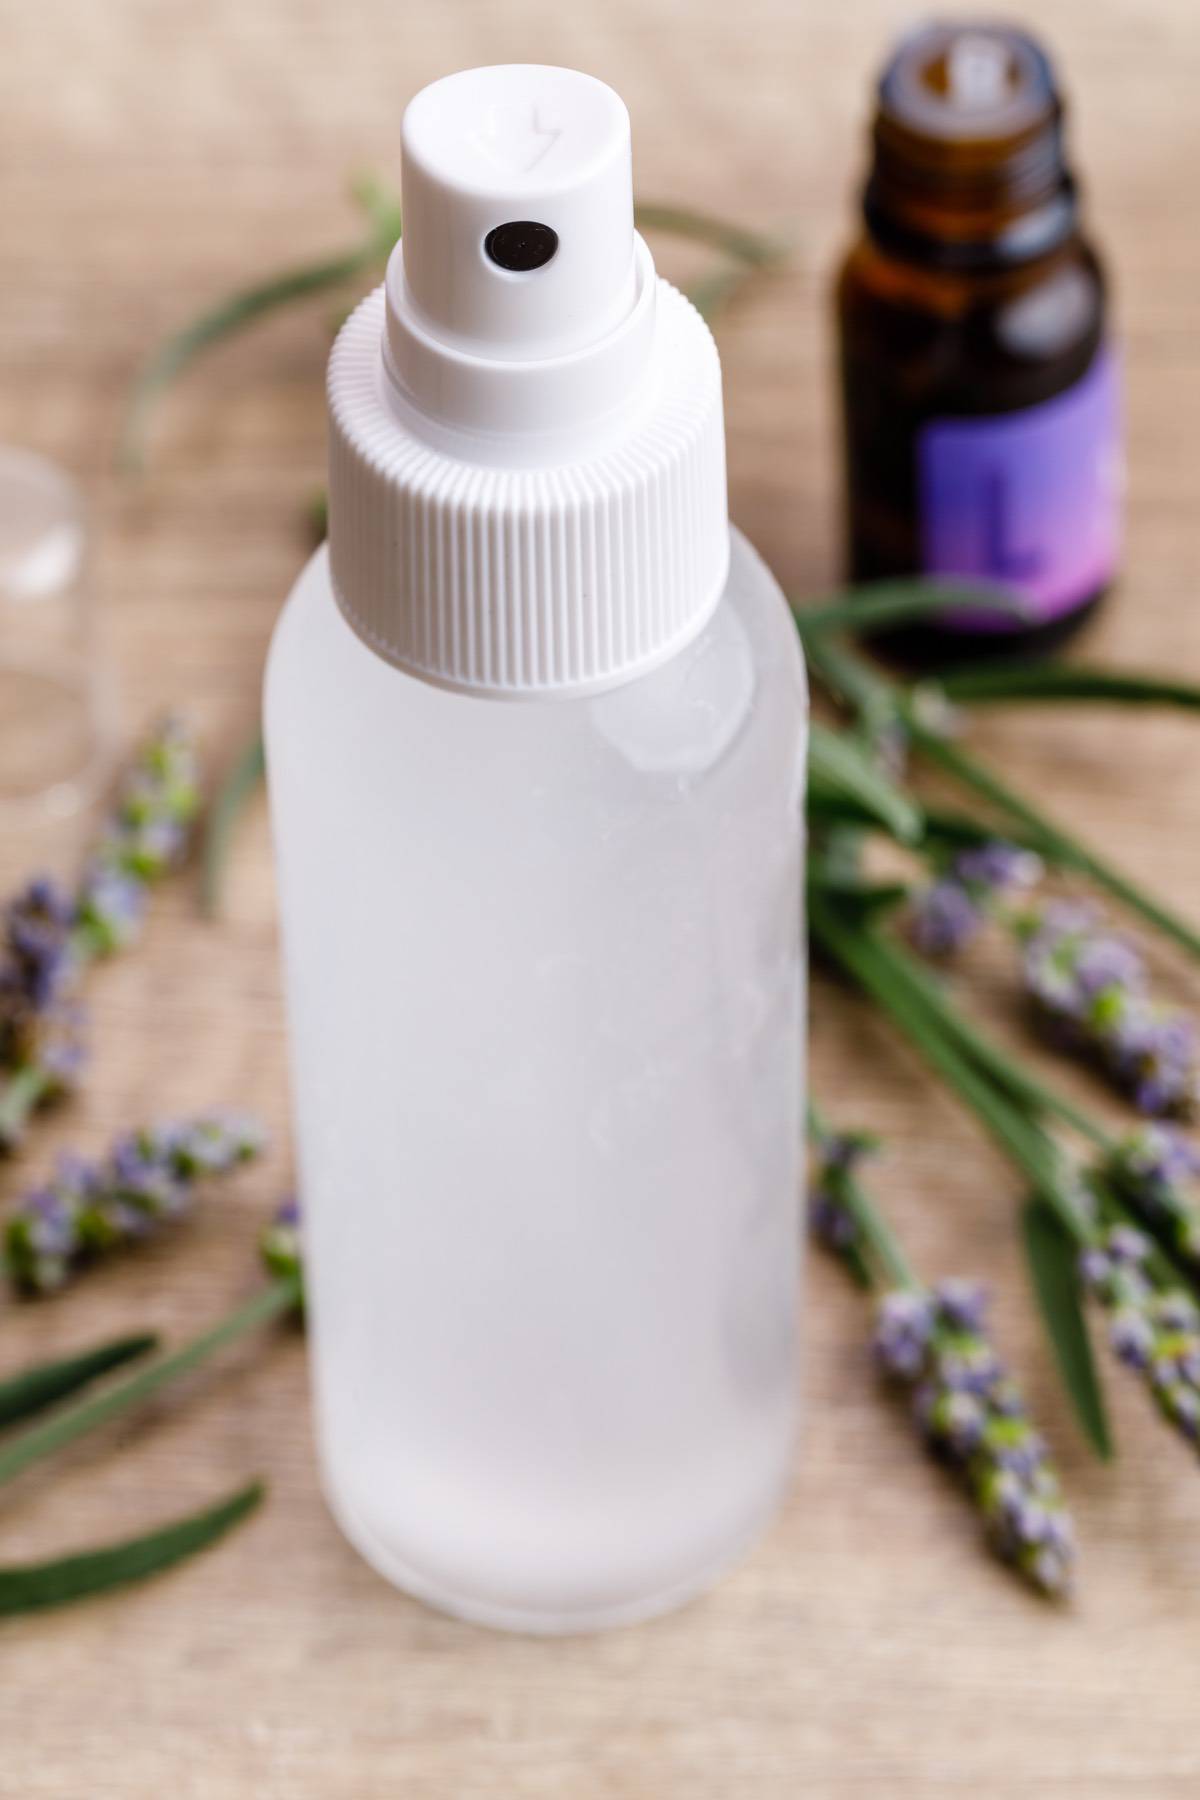
To create your DIY pillow spray, all you need is a liquid base like vodka or witch hazel, a natural emulsifier (as shown below), and your favorite essential oils (or a hydrosol). You’ll also need a glass spray bottle to store and dispense your homemade spray.
VODKA, ALCOHOL, OR WITCH HAZEL
For the longest shelf life, I recommend using vodka or high-proof alcohol, as it helps prevent bacterial growth. However, if you prefer a version without alcohol, you can use witch hazel, as long as it contains a preservative to keep it fresh.
Tip: You can use any leftover alcohol or witch hazel to create your own DIY perfume.
NATURAL EMULSIFIER
A natural emulsifier is key for dispersing the essential oils in your pillow spray. Since essential oils don’t mix with water, the oils would simply float on top without an emulsifier. This is problematic because spray nozzles dispense from the bottom, not the top!
There are various natural emulsifiers and solubilizers you can use for this recipe. I used Capryl/Caprylyl Glucoside from my Simply Earth essential oil box, which comes in a convenient dropper bottle for easy dispensing and measuring. If you don’t have this emulsifier, I’ve listed other options in the how-to section below.
If you’re hesitant to buy another ingredient, rest assured that emulsifiers are easy to use—just mix with your essential oils before adding the rest of the ingredients. Plus, any leftover emulsifier can be used in other DIY projects like essential oil deodorant or room sprays.
If you decide not to use an emulsifier, remember to shake your pillow spray well before each use. However, this can result in uneven distribution of the oils, which isn’t ideal.
ESSENTIAL OILS
It’s important to avoid using products with synthetic fragrances, especially in pillow sprays, as they often contain chemicals that can be irritating and lead to headaches—something you definitely don’t want when trying to fall asleep!
Unlike artificial fragrances, essential oils like lavender contain natural aromatic compounds that offer real benefits. Lavender, in particular, is known for its calming, sleep-inducing properties, making it an ideal choice for your DIY pillow spray.
While lavender is one of the best essential oils for relaxation, it’s far from the only option. This homemade pillow spray recipe includes three different essential oil blends to promote sleep, which you can customize based on your preferences.
HYDROSOL
If you’d prefer a pillow spray without essential oils, you can use lavender hydrosol, the floral water left over from the essential oil distillation process. Simply spritz lavender hydrosol directly onto your bedding—there’s no need to mix it with anything else!
While hydrosols are not as potent as essential oils, they retain many of their benefits. Their light fragrance makes them a great option for those who are sensitive to stronger scents or for use with children.
ESSENTIAL OIL BLENDS FOR PILLOW SPRAY
Here are three calming essential oil blends for your lavender sleep spray. Each blend has its own unique fragrance profile and benefits:
Sleepytime Lavender:
- 12 drops Sleepy essential oil blend
- OR 5 drops lavender essential oil
- 3 drops ho wood essential oil
- 2 drops bergamot essential oil
- 2 drops grapefruit essential oil
Lavender Vanilla:
- 5 drops lavender essential oil
- 5 drops vanilla essential oil
- 2 drops patchouli essential oil (or copaiba essential oil)
Lavender Chamomile:
- 5 drops lavender essential oil
- 4 drops chamomile essential oil
- 4 drops amyris essential oil
Feel free to experiment with these blends to find the perfect scent that helps you unwind and relax before bed!
SLEEPTIME LAVENDER
The Sleepy blend is a relaxing mix of lavender, ho wood, grapefruit, and bergamot essential oils that I received in my Simply Earth Essential Oil Recipe Box. I was curious about the choice of citrus oils in this blend, since citrus scents are typically invigorating. I often use them in energizing products like “wake me up” shower steamers and roll-ons.
However, I was pleasantly surprised by this blend. The citrus notes mellow out the lavender, which can sometimes be overpowering or too floral. This makes it a great option for those who want the benefits of lavender essential oil for sleep but find its scent too strong or intense.
Ho wood adds a grounding, earthy tone to the blend, while also acting as a fixative oil, which helps the fragrance last longer on your pillow. Sleepy comes pre-bottled as a blend, so it’s easier and more affordable than buying each individual oil to recreate it on your own.
LAVENDER VANILLA
Lavender essential oil is already an effective natural sleep aid, but when paired with vanilla oleoresin, it creates a calming blend that smells like a sweet dessert. Vanilla is also known for its relaxing properties, making this combination a perfect bedtime scent. The warm, comforting aroma of lavender and vanilla together can help you unwind and drift off to sleep with ease. This blend not only promotes relaxation but also creates a cozy, indulgent experience.
LAVENDER VANILLA WITH PATCHOULI
I also added a couple of drops of patchouli to my lavender vanilla pillow mist. Patchouli is one of those scents that people either love or hate, but it has powerful aromatherapeutic properties that can help reduce anxiety. Plus, it’s the most well-known fixative essential oil, meaning it helps your pillow spray’s fragrance last throughout the night.
That said, I know not everyone is fond of patchouli’s distinct aroma. If you’re one of those who aren’t keen on it, you can easily swap it for copaiba oil, which also has calming properties. Copaiba has a sweet, slightly spicy scent that pairs beautifully with lavender and vanilla. Additionally, if you’re on a budget, you can choose a more affordable vanilla blend instead of pure vanilla essential oil.
LAVENDER CHAMOMILE
This Lavender Chamomile blend combines floral lavender, herbal chamomile, and sweet amyris for a pillow spray recipe that smells just like a calming cup of lavender chamomile tea. Chamomile is well-known for its relaxing properties, which is why chamomile tea is such a classic bedtime drink.
Chamomile essential oil also carries these sedative effects, which help promote relaxation and reduce insomnia.
The addition of amyris adds a rich, vanilla-like aroma to the blend. While amyris may not be as extensively studied as lavender oil for its sleep benefits, it’s certainly linked to relaxation. I personally find its fragrance to be deeply calming and peaceful.
If you prefer a sweeter-scented spray, especially for children, you can replace amyris with benzoin oil, which has a similar soothing effect and a lovely fragrance that’s more universally liked.
DIY Pillow Spray Recipe
INGREDIENTS
- 12 drops lavender essential oil blend (choose from the blends above)
- 36 drops natural liquid emulsifier (options below)
- 1/4 cup vodka, high-proof alcohol, or witch hazel
EQUIMENT
- 2oz glass spray bottle
- Small funnel
- Glass pipette for measuring
HOW TO MAKE ESSENTIAL OIL SLEEP SPRAY
- Sanitize: Start by cleaning and sanitizing your spray bottle and all equipment to ensure the spray stays fresh.
- Add Essential Oils: Using a glass pipette, measure and add your chosen sleep essential oil blend to the glass spray bottle.
- Add Emulsifier: Using a glass pipette, drop the liquid emulsifier into the bottle, one drop at a time. Pause occasionally to swirl the mixture gently, ensuring the emulsifier blends well with the essential oils.
- Shake and Mix: Once you’ve added the emulsifier, securely replace the nozzle of your spray bottle and shake it gently to ensure the solution is thoroughly mixed.
- Add Alcohol or Witch Hazel: Using a funnel, pour your chosen liquid base (vodka, high-proof alcohol, or witch hazel) into the bottle to fill the rest of the container. Leave a little space at the top to allow for shaking.
- Final Shake: Affix the spray nozzle to your bottle and shake well to ensure everything is fully combined. Your DIY sleep spray is now ready to use! Spritz it onto your pillow or bedding before bedtime for a calming, restful night’s sleep.
Natural Emulsifiers for Essential Oil Sprays
Here are some natural solubilizers and liquid emulsifiers you can use in your pillow spray recipe. Choose the one that’s most accessible to you, as availability may vary depending on location:
- Caprylyl/Capryl Glucoside
- Emulsium (available in Canada only)
- CreamMaker FLUID (available in Canada or USA)
- Polyglyceryl Oleate
- Poly Suga Mulse D9
How to Use Your Pillow Mist for Sleep
Here are a few ways you can incorporate your calming pillow mist into your bedtime routine:
Spritz on Your Pillow: The most common way to use your spray is to dispense 1-3 sprays directly onto your pillow before you sleep. This will help infuse your bedding with a relaxing fragrance as you drift off.
Spray on Your Sheets: You can also use your pillow spray as a homemade linen spray. Spritz it onto your sheets, duvet, or blankets to imbue your entire bed with the calming aroma.
Room Spray: For a broader relaxing effect, use the spray as a calming room mist. This is a great way to enjoy the benefits of aromatherapy in your space, even if you don’t have a diffuser. Simply spritz around the room for a peaceful atmosphere.
Important Tip: Keep in mind that darker essential oils like vanilla and chamomile can stain light-colored fabrics. To avoid any potential damage, always perform a patch test in an inconspicuous area of your fabric before using your pillow spray more widely.
Additionally, be cautious when using your sleep spray on delicate fabrics like silk. While I personally use a 30 momme silk pillowcase with no issues, it’s always a good idea to test it first on a small area to ensure it doesn’t cause any staining or damage.
Sweet dreams!
CONCLUSION
Making your own DIY pillow spray is an easy and effective way to enhance your sleep routine with the calming power of essential oils. With just a few simple ingredients like essential oils, a natural emulsifier, and a liquid base, you can create a customized sleep spray that promotes relaxation and restful slumber. Whether you choose lavender, chamomile, or a blend of oils, the right fragrance can help ease anxiety and prepare your mind for sleep.
Remember, always perform a patch test to ensure your spray is safe for your fabrics, especially with delicate materials like silk. And, by incorporating your pillow spray into a calming bedtime routine, you’re setting yourself up for sweet dreams and a better night’s rest. Sweet dreams, and enjoy your peaceful slumber!