
Garlic confit is the perfect ingredient for dips, dressings, and so many other dishes! This easy recipe creates a rich, garlic-infused oil that enhances a wide range of cuisines. You can use it as is or turn it into garlic butter for an extra touch of flavor—either way, this recipe is a game-changer!
INGREDIENTS
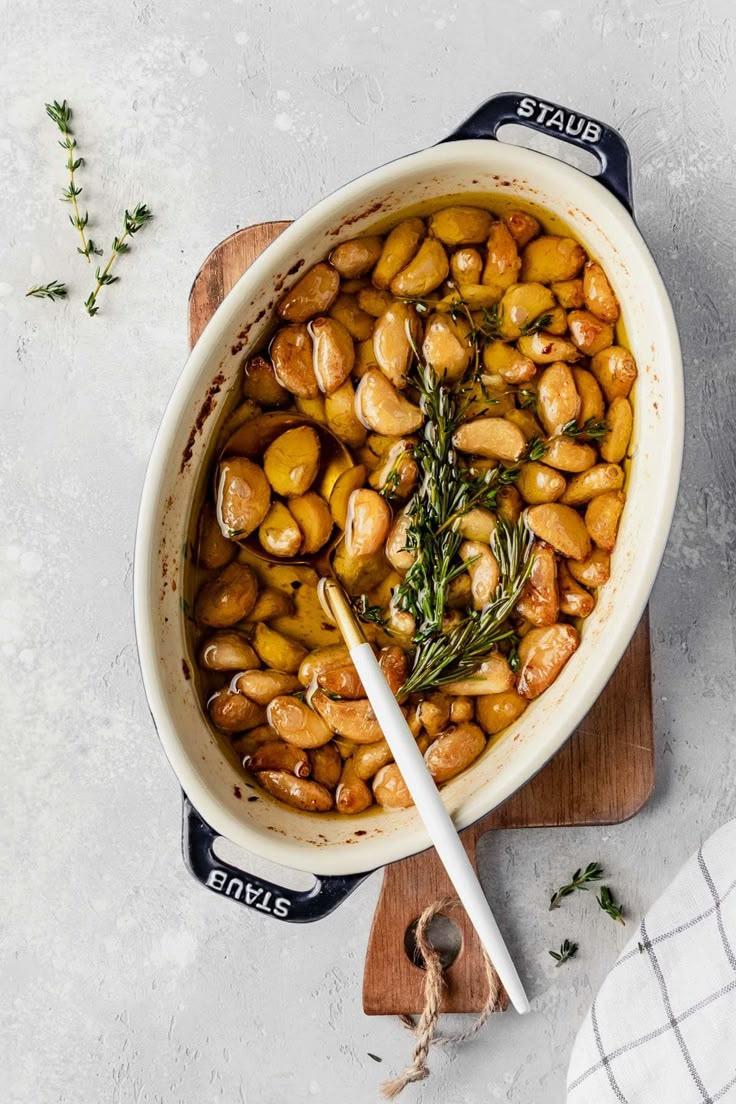
Garlic Confit
- 2 cups peeled garlic (pre-peeled from Sam’s works well)
- 2 cups extra-virgin olive oil
- 3 sprigs fresh thyme
- 3-4 rosemary twigs
- 1 tsp coarse salt
Garlic Herb Butter
- 1/2 cup softened butter
- 2-3 tbsp garlic confit (just the garlic, no oil)
- 1 tbsp chopped parsley
- 1 tbsp chopped rosemary
- 1/2 tsp salt

INSTRUCTIONS
Garlic Confit
- Preheat your oven to 275°F (135°C).
- In a baking dish, combine the peeled garlic, olive oil, salt, rosemary, and thyme. Stir to coat the garlic evenly.
- Place the dish in the oven and bake for 1 to 1.5 hours, stirring occasionally. The garlic should be soft and golden, not browned.
- Remove from the oven and let it cool to room temperature. Discard the fresh herbs.
- Transfer the garlic and oil to an airtight jar, ensuring the garlic is fully submerged in the oil. Seal and store in the refrigerator. The oil will solidify when chilled, so let it come to room temperature before use.
- For freezing, transfer the confit into a freezer-safe container, leaving space for expansion. It will last a few months frozen.
Garlic Herb Butter
- In a bowl, combine softened butter, garlic confit (without the oil), chopped parsley, rosemary, and salt. Mix well.
- Transfer the herb butter to parchment paper, shaping it into a log or bowl. If shaping a log, roll it in parchment and twist the ends.
- Refrigerate for at least an hour to firm up.
- Slice into rounds or serve from the bowl. Store in the refrigerator for later use.
NOTES & TIPS
- Storage: Always store garlic confit in the fridge to avoid the risk of botulism. Make sure all garlic cloves are fully submerged in oil for safety.
- Add Spice: Red pepper flakes can add a zesty kick when serving.
- Usage Ideas:
- Garlic Bread: Spread mashed garlic on crusty bread and toast.
- Pasta: Stir into pasta dishes for a rich, garlicky base.
- Mashed Potatoes: Incorporate into mashed potatoes for extra flavor.
- Dressings: Blend into salad dressings for a garlic-infused boost.
- Roast Vegetables: Toss with vegetables before roasting for a savory touch.
- Pizza: Use as a base for pizza before adding toppings.
- Marinades: Add to marinades for meats or seafood.
- Soups/Stews: Stir into soups or stews for extra depth.
- Eggs: Mix into scrambled eggs, omelets, or frittatas.
- Dips: Add to hummus or other dips for a punch of flavor.
- Sandwiches/Wraps: Spread for extra richness.
STORAGE TIPS
- Keep garlic confit in an airtight container in the fridge for up to 2-3 weeks. Always ensure the garlic is covered in oil.
- For freezing, store in a freezer-safe container with room to expand. Alternatively, freeze in ice cube trays for easy portioning.
Nutrition (per 2 tbsp serving)
- Calories: 132 kcal
- Carbohydrates: 3g
- Protein: 1g
- Fat: 14g
- Saturated Fat: 2g
- Monounsaturated Fat: 10g
- Polyunsaturated Fat: 1g
- Sodium: 74mg
- Potassium: 35mg
- Fiber: 0.2g
- Sugar: 0.1g
- Vitamin A: 5 IU
- Vitamin C: 3mg
- Calcium: 16mg
- Iron: 0.2mg


