Our gallery of 90s hairstyles for women features iconic looks, from Rachel’s unforgettable cut in Friends and Janet Jackson’s stunning braids to Mariah Carey’s fabulous curls. Best of all, we showcase how these classic styles are being reimagined and styled today!
The Rachel
Is there really any need for an explanation? Didn’t think so!
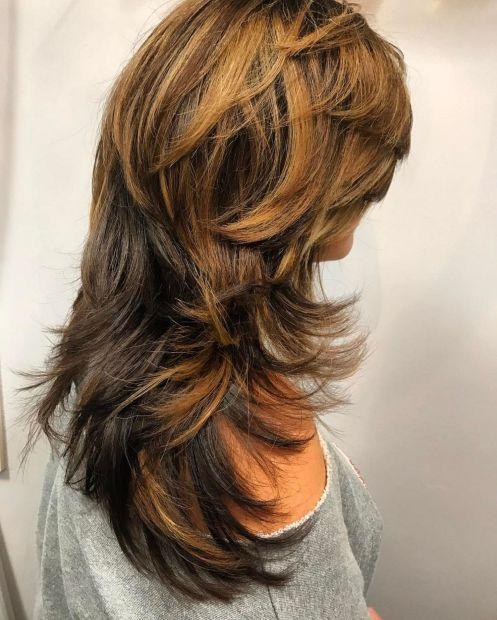
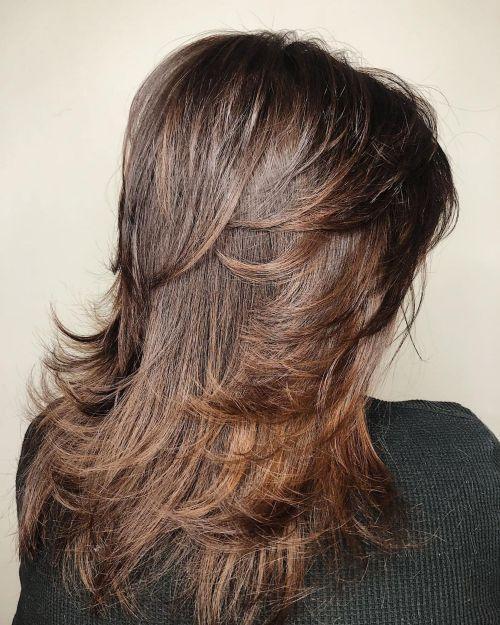
90’s Voluminous Blowout
Cindy Crawford perfectly embodied the essence of hair that radiates volume and glamour. With her stunning locks, she set the standard for luxurious hairstyles that captivated audiences everywhere. Her ability to combine volume with a glamorous finish made her a true style icon, inspiring countless women to embrace their own luscious, eye-catching hair.
Hair in an Updo
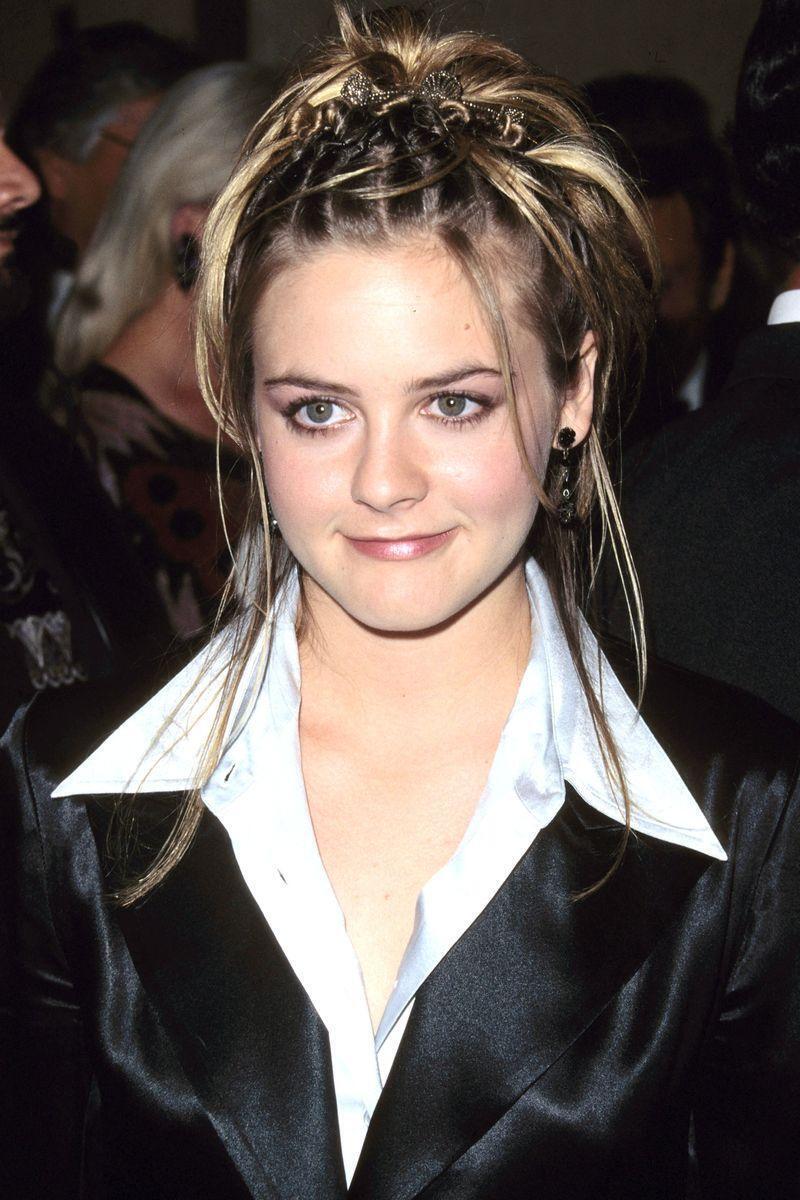
This hairstyle involves pulling the hair back tightly and securing it at the crown of the head, resulting in a sleek and polished appearance. This elegant style not only showcases the face beautifully but also exudes sophistication and confidence. The tightness of the pull ensures that the hair remains in place, allowing for a refined look that highlights the wearer’s features and adds a touch of glamour to any outfit.
Teeny Double Dutch Pigtails
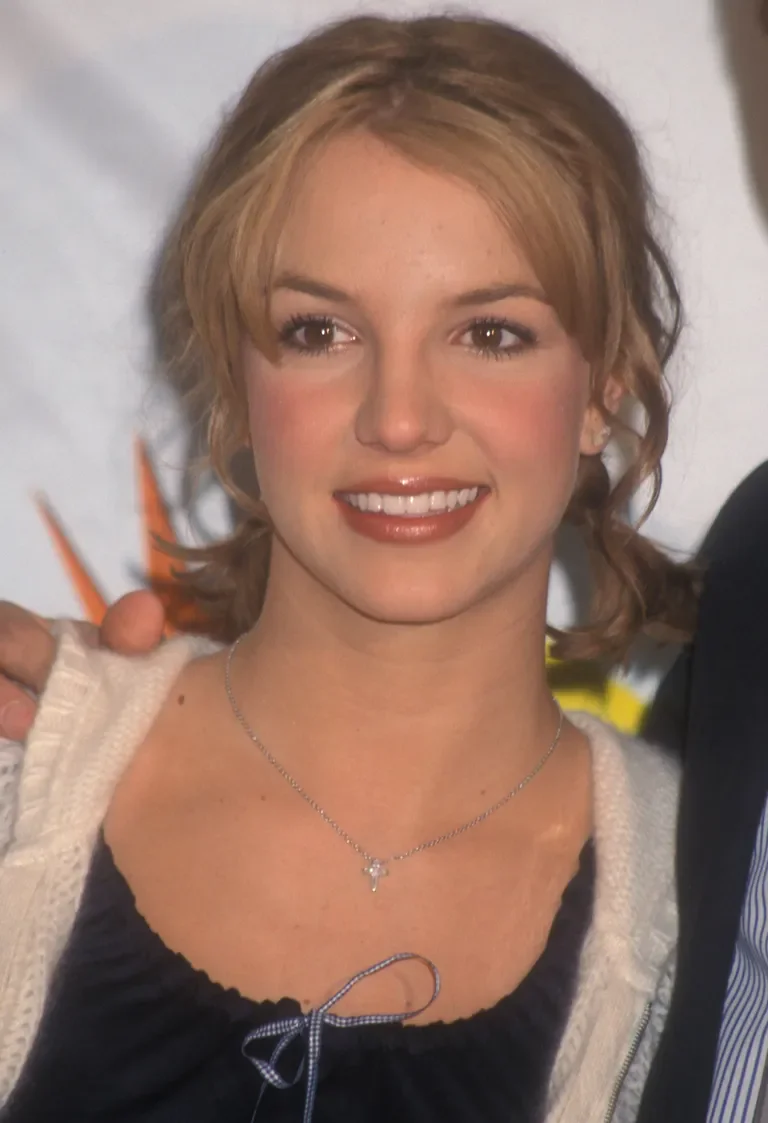
This effortless hairstyle is a total ’90s throwback. Britney Spears styled her short hair into two messy plaits, secured with elastics, leaving just a hint of hair peeking out at the ends for a fun and playful look.
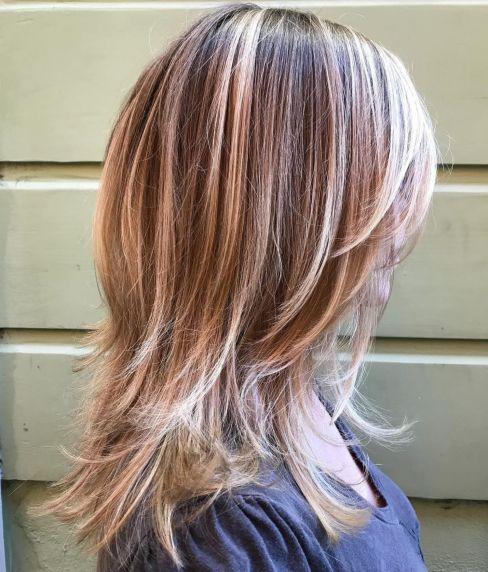
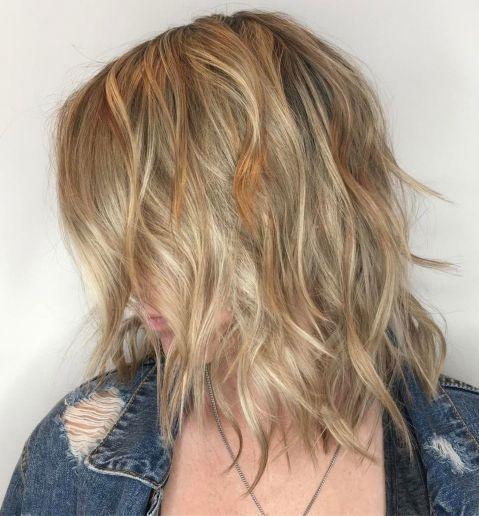
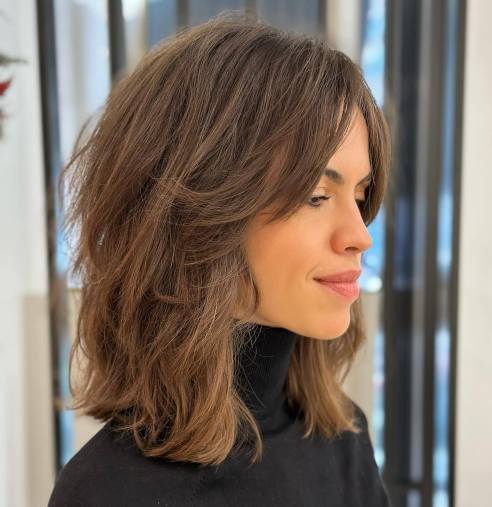
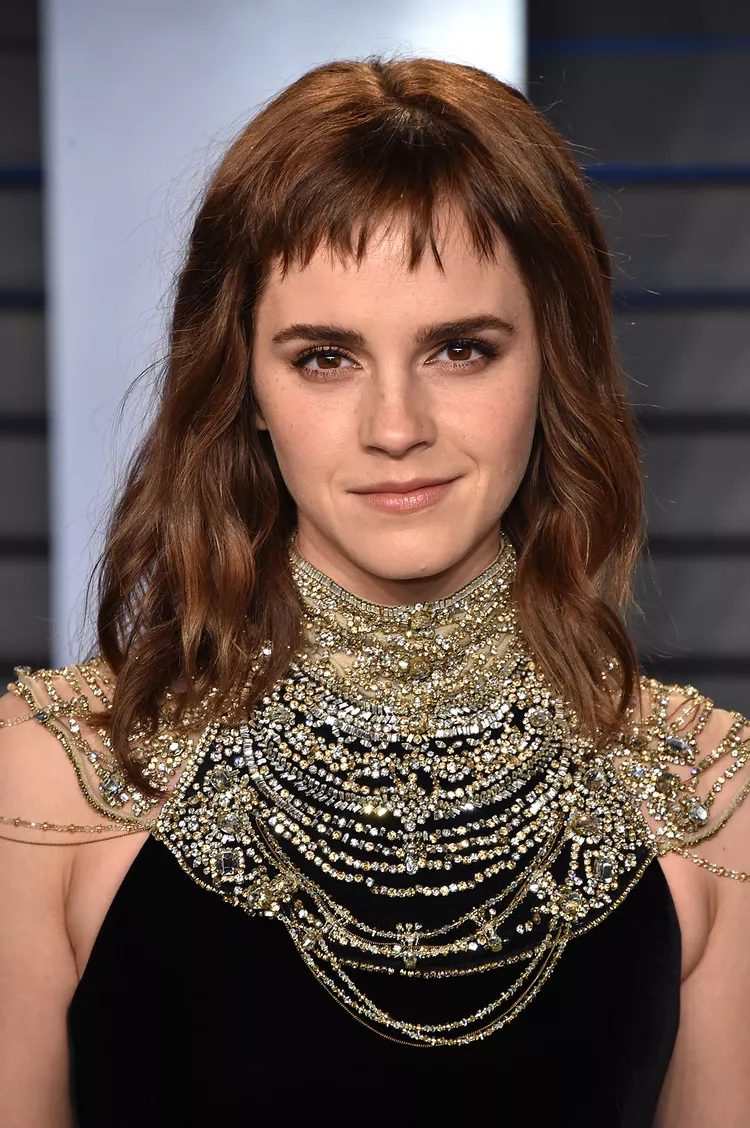
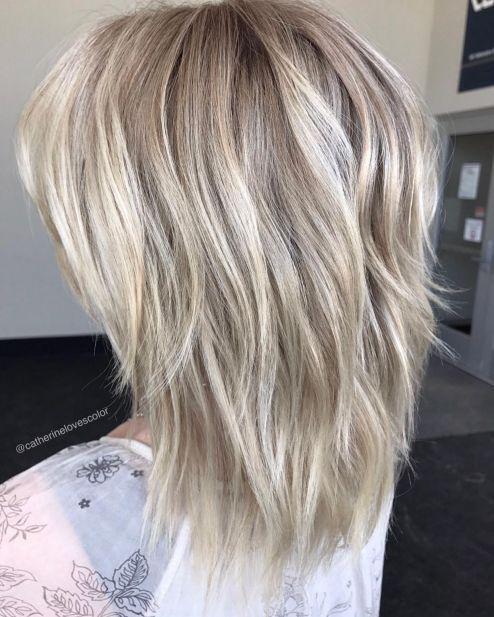
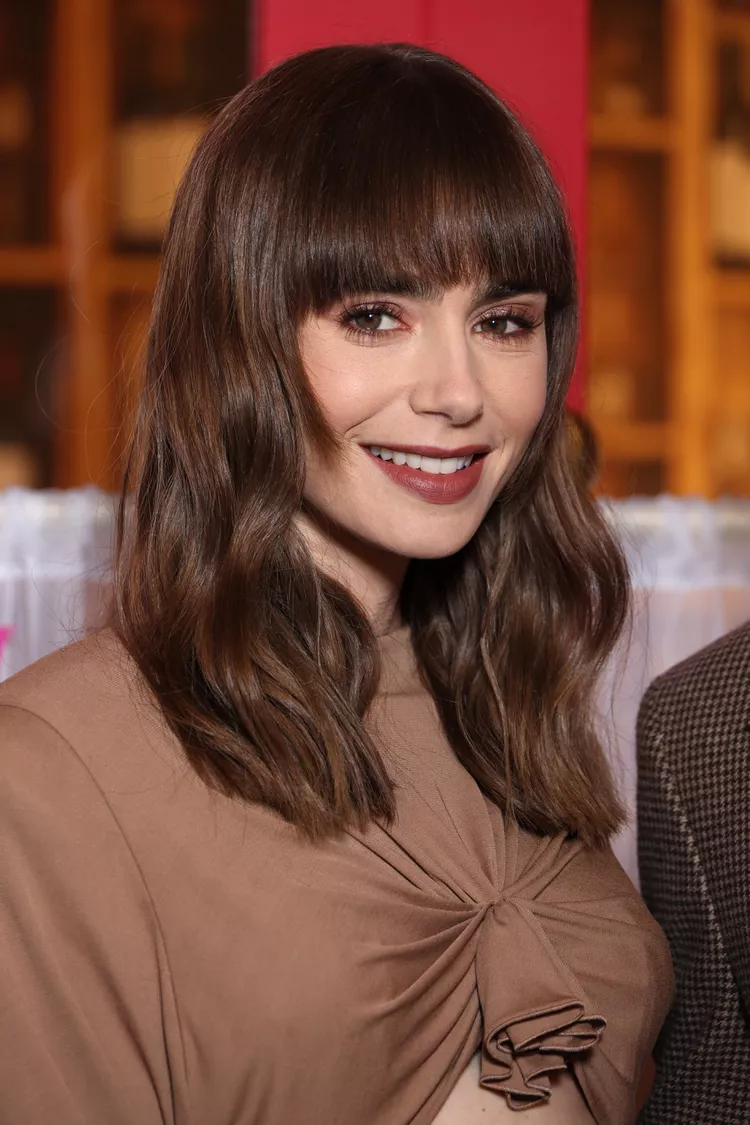
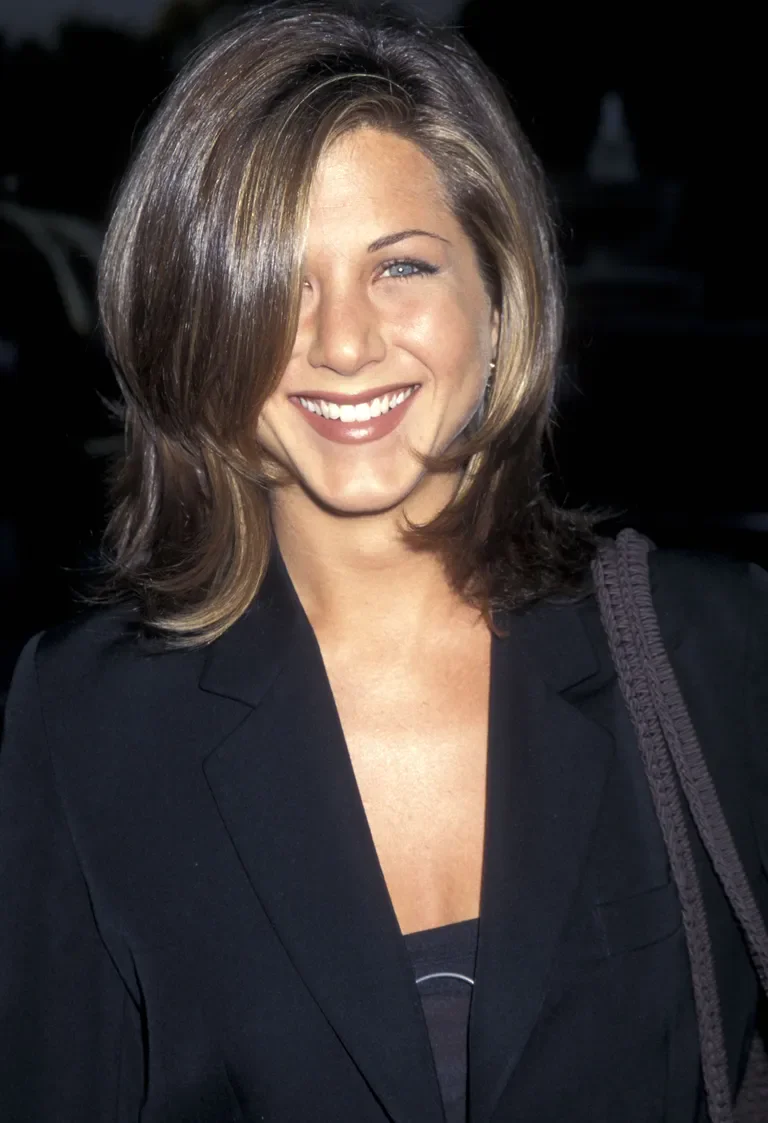
The Rachel Haircut

The shoulder-length hairstyle, featuring face-framing layers and choppy ends, was expertly crafted by hairstylist Chris McMillan. This iconic look gained immense popularity through its association with Friends, becoming a highly sought-after style that many women desired. Its effortless yet chic appearance perfectly complemented various face shapes, making it a go-to choice for those looking to achieve a modern and versatile look.
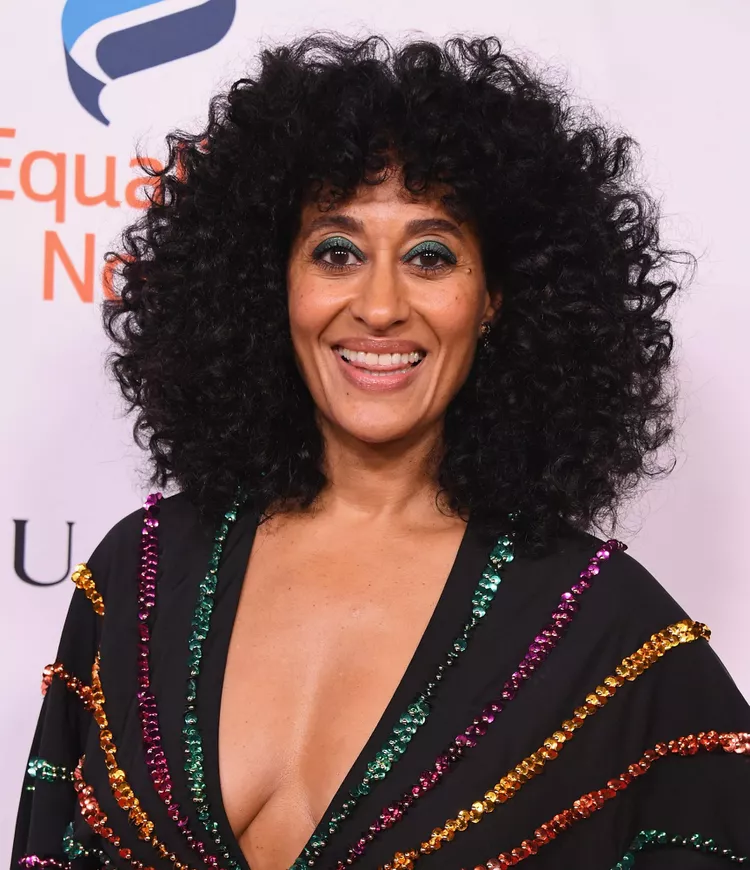
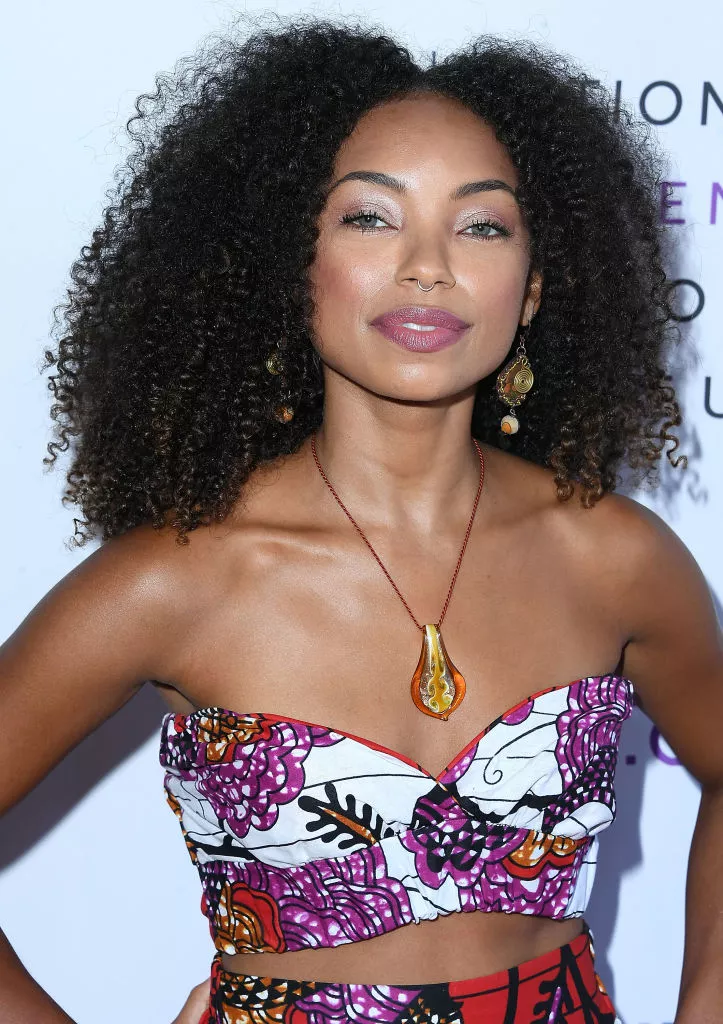
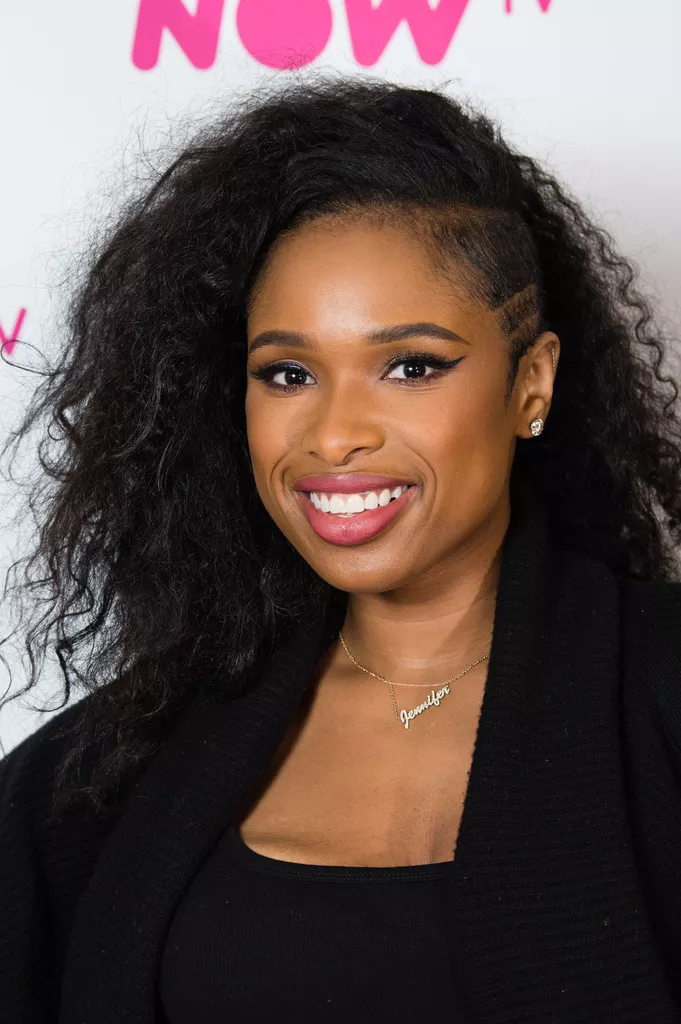
Thick Braids
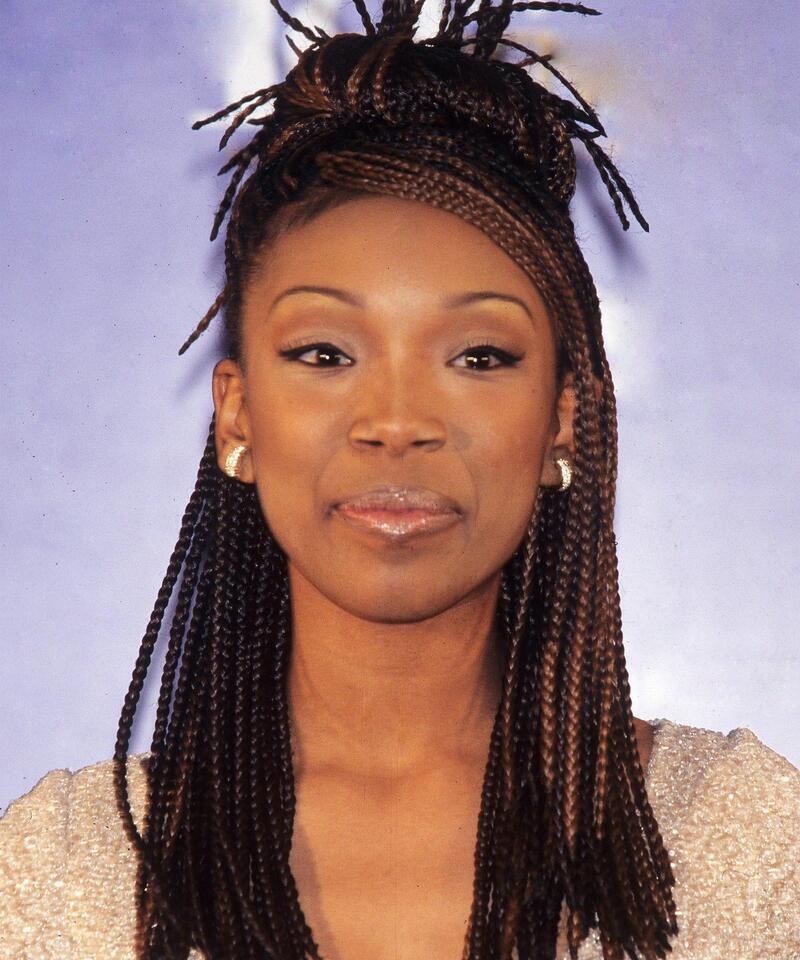
The influence of the film Poetic Justice extended far beyond the silver screen, leaving a lasting impact on cultural trends and hairstyles. In the 90s, braids emerged as a powerful symbol of empowerment and self-expression, particularly for Black women. Braids became more than just a fashion statement; they represented cultural identity, resilience, and individuality, allowing women to express their unique personalities and heritage.
Butterfly Clips
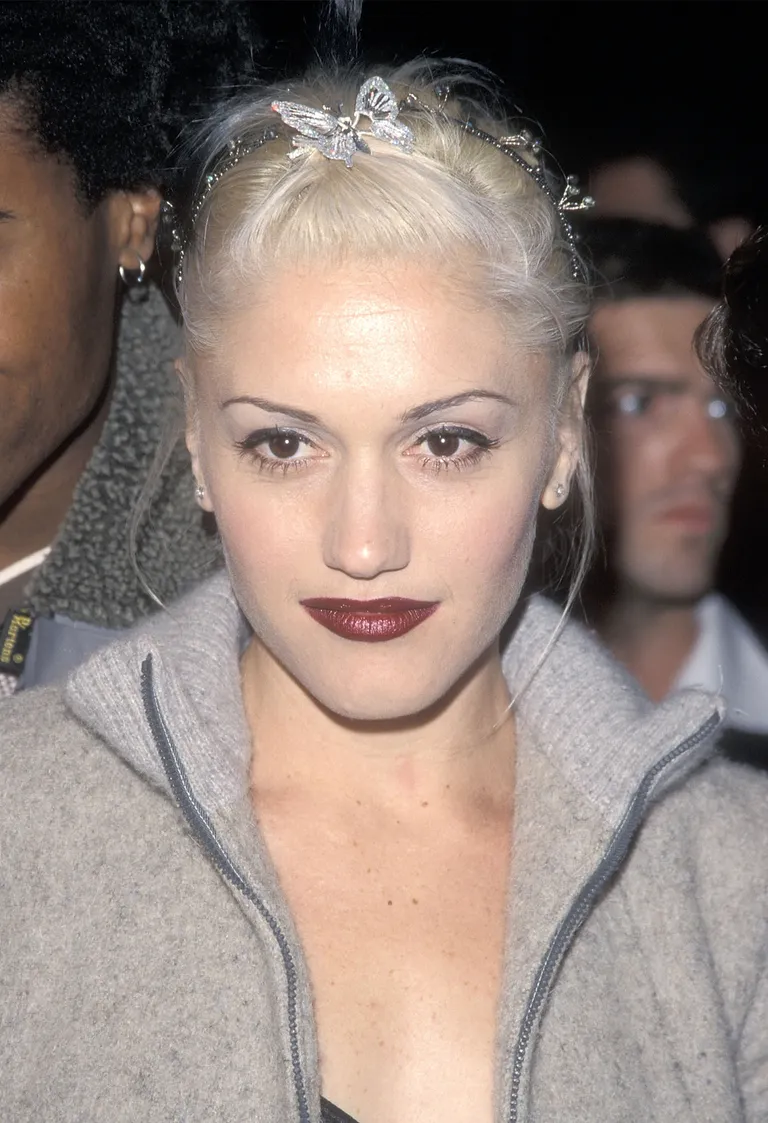
Stefani was never shy about experimenting with her hair. In this look, she embraces a trend that nearly every ’90s girl rocked: the iconic butterfly clip. It was truly a defining accessory of the era!
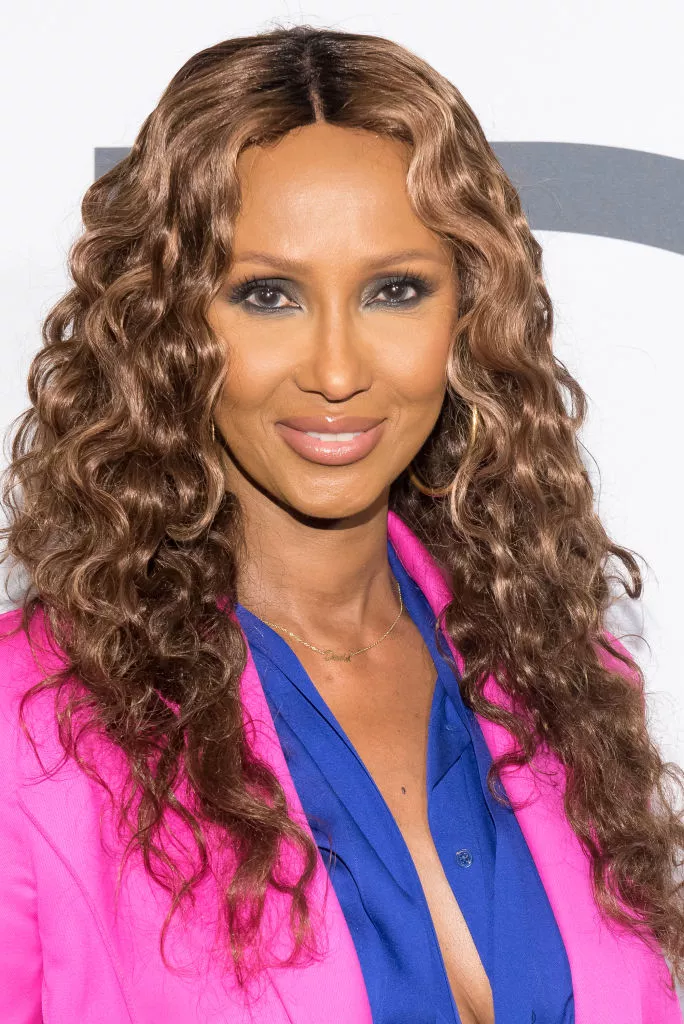
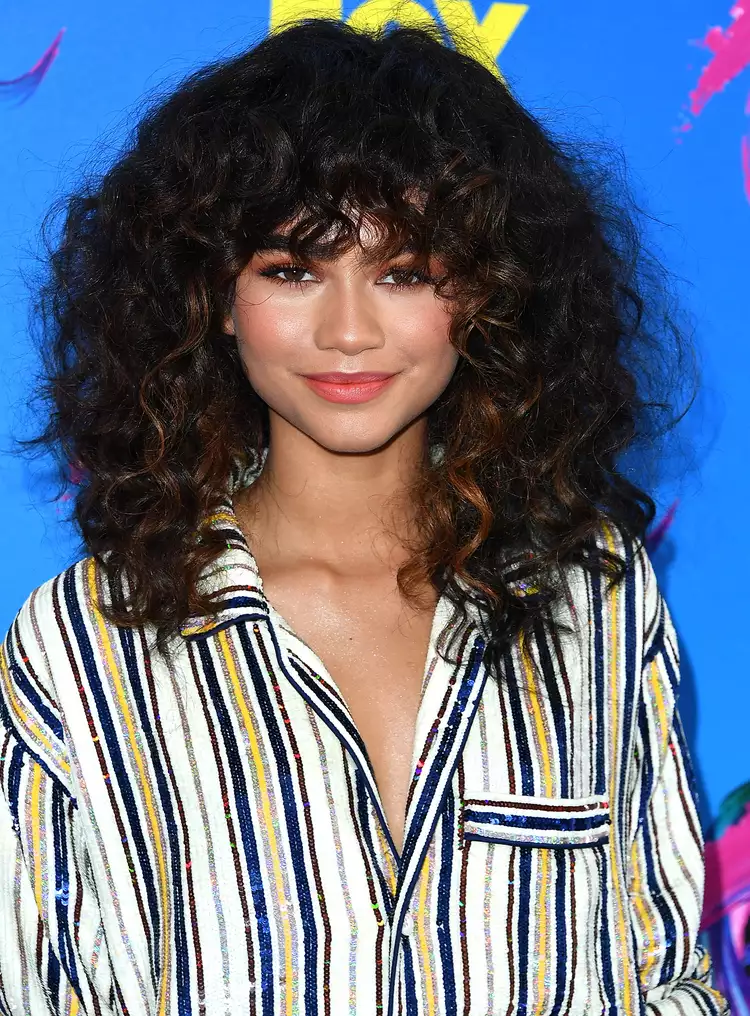
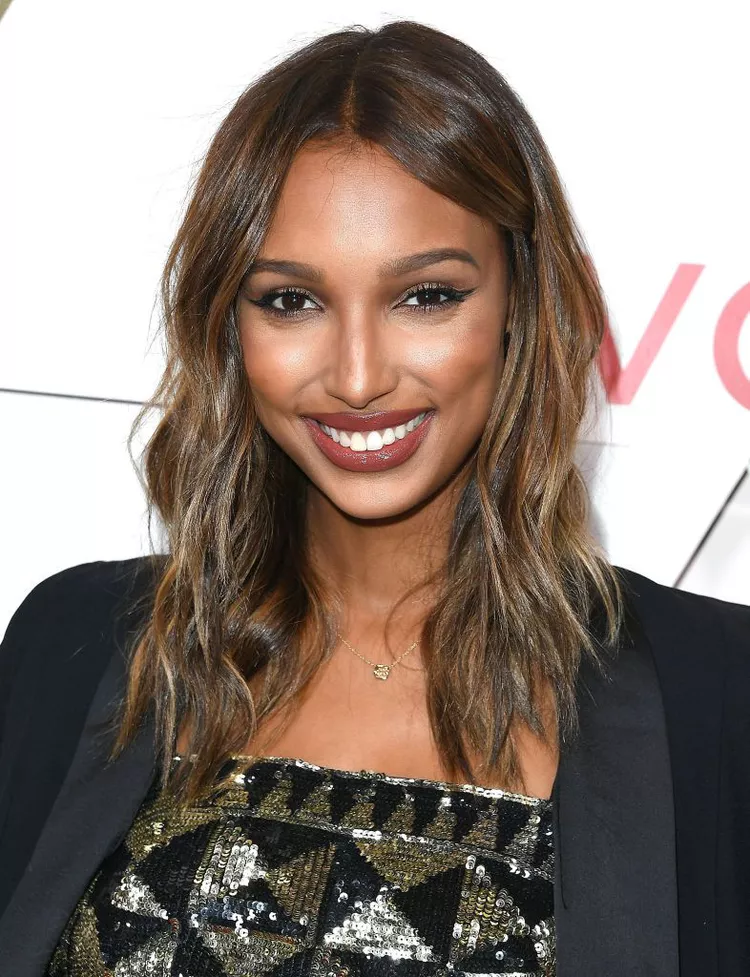
Shoulder Length Curls
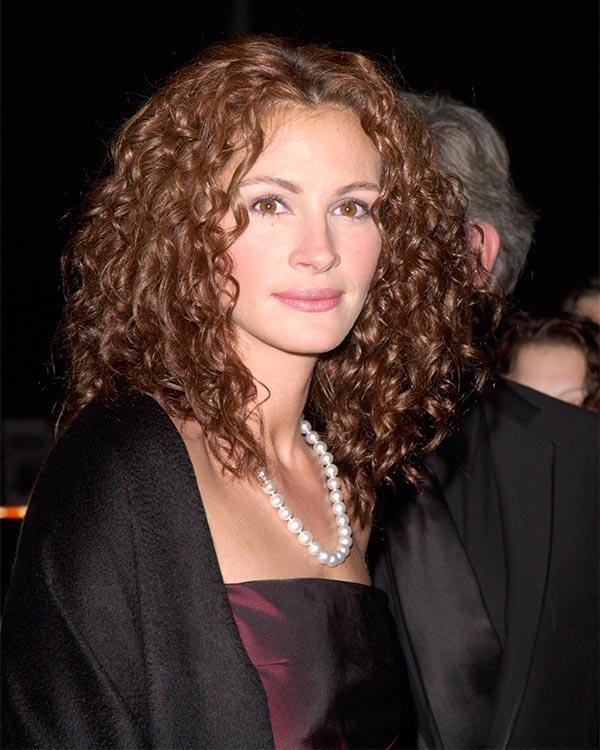
No one, and I repeat, no one, rocked shoulder-length curls quite like J-Lo. Her stunning curls, known for their ability to add incredible volume and dimension, quickly became a beloved style among women in the 90s. J-Lo’s signature look not only highlighted her features but also captured the essence of glamour. Her curls continue to inspire and influence hairstyles today, proving that true style is timeless.
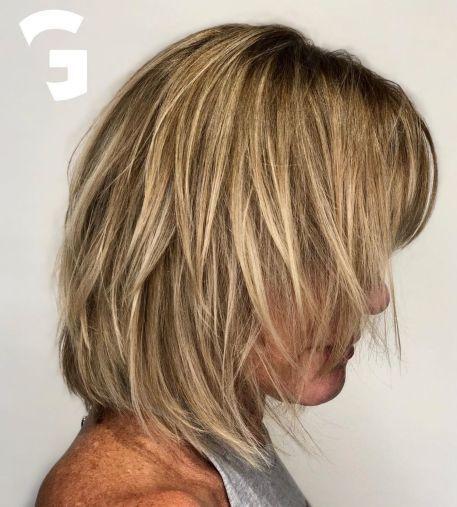
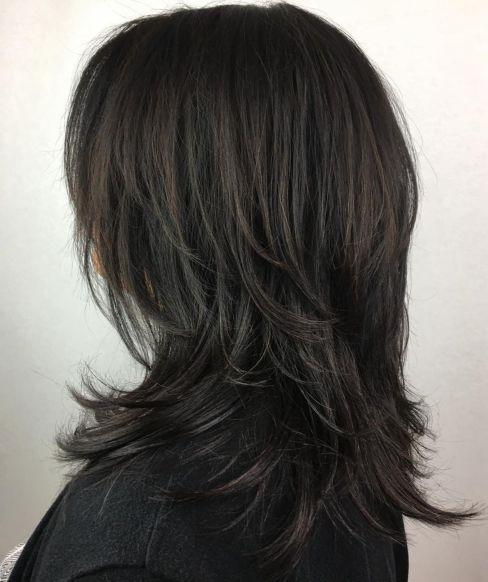
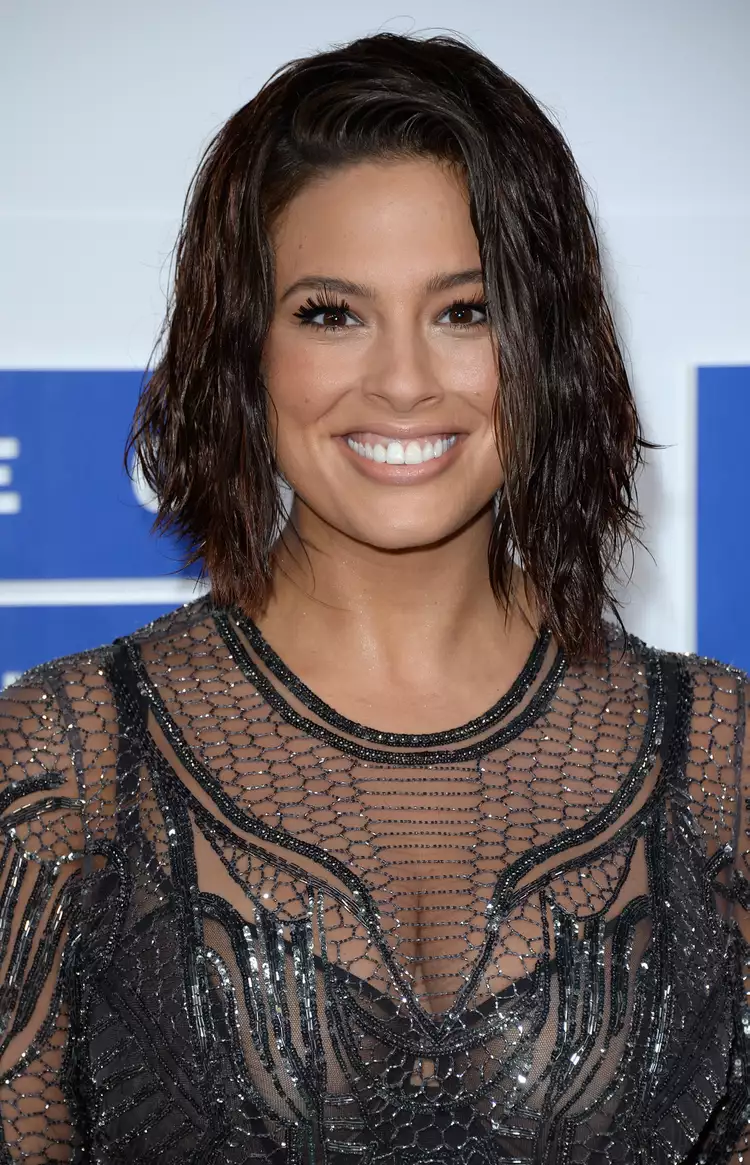
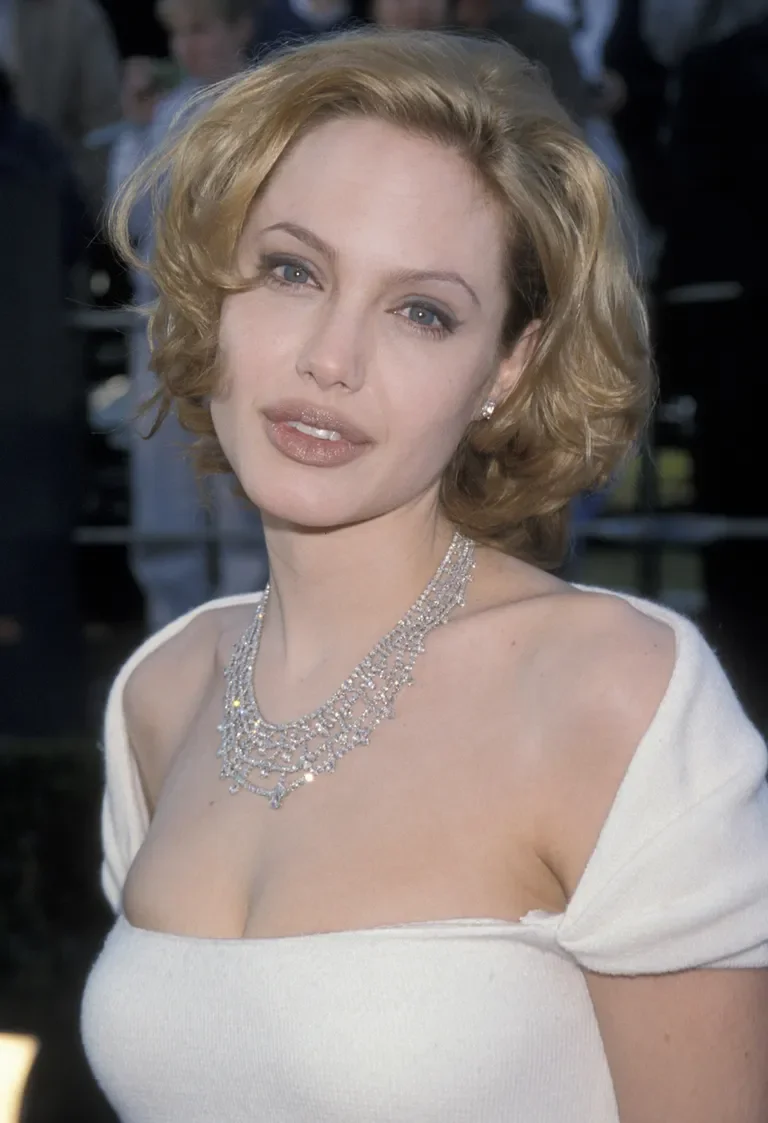
Bumped Bob

The soft curls enhance this classic bob, giving the hairstyle a captivating twist. Seen on the angelic Angelina Jolie, this updated version of the bob would certainly turn heads if it graced the streets today.
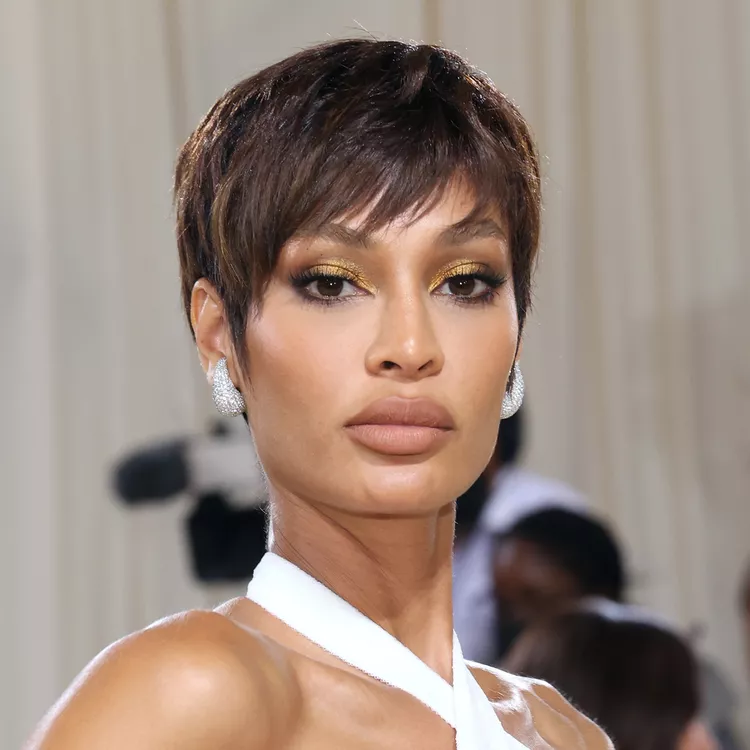
Short Pixie with Short Fringe

This hairstyle is reminiscent of the traditional pixie cut but features a shorter fringe, drawing even more attention to the overall profile. The shorter bangs frame the face beautifully, accentuating the eyes and cheekbones while adding a playful touch to the classic look. It’s a striking choice for those who want to make a bold statement, offering a fresh and modern twist that keeps all eyes on the wearer.
The Hilary Banks
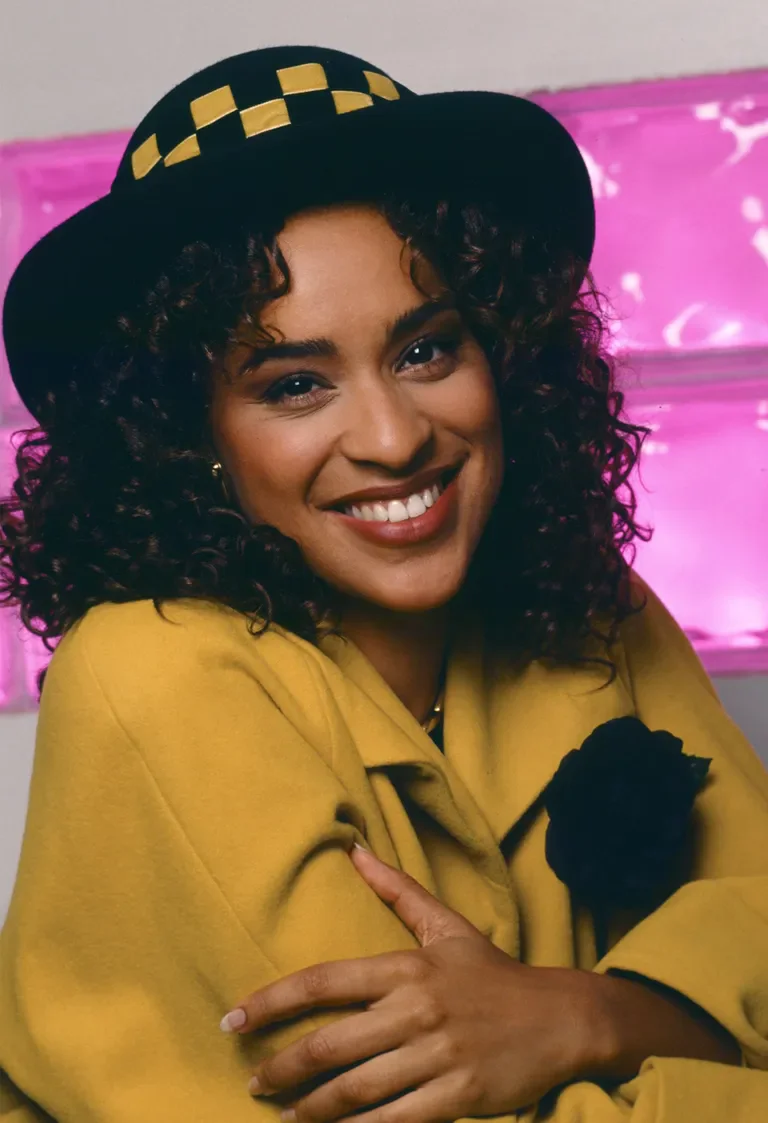
Everything about The Fresh Prince of Bel-Air embodies ’90s culture, but nothing quite matches Hilary Banks’s perfectly coiled hairstyle. She often accessorized it with a statement hat or an oversized bow, adding a chic touch to her ensembles.
Hair with Bandana

Bandanas were a staple accessory in 90s fashion, playing a pivotal role in defining the era’s edgy and rebellious style. Often worn in a multitude of ways—tied around the head, neck, or wrist—they added a distinctive touch of casual cool to any outfit. Whether paired with denim, oversized jackets, or casual tees, bandanas served as a bold statement piece, embodying the spirit of the 90s and contributing to the decade’s iconic aesthetic.
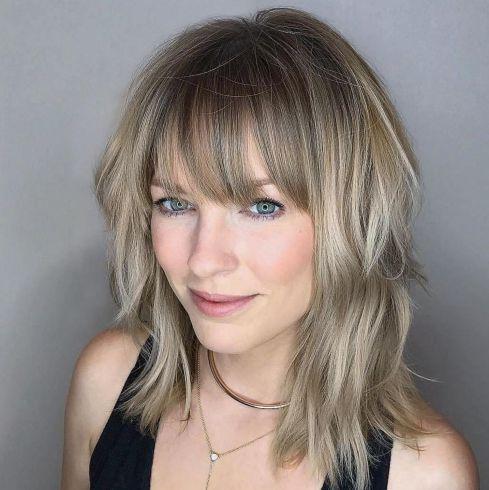
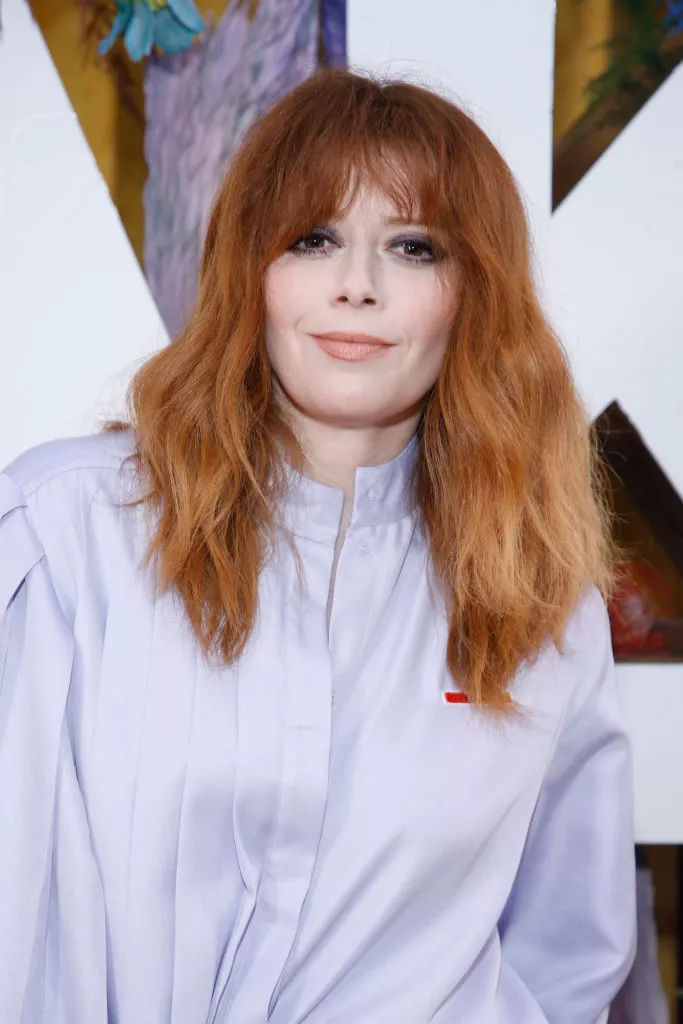
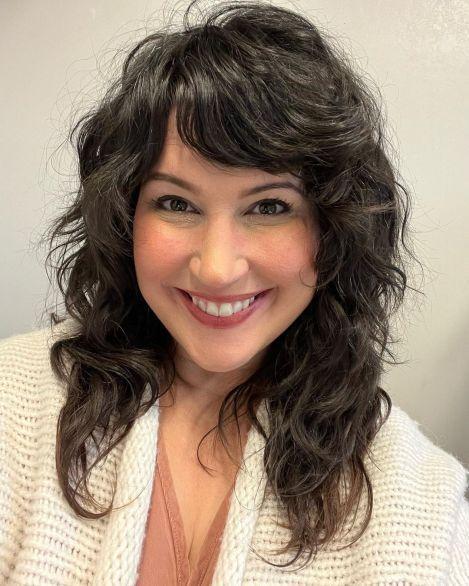
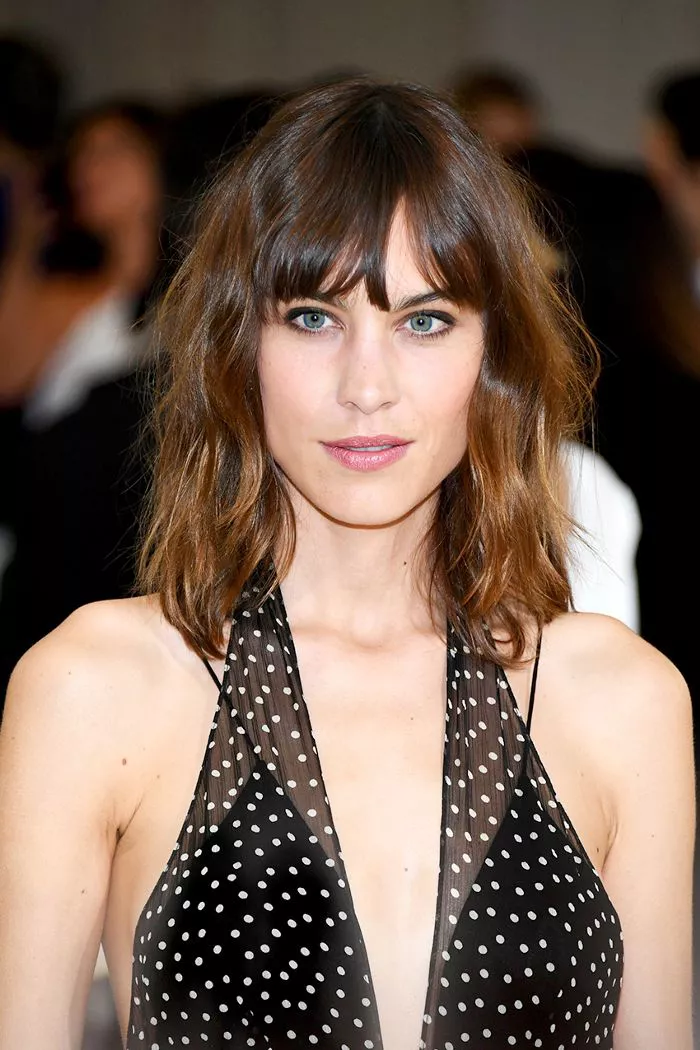
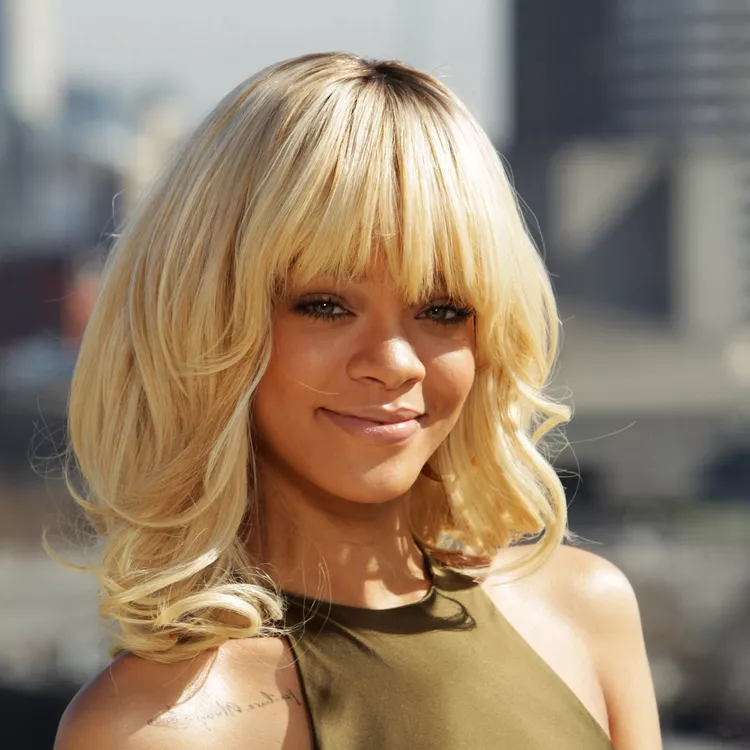
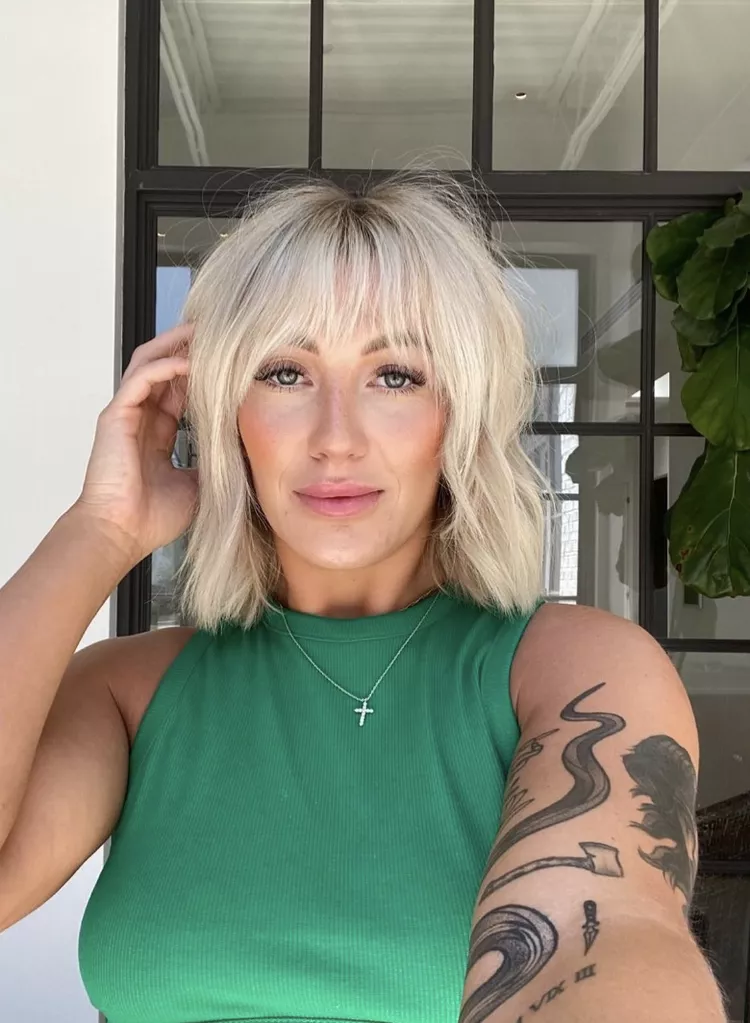
Feathered Fringes
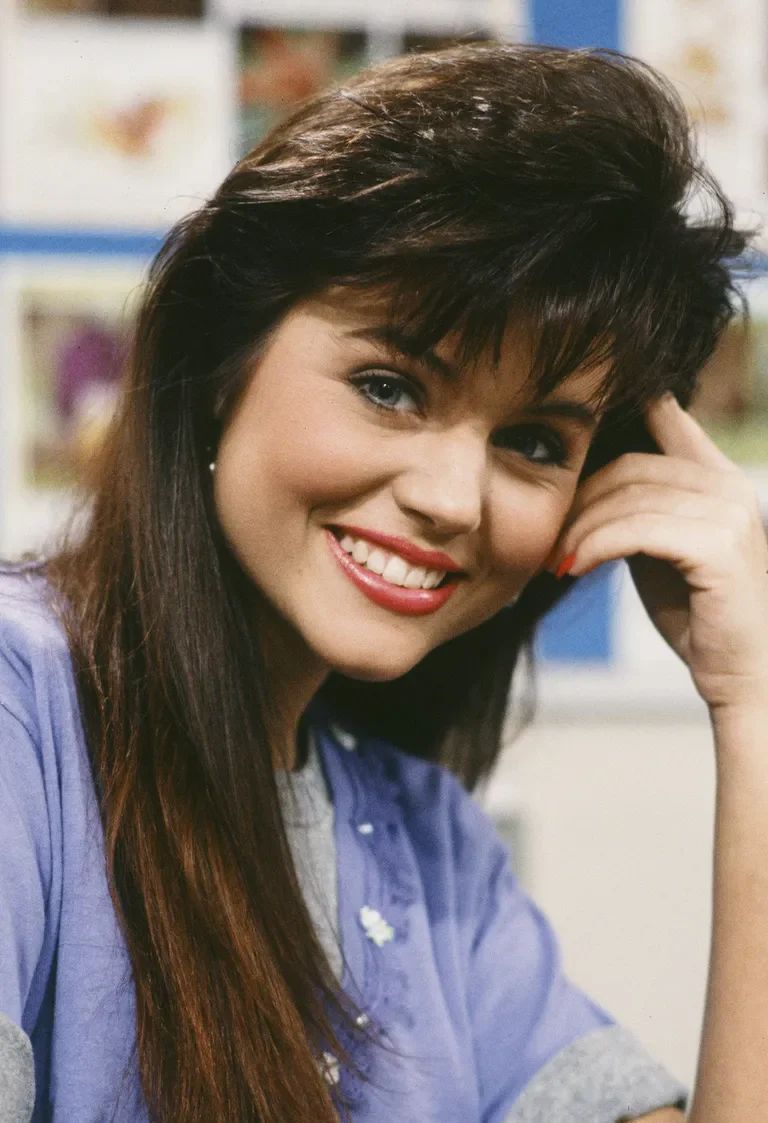
There was a time when nearly every TV character showcased voluminous, feathered fringes. From D.J. Tanner to Kelly Bundy, and, of course, Tiffani Thiessen as Kelly Kapowski on Saved by the Bell, these bangs epitomized the cool girl vibe
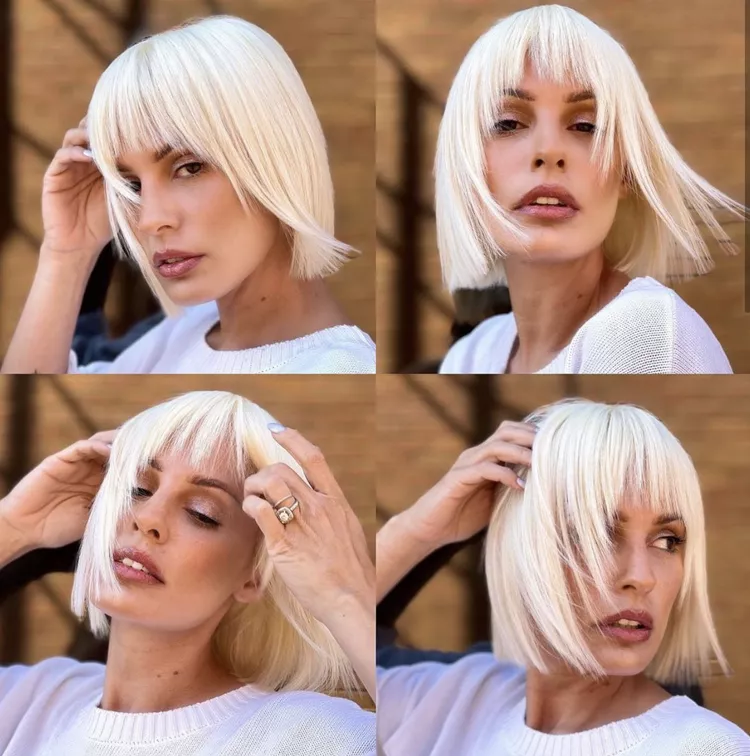
Short Pixie Cut with Fringe
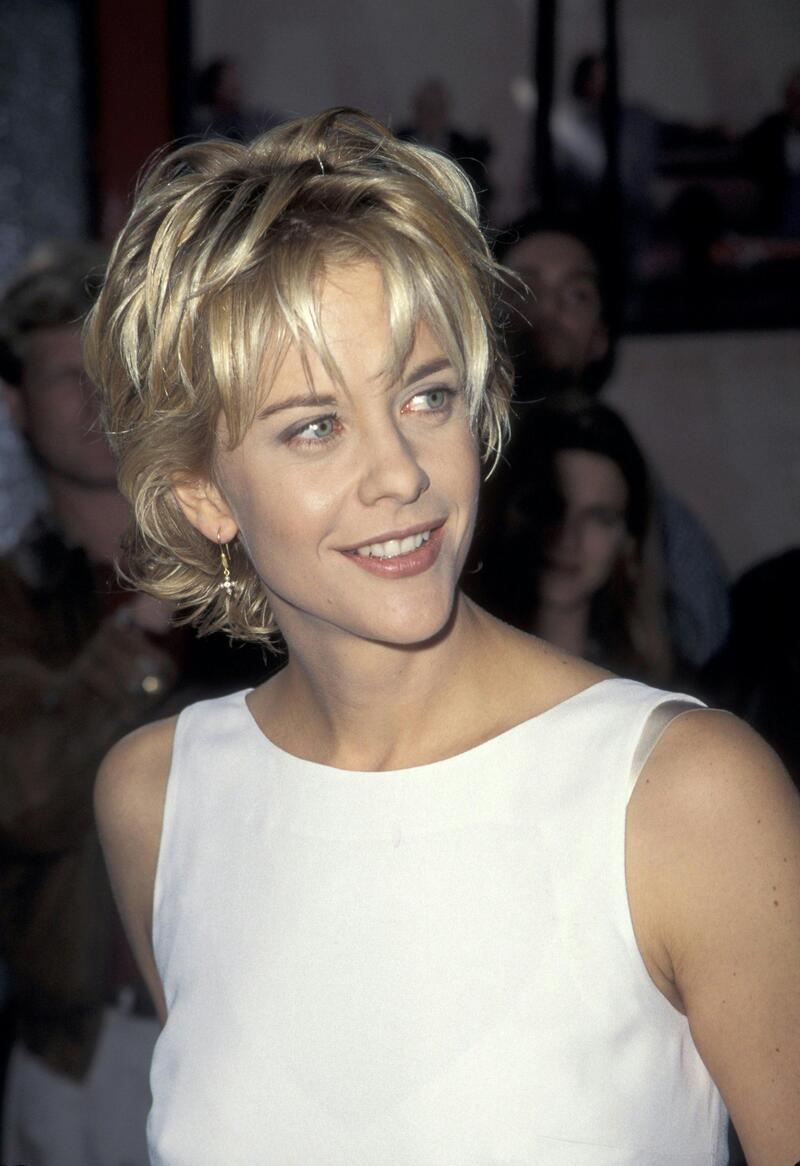
The allure of the short pixie cut lies in its remarkable ability to frame the face beautifully, accentuating features while exuding a chic and modern vibe. This hairstyle is not only stylish but also offers a low-maintenance option for those seeking a short haircut. Its versatility allows for a range of looks, making it an ideal choice for anyone wanting to make a bold statement with minimal effort.
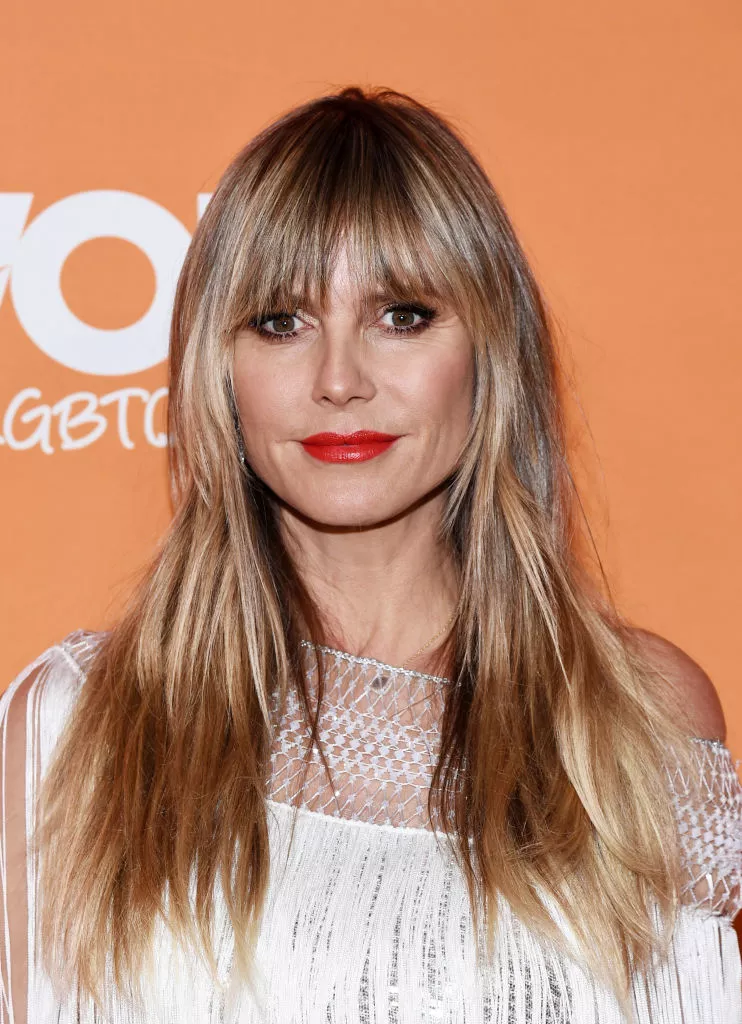
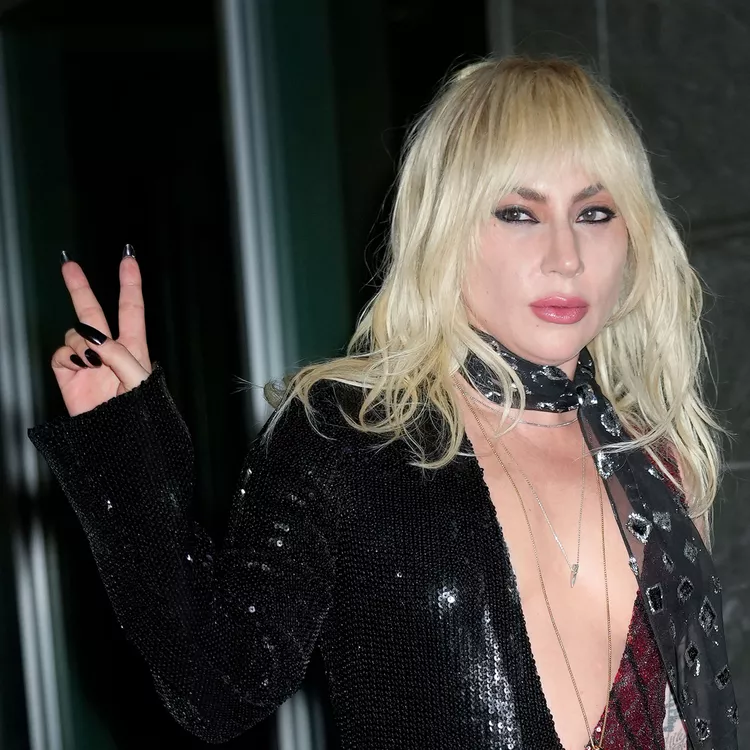
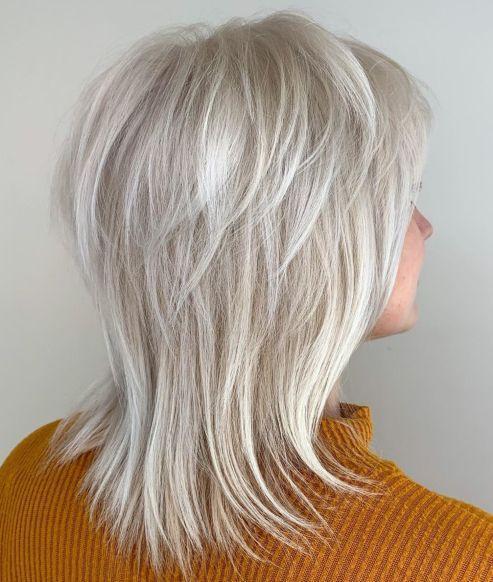
Designer Blonde Wigs
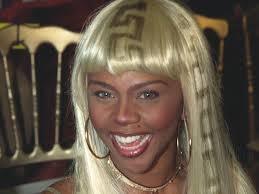
The 90s marked the rise of wig-wearing as a popular trend, with many celebrities embracing this transformative accessory to change their appearance for performances, red carpet events, and media appearances. Wigs allowed for effortless style experimentation, enabling stars to switch up their looks instantly. The influence of this practice continues today, as wigs remain a favored tool for self-expression and reinvention in the world of fashion and entertainment.
Hair Jewellery Clips

Hair jewelry has become a standout accessory, accentuating a diverse array of hairstyles that embody the exaggerated aesthetic of the 90s. From colorful clips and glittering pins to beaded braids and statement headbands, these embellishments add a playful and eye-catching element to various looks. Whether worn in elaborate updos or cascading waves, hair jewelry perfectly captures the spirit of the 90s, celebrating individuality and the joy of accessorizing in a fun, memorable way.
Tiny Twists
The only thing that could make this style more ’90s is a mini clip adorning the end of these tiny twists. This half-rolled hairstyle, affectionately referred to as “picture-day hair” by elementary school kids, dominated the decade. With its playful charm and effortless vibe, it perfectly captured the essence of 90s fashion. This hairstyle was a go-to choice for many, embodying the carefree spirit of youth and the iconic trends that defined an unforgettable era in style.
conclusion
In conclusion, the 90s were a vibrant decade for hairstyling and fashion, marked by bold choices and iconic trends that continue to influence styles today. Accessories like bandanas and hair jewelry played a significant role in enhancing these looks, adding a touch of edge and personality to outfits. The rise of wig-wearing among celebrities further exemplified the era’s spirit of experimentation and transformation. Overall, the 90s left an indelible mark on beauty and fashion, celebrating individuality and self-expression in ways that resonate with many today.