The saying “looking good is good business” holds a lot of truth. Your appearance, scent, and personality leave a lasting impression on those you encounter, making it essential to present yourself well at all times. To achieve this, it’s important to know how to look your best every day. Your looks convey a lot about who you are, your interests, and your values.
A 2005 study conducted by the Federal Reserve Bank of St. Louis revealed a surprising finding: attractive and well-dressed individuals earn approximately 5% more per hour than their less stylish colleagues.
This suggests that good-looking people often have access to more lucrative opportunities, resulting in higher earnings compared to those who dress more casually.
Certain physical traits and attire can project an aura of responsibility, confidence, and self-assuredness, which in turn enhances communication skills and productivity in the workplace. Curious about the secret to consistently looking vibrant and beautiful? Let’s delve into it in our article below!
LEARN MORE ABOUT FASHION AND DRESS CODES/STYLES
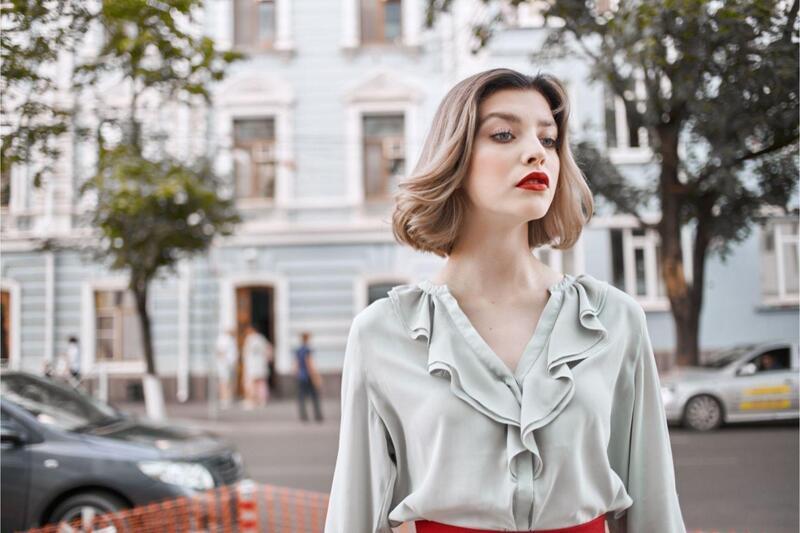
If you want to look good every day, you need to learn about fashion. Many people don’t look as good as they would like because they don’t know how to choose outfits, mix colors, or follow the basic rules of fashion.
One of the first steps to looking good is to educate yourself about clothing, makeup, shoes, and everything else related to style. You can do this by reading fashion magazines, browsing fashion blogs, watching fashion shows, and even checking out movies.
These activities will help you discover different styles and keep up with fashion trends so you can use them to your advantage!
Having knowledge is empowering. It helps you do more with less. When you understand which combinations work well, you can create great outfits even if your wardrobe is limited.
Do some research on suitable clothing and color combinations, or anything you’re unsure about. The next time you look at your closet, you’ll be surprised by how many stylish outfits you can create with just a few items.
The key to learning how to look good every day is to grasp the basics. If you don’t know how to dress well, it will be difficult to look fabulous.
GROOM YOURSELF
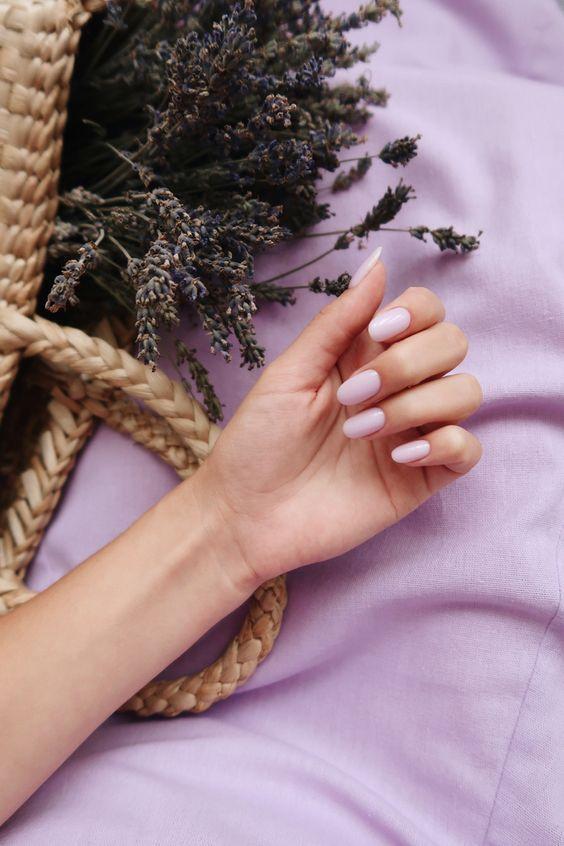
The little details matter a lot when it comes to looking good. Did you know that having short nails can make you seem neat and organized?
Taking care of your nails shows that you are responsible and serious, and it’s easy to do. Just keep your nails short, clean, and dry. If you like long nails, make sure they stay clean and tidy.
Learn to shape your nails and keep them from breaking by using a nail file. Avoid biting your nails or picking at your cuticles. If you prefer professional help, treat yourself to regular manicures and pedicures.
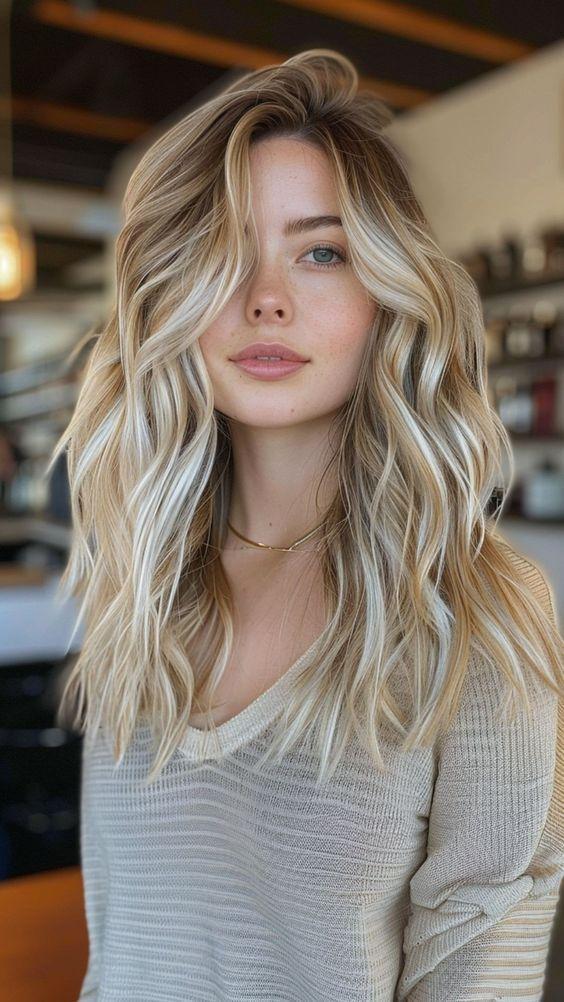
Your hair is important, too. Wash it regularly with a gentle shampoo and use conditioner. Try not to use too much heat or style it excessively.
Take care of your hair as you would with a special piece of clothing. Healthy hair is valuable; it’s like your natural crown.
MAINTAIN GOOD HYGIENE
Good personal hygiene can greatly improve your appearance. Hygiene means keeping your body clean, healthy, and free from germs. It is important for your overall health.
Poor hygiene can lead to diseases and health problems caused by harmful germs and bacteria. Your hygiene plays a big role in how you look and smell. When you keep your body clean, you look and smell better.
Good hygiene helps you avoid body odors, bad breath, and other issues that can come from not being clean. Most people who look great put in extra effort to maintain good hygiene.
To look your best, you need to be intentional about your hygiene. Make sure to do regular tasks like shaving, brushing your teeth, trimming your nails, and taking showers!
Try to shower at least twice a day, brush your teeth in the morning and before bed, and avoid letting dirty laundry pile up. Don’t wear your underwear more than twice, and keep your living space clean.
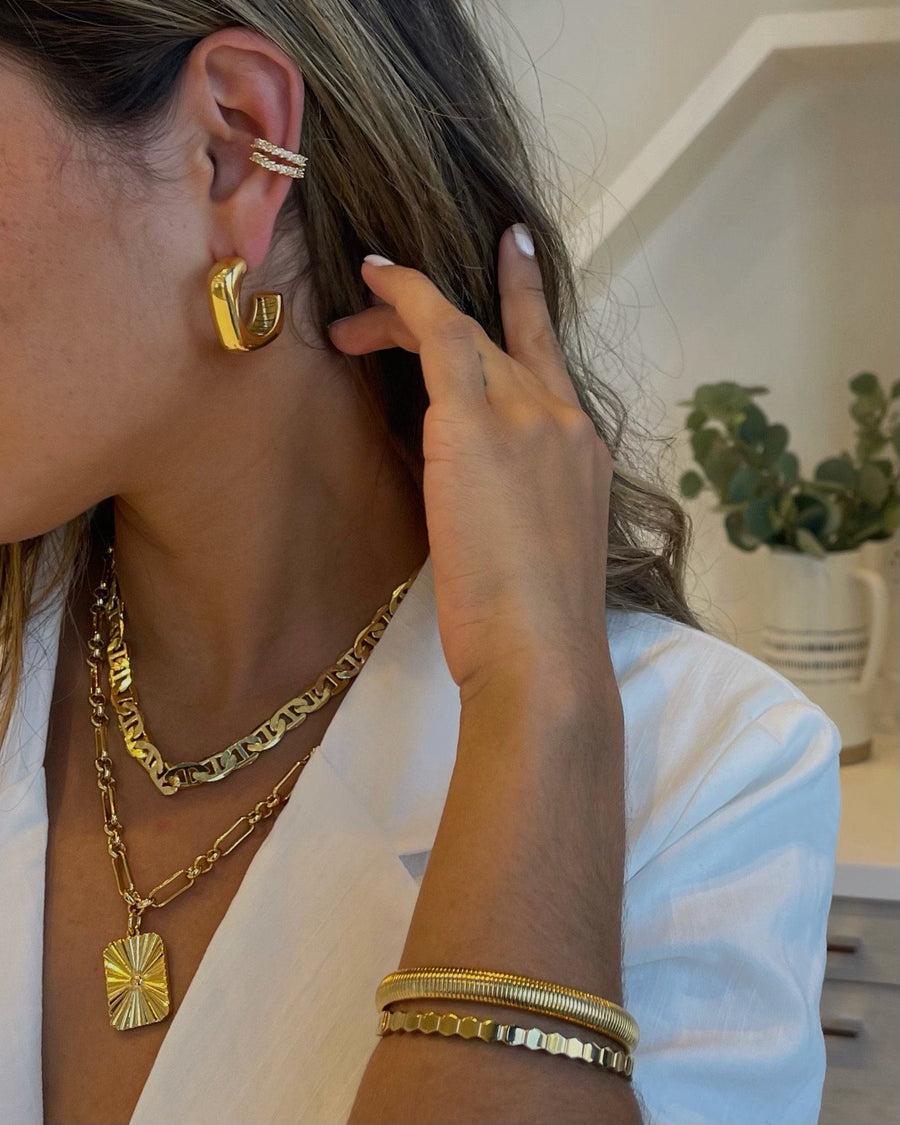
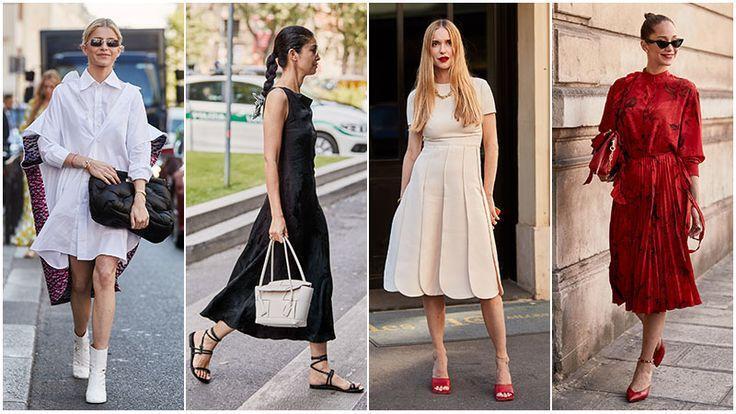
BE DIFFERENT. EXPERIMENT AND TRY OUT NEW OPTIONS
As you learn to look good every day, make sure to include your creativity and uniqueness in your outfits. You don’t always have to follow the rules to look great.
Many of today’s fashion trends came from people trying to be creative, spontaneous, and innovative, which meant breaking some rules.
So, be different, be yourself, and express your style. Try to guess how different colors might look when paired together.
Experiment with new clothing combinations and see how good they look on you. Don’t be afraid to join in on current fashion trends. Fashion is beautiful because it allows you to express yourself and be original while also letting you be spontaneous.
Explore new accessories you haven’t tried before and discover different styles and ways to dress. One easy way to find your unique style is to experiment with clothes until you discover what works best for you.
HIGHLIGHT YOUR BEST FEATURES
Everyone has a unique physical trait that makes them stand out from the crowd. One way to look good every day is to discover your unique features and highlight them when you dress.
To do this, start by studying yourself. Get a notepad and write down some information. What parts of your body make you different? Is it your height? Do people compliment your legs? Once you identify at least three unique traits, you can start to emphasize them. If you have beautiful lips, using glossy lipstick and makeup can draw attention to that feature.
If you have abs or curves, wearing clothes that showcase those curves can help you look great every day. If you’re unsure what your strengths are, here’s a simple way to find out: when you have some free time, write down at least five things about your body that stand out to you.
A good clue is to think about what parts people often talk about or compliment. After identifying these features, go shopping for clothes and accessories that highlight them. Then, experiment with different outfits and pay attention to how people react.
When you start getting more compliments about those features, you’ll know you’ve found what works for you! Make sure to show off those traits every time you dress up, and watch how people notice your good looks.
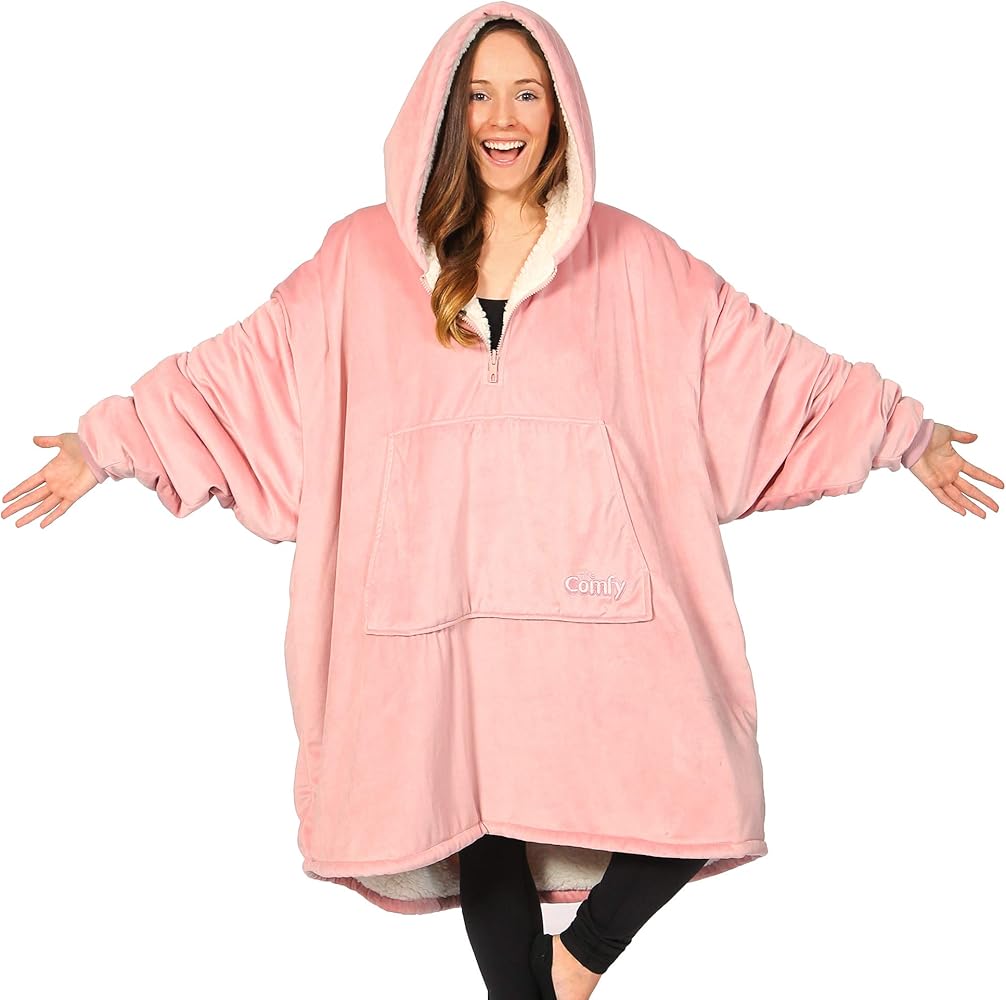
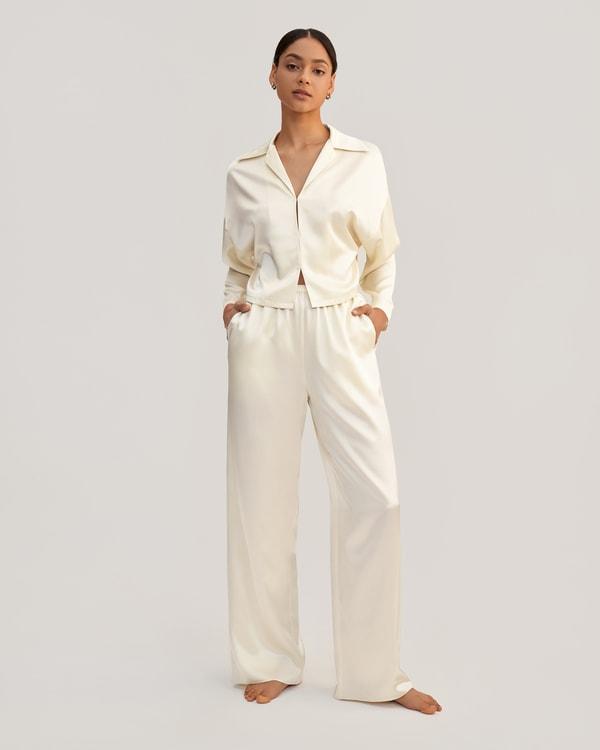
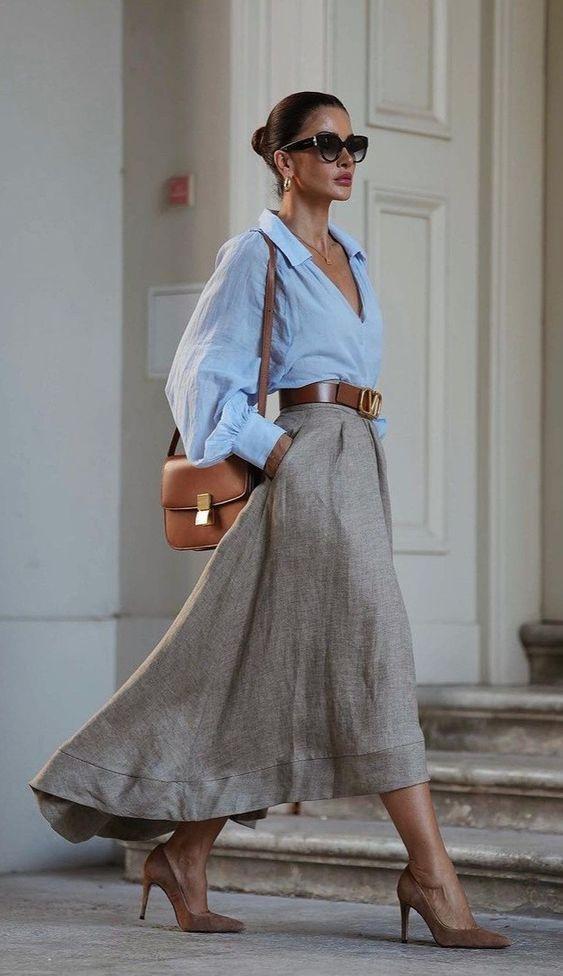
BE COMFORTABLE IN YOUR CLOTHES
When trying to look good and fashionable, never wear clothes that make you uncomfortable. It’s just not worth it. We wear clothes not only to look nice but also to cover ourselves and stay comfortable. Sometimes, we sacrifice comfort for style, which isn’t healthy. For instance, wearing tight clothes to look good can make you feel uneasy.
Choose clothes that fit you well. This goes for your accessories, shoes, and even makeup. If you don’t feel comfortable in sleeveless tops or clothes that show too much skin, it’s best to avoid them because they will only make you feel frustrated.
Think about wearing stilettos to an event where you might have to stand for a long time. Your feet will hurt, which isn’t good for you. The key to looking good is to be comfortable in whatever you wear, whether it’s jeans, brogue shoes, hats, or jackets.
Being comfortable in your clothes boosts your confidence and makes you feel good about yourself. The next time you’re getting ready to go out, take a moment to check your outfit. If something feels off, change it. There’s no point in looking great if you feel awkward.
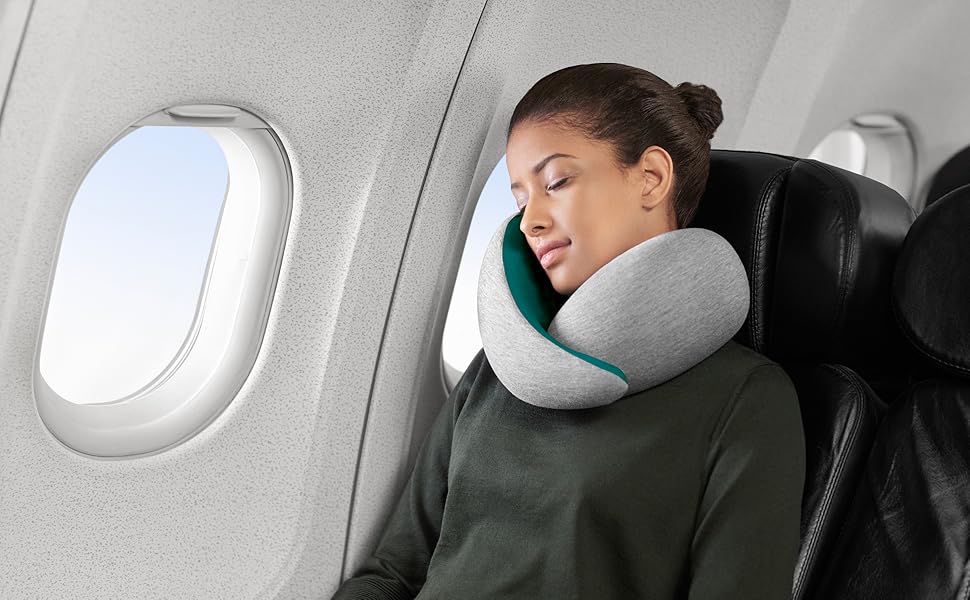
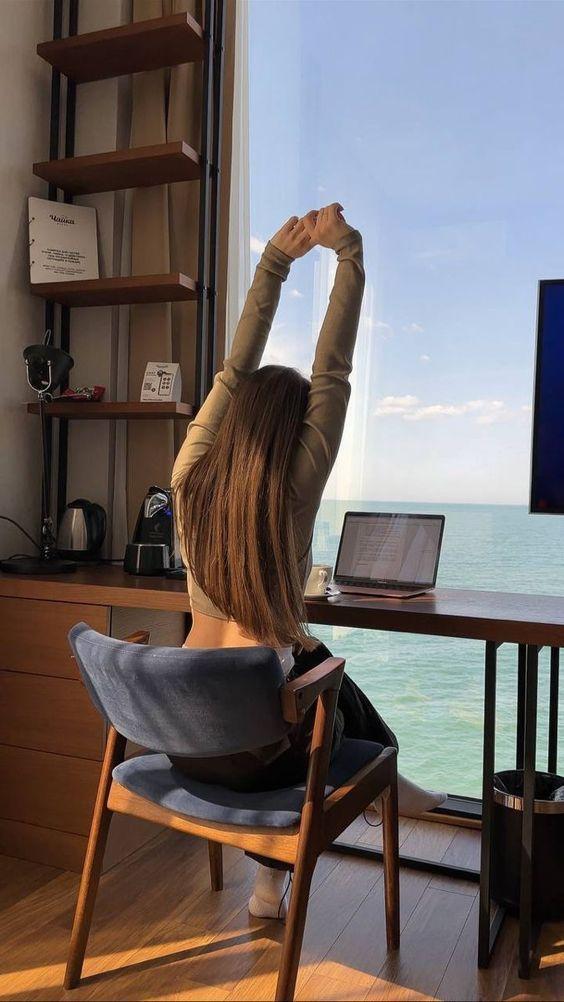
REST AS MUCH AS YOU CAN
Rest may seem unimportant, but people who don’t get enough sleep often look worn out. Their tiredness can make them frown more, which doesn’t help their appearance.
When you lack sleep, you can look stressed, frustrated, and fatigued. People who don’t rest well often struggle to get things done and don’t look their best.
Getting enough rest also has many health benefits. Not sleeping enough can lead to dehydration and overeating, which can result in weight gain and other health issues.
Rebecca S. Robbins, M.D., Ph.D., a sleep expert at Cornell University, explains that sleep is essential for your brain. She told Cosmopolitan, “During a good night’s rest, your body works to remove dead blood cells and dead brain cells, and clears the pathways for new connections to form, allowing new blood and brain cells to replace old ones.”
Getting enough sleep helps prevent dark circles under your eyes. These circles can appear when you don’t sleep enough because your cells aren’t renewing properly. When you sleep, your blood vessels dilate, which helps avoid dark circles.
Sleep also keeps you hydrated and gives you a fresher, younger look. So, make time to rest well and stick to a regular sleep schedule. A well-rested body always looks better than one that is tired.
TAKE CARE OF YOUR BODY
Did you know that having a fit body makes you look more elegant? It really does! If you want to look your best, you need to take care of your body. And no, it’s not just about going to the gym.
Many people think that working out is the only way to care for their bodies. In reality, taking care of yourself involves everything from your diet to the cleanliness of your surroundings. Even your sleeping habits play a role.
To care for your body, you first need to understand it. This means knowing important details like your weight, height, skin tone, and clothing and shoe sizes.
Here are some ways to take care of your body:
- Exercise regularly: Go for walks, jogs, or try activities like yoga and meditation. Don’t hesitate to hit the gym if you want to improve your fitness.
- Eat well: Make sure your meals are balanced and avoid unhealthy habits like eating late. Eating more fruits and vegetables is essential. Try to avoid junk food and focus on fresh, whole meals. Good nutrition provides the nutrients your body needs.
- Maintain good hygiene: Shower regularly to keep body odors away and moisturize your skin. Aim to shower at least twice a day—once in the morning and once before bed.
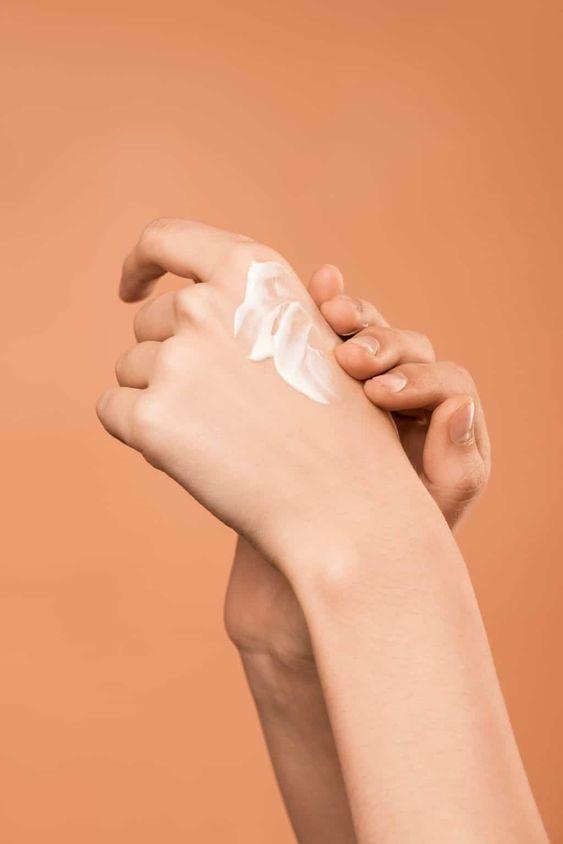
- Use the right skincare products: Don’t just use any products on your skin. Consult a professional to find out which cosmetics, ointments, and creams are best for you. Poor skincare can lead to poor appearance!
The key to taking care of your body is to value it. You only take care of what you love, so make a commitment to look after your body properly.
SMILE OFTEN
Research shows that people who smile more tend to look better, especially in photos. Smiling has many benefits; it not only enhances your appearance but also makes you look happier, more confident, and successful.
People are naturally drawn to those who smile rather than those with negative expressions like scowls or frowns. Smiling is often associated with positive personality traits, making others perceive you more favorably.
Scientists have found that those who smile more seem to live happier, more fulfilling lives compared to those with blank expressions. Smiling can also make you look younger and boost your mood; you often feel better after smiling or laughing.
Even if someone is well-dressed, a frown can take away from their overall look. A smile can make a significant difference in how you present yourself.
So, as you wear your favorite denim jeans or trousers, remember to smile. Make an effort to smile every day, even when taking photos, and notice how it improves your appearance!
EXUDE CONFIDENCE
The trademark of a well-dressed individual is the confidence and personality that they exude. It is alright to be well dressed and look very attractive, but confidence pushes your appearance meter to a higher scale!
One of the keys to looking good every day is to know how to be confident in your clothes. It makes you look more attractive, stunning, and breathtaking to the opposite sex and leaves the impression of secure esteem and maturity.
Confident people usually appear successful and in control of their lives to others.
Here are a few tips to help you look more confident:
- Maintain eye contact during conversations.
- Show a genuine interest in the people around you.
- Avoid every and any form of negative self-talk. Nothing injures your esteem as much as a negative image of yourself.
- Also, stop worrying about what people think about you. People will always have opinions of what they think or perceive you to be.
- Practice the habit of reminding yourself of how great you are and how great you look. You are sure to look better when you have great esteem and exude confidence consistently.
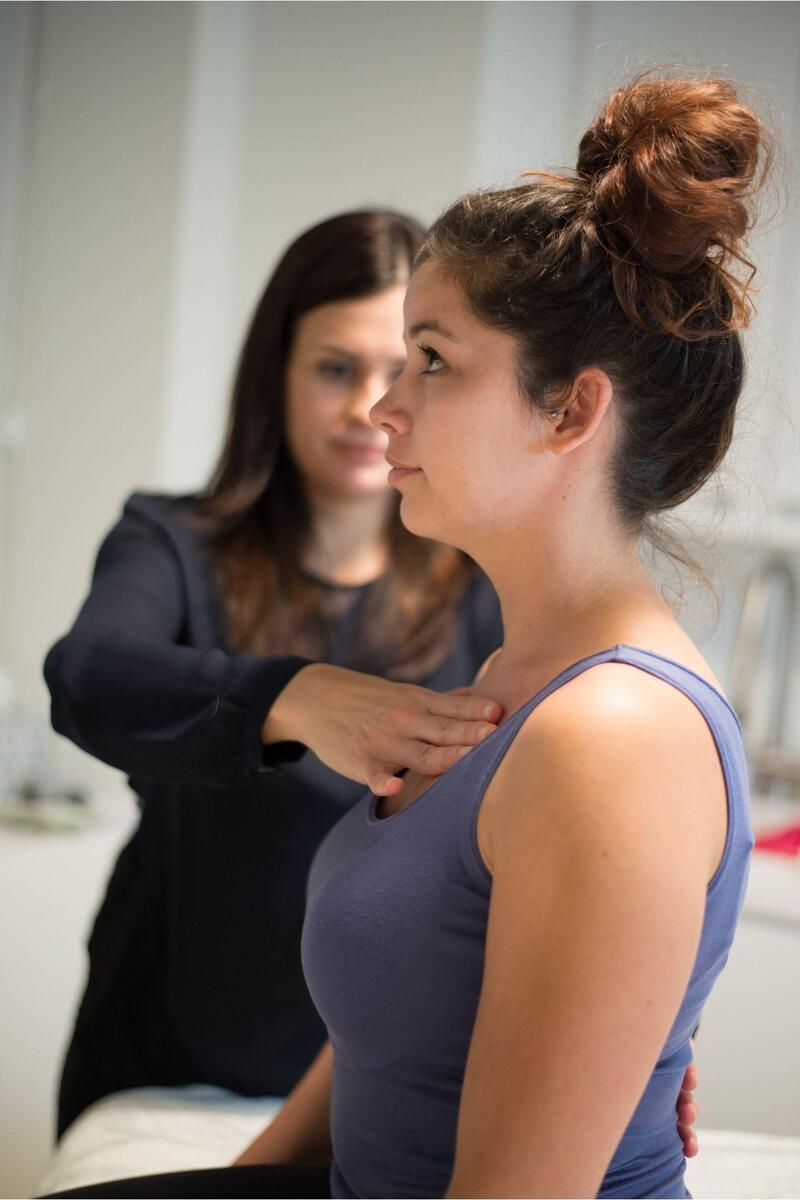
MAINTAIN GOOD POSTURE TO IMPROVE YOUR LOOKS
Good posture, along with well-matched clothes, is like icing on a delicious cake! It may seem small, but maintaining good posture can greatly improve your appearance.
When you want to look your best, remember to pay attention to your posture.
Nina Strang, a physical therapist and expert in strength and conditioning, explains that “good posture is also known as neutral spine.” This means that when you have good posture, the muscles around your spine are balanced and support your body equally.
Here’s how to check your posture:
- When sitting: Keep your feet flat on the floor with even weight on both hips. Your back should be mostly straight (with natural curves in your lower, middle, and upper back). Relax your shoulders, and make sure your ears line up over your collarbones.
- When standing: Keep a slight bend in your knees to avoid locking them, according to Kara Griffith, an exercise physiologist at Colorado Canyons Hospital.
Good posture not only makes you look better but also helps prevent pain in your bones and joints, as well as muscle strains and headaches.
Remember, maintaining good posture is an ongoing effort, so practice it regularly!
CONCLUSION
That’s a fantastic perspective! Emphasizing personal style and comfort is key to looking chic every day. By focusing on self-expression and confidence, you can create a look that feels uniquely you. If you have any specific tips or items you’d like to share, or if you’re looking for advice on enhancing your style, feel free to ask!