Valentine’s Day is approaching, and nail enthusiasts are captivated by charming nail designs featuring heart patterns, flowers, and beautiful colors. Our article introduces a collection of 32 simple valentines day nails, offering a variety of choices from simple to vibrant and colorful patterns. If you aim to adorn your nails to make your hands look more charming on Valentine’s Day, this selection makes it easy for you to choose sophisticated styles. Read on!
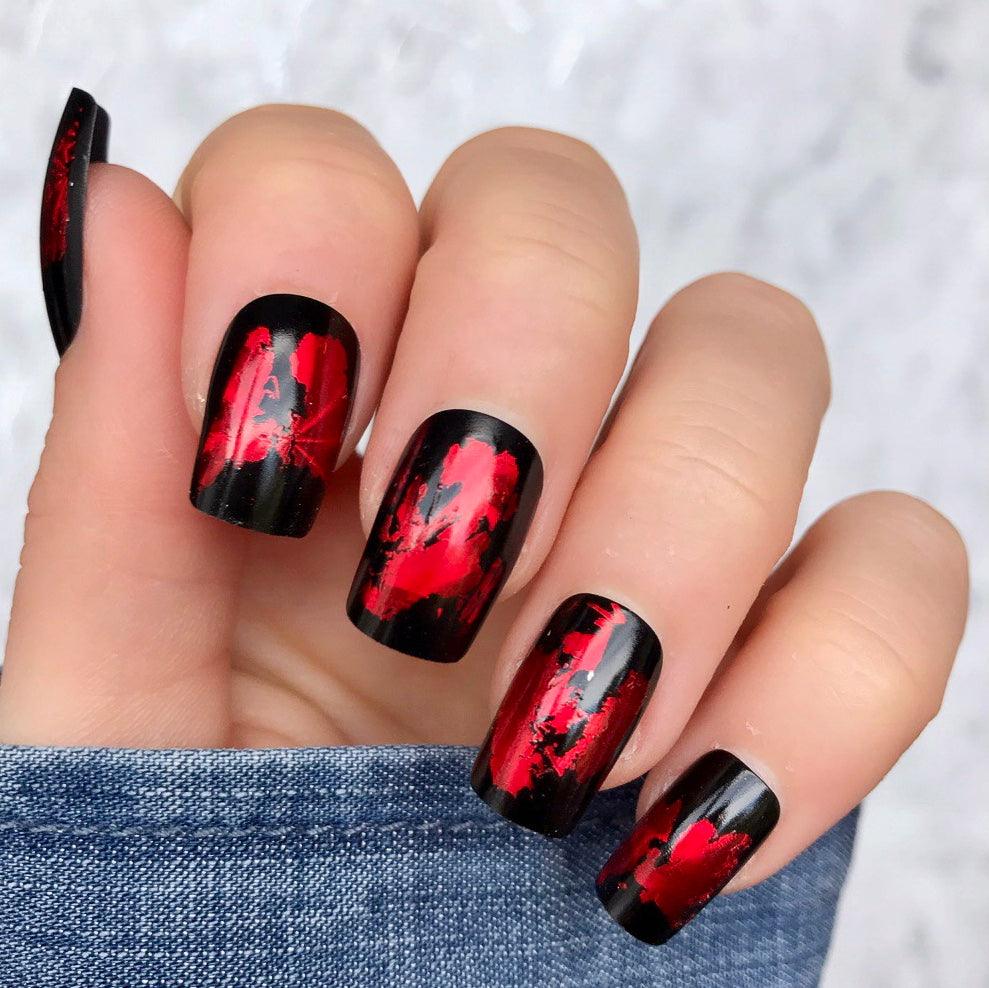
BLACK AND RED VALENTINE’S DAY NAILS
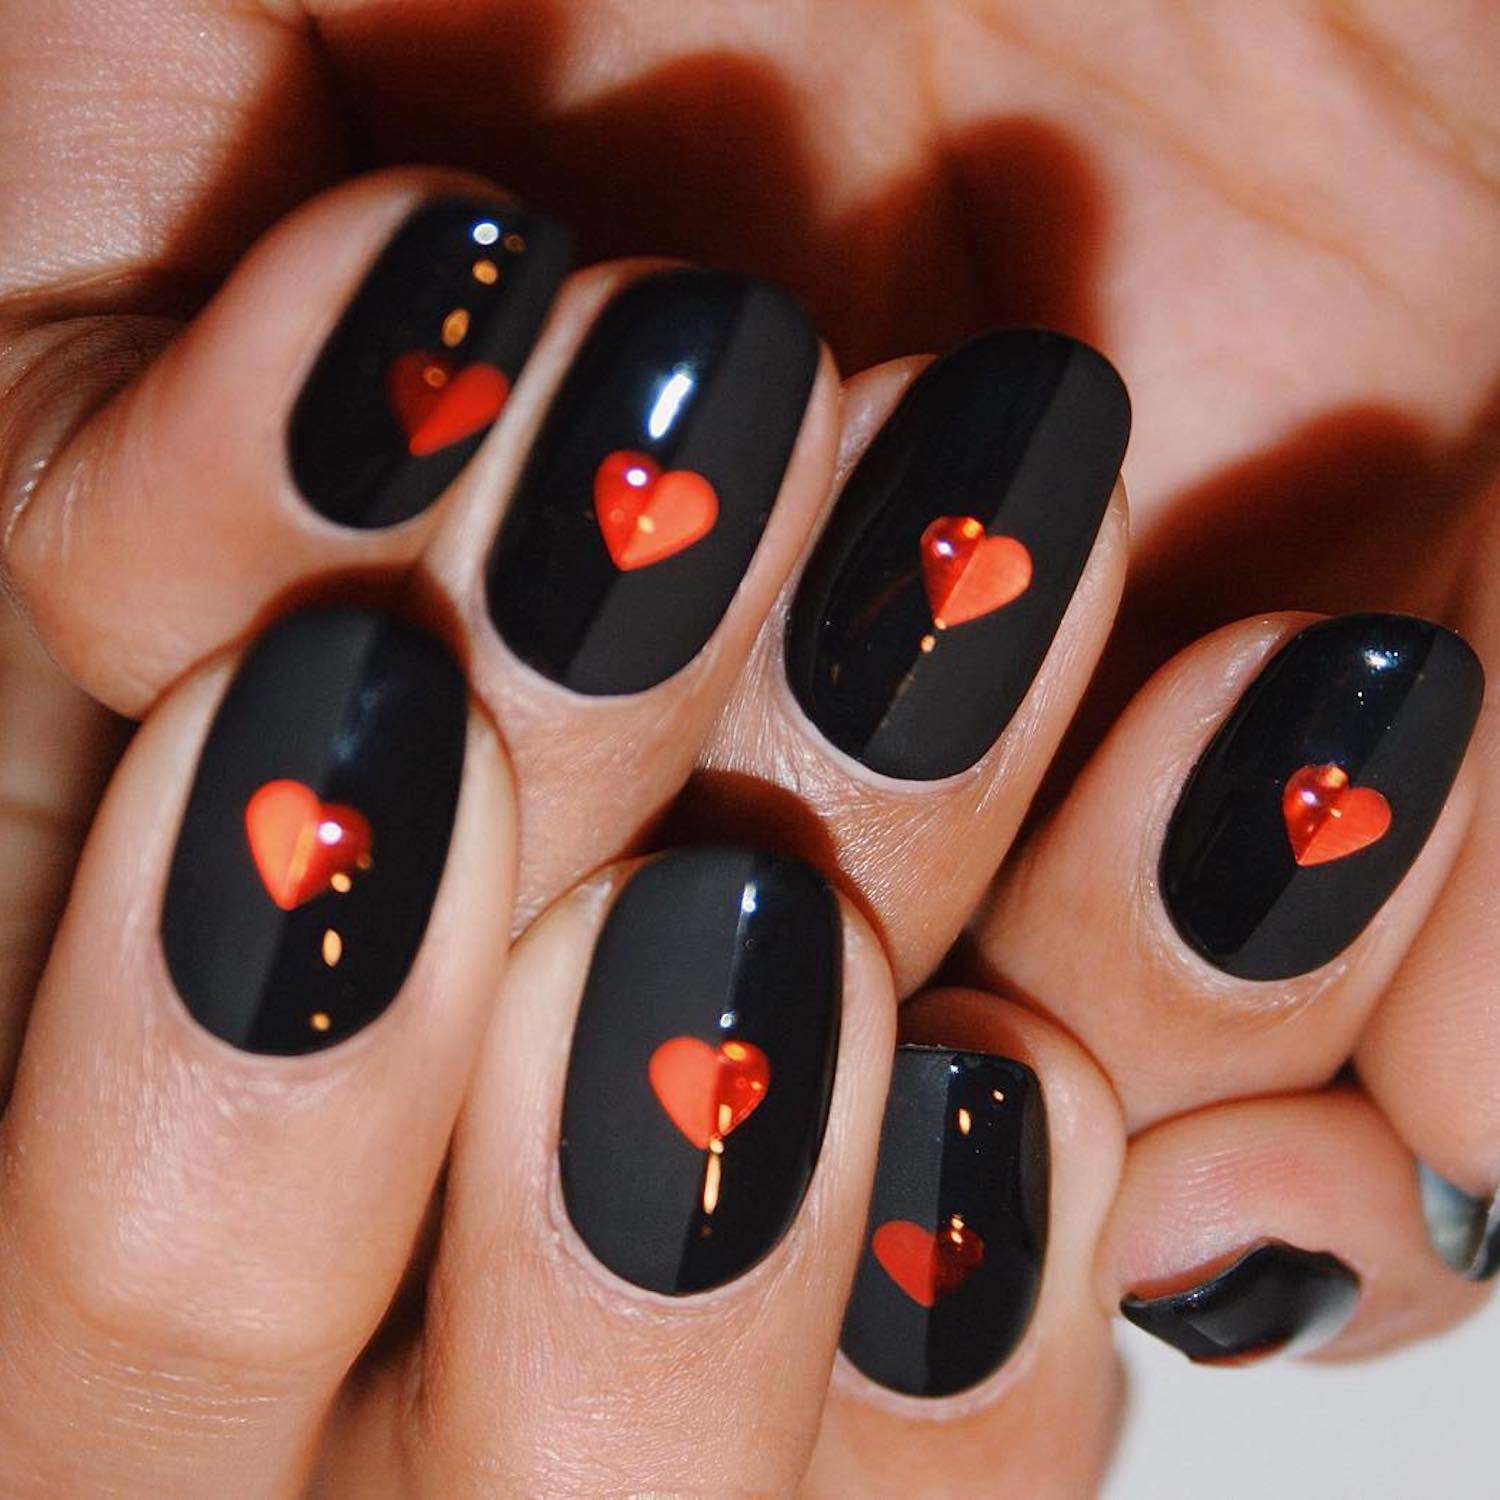
The contrasting tones create a visual symphony that catches the eye effortlessly. However, what truly steals the show is the ingenious heart design. The level of creativity infused into the intricate patterns is nothing short of genius. Each brushstroke seems purposeful, turning the nails into a canvas where art and beauty collide. The harmonious blend of colors and the meticulous detailing in the heart design elevate these nails to a whole new level of sophistication.
COFFIN SIMPLE VALENTINES NAILS
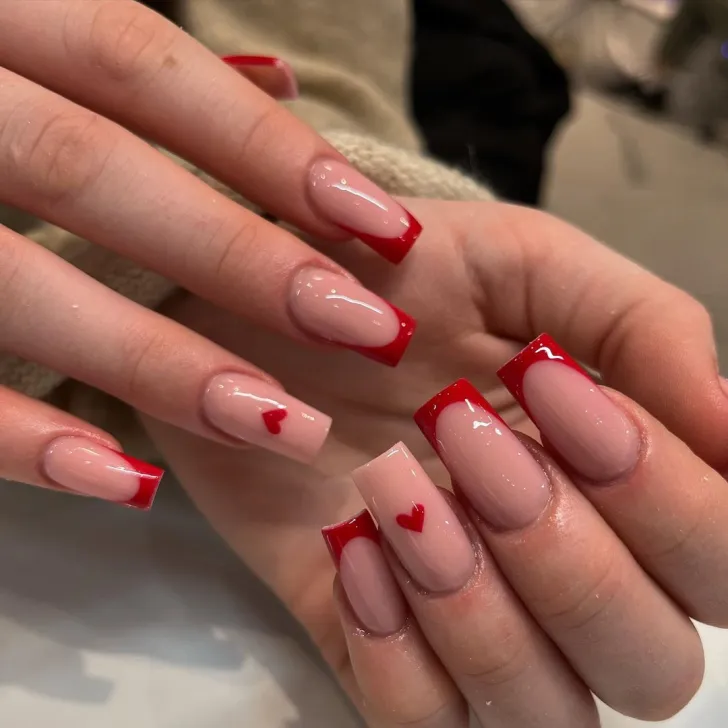
This manicure showcases the timeless Valentine’s Day color duo of red and white, complemented by the iconic heart symbol. To ensure crisp lines around the artwork on the accent finger, it’s essential to allow the base coat of polish to dry thoroughly. For those new to nail art, experimenting with nail stickers can be a fantastic option.
OMBRÉ VALENTINE’S DAY NAIL DESIGN

If you were searching for a perfect excuse to indulge in multiple nail polishes, look no further. Paint each of your nails in a distinct shade, creating a captivating gradient from light to dark. This not only allows you to showcase a spectrum of colors but also results in an eye-catching and dynamic manicure. It’s a simple yet effective way to add flair to your nails, providing a delightful burst of variety and style.
CANDY HEARTS VALENTINE’S DAY NAIL DESIGN
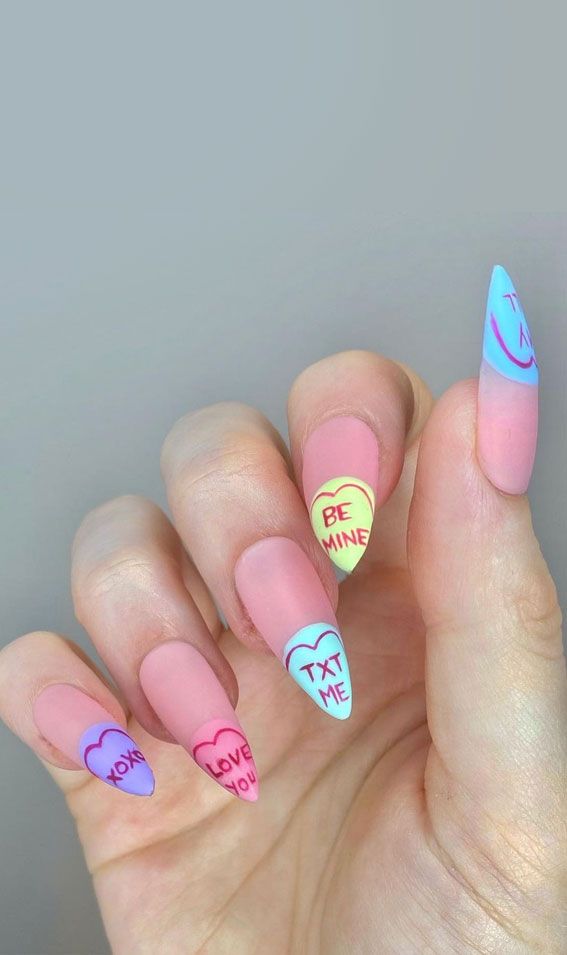
Drawing inspiration from the iconic candy hearts, this vibrant and playful nail design is a delightful choice that appeals to a wide age range, from tweens and teens to adults. The colors evoke a sense of nostalgia and fun, creating a whimsical yet stylish manicure that transcends generational boundaries. It’s a versatile and lighthearted option that brings a touch of youthful exuberance to anyone who chooses to flaunt this charming look.
CLASSIC RED VALENTINE’S DAY NAIL DESIGN
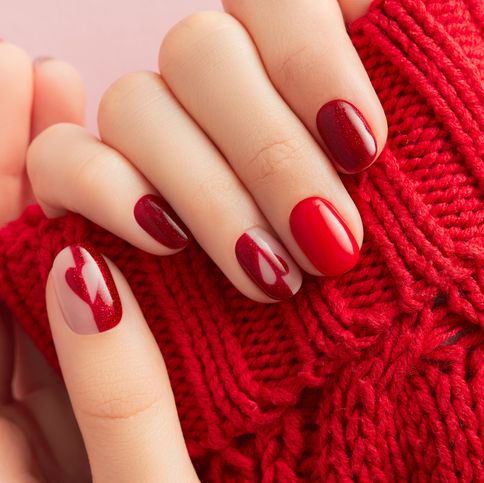
The timeless choice of classic red nails is suitable for any season but holds particular significance on Valentine’s Day. The iconic allure of red nail polish transcends time and trends, making it an ever-appropriate and elegant option for expressing love and romance, especially during the Valentine’s season. This enduring color choice exudes a sense of passion and sophistication, making it a perfect match for the sentiments associated with this special day.
BRUSHSTROKE-INSPIRED VALENTINE’S DAY NAIL DESIGN
Achieve a stylish brushstroke-inspired design that’s simpler than it appears. Choose up to four colors in different shades. By leaving parts of the nail in its natural state, you can effortlessly layer the colored polishes from light to dark, as demonstrated here. Blend the shades seamlessly for a chic and contemporary look. This nail design not only offers a visually captivating appearance but also allows you to showcase a spectrum of colors in a harmonious and artistic way.
HEART-SHAPED GEMS VALENTINE’S DAY NAIL DESIGN
These adorable heart-shaped embellishments are perfect for celebrating Valentine’s Day in style. After ensuring your base coat is thoroughly dry, apply them with nail glue for a secure and long-lasting hold. The incorporation of these sweet heart-shaped jewels not only adds a touch of romance but also creates a delightful and eye-catching manicure.
RED GLITTER VALENTINE’S DAY NAIL DESIGN

This bold and statement-making color is an ideal choice for embracing the romantic spirit of Valentine’s Day. The rich, deep red hue, combined with the captivating glimmer of the glitter, creates a stunning and festive appearance that is bound to turn heads. This nail color adds a touch of glamour and sophistication, making it perfect for any Valentine’s Day celebration.
FLIRTY KISS VALENTINE’S DAY NAIL DESIGN

For a playful and flirty Valentine’s Day look, opt for nails that exude charm! Combine a vibrant bright white polish with the allure of sexy red lipstick kisses. This dynamic pairing not only adds a touch of flirtation but also creates a bold and attention-grabbing appearance. The contrast between the pristine white base and the sultry red lips adds a hint of drama, making this nail design perfect for those looking to make a statement on the most romantic day of the year.
SPLATTER PAINT VALENTINE’S DAY NAIL DESIGN

This striking nail design effortlessly combines freshness and femininity with a hint of edginess. The beauty lies in its versatility feel free to experiment with the color palette to suit your preferences. We’re envisioning a chic blend of blush and lilac adorned with vibrant magenta splatters, adding an unexpected and bold element to the overall aesthetic. This look is a perfect fusion of soft and daring, creating a nail design that is both sophisticated and on-trend.
LOVER ERA VALENTINE’S DAY NAIL DESIGN

Achieving this chic design involves using nail art tape for precise and straight lines. The genius of this look lies in the middle triangle, where your natural nail subtly peeks through, adding an extra layer of charm. It’s a delightful and trendy way to pay homage to bringing a touch of whimsy and sophistication to your Valentine’s Day manicure and beyond.
ALL YOU NEED IS LOVE VALENTINE’S DAY NAIL DESIGN

Spell out your affection with a playful “L-O-V-E” on your nails! For this intricate design, consider seeking assistance, whether from a skilled professional or a patient friend with a steady hand. Enlisting a helping hand will not only enhance the outcome but also make the application process more enjoyable and less challenging. This love-inspired nail design is worth the effort, creating a delightful and personalized touch to your manicure.
MINIMALIST CHIC

If you lean towards minimalist vibes, no worries! Elevate your favorite nude shade effortlessly with this discreet and delicate design. Achieving this look is a breeze—all you need are some black heart stickers. This minimalist approach not only adds a touch of sophistication to your nails but also offers a quick and easy solution for those who prefer understated elegance.
CHOCOLATE KISSES VALENTINE’S DAY NAIL DESIGN

Your nails are a sweet treat reminiscent of chocolate kisses by employing silver and shimmery brown polish in imaginative ways. In this design, alternating patterns of stripes and hearts come together to create a deliciously delightful aesthetic. The incorporation of metallic and shimmering hues adds a touch of glamour, transforming your nails into a tempting and eye-catching masterpiece.
PEONIES VALENTINE’S DAY NAIL DESIGN
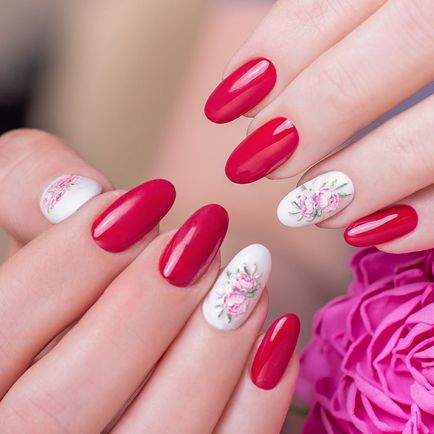
This design showcases one of the most cherished and romantically symbolic flowers—the peony. Alternatively, roses or other flowers in complementary colors can also be incorporated seamlessly. The choice of colors for this nail art adds an extra layer of charm and sophistication to the overall nail design.
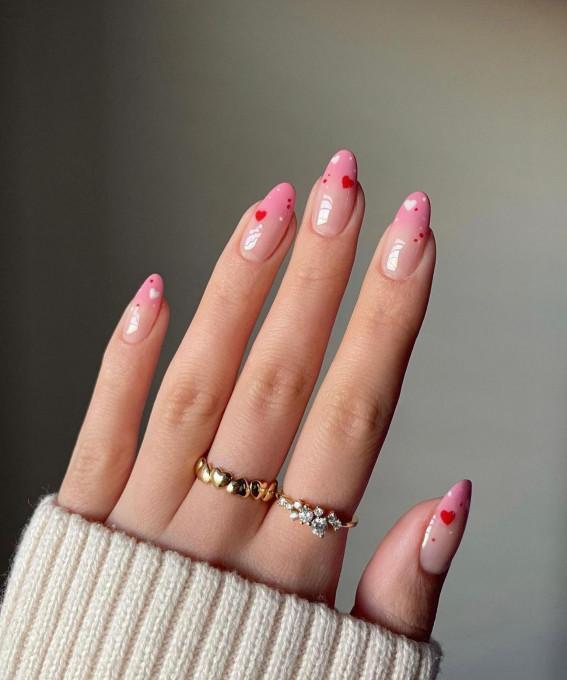
PRETTY IN PINK VALENTINE’S DAY NAIL DESIGN
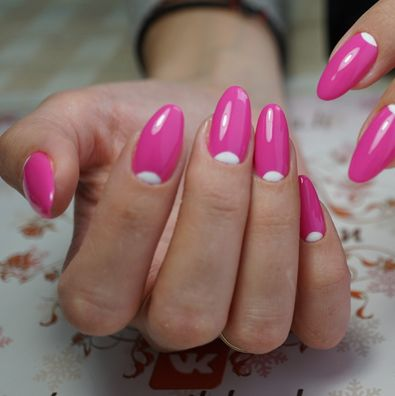
Elongated natural nails are treated to a lovely pink manicure, adorned with a subtle white accent at the base of the nail beds—a technique commonly referred to as the half-moon design. The color scheme chosen for this nail set enhances the overall elegance, with the delicate pink hue offering a touch of femininity and sophistication. The addition of the simple white highlight not only provides a chic contrast but also accentuates the natural beauty of the half-moon design.
FESTIVE FRENCH

Beyond being an ideal complement to a Valentine’s Day cake pop, this reversible French manicure is the perfect selection when you equally adore both colors. Begin by applying two base coats, alternating shades on each nail or selecting specific nails for accents.This manicure technique not only showcases a harmonious balance between the two hues but also offers a chic and customizable look, making it an excellent choice for those who appreciate both colors equally.
NEGATIVE-SPACE SCALLOPED NAILS

These chic pink and red negative space nails effortlessly combine simplicity with artistic charm. Each nail features delicate arcs of color along its outer edge, creating a sophisticated and modern look. To recreate this style, use a super-thin striping brush dipped in your chosen polish color. The minimalistic approach, along with the clever use of negative space, makes this manicure visually stunning yet tastefully understated.
WINTER WHITE VALENTINE’S DAY NAIL DESIGN

Embrace the pristine beauty of winter with this snow-white nail look designed to accompany you throughout the season. Elevate a simple white manicure to a new level of elegance by adorning it with delicate silver gems. The combination of the crisp white base and the glistening silver embellishments creates a sophisticated and enchanting appearance. This nail design captures the essence of winter with its purity and subtle sparkle, making it a versatile and chic choice for various occasions.
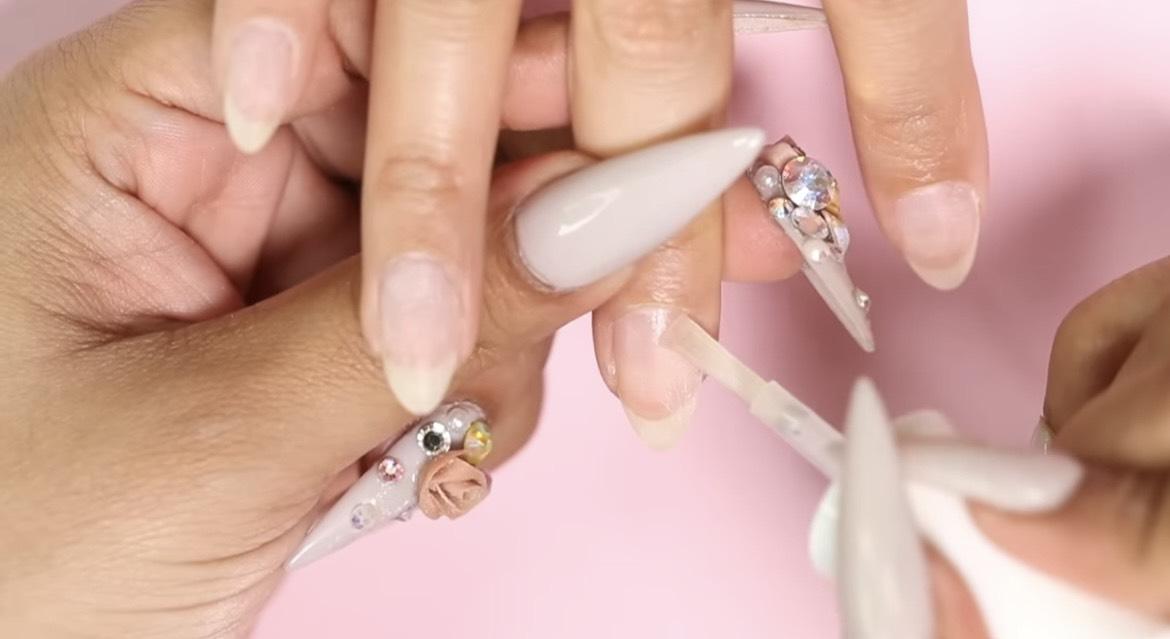
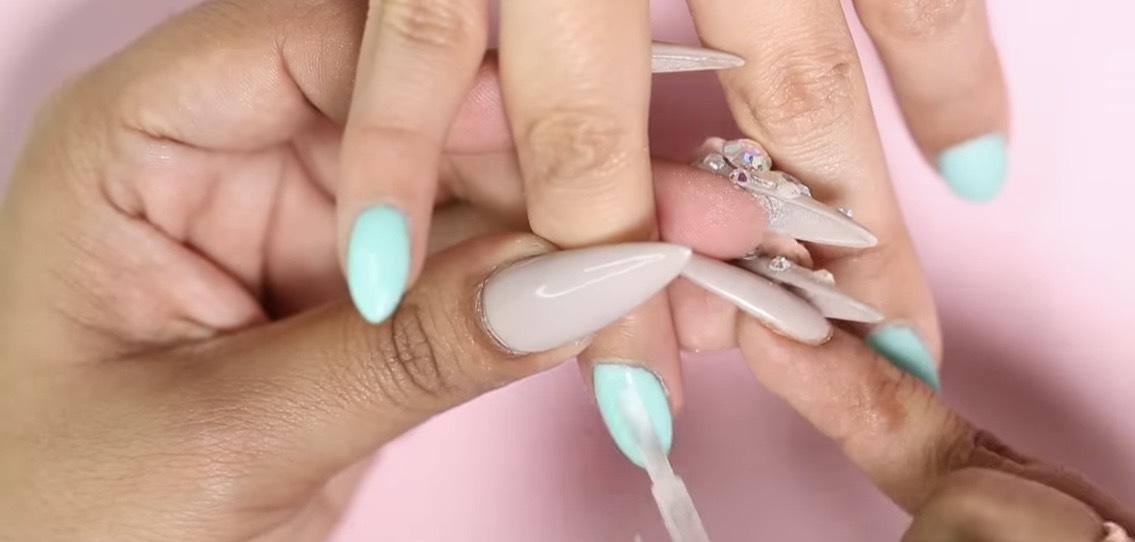
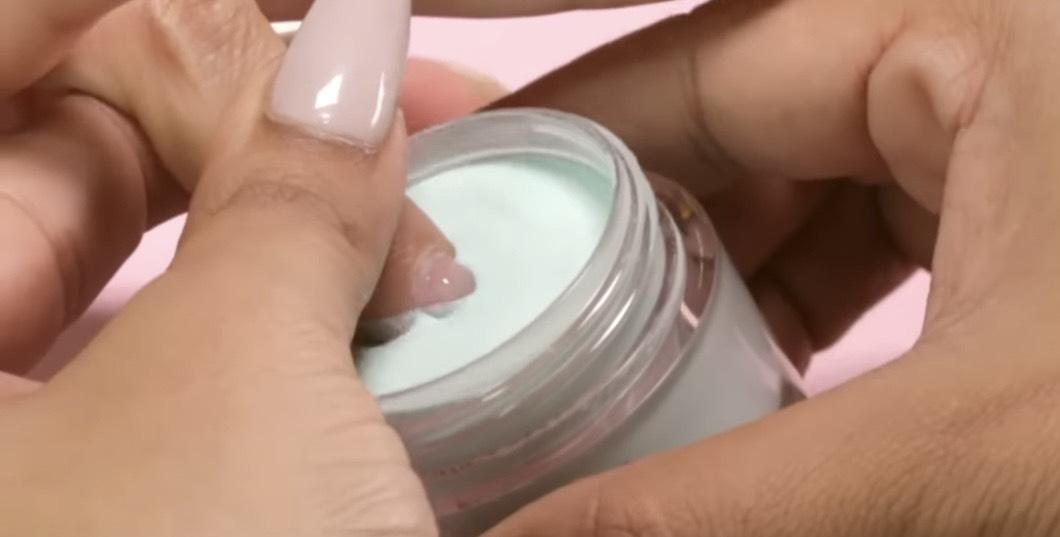
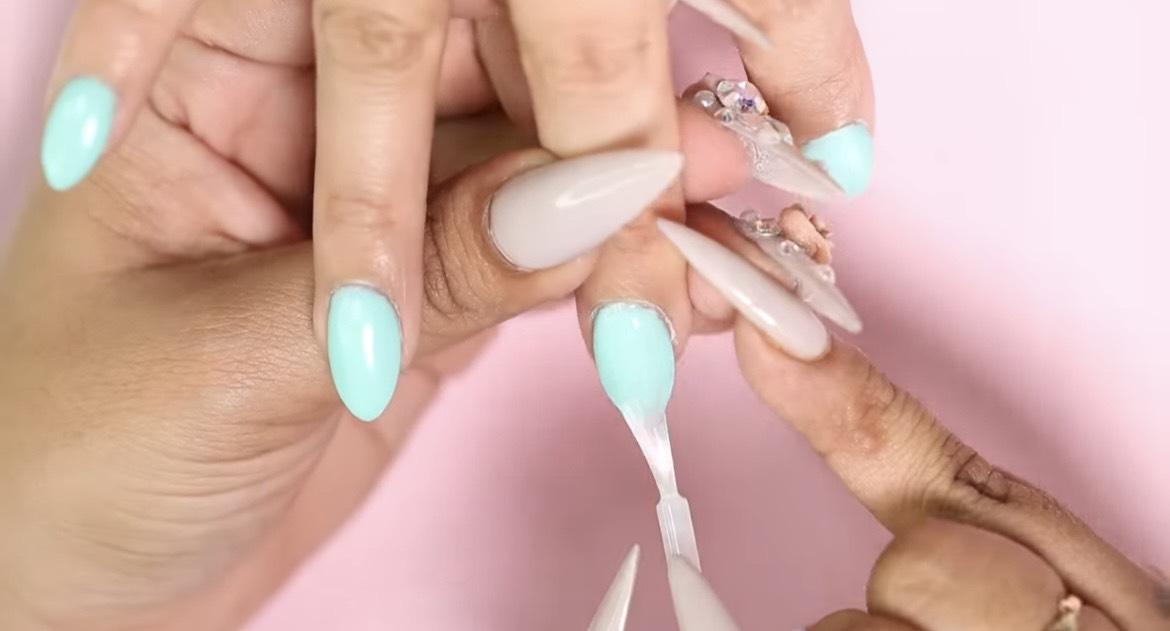
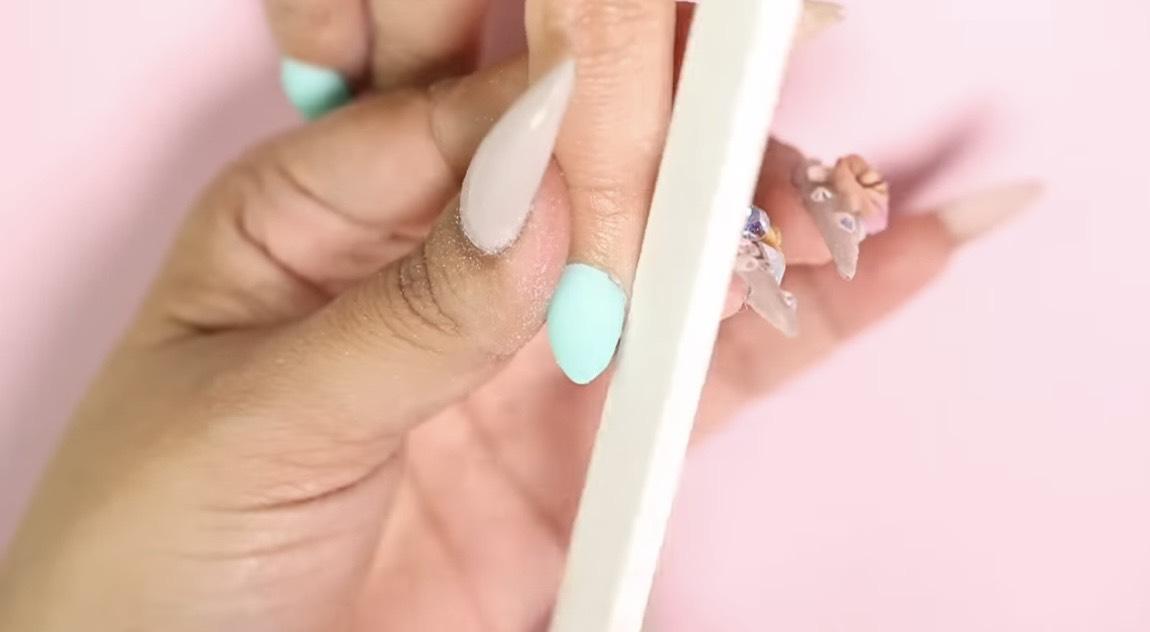
VALENTINE’S DAY ACRYLIC NAILS

Acrylic Valentine’s Day nail designs are the perfect choice to express love and romance on the day of love. Typically incorporating colors like red, pink, gold, and iconic symbols such as hearts and roses, these nail designs evoke a sweet and alluring sensation. Images like bracelets and pearls are also integrated, adding an element of sophistication and elegance. With the use of simple colors and patterns, acrylic Valentine’s Day nail designs create a sense of refinement and grace.
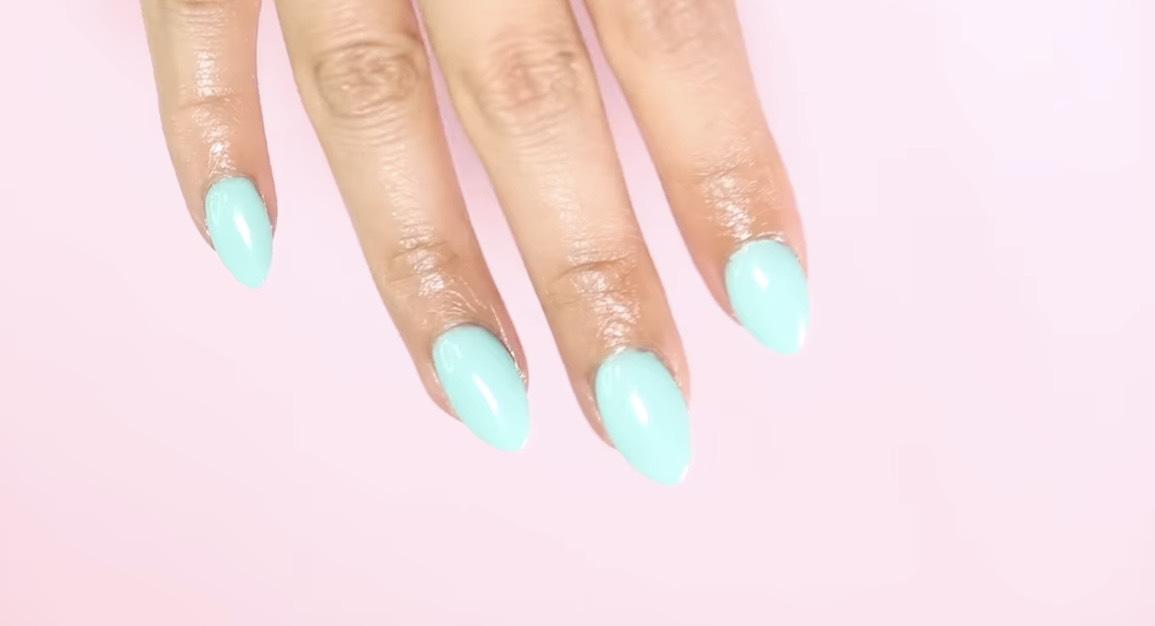
METALLIC PINK TIPS

Nails adorned for Valentine’s Day don’t necessarily require an abundance of heart motifs to capture the essence of Cupid’s touch. The delicate sheen of the metallic hue adds a touch of sophistication, elevating the romantic ambiance without being overly conventional. The soft, rosy tones evoke a sense of romance, making these nails a perfect complement to any Valentine’s Day ensemble. The understated design speaks volumes, embodying a refined and timeless beauty that is sure to leave a lasting impression.
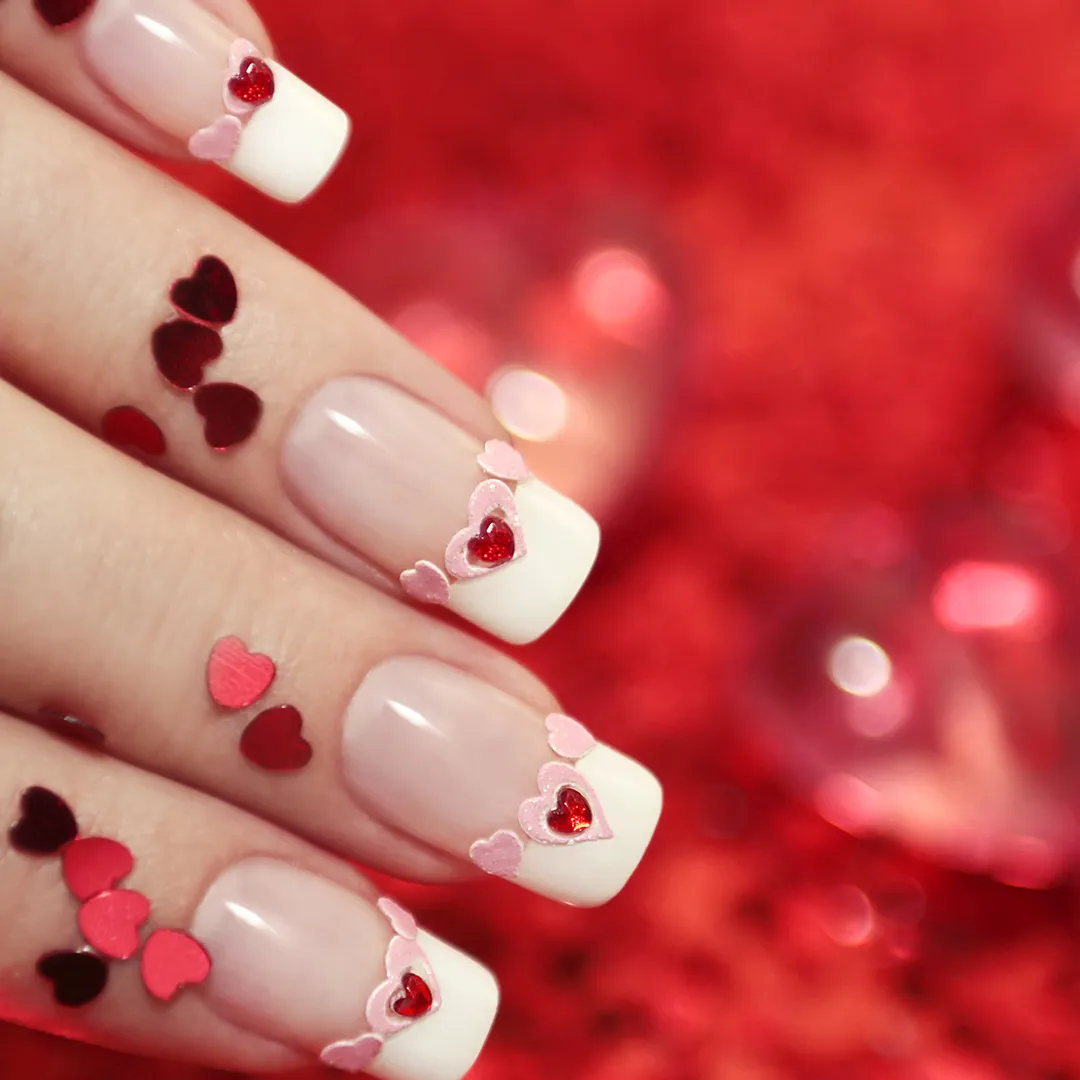
HEART FRENCH MANI VALENTINE’S DAY NAIL DESIGN

Upgrade your classic French manicure by adding a touch of glamour with carefully placed pink and red gems. Nestled between the clean white tips and your natural nail base, these gems present a subtle yet striking dimension, turning the traditional look into a captivating work of art. The gemstones not only bring a hint of romance but also infuse a sense of sophistication and luxury, making your manicure effortlessly stand out. The combination of colors and textures in this nail design ensures a polished and refined appearance, making it a perfect choice for a modern twist on the classic French manicure.
TINY HEARTS VALENTINE’S DAY NAIL DESIGN

Give your long nails a classy touch with a clean white gel polish, and add a cute flair by sprinkling in small, lively red hearts. The sharp contrast between the bright white background and the vivid red hearts makes for a bold and charming look. This manicure not only oozes sophistication but also gives off a playful and romantic vibe. It’s an ideal pick for those who want to flaunt both style and personality through their nail design.
HEARTBEAT VALENTINE’S DAY NAIL DESIGN

The heartbeat design adds a touch of drama that we absolutely adore. For a more understated appearance, opt for a plain white nail – you’ll still achieve a playful and festive look perfect for Valentine’s Day. The rhythmic blend of colors and patterns in this nail design not only captures attention but also brings a lively and dynamic vibe, making it an excellent choice for a romantic and fun-filled evening.
SILVER HEARTS VALENTINE’S DAY NAIL DESIGN

This manicure showcases a refined light silver polish adorned with charming whimsical pink hearts. The sleek combination of the subdued silver base and the playful pink heart accents creates a sophisticated yet delightful appearance. This nail design effortlessly strikes a balance between modern chic and a touch of whimsy, making it a perfect choice for those who seek a subtle yet captivating look. The harmonious interplay of colors adds a gentle and romantic vibe, making these nails an ideal complement to various outfits and occasions.
LOVE LETTER VALENTINE’S DAY NAIL DESIGN

The design features an illustrated love letter and heart-shaped balloons, creating a whimsical and romantic atmosphere. The incorporation of these charming elements adds an extra layer of festivity, making this manicure perfect for celebrating love and joy. The lively combination of colors and the imaginative design create a nail look that is not only fun but also exudes a sense of creativity and affection. You’re heading out for a special occasion or just want to showcase your love for the season, these nails bring a unique and heartwarming touch to your overall appearance.
BUTTERFLY VALENTINE’S DAY NAIL DESIGN

The surprise element lies in a captivating statement nail featuring a bold and vibrant red butterfly adorning the ring fingers. This unique design not only brings a pop of color but also introduces a playful and artistic dimension to the overall manicure. It is an excellent option for individuals desiring a chic and pleasantly surprising element in their nail art, adding a stylish and unforeseen flair to the overall aesthetic.
VAMPY COFFIN NAILS

Dive into a moody vibe with these nails, displaying a captivating shift from lighter to deeper red shades, moving from the pinky to the thumb. The matte finish adds an extra layer of sophistication to the deep red hue, creating a modern and edgy look perfect for those seeking a bold and non-traditional Valentine’s Day aesthetic. This unique nail design effortlessly combines a sense of mystery with a nod to current trends, making it an ideal choice for those wanting to make a striking and stylish statement this Valentine’s Day.
SWEET PINK VALENTINE’S DAY NAIL DESIGN

This playful nail look brings together bubblegum pink nails adorned with a delightful assortment of stripes, hearts, polka dots, and gems. The vibrant combination of colors and patterns creates a lively and dynamic appearance, making these nails a cheerful and eye-catching choice. The whimsical mix of design elements adds a fun and eclectic vibe, perfect for those who want a bold and expressive nail style. This versatile and energetic nail design lets you showcase your personality and creativity in a vibrant and fashionable way.
RUBY RED HEARTS VALENTINE’S DAY NAIL DESIGN

The ruby red nails exude an enchanting charm with the playful addition of swirly red and black hearts, accompanied by a sprinkle of gems for an extra touch of sparkle. This nail design not only captures the essence of romance but also infuses an element of fun and sophistication. The rich red hue combined with the whimsical heart patterns creates a delightful and eye-catching appearance, making these nails a perfect choice for a romantic evening.
FLIRTY HEARTS VALENTINE’S DAY NAIL DESIGN

Celebrate Valentine’s Day with this delightful nail look that beautifully merges everything we adore about the holiday: vivid red, shimmering silver, and charming hearts! The dynamic combination of these favorite elements creates a festive and eye-catching appearance. The bright red hue adds a bold and passionate touch, while the shimmery silver and heart motifs infuse a playful and glamorous vibe. This versatile nail design allows you to showcase your love for the season in a stylish and expressive way, making it an ideal choice for those who want to embody the essence of Valentine’s Day through their manicure.
PASTEL HEARTS VALENTINE’S DAY NAIL DESIGN

This nail design combines whimsical hearts with a sophisticated matte purple polish, proving that the celebration doesn’t have to be confined to red and pink. The fusion of fun-loving heart motifs and the subdued elegance of the matte purple creates a uniquely charming and stylish appearance. The unexpected color choice adds a modern and trendy edge to the Valentine’s Day theme, making it an ideal pick for those who want to stand out with a touch of originality.
CONCLUSION
We present to you 32 nail designs for Valentine’s Day, featuring the hottest trends and most preferred choices. The harmonious blend of colors and patterns creates a diverse range of nail styles, from modern and intricate to simple and elegant. We hope that after exploring these designs, you will find the perfect nail style that complements the beauty of your hands. Choose the one that resonates with you and adds a touch of charm to your lovely hands.