With wedding season just around the corner, it’s the perfect time to start thinking about your wedding hairstyle. We know how overwhelming planning can be, especially with decisions around the dress, makeup, venue, guest list, seating arrangements, and more. To help make things easier, we’ve put together a guide filled with hairstyle inspiration to reduce stress and spark ideas. Inside, you’ll find options for every hair texture, type, length, and face shape. Simply take a moment to explore and choose the style that resonates with you most.
Oval Head Shape
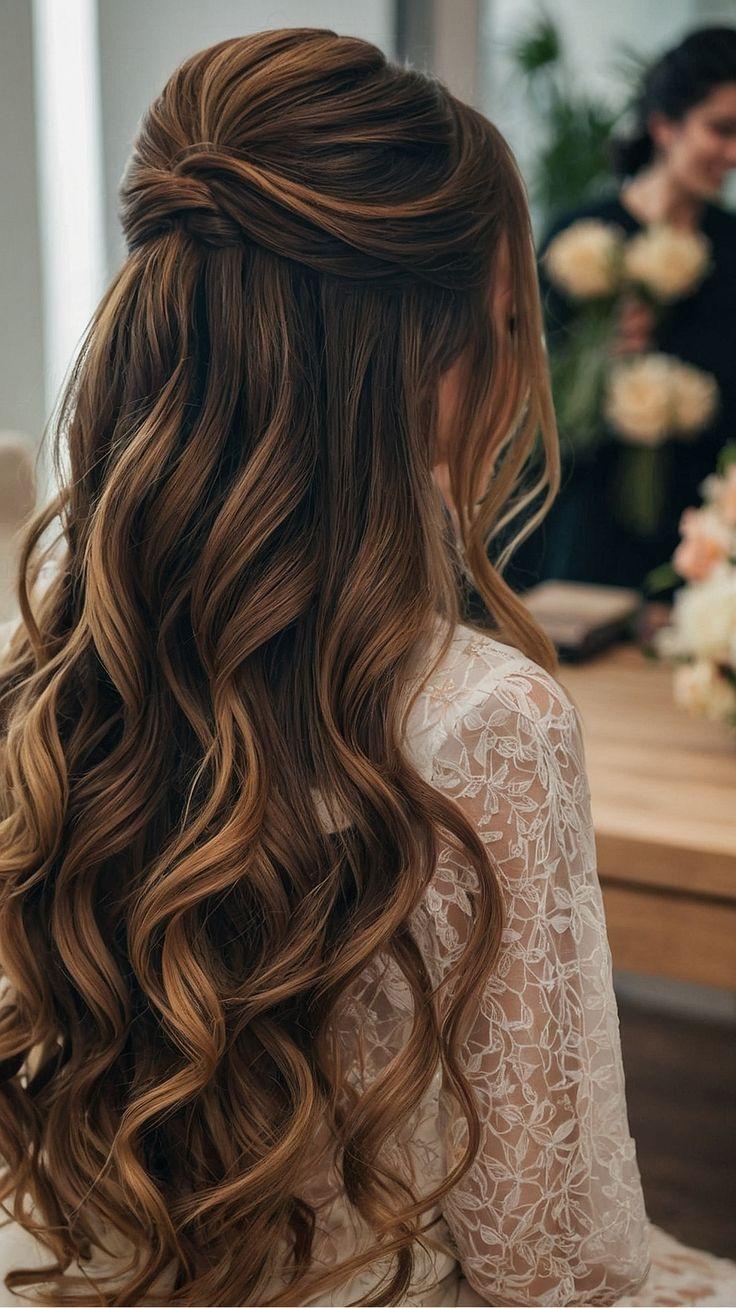
If you have an oval face, consider yourself lucky—you can truly rock almost any hairstyle! From elegant buns and chic fringes to romantic half-up, half-down wedding updos for long hair, the options are endless. Let your imagination run free and choose the style that feels most “you.”
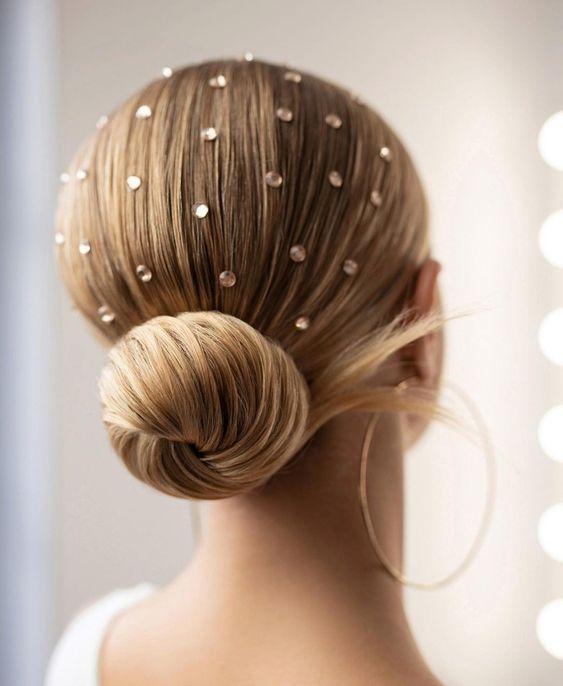
A Sleek Bun
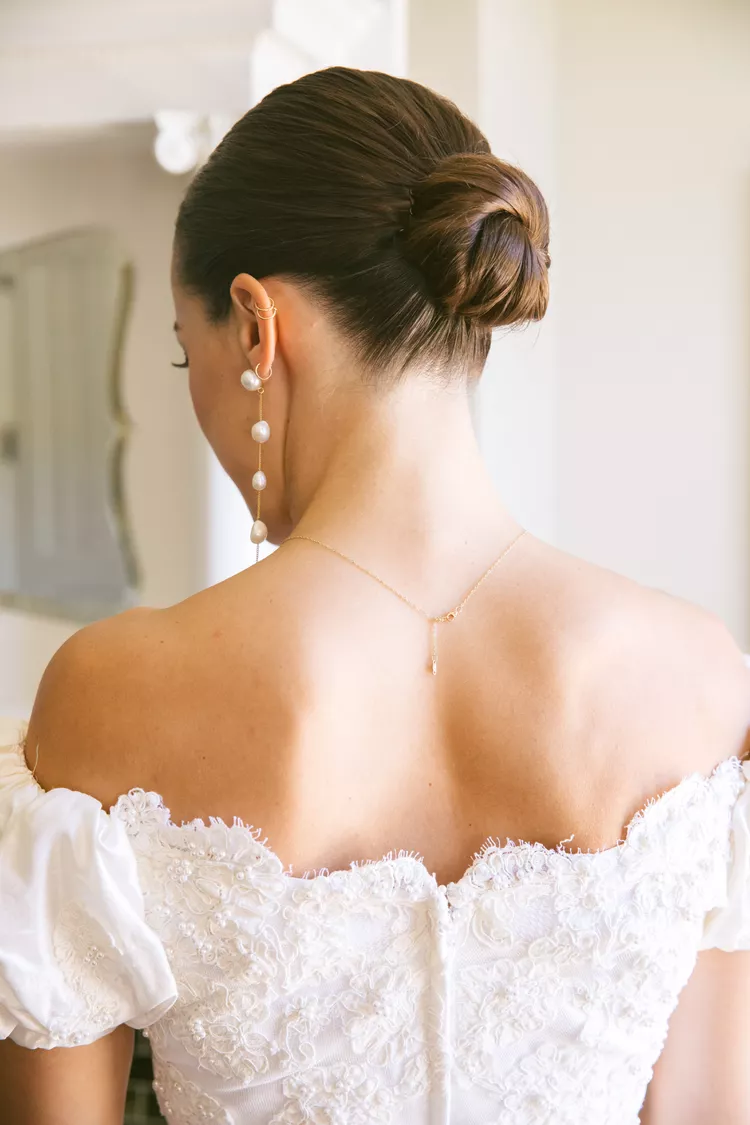
To highlight your facial features, décolletage, or showcase statement jewelry, a slicked-back bun is an excellent choice. Pulling your hair into a sleek chignon creates a look that is both modern and timeless, effortlessly complementing any wedding style or venue.
Square Head Shape

Women with square faces often have beautifully defined jawlines, so there’s no need to emphasize it further. Instead, choose wedding hairstyles that add length to your face, like soft curls or a low bun. If you prefer to wear your hair down, go for it—just add a middle part to create balance, and you’re all set for a stunning look.
Rectangle Head Shape
Women with rectangular face shapes often have beautifully wide jaws, but the natural length of the face keeps it balanced and refined. This means most wedding hairstyles will suit you well, from top knots to swept-back looks. If you’re leaning toward an updo, a high top bun is a flattering choice. Prefer something soft and romantic? Side-swept curls add a chic touch and beautifully highlight your cheekbones.
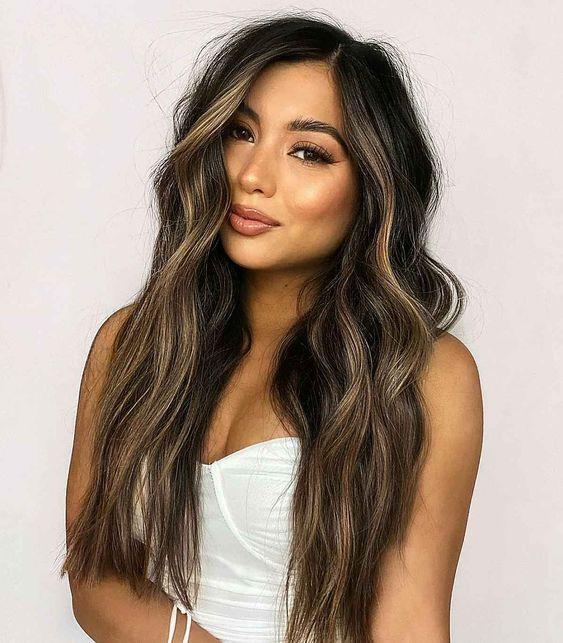
Mermaid Waves
For coastal celebrations or countryside ceremonies, embrace the relaxed vibe of your surroundings with romantic mermaid waves. Perfect for brides with long hair, loose, crimped waves cascading over your shoulders create an effortlessly enchanting look. A center part will beautifully showcase your hair’s length and natural charm.
A One-of-a-Kind Combination
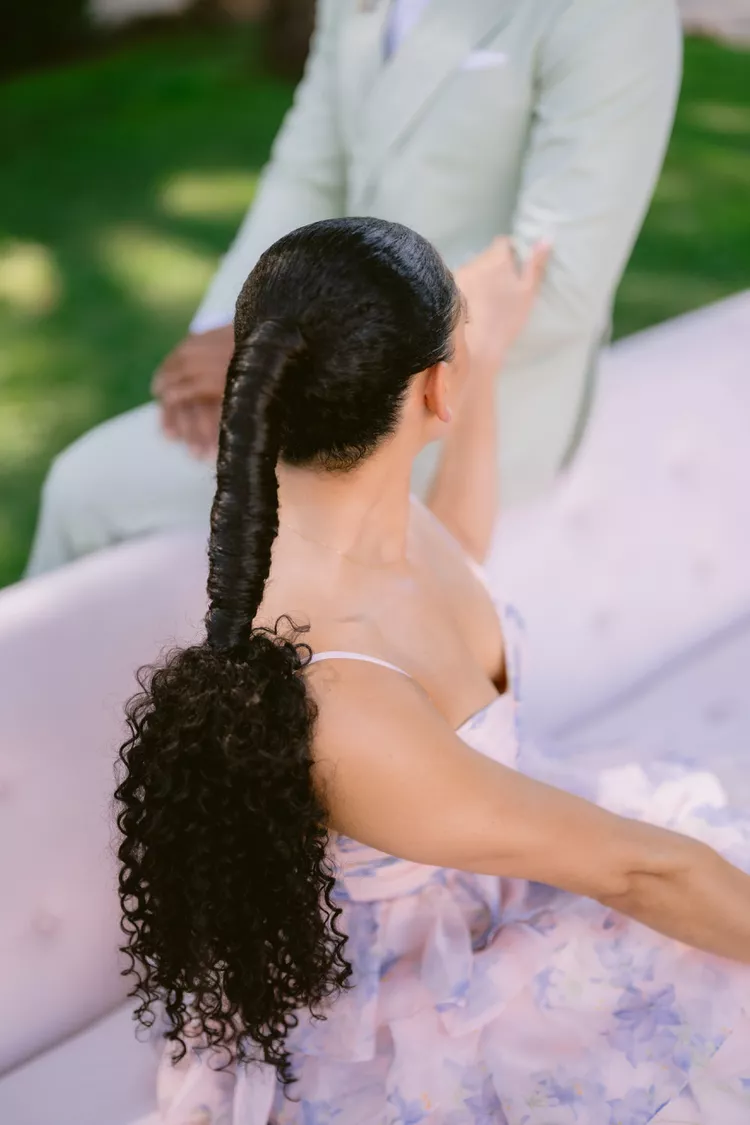
Looking to try a unique and romantic wedding hairstyle? Take inspiration from this bride’s innovative look by Reina Gomez for her garden-themed wedding weekend in Rome. She transformed a sleek, simple ponytail by adding a twisted shaft and leaving the ends in natural curls, creating a captivating contrast of textures that feels both modern and timeless.
An Elegant Twist
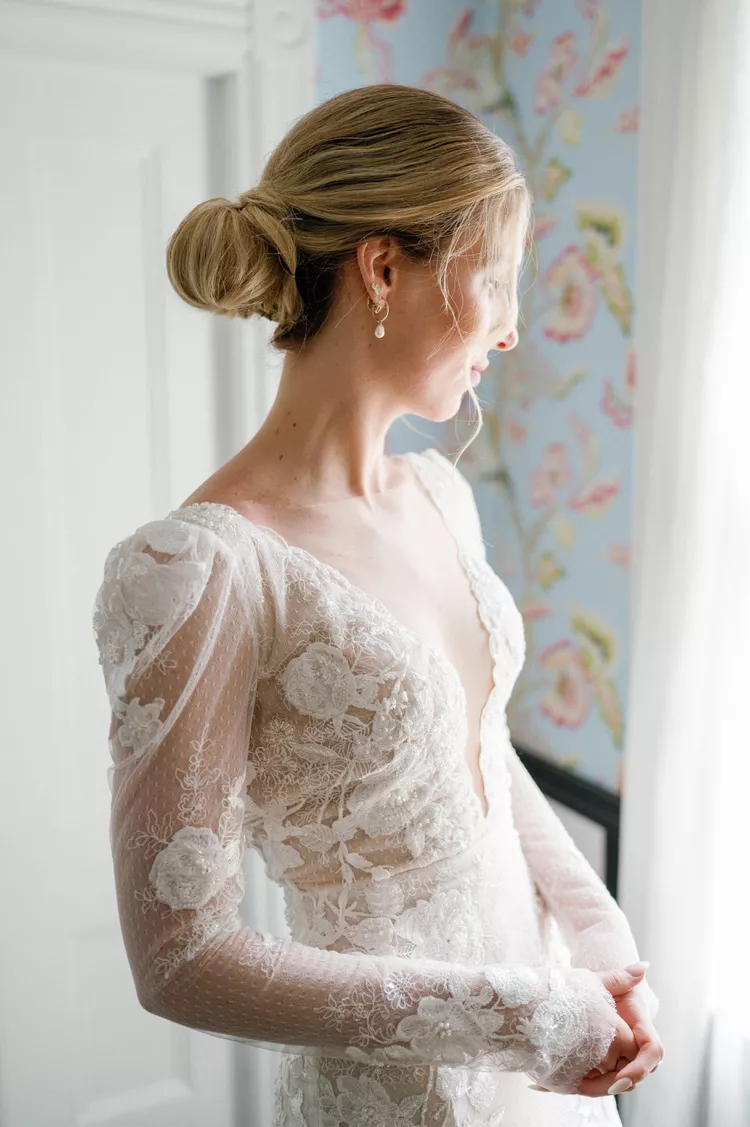
Seeking a romantic wedding hairstyle with understated elegance? Take inspiration from this refined bun by Sarah and Co. Designs, worn by a bride at her airy Maine wedding in a beautifully restored barn. The updo featured a polished gather of hair with softly twisted pieces for added texture, perfectly complementing the lace detailing on her dress.
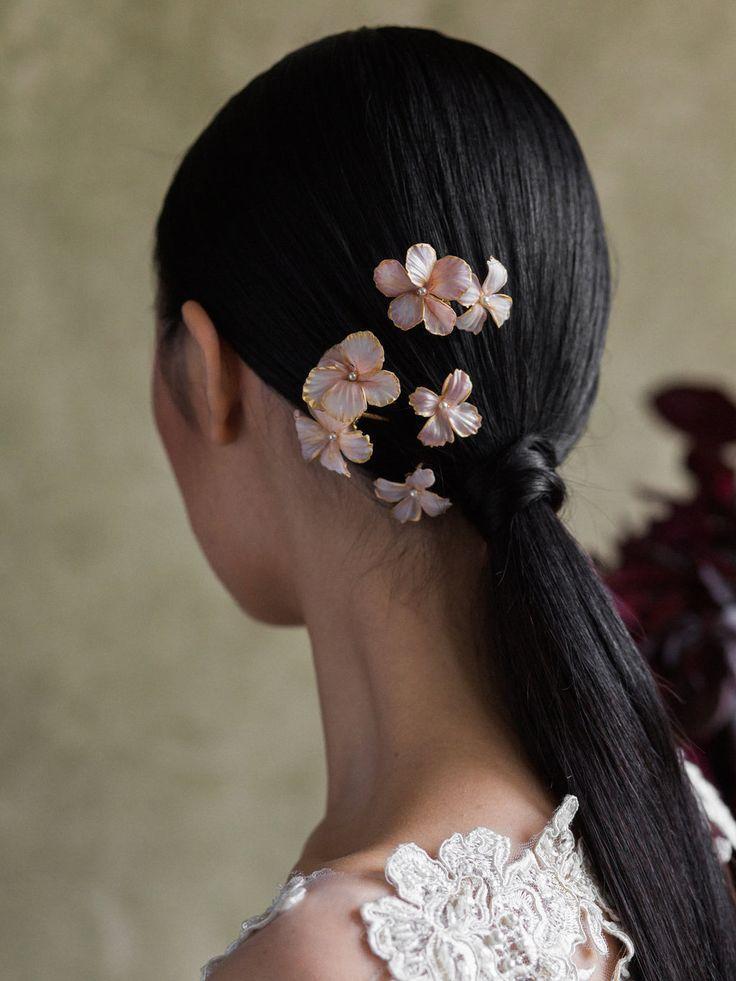
A Slicked-Back Ponytail
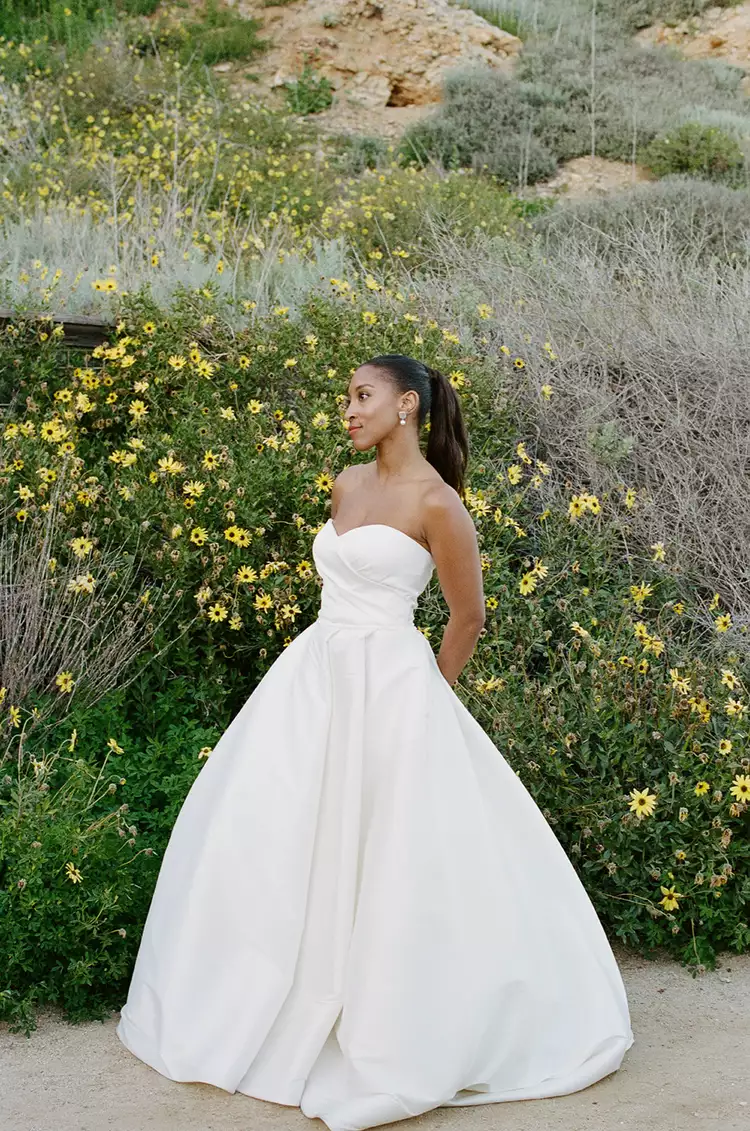
A sleek ponytail can bring a touch of romance to your wedding look. Secure your hair tightly at the crown, allowing a few soft, wavy strands to frame your face—creating the ideal mix of sophistication and glamour.
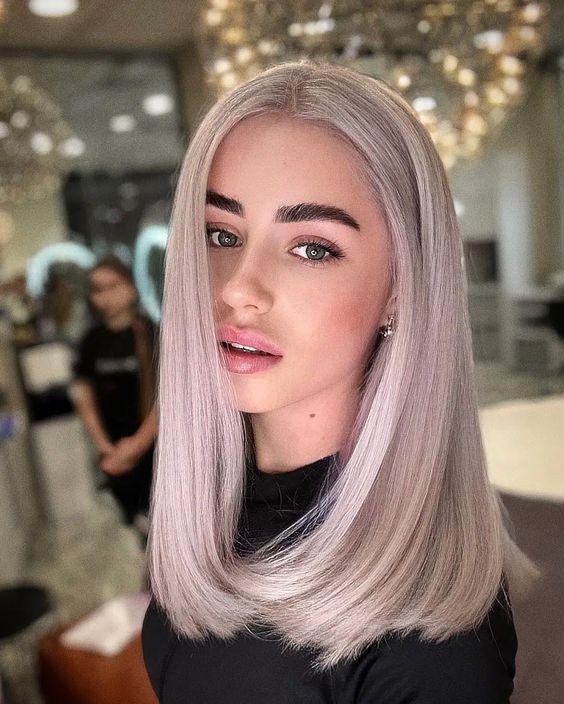
Silky and Straight Wedding Hair
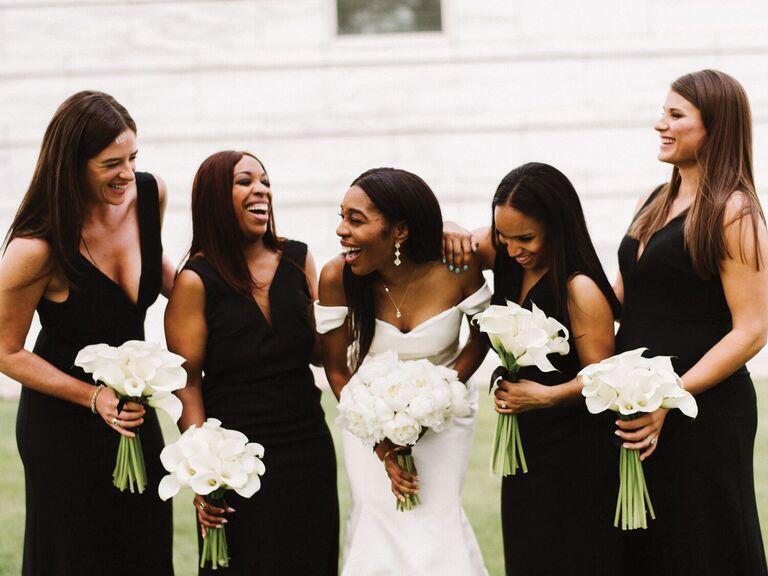
Silky straight wedding hair beautifully reflects light without detracting from your features. Just look at how elegant this bridal party appears with their coordinated straight hairstyles!
Ample Shine
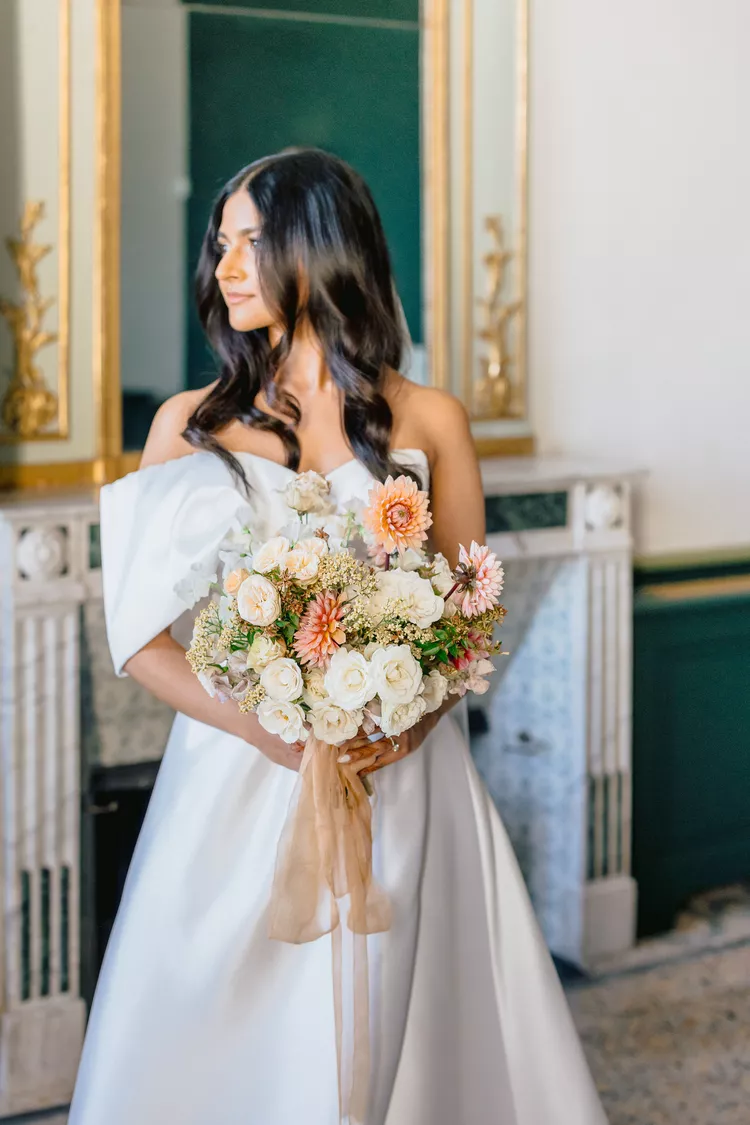
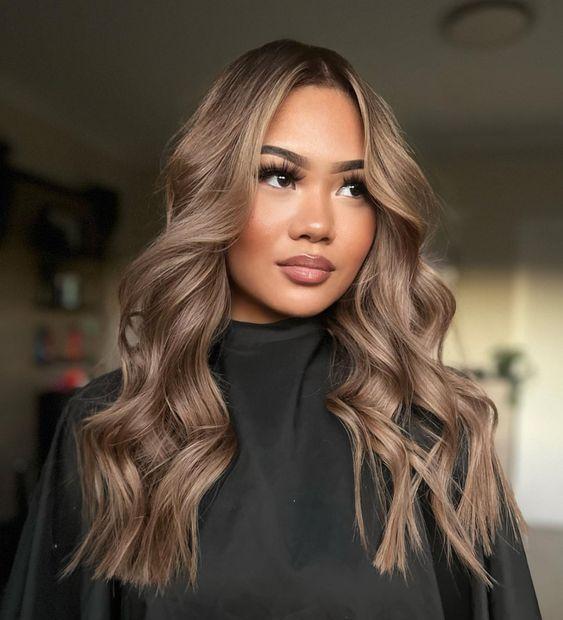
Wedding hairstyles with a glass-like gloss exude luxury. While pin-straight strands are a stunning option, you can also achieve a beautiful look by blow-drying your hair and adding depth with soft, loose waves, as showcased by this bride.
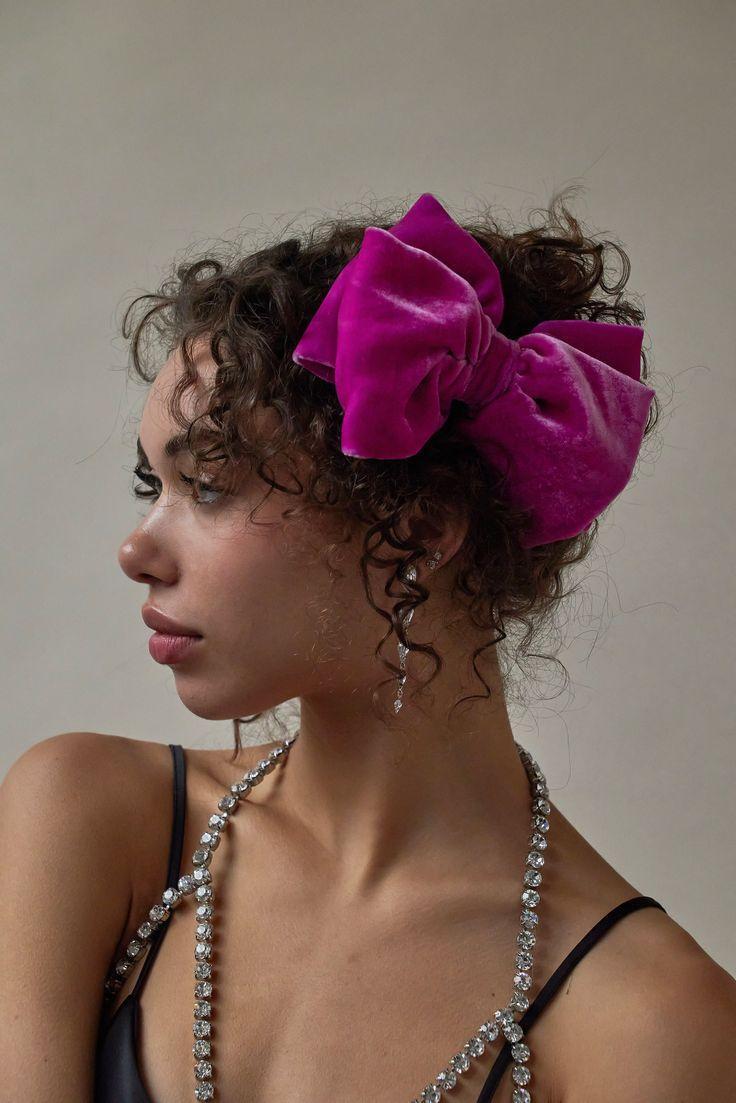
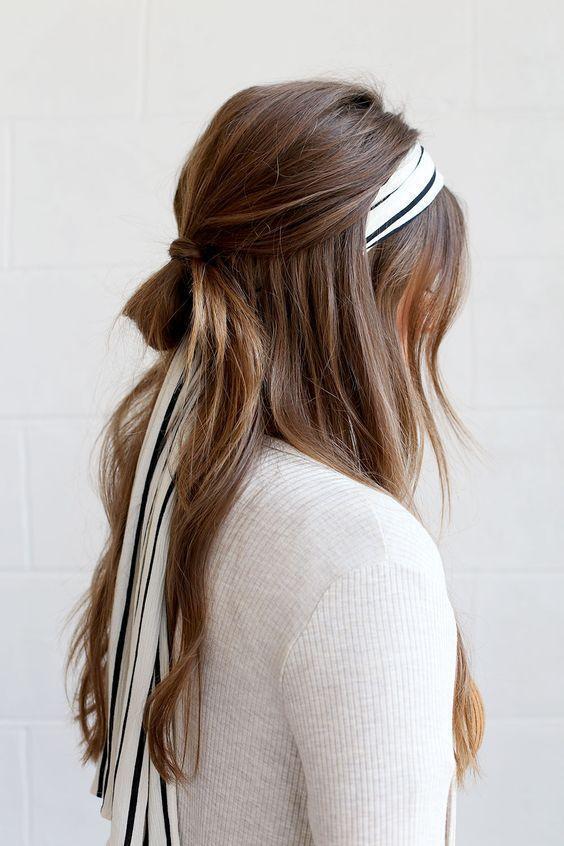
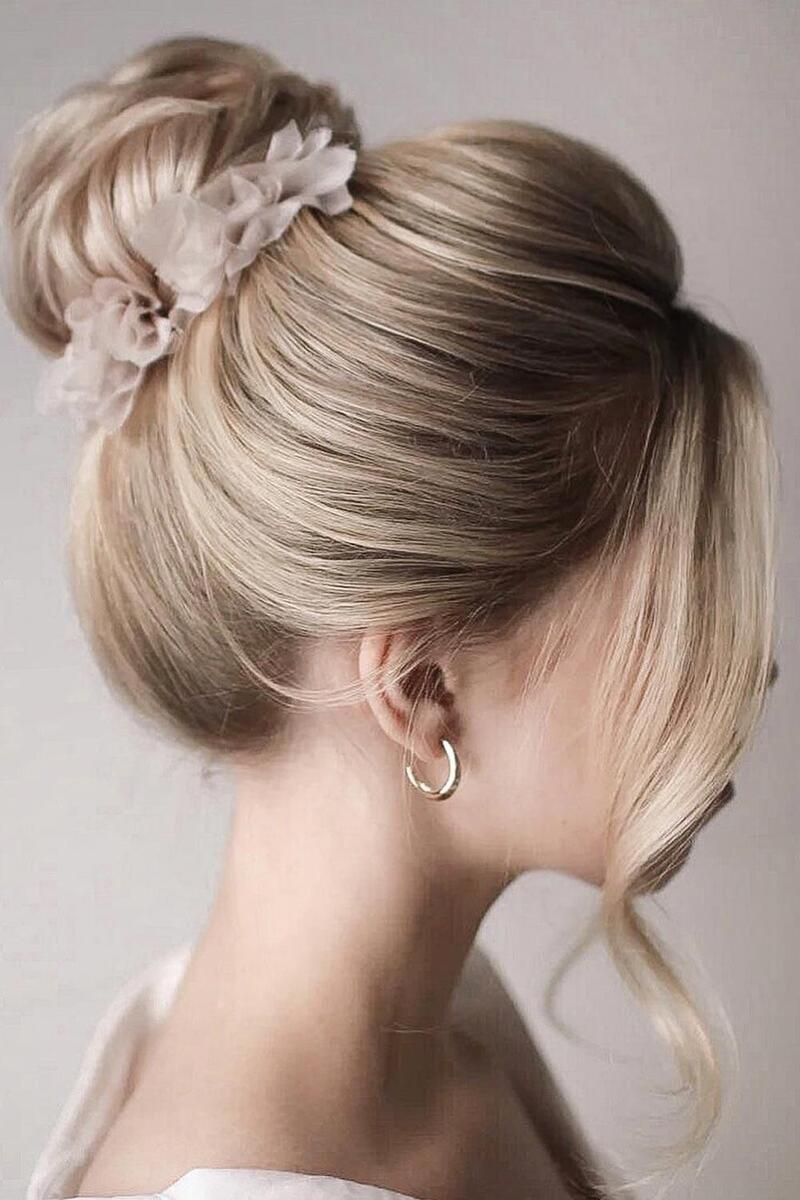
A Statement Headpiece
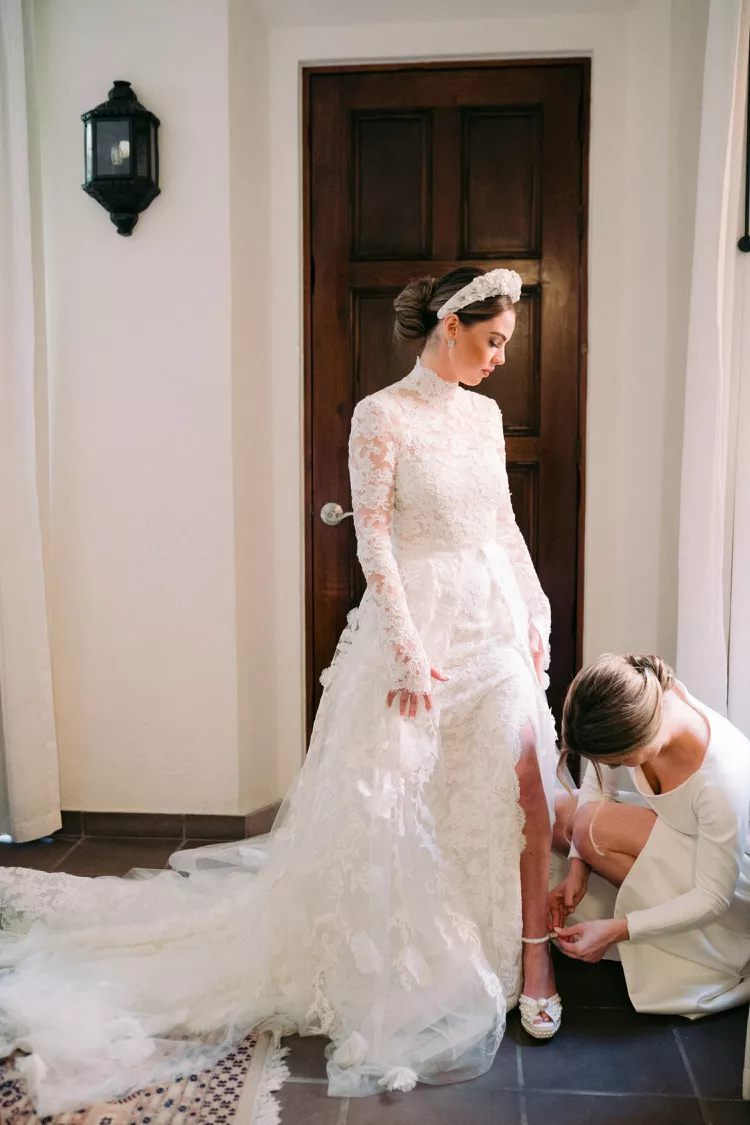
Want to add extra romance to your look? Choose a dreamy hairstyle adorned with stunning accessories. You’ll be sure to impress with a style like this bride’s oversized sock bun, beautifully topped with a thick, floral-embellished headband.
Barely-There Waves
Romantic wedding hairstyles often have an effortless charm—there’s something especially captivating about a natural look that enhances your features without losing your identity. This bride’s easy-breezy waves, styled by [ IGK Salon], perfectly embody this philosophy.
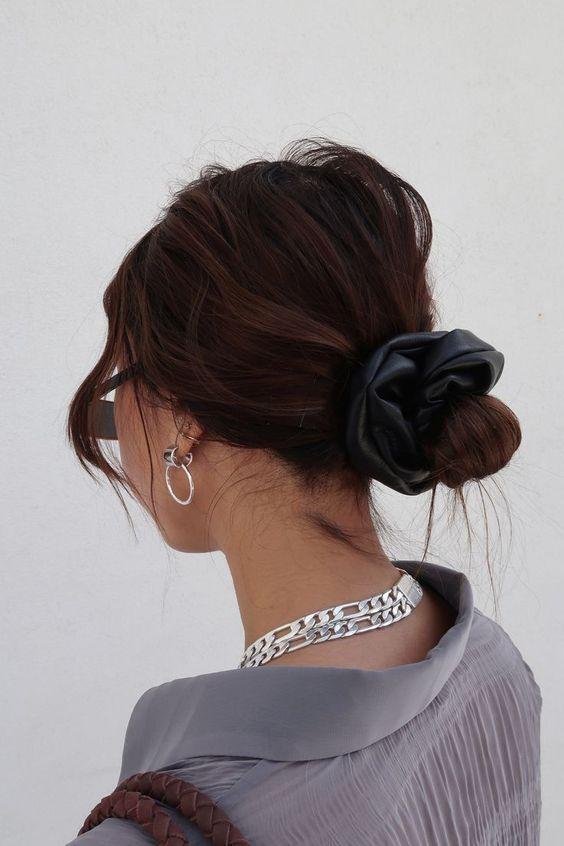
A Beachy Look
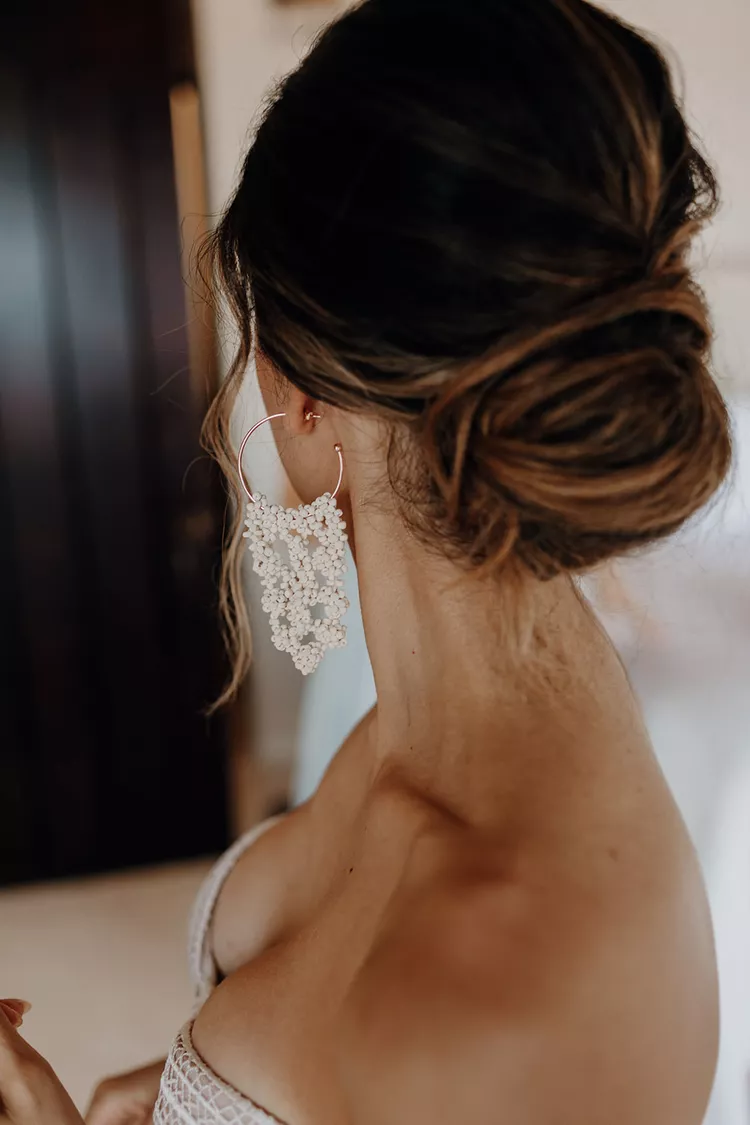
A low, textured bun with wispy flyaways framing the face beautifully complements a beachfront gathering. Unlike the tidy shapes of traditional updos, this chignon features a fuller design with overlapping strands and loose roots, making it the perfect choice for relaxed nuptials and bohemian-inspired outfits.
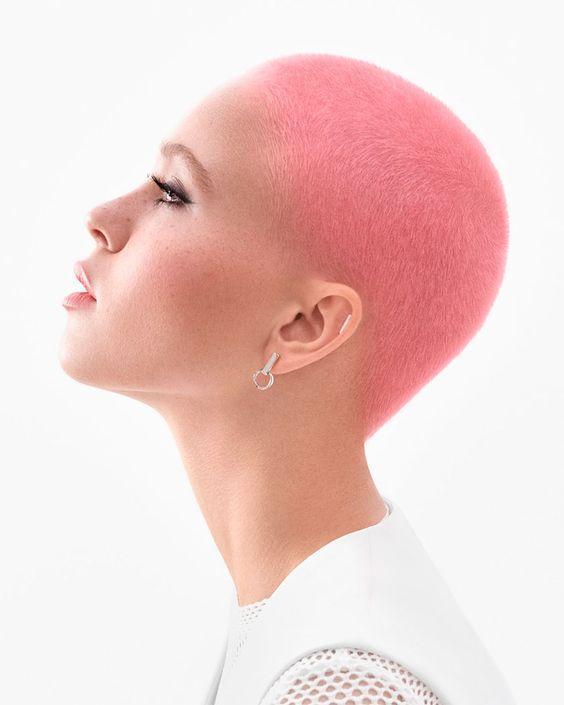
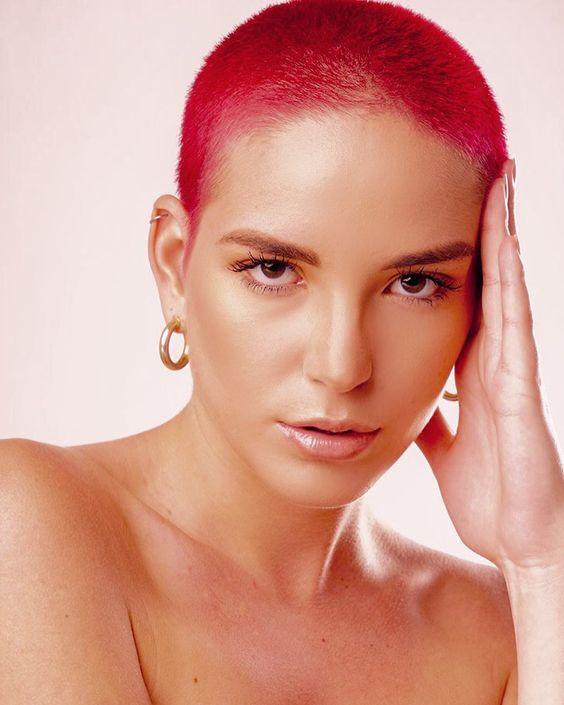
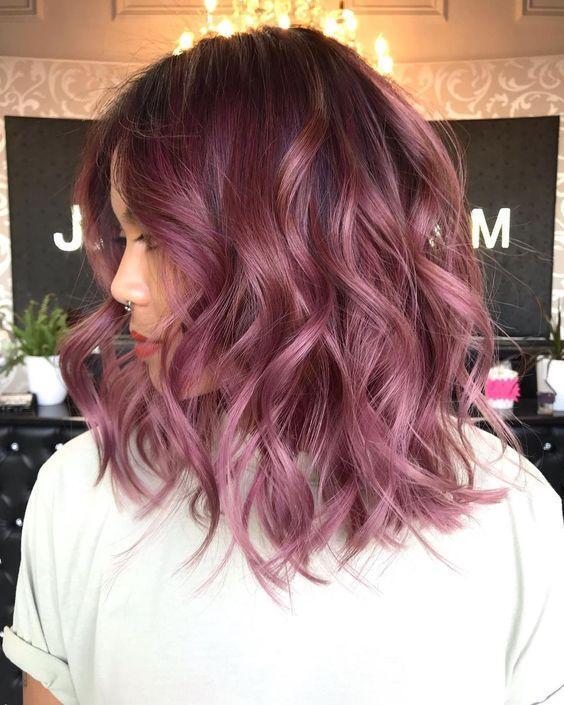
A Pop of Pink
Is colorful, vibrant hair your style? Embrace a bold pop of color as you get ready for your nuptials! This bride’s rosy strands for her Monet-inspired garden wedding exuded pure romance (after all, pink is a classic symbol of love!). The hues perfectly complemented her multi-colored gown adorned with lively flower-and-butterfly appliqués.
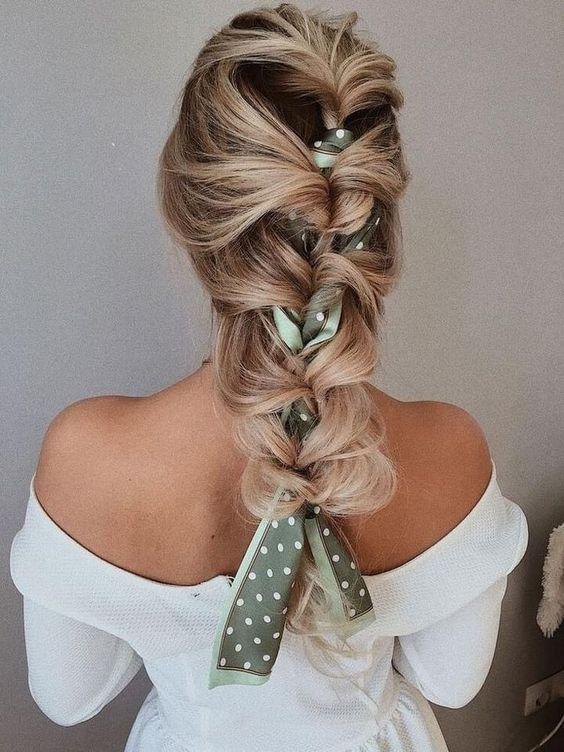
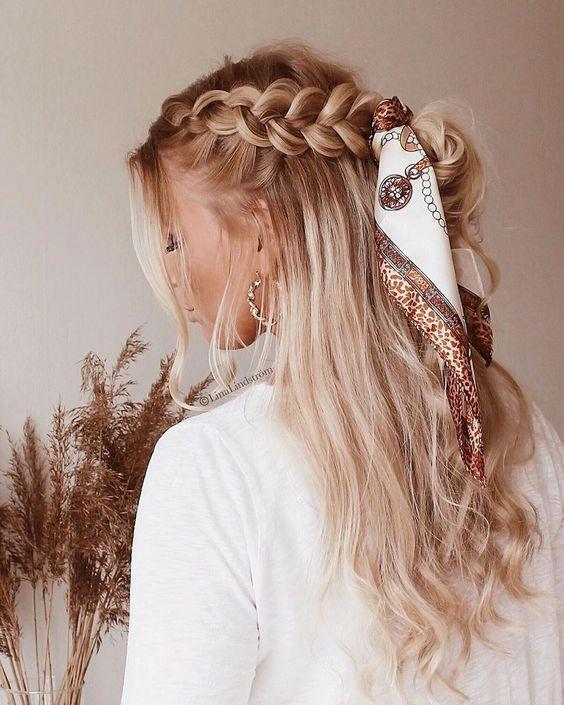
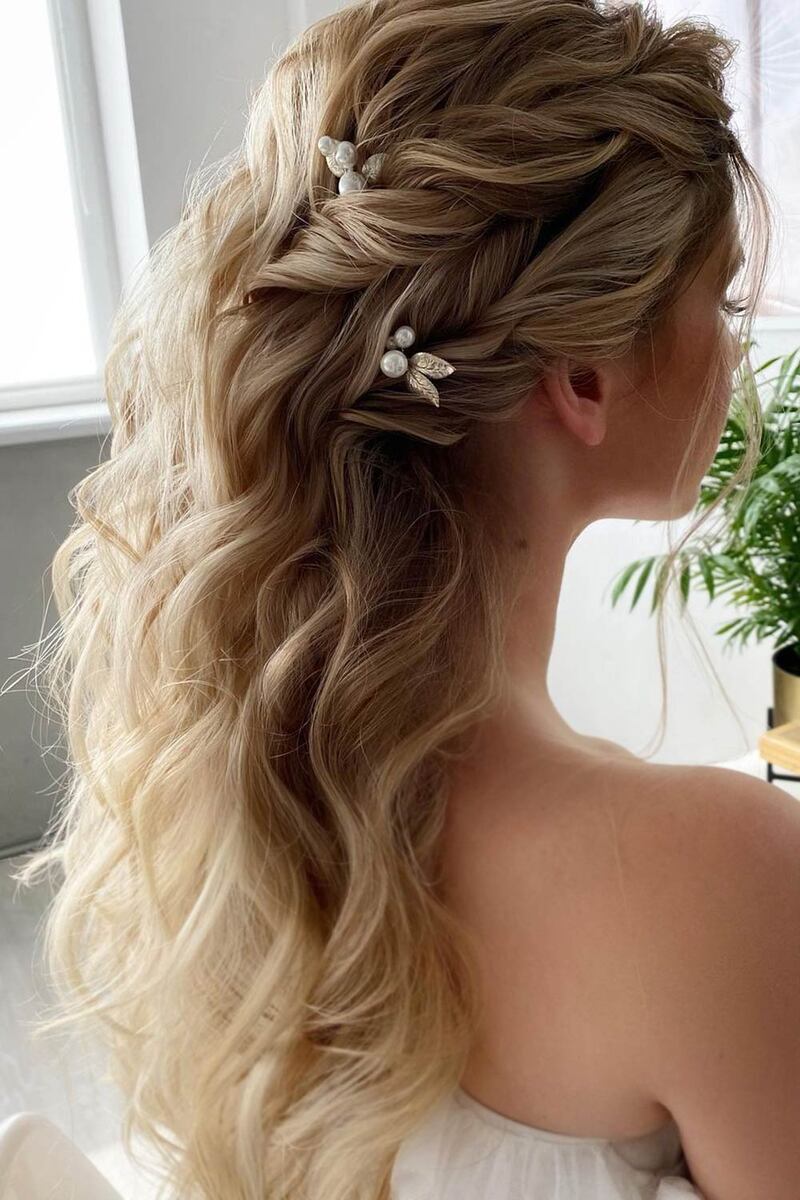
A Beaded Braid
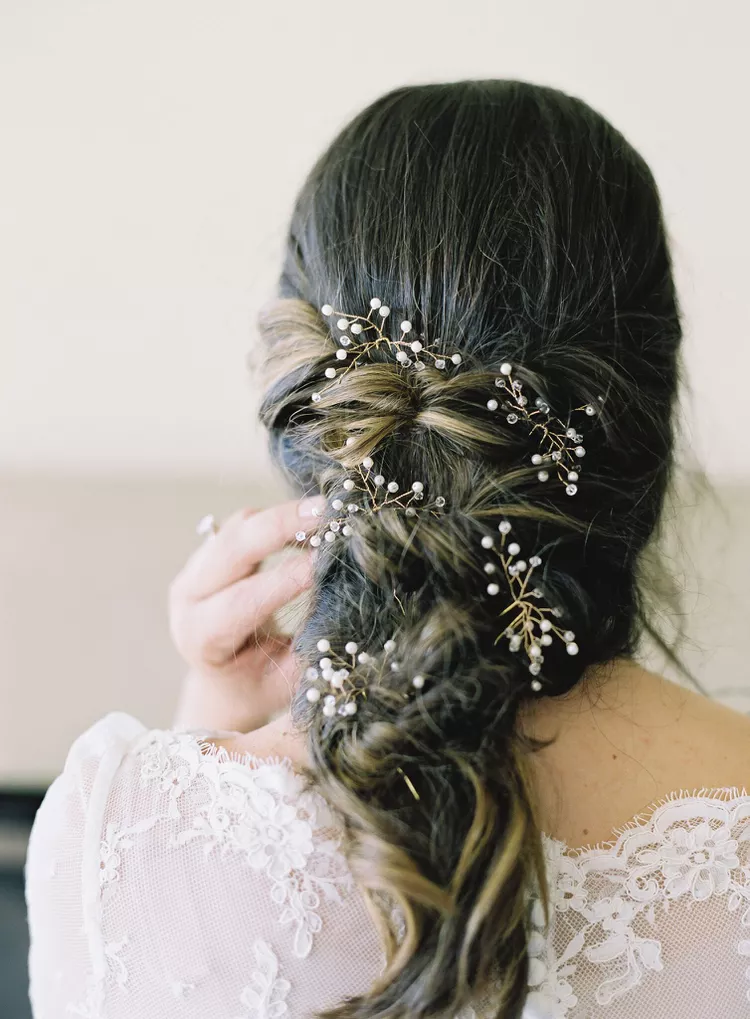
A whimsical braid is a perfect choice for long hair. To enhance the romantic vibe, consider embellishing the braid with beaded pins that mimic floral buds. This ultra-organic touch creates a dreamy look that’s ideal for any outdoor celebration.
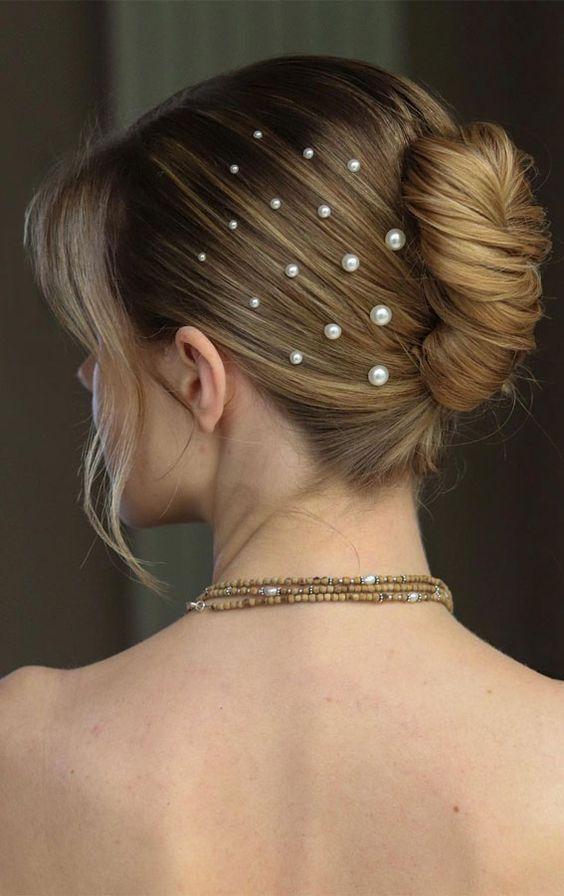
A Glitzy Hairpiece

A loosely styled chignon with flowing strands is simply enchanting. The soft, slightly undone appearance, along with face-framing pieces, adds beautiful movement to your hairstyle. To elevate your romantic wedding look—especially if your gown features beadwork—secure a sparkling barrette in your bun for that perfect finishing touch.
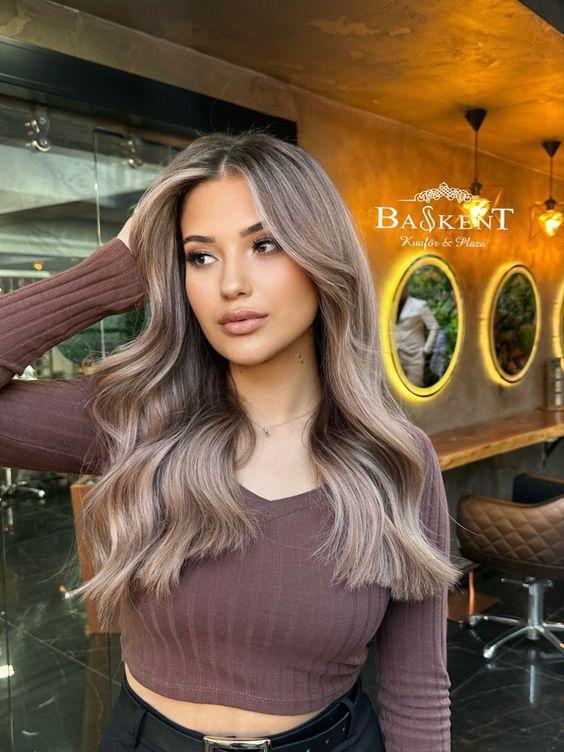
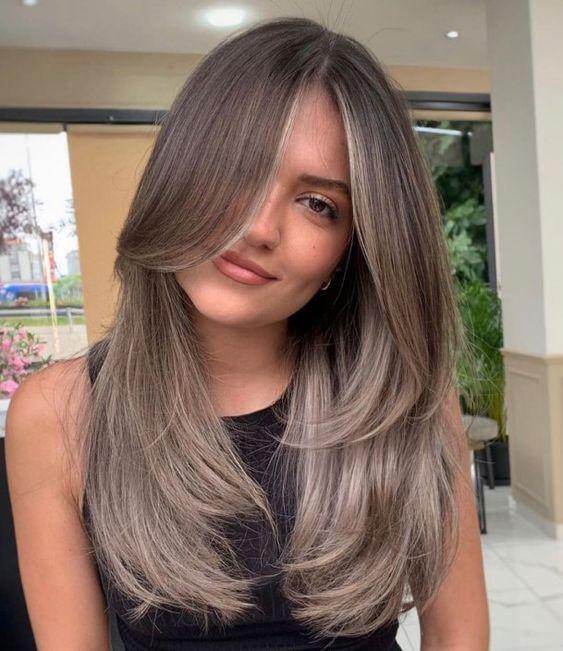
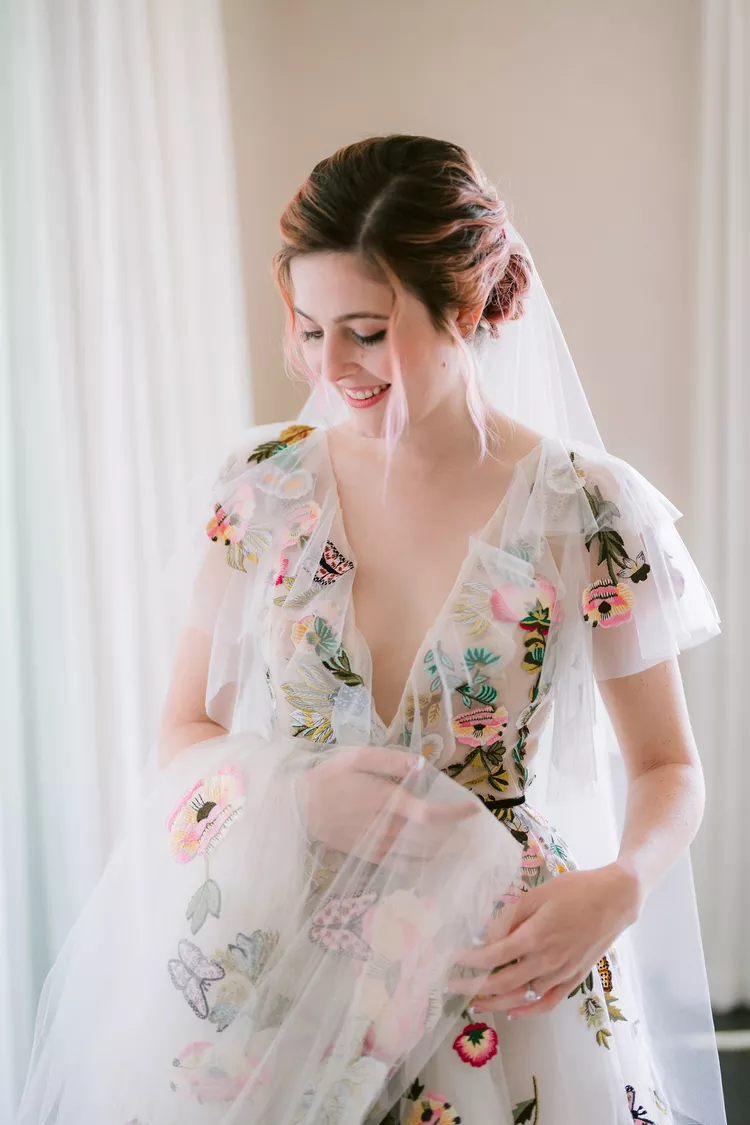
An Ethereal Mane
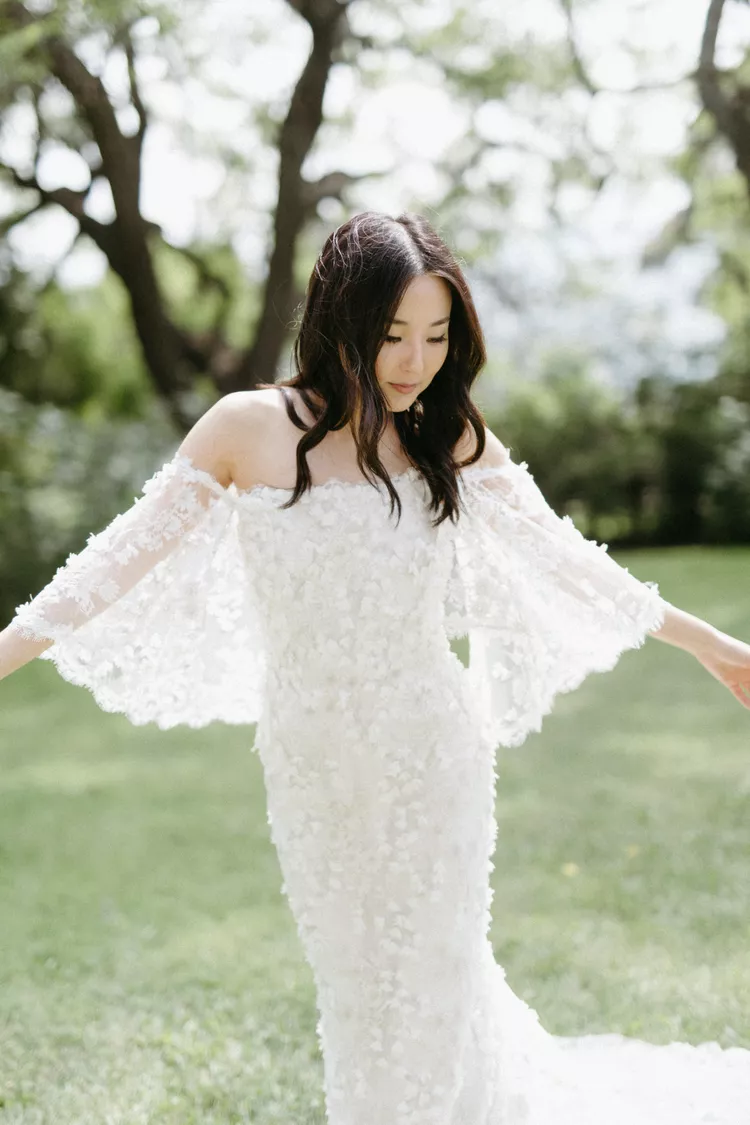
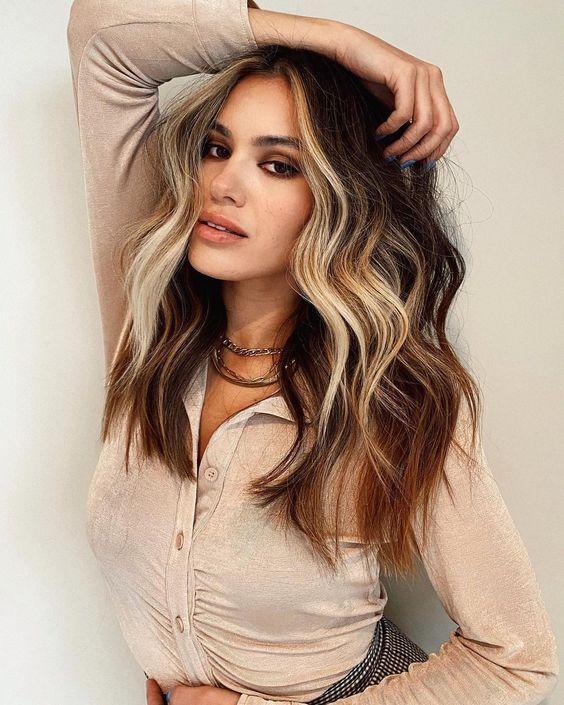
True romance is found in a center part paired with soft, gentle waves. We adore how these effortless, luminous strands beautifully complement the movement of this flowy floral dress with off-the-shoulder bell sleeves—a stunning choice for spring garden weddings.
Flirty Finger Waves

Styling your hair in crimped waves and gathering it over one shoulder is a beautiful way to achieve bridal romance. A cascade of curls is an exquisite option for brides with thick, luscious locks, creating a stunning and enchanting look.
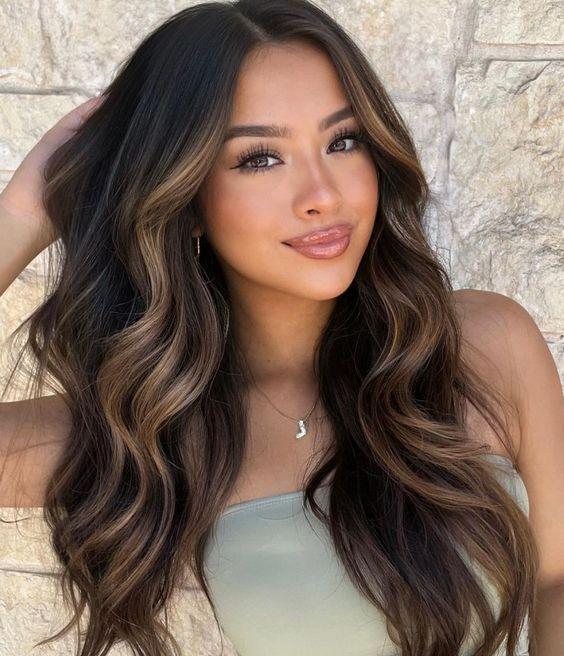
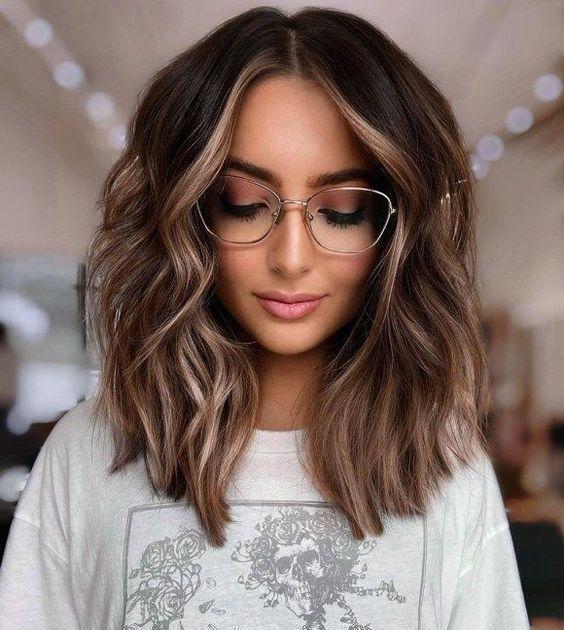
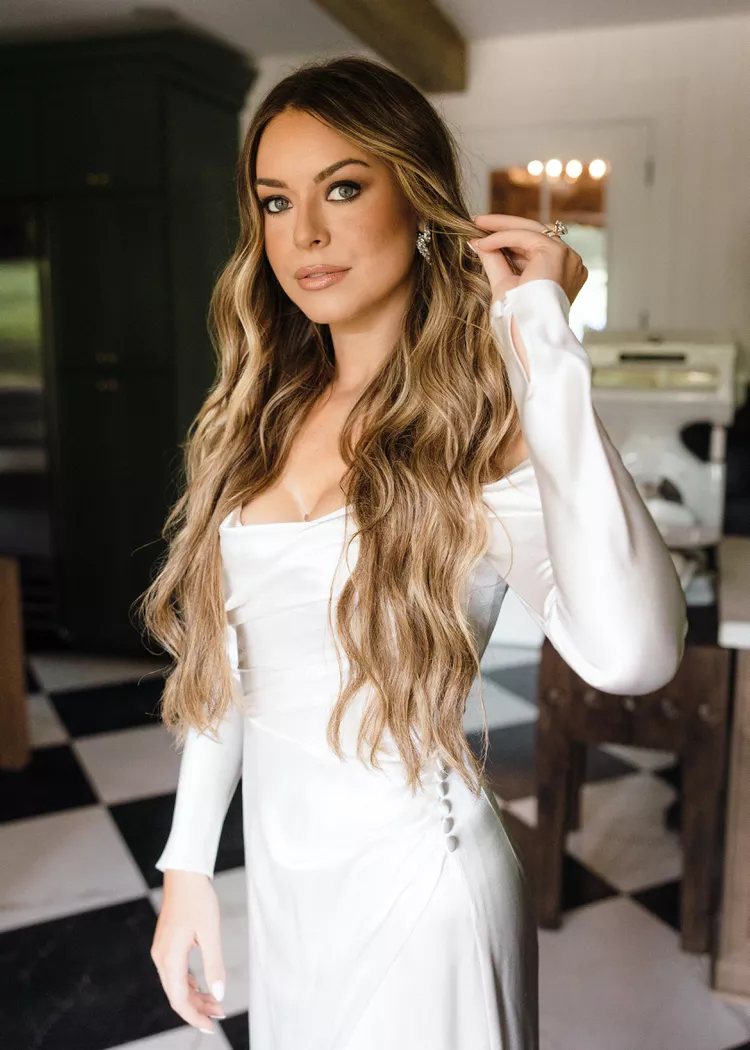
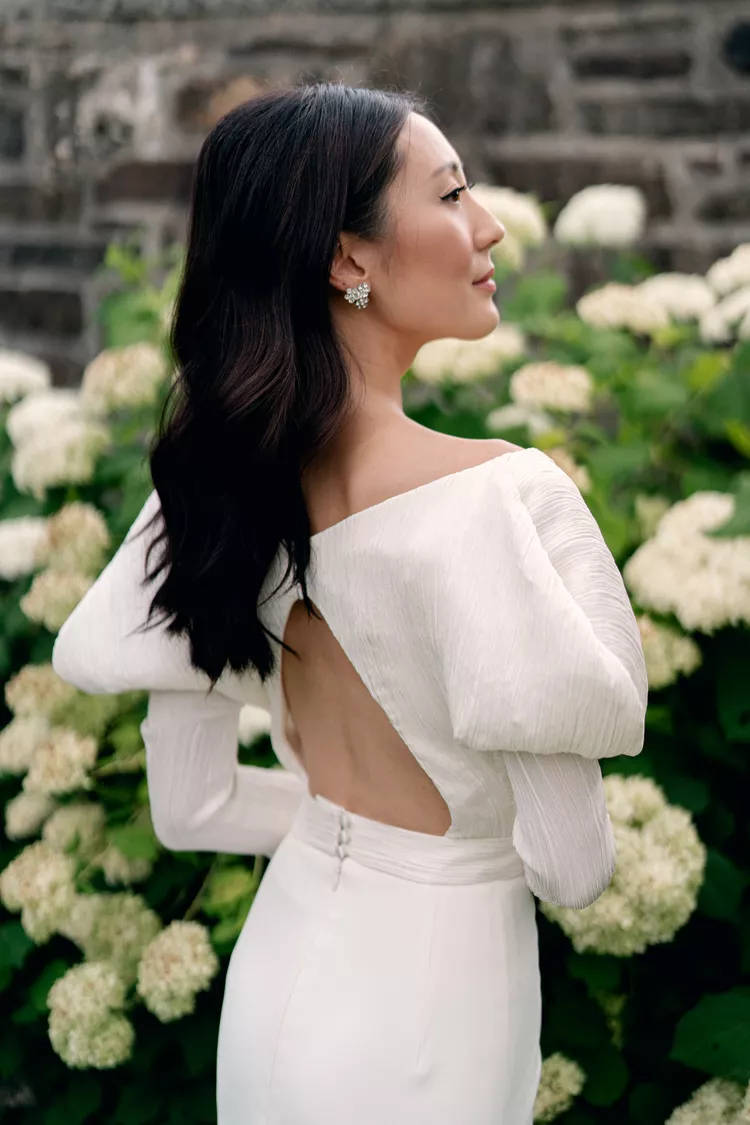
Shiny Tresses
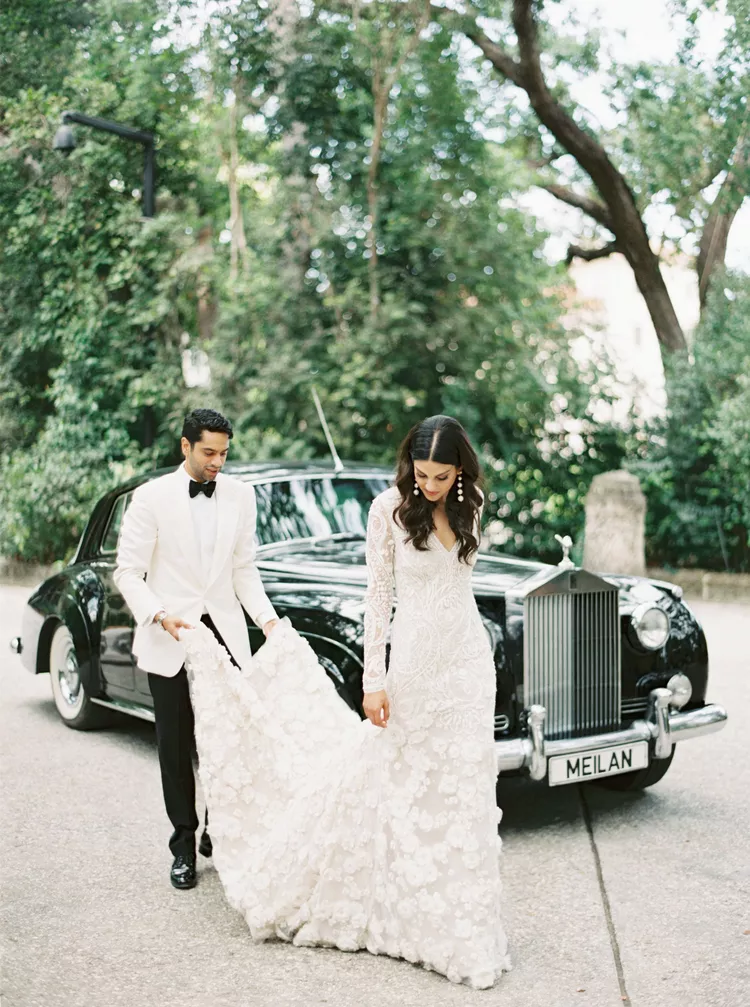
Soft, shiny curls paired with a chic center part beautifully blend glamour with modernity. This bride’s floral-embroidered wedding dress and statement pearl earrings add a touch of elegance, ensuring her beauty look remains polished and sophisticated.
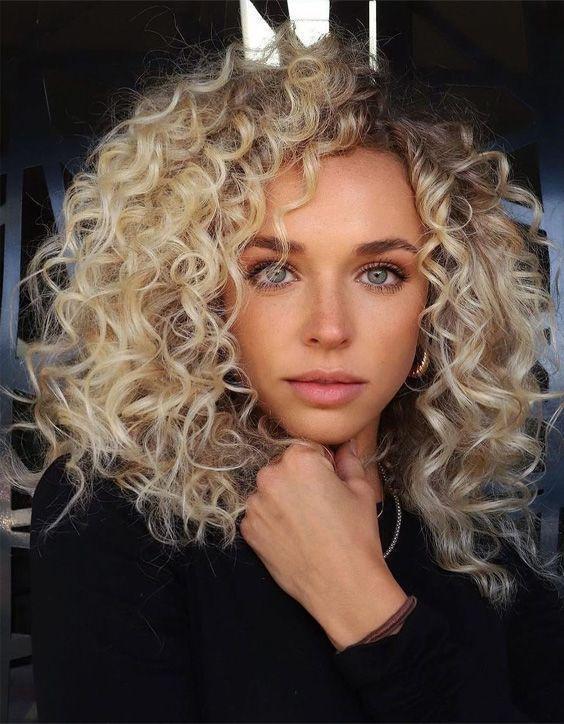
A Bridal Blowout
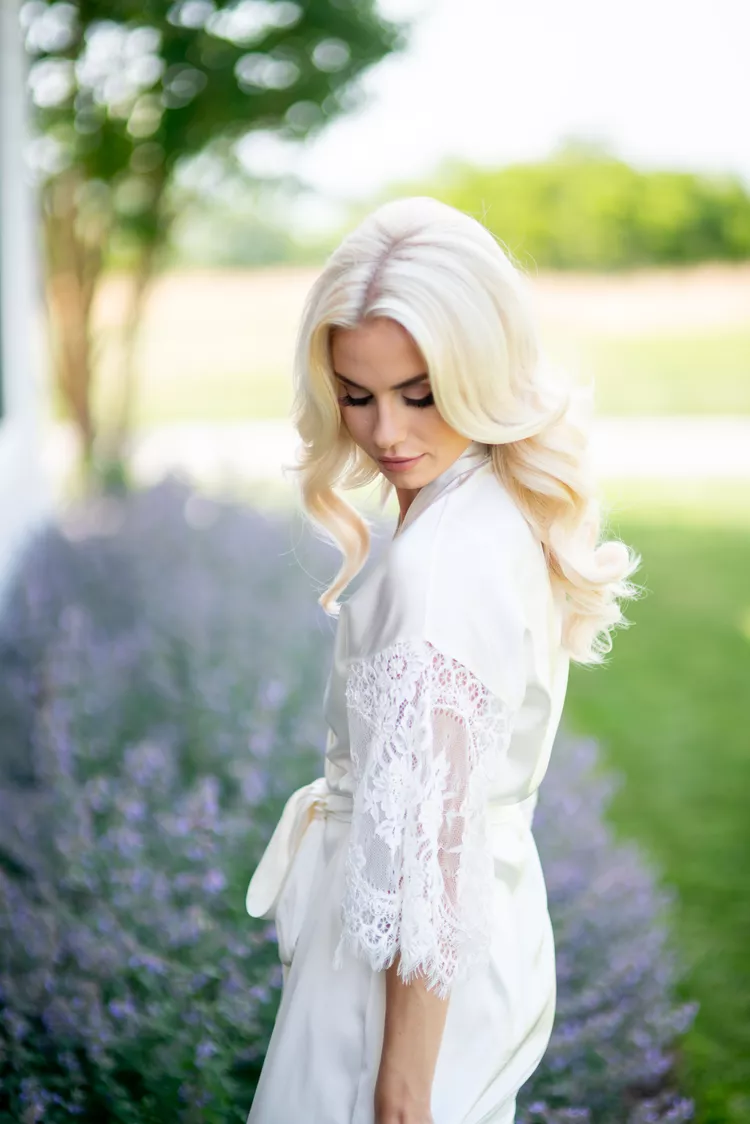
With a smooth, bouncy blowout showcasing gently sculpted waves and plenty of volume, this bride’s bright blonde hair embodies the essence of romance. Whether you enlist a professional or choose to style it yourself, blow-drying your hair will give you added bounce and shine for a stunning wedding look.
CONCLUSION
As you step into your happily ever after, let your dream wedding hairstyle be the crowning glory of your special day. With these stunning inspirations, you’re sure to find the perfect look to complement your unique style and make you feel absolutely radiant.