Korean Glass Skin has taken the beauty world by storm, and I’m completely hooked! I’m diving into Korean skincare, exploring the routines, and trying out products — but where do I even begin? Big thanks to Ellie Choi, whose viral glass skin-care routine made this trend explode globally.
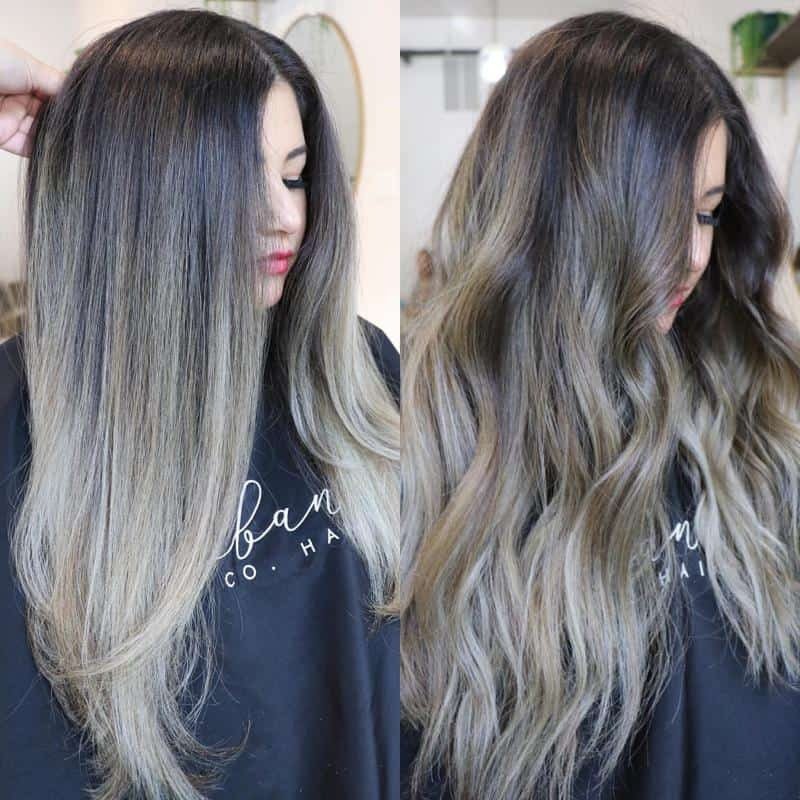
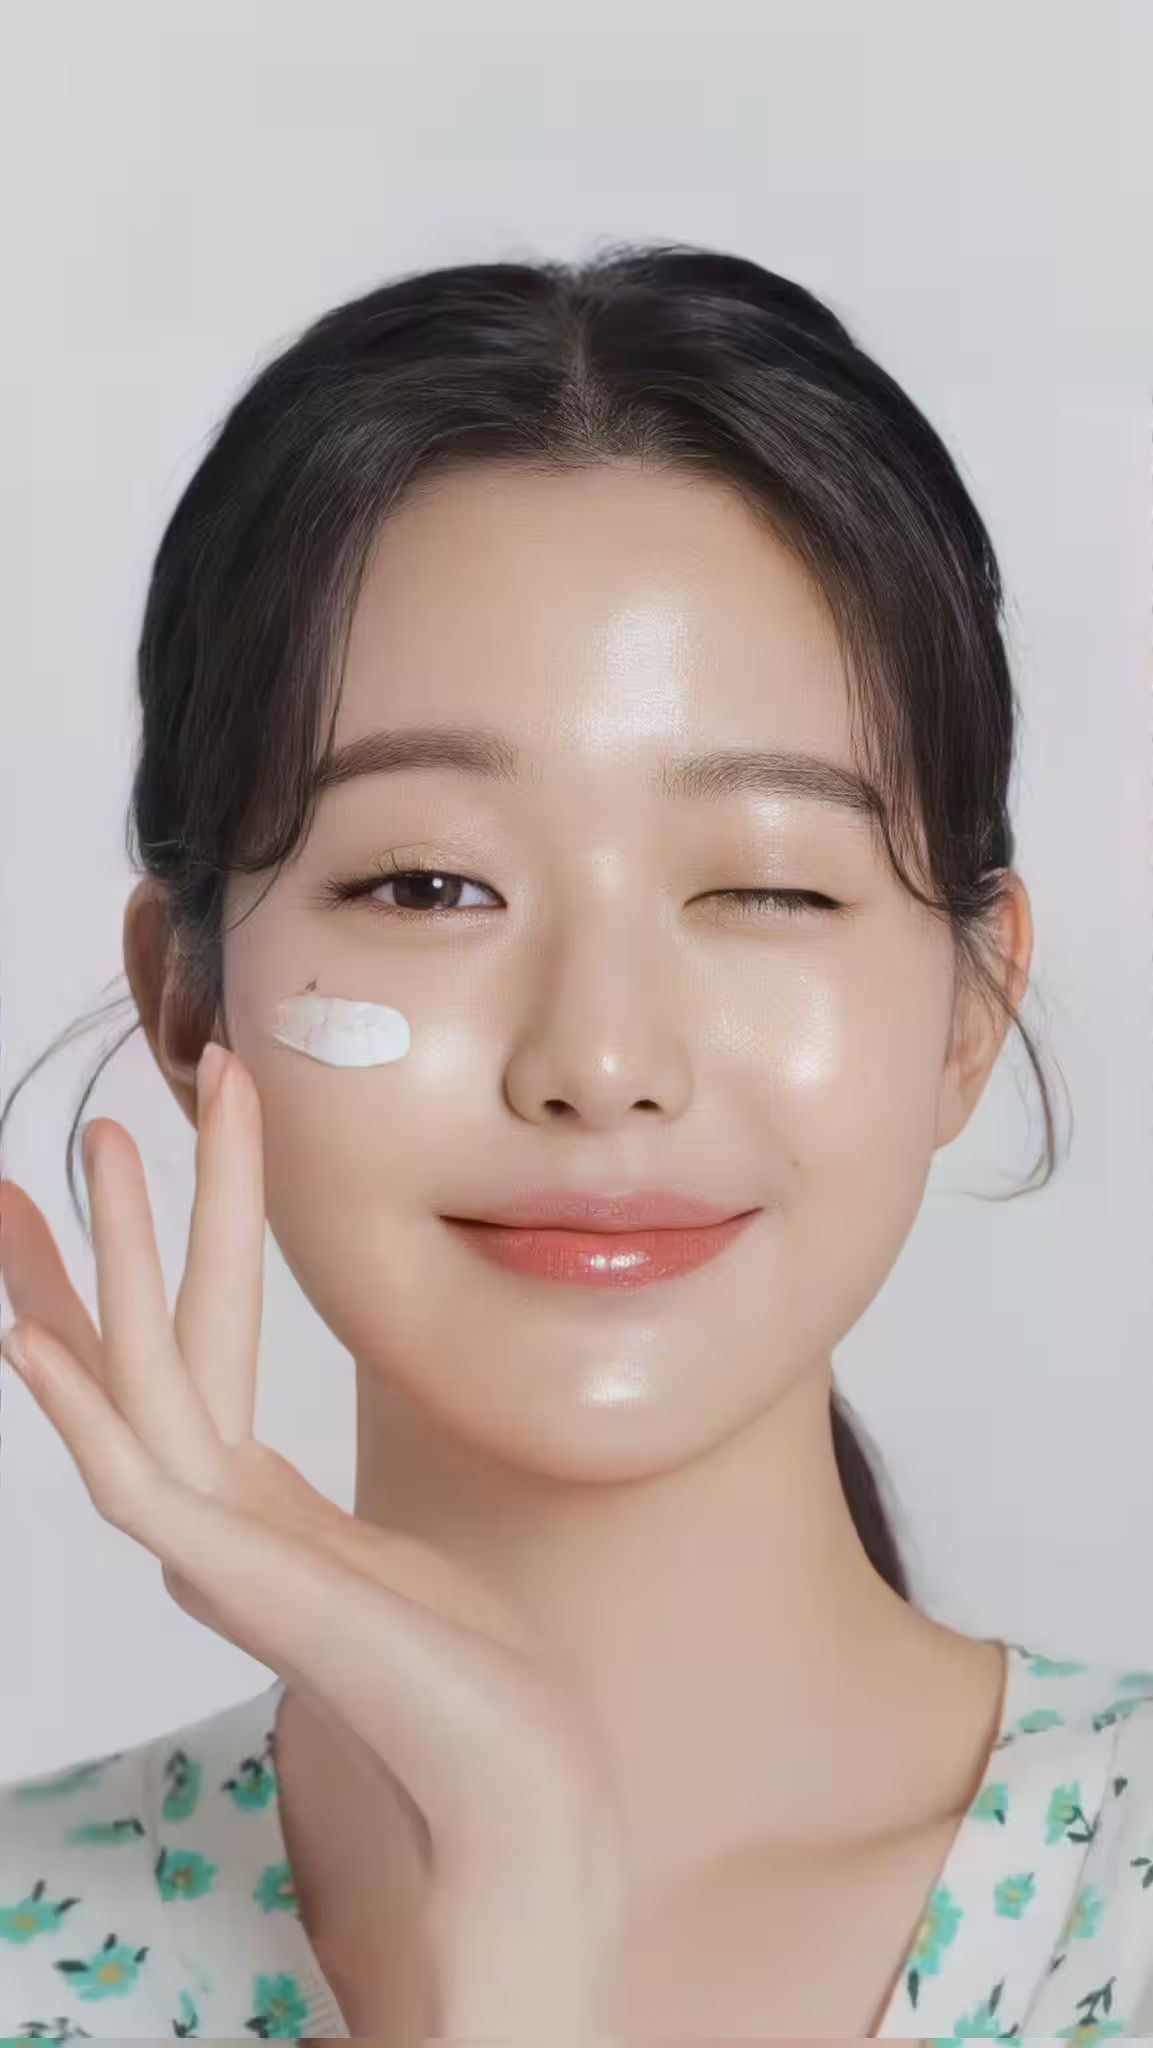
It’s more than a trend; it’s an obsession that has captivated the beauty community, and this fascination with Korean glass skin shows no signs of fading. But what does “glass skin” actually mean? Essentially, it’s the goal of achieving skin that’s clear, free of congestion, blemish-free, even-toned, glowing, dewy, and soft — as transparent and radiant as glass itself. It sounds almost too good to be true, but the results are within reach!
Ever wondered why Koreans seem to have such glass-like, radiant, and supple skin? While genetics and diet do play a role, their dedication to skincare is equally important. Koreans treat skincare as a form of self-care, following a routine that could rival that of an aesthetician — and it’s no walk in the park, let me tell you!
The great news? You can achieve that coveted glass skin at home with this straightforward guide! Here, I’ve broken down a step-by-step Korean skincare routine that you can easily follow. You’ll find recommendations for both natural ingredients and Korean products available on the market, so you can customize it based on your preferences.
Ultimately, the choice is yours on how you’d like to approach it, but consistency, the right products, and hydration are key. With dedication and this guide, you’ll be on your way to achieving glass-like, glowing skin at home!
Steps Involved in the Korean Glass Skin Routine
- Double Cleansing- Oil and Foam
- Exfoliation
- Toning
- Essence
- Serum
- Sheet Mask
- Eye Cream
- Moisturizer
- Sleeping Mask
- Sunscreen
Step-by-Step Guide to 10-step Korean Glass Skin routine at home
STEP 1: CLEANSING
More precisely, the term “Double Cleansing” describes this crucial first step in the Korean glass skin routine. It involves two cleansing stages: first, using an oil-based cleanser to remove makeup, sunscreen, and impurities, followed by a foam or water-based cleanser to deeply clean the pores. Double cleansing ensures a clean slate, setting the foundation for the rest of the skincare routine and helping you achieve that flawless, glass-like finish.
Oil Cleansing
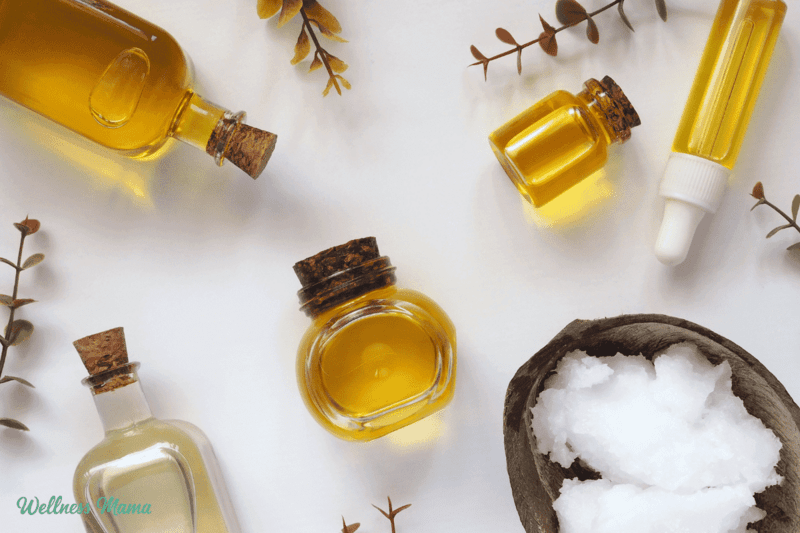
The first essential step in the Korean glass skin routine is oil cleansing. An oil-based cleanser gently removes makeup, dirt, and other impurities from the skin without stripping away its natural moisture. You can use a store-bought oil cleanser or make your own at home using natural oils.
Oil cleansers are effective at dissolving impurities, leaving your skin clean yet hydrated. For a homemade cleanser, try blending coconut and castor oils — just remember to skip castor oil if you have dry skin, as it can be too drying. Olive oil is an excellent alternative for dry skin, helping maintain a soft, nourished feel.
DIY Oil Cleanser Recipe
- Prepare Your Base Oil
Start by adding cold-pressed, extra virgin coconut or olive oil to a jar or pump bottle. These oils are rich in antioxidants, vitamins, and have natural antibacterial properties. - Melt Coconut Oil (if using)
If you’re using coconut oil, scoop or pump it into a bowl. Melt the oil by placing the bowl in warm water — avoid using the microwave to preserve nutrients. - Combine Oils
Add olive oil to the melted coconut oil, then transfer the mixture into a bottle. Shake well before each use, as the oils may naturally separate over time. - Customizing for Skin Type
- For Oily and Acne-Prone Skin: Add a few drops of tea tree oil to your base. Its antimicrobial and antiseptic qualities are beneficial for acne.
- For Aging Skin: Add lavender or frankincense oil to your base for added anti-aging benefits.
This gentle, natural oil cleanser is easy to customize and helps effectively remove impurities while nourishing your skin.
How to Use Your Oil Cleanser
Take about a teaspoon of the oil cleanser and gently massage it over your face using soft, circular motions. This helps lift dirt, makeup, and excess sebum from the skin. Rinse thoroughly with warm water to remove impurities and prepare your skin for the next step.
Foam Cleansing
The foam cleansing step purifies the skin on a deeper level, removing any leftover residue from oil cleansing and deeply cleansing the pores. This step creates a fresh, clean canvas for the remaining skincare routine. You can use a store-bought foaming cleanser or make a homemade version to suit your skin’s needs.
DIY Foaming Face Wash

Homemade Rice Water Face Wash Recipe
You’ll Need:
- Soap dispenser
- Measuring cup
- Spoon
- 2/3 cup rice water
- 1/3 cup liquid Castile soap
- 2-3 drops of a mild essential oil (like jojoba, lavender, or moringa oil)
Instructions:
- Mix Ingredients:
Start by measuring 2/3 cup of rice water and 1/3 cup of liquid Castile soap. Pour both into a measuring cup. - Add Essential Oil:
Add 2-3 drops of your preferred mild essential oil for added nourishment and fragrance. - Transfer to Dispenser:
Pour the mixture into a soap dispenser, then gently swirl the bottle before each use to keep the ingredients well-mixed.
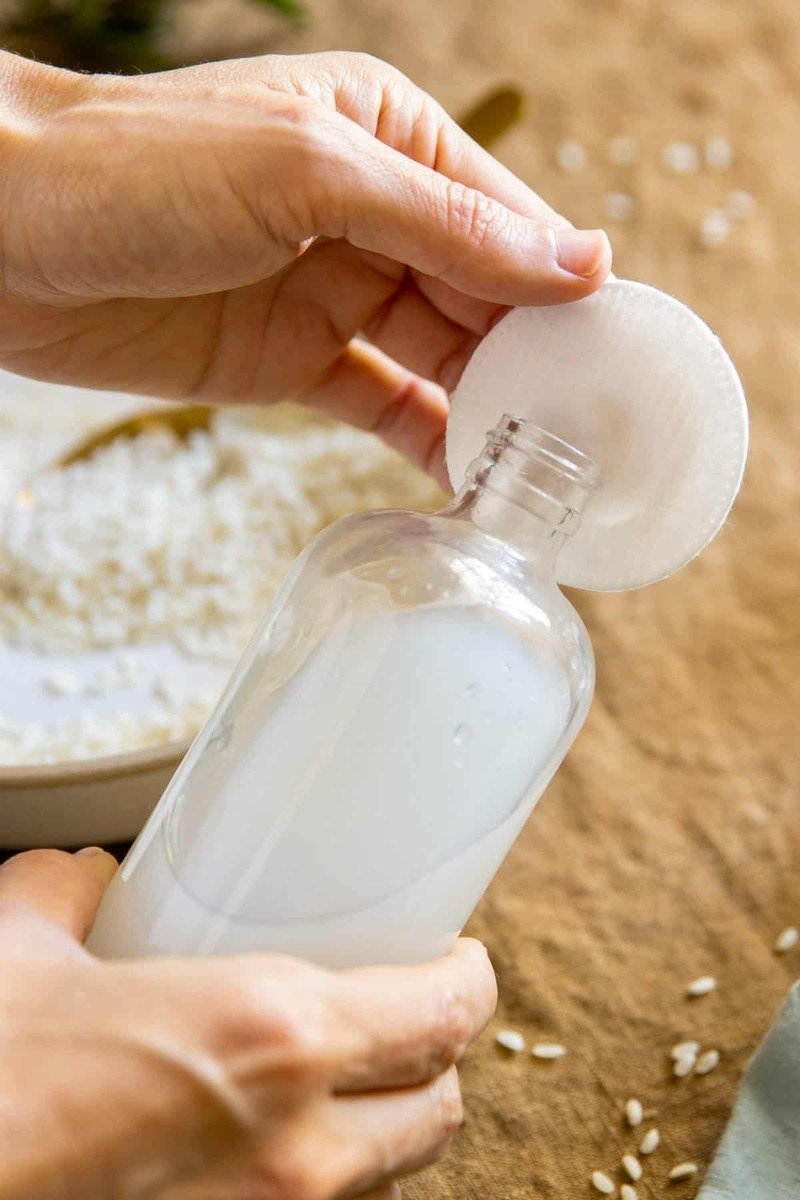
Rice water is a staple in Korean skincare, celebrated for its high concentration of vitamins and minerals, which help to brighten, hydrate, and smooth the skin — an essential for achieving that luminous glass-skin look.
How to Make Rice Water:
To make rice water, rinse 1/2 cup of uncooked rice, then soak it in 2-3 cups of water for 30 minutes. Strain the water and store it for use as a toner, hair rinse, or as an ingredient in your skincare routine.
STEP 2 : EXFOLIATE
The second step in the Korean glass skin routine is exfoliation, which is essential for sloughing away dead skin cells and unclogging pores, revealing a youthful glow and radiant complexion. Exfoliating not only enhances your skin’s appearance but also improves its ability to absorb other skincare products and removes excess oil trapped in pores.
You can choose between physical exfoliation (like scrubs or brushes) or chemical exfoliation. While traditional physical exfoliation has been a staple, the beauty world is increasingly shifting toward chemical exfoliants for their effectiveness and gentleness. Personally, I’ve become a huge fan of chemical exfoliation, but I still cherish the nostalgic appeal of coffee and orange scrubs. The delightful aromas are simply irresistible!
Check out the recipes mentioned below—I’m sure you’ll love trying them! Just a couple of reminders: avoid exfoliating daily and concentrate on the areas that need it most. For more information on exfoliation and the latest trends, read here.
DIY Exfoliators

- Orange Peel Powder Face Scrub
- Sugar Citrus Scrub
- Gram flour and yogurt face scrub
STEP 3: TONNER
A toner is essential for balancing your skin’s pH levels and softening its texture. It refreshes your complexion, absorbs excess oil, minimizes the appearance of pores, and helps prevent them from clogging, which can lead to acne. Additionally, a good toner tightens the skin, enhancing its overall appearance. When choosing a toner, look for one that is both hydrating and clarifying to ensure it prepares your skin effectively for the next step in your skincare routine.
DIY Rice Water Toner
Rice water toner is excellent for brightening your skin and tightening large pores. Here’s how to make a DIY rice toner, which is an integral step in achieving Korean glass skin at home. When applying the toner, avoid rubbing or pulling at your skin; instead, lightly dab it on and allow it to absorb fully. Remember, do not rinse off any products after this step!
STEP 4: ESSENCE
Essence is a vital step in achieving Korean glass skin at home. If you’re unfamiliar with the term, think of essence as a lighter, less concentrated version of serum with a water-like consistency. It enhances the skin’s cellular renewal process, boosting elasticity and firmness while promoting a brighter complexion. Essences deliver essential moisture and target specific skin concerns, such as pigmentation and rosacea. This step has long been a cornerstone of the Korean glass skin routine, and it has recently gained worldwide popularity.
DIY Rice Essence

DIY Rice Water Essence Recipe
Ingredients:
- 1/2 tsp rice water
- 1 tbsp glycerin
- 3 tbsp rose water
- 8-10 drops of jojoba oil or rose essential oil
- Aloe vera gel (enough to achieve a slightly runny consistency)
Instructions:
- Combine Ingredients:
In a mixing bowl, add 1/2 tsp of rice water, 1 tbsp of glycerin, and 3 tbsp of rose water. - Add Oil:
Include 8-10 drops of jojoba oil or rose essential oil for added nourishment. - Incorporate Aloe Vera:
Gradually add aloe vera gel until the mixture reaches a slightly runny consistency. - Blend Well:
Mix all the ingredients thoroughly until well combined. - Store:
Transfer the mixture into a pump bottle for easy application.
This homemade essence will help hydrate your skin while targeting specific concerns, making it a fantastic addition to your Korean glass skin routine!
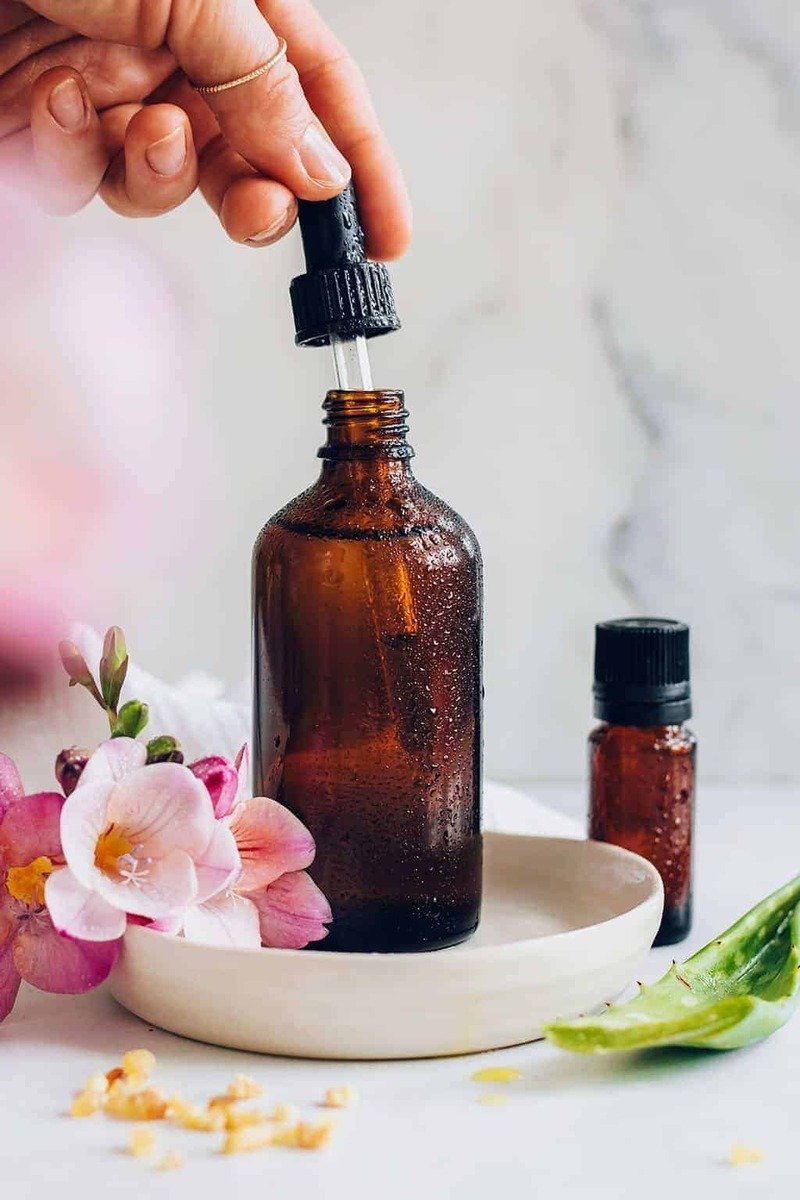
STEP 5: SERUM/ AMPOULE
An ampoule is essentially the Korean counterpart of a serum, offering a more concentrated formulation loaded with vitamins and antioxidants. Unlike essences, which are lighter, serums penetrate deeper into the skin, providing targeted treatment rather than just surface-level hydration. Serums nourish the skin, boost collagen production, and address various issues such as aging, uneven skin tone, and pigmentation. You can use ampoules both day and night; however, I personally prefer applying them at night. This allows your skin more time to absorb all the beneficial vitamins and antioxidants, enhancing their effectiveness.
DIY Facial Serum Recipe
Ingredients:
- 2 tbsp rice
- 1 cup milk
- 4 tsp aloe vera gel
- 2 tsp vitamin E oil
- 2-3 drops of your favorite essential oil (optional)
Instructions:
- Soak the Rice:
Soak 2 tbsp of rice in water for 5-6 hours. - Cook the Rice:
After soaking, transfer the rice to a pan and add 1 cup of milk. Simmer on low heat until the rice is fully cooked. - Strain the Liquid:
Once cooked, strain the liquid from the rice into a separate bowl. This liquid will serve as the base for your serum. - Combine Ingredients:
Add 4 tsp of aloe vera gel, 2 tsp of vitamin E oil, and 2-3 drops of essential oil (if using) to the strained liquid. - Mix Well:
Blend all the ingredients together until well combined. You can adjust the quantity of aloe vera gel for your desired consistency. - Store:
Transfer the serum into a clean bottle or pump container for easy application.
This DIY facial serum will provide hydration and nourishment, helping to enhance your skin’s overall health!
Choose the essential oil according to your skin type
- Normal- Lavender, Frankincense oil
- Dry – Lavender, Sandalwood, Jasmine
- Oily- Tea – tree, Lavender, Peppermint, rosemary
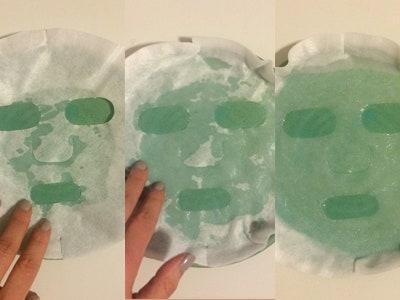
STEP 6: SHEET MASKS – CERTAINLY A CRUCIAL STEP IN THE KOREAN GLASS SKICARE ROUTINE
Sheet masks have become incredibly popular among Koreans and are current favorites in the beauty community. They pamper the skin, leaving it smooth and glowing. These masks are designed to hold onto nourishing ingredients, allowing them to penetrate deeper into the skin layers for optimal absorption. For the best results, you can use sheet masks two to three times a week.
Available in a wide variety, you can easily purchase them or even make your own at home for a personalized touch!
DIY Sheet Mask Recipe
Materials Needed:
- Baby wipes, cotton muslin cloth, or tissue paper
- Scissors
Ingredients:
- Rice water (cooked or plain)
- Argan oil
- Honey
- Essential oil of your choice (select based on your skin type)
Instructions:
- Prepare the Sheet Mask Base:
- If using baby wipes or a cloth, cut holes in the fabric for the eyes, nose, and mouth to create a mask shape. If using tissue paper, you can layer a few sheets together.
- Make the Mask Solution:
- In a bowl, combine rice water with a few drops of argan oil, a teaspoon of honey, and your chosen essential oil.
- Soak the Mask:
- Dip the prepared sheet mask into the solution, ensuring it is fully soaked.
- Apply the Mask:
- Gently place the soaked mask on your face, smoothing it out to ensure it adheres well.
- Relax and Enjoy:
- Leave the mask on for about 10 minutes to allow your skin to absorb the nourishing ingredients.
- Remove and Follow Up:
- After 10 minutes, remove the mask and gently pat any remaining essence into your skin. Follow up with your regular skincare routine for best results.
Enjoy your DIY sheet mask and the glow it brings to your skin!
STEP 7: EYE CREAM
Eye cream is an essential product to incorporate into your skincare routine as you approach your thirties. It plays a vital role in addressing concerns like wrinkles, dark circles, and fine lines that often arise with age. You can’t achieve that coveted glass skin look if you have dark circles, puffiness, or bags under your eyes.
Starting early with an eye cream can help prevent these issues. To apply, simply dab a small amount of eye cream onto your fingertip and gently pat it around the eye area. Avoid tugging or pulling on the delicate skin; a light touch is key to ensuring the product absorbs without causing damage.
DIY Eye Cream
You can create an effective and affordable eye cream using coconut oil and vitamin E oil. Here’s how to make it:
- Melt Coconut Oil: Start by gently melting some coconut oil until it becomes liquid.
- Mix in Vitamin E: Stir in about 10 drops of vitamin E oil to the melted coconut oil.
- Store: Transfer the mixture into a small container for easy use.
Benefits:
- Coconut Oil: Known for its ability to lighten dark circles, coconut oil deeply moisturizes the skin and helps reduce wrinkles by supporting collagen strength. It also prevents puffiness and bags under the eyes.
- Vitamin E: This powerful antioxidant combats free radicals that contribute to aging, helping to maintain youthful skin.
For best results, gently massage the eye cream around your eye area to promote absorption and further lighten dark circles.
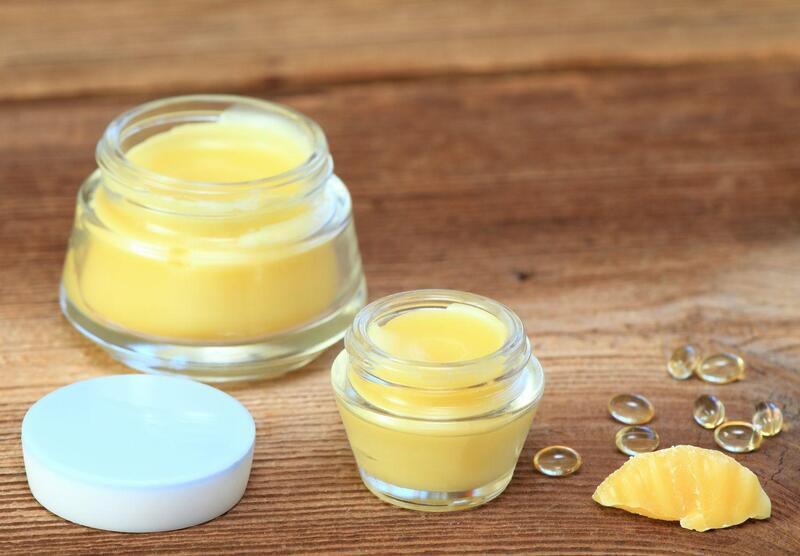
STEP 8: MOISTURIZER
A moisturizer effectively locks in moisture, replenishing your skin’s hydration levels and providing a radiant glow. Simply take a small amount in your palm and gently massage it into your face to boost blood circulation.
DIY Rice Cream
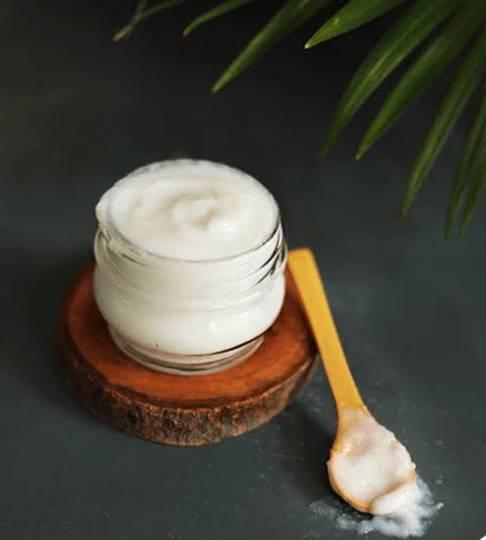
Ingredients:
- 2 tsp rice
- 1 cup water
- 1 tsp milk
- 2 tsp honey
- 4 tsp aloe vera gel
- Vitamin E oil (to taste)
- Essential oil of your choice (e.g., frankincense oil)
Instructions:
- Cook the Rice: In a pot, combine the rice and water. Bring to a boil and let it cook until the rice is soft. Allow some of the water to evaporate and let it cool for about 15 minutes.
- Blend: Transfer the cooked rice (along with any remaining water) into a blender. Blend until you achieve a smooth consistency.
- Mix in Other Ingredients: Add the milk, honey, aloe vera gel, and a few drops of Vitamin E oil to the blended rice. If you’re using an essential oil, add that as well.
- Adjust Consistency: Blend again until all ingredients are well combined. If the mixture is too runny, you can add more aloe vera gel to achieve a slightly thick, gel-like consistency.
- Store: Transfer the rice cream into a clean container. Use it as a moisturizer to enjoy the benefits of rice for your skin!
This DIY rice cream is packed with nutrients and hydration, making it a great addition to your skincare routine. Enjoy the glow!
STEP 9: SLEEPING MASK – IMPORTANT STEP TO ACHIEVE KOREAN GLASS SKIN
Thanks to K-Beauty for introducing us to this essential mask! A sleeping mask is a crucial part of the Korean skincare routine, setting it apart from regular face masks. Unlike traditional masks, you can apply a sleeping mask and leave it on overnight. You have the option to skip this step, but if you follow this nighttime routine, incorporating it can enhance your results.
DIY Sleeping Mask:
Mix a teaspoon of aloe vera gel with a few drops of essential oil. Gently dab it on your face to seal in all the hard work you’ve done!
CONCLUSION
In conclusion, achieving the coveted Korean glass skin look requires dedication to a well-structured skincare routine that focuses on hydration, nourishment, and protection. By following the ultimate guide, which includes essential steps like double cleansing, exfoliation, toning, applying serums, and moisturizing, you can create a radiant, dewy complexion that reflects light beautifully. Incorporating products rich in hydrating ingredients and antioxidants, along with regular use of a sleeping mask, will help seal in moisture and enhance your skin’s natural glow. With patience and consistency, you’ll be on your way to achieving that flawless glass skin that is the hallmark of K-Beauty. Embrace this journey to luminous skin, and enjoy the confidence that comes with it!