We’ve curated a collection of over 19 breathtaking and fashionable red and white Christmas nail designs, offering you an abundance of inspiration to get your manicure holiday-ready! From classic patterns to creative twists, these designs will help you find the perfect look to celebrate the season in style. Let’s get started!
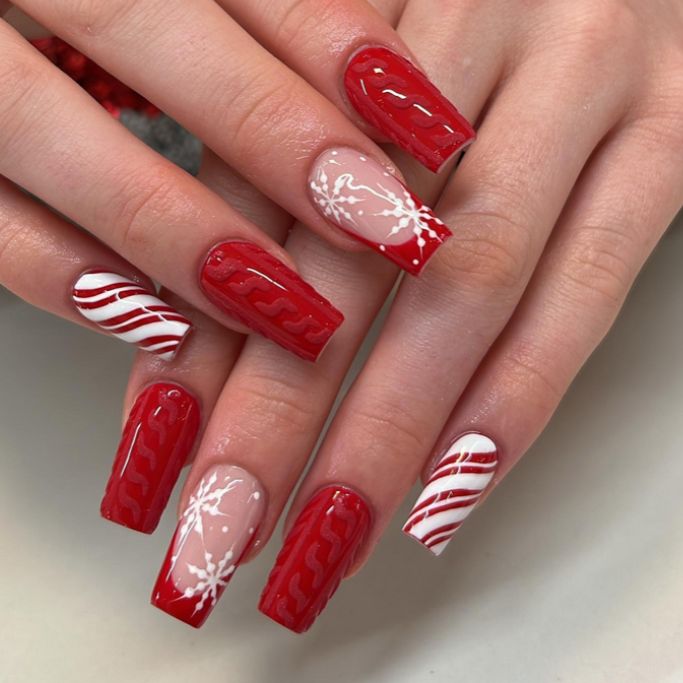
ELEGANT RED AND WHITE COFFIN NAILS
Let these beautiful red and white coffin nails inspire your next manicure. This collection features a range of designs, from classic French tips with a festive twist to intricate snowflakes that capture the magic of winter. Each design blends elegance and creativity, helping you make a striking statement this Christmas season.
SPARKLE RED AND WHITE
When it comes to your Christmas nails, there’s no such thing as too much sparkle! Have fun experimenting with various shapes, sizes, and finishes of glitter to create a manicure that’s both festive and uniquely yours.
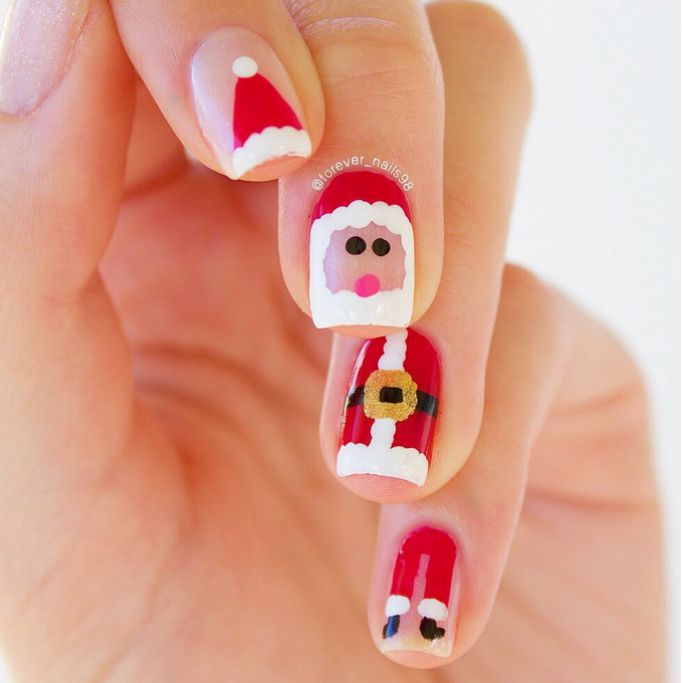
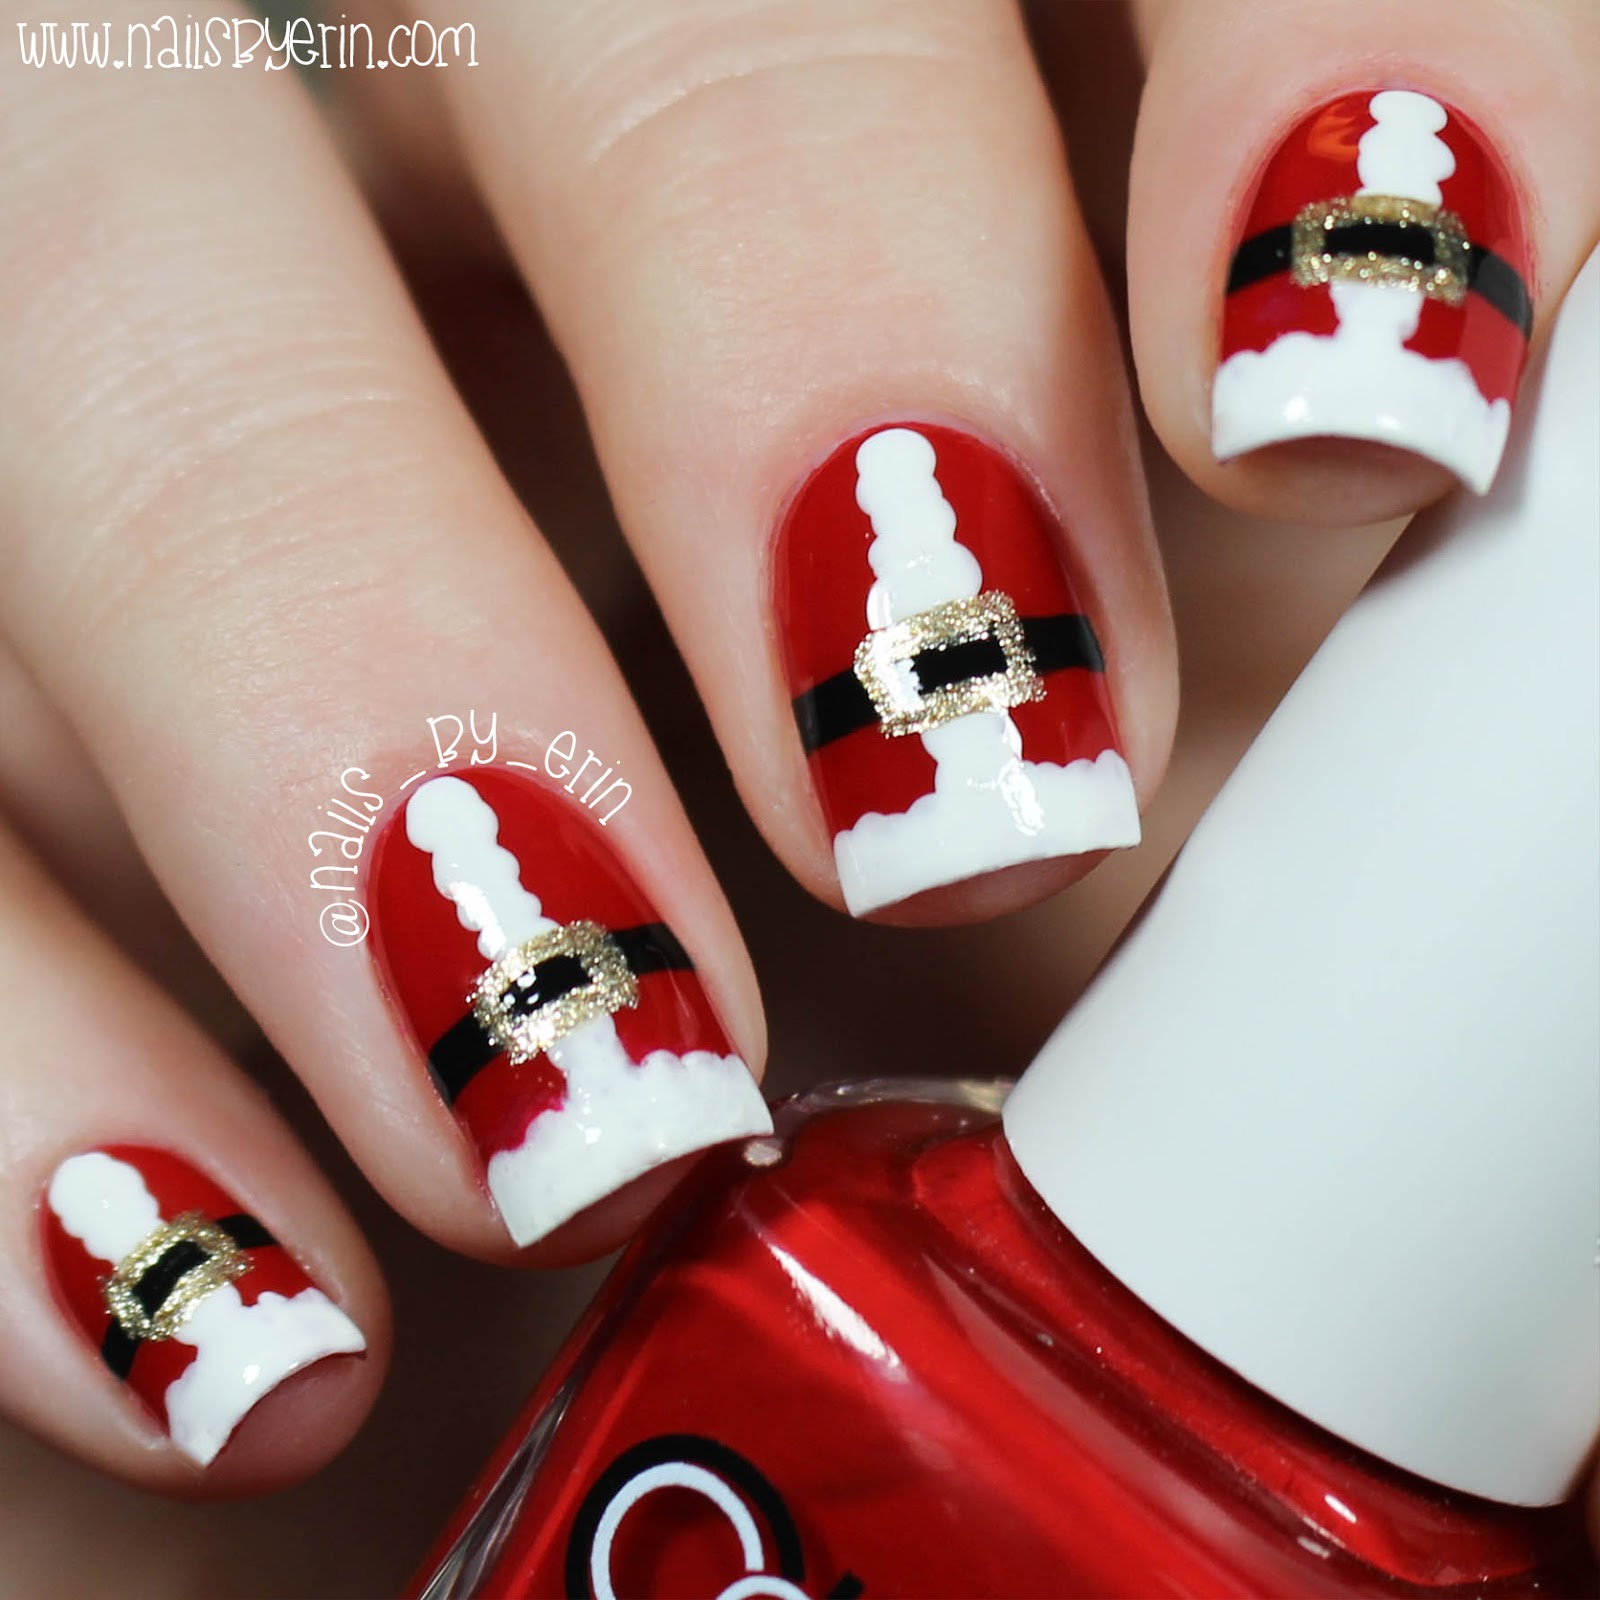
CUTE SANTA CLAUS CHRISTMAS NAILS

Make a statement this holiday season with this charming Santa Claus nail design. It’s an eye-catching look that’s easy to achieve with just a few basic colors: red, white, black, yellow, and pink nail polish. To add the finishing touches, use a dotting tool to carefully create Santa’s eyes and nose, bringing this festive character to life on your nails.
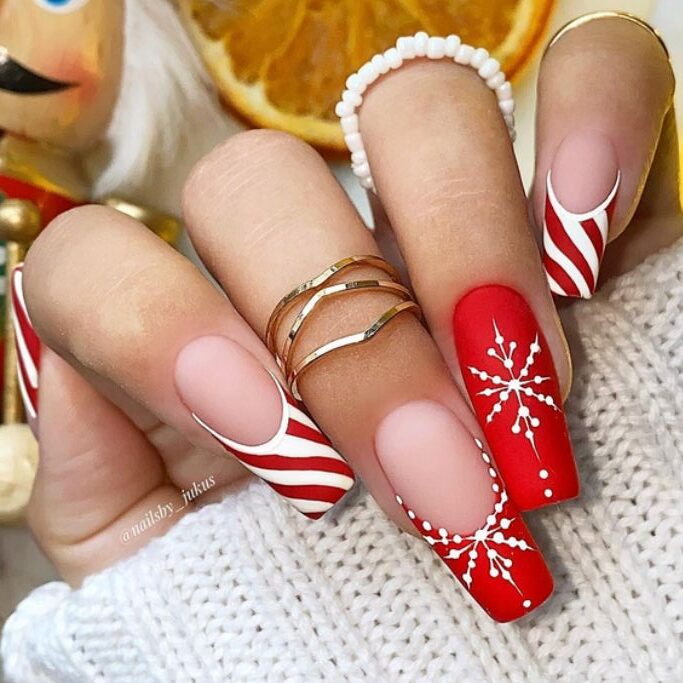
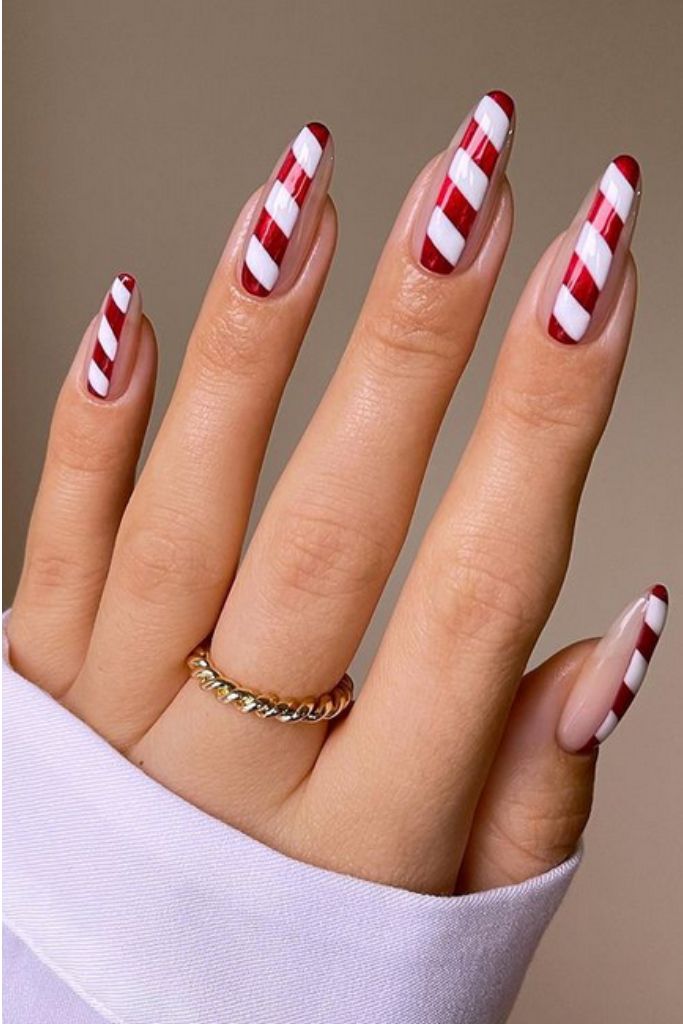
ELEGANT RED AND WHITE CHRISTMAS NAILS
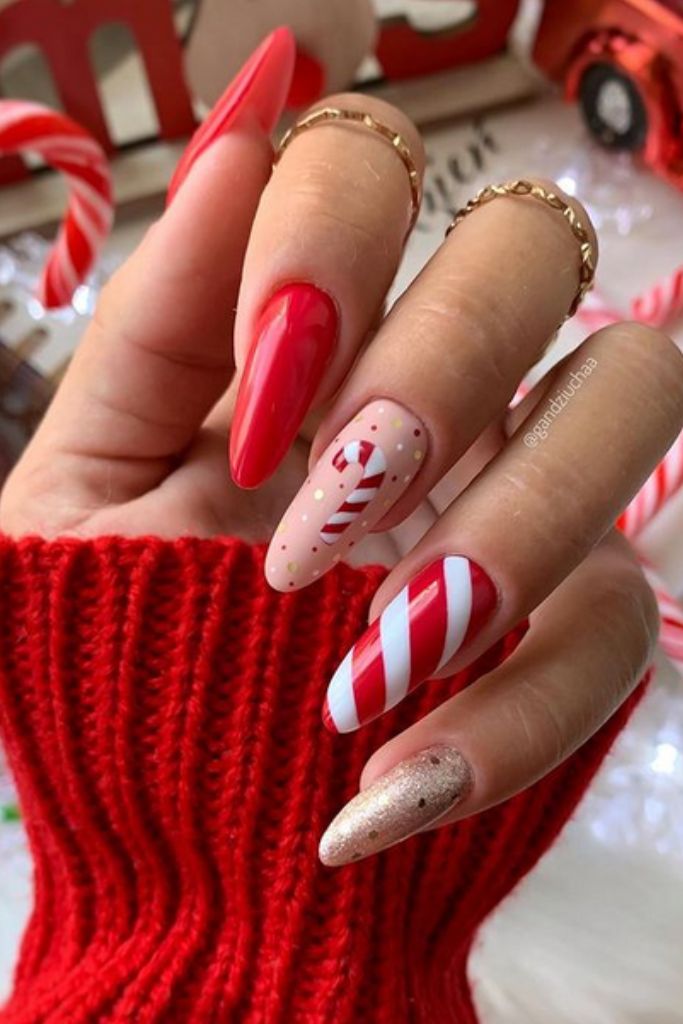
Give your nails a sophisticated holiday makeover with these elegant candy cane almond-shaped designs. Featuring classic red and white stripes with a chic gold accent, this festive look combines a refined almond shape with a touch of holiday sparkle. It’s a perfect way to add a glamorous twist to your seasonal manicure.
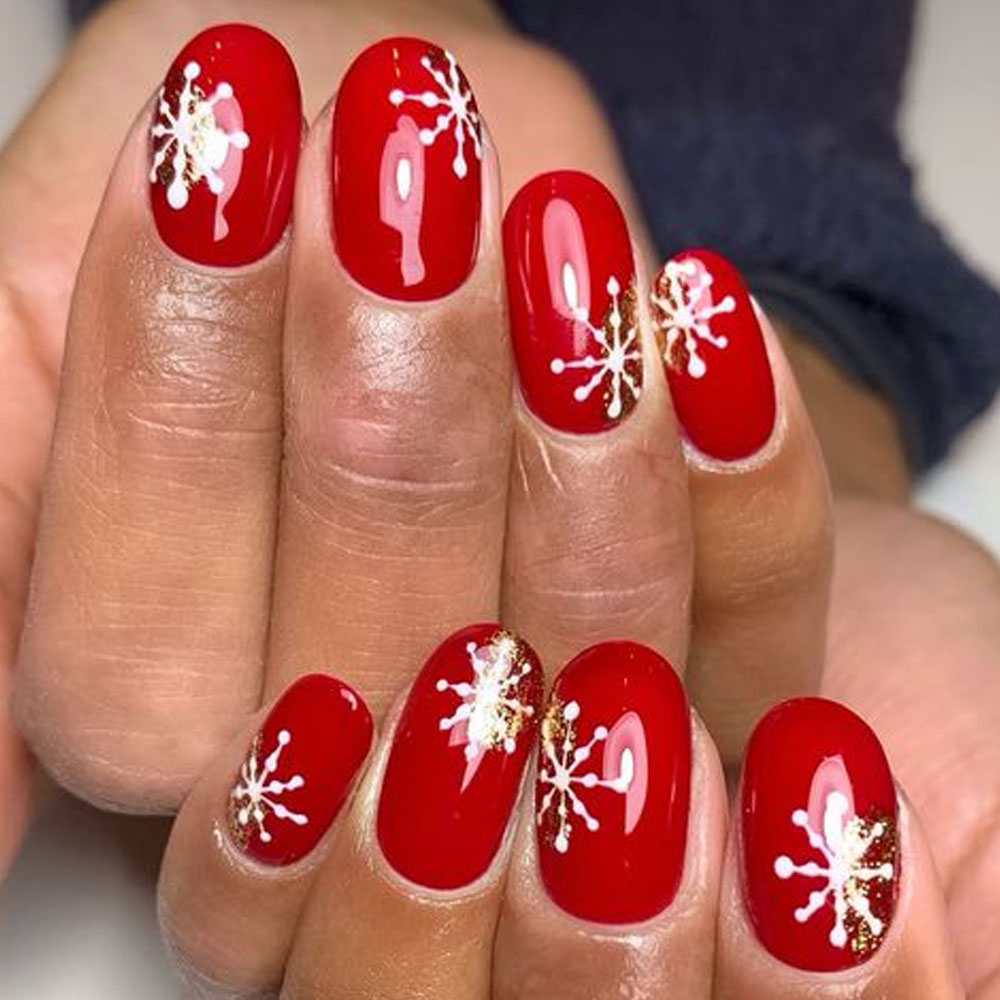
RED AND WHITE NAILS WITH SNOWFLAKES
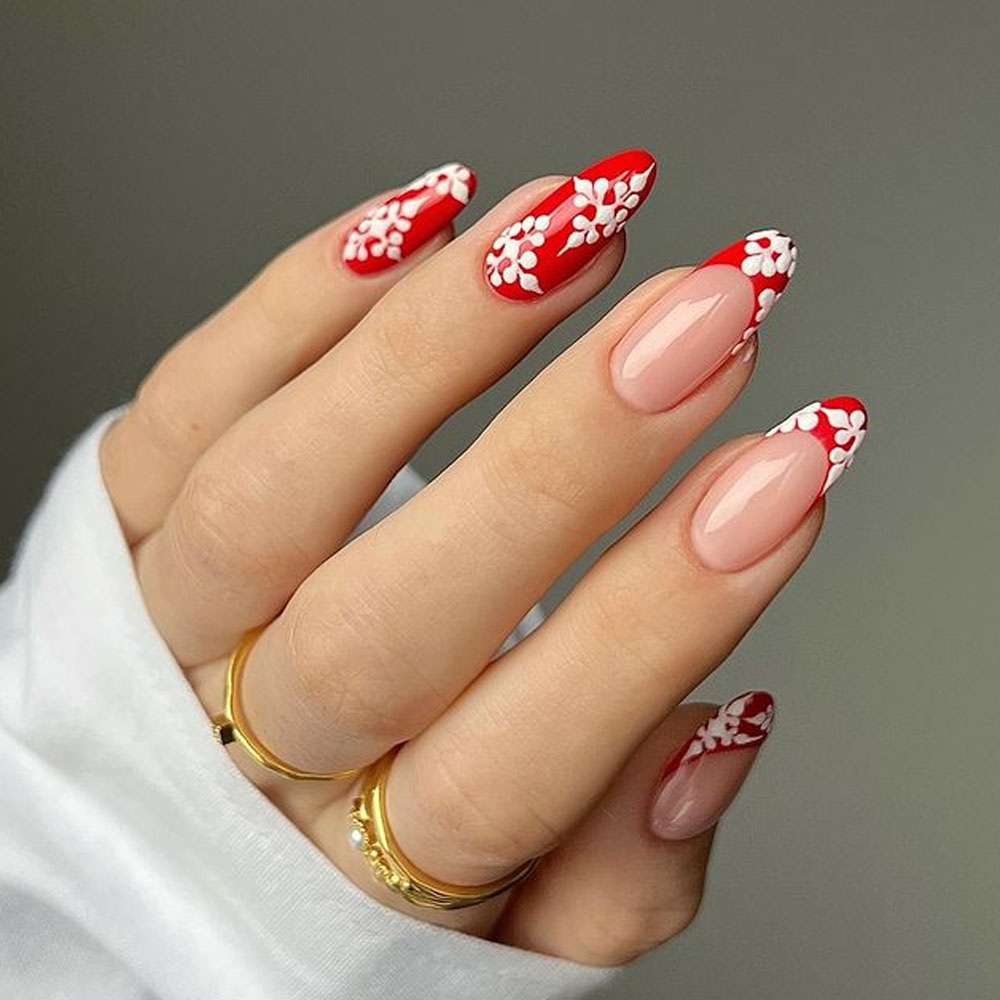
For a simple and speedy Christmas snowflake nail art design, decorating your nails with snowflakes in various sizes is a great option. If you’re craving a bit of sparkle, enhance your manicure with gold glitter accents to add a festive touch and make your snowflakes truly shine.
RED AND WHITE CHRISTMAS GIFT NAILS
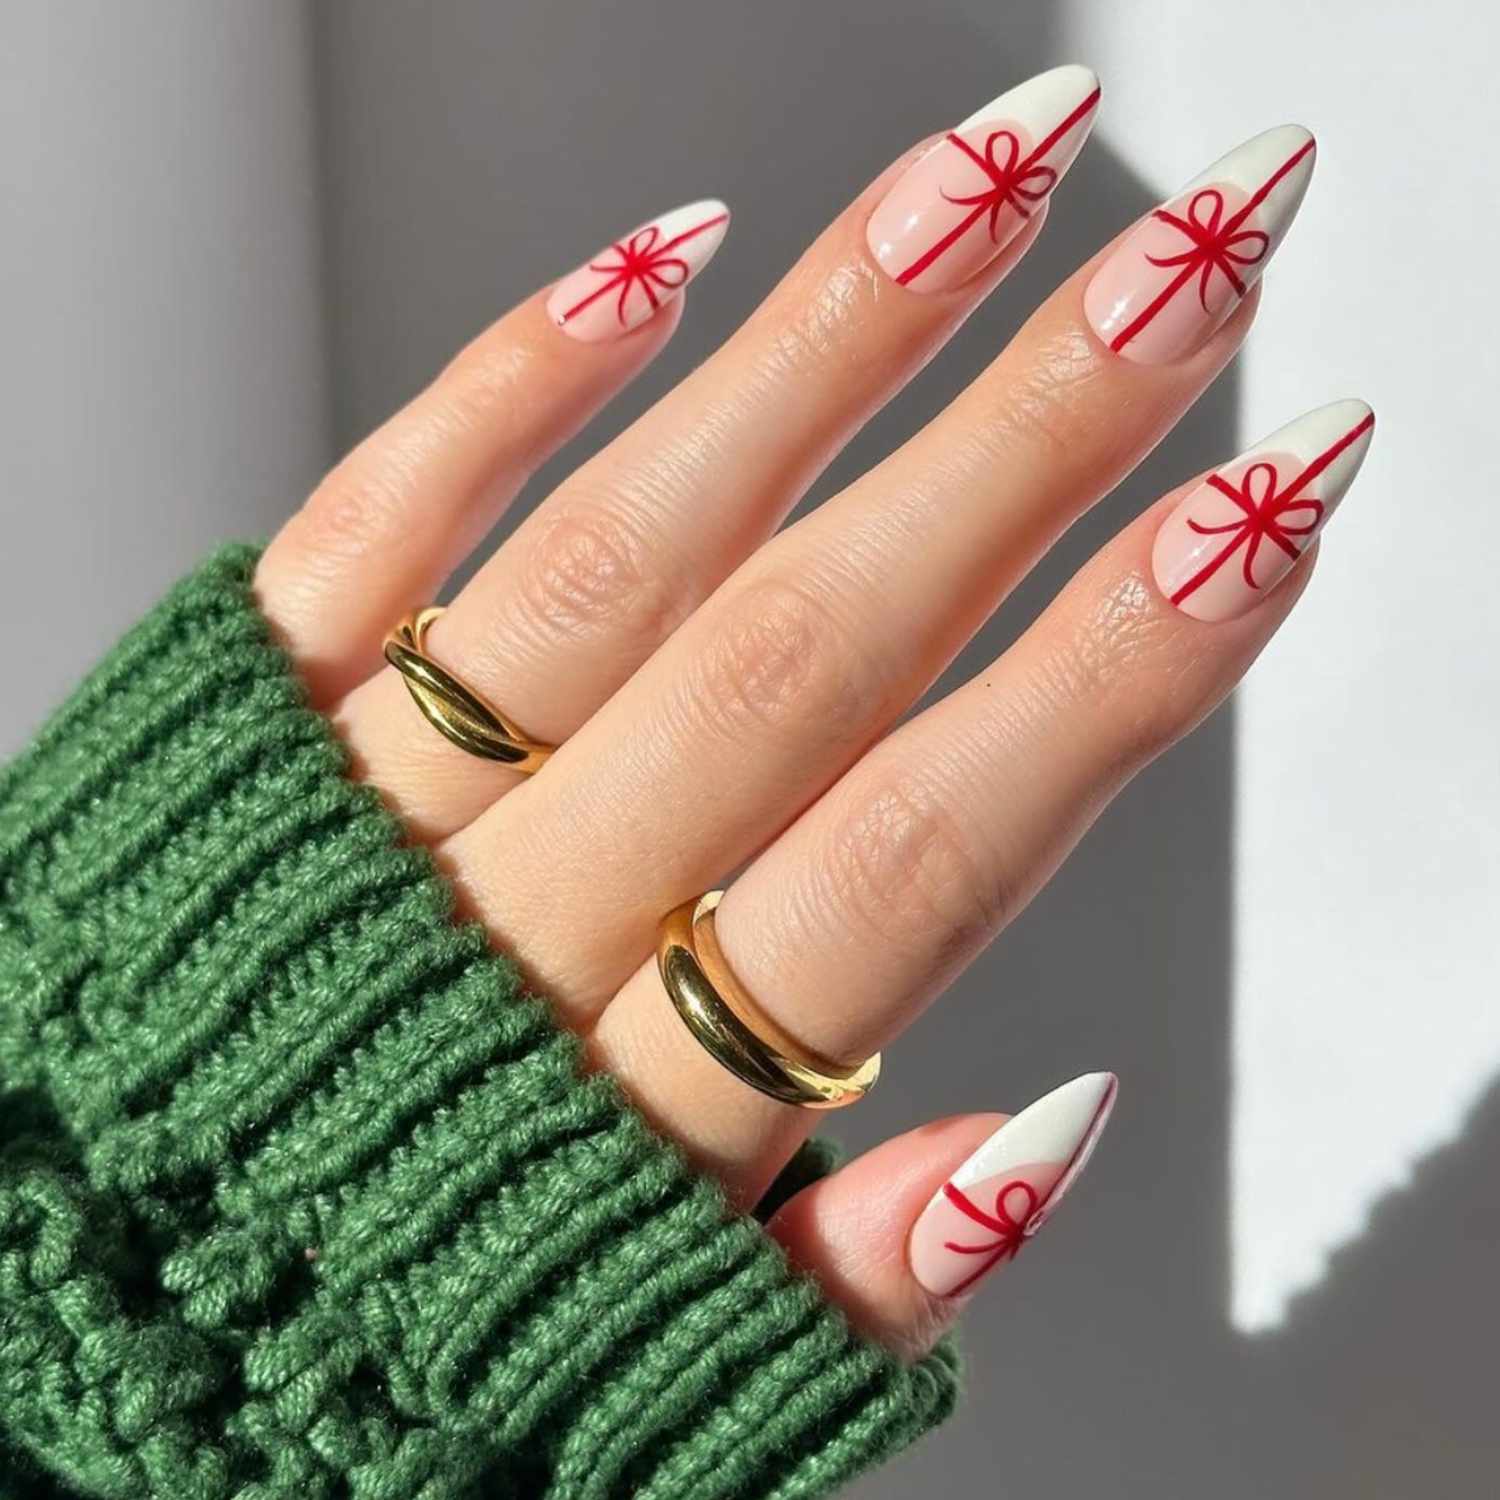
Looking for some festive Christmas nail ideas? Consider this elegant yet simple 3D nail art design that captures the essence of the holiday season. Using the classic colors of Santa Claus—rich red and crisp white—this design adds a sophisticated touch to your nails while embracing the joy and tradition of Christmas. The 3D elements elevate the look, making it both stylish and seasonally appropriate.
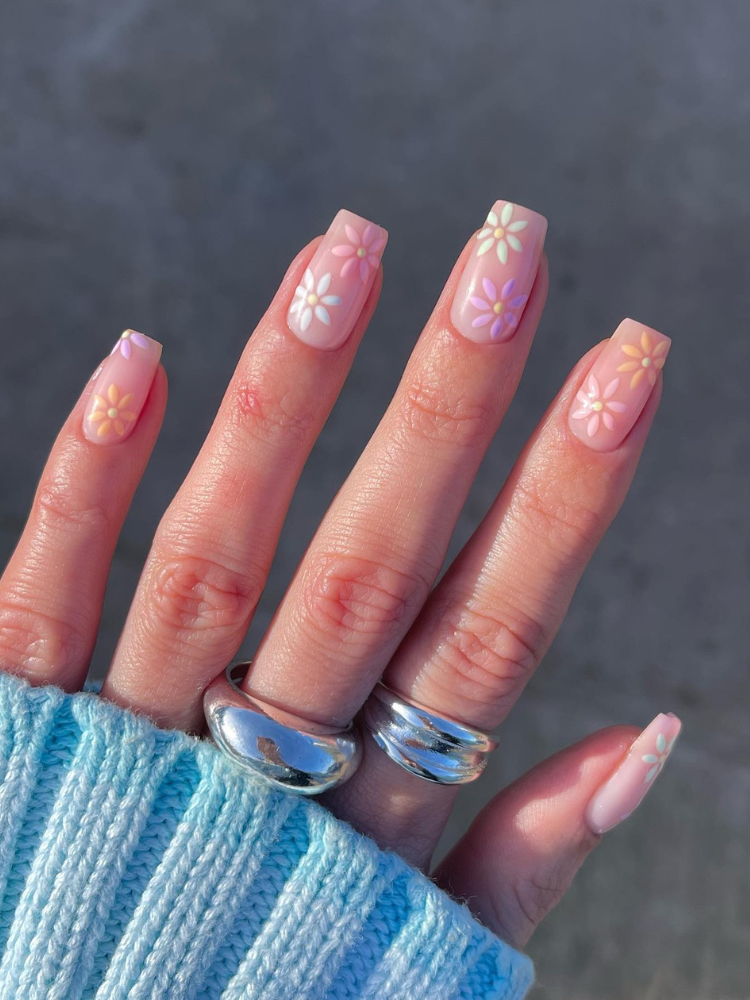
RED AND WHITE NAILS FOR EVERYDAY
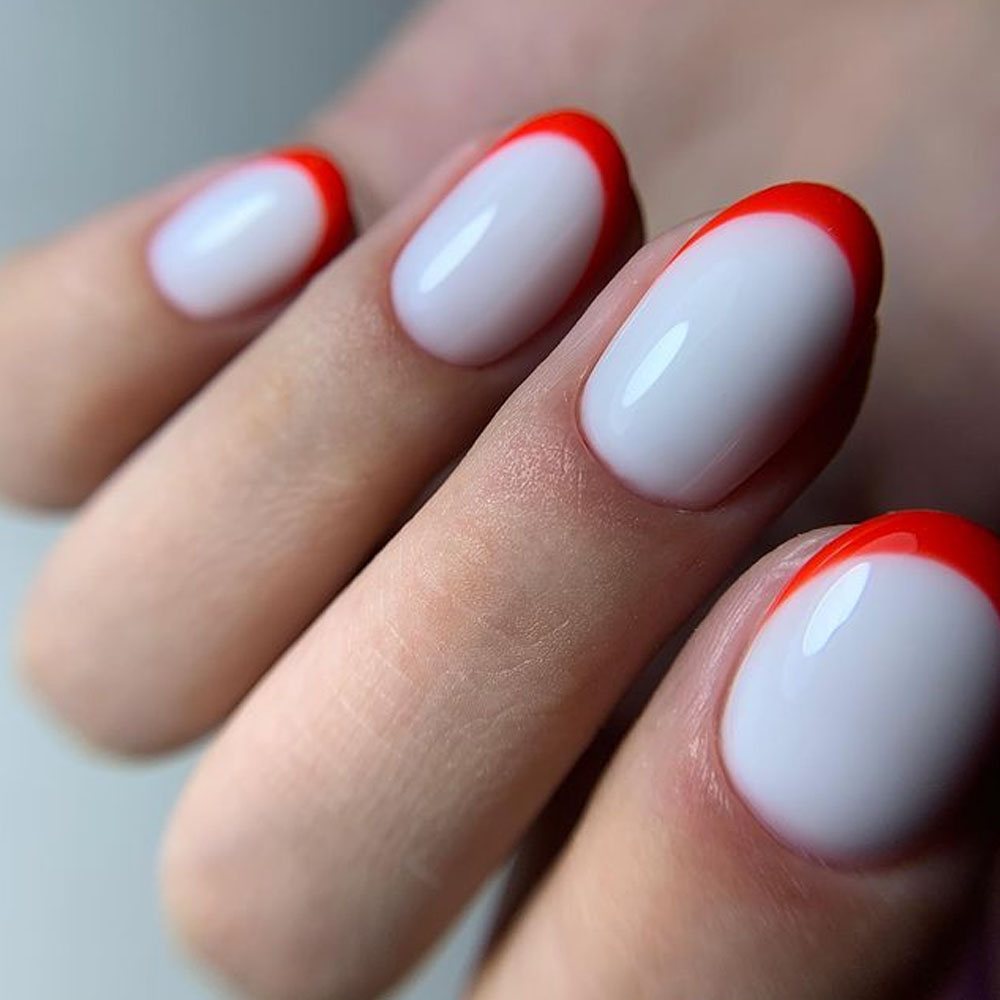
If you love the white and red nail combo, don’t wait for a specific holiday to rock it! You can enjoy this stylish duo any time of the year. For a more casual everyday look, consider a classic white French manicure with red tips. And if you’re concerned about achieving perfectly neat tips, curved stencils are a great tool to help you get a flawless finish.
MATTE SANTA CLAUS CHRISTMAS NAILS

Elevate your holiday manicure with this chic Santa Claus nail design, featuring a modern twist with red and white matte nail polish. This stylish design blends the festive spirit of Santa’s iconic colors with a sleek matte finish, creating a unique and trendy look for the season.
SNOWFLAKES ART
Snowflake nails are a beloved choice for Christmas, and it’s easy to see why. Snowflakes are among the first things that come to mind when you think of winter, making them an ideal design for capturing the season’s essence.
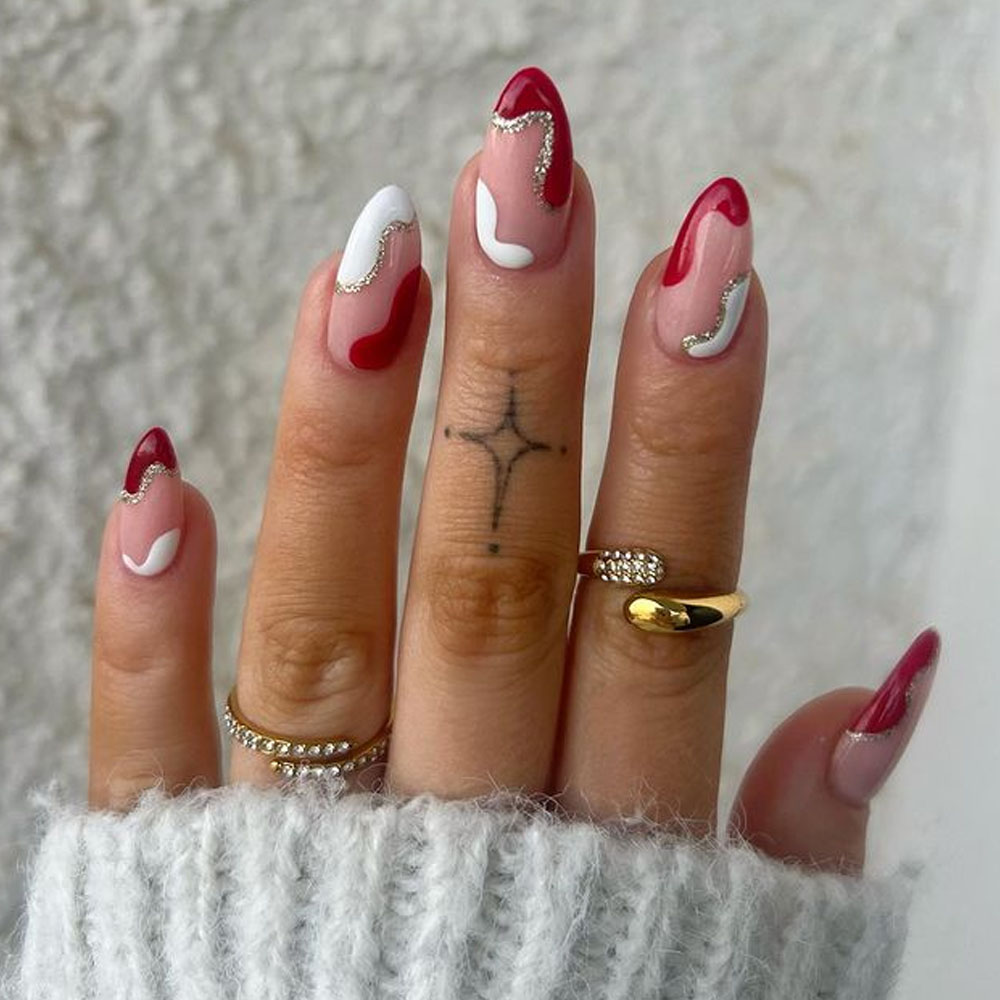
CLASSY RED AND WHITE CHRISTMAS NAILS

Draw inspiration from this refined Christmas nail design, which adds a festive twist to the classic French manicure. This sophisticated style blends timeless elegance with holiday cheer, offering a chic and understated festive look.
NORTH POLE NAILS
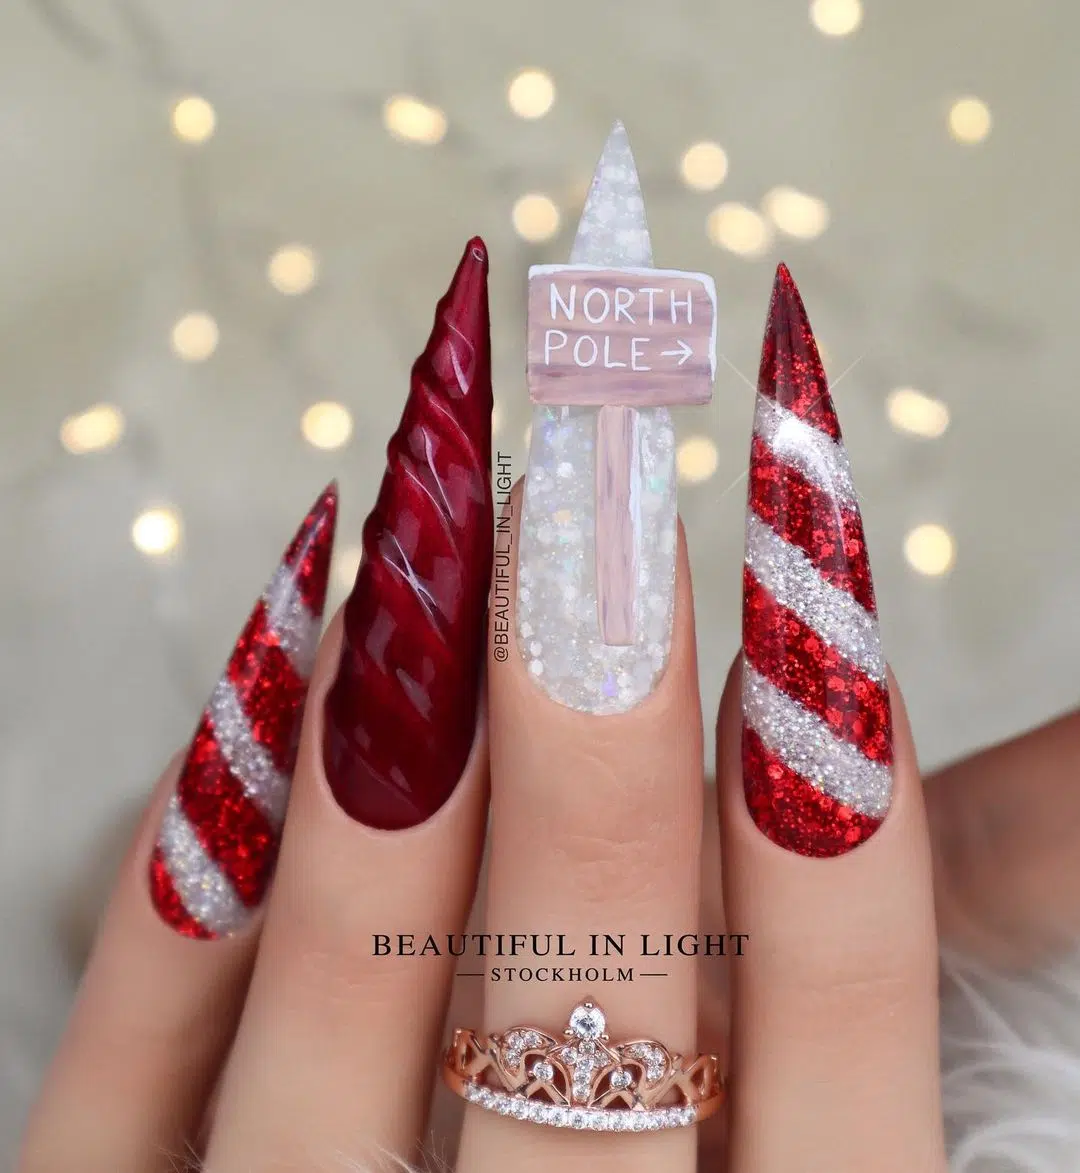
The design can be elevated with metallic accents to mimic the sparkle of snow under the northern lights. It offers a playful yet elegant look that embodies the spirit of the holidays.
CUTE SNOWMAN CHRISTMAS NAILS
Bring this charming Christmas nail art to life by using red, white, and gold glitter nail polish, combined with playful snowman stickers. Start with a festive red base, then add white and gold glitter polish for a touch of sparkle. Finish with adorable snowman stickers to complete the look, creating a joyful and eye-catching holiday manicure that’s sure to spread cheer.
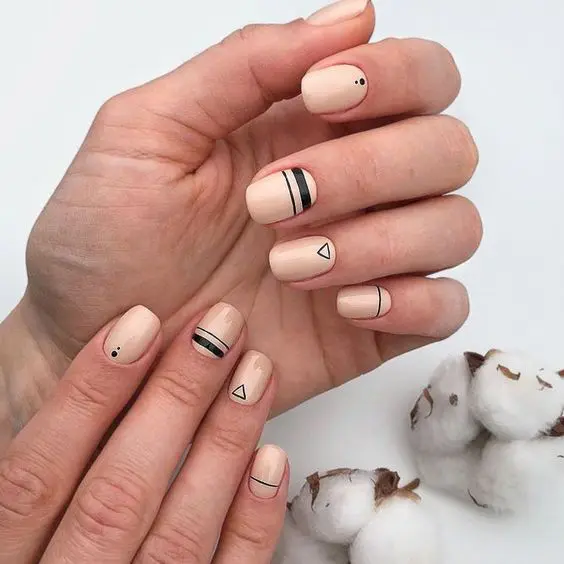
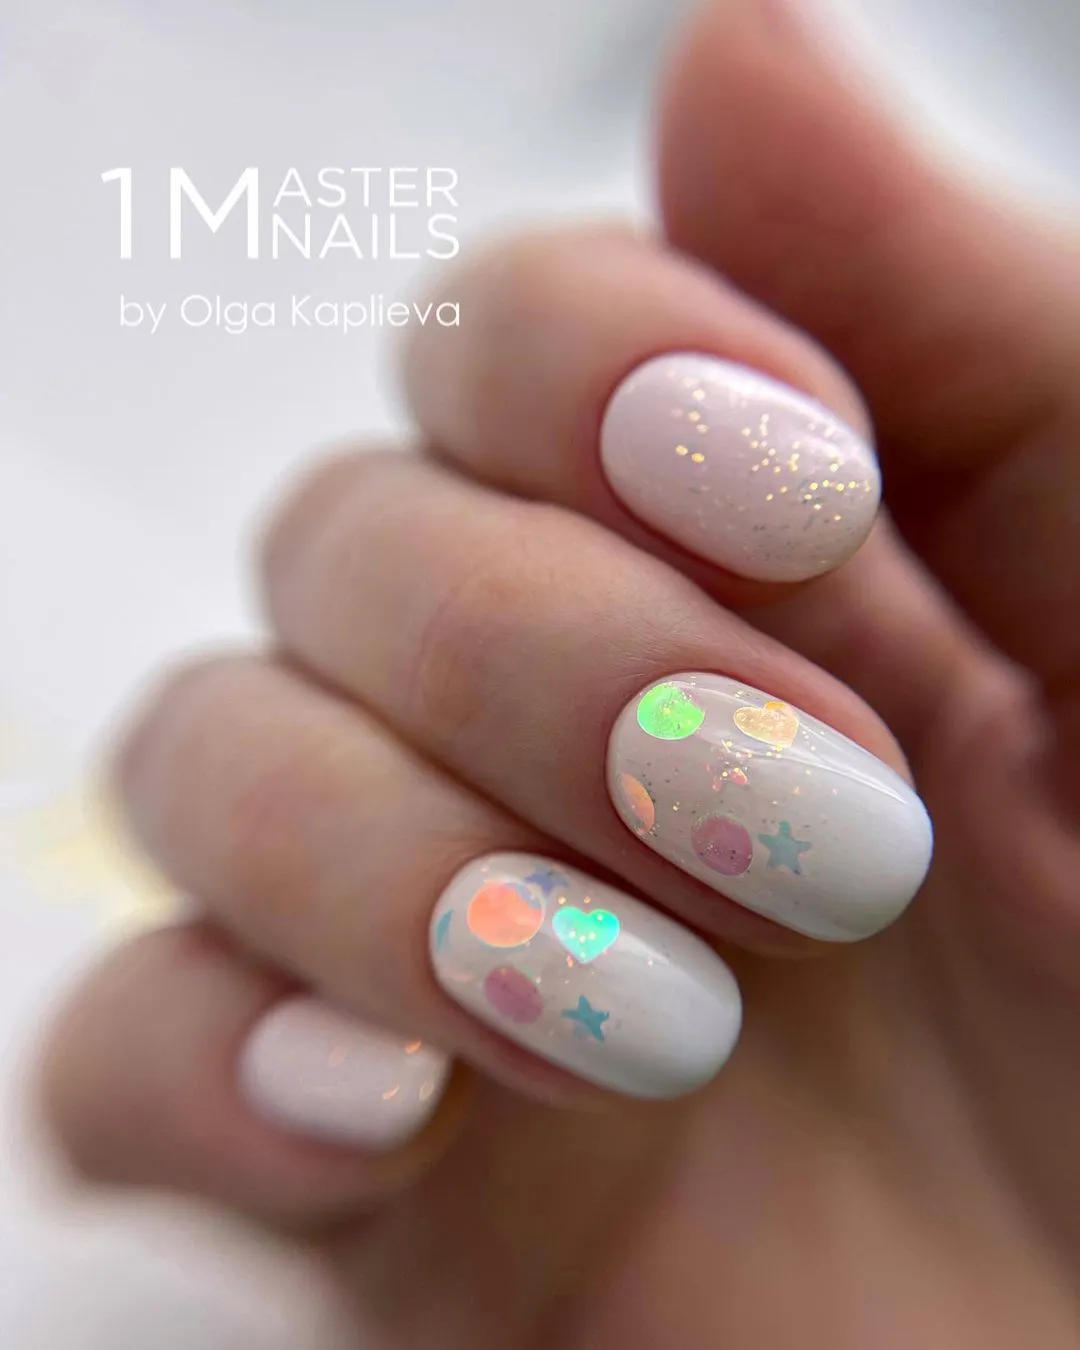
MINIMALIST RED AND WHITE NAILS DESIGNS FOR CHRISTMAS
If you’re heading to a fancy Christmas party and want your manicure to look both elegant and polished, consider opting for these simple yet sophisticated nail art designs. They are quick and easy to create while ensuring that your nails perfectly complement any outfit, adding a touch of refined charm to your overall look.
SANTA HO HO HO CHRISTMAS NAILS

Here’s a Santa Claus nail art design that’s easier to recreate than it might seem. Gather red, white, beige, and gold nail polish, along with a brush, a liner, and a dotting tool. This combination of tools and colors will help you achieve a delightful Santa Claus theme with ease, adding a festive touch to your holiday manicure.
CANDY DESIGN
Candy cane nail designs are a timeless Christmas favorite. If you prefer a simpler approach than hand-painting candy canes, you can achieve a festive look by using their iconic print. Just gather high-pigmented white and red nail polishes to create bold, vibrant stripes that capture the essence of this classic holiday treat. This method is both easy and effective, giving you a stylish holiday manicure with minimal effort.
BADDIE COFFIN CHRISTMAS NAILS
Check out these red and white coffin-shaped Christmas nails for a sleek, edgy look in 2024. This design combines classic holiday colors with a bold coffin shape, perfect for achieving a sophisticated yet standout baddie style.
SANTA BELT
Looking for a manicure to pair with your red Christmas party dress? Consider adding a Santa Claus belt design to your nails. This cute and charming design effortlessly complements your outfit while adding a festive touch to your ensemble.
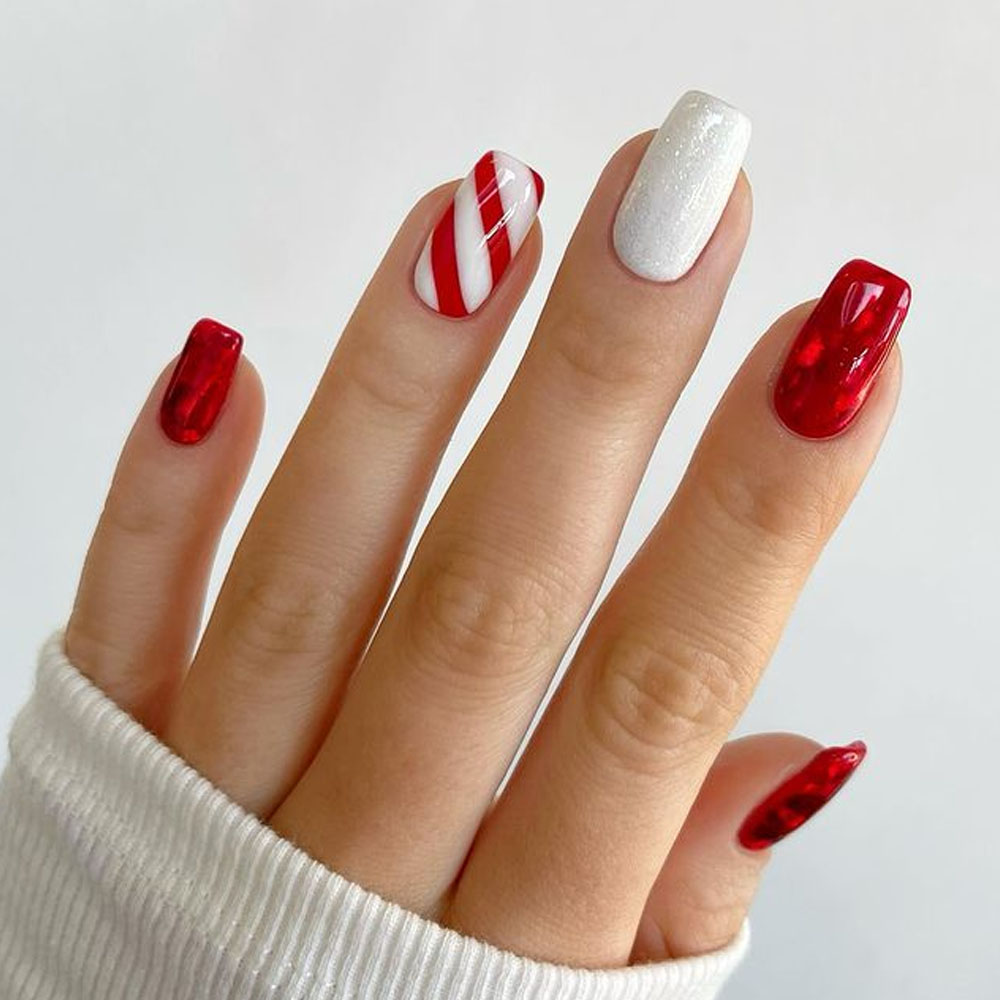
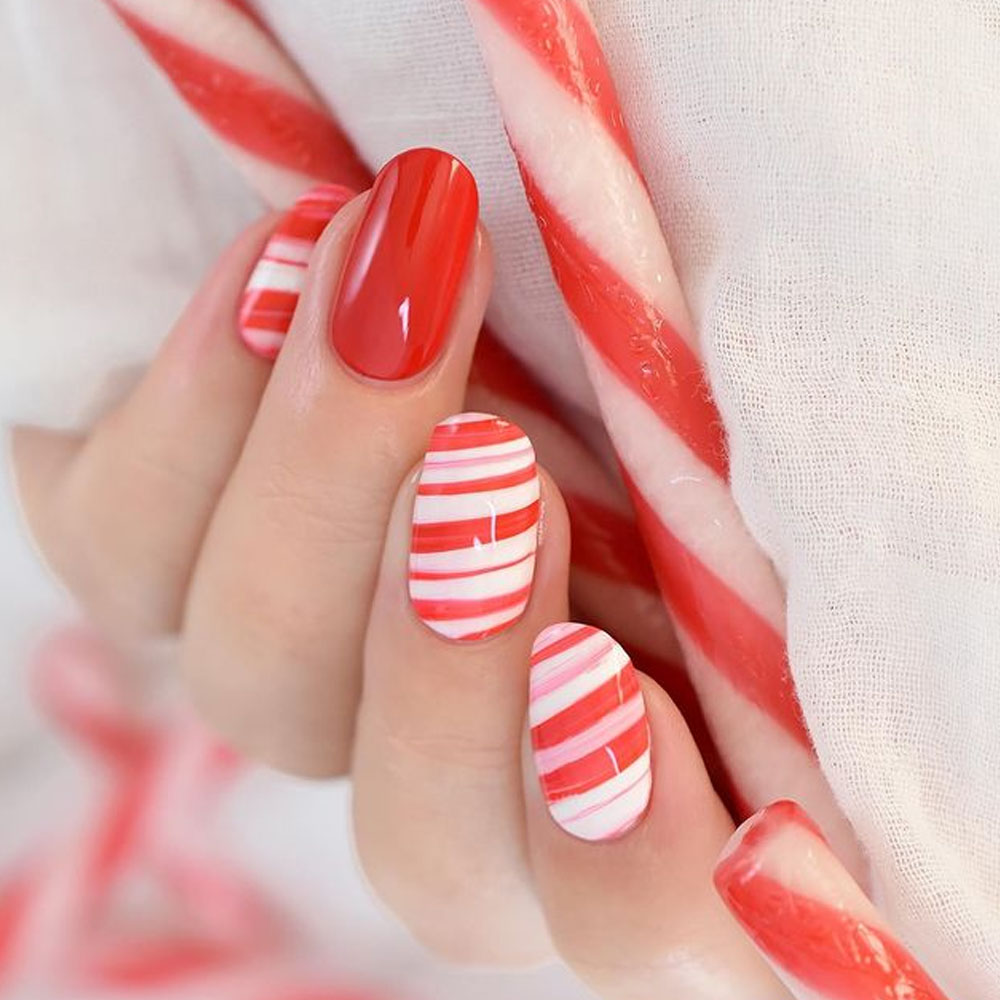
SIMPLE PEPPERMINT CANDY CHRISTMAS NAILS
To recreate these candy cane Christmas nails, start by applying a base coat to your nails. Once the base coat is dry, use straight stickers to create vertical stripes on the left and right sides of each nail. Next, apply a coat of white nail polish over the entire nail. After the white polish has dried, place stickers diagonally across the nail and paint red lines in the gaps to mimic the candy cane stripes. Finally, seal your design with a layer of top coat for a glossy finish and long-lasting wear.
EASY CANDY CANE CHRISTMAS NAILS
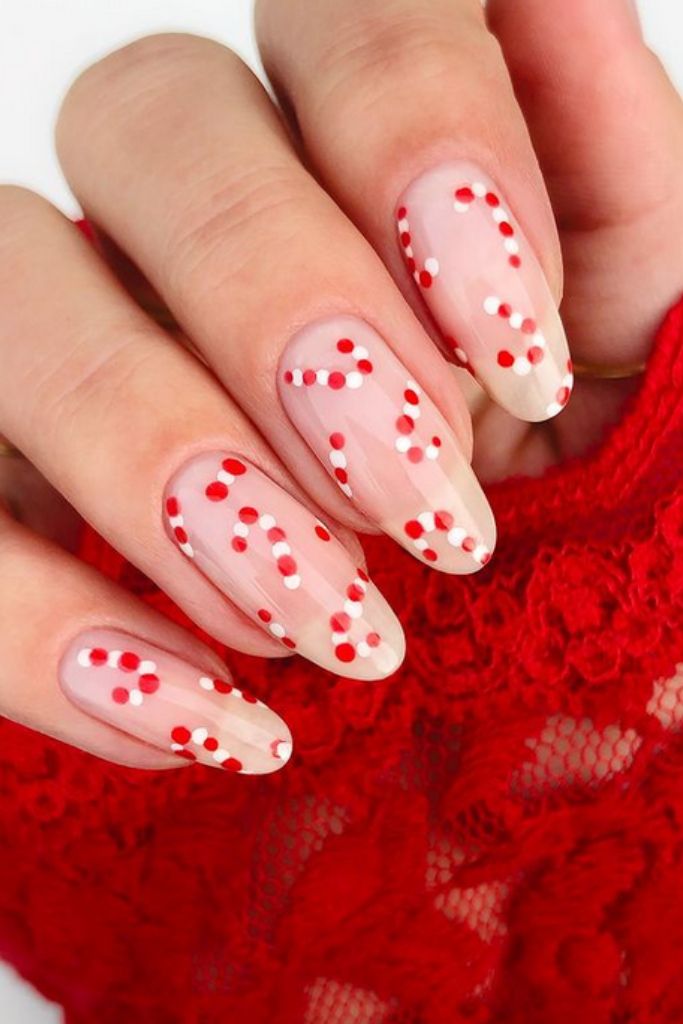
This stunning candy cane Christmas nail design is easy to create. Start by painting your acrylic nails with a nude base coat. Next, use a dotting tool to apply red and white dots in a candy cane pattern. Finish with a layer of top coat to seal in your design and add a glossy finish.
CONCLUSION
Red and white Christmas nails are a match made in heaven, offering endless possibilities for beautiful designs. With the help of our guide, we hope you’ll find it easy to select the perfect statement manicure for the holiday season.