If you own a car, you already know they can sometimes be a handful, with problems popping up unexpectedly—and often costing a pretty penny to fix. The good news? Many car troubles can be resolved without spending a fortune. With a little creativity and a few common household items, you can tackle these issues with ease.
Here, we’ve compiled the ultimate list of genius car hacks every owner should know. Whether you’re gearing up for a big road trip or just want to make your daily drives smoother and more enjoyable, these tips and tricks will revolutionize your car experience!
“Dude, Where’s My Car?”
There’s nothing more frustrating than walking around a parking lot, thinking you’ve lost your car, only to realize that a dozen other cars look just like yours. We’ve all been there, and it can feel like an endless search before finally spotting your vehicle. Luckily, there’s a simple hack to avoid this confusion next time!
To avoid the frustration of forgetting where you parked, take a photo of the area and the floor number if you’re in a parking garage. For outdoor lots, simply drop a pin in your maps app and label it “parked car.” This way, you’ll always be able to find your vehicle with ease when you return!
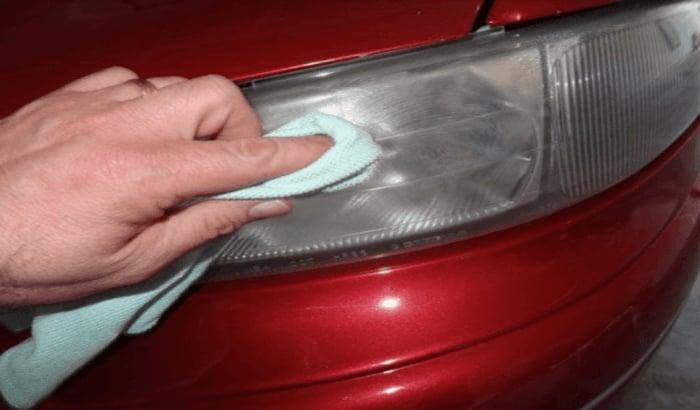
Foggy Headlights No More
Over time, your car’s headlights can become foggy due to dirt, grime, and oxidation, which can reduce their brightness and make nighttime driving hazardous. To improve visibility and safety, try this simple trick to clear up those foggy headlights and restore their shine!
Grab a tube of toothpaste and apply a coin-sized amount to each headlight. Using your fingers or a clean cloth, rub the toothpaste in circular motions to scrub away the grime. Let it sit for about two minutes, then wipe it off with a different clean cloth. Your headlights will look clearer and brighter in no time!
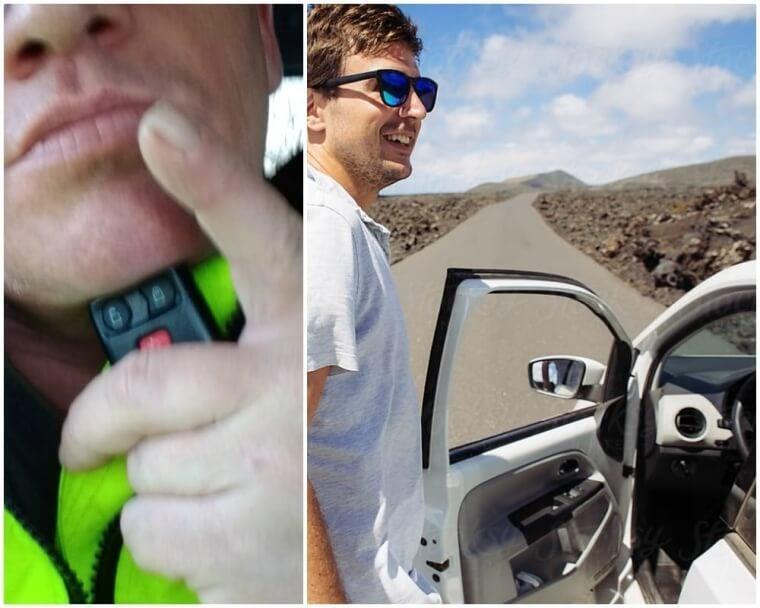
Increase Your Key Fob’s Range
One of the most frequent frustrations with keyless entry systems is the limited range of the key fob. Surprisingly, the solution might be closer than you think—your own head! By holding the key fob near your head while pressing the “Unlock” button, you can actually increase its range. The science behind it? Your head acts as a conductor, amplifying the signal and extending its reach. Give it a try the next time you need to unlock your car from a distance!
Alternatively, try holding the key fob under your chin while pressing the button. The water molecules in your body—particularly in your brain—interact with the signal, effectively amplifying it and extending its range. It’s a quirky but effective hack to unlock your car from a greater distance!
Look For the Arrow
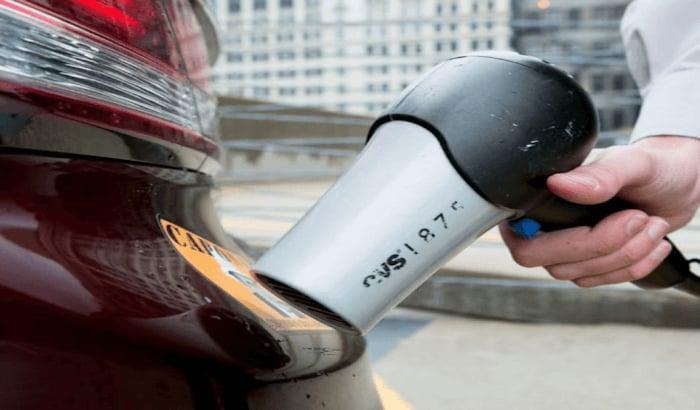
If you’ve ever driven a car you’re not familiar with, you’ve likely had the awkward moment of pulling up to the wrong side of the gas pump and then having to move your car to the correct side. It’s a common mishap, but there’s a simple way to avoid it!
Fortunately, you can easily figure out which side your gas tank is on without stepping out of the car. Simply look at the gas gauge on your dashboard, and you’ll see an arrow next to it. This arrow points to the side of the car where your gas tank is located, saving you from any embarrassing mix-ups!
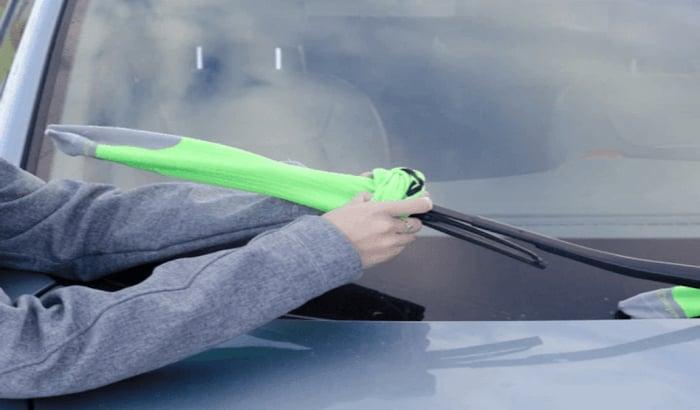
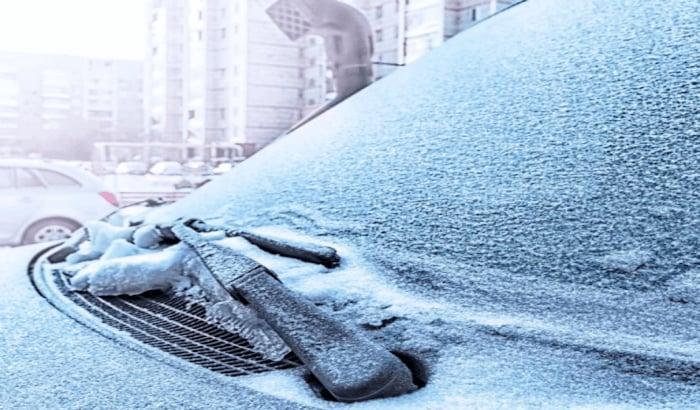
Keep Your Windshield Wipers Warm
If you live in colder climates, you’ve probably experienced having your windshield wipers freeze during the winter. Not only will this make driving during snowy days difficult, but it can also cause damage and cost you money in the long run.
To prevent your windshield wipers from freezing, take a pair of long socks and slip them over the wipers while your car is parked. This simple trick helps keep the wipers warm and protected, preventing them from freezing during cold winter days and nights.
Unfreezing the Door Locks
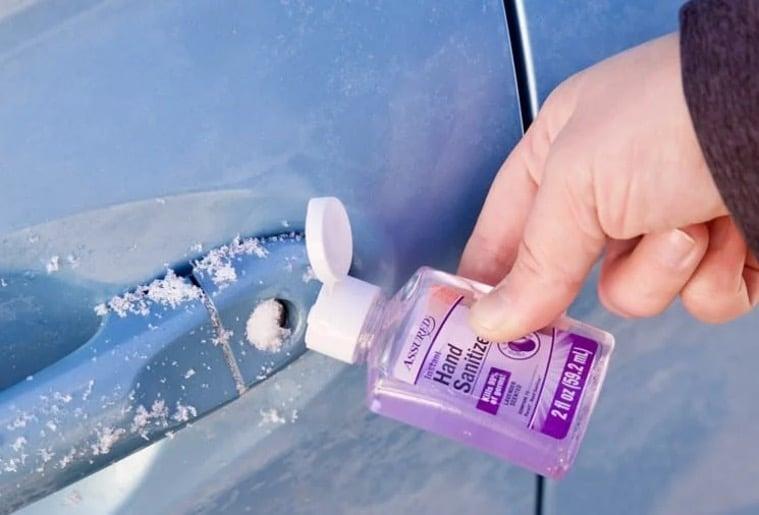
Living in a place with harsh winters means dealing with the hassle of clearing snow and ice from your car each morning. One common frustration during freezing temperatures is discovering that your car’s door locks are frozen shut—especially when you’re in a hurry. Thankfully, there’s a simple solution to this chilly dilemma!
To quickly unfreeze door locks, simply apply a generous amount of hand sanitizer directly into the lock. The alcohol in the sanitizer lowers the freezing point of water, helping to melt the ice and free up the keyhole. It’s a quick and effective fix for those frosty mornings!
Keep Cup Holders Crumb-Free
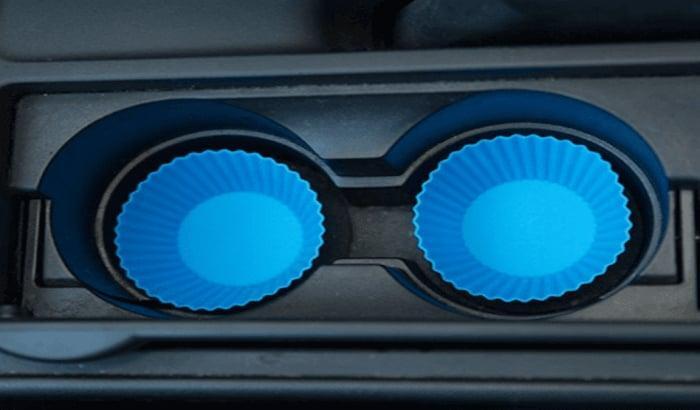
Cup holders are incredibly convenient, but they can get dirty quickly. To keep them clean with minimal effort, line them with cupcake liners. These will catch crumbs and debris, making cleanup as simple as replacing the liners—no need to lug out the vacuum every week!
Cupcake liners come in various sizes, so you can choose the perfect fit for your cup holders. When they get dirty, simply toss them out and replace them with new ones. For an eco-friendly option, opt for silicone cupcake liners—they’re washable, reusable, and just as effective at keeping your cup holders clean.
Don’t Get Locked Out of Your Car
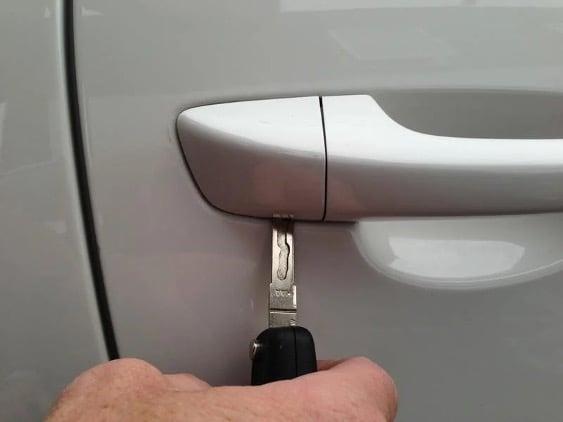
Many new cars come equipped with keyless entry systems, making it easy to unlock and enter your car without a traditional key. But what do you do when the keyless entry stops working? Fortunately, most cars with this system also have a manual lock option, ensuring you can still access your vehicle in case of an emergency.
If your keyless entry system fails, check for a small plastic cover on the edge of the door handle. Underneath it, you’ll find a manual lock mechanism. Simply remove the cover to access the lock, allowing you to unlock your car’s doors and get inside, even without the keyless entry working.
Open a Key Ring With Ease
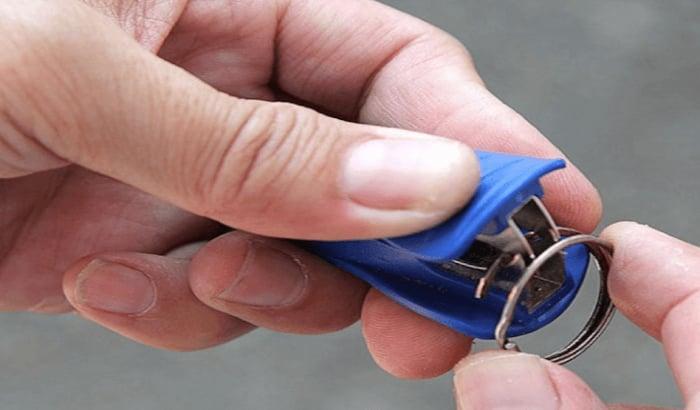
Opening a keyring to add new keys or tags can be a painful task, especially when it’s hard to avoid hurting your fingers or nails. Fortunately, there’s a simple trick to open keyrings without any discomfort or hassle!
To easily open a keyring without hurting your fingers, use a staple remover to gently pull the metal pieces apart while adding a new key or tag. This method saves your fingers from discomfort, but be careful not to stretch the keyring too much, as your keys could slip off.
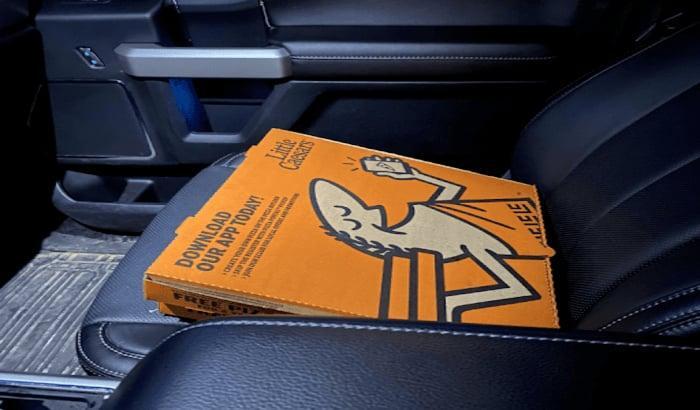
Keep Food Warm
Heated seats are a fantastic feature for keeping you cozy during cold winter drives, but they can also serve other purposes you might not have considered!
Don’t let your pizza or fast food get cold during a long drive or traffic jam! Simply place the food on your heated seat and turn the seat warmer to its highest setting. It’s a clever way to keep your meal warm and ready, no matter how long the trip takes.
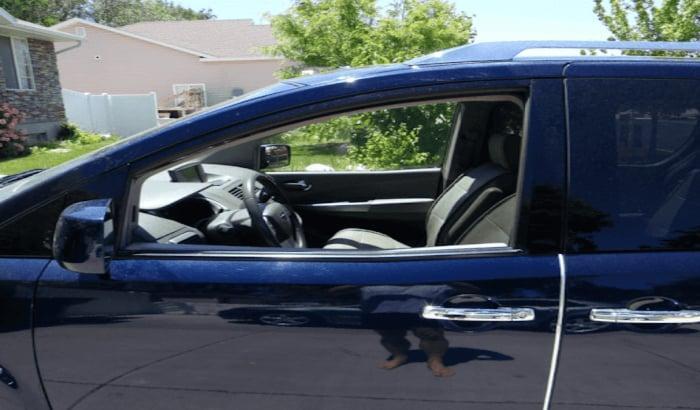
Keeping It Cool
Getting into a hot car on a sweltering summer day can be unbearable. While many people think rolling down all the windows will help cool it faster, this approach is often ineffective. Luckily, there’s a better method to beat the heat!
To cool down a hot car more effectively, roll down just the driver’s and passenger’s side windows. This encourages better air circulation throughout the car, allowing it to cool much faster. While it won’t make your car icy, it will certainly feel more comfortable in no time.
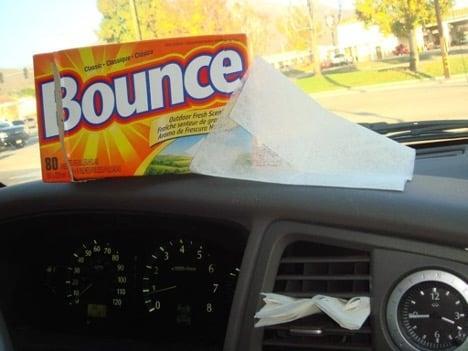
Get Rid of Bad Smells
Cars can start to smell after a while, especially with dogs, kids, and multiple passengers coming in and out. If left unchecked, the odor can become overwhelming. Luckily, there’s an easy and affordable trick to keep your car smelling fresh without spending a lot of money.
Head to your laundry room or the nearest supermarket and grab a box of dryer sheets. Place one sheet under each seat to help neutralize any unpleasant odors. You can also tuck them into your car vents for a quick and easy air freshener, leaving your car smelling fresh and clean in no time!
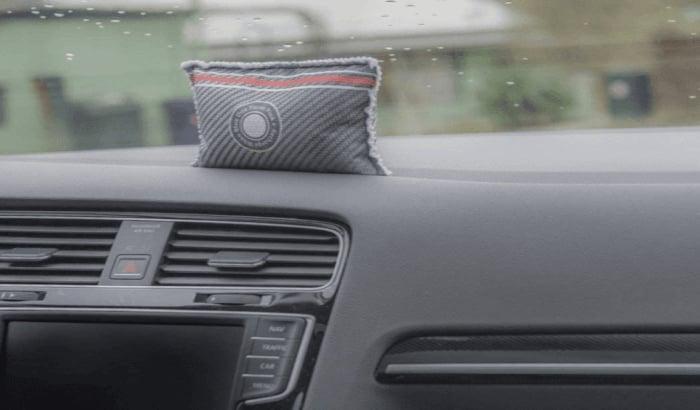
Keep Your Windshield From Fogging Up
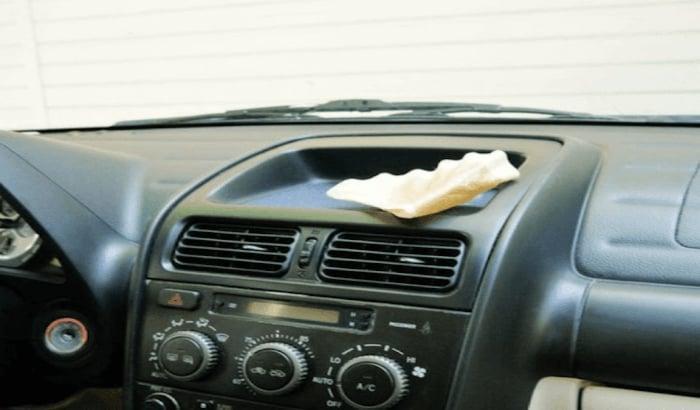
Driving with a foggy windshield can make it nearly impossible to see and is extremely dangerous. While it’s normal for your windshield to fog up occasionally, there’s a quick and easy way to get rid of the condensation, ensuring a safer drive.
To prevent your windshield from fogging up, simply place some dry rice inside a cloth pouch and set it on the dashboard. The rice will absorb the moisture, keeping your windshield clear. You can refresh the rice by microwaving the pouch occasionally to dry it out and maintain its effectiveness.
The Penny Test
Regularly checking your car’s tires is essential for safety and performance, as they naturally wear down over time. To determine if it’s time to replace them, try the simple penny test. This quick and easy method can help you assess your tire tread depth and decide if a new set is needed.
Take a penny and insert it into the tire tread with Lincoln’s head facing down. If you can see the top of Lincoln’s head, it’s a clear sign that your tire tread is too worn, and it’s time to replace your tires. If part of his head is still covered, your tires are likely in good shape.
Remove Bumper Stickers With Ease
Bumper stickers can be fun and expressive, but removing them can be a real hassle. They often leave behind sticky residue and, if removed improperly, can even damage your car’s paint. If you can, it’s best to avoid applying stickers directly to your car to save yourself the trouble later on.
If you decide to put bumper stickers on your car, there’s a safe way to remove them without damaging the paint. Simply use a hairdryer to heat the sticker, which will loosen the adhesive. Once warmed, the sticker should peel off easily, leaving minimal residue behind.
Never Lose Your Garage Door Remote Again
It’s frustrating when you pull up to your driveway, only to realize that your garage door remote is missing. After a long day at work, the last thing you want is to deal with this hassle. Fortunately, there’s an easy fix!
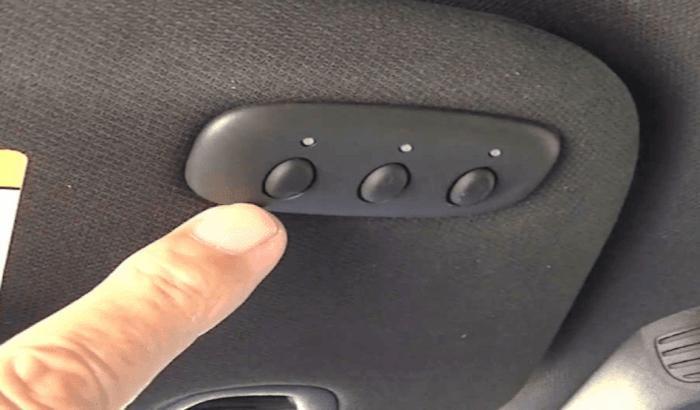
Many new cars come with a built-in remote control feature that lets you open and close your garage door, eliminating the need for a separate remote. If your car doesn’t have this feature, you can easily have a professional install it and connect the remote control to your garage door system.
Stick to the Speed Limit
Many people exceed the speed limit in the hopes of reaching their destination faster. However, this can backfire, as driving at high speeds puts extra strain on your brakes when you need to slow down or stop at a red light or in traffic. This extra wear can shorten the lifespan of your brakes and increase the risk of brake failure.
It may sound surprising, but speed limits are actually designed to help drivers hit more green lights. By sticking to the speed limit, you’re more likely to synchronize with traffic flow, which can reduce the number of times you need to stop at red lights. As a result, you might actually reach your destination faster than if you were speeding.
Remove Dents With a Plunger
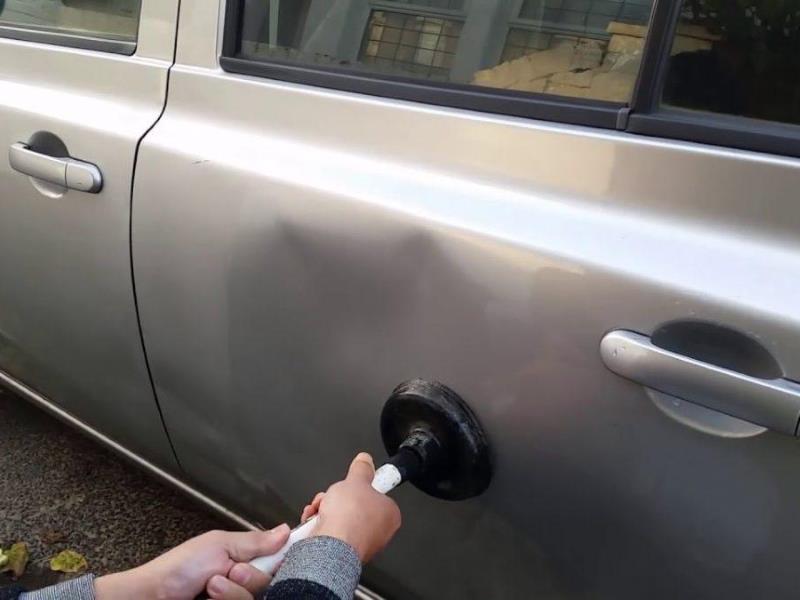
Dents and scratches are inevitable for most cars over time. If you’ve had a minor fender bender and need a quick fix for a dent, all you need are two simple items: boiling water and a plunger. This DIY trick can save you time and money on minor repairs!
Start by pouring boiling water over the dented area to make the surface more pliable. Then, position a plunger firmly in the center of the dent and pull it outward. Repeat the process until the dent pops out to your satisfaction. With a little patience, your car can look as good as new in no time!
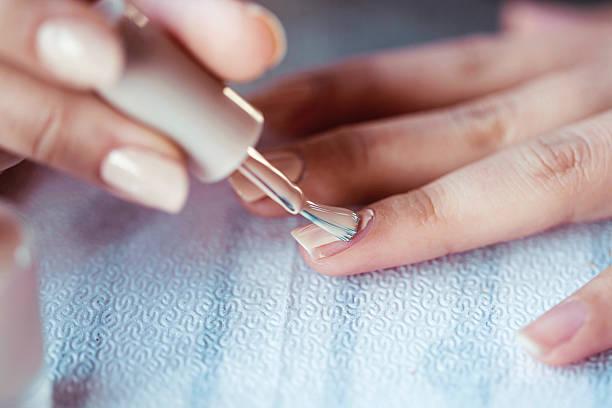
Use Nail Polish to Cover Scratches
Even with the best care, scratches can happen on your car’s surface. If you’re someone who can’t stand the sight of even the smallest scratch, there’s a simple solution to help cover them up and keep your car looking pristine.
To cover up scratches on your car, grab a bottle of nail polish in a color that matches your car’s paint. Simply apply it to the scratched areas for a quick and easy fix. Nail polish is not only affordable but also comes in many shades, making it a handy item to keep in your car for those unexpected scratch touch-ups.
No Expensive Cleaning Materials Needed
While the exterior of your car often gets the most attention, keeping the interior clean is just as important. Thankfully, you don’t need to splurge on pricey cleaning products—there’s a simple household item that works wonders for maintaining a spotless interior!
Head to your kitchen and grab a few coffee filters to clean your car’s interior surfaces. They’re great for picking up dust and dirt without leaving streaks, and they’re incredibly affordable—you can buy a pack of hundreds for just a few dollars!
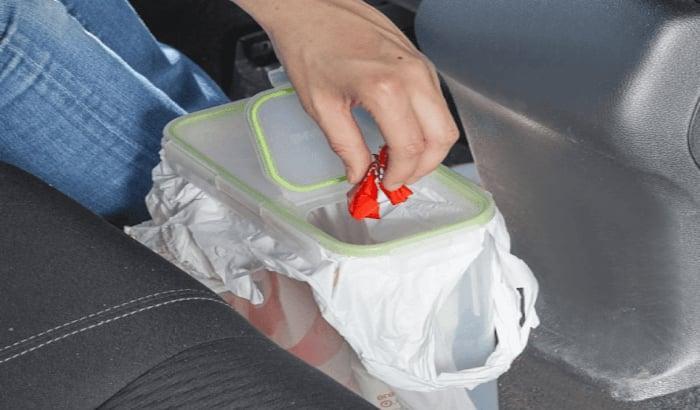
Keep Your Car Trash-free
Have you ever gotten into your car only to be greeted by a mess of trash everywhere? If you’d like to keep your car tidy and prevent it from turning into a garbage dump, here’s a simple solution that can help you stay organized and clutter-free!
Head to your kitchen or the nearest dollar store and grab a plastic cereal container. Line it with a plastic bag, then place it inside your car. This simple, improvised trash can gives you a convenient spot to dispose of trash, helping you keep your car clean and organized on the go!
Melt Ice Quickly
Winter driving can be challenging, and icy windshields are one of the most common issues. If you’re running late and don’t have time to wait for your car to warm up and melt the ice, there’s a quicker solution to help clear your windshield and get you on your way.
To speed up the process, mix a solution of 3 parts vinegar and 1 part water in a spray bottle. When you’re ready, spray it onto your frozen windshield. Let it sit for a minute to break down the ice, then wipe it off with a clean cloth or use your windshield wipers to clear it away. This quick hack can save you time and make sure you’re driving safely in no time!
CONCLUSION
In conclusion, these brilliant car hacks are simple yet effective solutions that can help make your driving experience safer, more convenient, and more enjoyable. From easy fixes for common issues like frozen locks and foggy headlights to clever ways to keep your car clean and organized, these tips can save you time and money. By using everyday household items and a bit of creativity, you can tackle many car-related challenges without needing professional help. Keep these hacks in mind for your next road trip or daily commute, and you’ll be well on your way to a smoother ride!