
In the realm of hairstyling, the journey to finding the perfect haircut is a personal and transformative experience. For those blessed with fine or thin hair, the quest for a hairstyle that not only enhances their natural beauty, but also adds volume and dimension can be particularly challenging. Fear not! We’ve got you covered with 30 Best Haircuts Ideas for Thin Hair.
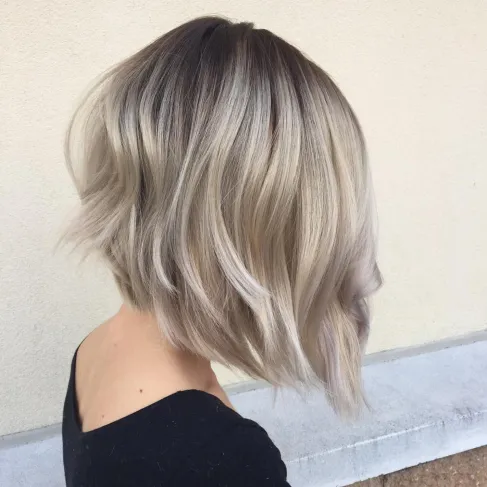
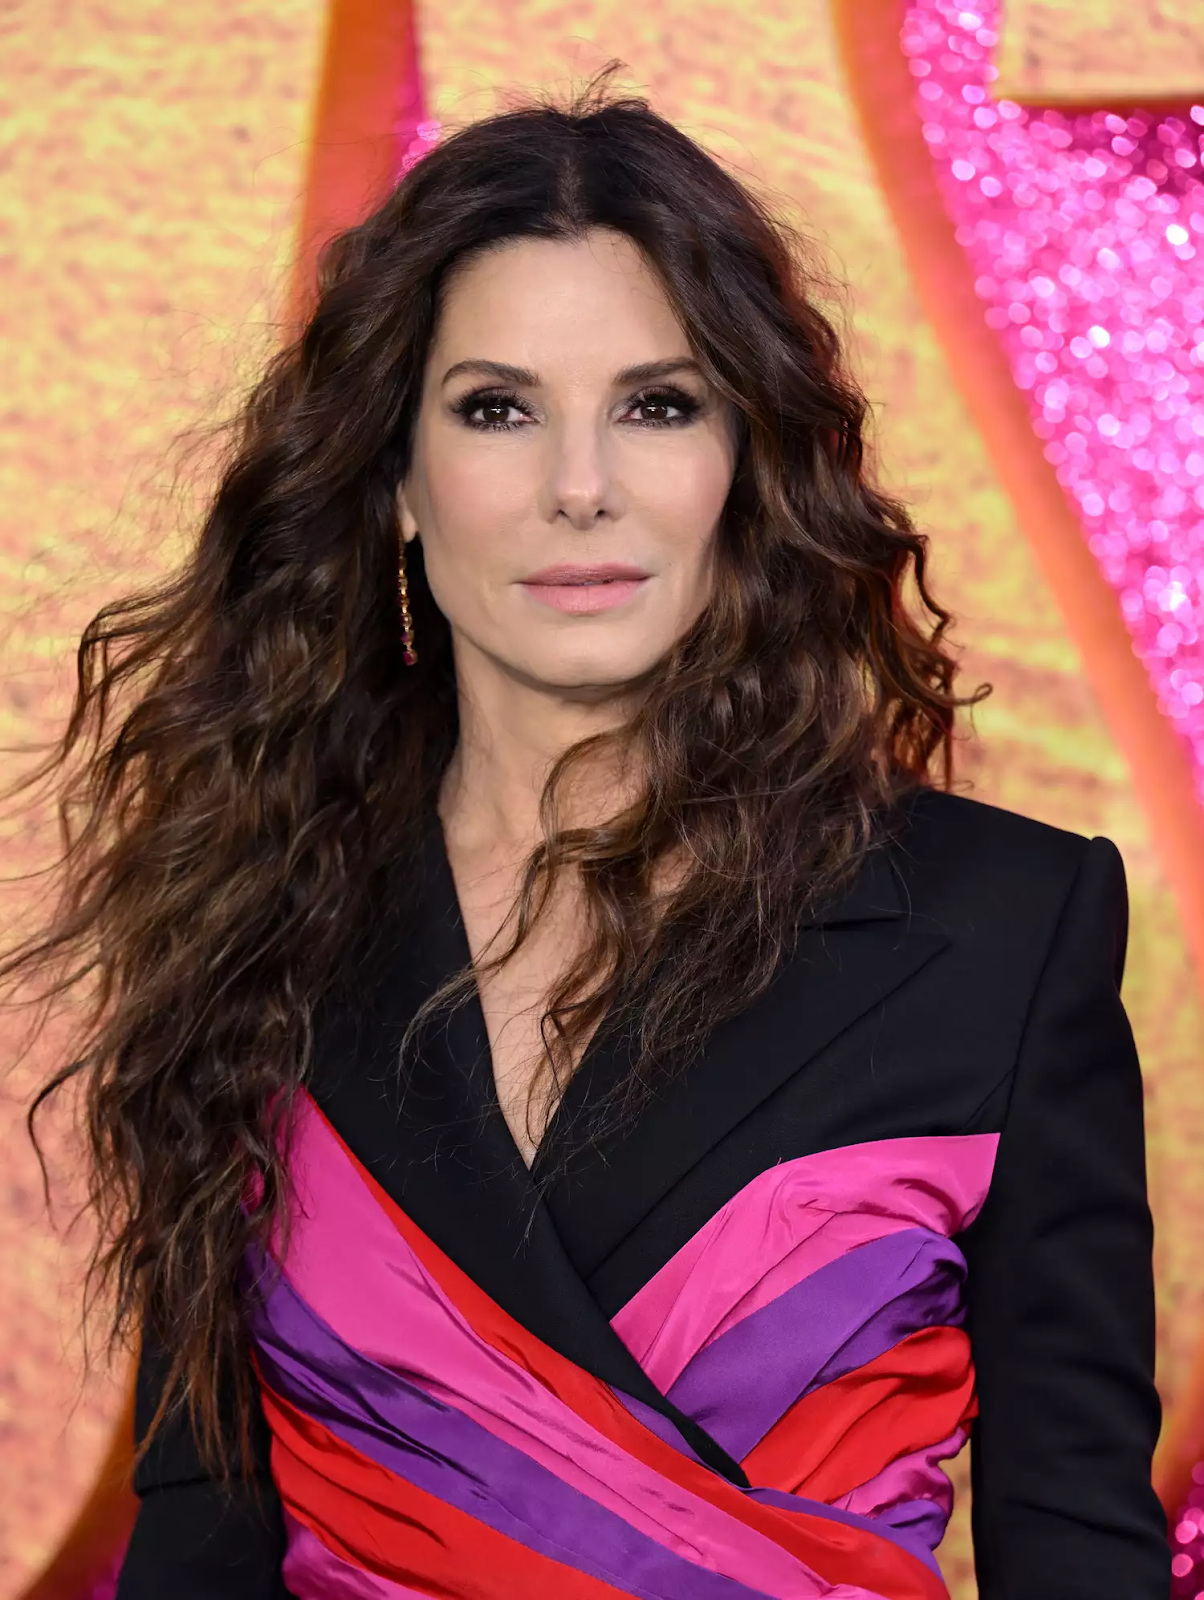
WAVY BOB WITH LAYERS
A bob with a single length is often an ideal haircut for those with thin hair, as it creates the illusion of thickness. When you elevate the hair’s texture, the strands effortlessly stack, giving the appearance of added fullness. Incorporating subtle highlights in small sections adds dimension, contributing to a sense of depth in the hair.
STACKED BOB FOR FINE HAIR
A stacked bob for fine hair works wonders, incorporating bangs and short layers to enhance volume and style. Experience a significant transformation in your look and feel with this haircut.
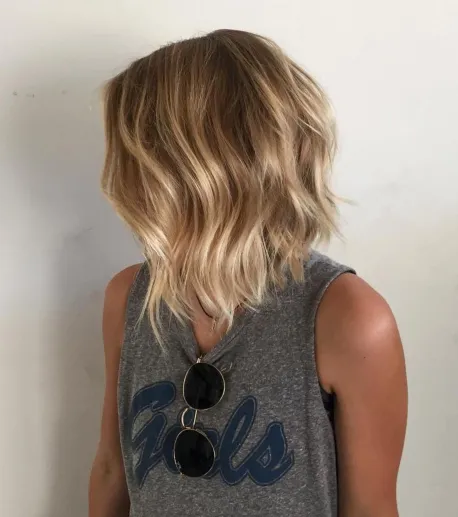
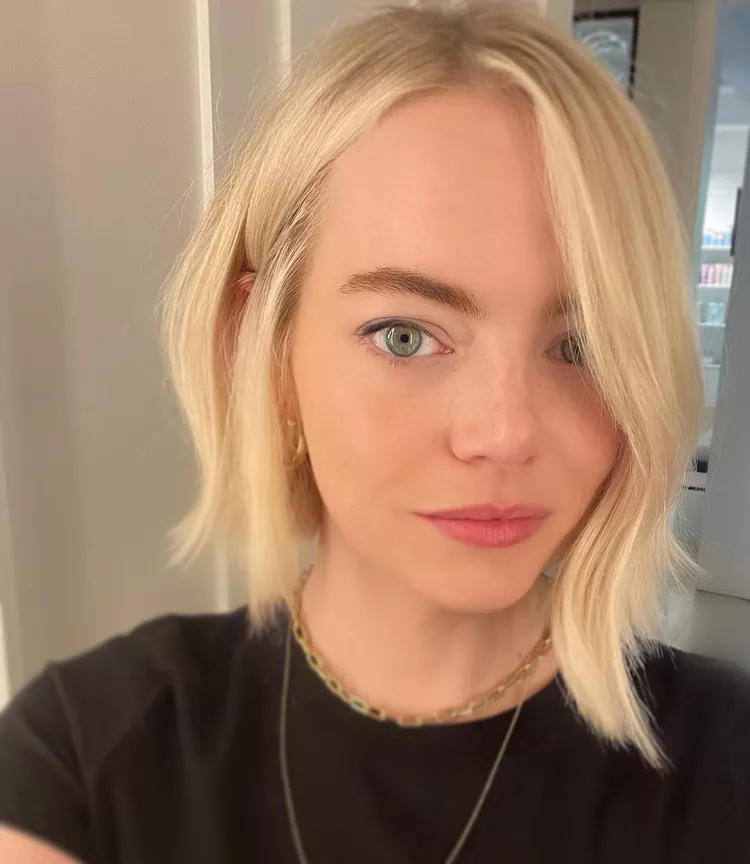
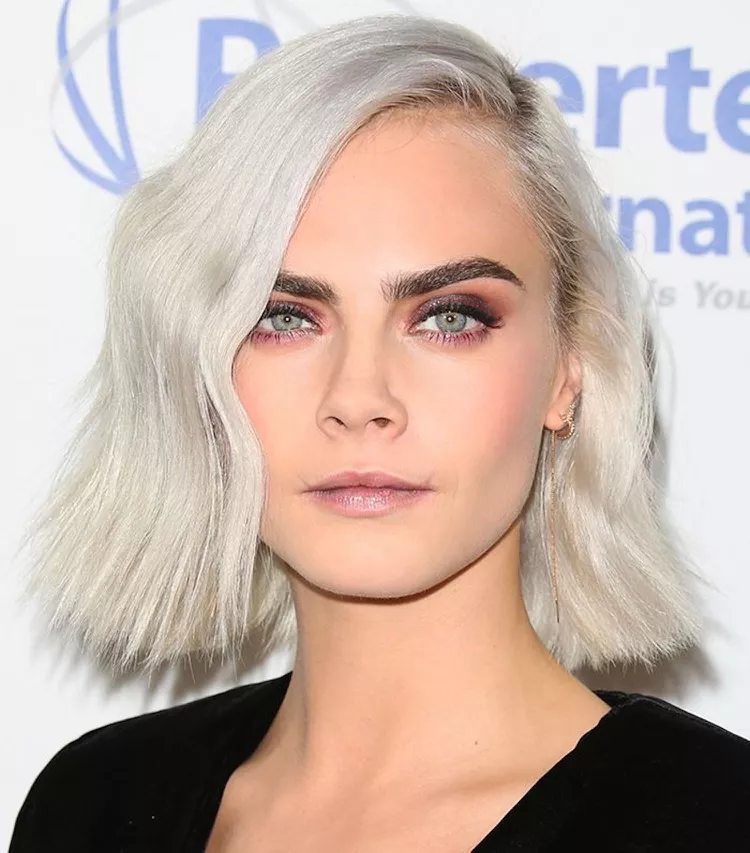
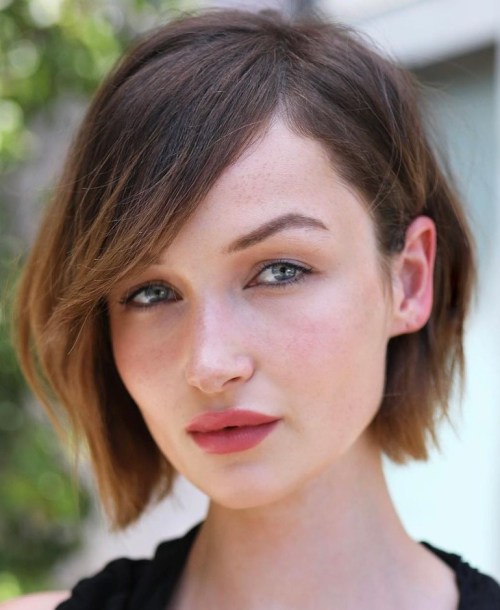
SHATTERED COLLARBONE BOB
For those seeking extra volume, enhance your hairstyle’s body with a textured, chic collarbone bob. Delicate layering near the edges and A-line side bangs introduce an endearing disarray, perfectly capturing the essence of the season’s trendiest messy hairstyles.
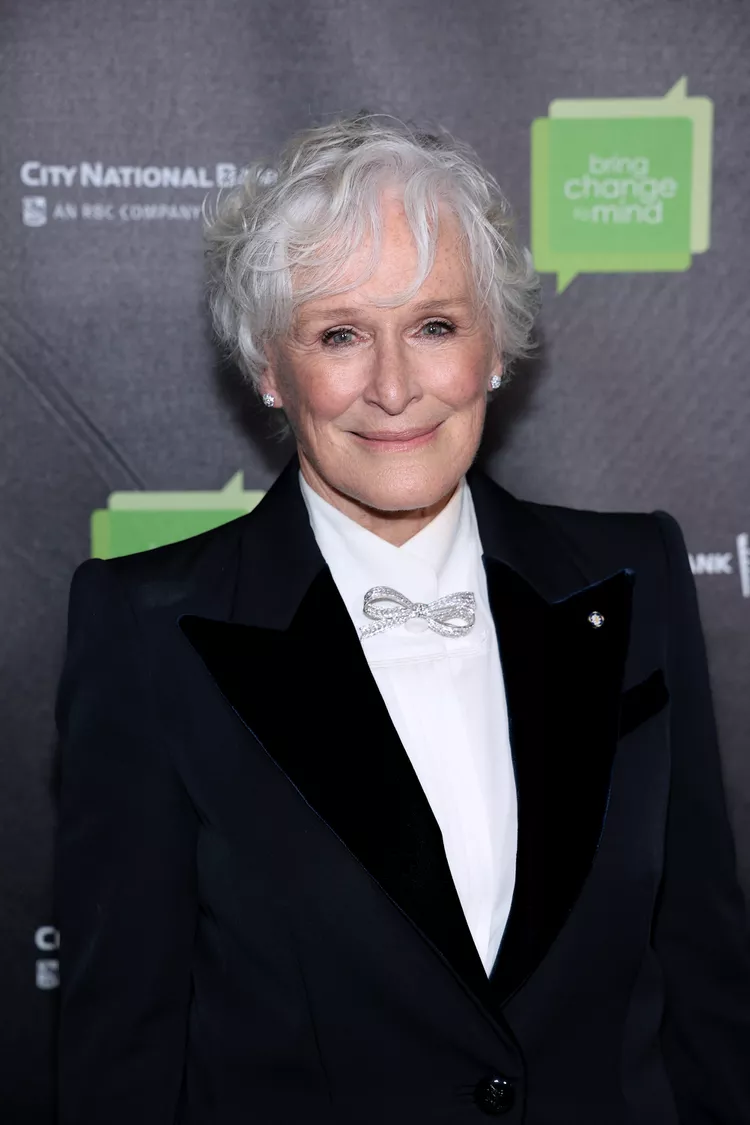
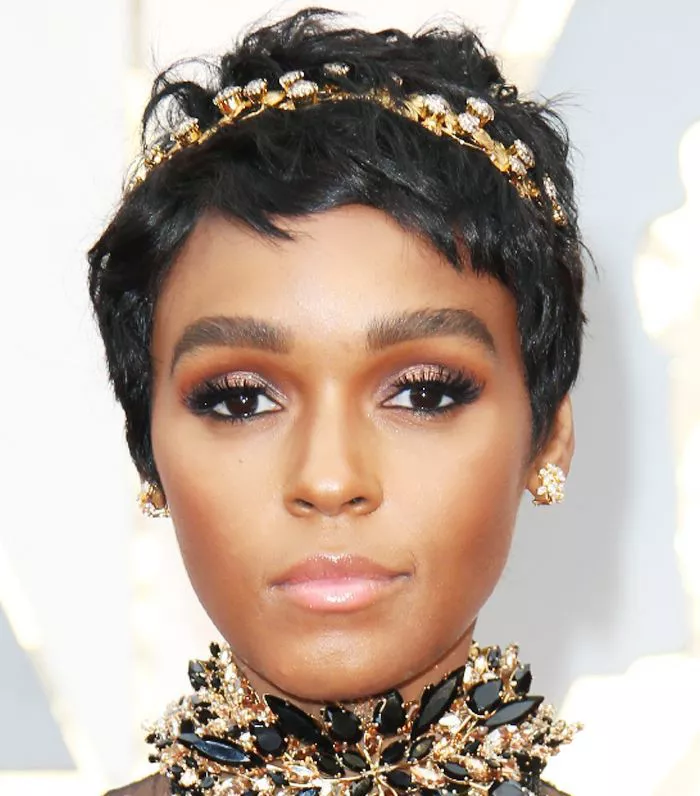
ACCESSORIZED PIXIE
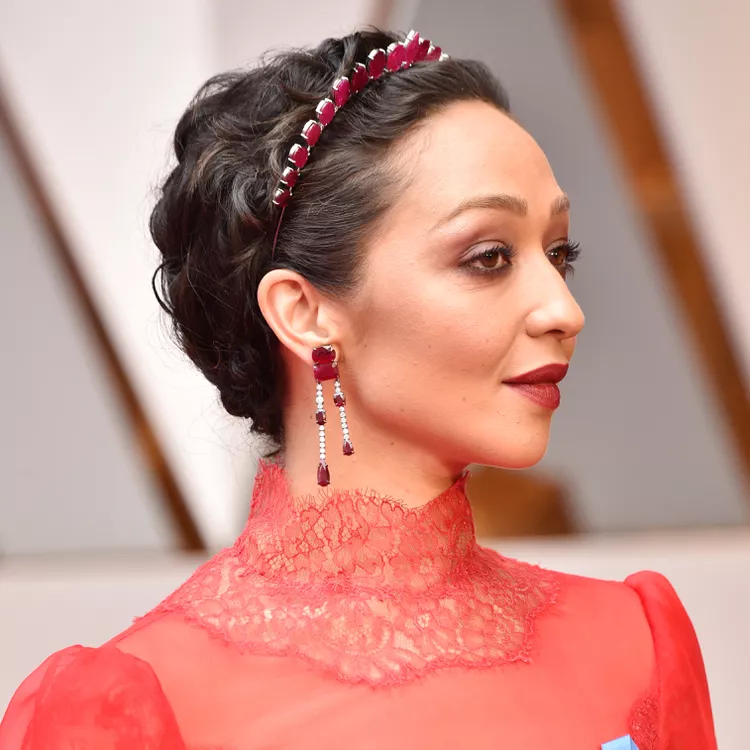
When transitioning through the grown-out phase of a pixie cut, elevate your style effortlessly by incorporating accessories, such as a bedazzled headband reminiscent of Ruth Negga’s. It adds a touch of glamor with minimal effort.
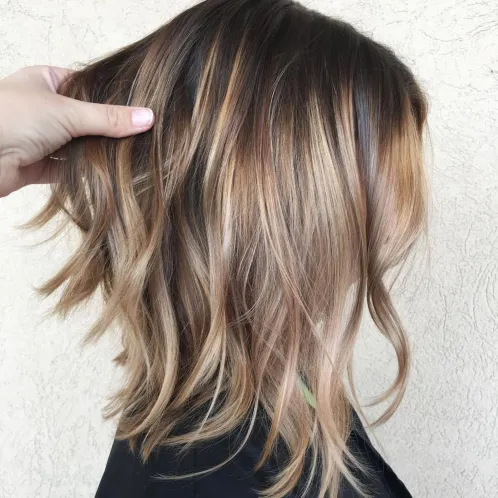
LAYERED BOB HAIRCUT FOR FINE HAIR
While long, voluminous hair is often considered beautiful, this isn’t always the reality for those with thin, hair. Women shouldn’t feel compelled to pursue extreme lengths. Chic and trendy bobs, featuring choppy ends and stunning balayage, have the power to transform thin hair, making it appear thicker and more beautiful. Modern short hairstyles for thin hair offer a dynamic and never-boring alternative.
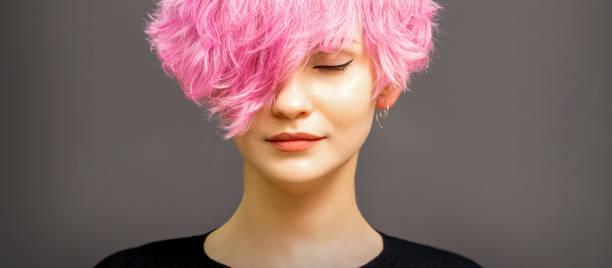
CURLY BANGS
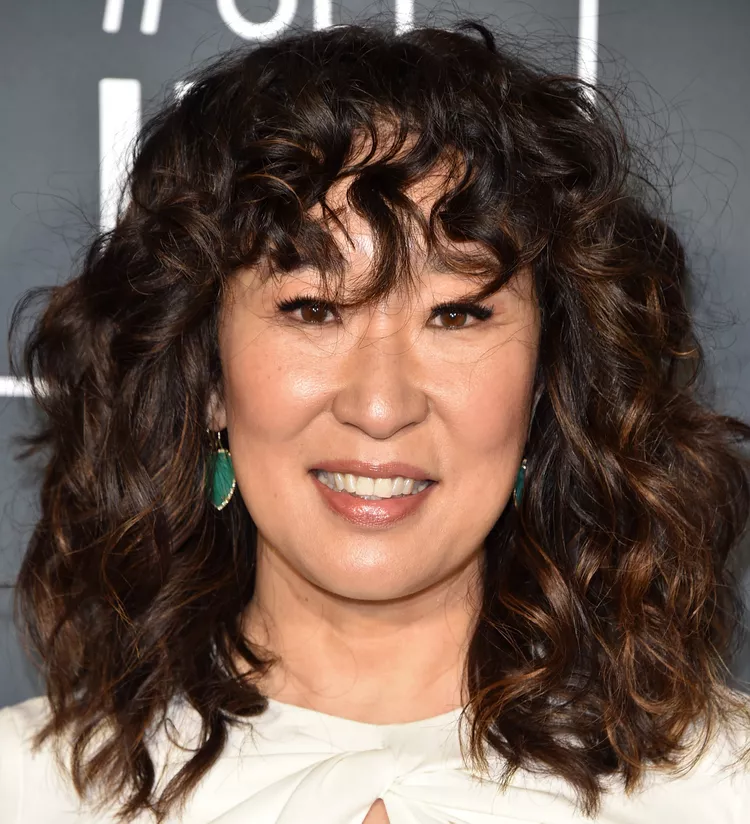
Allow the natural movement of your curls to shine as you style your bangs. By letting your curls do their thing, you create an effect that goes beyond mere styling— it adds dynamic movement to your hair. This not only enhances the overall aesthetic but also cleverly gives the illusion of fuller, more voluminous hair.
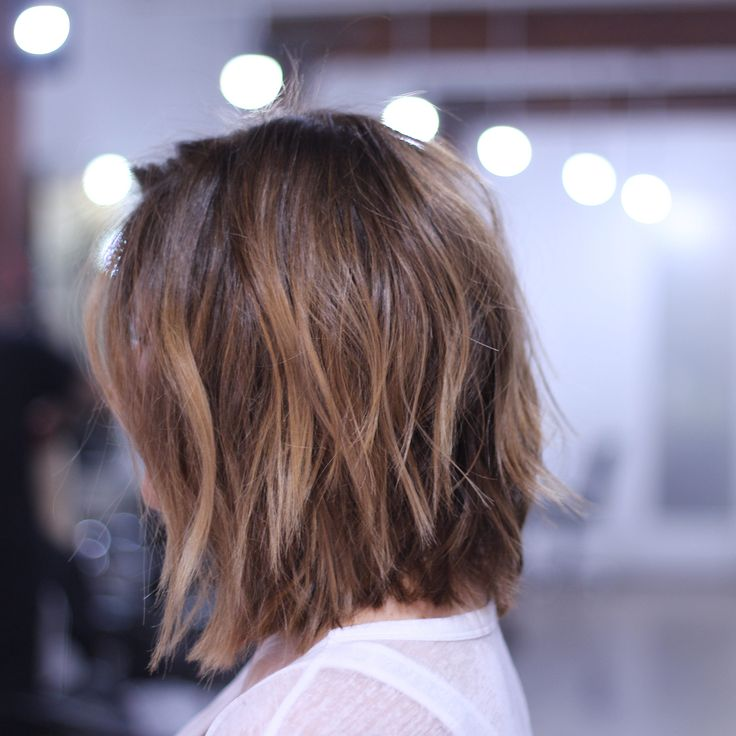
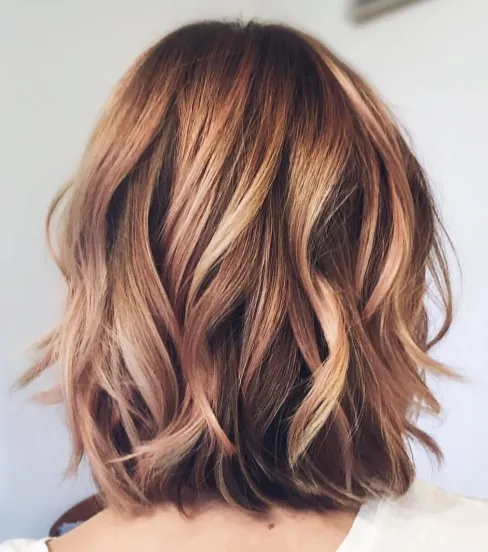
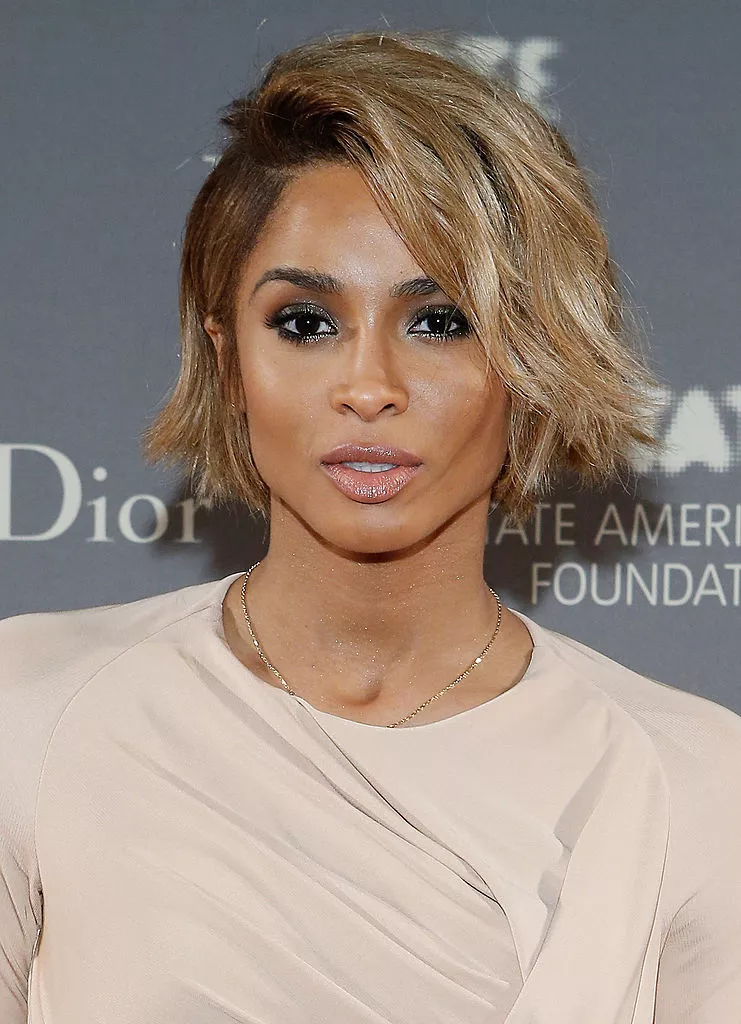
CHOPPY BOB WITH BLONDE HIGHLIGHTS
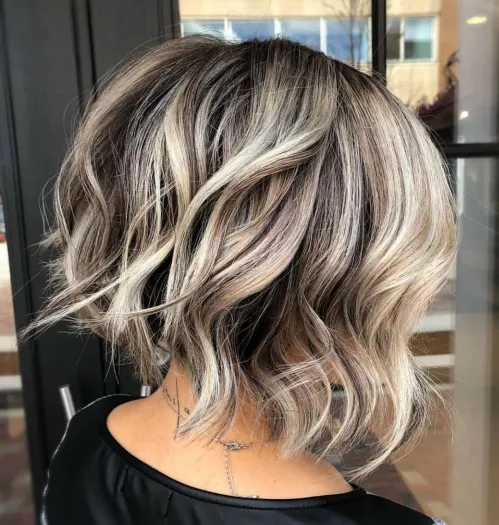
Curl a bob hairstyle alway right for those with thin hair. When curling your textured cut, a key technique involves teasing your locks from the roots, using a fine-tooth comb for optimal results. Gently shake your curled bob with your fingers to achieve a disheveled, textured appearance. Once you’ve perfected that ideal messy look, enhance it with a light-hold hairspray for added hold and flair.
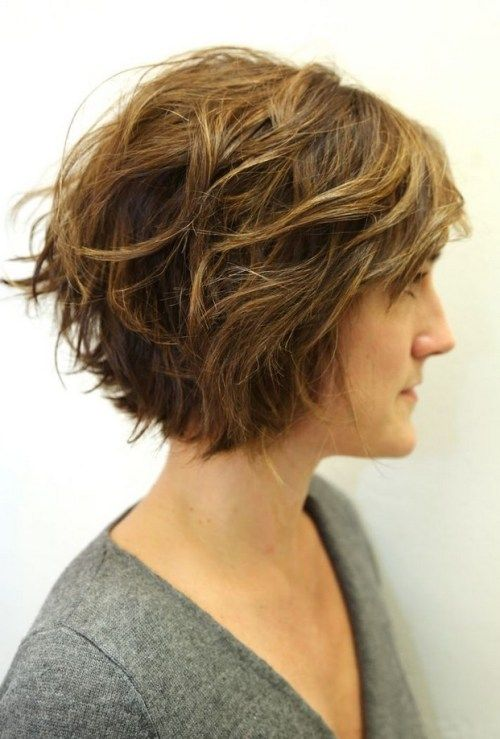
SHORT LAYERED
Enjoy the charm of layered short hair, giving your curls natural movement for an effortlessly sophisticated look. Simply applying a little pomade to your hair, then stroking it randomly, can yield noticeable results. Maybe you don’t know that this is also the favorite short haircut for women over 60.
MEDIUM CHOPPY CUT WITH LONG BANGS

Opting for a flat iron over a curling iron? Enhance volume in long haircuts for thin hair by crafting sleek, straight styles, particularly when sporting a tousled cut with strands of varied lengths. Wondering how to use a bobby pin? Especially useful when dealing with the occasional entanglement of long bangs.
SHORT AND SWEET
While there might be a common belief that longer locks create the illusion of more hair, it’s actually short hair that imparts the appearance of fullness. Opting for a short hairstyle not only adds volume but also simplifies your morning routine. A quick wash, a touch of mousse, and you’re ready to go.
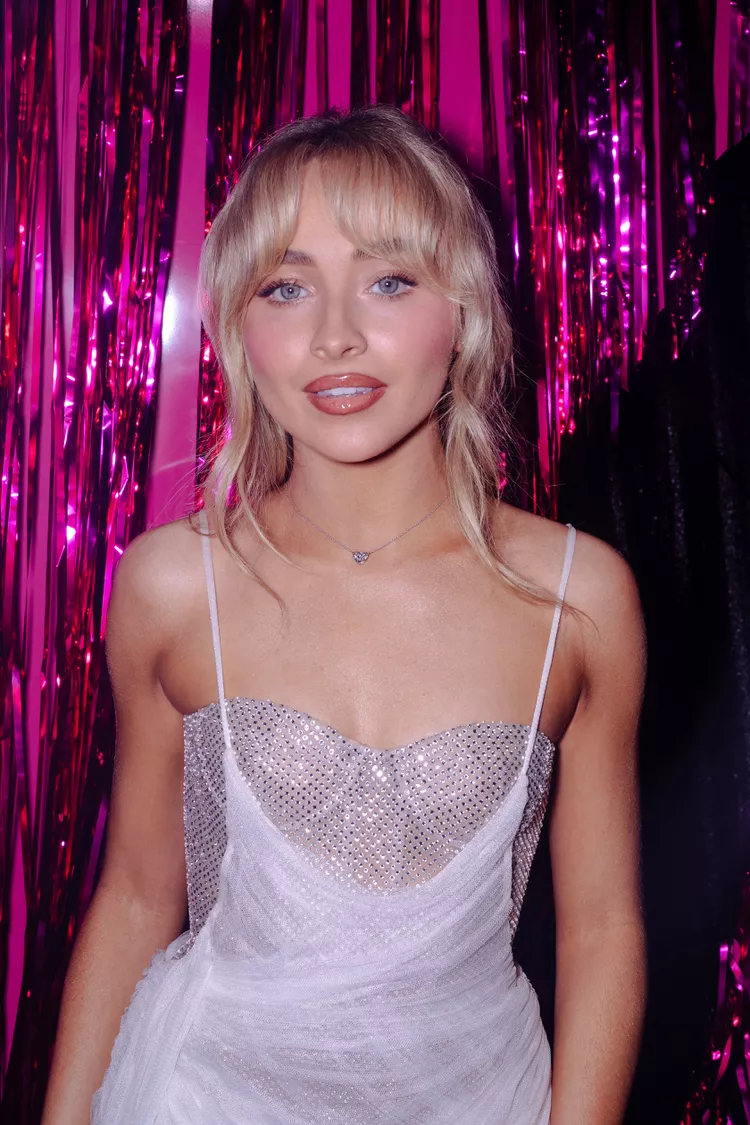
LOB WITH SIDE BANGS
Elevate the I-woke-up-like-this vibe to the next level! While single length cuts are an option, choosing layered haircuts, especially a lob with side bangs, is a foolproof route. Opting for a choppy lob hairstyle above the shoulder proves to be a fabulous choice, especially for fine professional women.
BUN WITH BANGS
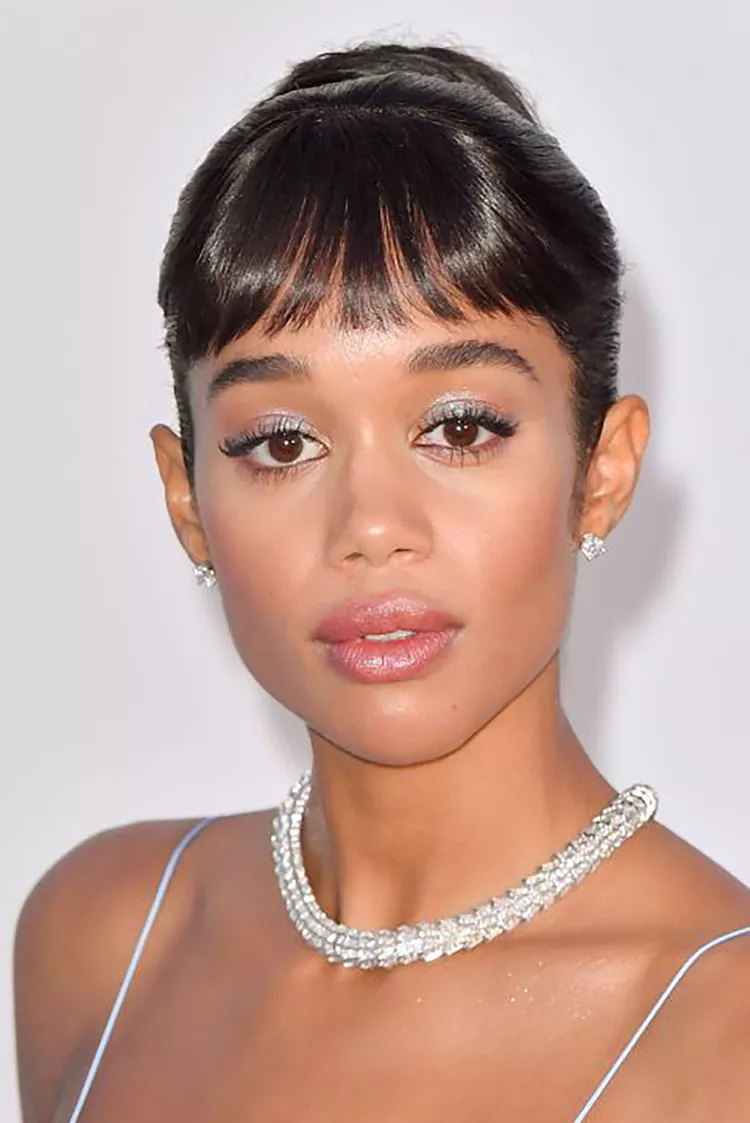
On occasion, the go-to style for thin hair is a sleek, pulled-back look. Emulate Laura Harrier’s ballerina-inspired bun featuring thin, razored bangs. While the bun itself is a timeless classic (simply gather the hair into a ponytail and secure the ends around the elastic), it’s the bangs that inject a touch of flair and pizzazz.
STRAWBERRY BLONDE BOB
To enhance the illusion of thickness in fine hair, contemplate choosing a fine hair French bob. Incorporate a mix of highs and lows into your locks to achieve the desired effect. The harmonious blend of contrasting hues woven throughout your tresses is the secret to achieving a fuller appearance. Whether you sport a sweet strawberry blonde or a rich brunette hue, this approach seamlessly works on any shade of hair.
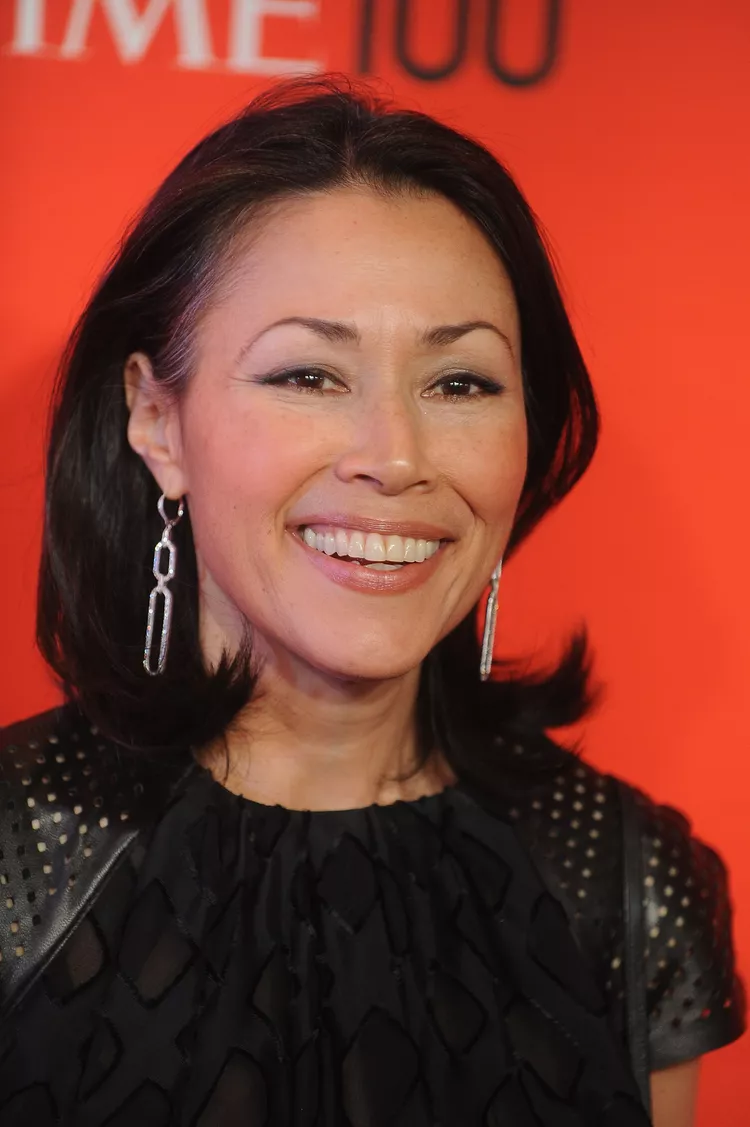
BLUNT CUT BOB WITH BANGS
Embrace a timeless and chic style with a shoulder-length blunt cut bob with bangs. This versatile haircut exudes sophistication and simplicity, featuring a clean, straight-across edge that falls gracefully to the shoulders. The blunt cut adds a modern touch, providing a sleek and polished appearance. The inclusion of long bangs enhances the overall look, offering a frame for the face and adding a touch of trendiness to the classic shoulder-length bob.
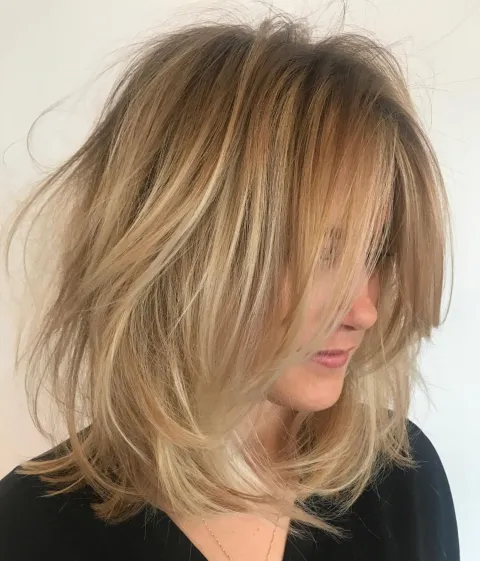
MESSY AND SHAGGY HAIRCUT FOR FINE HAIR
What sets the shaggy haircut apart is its innate ability to effortlessly blend a slightly unkempt, yet stylishly messy, charm. When paired with the right wardrobe choices, this cut evolves into a statement look, offering a delightful fusion of casual and chic. The shaggy cut’s messy-chic aesthetic not only adds flair to your overall style but also serves as a clever strategy to enhance the visual thickness of thinner names.
CHOPPY PIXIE
Opting for a shorter hairstyle often imparts strength to your locks, proving advantageous even for those with very fine hair. A super-short crop, such as a pixie cut, can work wonders in creating the illusion of thicker hair. Enhance this effect by choosing a pixie cut with choppy layers, adding texture and volume to your tresses.
STACKED BOB FOR THIN HAIR
Medium length bob hairstyles, particularly stacked bobs, stand out as timeless choices for those with thin hair. The strategic layering in stacked bobs places the shortest hair at the nape of your neck, instantly generating volume at the crown of your head. This clever arrangement not only adds a boost of fullness but also creates visual interest that extends throughout the entire hairstyle.
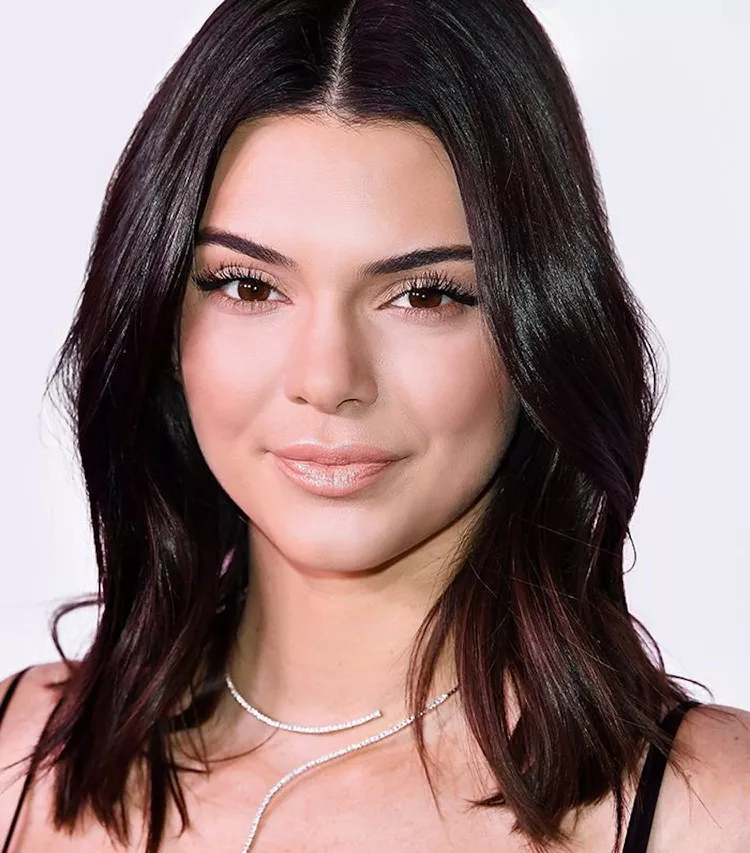
DEEP SIDE PART
Opting for a deep side part involves gathering all your hair to one side, skillfully crafting the illusion of increased volume. As stylist elucidates, When the hair on the denser side is parted towards the thinner side, it imparts a filling effect, achieving a sense of balance and the appearance of thicker hair. To enhance the overall texture, consider adding subtle bends to the front pieces.
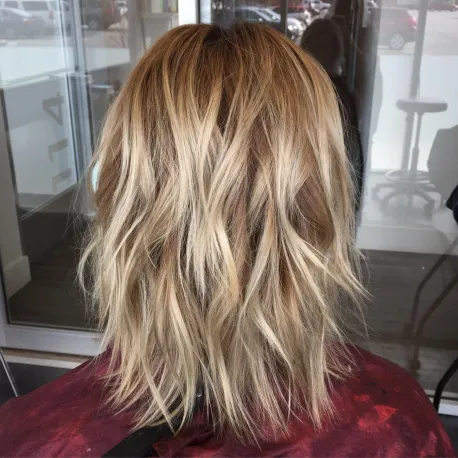
LONG BROWN A-LINE BOB WITH BALAYAGE
Haircuts for thin hair thrive with abundant layers and texture. Playfully tousle your delicate strands to enhance your body and achieve a flawlessly messy style. Opting for shorter hair not only simplifies the maintenance of fine hair but also offers an easy-to-manage solution. For a bolder impact, consider embracing an angled choppy bob, adding a dynamic edge to your look.
TEXTURED BOB
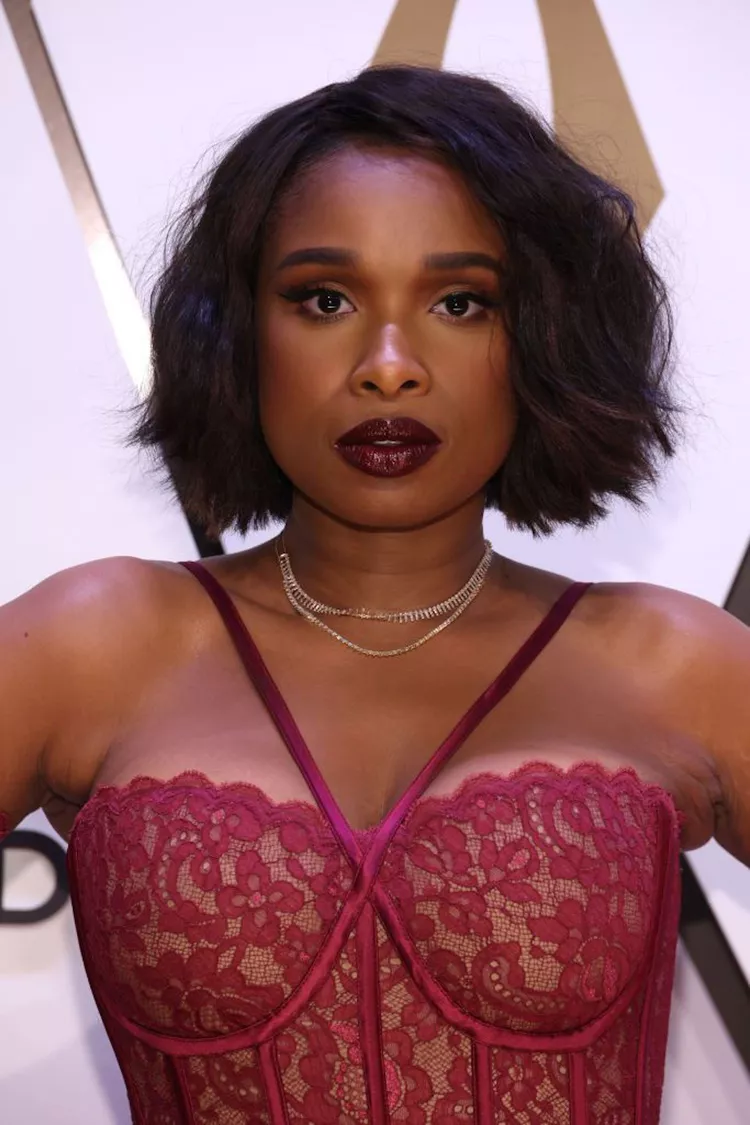
These bob hairstyles on black hair effortlessly complement your natural texture, making it a breeze to recreate this look. Begin by establishing a subtle side part and opt for a gentle rough-drying technique using a microfiber towel. Enhance the textured effect by spritzing on some texture spray, allowing your hair to air-dry for a polished finish.
SHORT BOB WITH SIDE BANGS
The versatility of a short bob with side bangs is truly remarkable, offering a voluminous and chic style that seamlessly adapts to any plans you have throughout the day. Whether you’re running errands or enjoying a romantic date, this classic and stylish look effortlessly suits any occasion with ease.
PIXIE WITH SIDE-SWEPT BANGS
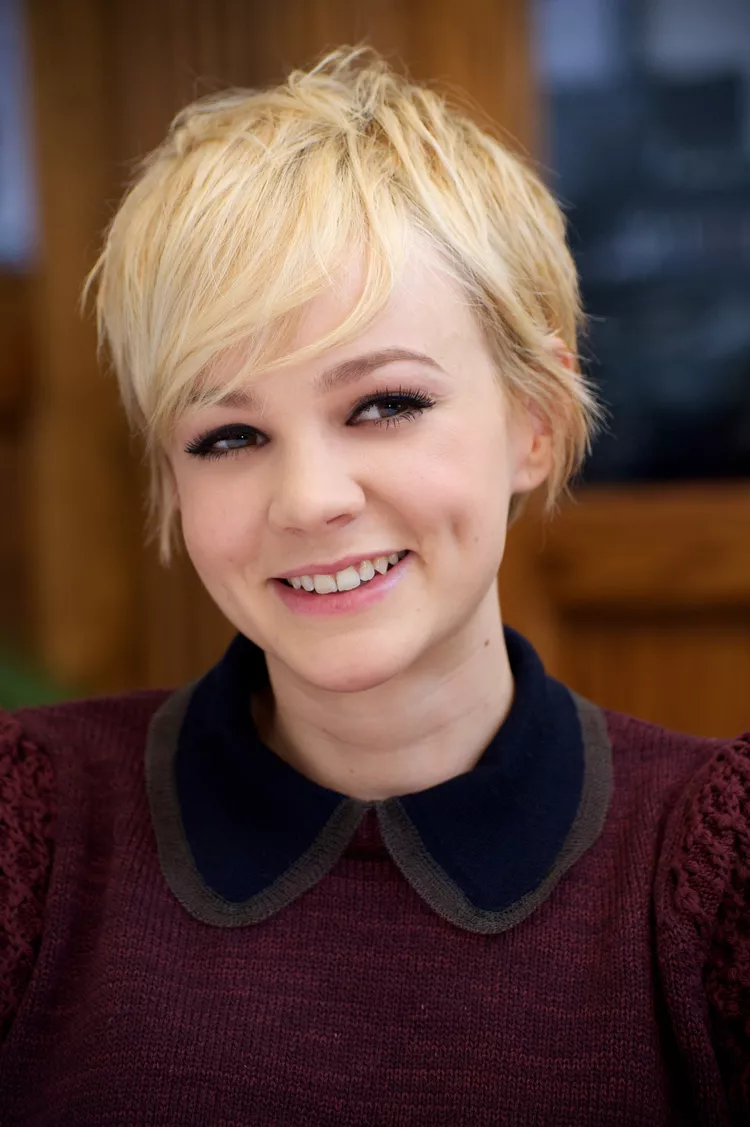
When considering how to style a pixie cut, capitalize on its naturally round shape by incorporating soft layers and side-swept bangs, particularly if you have thinner hair. Embrace a choppy texture around the nape of the neck, where you can afford to go shorter; this not only adds flair but also creates the illusion of an elongated neck.
EAR LENGTH SHORT CURLY BOB
Enhance the thickness of this ear-length short curly bob by incorporating some waves. Utilize a wave-boosting leave-in product, such as the shampoo and conditioner, and create curls using a medium-sized curling iron. The result is a chic, chin-grazing bob with added volume and captivating waves.
UNDER-CURLED ENDS
Rocking a lob (long bob)? Opt for an under curl at the ends to introduce a subtle flare, offering a refreshing departure from the traditional curl-away-from-your-face style. Experiment with a jagged part and proceed to blow-dry your hair as usual, flipping it toward your jawline when you reach the ends for a distinctive and stylish touch.
ANGLED-BOB
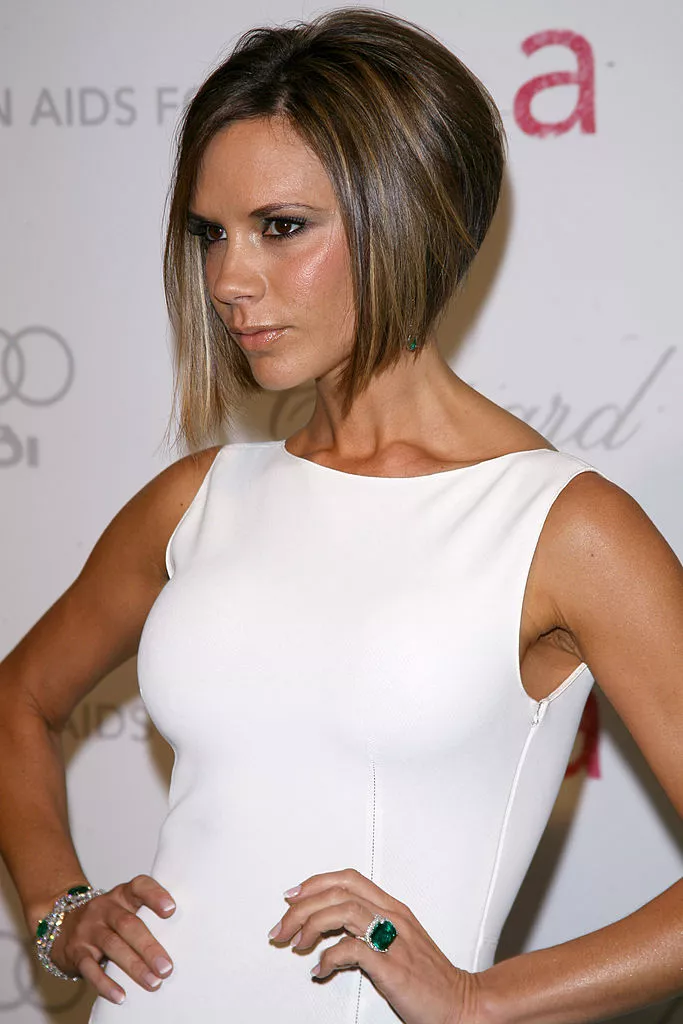
Victoria Beckham has graced us with numerous iconic hair moments, and her angled bob is no exception. The angled bob shines brightest on thinner hair textures, as the sleek lines inherent in thin hair beautifully highlight the cut’s geometric precision. Once this distinctive cut and shape are achieved, styling, maintenance.
LOB WITH LIGHT LAYERS
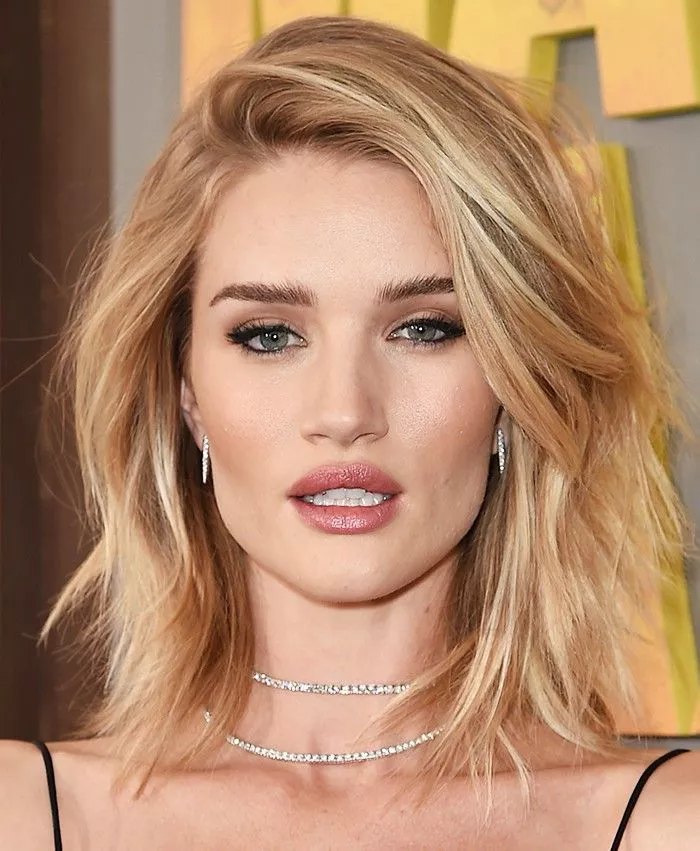
The universally flattering lob complements all hair types, making it particularly advantageous for those with thin hair. Its framing effect around the face remains gentle, ensuring a stylish appearance without weighing you down. While layering introduces movement to the hair, it’s crucial not to overdo it.
SLICKED-BACK
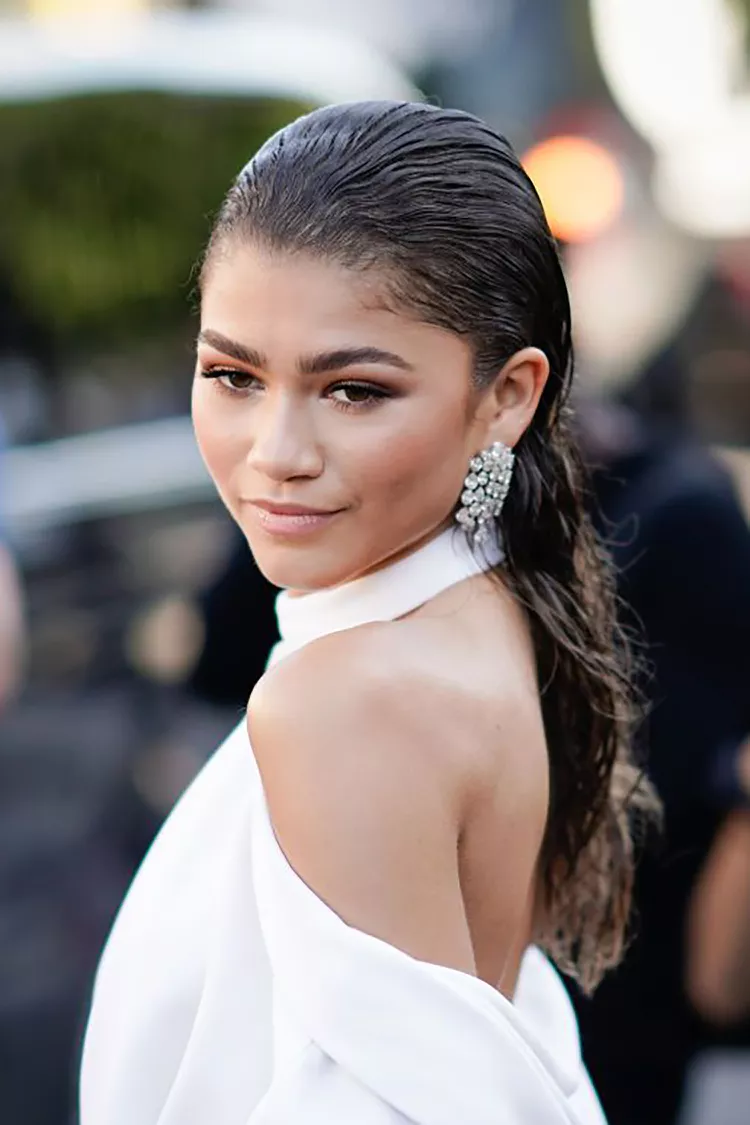
A slicked-back hairstyle is remarkably versatile, capable of exuding polished sophistication or embodying the epitome of chic. Regardless of the chosen style, you should slicing back dry hair, emphasizing that doing so on wet hair can result in a separated and less dense appearance, especially for those with already-thin hair.
BRAIDED TOP KNOT
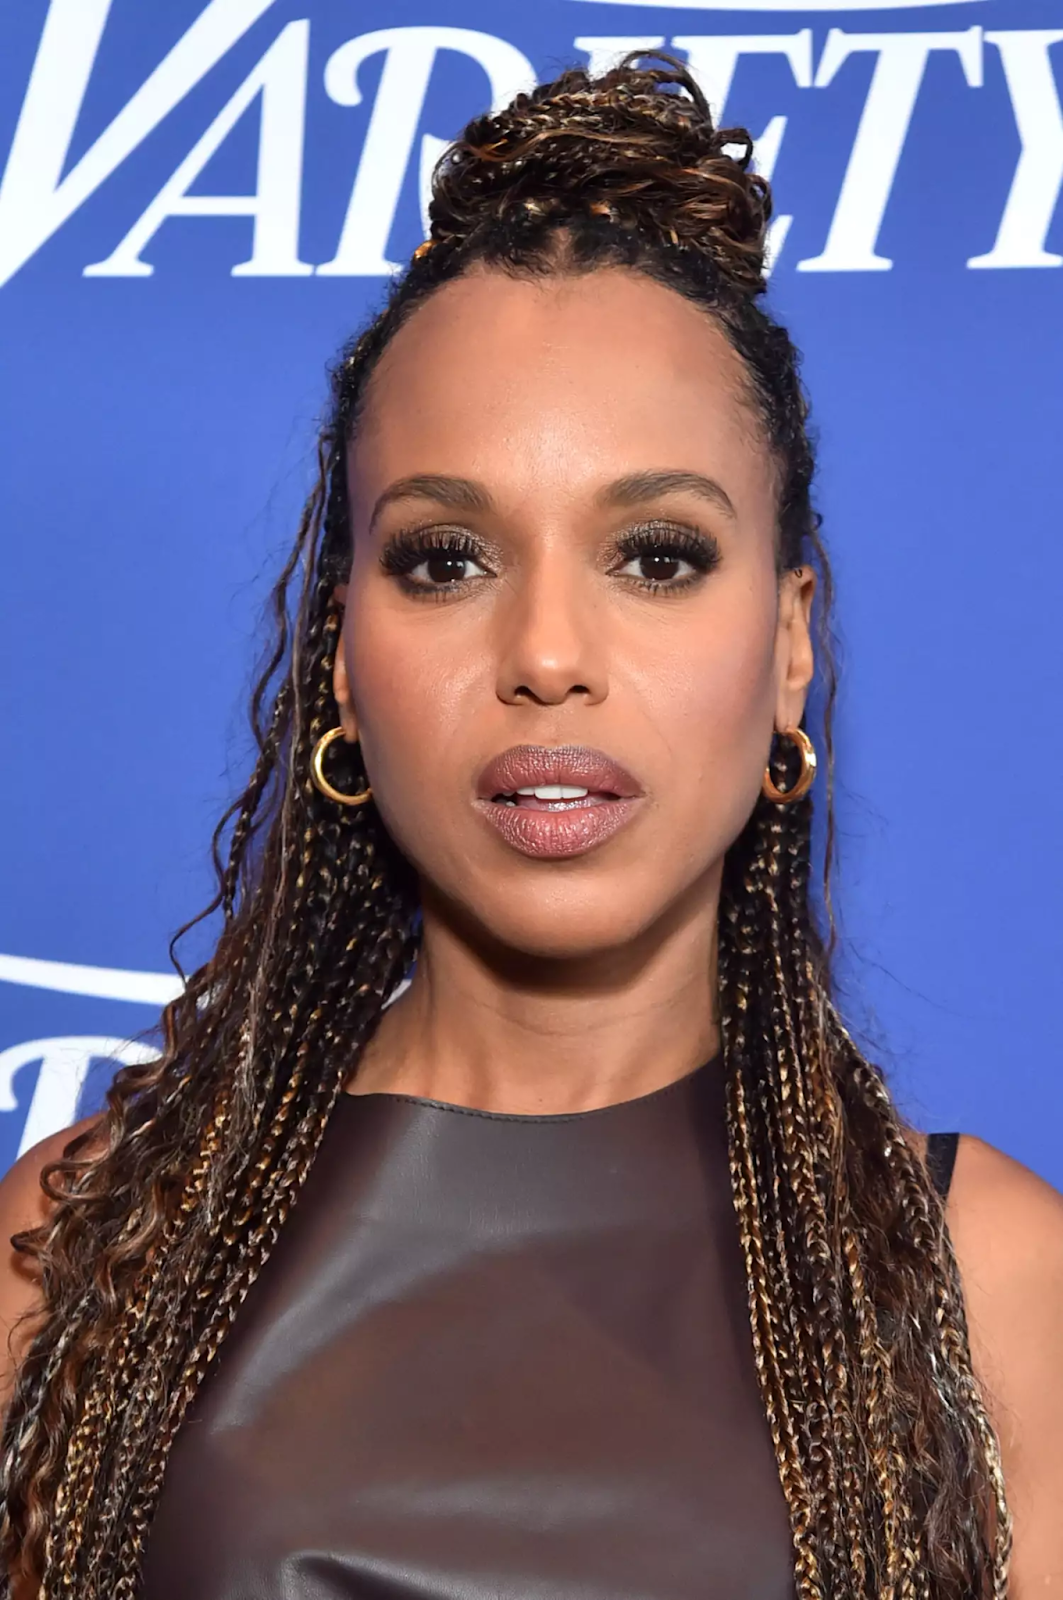
Elevate your look when rocking protective braids by fashioning a half-up, half-down style with a captivating braided top knot. Beyond its stunning appearance, this hairstyle instantly introduces a boost of volume to your hair.
FACE-FRAMING LAYERS
Among the favored choices for thin hair, face-framing layers stand out as one of the most popular hairstyles. These layers not only provide definition but also contribute to the creation of a beautiful body and movement in the hair.
FRENCH BOB
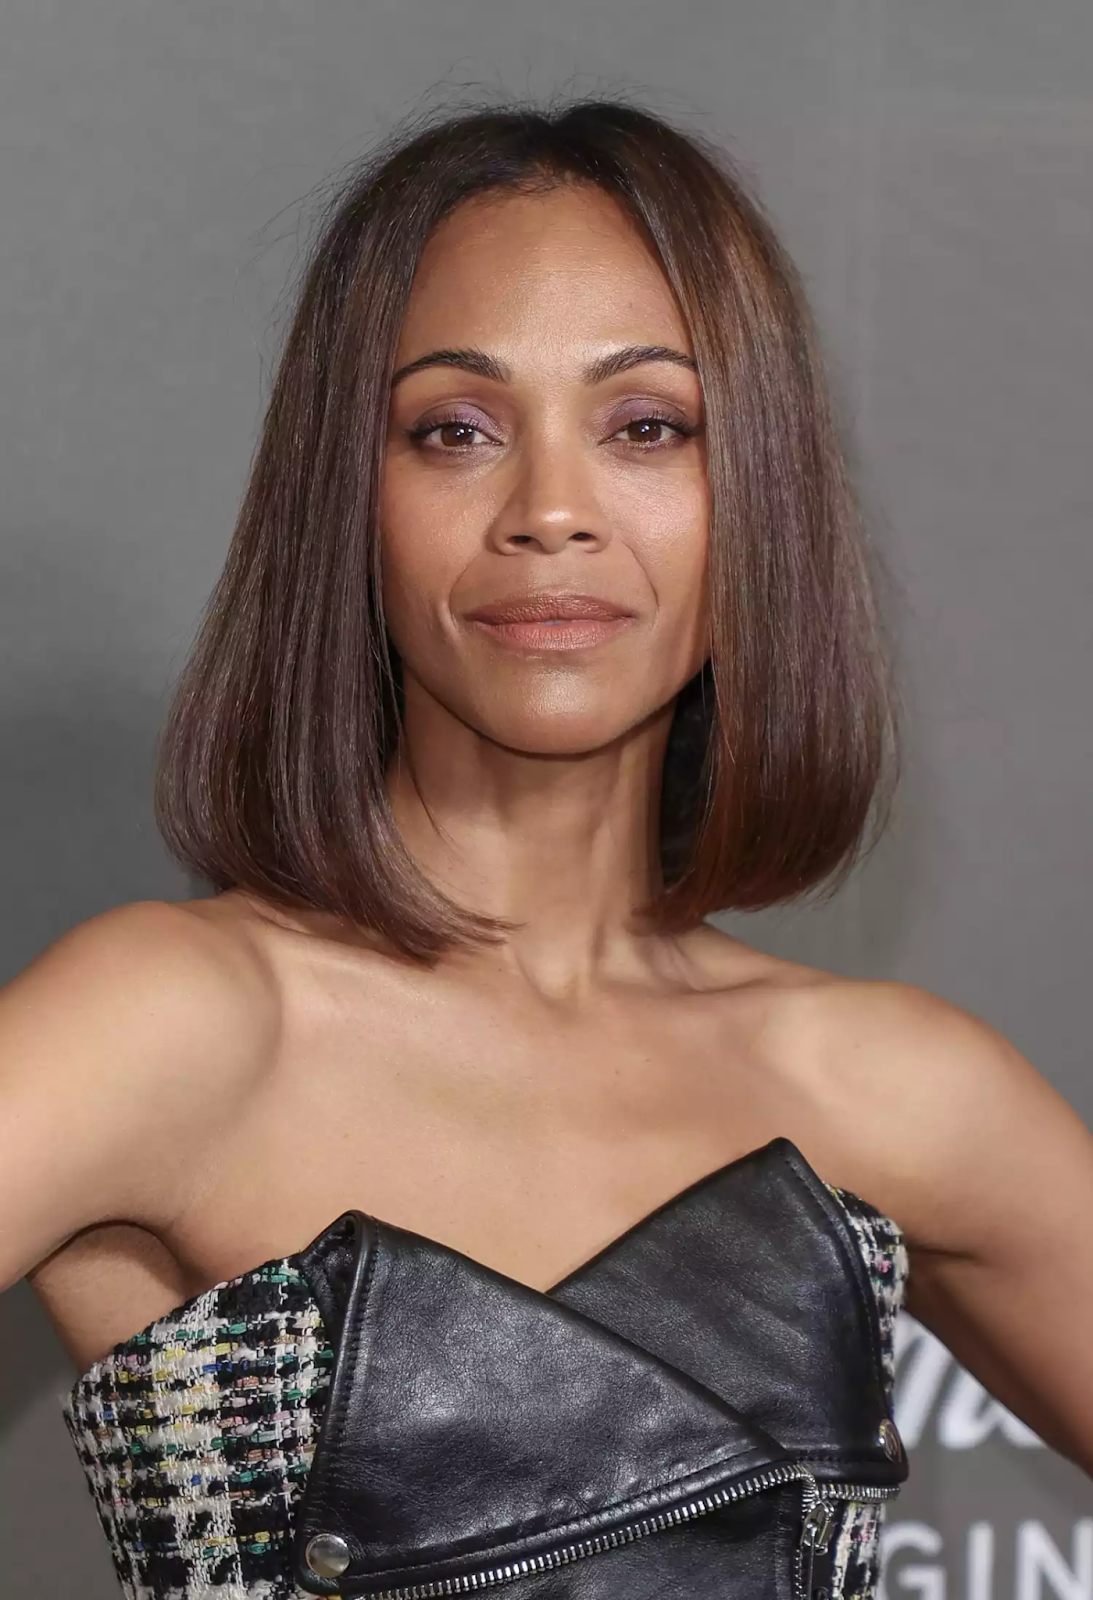
If you find inspiration in the recent bold move of Zoe Saldana, opting for a chic transformation by chopping off your long hair, consider the timeless elegance of the French bob. The finishing touch? Rounded edges, adding both extra volume and a touch of flair to the overall style.
CONCLUSION
Choosing the right hairstyle can make a significant difference for those with thinning hair, transforming curls into a picture of style and confidence. A diverse range of options, from textured bobs to face-framing layers and pixie cuts, offer options to suit individual preferences and enhance the natural beauty of thinning hair. No matter which hairstyle is recommended, the journey to discovering the best hairstyle for thin hair is a fun exploration of self-expression and personal style.


