CURLY HAIR ROUTINE FOR BEGINNERS 

Curly hair is beautiful and unique, but it can also be challenging to manage. If you’re new to embracing your curls, don’t worry! This beginner’s guide will walk you through a simple yet effective routine to help you achieve defined, bouncy, and frizz-free curls. Let’s embark on this curly hair journey together!

CHOOSING THE RIGHT SHAMPOO
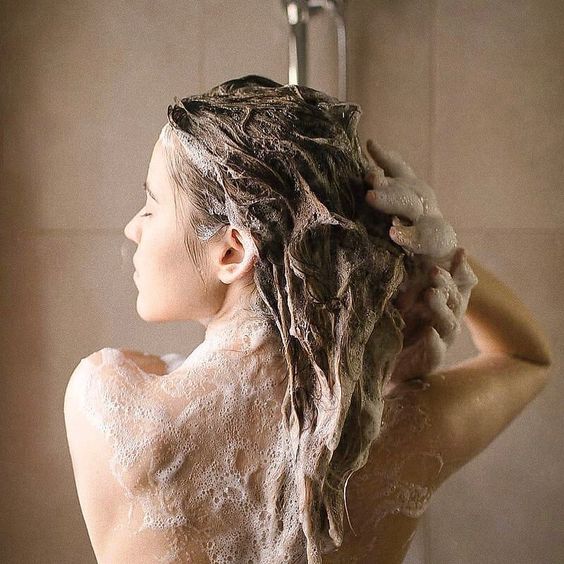
The “right” shampoo is one that’s gentle and designed to enhance your curls. With so many options out there, it can feel overwhelming, but starting with a sulfate-free shampoo is a great choice—these are increasingly common as more brands release sulfate-free ranges.

Most products will be clearly labeled as sulfate-free, but if you’re unsure, you can easily check. Just search for the shampoo’s ingredients online, then copy and paste them into CURLSBOT, a tool that instantly tells you if it’s Curly Girl-approved. I keep CURLSBOT saved on my phone—it’s a lifesaver at any stage of the curly journey!

CHOOSING THE RIGHT CONDITIONER
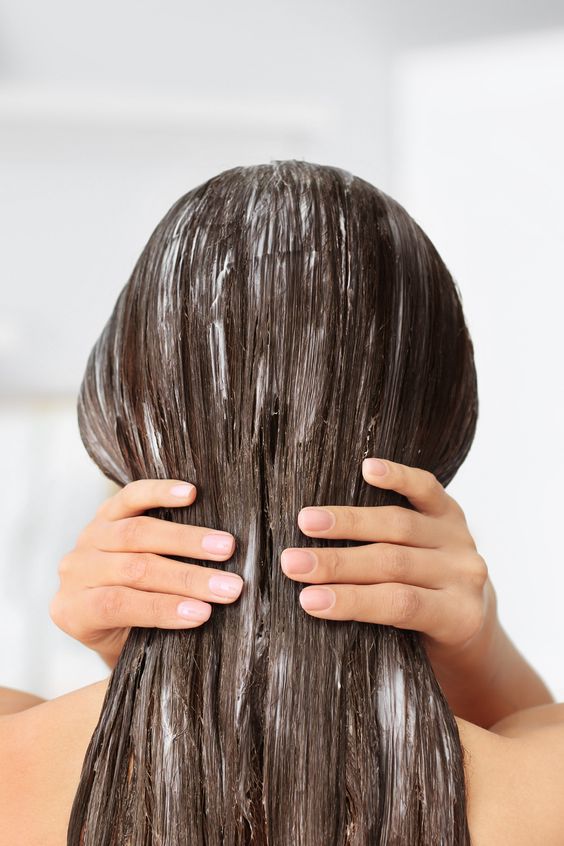
The “right” conditioner for curly hair means opting for a silicone-free formula. If you’re used to products with silicones, going silicone-free may feel like a big change, but it’s an important step in a curl-friendly routine.

Many commercial conditioners contain silicones, so it’s worth checking labels. Silicone-free conditioners don’t need to be expensive—they simply avoid silicones that can build up on your hair, causing greasiness, weighing curls down, and reducing bounce.

A T-SHIRT FOR DRYING
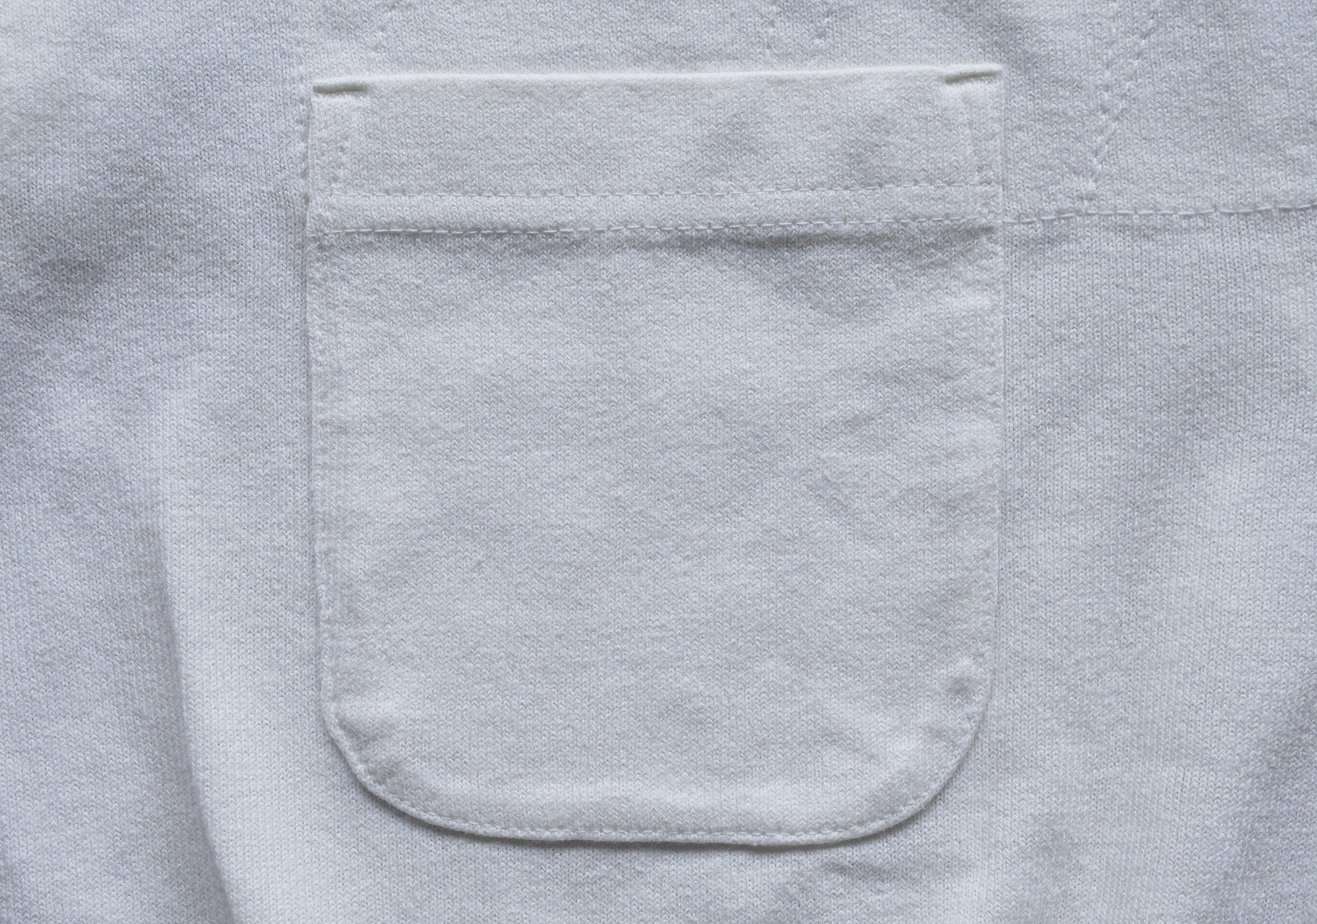
That’s right—a simple t-shirt is perfect for drying curly hair! Unlike a regular towel, a t-shirt is much softer and won’t roughen the hair cuticle.

You can use it as you would a towel, or you can try “plopping.” To plop, gently lower your hair forward into the t-shirt, then wrap and secure it around your head. Leave it on for 10-40 minutes to absorb moisture while helping curls form into defined clumps.

Alternatively, there’s “micro-plopping,” where you scrunch each curl individually with the t-shirt to remove excess water. Whether plopping or micro-plopping, a t-shirt is gentler than a towel, though a microfiber towel is also a good option for curly hair.

CHOOSING A STYLING PRODUCT – GEL, MOUSSE, OR CREAM
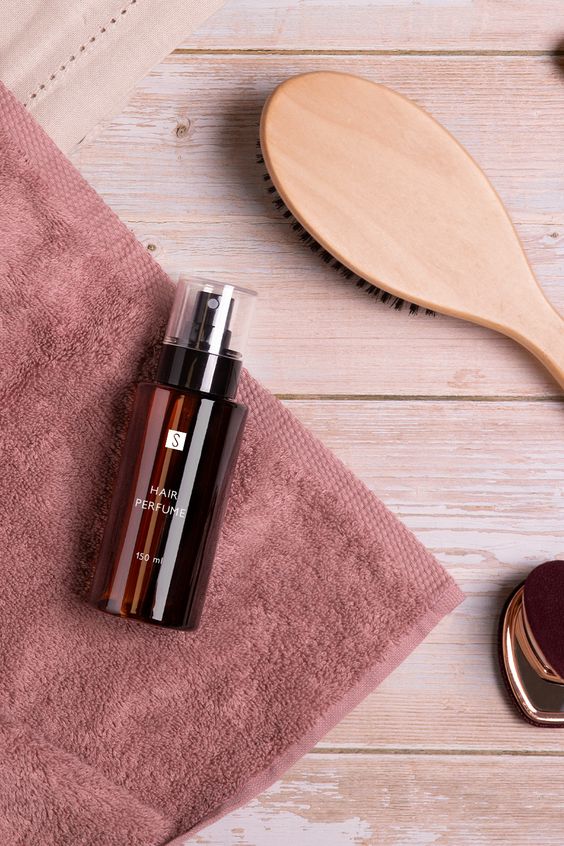
When starting a curly hair routine, it’s common to use a gel, mousse, or cream. Some people even layer all three! For beginners, starting with one product is ideal; you can experiment and build up your routine as you get to know what works for your curls.

It’s a good idea to check product ingredients, avoiding “nasties” like drying alcohols (e.g., Alcohol Denat) and silicones. This extra step helps keep curls healthy and bouncy.

Apply styling products on soaking wet hair to lock in moisture and minimize frizz. Scrunch the product up to the roots, aiming to shape your curls while wet and keep that definition as they dry.

GEL

Gel is great for setting curls in a “cast” as it dries, holding the shape until you’re ready to scrunch out the crunch, leaving soft, defined curls. A favorite gel for many is the Umberto Giannini Curl Jelly.

CREAM

Creams reduce frizz and add moisture, giving a softer look and more volume, though they typically don’t define curls as much as gel.

MOUSSE

A lightweight mousse helps define curls and add volume, especially at the roots. It should be light and non-sticky, so curls feel soft once dry. Each product offers unique benefits—try one and see how your curls respond!

A DIFFUSER
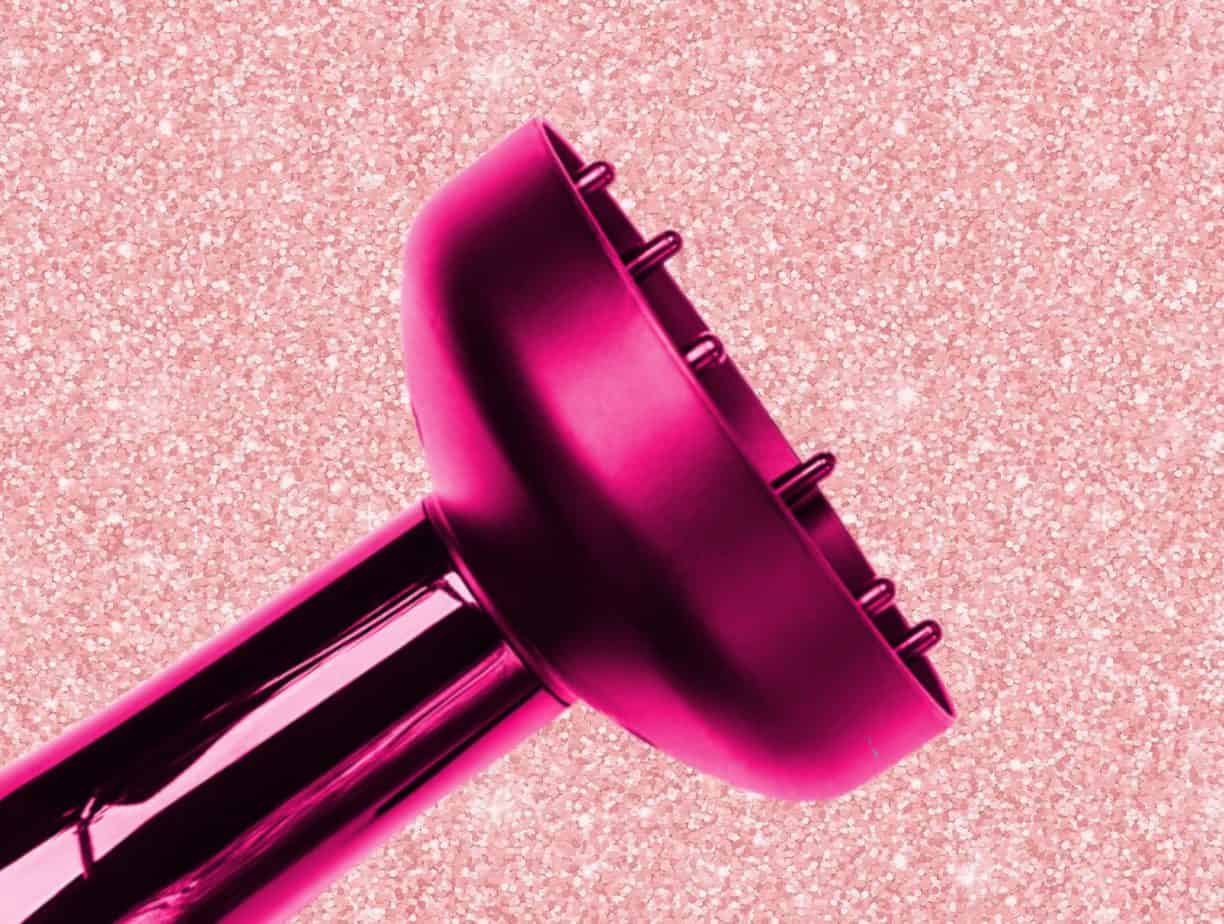
While air-drying is a solid option, many people find that a diffuser becomes an essential tool for styling curls. Air-drying can take a long time, especially since curly hair tends to dry in clumps and retains more moisture with the products you’re using.

Using a diffuser can speed up drying while encouraging curl formation by lifting and holding curl clumps closer to the scalp. For best results, use a low heat setting to reduce potential heat damage.

Avoid using a regular dryer without a diffuser, as it can disrupt curl clumps. If you don’t have a diffuser attachment, it’s actually better to air-dry. And as you transition into a new curl routine, try to minimize the use of heated tools like curling wands—your curls will thank you!

A DEEP CONDITIONER
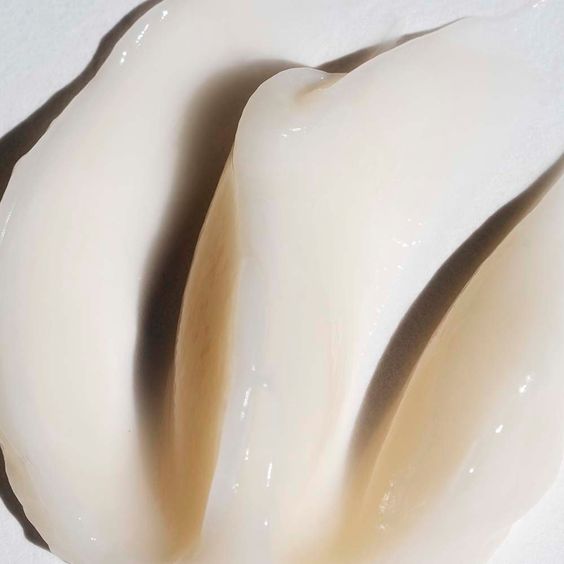
Deep conditioning is key to keeping curls hydrated and healthy. Aim to deep condition at least every two weeks, or even weekly if your hair needs the extra moisture. A quality deep conditioner helps rehydrate naturally dry curls, while also softening and detangling them.

These treatments often contain nourishing oils and butters. Simply apply after shampooing and let it sit for around 30 minutes before rinsing out.

Another option is a “pre-poo” treatment, where you apply an oil or conditioning treatment like Olaplex to dry hair before shampooing. Leave it on overnight or for a few hours to give your curls a deep boost before you wash.

FINAL TIP

Keep track of your washday routine to fine-tune your curly hair care and see what works best for you. Here’s what to note down:

  • Which cleansing and conditioning products you used, including any deep conditioners
  • Did you plop or micro-plop?
  • Which styling products you applied, and in what order
  • Did you apply them with your hair hanging forward or back?
  • Did you scrunch the products in?
  • Did you diffuse until your hair was 100% dry or just 80%?

Also, take photos of your results! They’ll be invaluable when you’re figuring out what works best for your curls. I still jot down small changes I make to my routine, as even minor adjustments can lead to major differences in results.

I created a tracker for myself to keep track of my washdays, and I’m sharing it here because I’ve found it super helpful!

CONCLUSION

Congratulations, you’ve taken the first step towards embracing your natural curls! Remember, consistency is key. As you continue to experiment with your routine, you’ll discover what works best for your unique hair type.

Don’t be afraid to seek advice from other curly-haired individuals or consult with a hairstylist who specializes in curly hair. By following these basic steps and tailoring them to your specific needs, you’ll be well on your way to achieving healthy, beautiful, and bouncy curls.

25 SPOOKY FREE HALLOWEEN CROCHET PROJECTS

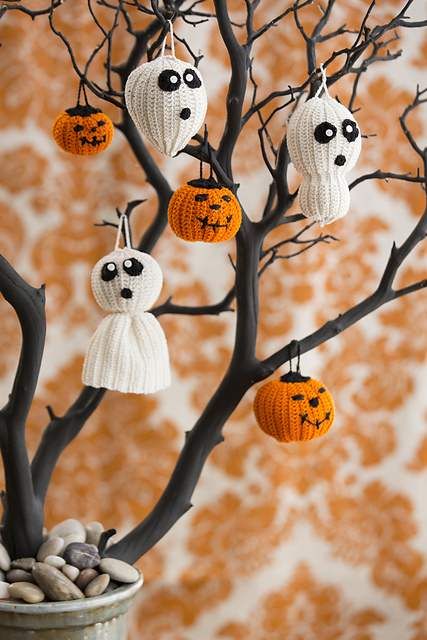
As a crocheter, there’s no better way to get into the Halloween spirit than by grabbing your hook and yarn. This enchanting collection of free Halloween crochet patterns is perfect for bringing the season to life. Whether you’re after spooky home decor, cozy festive cardigans, or cute amigurumi monsters, you’re bound to find plenty of inspiration here!

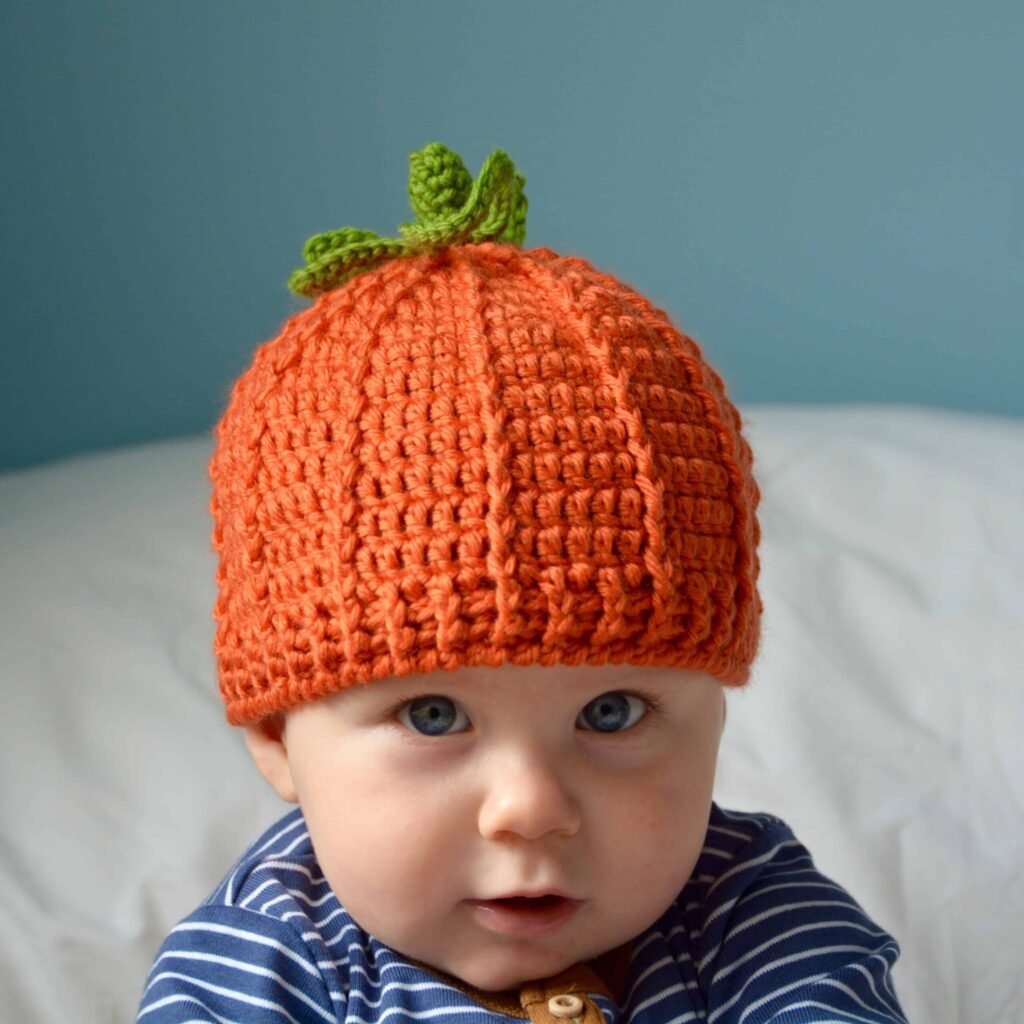
The Pumpkin Beanie

This top-down beanie features front post stitches that create stunning texture in every size, from preemie to adult! It’s the perfect accessory to keep warm while adding a festive touch for fall or Halloween. Get cozy with this fun pattern, and if you need assistance, there’s a helpful video tutorial available!

Designer: Han Jan Crochet

Yarn weight: Worsted

Suggested yarn: WeCrochet Brava Worsted

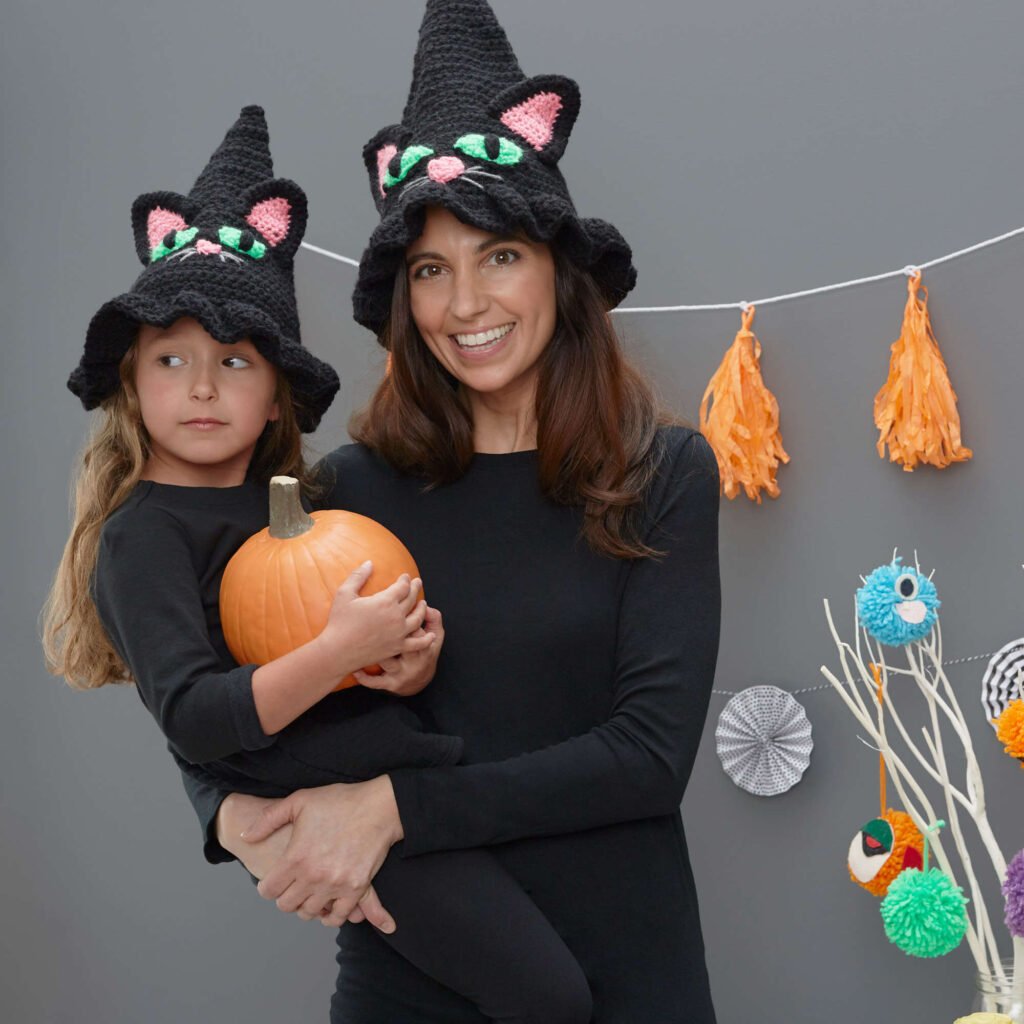
Red Heart Witchy Cat Hat

This adorable cat hat comes complete with appliquéd eyes, a nose, and crocheted ears! The pattern is available in four sizes, making it perfect for matching with your little ones. Plus, you’re not limited to black—choose any color you like to make it your own!

Designer: Yarnspirations

Yarn weight: Worsted

Suggested yarn: Red Heart Super Saver

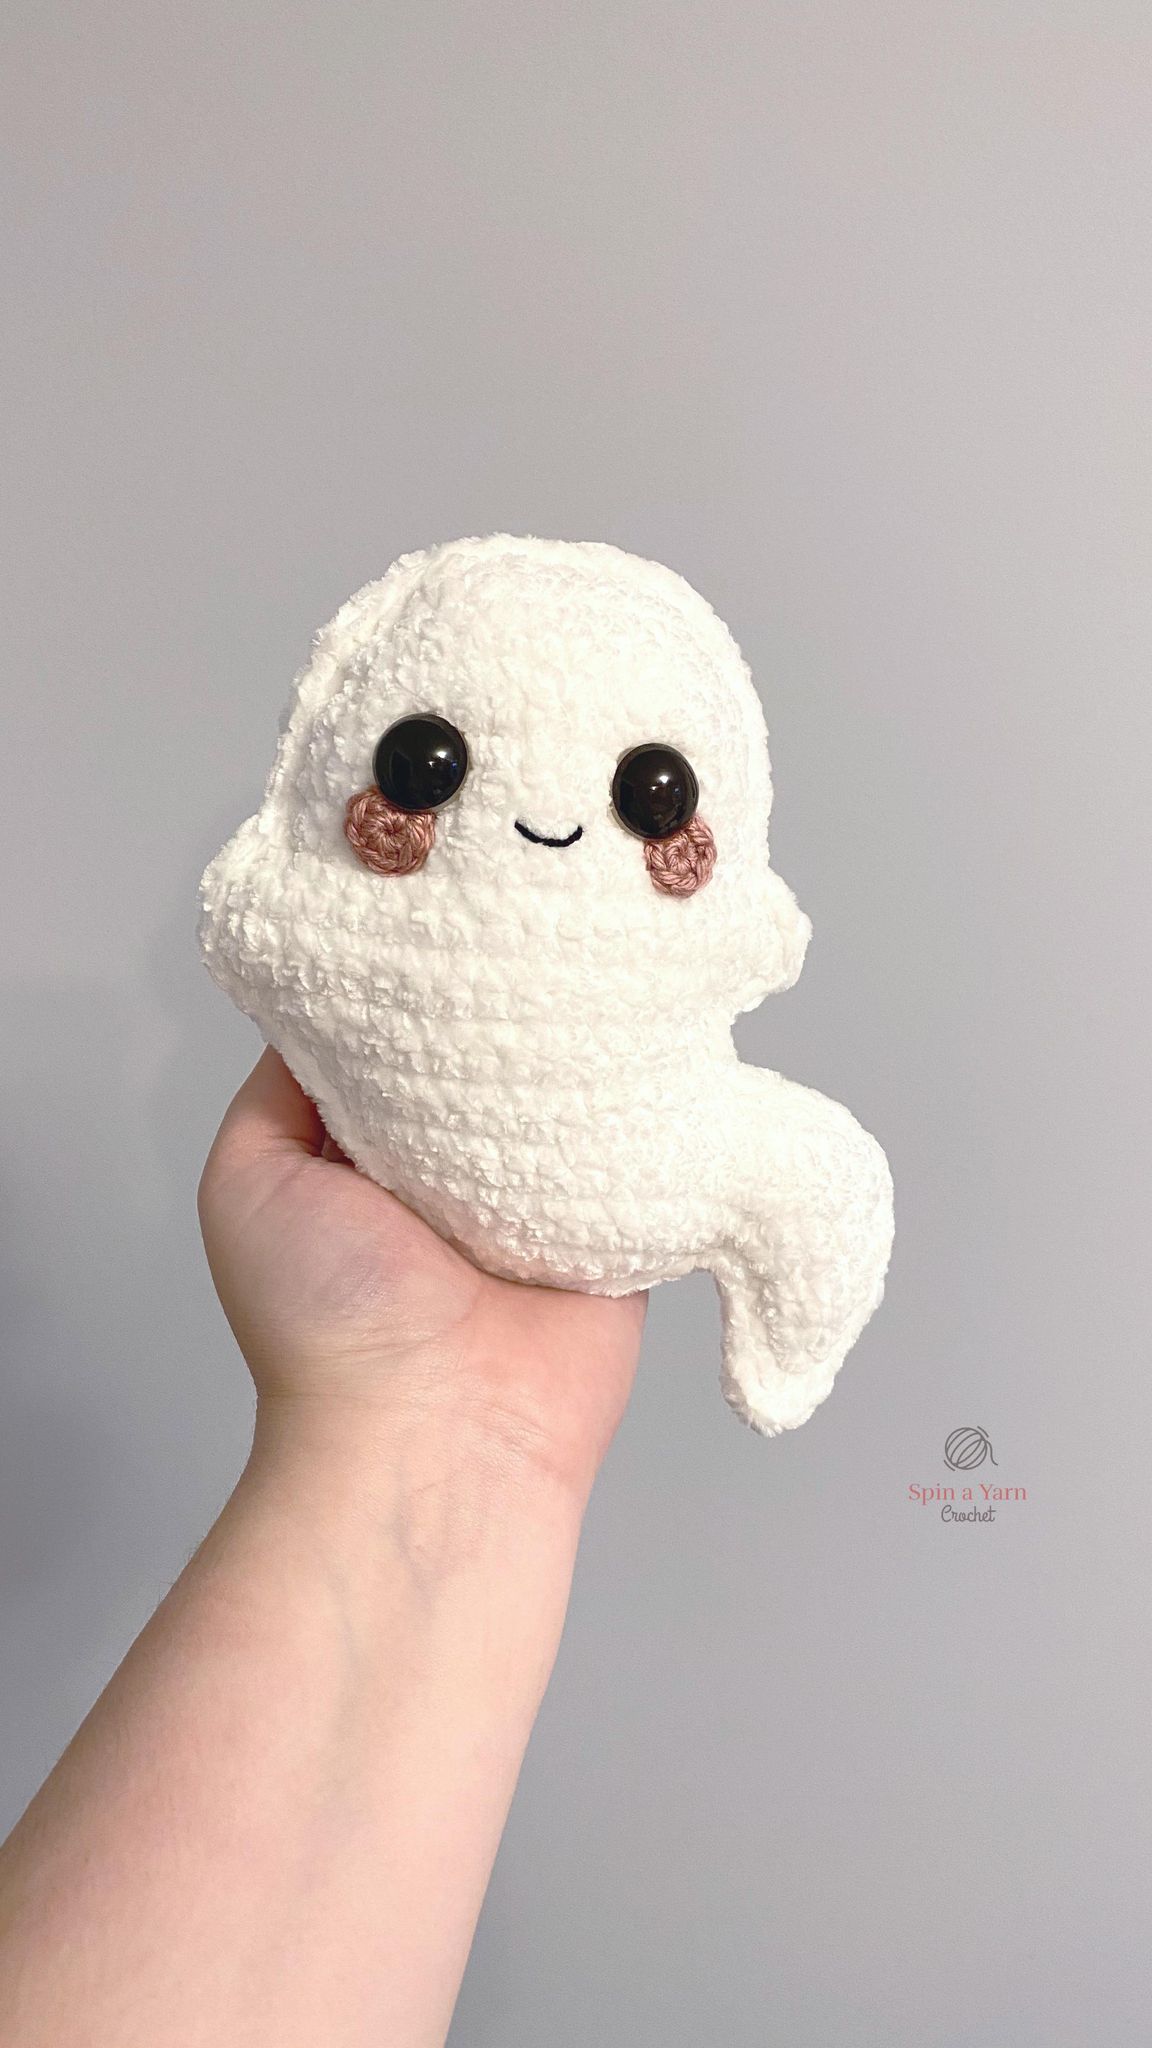
Ghost Amigurumi

This cute 2-D ghost pattern is worked in flat rows to create two separate pieces, which are then seamed together. It’s a fun stash-buster project! To crochet this plush ghost, you’ll need to know how to chain, make a magic circle, slip stitch, single crochet, increase, and decrease.

Designer: Spin a Yarn Crochet

Yarn weight: Bulky

Suggested yarn: Bernat Velvet

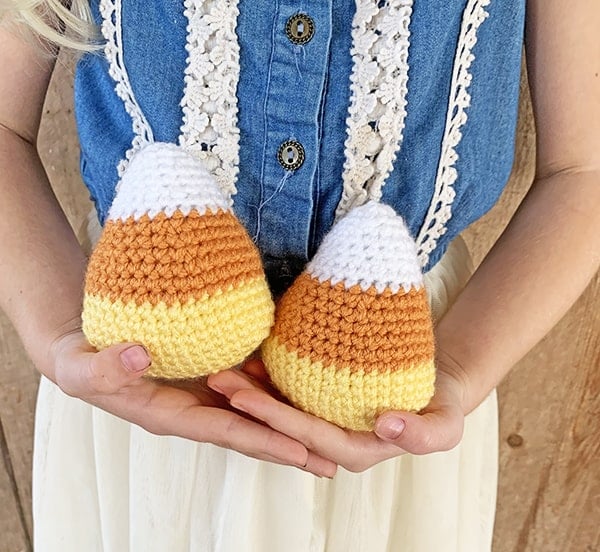
Amigurumi Candy Corn

These 4” candy corn stuffies are quick and easy to crochet, making them perfect for fall decor! Add little faces for extra personality and fun. To create this pattern, you’ll need to know how to chain, single crochet, increase, and decrease.

Designer: Grace and Yarn

Yarn weight: Worsted

Suggested yarn: Red Heart Super Saver

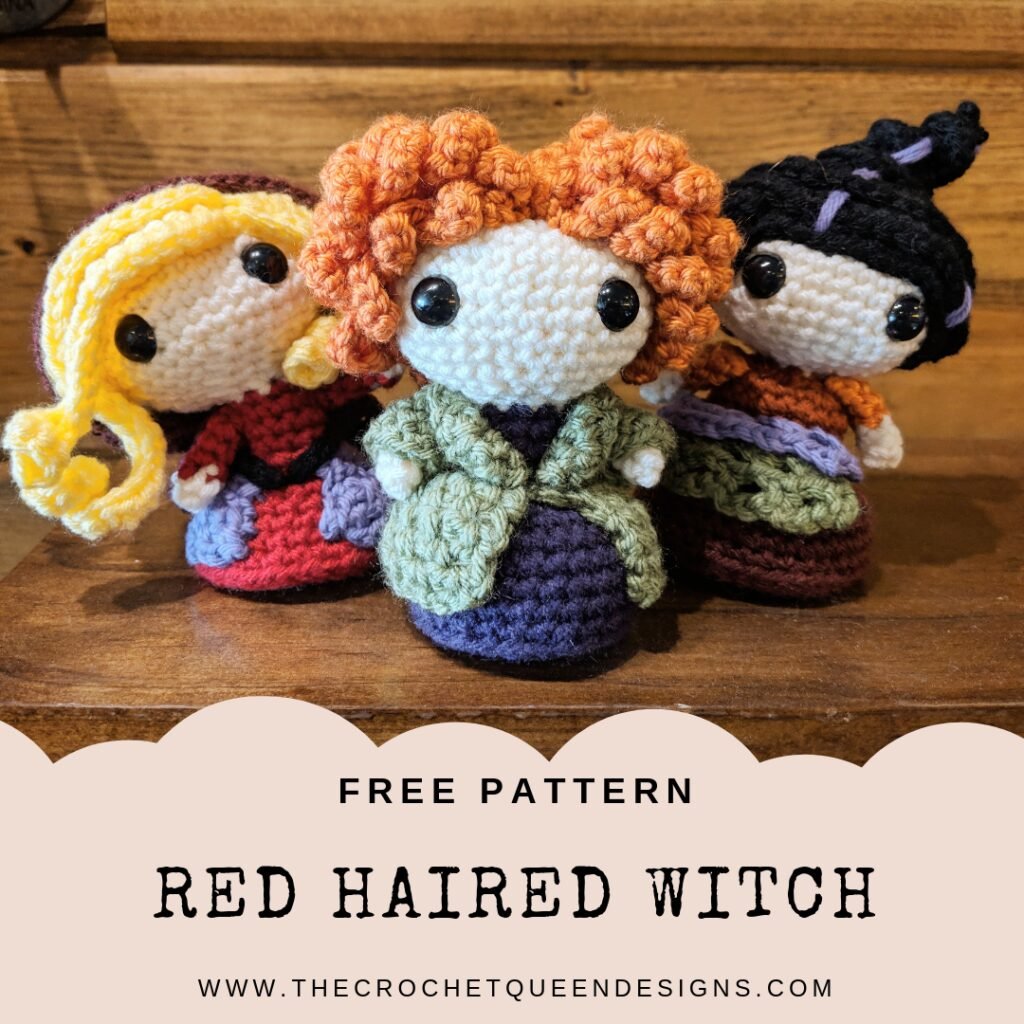
Red Haired Witch

This amigurumi crochet project is crafted in multiple pieces, including the head, body, base, cape top, cape bottom, hair, sleeves, and arms. Each part can be customized to create your perfect color combination! It’s an ideal pattern for intermediate crocheters looking to get creative.

Designer: The Crochet Queen Designs

Yarn weight: Worsted

Suggested yarn: Caron Simply Soft

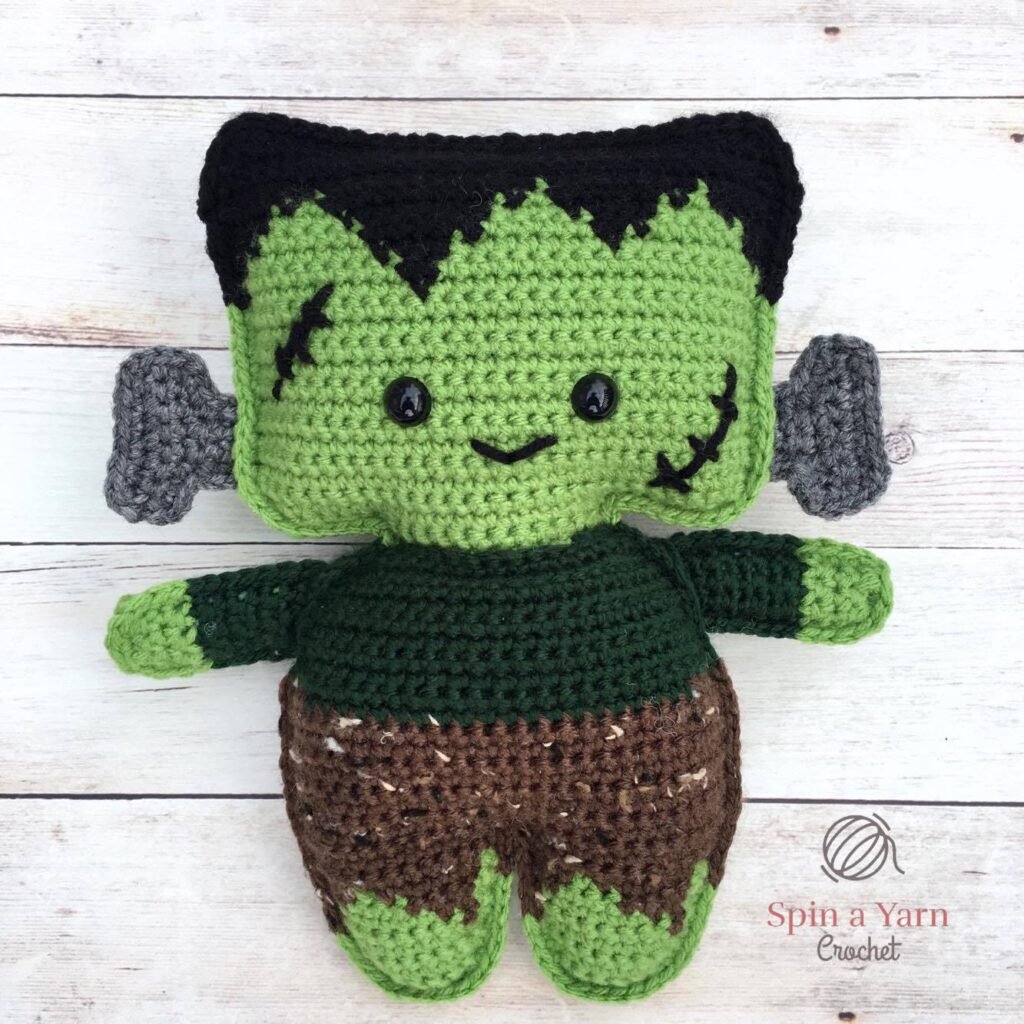
Frankenstein’s Monster

This adorable crochet monster is more cute than spooky! It’s a 2-D amigurumi pattern worked in flat rows and then joined together. The colorwork uses the intarsia crochet technique, making it a fun and playful project.

Designer: Spin a Yarn Crochet

Yarn weight: Worsted

Suggested yarn: Red Heart Super Saver

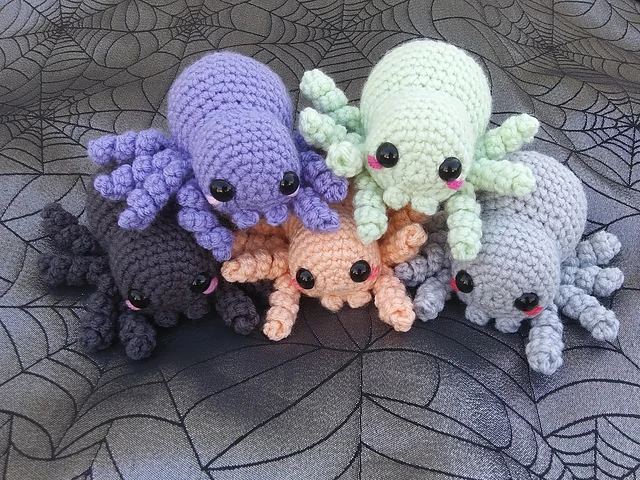
No Sew Amigurumi Spider

These plush, cuddly spiders are so fun to make, you might end up with a whole collection! With their curly legs and irresistible squishiness, they make great toys for kids and babies—just be sure to use embroidered eyes instead of safety eyes for little ones.

Designer: Cassandra Babb

Yarn weight: Worsted

Suggested yarn: Red Heart Super Saver

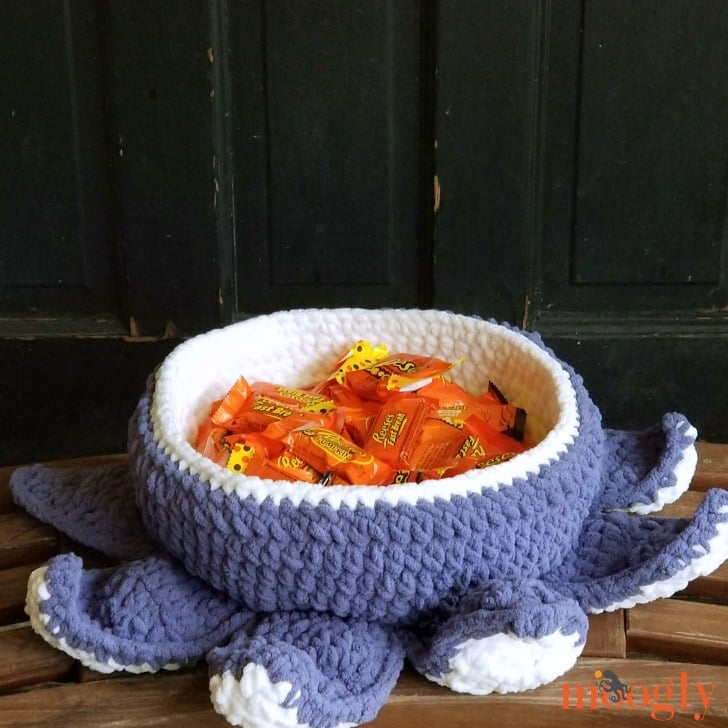
Halloween Tentacle Candy Bowl

Kids will adore this fun and quirky tentacle bowl! At 10” in size and made with super bulky yarn, it’s a quick and easy project to whip up. You can even add googly eyes or embroider a silly face for extra charm!

Designer: Tamara Kelly

Yarn weight: Super bulky

Suggested yarn: Bernat Blanket

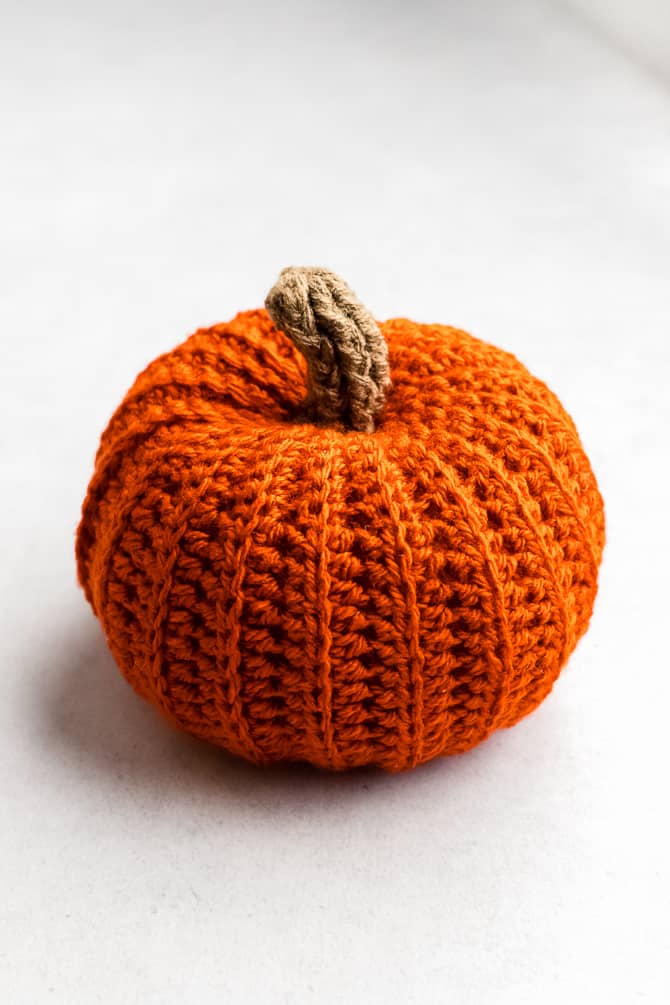
Free Crochet Pumpkin Pattern with 2 Sizes

This charming fall pumpkin comes in two different sizes and is worked flat using basic stitches, making it a relaxing and quick crochet project. It’s perfect as a decorative gift or for showcasing at fall craft shows!

Designer: Sarah Maker

Yarn weight: Worsted

Suggested yarn: Lion Brand Basic Stitch Premium

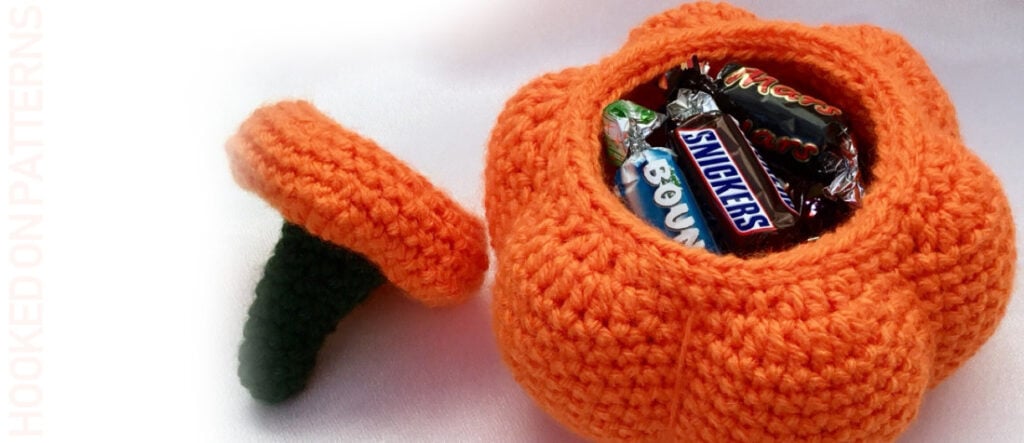
Crochet Pumpkin Pots

This delightful pumpkin pot with a lid is the ideal spot to store trinkets and Halloween treats! It’s also perfect for harvest celebrations or adding a festive touch to your home decor for the fall season. The pot measures approximately 6” in diameter.

Designer: Hooked on Patterns

Yarn weight: Bulky

Suggested yarn: KnitPicks Brava Bulky

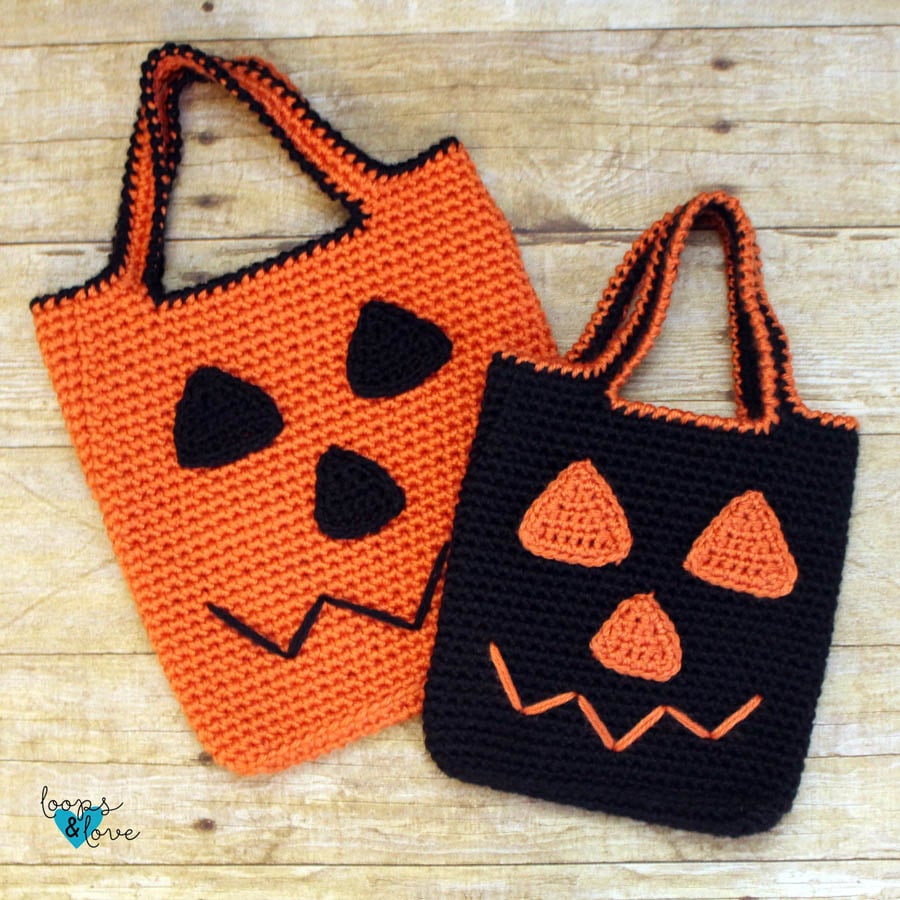
Crochet Jack O Lantern Trick or Treat Bag

This versatile bag is created by holding two strands of yarn together, resulting in a firm, sturdy fabric. You can customize the size of the bag to your liking! To crochet this project, you’ll need to know how to chain stitch, slip stitch, single crochet, and crab stitch.

Designer: Loops and Love Crochet

Yarn weight: Worsted

Suggested yarn: Red Heart Soft

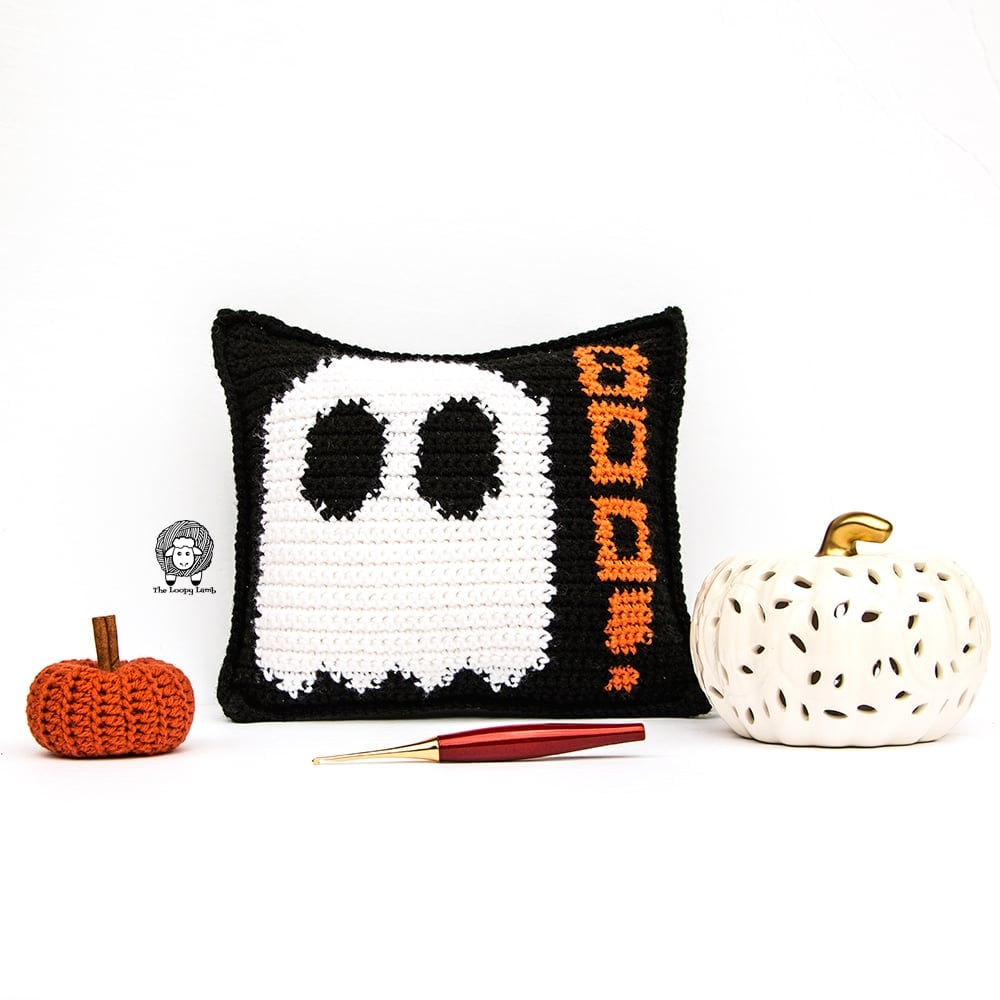
Mad About Boo Crochet Halloween Pillow

Enhance your living room decor for the holidays with this delightfully spooky pillow! The front features the intarsia crochet technique, while the back is a solid color for contrast. This pattern is ideal for intermediate crocheters looking to add a unique touch to their home.

Designer: The Loopy Lamb

Yarn weight: Worsted

Suggested yarn: Red Heart Super Saver

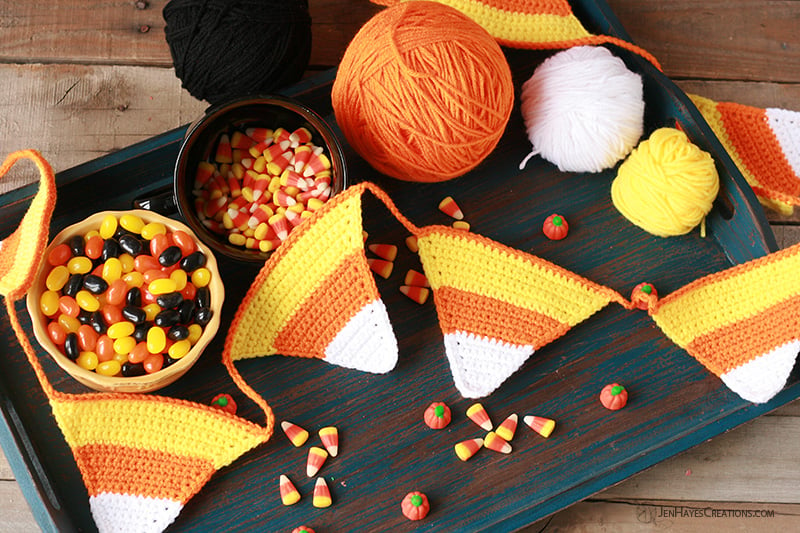
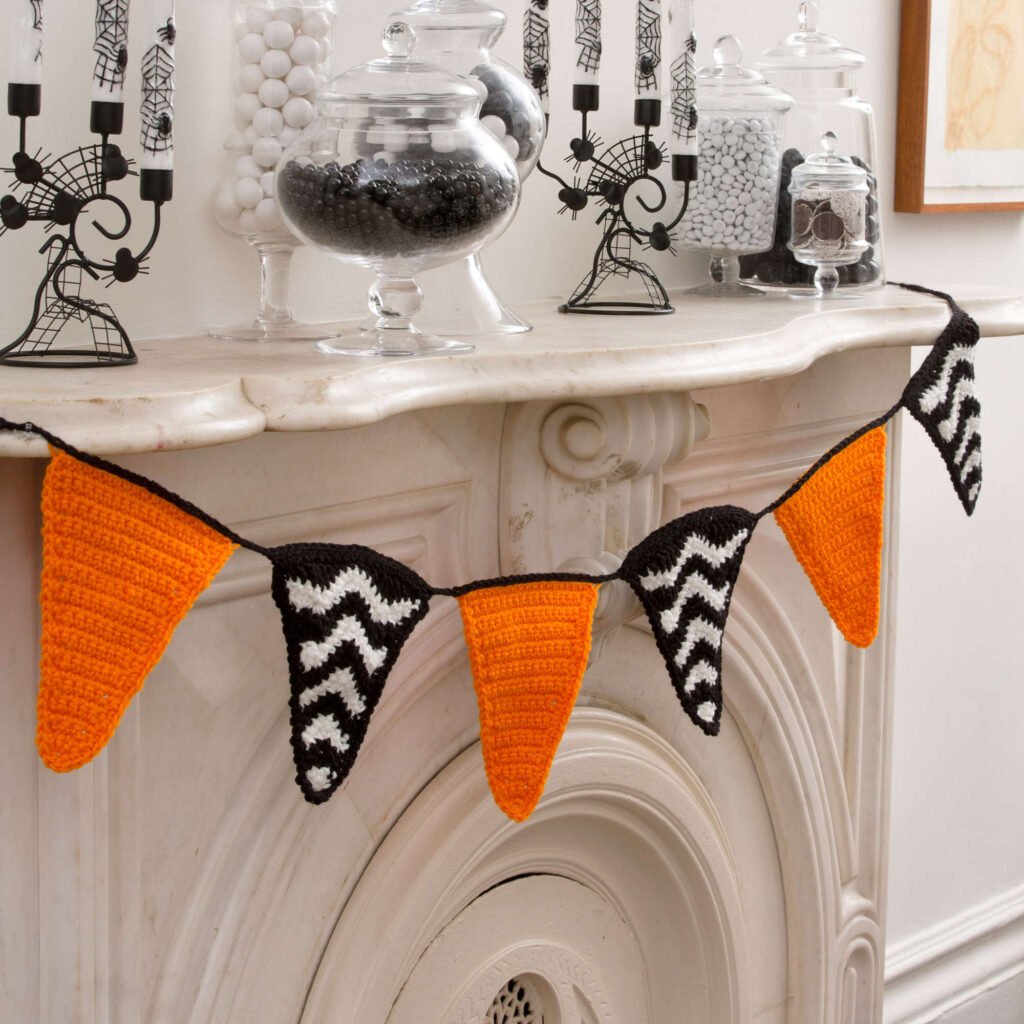
Crochet Candy Corn Bunting

This simple pattern, featuring just single crochets, is an ideal decorative project for beginners! With this quick design, you can create as many candy corn triangles as you like, allowing you to customize the bunting to perfectly fit your space.

Designer: Jen Hayes Creations

Yarn weight: Worsted

Suggested yarn: Red Heart Super Saver

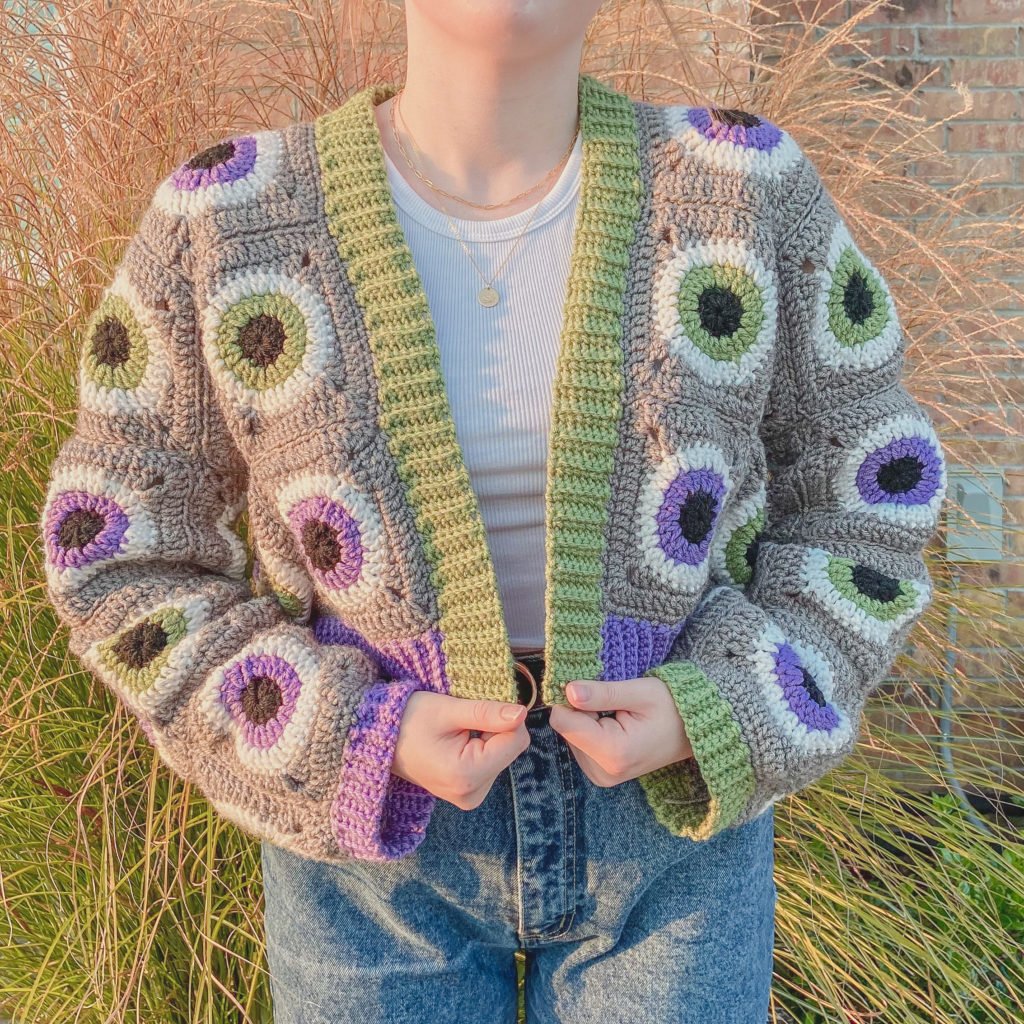
Halloween Granny Square Cardigan

This Halloween eyeball cardigan is a unique addition to your wardrobe! If you’re searching for a fun, Halloween-themed wearable, your search ends here. This easy pattern is crafted from granny squares and can be customized to your desired size.

Designer: Hay Hay Crochet

Yarn weight: Worsted

Suggested yarn: Red Heart Super Saver

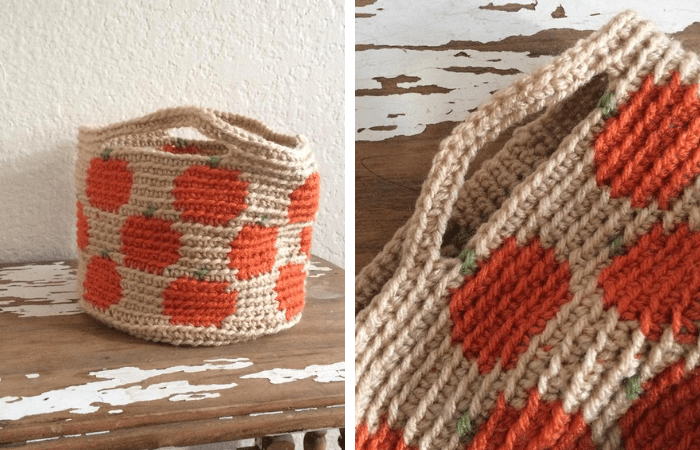
Pumpkin Basket

This adorable and functional basket is created using the tapestry crochet technique. Measuring approximately 6.5” in diameter and 5.5” tall, it’s perfect for holding keys, candy, or other fall trinkets!

Designer: Desert Blossom Crafts

Yarn weight: Worsted

Suggested yarn: Red Heart Super Saver

Crochet Halloween Candy Bags

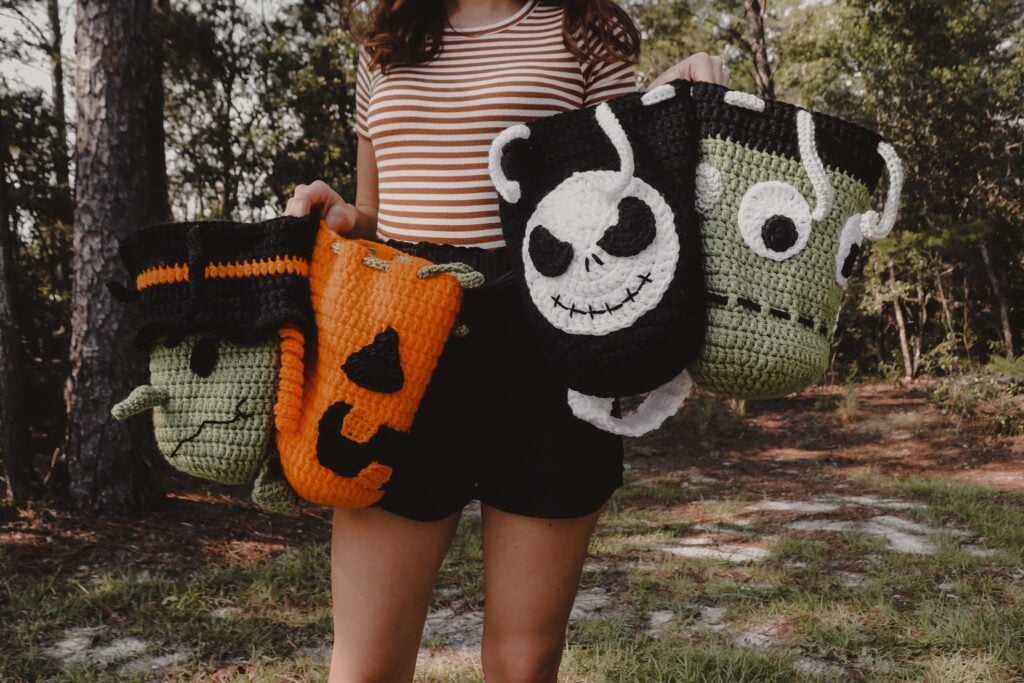
This pattern offers four fun bag options: a pumpkin bag, a witch bag, a skeleton head bag, and a Frankenstein bag. With their drawstrings and straps, these bags are easy for little hands to carry. If you need assistance, be sure to check out the video tutorial!

Designer: Sigonimacaroni

Yarn weight: Worsted

Suggested yarn: Red Heart Super Saver

Halloween Skull Garland

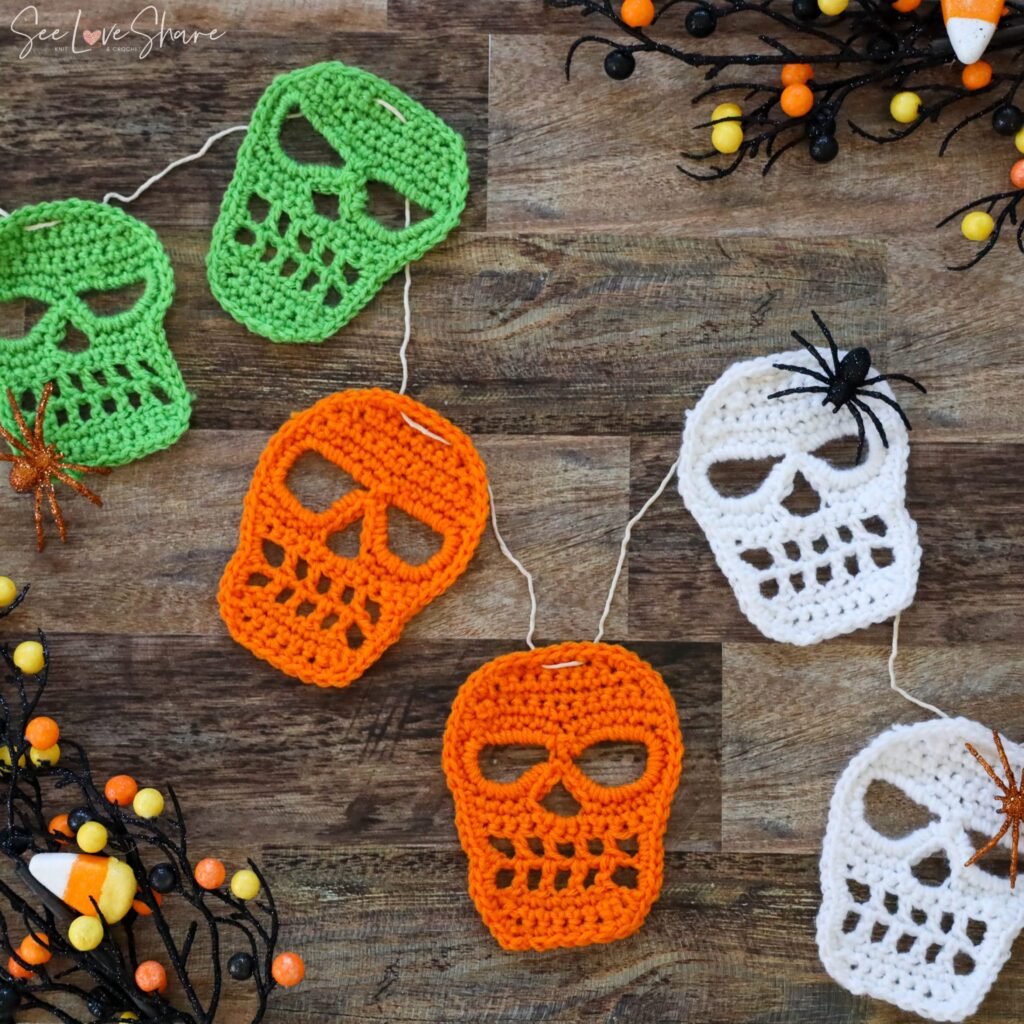
These skulls take only about 15 minutes each to make, allowing you to create plenty for stringing across a mantel or wall space in just a few hours! Each skull measures approximately 4” x 6”. To complete this pattern, you’ll need to know how to chain, slip stitch, single crochet, double crochet, and single crochet two together.

Designer: See Love Share

Yarn weight: Worsted

Suggested yarn: Red Heart Super Saver

Halloween Eyeball Coaster

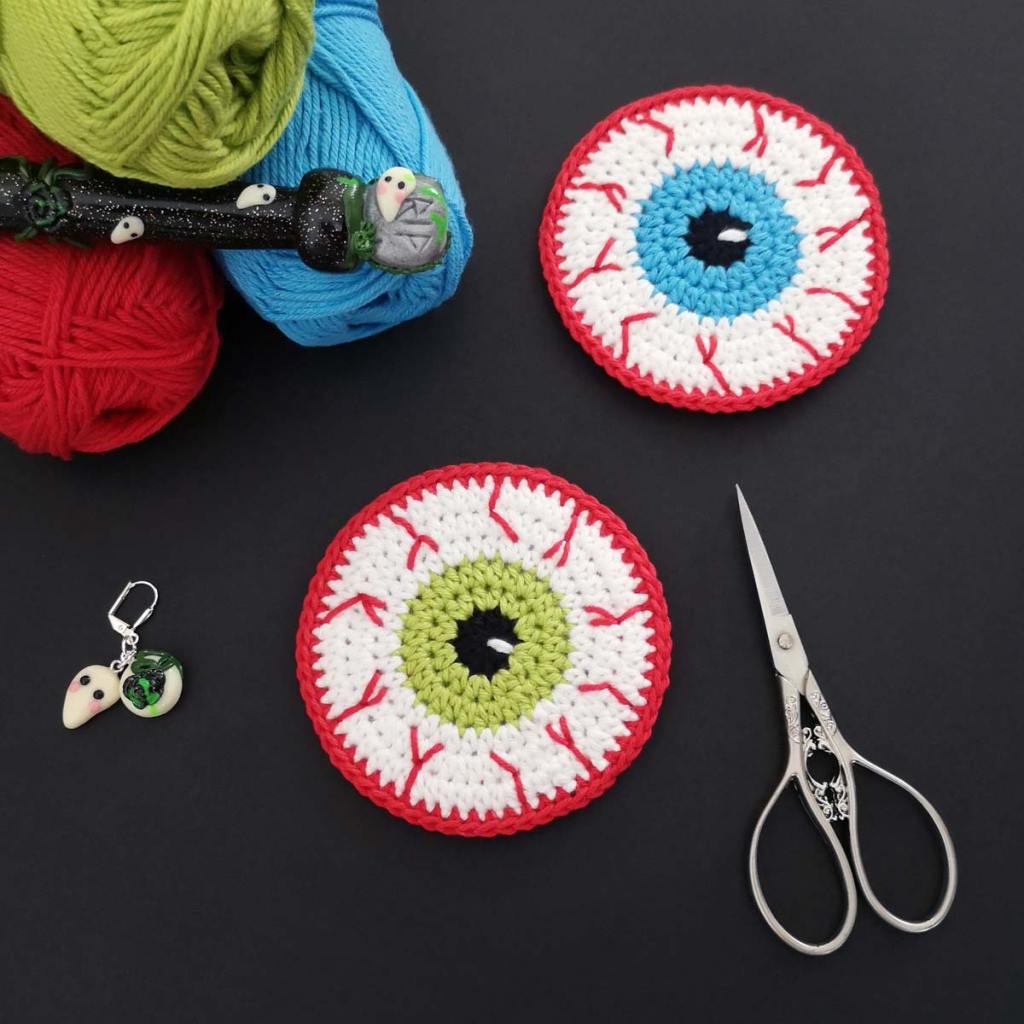
Experiment with different eye colors—green, blue, or brown—on these fun eyeball coasters! This pattern features half-double crochets and is quick to make. The coasters are double-sided, ensuring durability and protection for your surfaces.

Designer: Stitch by Fay

Yarn weight: DK

Suggested yarn: Paintbox Yarns Cotton DK

Red Heart Crochet Ghost Coasters

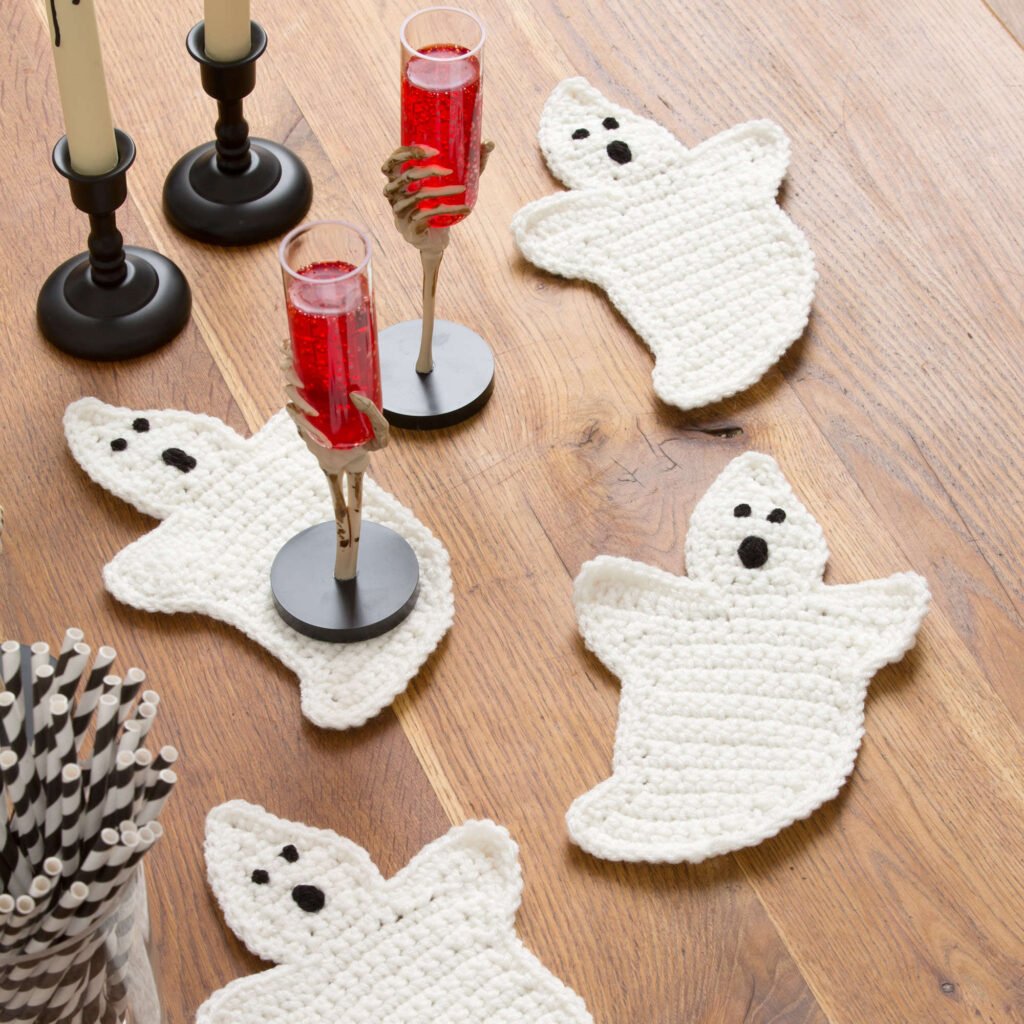
Keep track of your favorite fall drinks with these spooky ghost coasters! You can create them all in one color or use different shades for a fun variety. For an extra touch, add a magnet to the back to decorate your fridge with these creative pieces!

Designer: Yarnspirations

Yarn weight: Worsted

Suggested yarn: Red Heart Super Saver

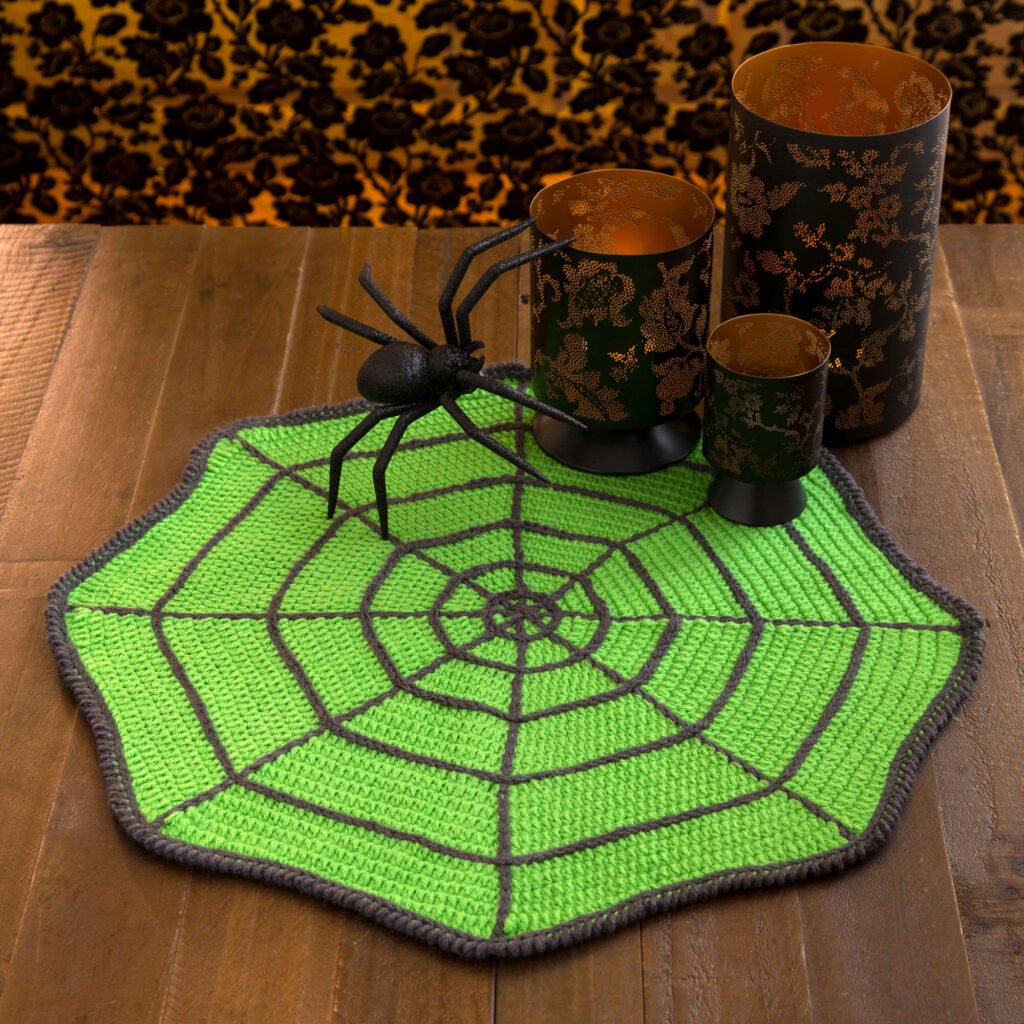
Red Heart Spider Web Table Mat

This table web makes a fantastic centerpiece or can double as a placemat! If you love this pattern, consider making several in the same color or in a variety of colors to set at each seat. Each web measures approximately 20” in diameter.

Designer: Yarnspirations

Yarn weight: Worsted

Suggested yarn: Red Heart Super Saver

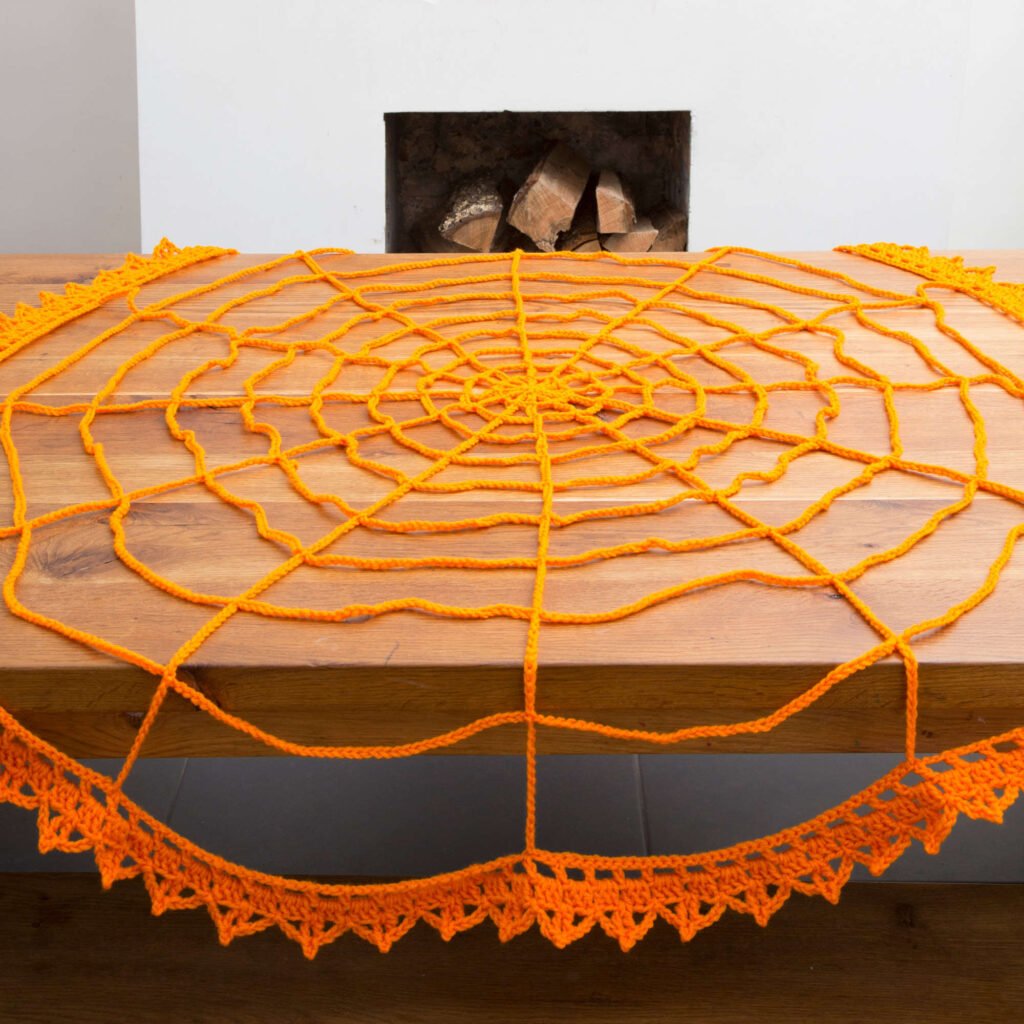
Red Heart Spider Web Table Topper

Dress up your table with this crafty and unique table web! This project would look fantastic in orange, black, or any Halloween-themed color you prefer. This pattern is perfect for comfortable beginners looking to add a festive touch to their decor.

Designer: Yarnspirations

Yarn weight: Worsted

Suggested yarn: Red Heart Super Saver

Red Heart Halloween Decor Party Banner

Get ready to celebrate with this spooky and adorable crocheted banner! This Halloween decoration is simple to make and can be customized to your desired length. Choose your favorite Halloween colors and enjoy creating this relaxing project!

Designer: Yarnspirations

Yarn weight: Worsted

Suggested yarn: Red Heart Super Saver

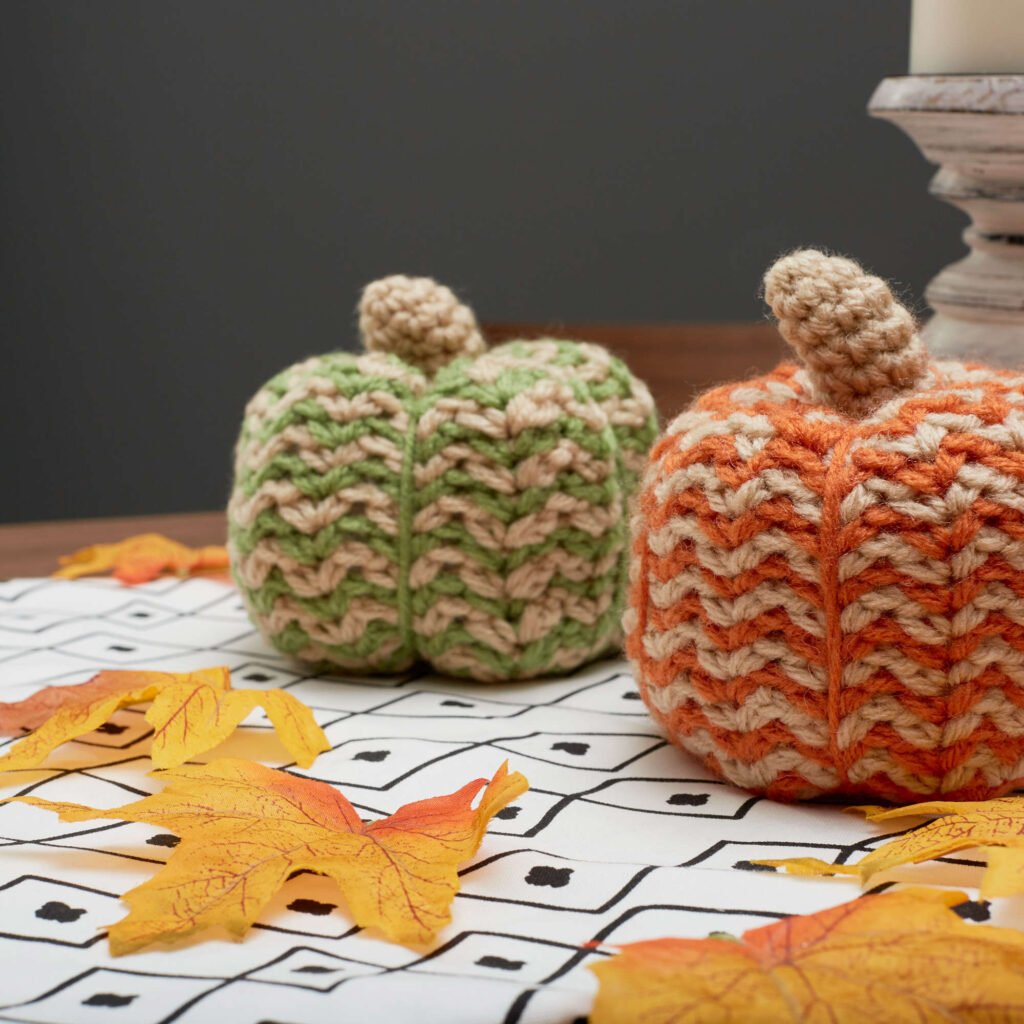
Red Heart Spicy Crochet Pumpkins

Warm up your space with these delightful crochet pumpkins! Crafted using the ripple stitch, these charming decorations are perfect for Thanksgiving dinner or for adding a touch of fall to your decor throughout the season. Remember to grab some fiberfill and poly pellets to weigh down your pumpkin and keep it stable on your table.

Designer: Yarnspirations

Yarn weight: Worsted

Suggested yarn: Red Heart Super Saver

Halloween Treat Bags Pattern

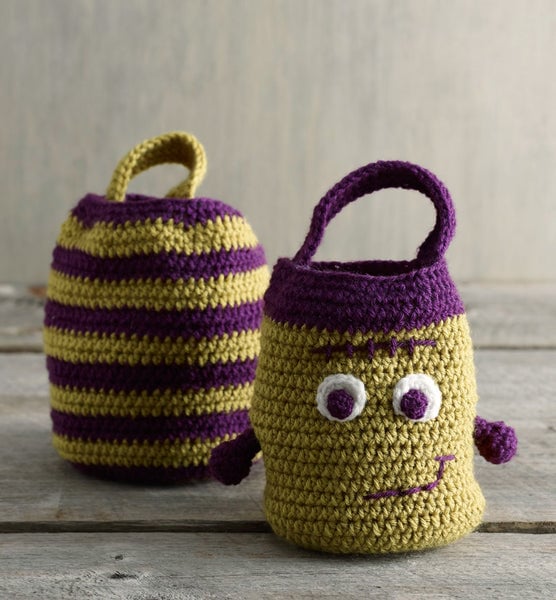
These easy bags are a blast to make and even more fun to customize! Whether you opt for stripes, polka dots, or a silly face, this quick bag pattern will have you eager to create a few more. Crochet some for your kids and their friends, or consider selling them at a fall craft show!

Designer: Lion Brand Yarn

Yarn weight: Worsted

Suggested yarn: Lion Brand Vanna’s Choice

Plaid Table Runner

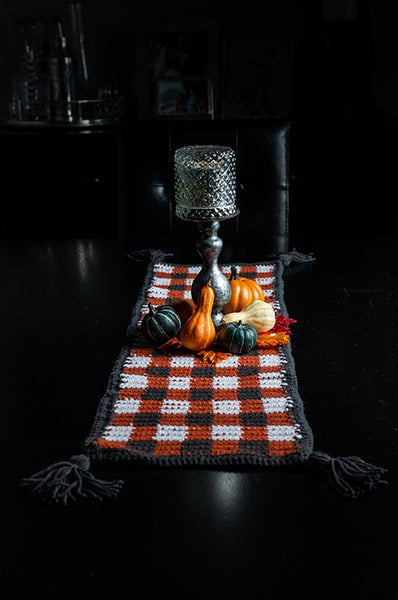
This charming table runner is an ideal way to enhance your gathering space for fall. Use it to display your favorite fall centerpieces while enjoying a meal with friends and family. This pattern is best suited for intermediate crocheters looking for a delightful project.

Designer: Lion Brand Yarn

Yarn weight: Worsted

Suggested yarn: Lion Brand Pound of Love

CONCLUSION

As you can see, there are countless ways to embrace the spirit of Halloween with crochet. From spooky ghosts and mischievous witches to creepy crawly spiders and eerie pumpkins, these free patterns offer endless possibilities for DIY decorations and gifts. Whether you’re a seasoned crocheter or just starting out, these projects are sure to provide hours of fun and creative expression. So gather your yarn, grab your hooks, and get ready to crochet your way into a spooktacular Halloween!