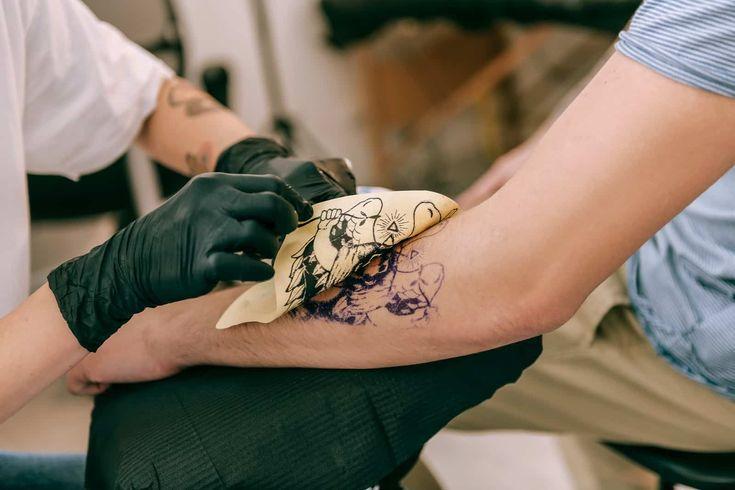
Getting a tattoo is an exciting experience, but the real work begins after you leave the artist’s chair. Proper tattoo aftercare is crucial for ensuring your new ink heals beautifully and minimizes the risk of infection or complications. This involves a delicate balance of keeping the area clean while allowing it to breathe and heal naturally.
This guide will provide you with essential tips and information on how to care for your fresh tattoo, from the immediate post-tattoo steps to long-term considerations. By following these guidelines, you can help your tattoo heal optimally and enjoy its vibrant colors and intricate designs for years to come.
TATTOO AFTERCARE: FIRST 30 DAYS AND BEYOND
Healing time varies depending on your tattoo’s size and intricacy. Larger tattoos tend to stay red and swollen for longer as they cause more trauma to the skin.
Day 1
When you leave the tattoo studio, your tattoo will be covered with a dressing. Your artist will tell you when to remove it. Plastic wrap and gauze are typically removed after a few hours, while medical-grade adhesive (known as “second skin”) can stay on for several days. Brands like Dermalize, Flexifix, Saniderm, SecondSkin, Tatu-Derm, and Tegaderm are commonly used.
Fluid, including blood, plasma, and excess ink, may ooze from your tattoo. It will also be red, sore, and warm to the touch. When it’s time to remove the dressing, wash your hands thoroughly before gently peeling it off. Cleanse the area with warm water and fragrance-free soap, rinse well, and then lightly pat dry. Afterward, wait a few minutes before applying the ointment or lotion your artist recommends.
Days 2–3:
Your tattoo will likely have a duller, cloudier appearance as your skin starts healing. Scabs may form.
Continue washing your tattoo once or twice a day, and don’t worry if some ink runs into the sink. This is just excess ink coming up through your skin. Let your skin dry completely before applying the recommended ointment or lotion.
Days 4–6:
By now, the second skin should be removed. Some artists suggest running the area under water while peeling off the adhesive. Make sure your hands are clean before starting.
Gently stretch the adhesive and peel it off slowly. Afterward, cleanse the area, let it dry, and apply the recommended ointment or lotion.
Redness should be fading, and light scabbing may appear. Avoid picking at the scabs, as this can cause scarring. Continue washing your tattoo once or twice daily and applying ointment as needed.
Days 6–14:
Scabs will begin to flake off naturally, but don’t pick at them. Pulling them off prematurely can remove ink and cause scarring. Itching is common during this time. To soothe it, use a fragrance-free, alcohol-free moisturizer several times a day. If the tattoo remains red and swollen, consult your tattoo artist or a healthcare professional for advice on possible infection.
Days 15–30:
By now, most scabs should be gone, and any remaining flakes will fall off. The tattooed area may still look dry and dull, but it should start to feel smoother. Continue moisturizing until the skin appears hydrated again. By the second or third week, the outer skin layers will have healed, but deeper layers may take 3–4 months to fully heal.
Expect your tattoo to look bright and vivid again by the end of the third month.
Tips for Long-Term Tattoo Care:
Once your tattoo has healed, it’s important to maintain its appearance.
- Hydrate: Drink plenty of water to support overall health and keep your skin elastic.
- Sun Protection: Apply sunscreen to protect your tattoo from UV damage and keep the colors vibrant.
- Avoid Rapid Weight Fluctuations: Rapid weight gain or loss can stretch and distort your tattoo.
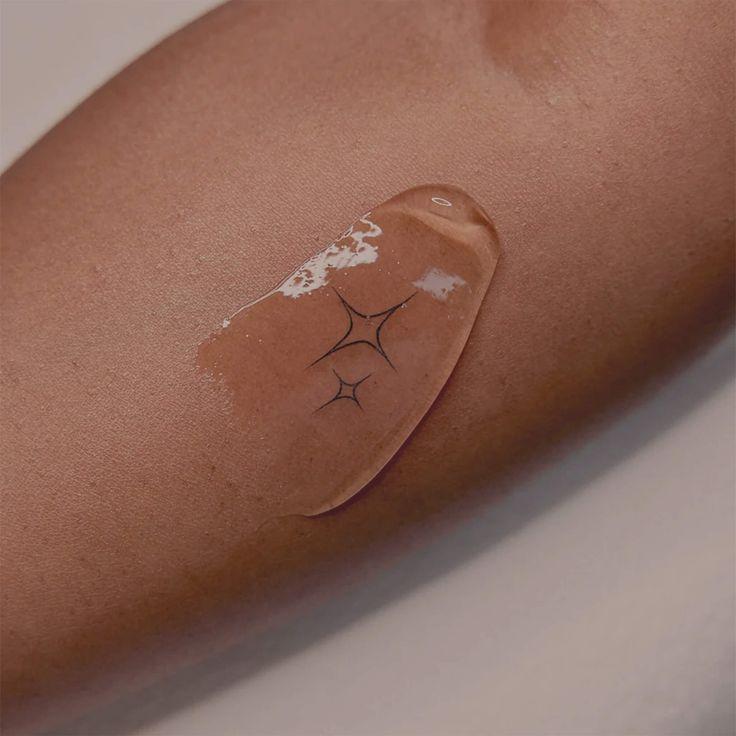
SELECTING THE BEST SKIN CARE PRODUCTS FOR TATTOO AFTERCARE
USE SOAP
Always opt for a mild, fragrance-free soap or a specially formulated tattoo cleanser to clean the tattooed area.
Many tattoo artists recommend:
- Dr. Bronner’s 18-in-1 Hemp Baby Unscented Pure-Castile Soap
- Dove Sensitive Skin Beauty Bar
- Dial Gold Antibacterial Soap (although not fragrance-free, some artists recommend it)
USE OINTMENT
For the first day or two, some artists suggest using A+D Original Ointment. Afterward, you can switch to Aquaphor Healing Ointment or Dr. Bronner’s Unscented Organic Magic Balm.
USE LOTION
After the first week, you can switch to a lotion to keep the skin hydrated. Just ensure it is free of fragrances, ethyl alcohol, and additives like colored dyes that can dry out your skin.
Some recommended lotions are:
- Lubriderm Daily Moisture Lotion
- Cetaphil Moisturizing Lotion
AVOID 100% PETROLEUM PRODUCTS
It’s best to avoid using products that are 100% petroleum-based, such as original Vaseline, during the initial healing process.
Petroleum products are thick and can trap moisture, preventing proper airflow to the tattoo. This can hinder healing and may even cause the ink to fade. Always choose products that allow your skin to breathe while supporting the healing process.
COMPLICATIONS DURING THE TATTOO HEALING PROCESS
While some discomfort and changes in your tattoo are normal, certain complications can arise. If symptoms persist or worsen, it’s important to consult with a healthcare professional.
INFECTION
Improper care of your tattoo can lead to an infection. Signs of infection include:
- Redness, warmth, and pain around the tattooed area
- Leaking pus or other unusual fluids
In rare cases, contamination of tattoo equipment or ink can lead to serious bloodborne infections like hepatitis B, hepatitis C, tetanus, or HIV. Non-tuberculous mycobacterial skin infections have also been reported.
ALLERGIC REACTION
If you’re allergic to the ink, you may experience a red, itchy reaction at the tattoo site. Red dyes are most likely to cause allergies, although blue and black dyes can also trigger skin reactions like photosensitivity. Always consult your artist or a healthcare professional if you suspect an allergic reaction.
SCARRING
Improper healing, such as picking at scabs or damage from the needle, can lead to scarring. Scar tissue can be permanent, so it’s important to avoid picking or scratching the tattoo while it heals.
FREQUENTLY ASKED QUESTIONS
1. When should you start aftercare for a new tattoo?
Aftercare begins immediately after your tattoo is completed. Your artist will typically apply a thin layer of antibiotic ointment and cover the tattoo with a bandage or plastic wrap. Follow their aftercare instructions on when to cleanse and what products to use.
2. How long should you keep your tattoo covered after your appointment?
Keep the dressing on for the duration recommended by your artist, typically anywhere from a few hours to a few days. The dressing prevents bacteria from entering, absorbs excess ink and fluid, and shields the tattoo from friction or irritation.
3. What is proper aftercare for a new tattoo?
- Wash your hands thoroughly before removing the covering.
- Gently cleanse the tattoo with warm water and fragrance-free soap.
- Pat the skin dry with a soft cloth.
- Apply a thin layer of fragrance-free and alcohol-free moisturizer.
- Let your skin breathe by keeping the dressing off after initial care.
- Follow this routine for the first few weeks and avoid sun exposure until fully healed.
4. What should you avoid after getting a new tattoo?
- Avoid scratching or picking at your tattoo. Gently patting the area can relieve itching.
- Avoid tight clothing that may rub or irritate the tattoo.
- Stay away from bathtubs, hot tubs, pools, or submerging your tattoo in water.
- Don’t apply sunblock until the tattoo has fully healed, and avoid direct sun exposure during healing.
5. Can you use Aquaphor on a new tattoo?
Yes, it’s generally safe to use a thin layer of Aquaphor Healing Ointment on a healing tattoo. Unlike pure petroleum jelly (like Vaseline), Aquaphor is more breathable and allows air to circulate, aiding the healing process without suffocating the skin.
CONCLUSION
A tattoo is not only a form of personal expression and art, but also a medical procedure. The artist uses a needle to deposit ink beneath your skin, which creates a wound. Anytime the skin is broken, there’s a risk of scarring and infection. Proper aftercare is essential to minimize these risks and promote healthy healing of your tattoo.