PEPPERMINT KISS ROSE LIP BALM

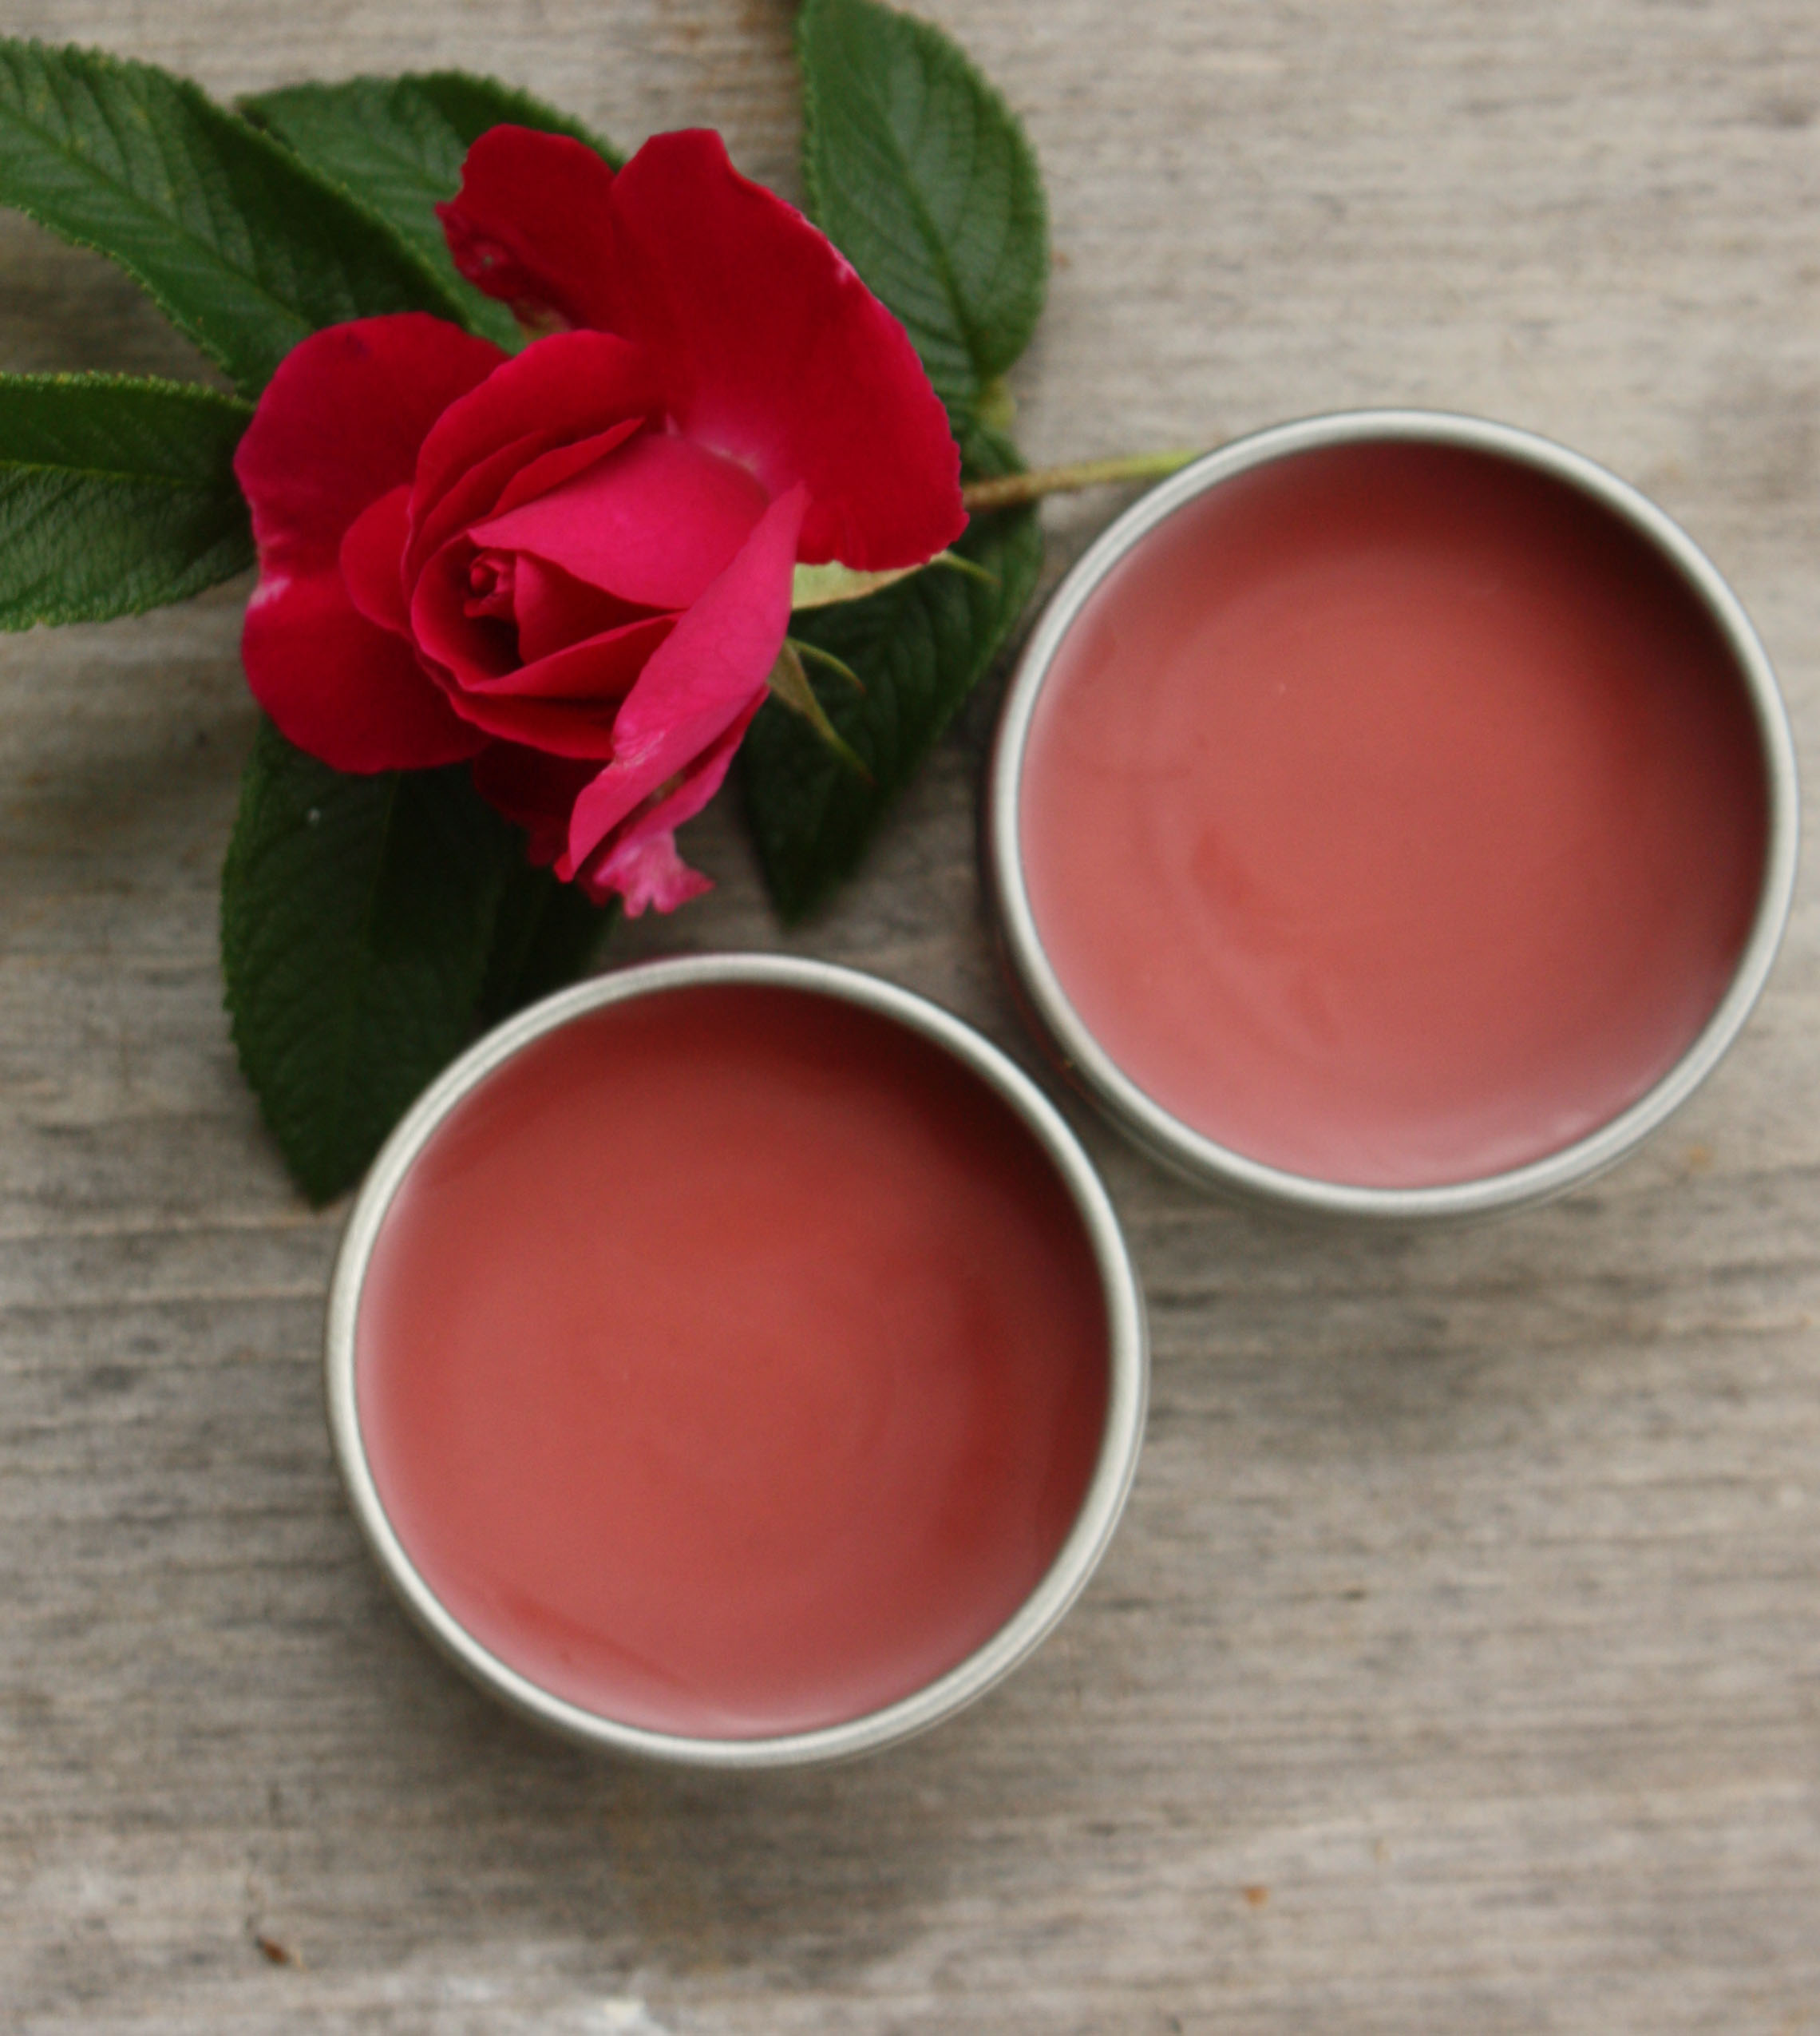
Today, we’re transforming roses into a delightful lip balm!

To get started, you’ll need rose petals. You can either collect fresh petals from roses in your garden (ensure they’re pesticide-free) or purchase dried, organic petals online from sources like Mountain Rose Herbs.
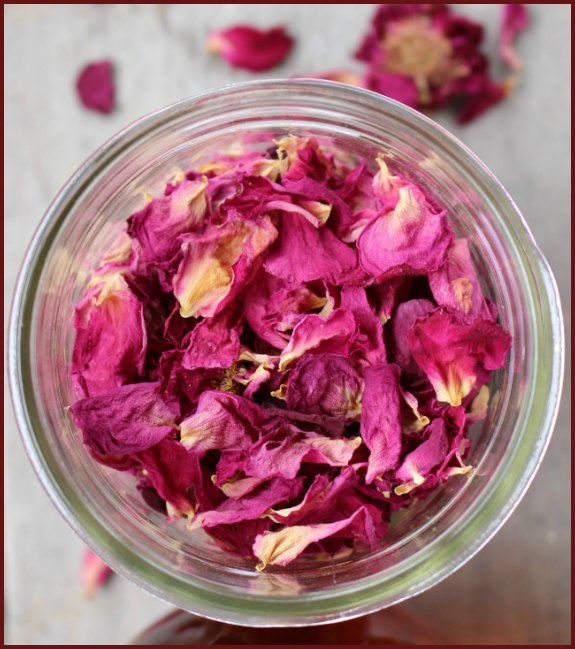
If you’re using fresh roses, start by spreading the petals in a single layer on a paper towel or brown paper bag. Let them air dry for a few days to remove any moisture. This step helps prevent excess water, which could cause the oil to spoil more quickly.

Once the petals are fully dried, we’ll create a rose-infused oil, just like we did for the Rose Petal Salve a few weeks ago.
Make the Rose Infused Oil

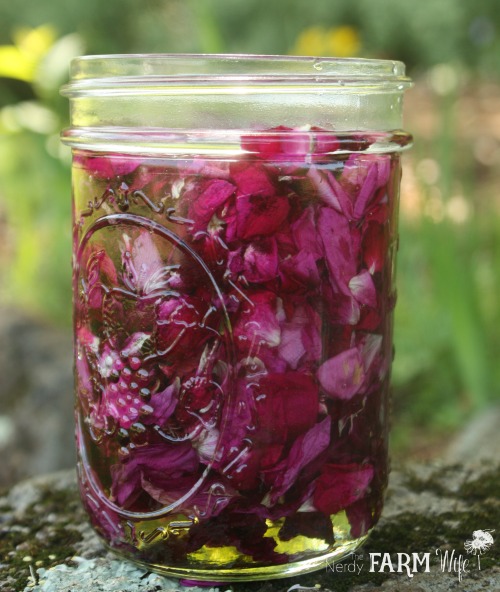
Fill a jar with dried rose petals, aiming to fill it about halfway to three-quarters full. The size of the jar you use will depend on how many petals you have. For a small batch, use a smaller jar; for a larger amount, opt for a bigger one.

Exact measurements aren’t crucial here—you just want to fill the jar with dried petals and then cover them with oil.

As for the oil, the choice is yours! I personally prefer Olive Oil or Sunflower Oil for lip balms, but other oils like Avocado Oil, Sweet Almond Oil, or Apricot Kernel Oil will also work beautifully.

Choose the Slow Method or Quick Method

For the slow method, cover the top of your jar with a few layers of cheesecloth and secure it with a rubber band. Place the jar in a dark cabinet and let it sit for 3 to 4 weeks to infuse.

For the fast method, gently set the jar into a pan with a few inches of warm water. Heat it slowly over medium-low heat, keeping the burner on for 1 to 2 hours. Afterward, remove the jar and let it cool.

Once your oil has infused, you can strain it and use it for your lip balm, or you can let it continue to infuse for several more days in a dark cabinet.

If you want a stronger infusion, you can strain the oil and then repeat the process with a fresh batch of rose petals, using the same oil. This technique is called a double infusion.

Your strained rose-infused oil will have a shelf life of about a year. For best results, store it in a cool, dark place.
Peppermint Rose Lip Balm Recipe

  • 1 tablespoon shea butter (.5 oz by weight)
  • 2.5 tablespoons (1 oz by weight) rose infused oil (use about 1 tablespoon more for tins)
  • 1/2 tablespoon castor oil
  • 1 tablespoon beeswax (.4 oz by weight)
  • powdered alkanet root (for natural color)
  • 15 or so drops of peppermint essential oil

Pour a small amount of the rose-infused oil into a bowl or cup and gradually mix in alkanet powder, adding it a little at a time until you form a thick, dark red paste. Set this aside; it will provide a natural color for your lip balm.

Next, place the remaining oils, wax, and shea butter into a heatproof jar or measuring cup. Set the container into a pan with a few inches of water and heat it over low heat, just below a simmer, until the wax and shea butter have melted.

Remove the jar from the heat and slowly stir in the alkanet paste, adding tiny dabs at a time until you achieve the desired color (less for a pink hue, more for a deeper red).

Finally, add a few drops of peppermint essential oil for a refreshing scent. Once everything is well mixed, pour the mixture into lip balm tubes, tins, or sliders and let it set. Enjoy your homemade peppermint rose lip balm!

Notes:

This ratio of oils and beeswax provides a good consistency for lip balm tubes. If you’re using tins, you might want to add up to another tablespoon of oil to make it easier to use.

For a vegan version, substitute candelilla wax for the beeswax. In this recipe, use about 1/2 tablespoon of candelilla wax in place of the 1 tablespoon of beeswax.

Castor oil is a key ingredient that gives your lip balm a glossy, smooth finish, so try to include it if possible.

You can also swap the shea butter for other butters like mango or cocoa butter if you prefer.

If you don’t have peppermint essential oil or don’t want to use it, you can either omit it or replace it with other flavors like spearmint or sweet orange.

If you’re not a fan of roses, feel free to substitute with another edible flower or herb, such as violet leaves, lemon balm, mint leaves, or calendula.

For more ideas on customizing your lip balm recipes, check out my post: How to Create Custom Lip Balms.

Please note: If you’re pregnant, alkanet root may be contraindicated for you. Always consult with a qualified healthcare provider for professional advice.

conclusion

In conclusion, making your own rose-infused lip balm is a fun and customizable way to create a natural, nourishing product for your lips. Whether you choose the slow or fast infusion method for your rose oil, the possibilities for customization are endless. You can experiment with different oils, waxes, butters, and scents to create a lip balm that perfectly suits your preferences. Remember, if you’re pregnant, it’s important to check with a healthcare provider before using certain ingredients like alkanet root. Enjoy the process and the smooth, moisturizing results of your homemade lip balm!

ESSENTIAL OILS FOR DRY SCALP & GENTLE HAIR CONDITIONING MASK

A dry, flaky scalp can be a harmless issue, but it can become bothersome if it leads to itchiness and embarrassing when others notice the white flakes. Here are some natural remedy suggestions, including essential oils that can help alleviate dry scalp.

TREATING DRY, ITCHY SCALP NATURALLY

First, it’s important to distinguish between dry skin and dandruff. While some remedies may help both conditions, dandruff is more complex and requires a different approach.

Dandruff is typically caused by excess oil, resulting in larger, yellowish flakes that are more difficult to remove. An unpleasant odor may also accompany dandruff. If this is your concern, you may need to consider more intensive treatments.

Once you’ve established that you’re dealing with a dry scalp, it’s helpful to identify the underlying cause of the dryness. While you can start using essential oils for dry scalp right away, understanding the root cause can help prevent recurring issues.

Some common causes of a dry scalp include:

  • Stress
  • Poor diet
  • Dehydration
  • Seasonal changes and climate (such as cold, dry winter air or excessive sunlight in summer)
  • Harsh chemicals in shampoos, conditioners, styling products, or other hair treatments
  • Hormonal changes

I recommend being cautious with dandruff shampoos, as the chemicals in these products may exacerbate dry scalp conditions. 

BEST ESSENTIAL OILS FOR DRY SCALP

These essential oils are renowned for their ability to cleanse the sensitive skin of the scalp and enhance hair conditioning. This list serves as an excellent starting point to discover which oils work best with your unique body chemistry.

  • Lavender: Known as one of the best oils for skin care, lavender essential oil is gentle yet potent, featuring antimicrobial and antioxidant properties.
  • Tea Tree: This oil promotes healing of the scalp thanks to its antifungal properties and can also stimulate hair growth.
  • Rosemary: With its antioxidant and antibacterial characteristics, rosemary stimulates the scalp and may promote hair growth.
  • Cedarwood: This earthy oil combats bacteria and fungi with its antiseptic properties, adding shine to hair and serving as a heat protectant.
  • Lemongrass: A popular cleansing oil, lemongrass essential oil is effective for oily hair and helps strengthen hair follicles. It also boasts anti-inflammatory and detoxifying benefits.

A simple apple cider vinegar hair rinse can sometimes provide just what you need to balance your scalp’s skin, eliminate any bacteria contributing to dry scalp issues, and improve your hair’s texture. For many, this may be the only natural hair treatment needed in their routine. Here is a recipe for making apple cider vinegar at home that you can refer to.

Apple Cider Vinegar Hair Rinse

Author: Mama Z

Ingredients

  • ⅓ cup organic unfiltered apple cider vinegar
  • 1⅓ cups purified or distilled water
  • 30-48 drops of essential oils*

Instructions

  • Combine one part apple cider vinegar with four parts water and add your choice of essential oils.
  • Pour the mixture into a squeeze bottle or a repurposed shampoo bottle.
  • After shampooing, apply the rinse to clean, wet hair in the shower.
  • Gently massage it into your scalp and the roots of your hair, allowing it to soak for 3-5 minutes.
  • Rinse thoroughly. You may find that you don’t need to use as much conditioner after this treatment.

Notes: The ratio for this recipe is 1 part vinegar to 4 parts water. Feel free to adjust the quantities as needed for your family.

*Recommended essential oils include lavender, tea tree, cedarwood, lemongrass, and rosemary. Use about 15-20 drops per cup.

If your dry scalp requires more intensive moisturizing, this natural hair and scalp treatment is just what you need! Customize the essential oils to find the perfect match for your skin. Keep in mind that it may take a few applications and some time to heal your scalp. Here’s Mama Z’s at-home hair mask recipe for you to try!

NATURAL HAIR MASK TREATMENT

INGREDIENTS

  • 4 tablespoons aloe vera gel
  • 2 tablespoons organic unfiltered apple cider vinegar
  • 1 tablespoon carrier oil or raw organic local honey*
  • 24-30 drops of your choice of essential oils**

INSTRUCTIONS

  • Combine all the ingredients to create a hair treatment mixture.
  • Apply the natural hair mask to your scalp, ensuring it penetrates the skin to help eliminate bacteria and flakes.
  • Start at the crown of your head or your natural part, working the mask down your scalp. A wide-tooth comb can help distribute the mask effectively if needed.
  • Cover your head with a shower cap or a clean towel, allowing the mask to soak in for 15-20 minutes or as long as desired.
  • Rinse thoroughly and shampoo or condition as usual, though you may find you don’t need as much conditioner after this treatment.

Notes:

  • Follow this mask with my Apple Cider Vinegar Hair Rinse to balance your hair’s pH and remove any excess product. Use an organic, unscented conditioner on the ends of your hair.
  • I recommend using a scalp massager to thoroughly work the hair mask into your scalp. For extra care, you can use a Nix lice comb to remove any leftover particles from your hair and scalp.
  • To complete your hair care routine, consider applying our Hair Regrowth Gel.

*Avoid coconut oil, as it can dry out the skin. Opt for jojoba, argan, almond, or olive oil instead; jojoba is particularly good for adding shine. Honey is also a great option for moisturizing and can help tame frizz.

**Suggested essential oils include cedarwood, lavender, lemongrass, tea tree, and rosemary. My favorite blend is equal parts peppermint, rosemary, and tea tree.

This treatment makes for a wonderful weekly ritual, especially while you unwind in a detox bath or simply to rejuvenate your scalp’s skin.

CONCLUSION

In conclusion, essential oils offer a natural and effective solution for addressing dry scalp and promoting healthy hair. By carefully selecting oils like lavender, rosemary, tea tree, and peppermint, you can create a gentle yet potent hair conditioning mask tailored to your specific needs. Remember to always conduct a patch test before using essential oils on your scalp, and dilute them properly with a carrier oil to avoid irritation. With consistent use, this DIY hair mask can help nourish your scalp, reduce dandruff, and leave your hair feeling soft, shiny, and revitalized. Embrace the power of nature and unlock the transformative potential of essential oils for your hair care routine.