
Shellac nail polish, known for its high durability and glossy finish, can pose a challenge when you want to change shellac nails with designs or take care of your nails. Fret not, in this article, we will guide you on how to remove the polish correctly and effectively to protect the health of your nails and the surrounding skin. If you’re unsure about the process, let’s explore simple yet effective steps to remove Shellac nail polish, ranging from natural methods to using professional nail care products. Read on!
WHAT ARE SHELLAC NAILS?
Shellac represents a line of nail products that combines features of both traditional nail polish and gel nails. Unlike regular polish, Shellac is applied directly to the nails and then cured under UV light, similar to gel nails. Removing Shellac typically involves using an acetone-based nail polish remover, but the drying effect of acetone on cuticles and skin can be a concern. Alternatively, you may opt for soaking your nails in a non-acetone nail polish remover to mitigate potential dryness and irritation.
TOOL KIT
- Aluminum foil (cut into 10 pieces, each measuring 2 inches)
- Paper towel (cut into 10 pieces, each measuring 1 inch)
- 100% acetone (or nail polish remover with acetone)
- Stainless steel cuticle pusher (or a wooden cuticle stick)
- Nail file
- Nail buffer
- Nail strengthening polish
- Cuticle oil (or coconut oil)
HOW TO REMOVE SHELLAC YOURSELF
STEP 1: PREPPING YOUR NAILS AND WORKSPACE
Cover your workstation, to protect it from nail polish remover
To prevent potential damage to surfaces, it’s advisable to use protective measures when working with even non-acetone nail polish remover. Lay down newspaper, towels, a trash bag, or any other suitable protective layer in your work area. In the event of a spill that permeates the covering, pause your work, promptly clean up the spill, and then replace the protective layer with fresh newspaper once the area is dry. Alternatively, glossy pages torn from a magazine can serve as an effective option for safeguarding your table or countertop. Choose a comfortable workspace, such as your desk or in front of the TV, as this process typically takes approximately 30 minutes.
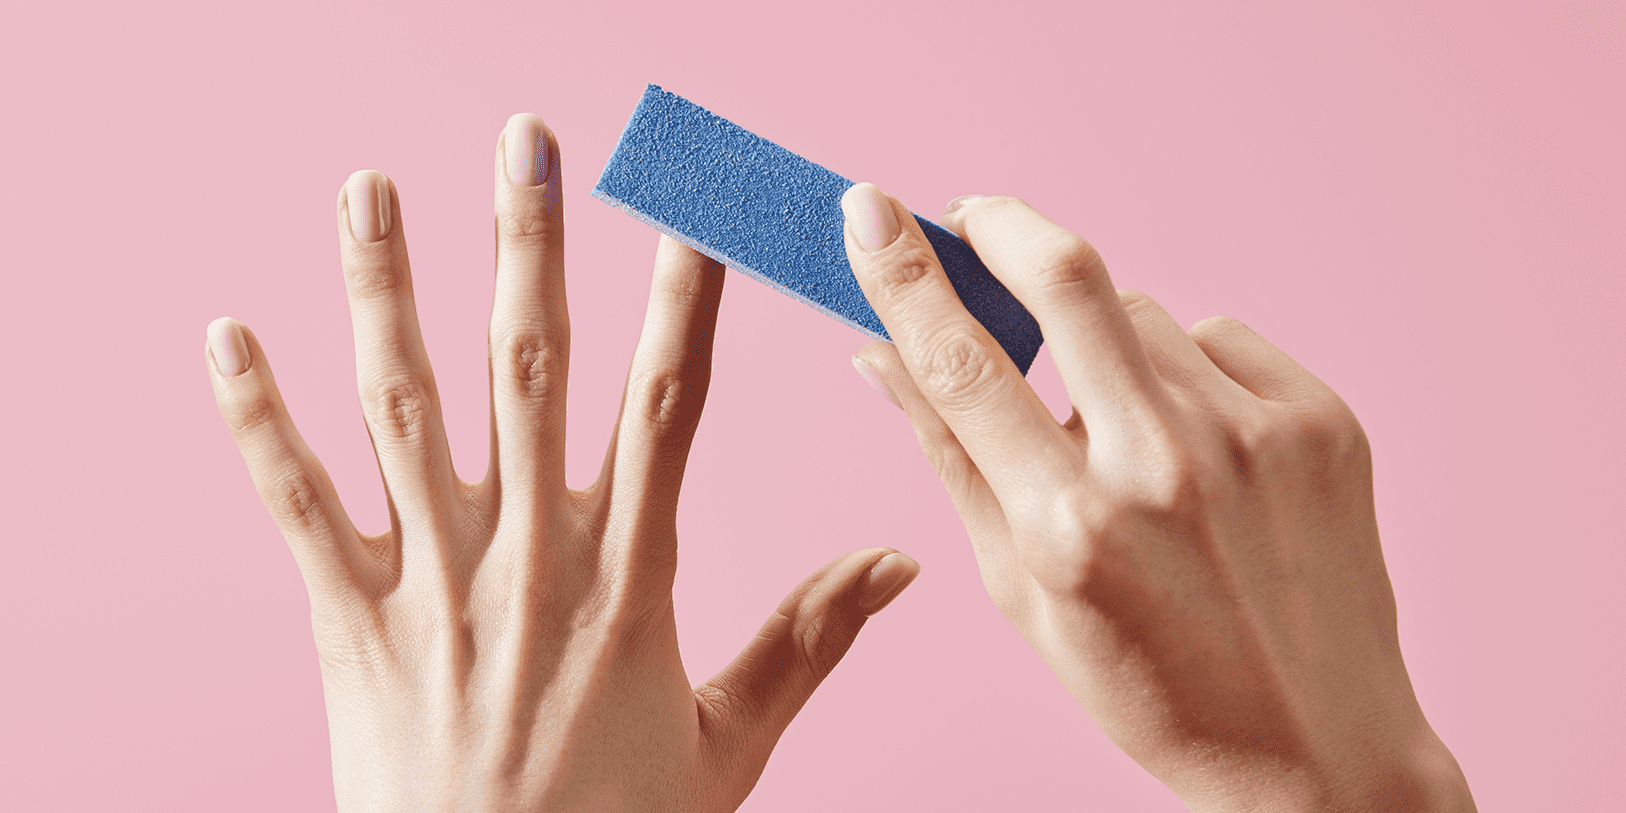
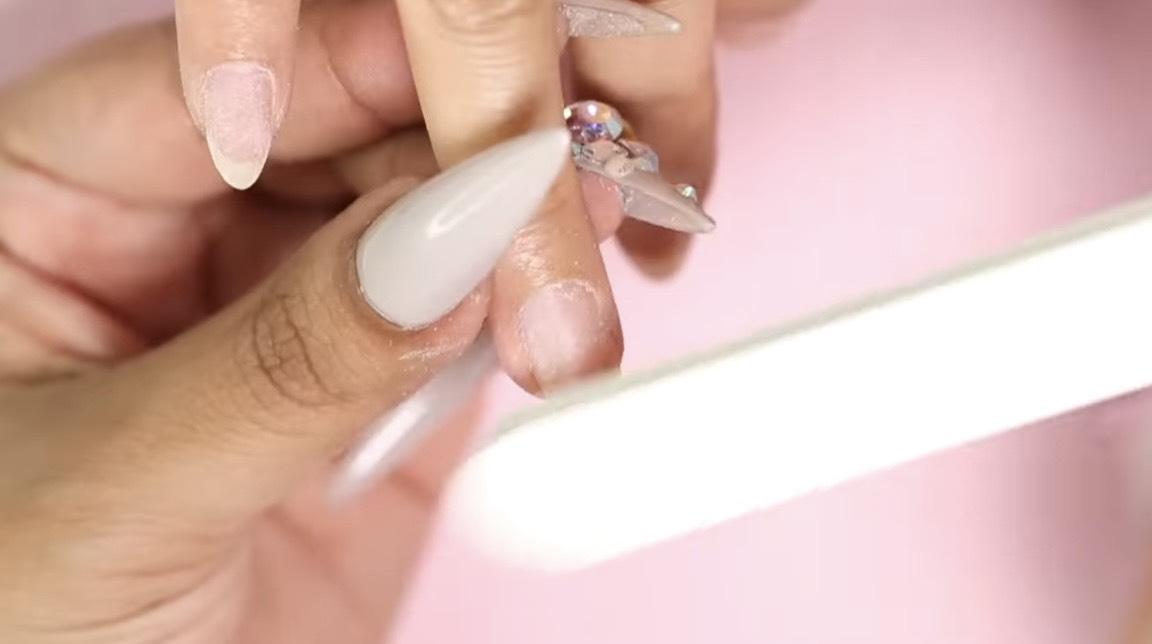
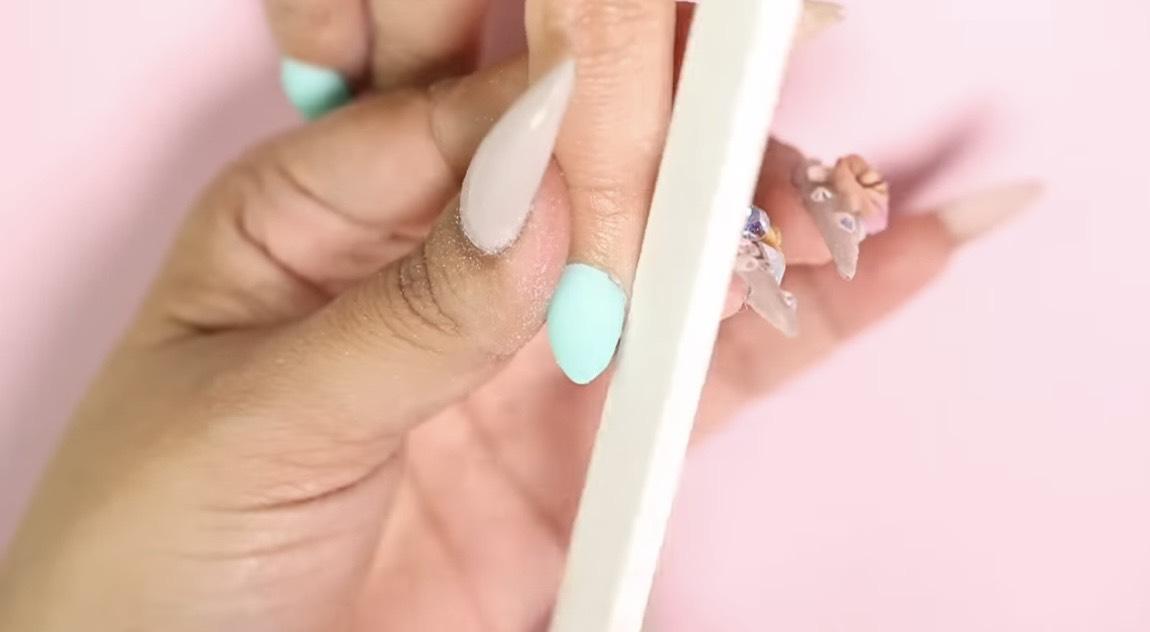
Scuff the surface of your nails lightly with a coarse nail file
If you notice your natural nail becoming visible beneath the polish, it indicates that you’re filing too aggressively. Instead, lightly run the file across the nail surface a few times to remove the glossy finish. Although not mandatory, this step increases the surface area on your nails, facilitating better coverage by the polish remover and enhancing its dissolving effectiveness. Given that you’re using a less potent nail polish remover, incorporating this step can contribute to achieving more satisfactory results.
Coat the skin around your nails in cuticle oil
Even in the absence of acetone, nail polish removers have the potential to dehydrate your cuticles and the skin surrounding your nails. To mitigate this, apply cuticle oil using a cotton swab, massaging it onto the skin around your nails and the base where your cuticles grow. If cuticle oil isn’t available, opt for nourishing natural oils such as olive, almond, coconut, or jojoba oil. Alternatively, create a protective barrier on the skin around your nails by using petroleum jelly. This helps maintain moisture and safeguards your skin during the nail polish removal process.
Cut or tear 10 strips of aluminum foil to wrap around your fingers
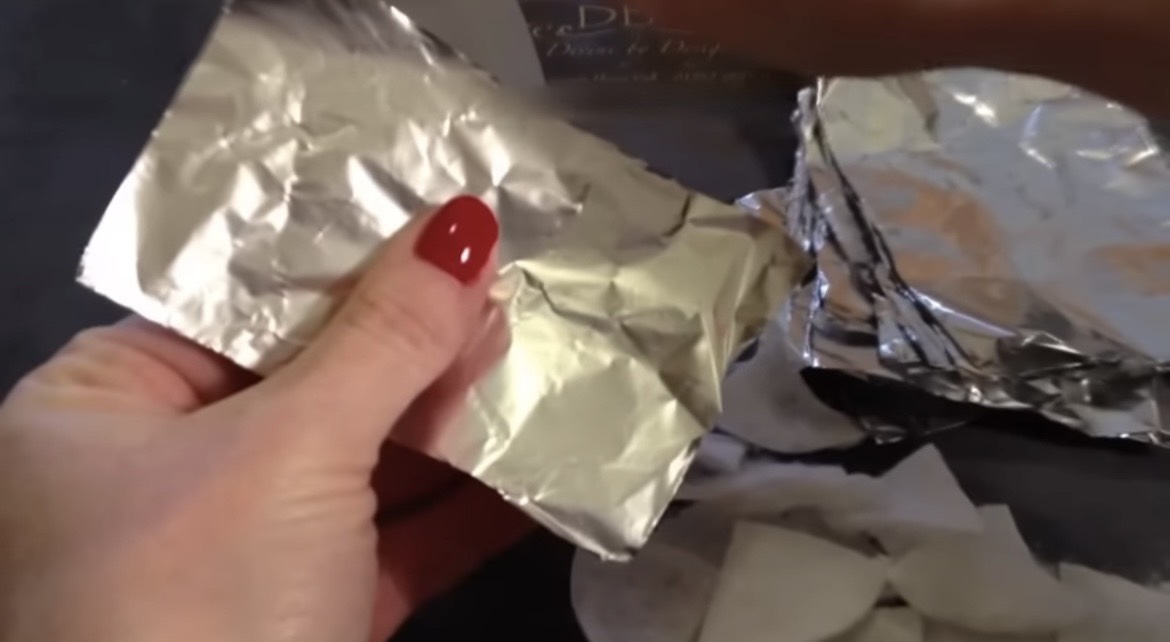
Ensure the foil strips are sufficiently large to completely wrap around both your finger and the cotton ball, requiring one strip for each finger. Aluminum foil is easily tearable, allowing you to do this by hand, or if preferred, you can use scissors for a precise cut. Keep in mind that it’s advisable to make the strips a bit larger than initially estimated. You can always trim them down if they turn out to be too big, but you won’t be able to add more if they happen to be insufficient. Ideally, the strips should measure at least 2–3 square inches (13–19 cm²).
STEP 2: WRAPPING YOUR NAILS
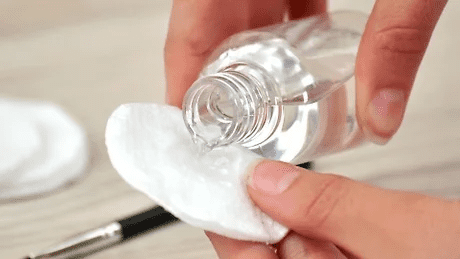
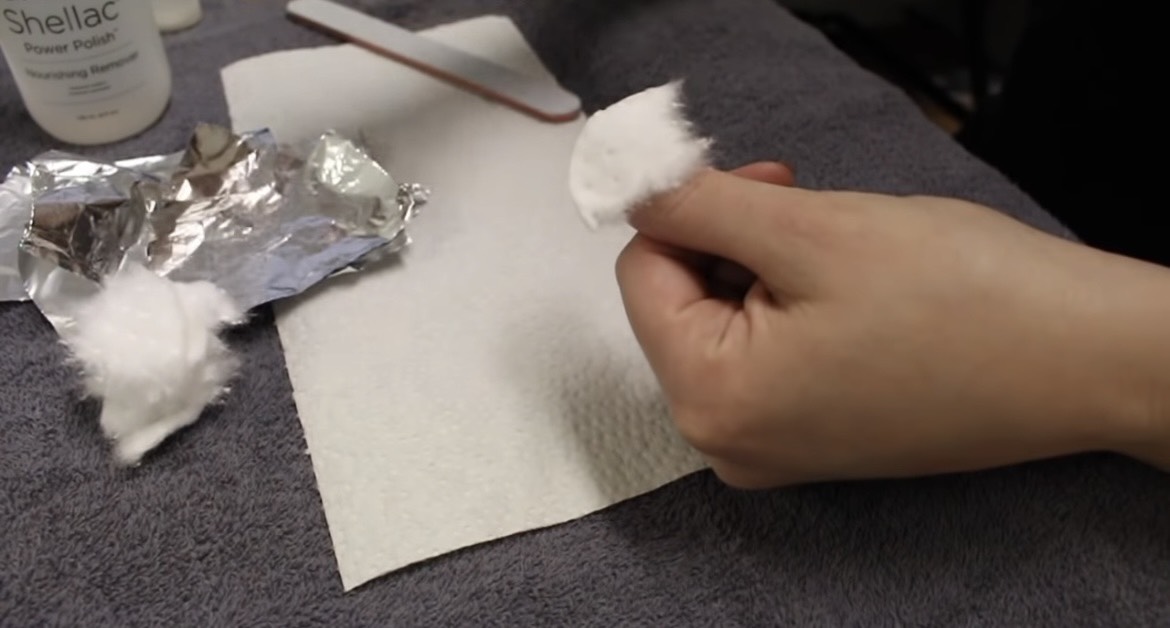
Soak a cotton ball in acetone-free nail polish remover

Ensure the cotton ball is completely saturated with nail polish remover. If desired, you can tear or cut the cotton ball for a better fit on your nail, but ensure it remains large enough to cover the entire surface of the gel polish. Prepare one piece of cotton for each nail. There are two options for application: either directly apply the nail polish remover to the cotton ball from the bottle, or pour it into a small bowl and dip the cotton ball into the liquid. Additionally, you can choose to use acetone-free nail polish remover pads. If opting for pads, fold them in half or cut them to size to minimize contact between the remover and your skin. For optimal efficiency and to minimize exposure, it’s advisable to focus on one nail at a time, soaking only one cotton ball at a time.
Place the soaked cotton ball on one of your fingernails
Completely cover your nail with the cotton ball, applying a slight downward pressure to ensure it is firmly pressed against your nail. While you can start with any nail, it’s recommended to begin with the nails on your dominant hand. This approach facilitates the process, as once a nail is wrapped, you’ll need to switch hands. For example, if you are right-handed, it’s advisable to wrap your right hand first, allowing you to use your foil-tipped right hand to cover the nails on your left hand more conveniently.
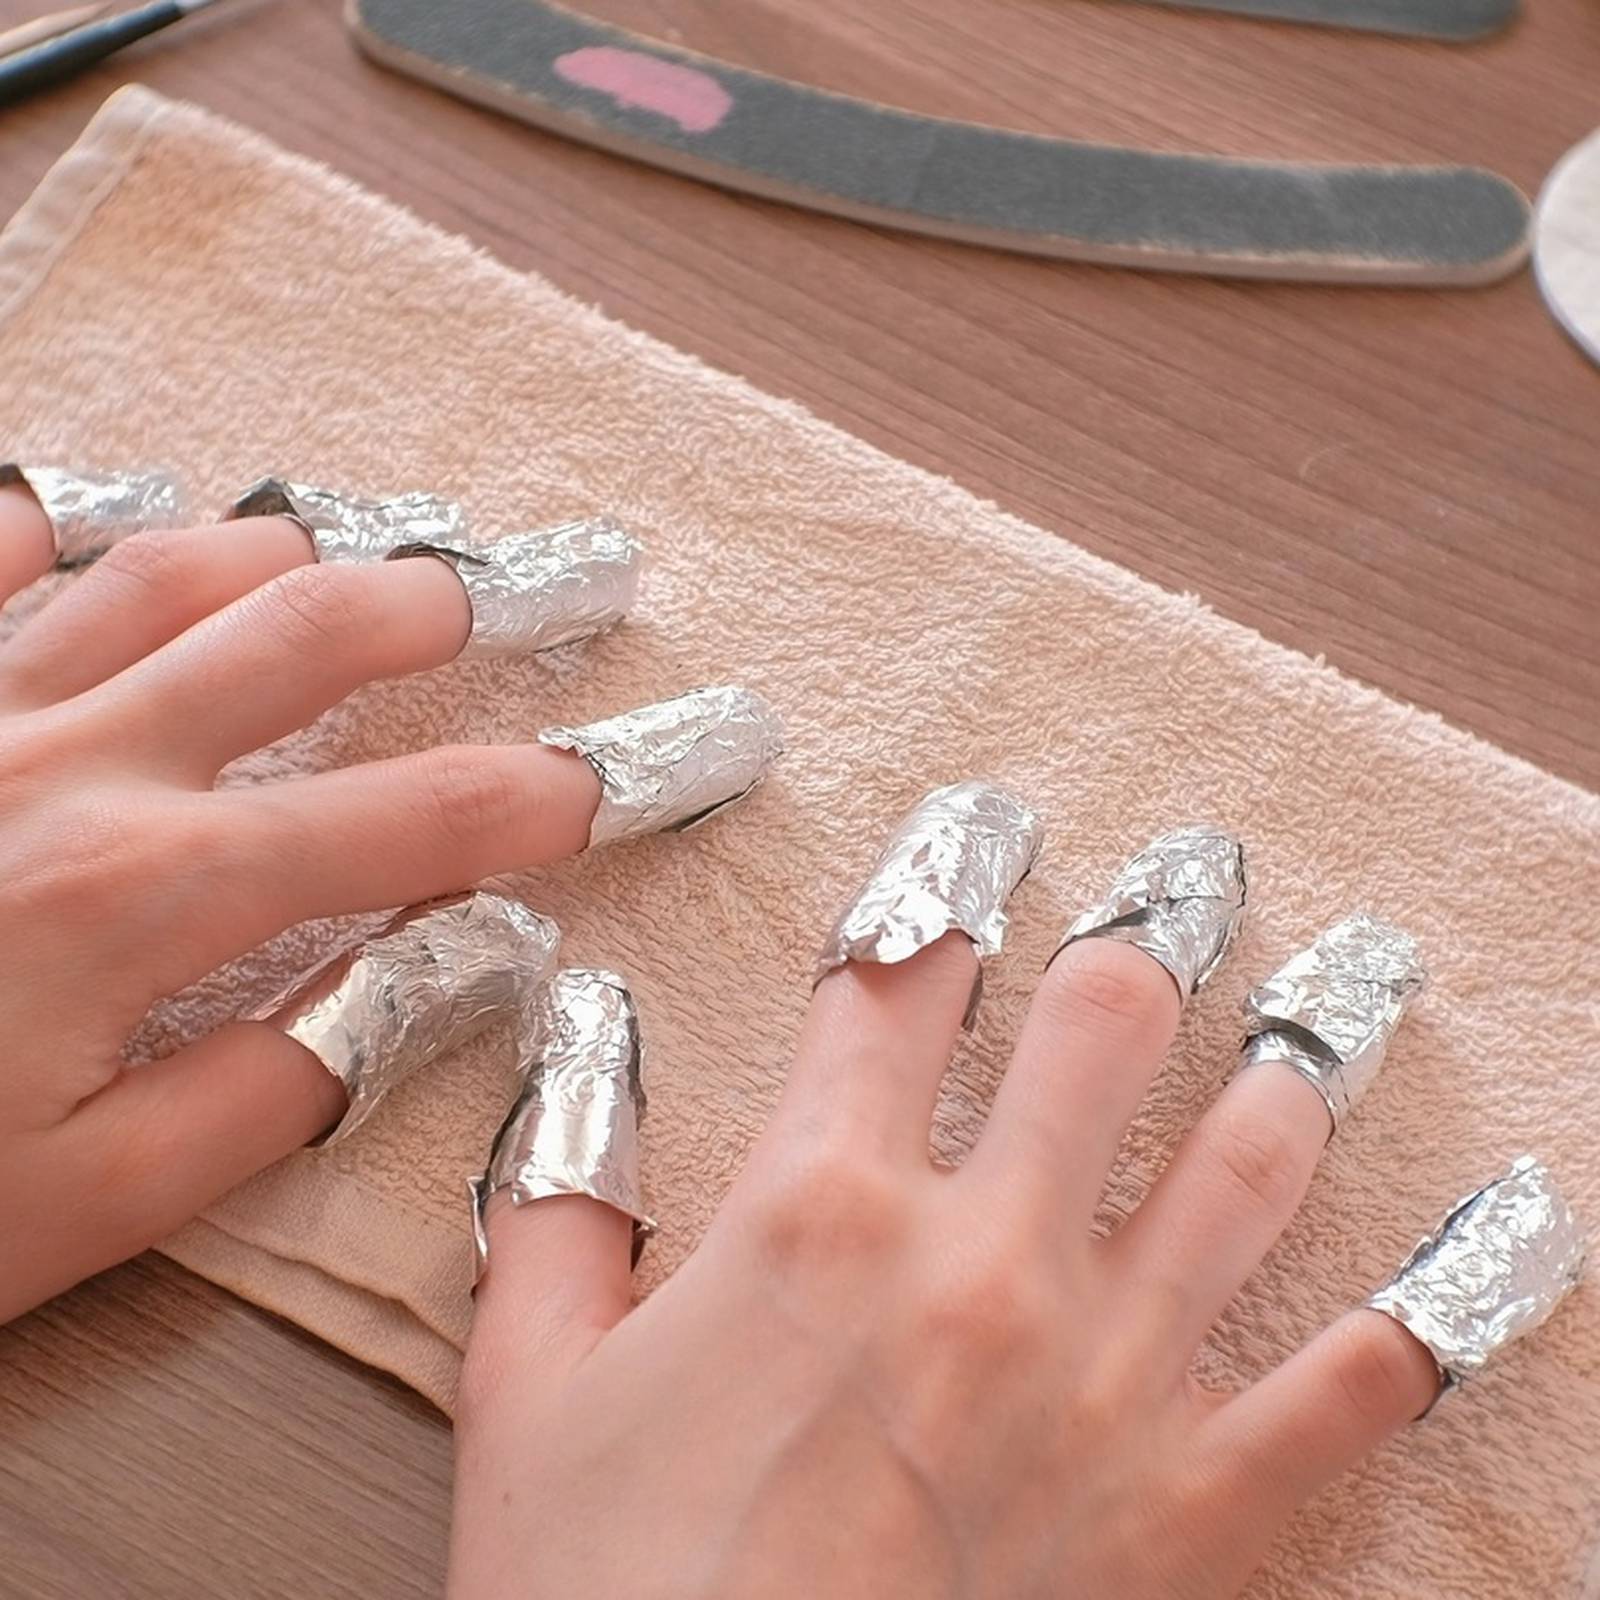
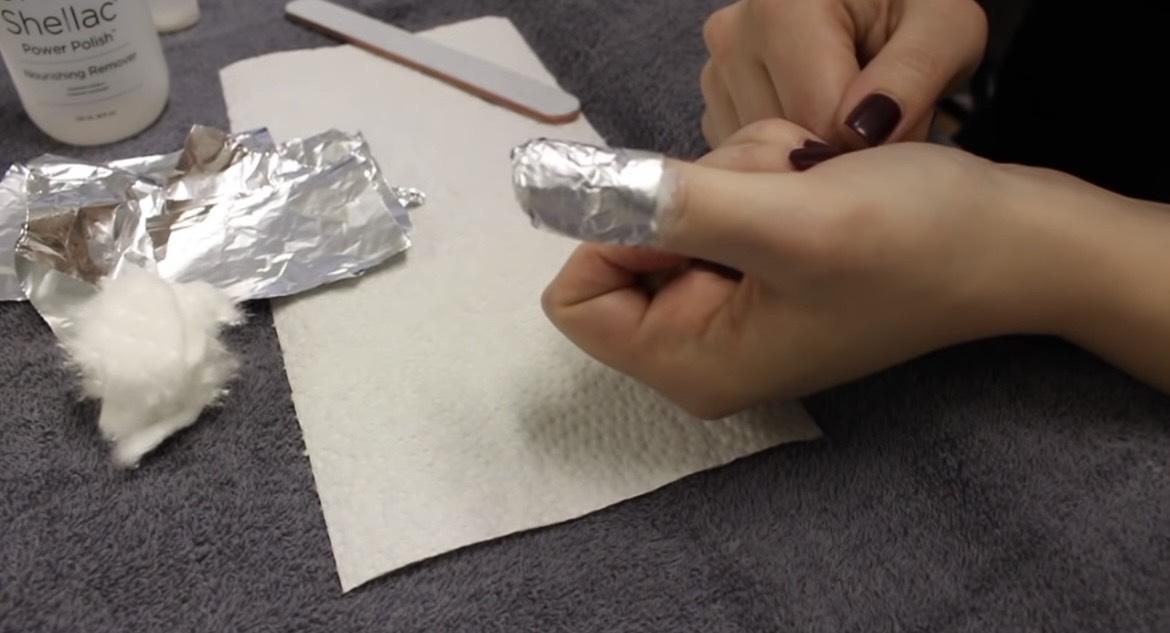
Wrap the aluminum foil around the cotton ball and your fingertip

Position the flat side of the foil against the cotton ball, then wrap the aluminum foil around the sides of your finger and over the top. Press and pinch the aluminum foil together to create a sealed enclosure. Ensure a snug fit, as the foil must securely hold the cotton ball in place.
Repeat this process for each nail
As you proceed with wrapping your nails, the process may become a bit more intricate, requiring caution not to disrupt the foil already in place. Take your time, pay attention to each step, and don’t stress about achieving absolute perfection with the foil wrapping. Continue the process until you’ve successfully wrapped all ten of your fingernails with the cotton balls and aluminum foil.
Leave the foil in place for about 10 or 15 minutes
Allow the acetone-free nail polish remover sufficient time to soak into the nail. Once the designated time has elapsed, carefully remove the foil from the first wrapped nail and inspect the shellac. When it’s ready, you should observe the polish pulling away from the nail, and it might appear softened or gummy. If the polish isn’t detaching from the nail, rewrap your fingers and wait an additional 5 minutes before checking again.
STEP 3: SCRAPING AWAY THE POLISH
Remove the foil from the first finger when the polish is ready

Once the nail polish begins to peel up at the edges, you can proceed to remove the foil. It’s advisable to work on one nail at a time, eliminating the need to remove all the foil simultaneously. In case the nail polish remover starts causing discomfort to your skin, consider removing the foil from your nails. However, be aware that the shellac may become gummy or tacky as it dries, making it more challenging to remove. If this occurs, you may need to soak your nails again. Retain the foil, as you might have to re-wrap your nails if some of the polish remains stubbornly intact.
Use the cotton ball to wipe away as much of the polish as you can
Apply firm pressure on the cotton ball, wiping from the base of your nail up to the tip. If necessary, flip the cotton ball over and repeat the motion. Don’t be concerned if not all of the polish comes off; 1-2 swipes should be sufficient.
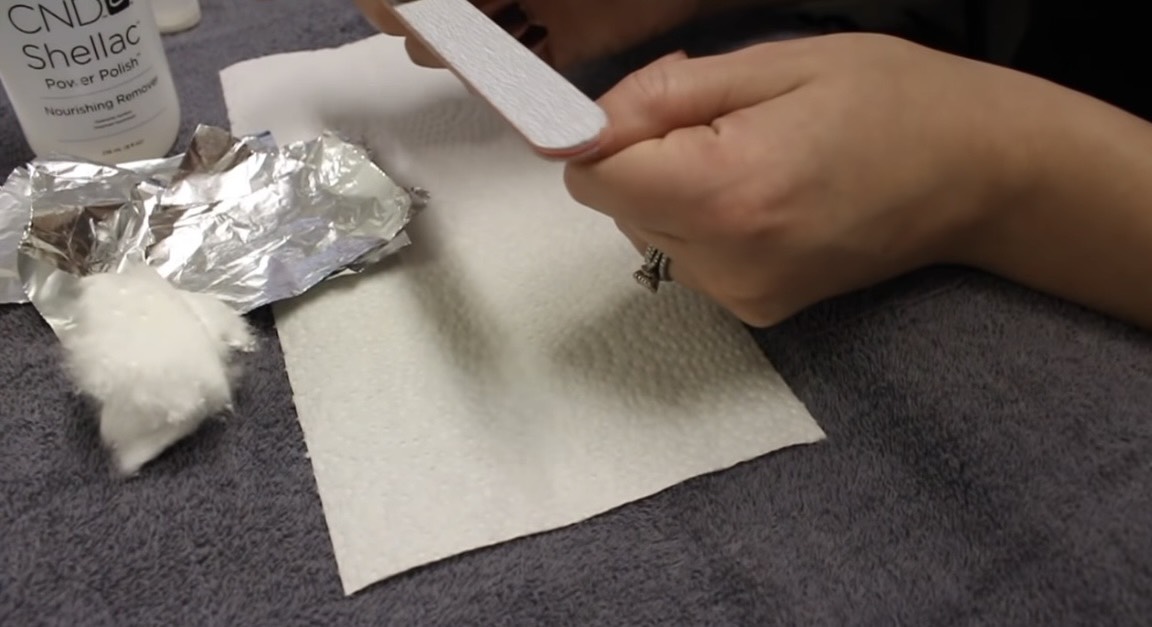
Scrape the remaining polish away with a wooden orange stick

An orange stick, also recognized as a cuticle pusher, is a petite wooden tool featuring an angled tip. Traditionally employed for pushing back the skin around your nails, it can also serve as an effective tool for shellac removal. Utilize the pointed tip of the stick to work under the polish, then gently lift the stick to peel the polish away from the nail. Given that wooden beauty tools can harbor bacteria, it’s recommended to use disposable orange sticks. Purchase them in packs and discard after each use to maintain hygiene. Never share orange sticks, as doing so increases the risk of infection. These tools are readily available at beauty or nail supply stores.
Re-soak your nail if there’s any polish that seems too hard

Avoid excessive scraping if the polish doesn’t come off easily, as it could potentially damage your nail bed. Instead, consider replacing the cotton ball on your nail, using a new one if needed, rewrapping your nail in foil, and waiting for an additional 5 minutes or so. It’s important to note that acetone-free nail polish remover is not as potent as its acetone-based counterpart, so in cases of particularly stubborn polish, be prepared to soak your nails for a longer duration to achieve effective removal.
Repeat the same process for each of your nails
After successfully removing the polish from one nail, you’ll gain a better understanding of the process. Unwrap the foil from each nail individually, then use a cotton ball to wipe away the polish and an orange stick to scrape away any residue. Progress to the next nail in this manner until you’ve completed the removal process for all of your nails.
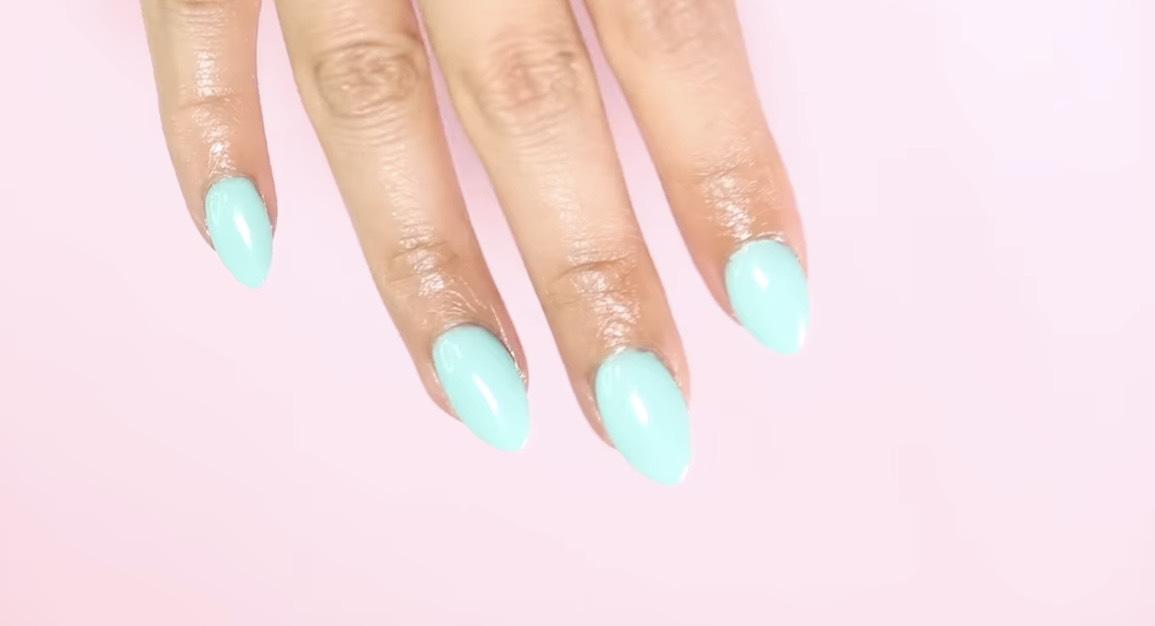
Apply moisturizer to your nails when you’re finished
Non-acetone nail polish remover can potentially dry out your skin, and the scraping process may leave your nails feeling rough. Apply a thin coat of moisturizer, such as cuticle oil or hand cream, to the surface of your nails. If desired, you can also moisturize the skin around your nails.
CONCLUSION
Here is an enjoyable experience for you that can make the process of removing shellac nail polish easy at home. You can start with the basic steps outlined in the article. Hopefully, after reading our guide, you will have learned the necessary steps to easily change and remove nail polish at home without the need to spend time at a salon.
FAQS
- What nail polish remover works on shellac?
Nail polish remover that contains acetone is typically effective for removing shellac.
- Does removing shellac damage nails?
Yes, excessive or improper removal of shellac can potentially damage nails by causing dryness or thinning.
- Can baking soda remove shellac?
No,baking soda is not typically effective for removing shellac nail polish. Acetone-based removers are more commonly used for this purpose.