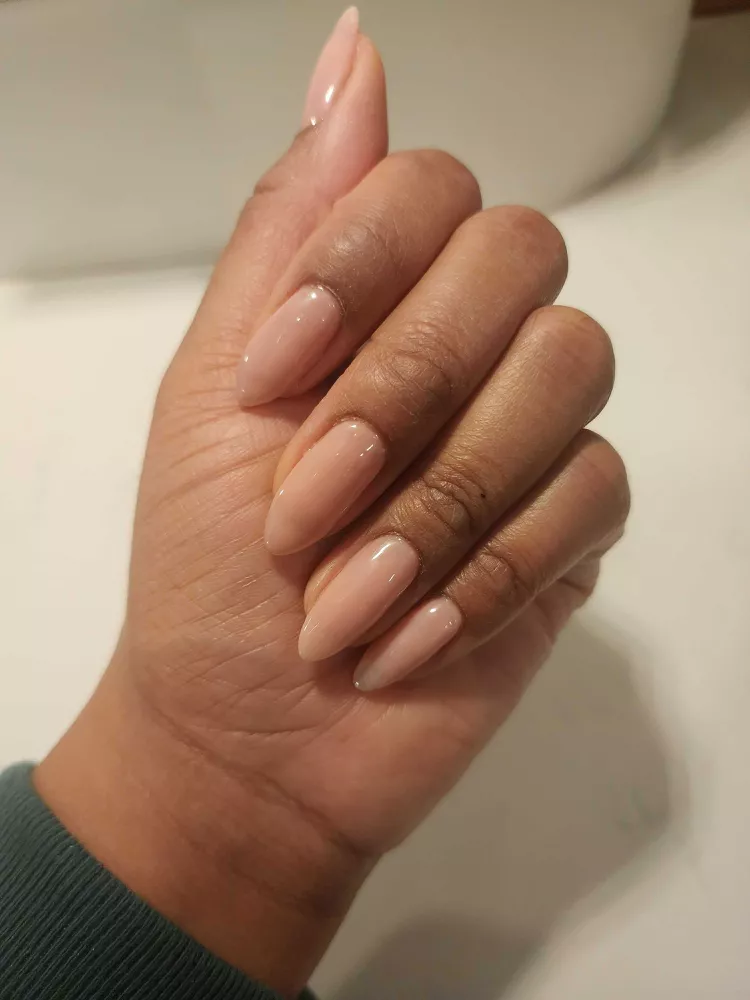
Are you looking for a secret to making your hands more attractive and luxurious? Let nude nail polish be your ideal companion, bringing you exquisite beauty and elegance that is difficult to advise. This color tone is suitable for all situations, from walks, meeting friends to important events, helping you shine confidently. Nude nail polish is a timeless trend, always favored by fashionistas for its elegant and timeless beauty. Let’s explore the enchanting world of nude colors and transform into many styles, so that your hands are always radiant and attract all eyes!
18 BEST NUDE NAIL POLISHES THAT MAKES YOUR NAIL LOOK SO NATURAL
DIOR VERNIS NAIL POLISH
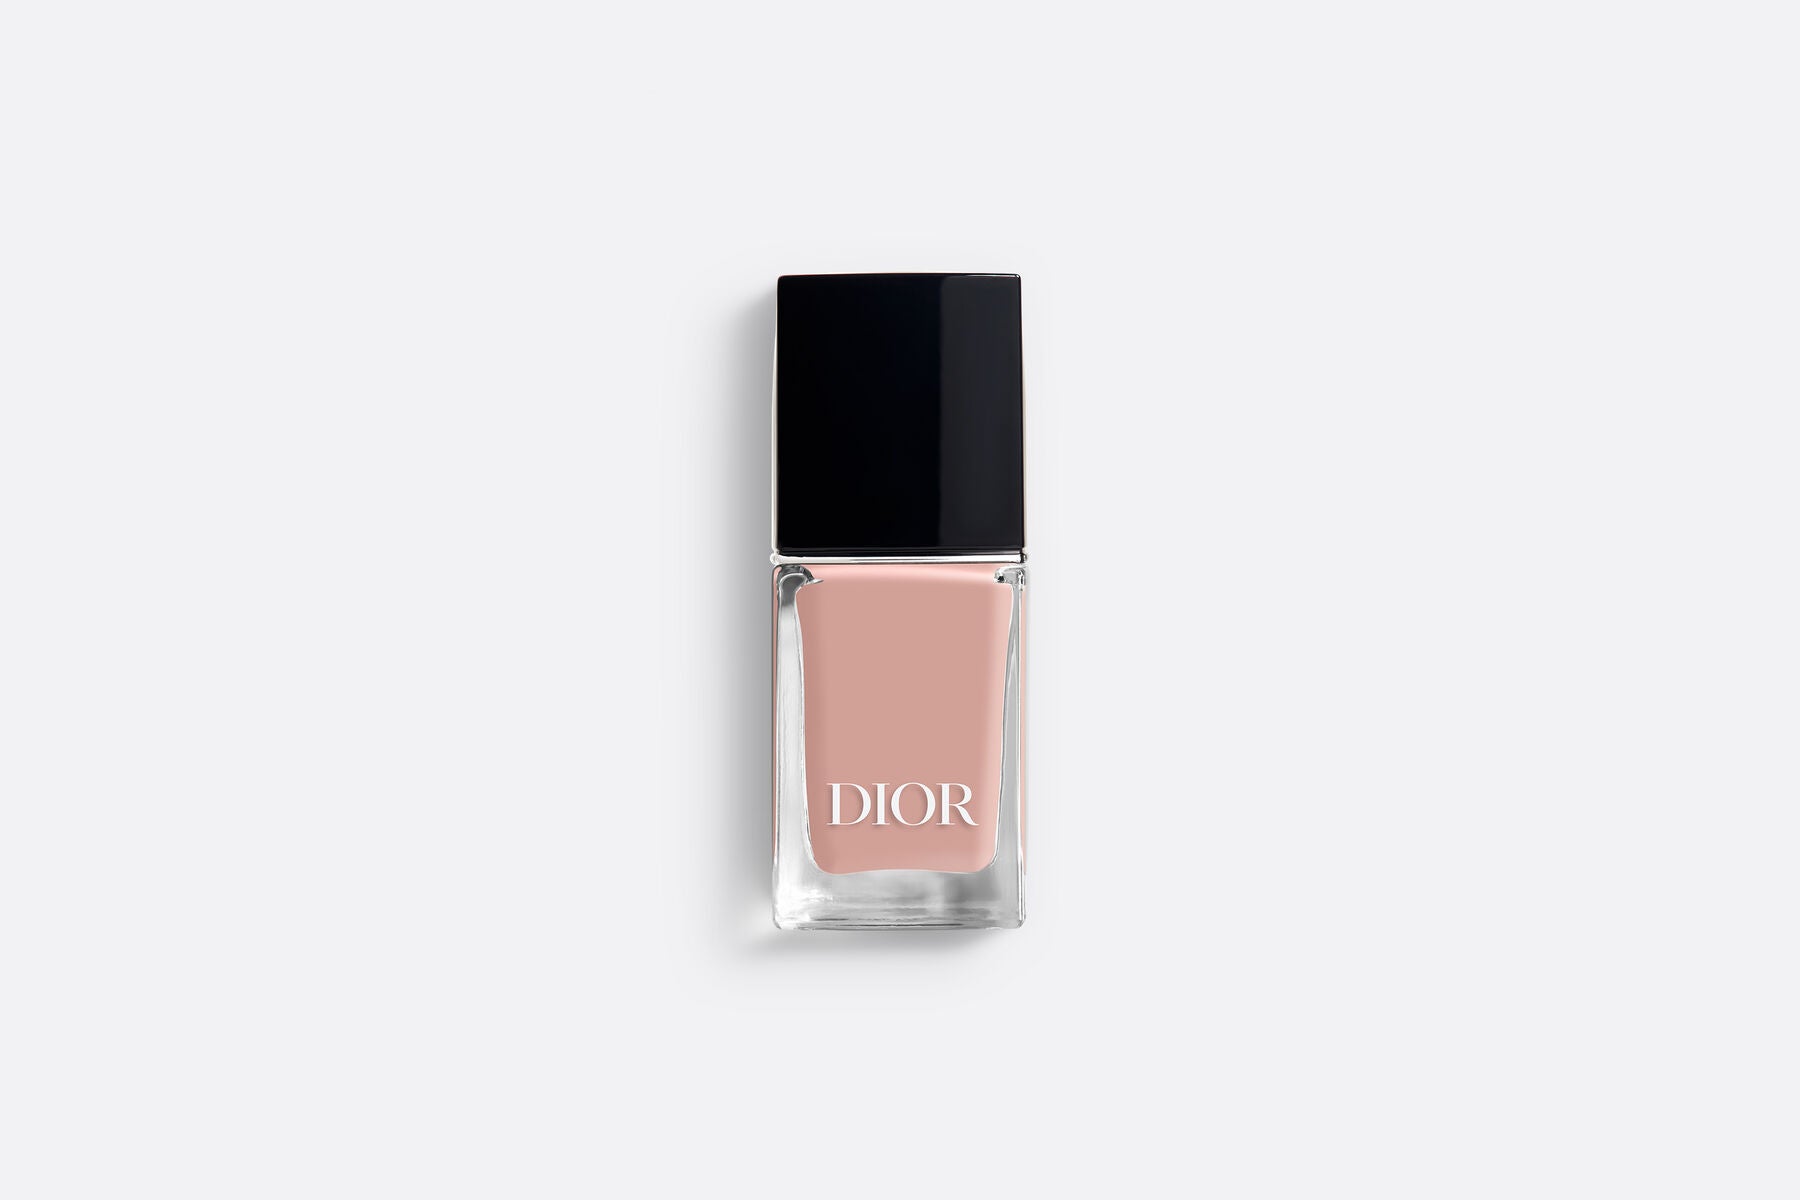
Dior Vernis is a nail polish that promises long-lasting, high-shine color with a gel-like effect. It comes in a wide range of shades, from classic nudes and reds to bold pinks and blacks. The formula is said to be infused with ingredients that help protect and strengthen nails.
LONDONTOWN NAIL COLOR POLISH
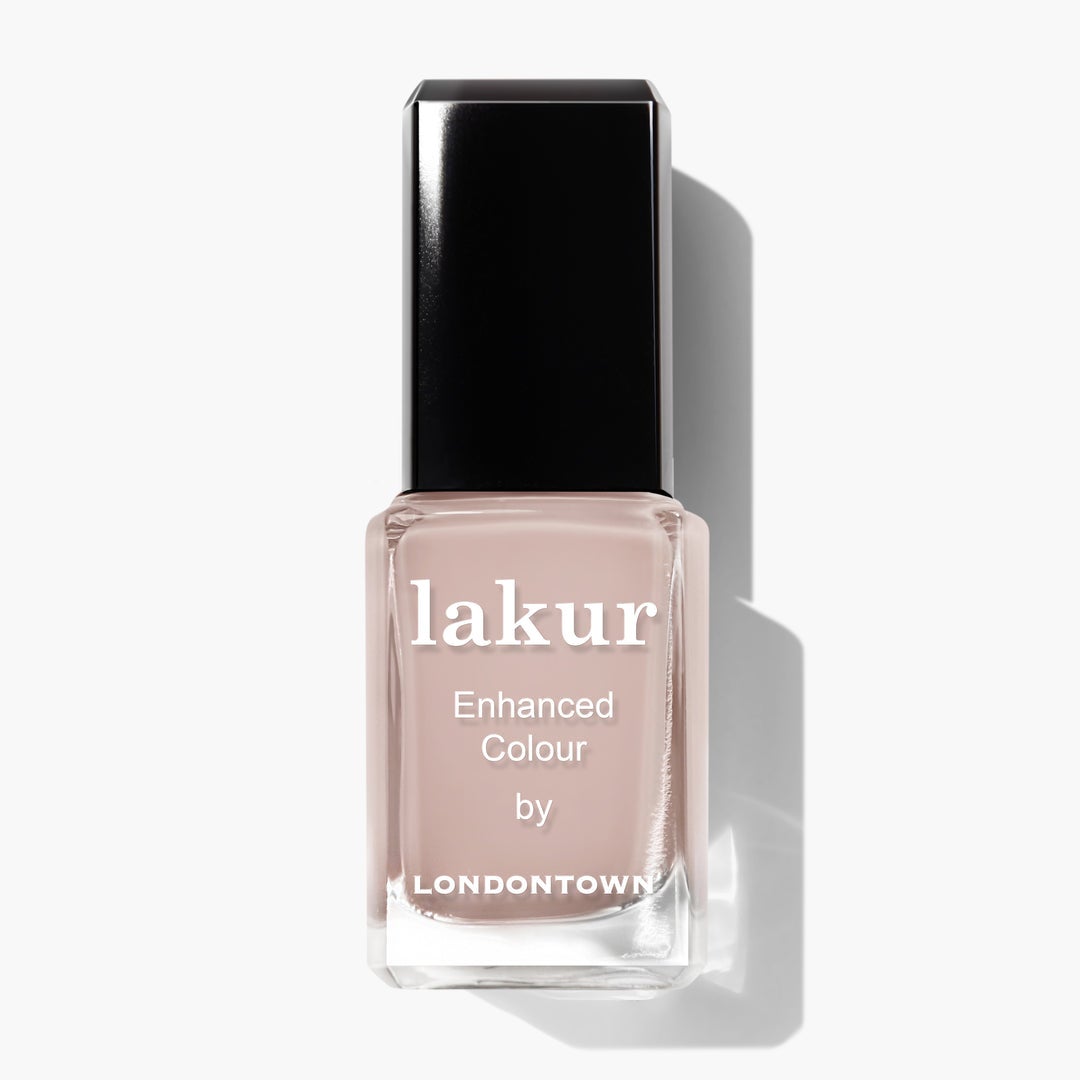
Londontown Nail Color Polish offers a range of vibrant and long-lasting shades that are perfect for any occasion. Infused with botanical ingredients, this polish not only provides a beautiful finish but also strengthens and nourishes your nails. Its chip-resistant formula ensures a flawless manicure that lasts, keeping your nails looking salon-fresh for days.
CHANEL LE VERNIS NAIL POLISH
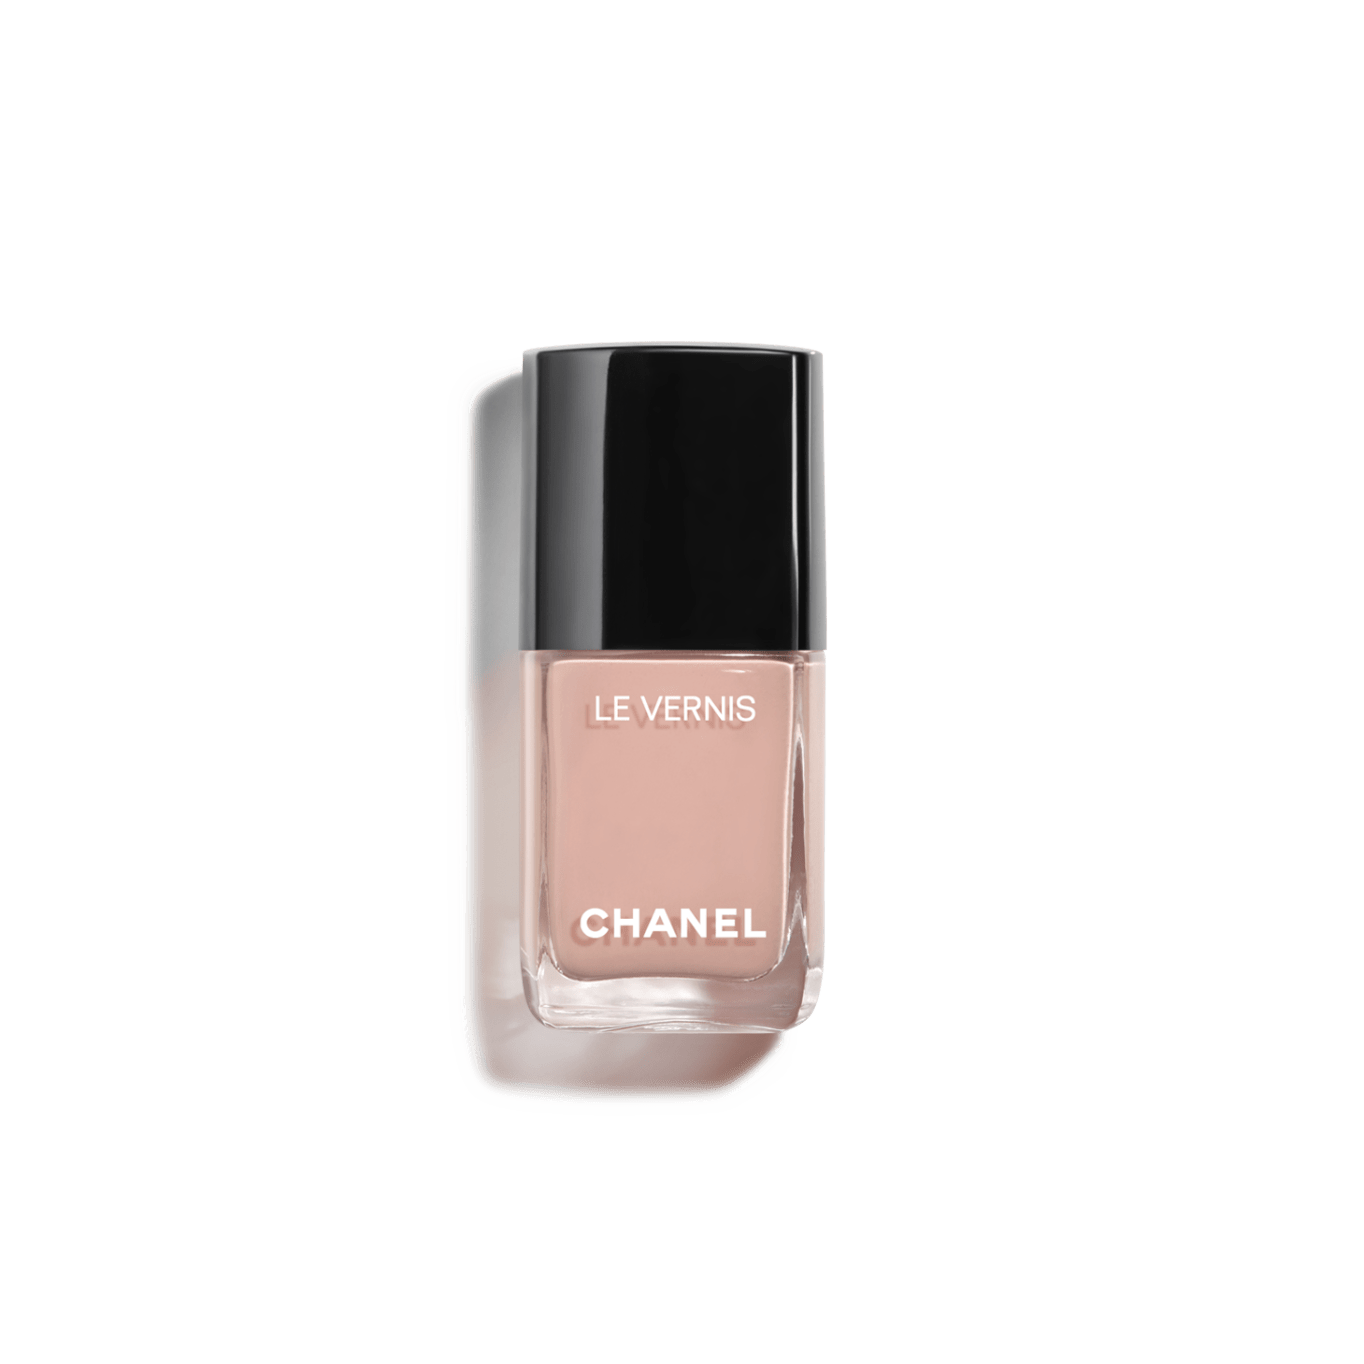
CHANEL LE VERNIS Nail Polish delivers a high-gloss finish with a long-lasting, chip-resistant formula that ensures your manicure remains impeccable. Each shade is richly pigmented, offering intense color payoff and an elegant look. Enhanced with bioceramics and ceramides, this polish also helps strengthen and protect your nails while providing a luxurious touch.
YSL BEAUTY LA LAQUE NAIL POLISH
YSL Beauty La Laque Nail Polish offers a luxurious and high-quality manicure experience with its vibrant and long-lasting colors. Known for its smooth application and glossy finish, this nail polish provides a professional look that can be easily achieved at home. With a wide range of shades, from classic reds to trendy hues, YSL Beauty La Laque ensures there’s a perfect color for every occasion and mood.
PEOPLE OF COLOR PINK SAND
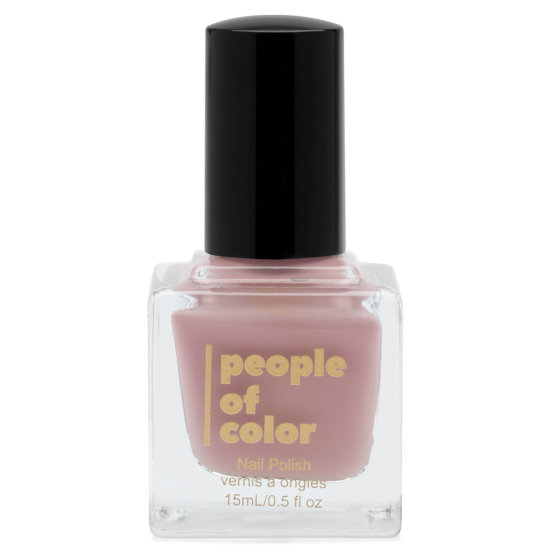
People of Color’s Pink Sand Nude Nail Polish offers a sophisticated and versatile nude shade with a hint of pink, making it perfect for any occasion. This polish provides a smooth, even coverage that enhances the natural beauty of your nails while adding a subtle yet elegant touch of color. Designed with inclusivity in mind, Pink Sand Nude complements various skin tones, ensuring that everyone can enjoy its chic and timeless appeal.
PEAR NOVA FRIDA BE FREE
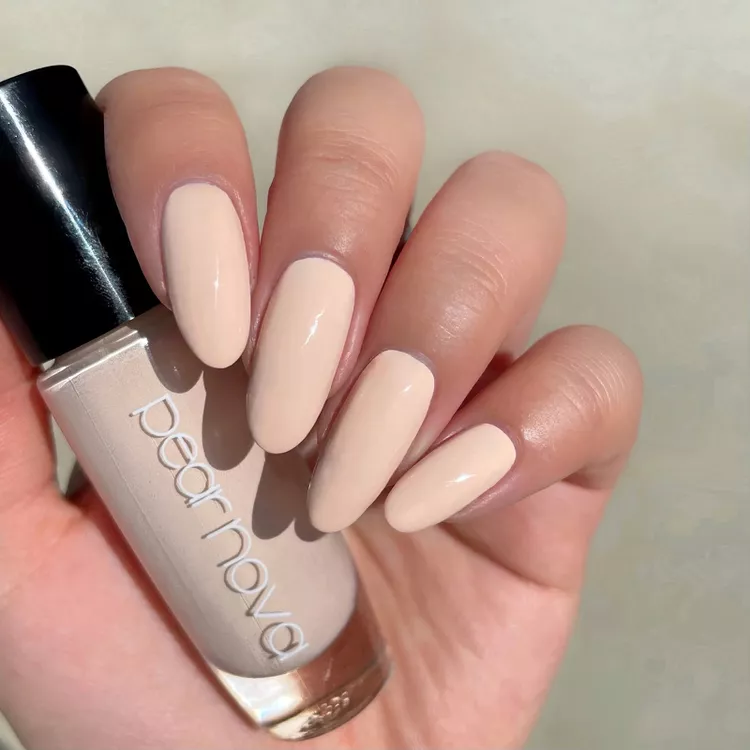
Pear Nova’s Frida Be Free Nude Nail Polish is a beautifully understated shade that pays homage to the legendary Frida Kahlo. This elegant nude polish offers a smooth application and long-lasting wear, making it a staple for any manicure collection. Perfect for any skin tone, Frida Be Free adds a touch of sophistication and subtlety to your nails, ideal for both everyday wear and special occasions.
APRES GEL COULEUR VINTAGE CARNATION
Apres Gel Couleur Vintage Carnation is a gel polish boasting a smooth, highly pigmented formula for a flawless manicure. This “vintage carnation” shade delivers a nude color, perfect for those who prefer a natural look with a touch of sophistication. For easy application, it even comes with a specially designed Brush-X for precise control.
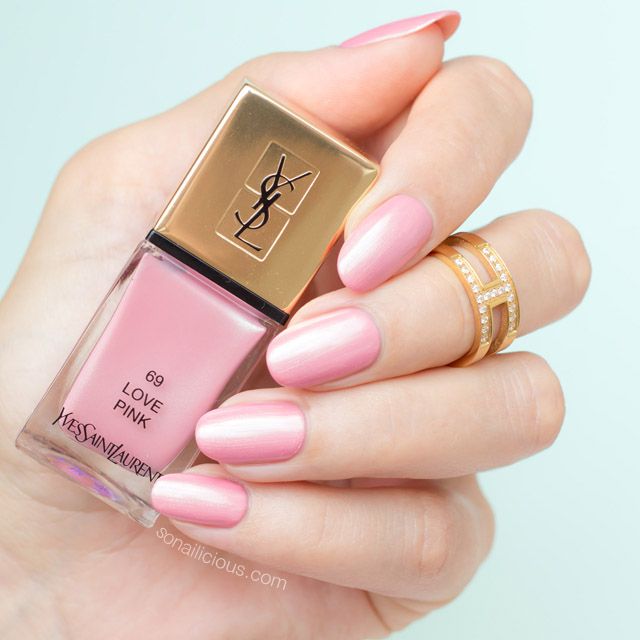
OLIVE & JUNE NAIL POLISH IN PINK
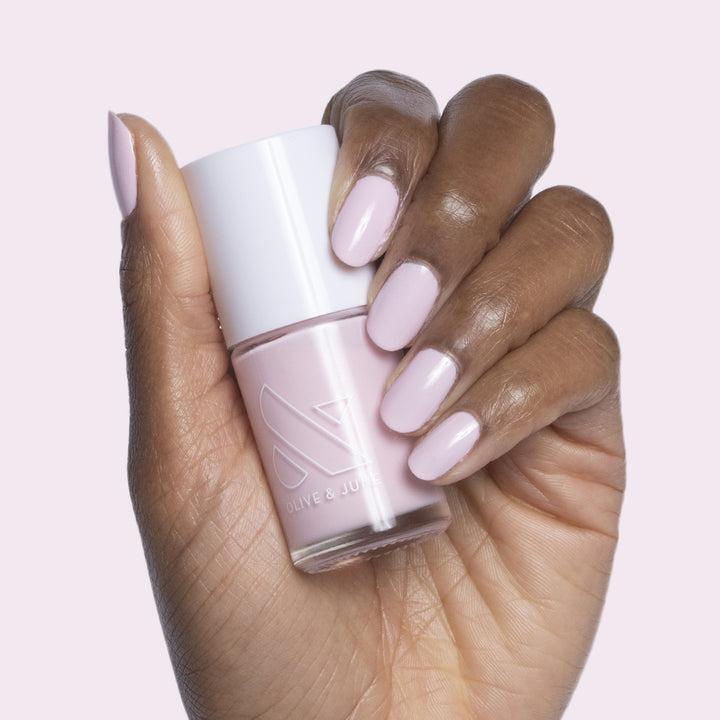
Olive & June Nail Polish in Pink delivers a vibrant and cheerful hue that’s perfect for adding a pop of color to your nails. Known for its salon-quality formula, this polish offers easy application, a smooth finish, and long-lasting wear. Whether you’re dressing up for an event or looking to brighten your everyday look, Olive & June’s Pink shade provides a fun and stylish option.
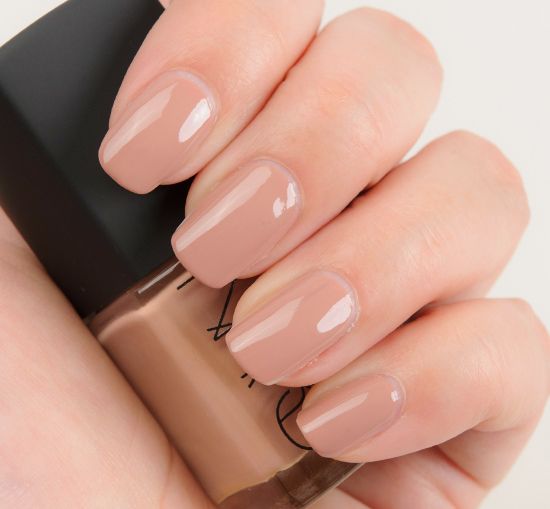
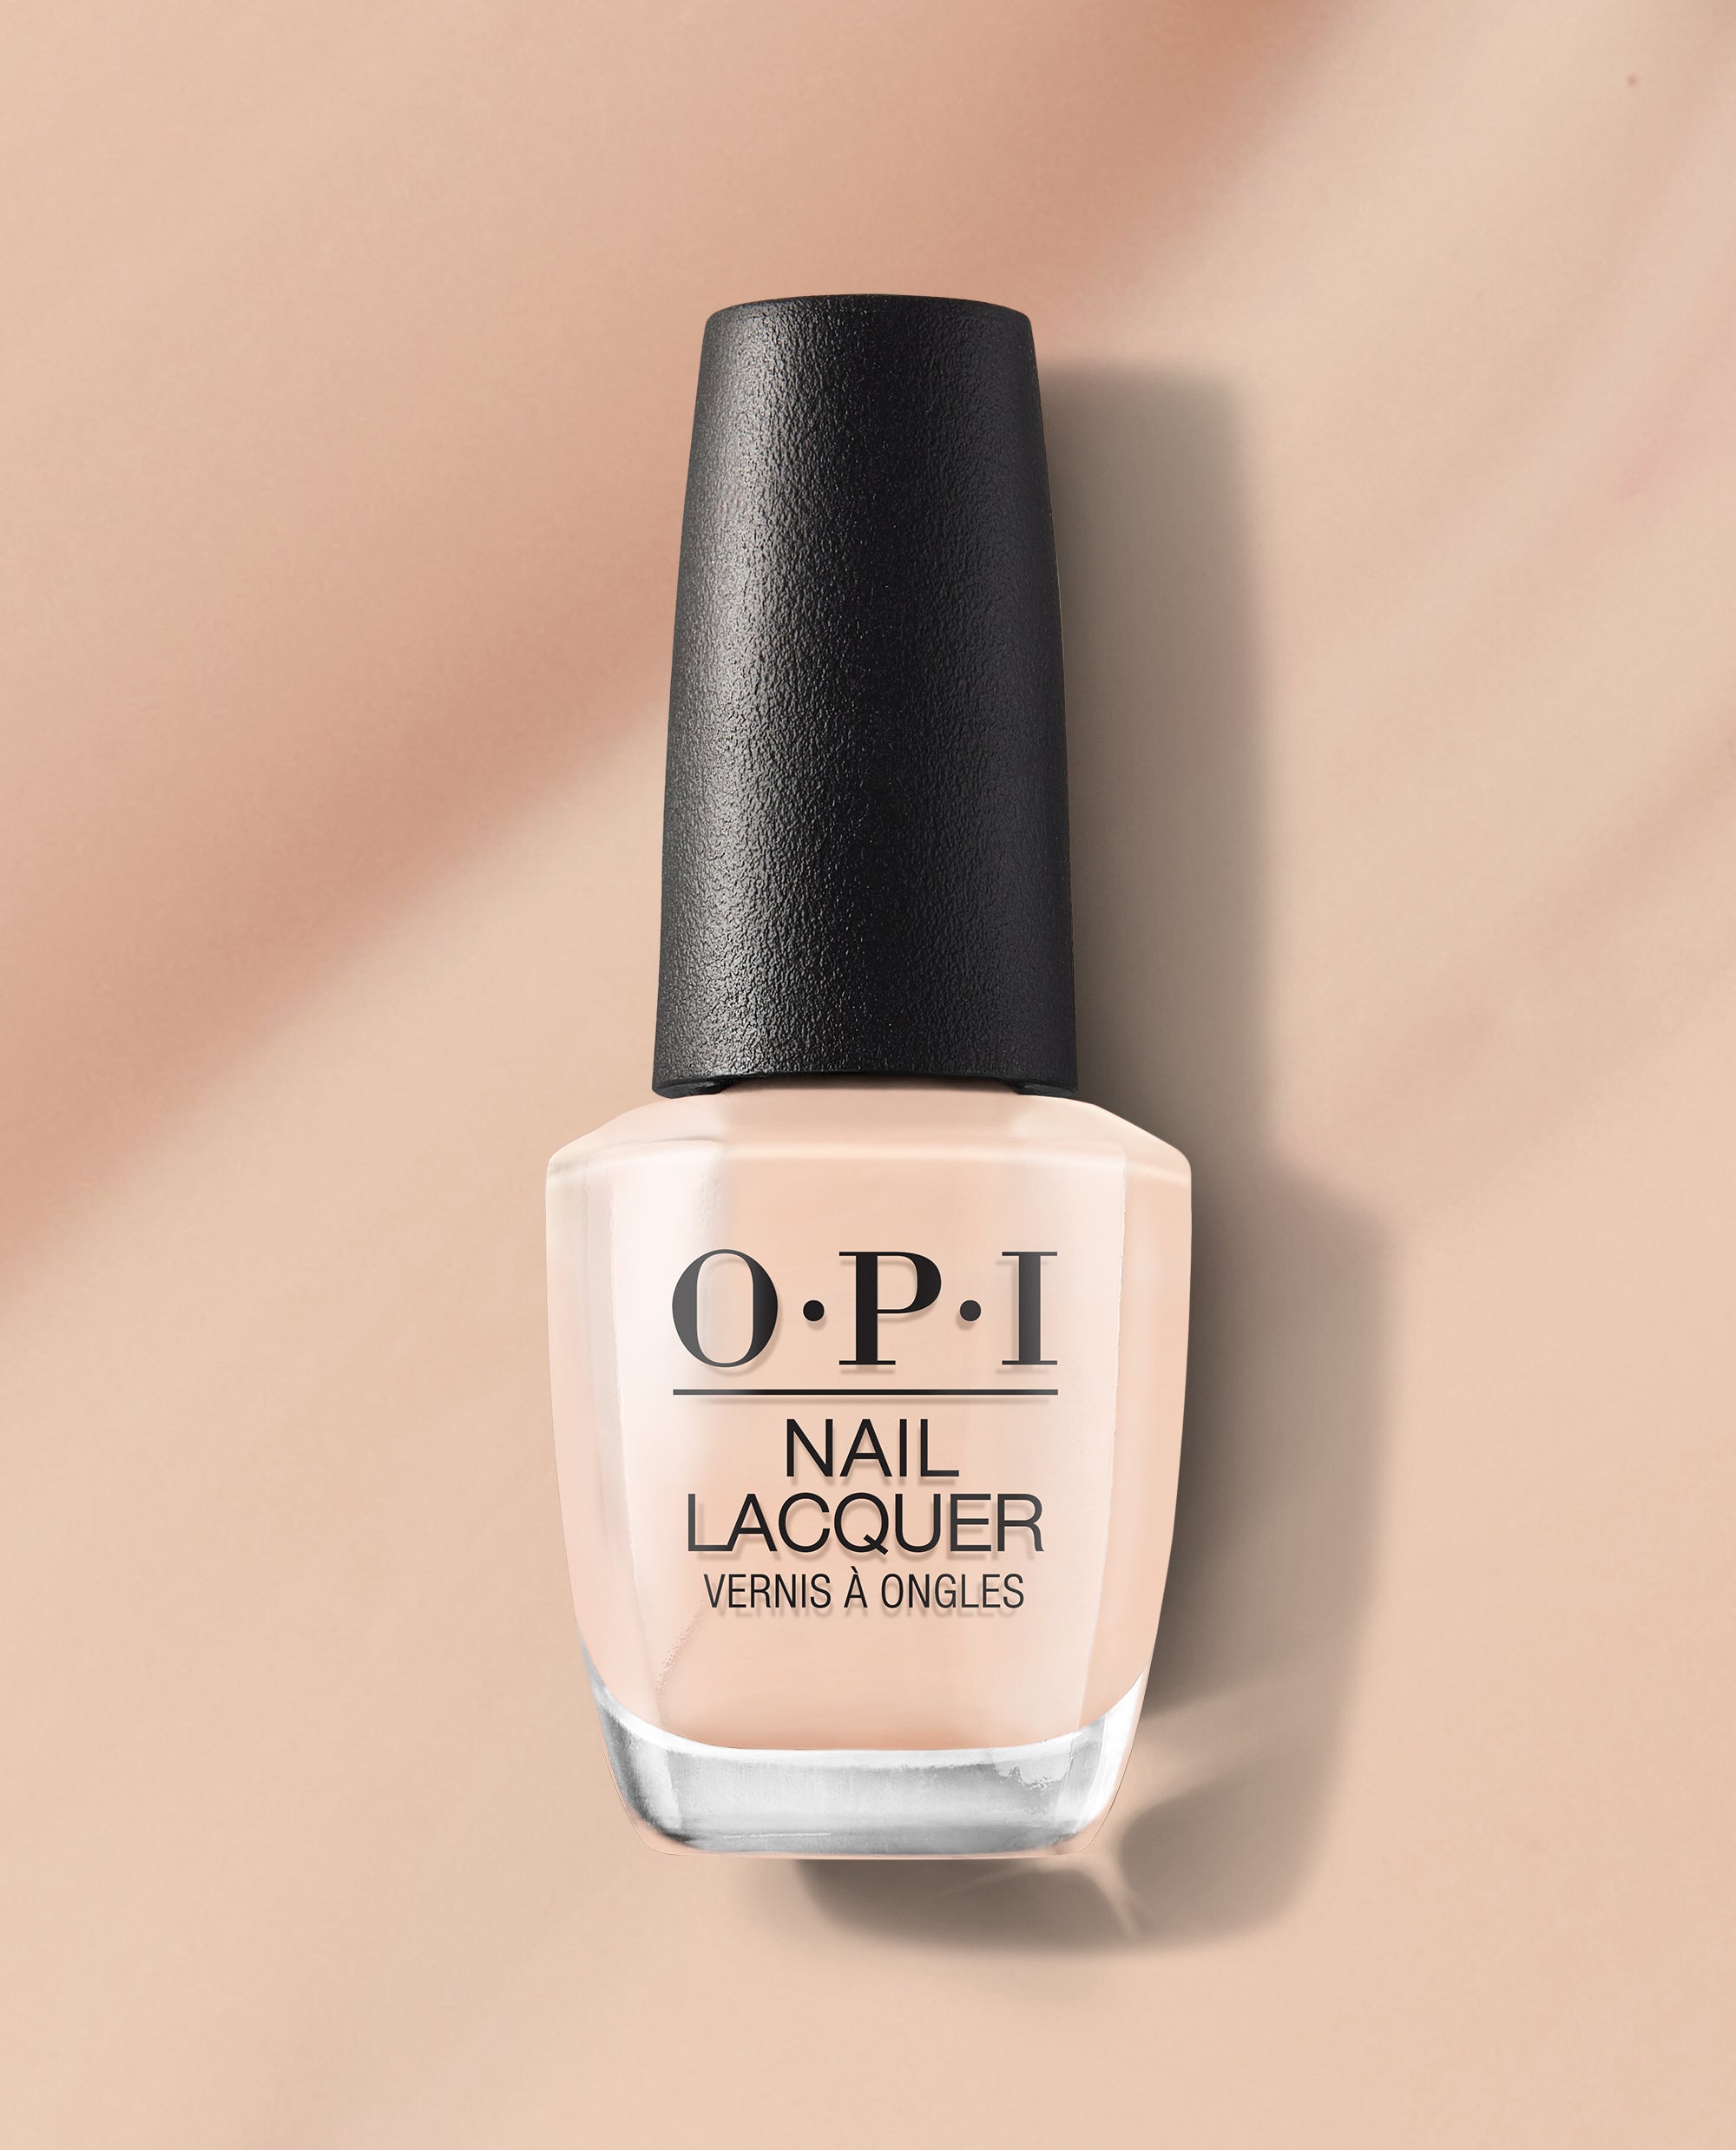
OPI PUT IT IN NEUTRAL
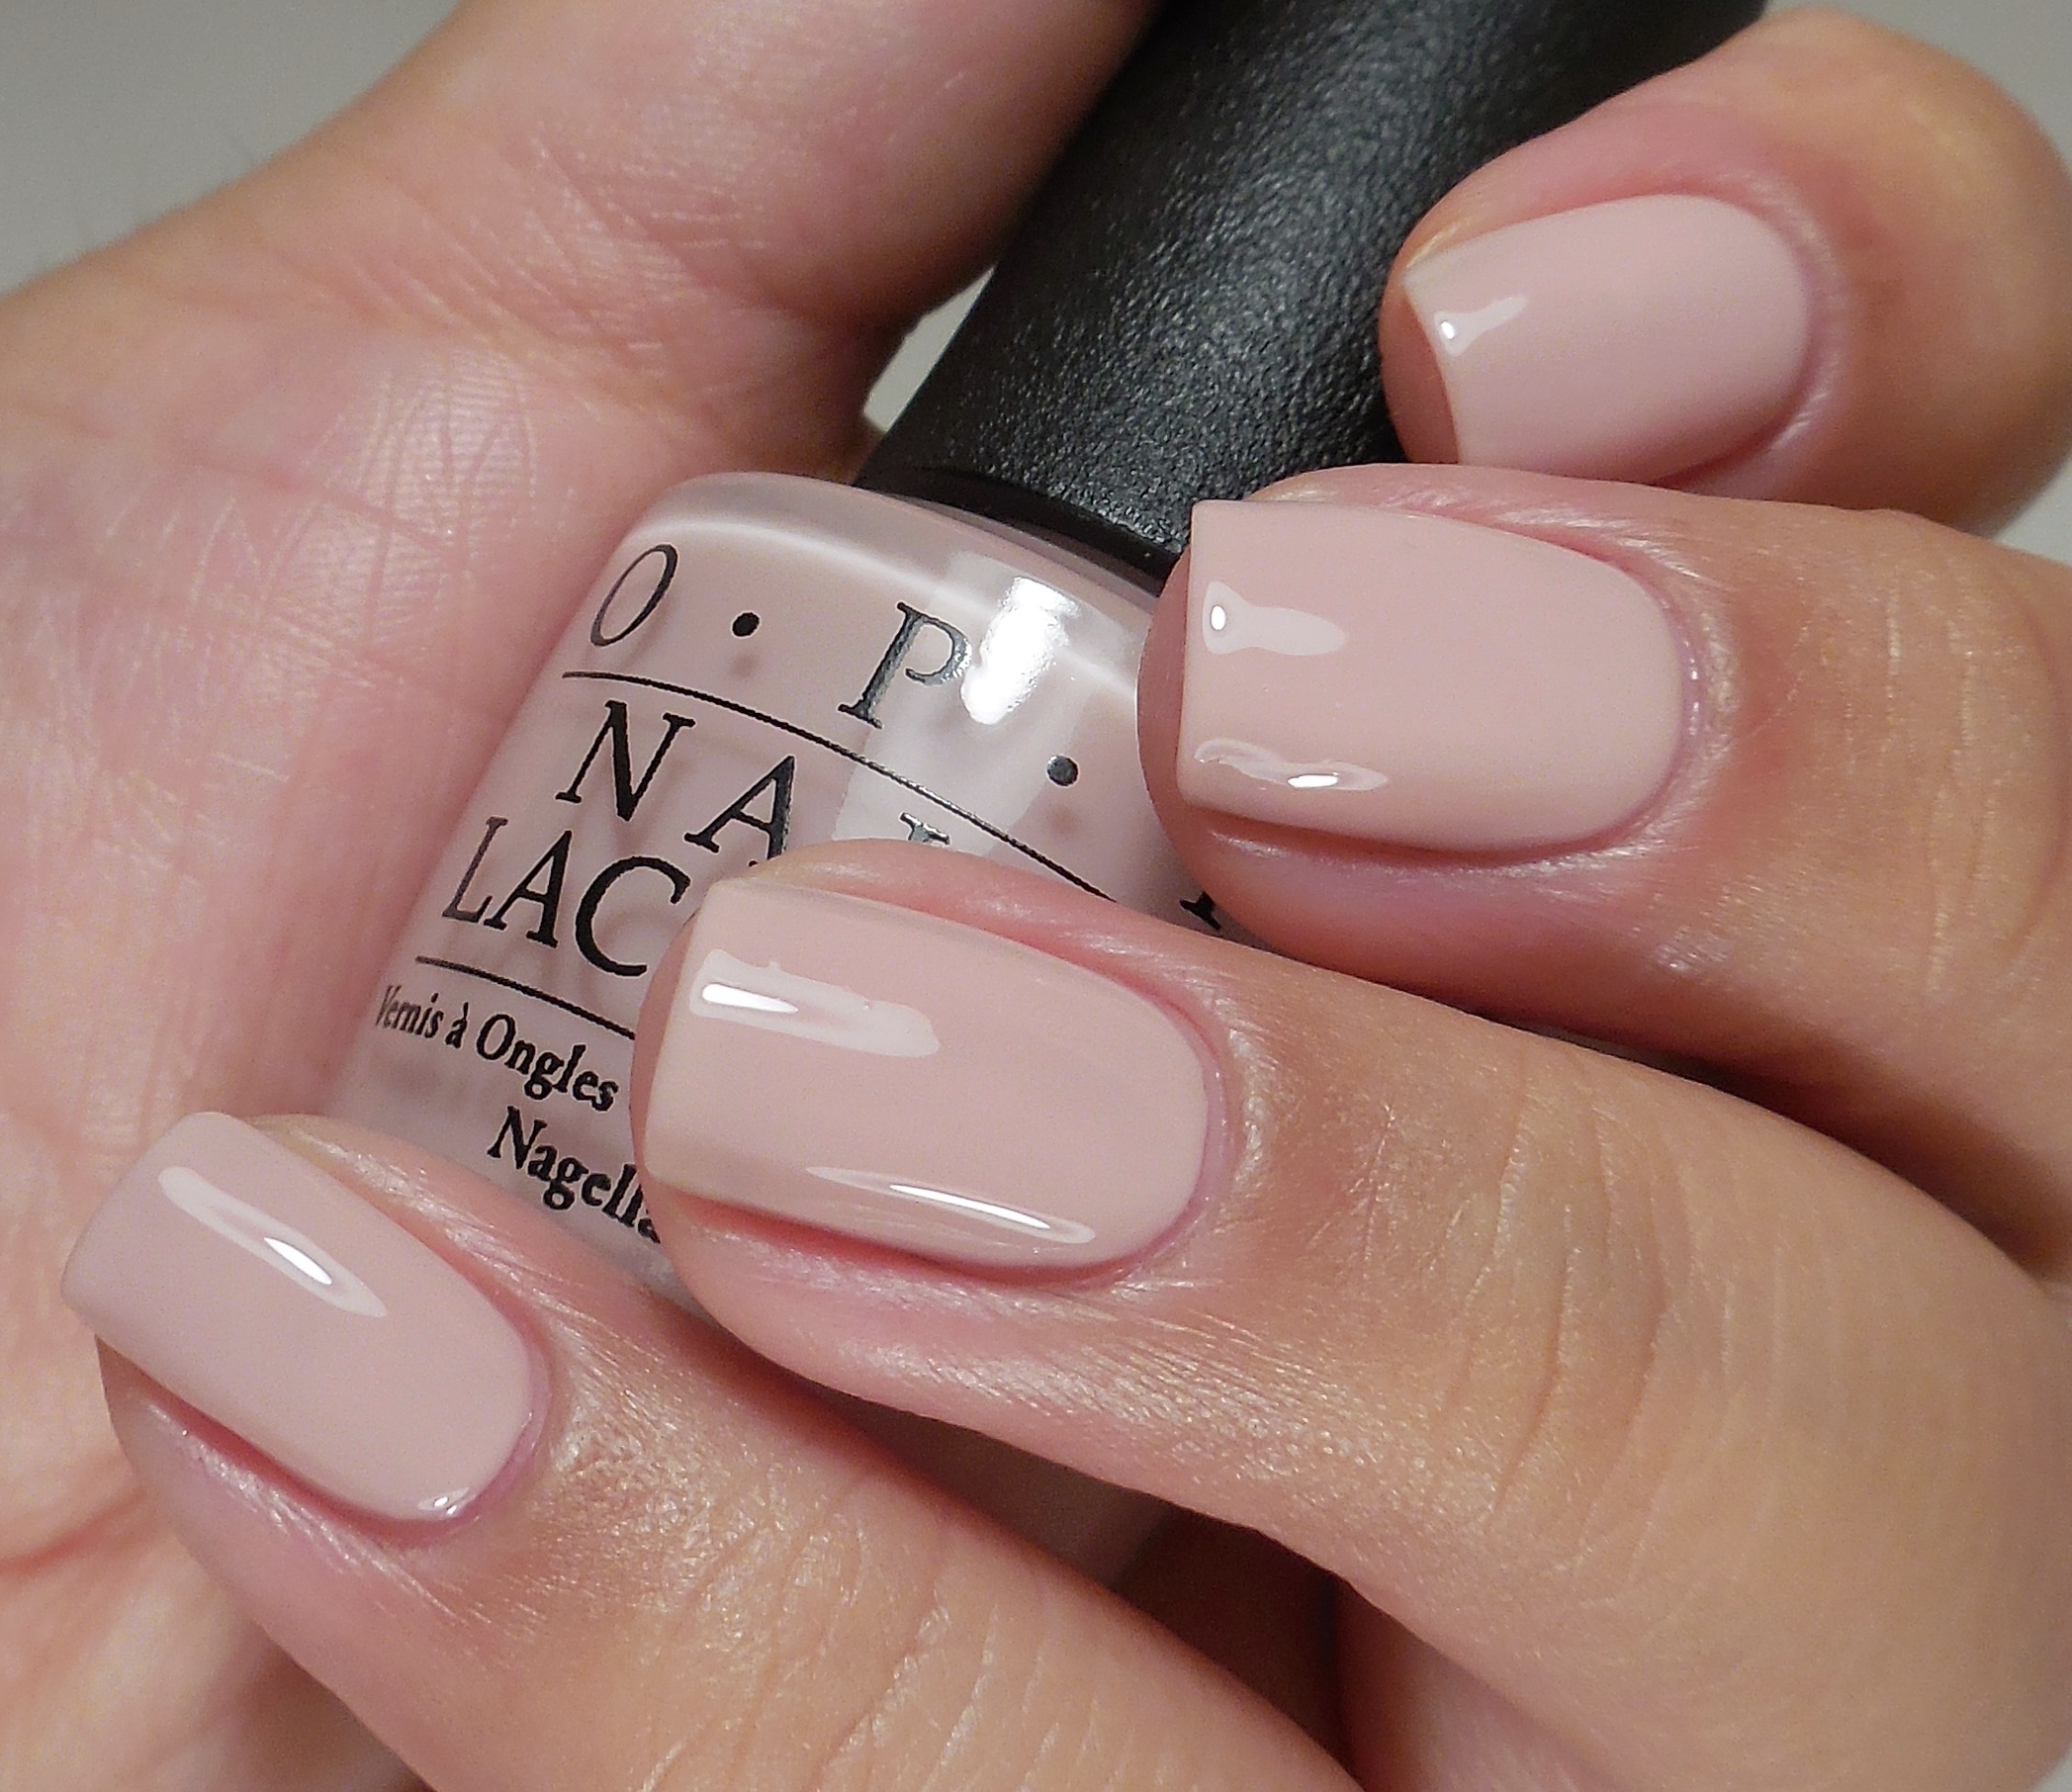
Looking for a perfect beige shade for fair skin? Let’s explore this classic color scheme, containing miscellaneous rosy hues. This shade not only enhances your radiant beauty but also brings elegance and nobility to any style.
ESSIE Gel Couture Nail Polish in Tailor Made with Love
Essie’s Gel Couture in Tailor Made with Love is a long-lasting, chip-resistant nail polish that delivers a gel-like shine without needing a UV lamp. This playful pink nude shade offers a creamy sheer finish for a natural look with a touch of flirtiness. With its easy two-step application, you can achieve a salon-quality manicure at home.
CND SHELLAC NAKED BASH
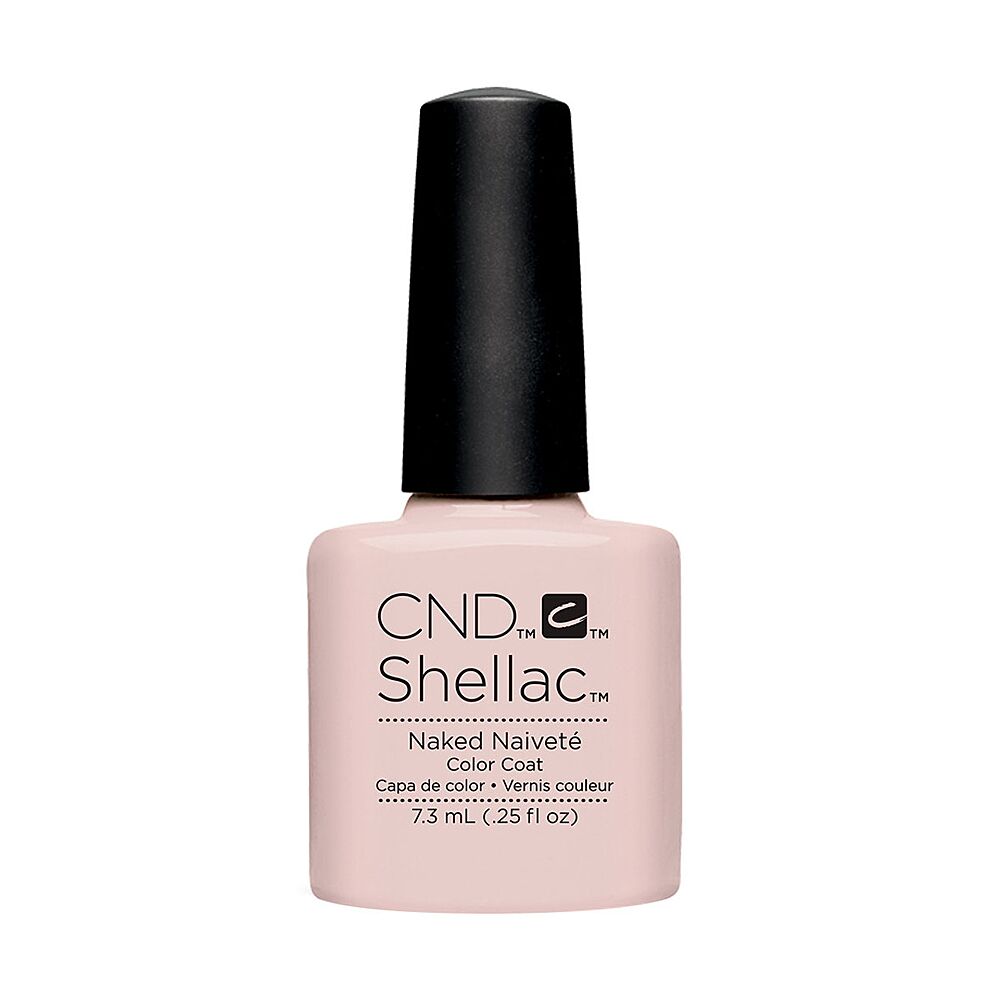
Are you looking for a nude nail polish color that is both long-lasting, easy to use, and brings elegant beauty? Then cream beige is the perfect choice for you! The gentle shade of creamy beige seems to blend into the skin, creating a natural and sophisticated look. This color scheme is not only suitable for all daily activities but also impressively enhances the beauty of the hands.
BIRTHDAY SUIT
This light pink tone is the perfect choice for women with light skin tones. The colors are gentle, feminine, enhancing the natural beauty of the hands. The outstanding advantage of this product is its ability to dry quickly and long-lasting shine, helping you stay radiant all day long.
ZOYA NAKED
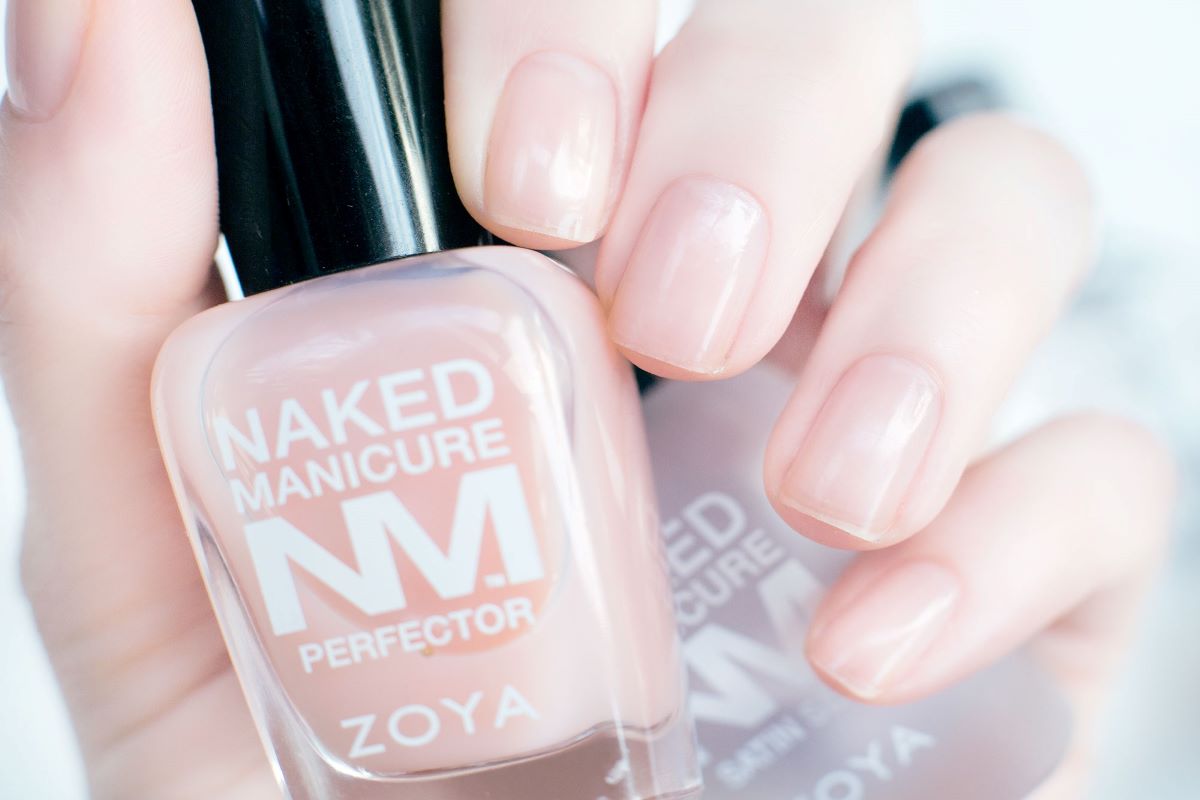
With gentle, elegant shades, milky matte lipstick gives your lips a soft, youthful and vibrant beauty. This lipstick color is suitable for all skin tones, from light to dark, and can be easily combined with many different makeup styles, from gentle, feminine to stylish, trendy.
REVLON COLORSTAY GEL COLOR LONGWEAR NAIL ENAMEL IN HEAD OVER HEELS
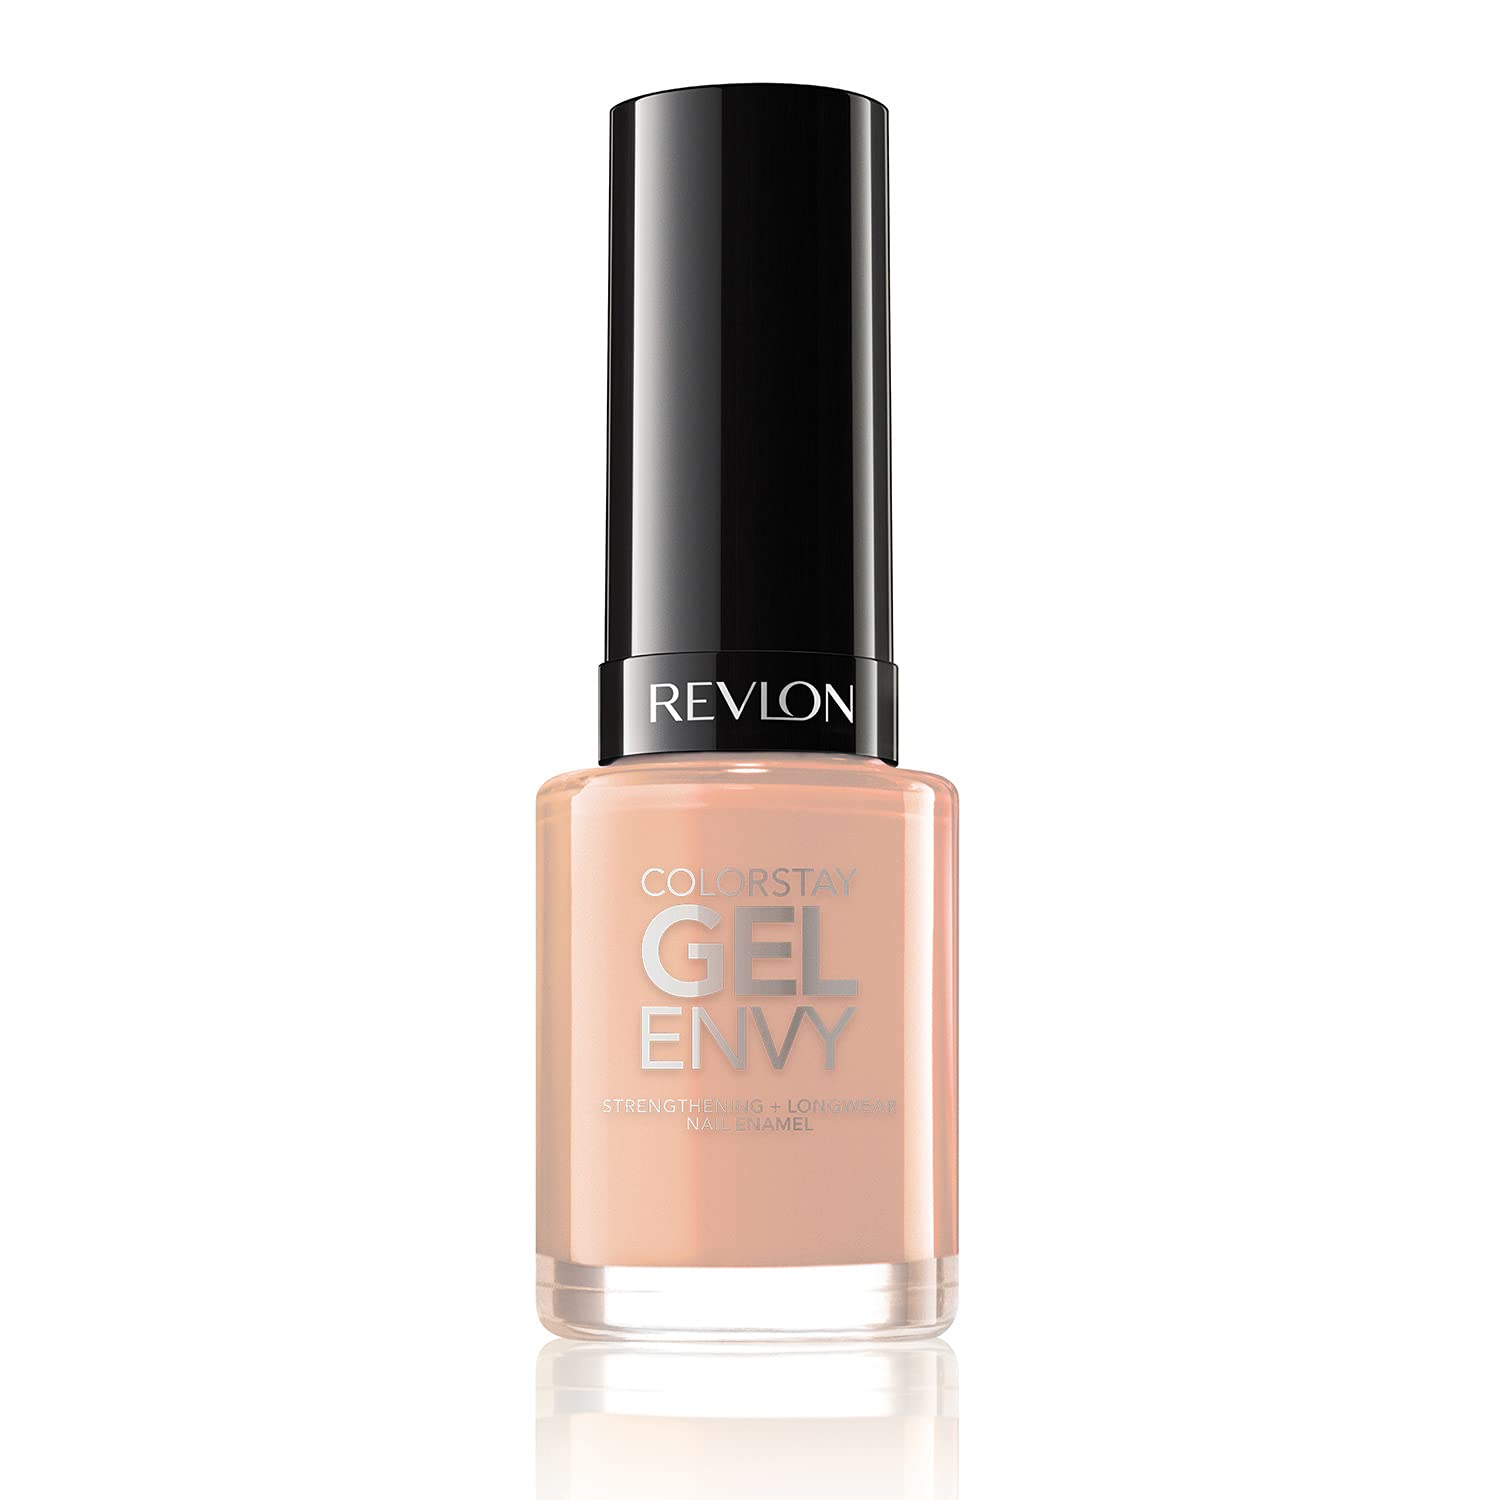
This creamy beige color possesses luxurious, sophisticated beauty with high gloss, attracting the eye. Thanks to the special coating, the surface is effectively scratch-resistant, ensuring long-lasting beauty. The cream beige color is gentle and pleasant, suitable for many different spaces and interior decoration styles.
NARS AUDACIOUS LIPSTICK IN GRACE
This nude pink nail polish color is not only beautiful but also highly durable, helping you have a shiny and long-lasting polish. The perfect choice for those who love gentle, elegant beauty but still want to keep their nails beautiful for a long time.
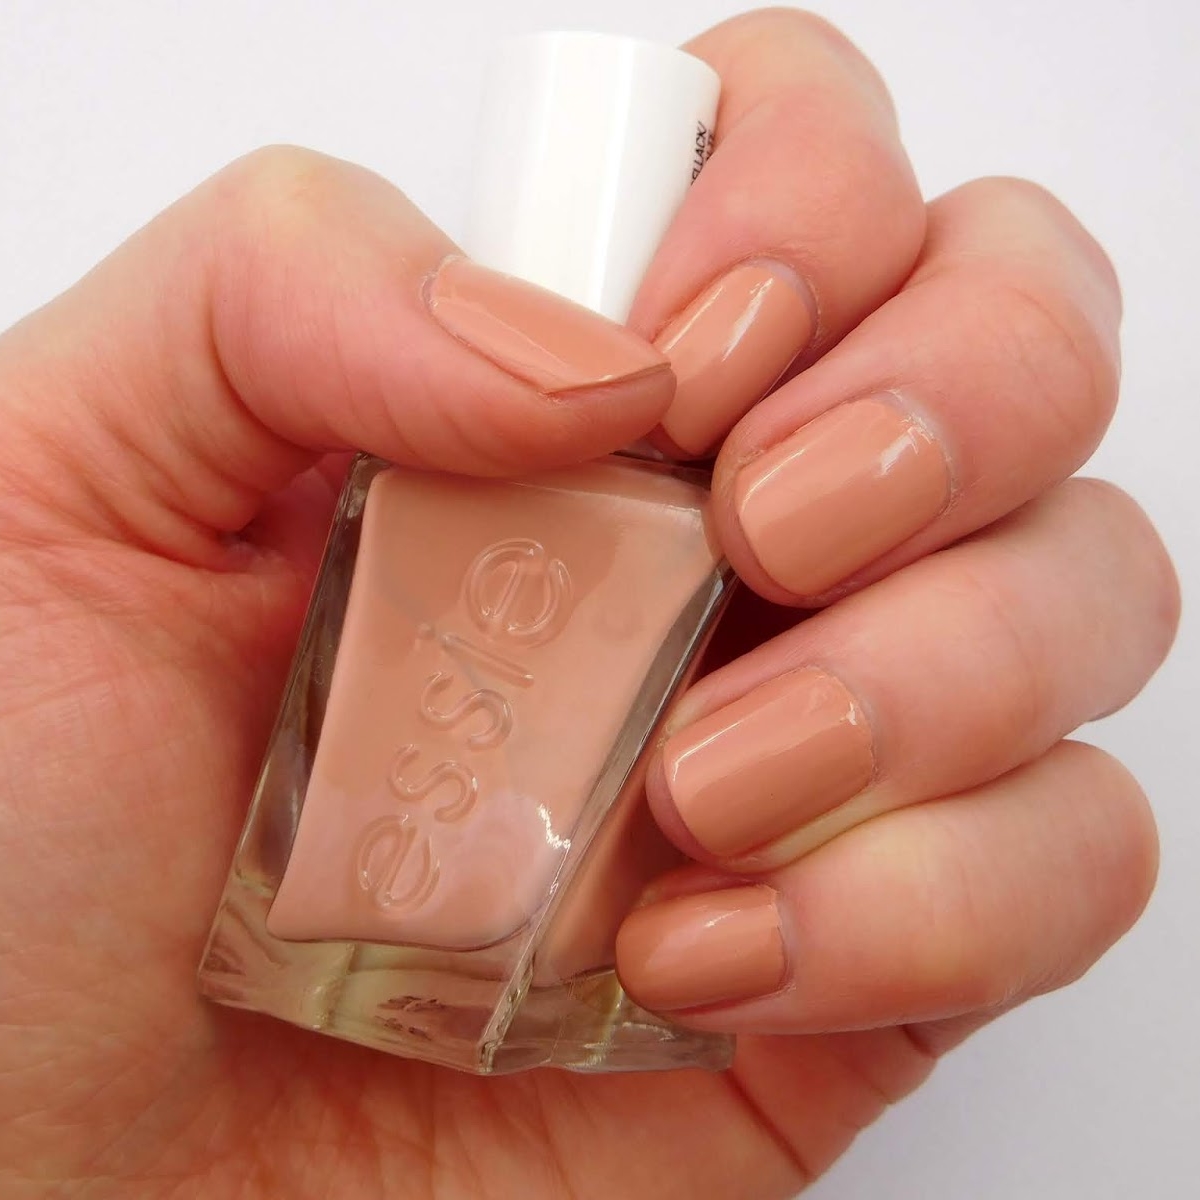
OPI SAMOAN SAND
Light brown is a great choice for those with dark skin. This neutral color scheme brings warmth and sophistication, while enhancing the healthy, radiant beauty of the skin. With the advantage of being easy to coordinate, light brown is suitable for many different styles, from elegant and gentle to personality and dynamism.
GUCCI BEAUTY ELLEN BLUSH
Ellen Blush gives you a glossy, long-lasting foundation with a plant-based formula that won’t flake or flake easily. The gentle pink-beige shade creates opaque coverage, helping to naturally conceal imperfections, giving you an elegant and radiant look all day long.
DND GEL SHEER NUDE
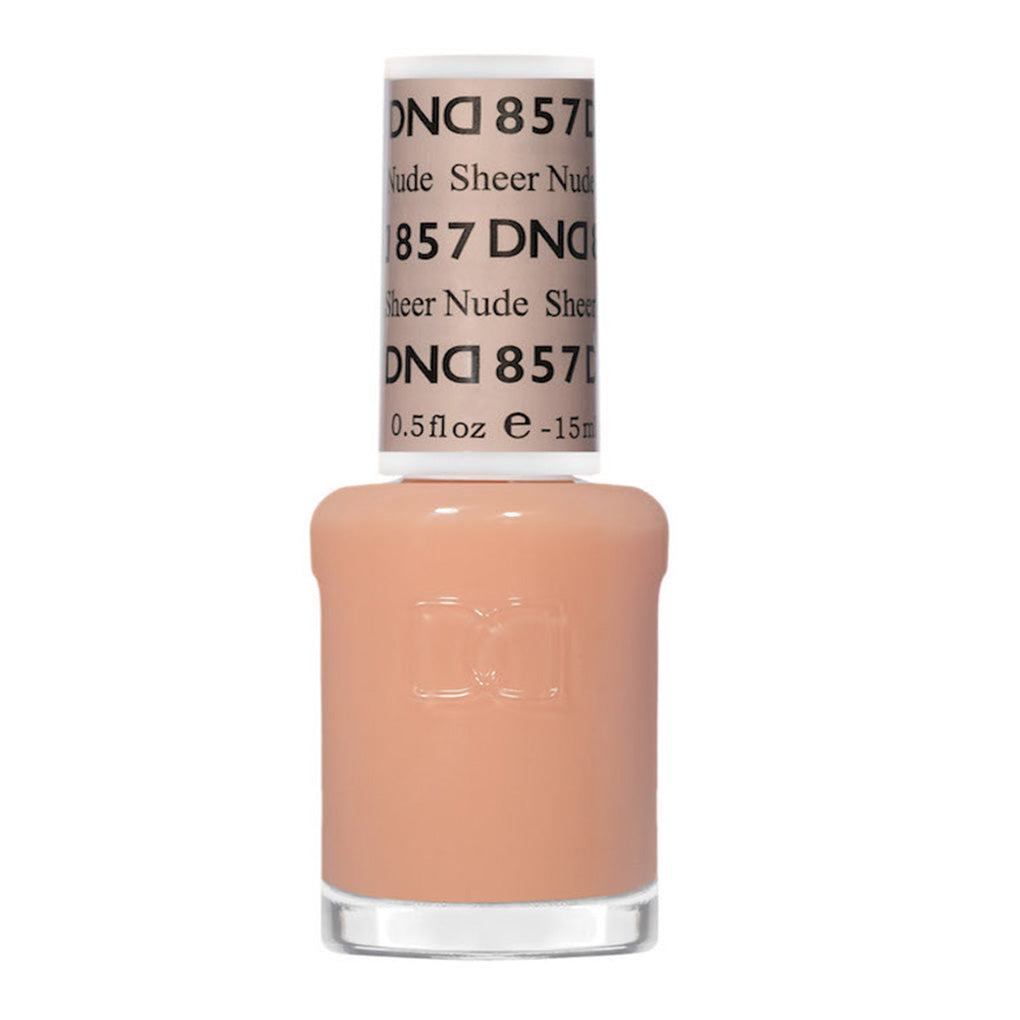
Do you want to have elegant and sophisticated nails? Try nude Sheer Gel Polish now! The thin, dew-like, transparent polish helps enhance the natural beauty of your nails. With nude Sheer Gel Polish, you can confidently wear your nails anytime, anywhere, from going to school, going to work, to attending important events. This light layer of paint also helps protect your nails from environmental damage. Sheer nude gel polish has many different tones for you to choose from, suitable for all skin tones.
THE BEST NUDE NAIL POLISH FOR YOUR SKIN TONE
Unlike face makeup, nude nail polish doesn’t need to match your skin tone exactly—it just needs to be flattering. Celebrity nail artist Julie Kandalec explains that while nude polishes can look great when they perfectly match your skin, the choice of shade is ultimately about personal preference. ” [Think about] what makes you feel comfortable and confident while wearing them, regardless of whether they match your skin tone exactly,”, she says.
That said, it typically suggests certain nude shades for specific skin tones, though any shade can work for anyone.”For those with lighter skin tones with blue or green undertones, I recommend shades that are peachy or warm pinks,” Hannah Lee – Nail artist and content creator says. “Softer pinks would work great for those with more purple or blue undertones.”
HOW TO PICK THE BEST NUDE NAIL POLISH FOR THE SEASON
Lighter shades, including nudes, tend to become more popular as the weather warms up. Nude nail polish is especially popular during transitional seasons, with fall hues being deeper and more brown, while spring hues feature more whites and pinks.
“For spring, I love a lighter sheer nude since it feels so fresh and chic, and during summer, I lean towards a tan opaque nude since it reminds me of sandy beaches,” Kandalec says. “For fall, I love a rusty nude with a little bit of orange undertones. Finally, for winter, I recommend a rich, darker nude, which always seems to fit the moodier vibes during the chilly months.”
CONCLUSION
Confidently adorn your hands more gorgeously with a variety of nude shades, affirming your class and sophisticated aesthetic taste. Don’t hesitate to experiment and get creative with nude colors, so that every time you appear, you will be the center of attraction. Let nude nail polish accompany you on the journey to discover style and assert yourself!