20 WINNIE THE POOH TATTOO DESIGNS

Winnie the Pooh has been a beloved classic for generations, teaching us the true meaning of friendship while bringing countless smiles along the way. If you adore this cuddly, lovable bear, you’ll love these charming Winnie the Pooh tattoo ideas. Take a look at some of our favorites!

Geometric Winnie the Pooh and Friends Tattoo

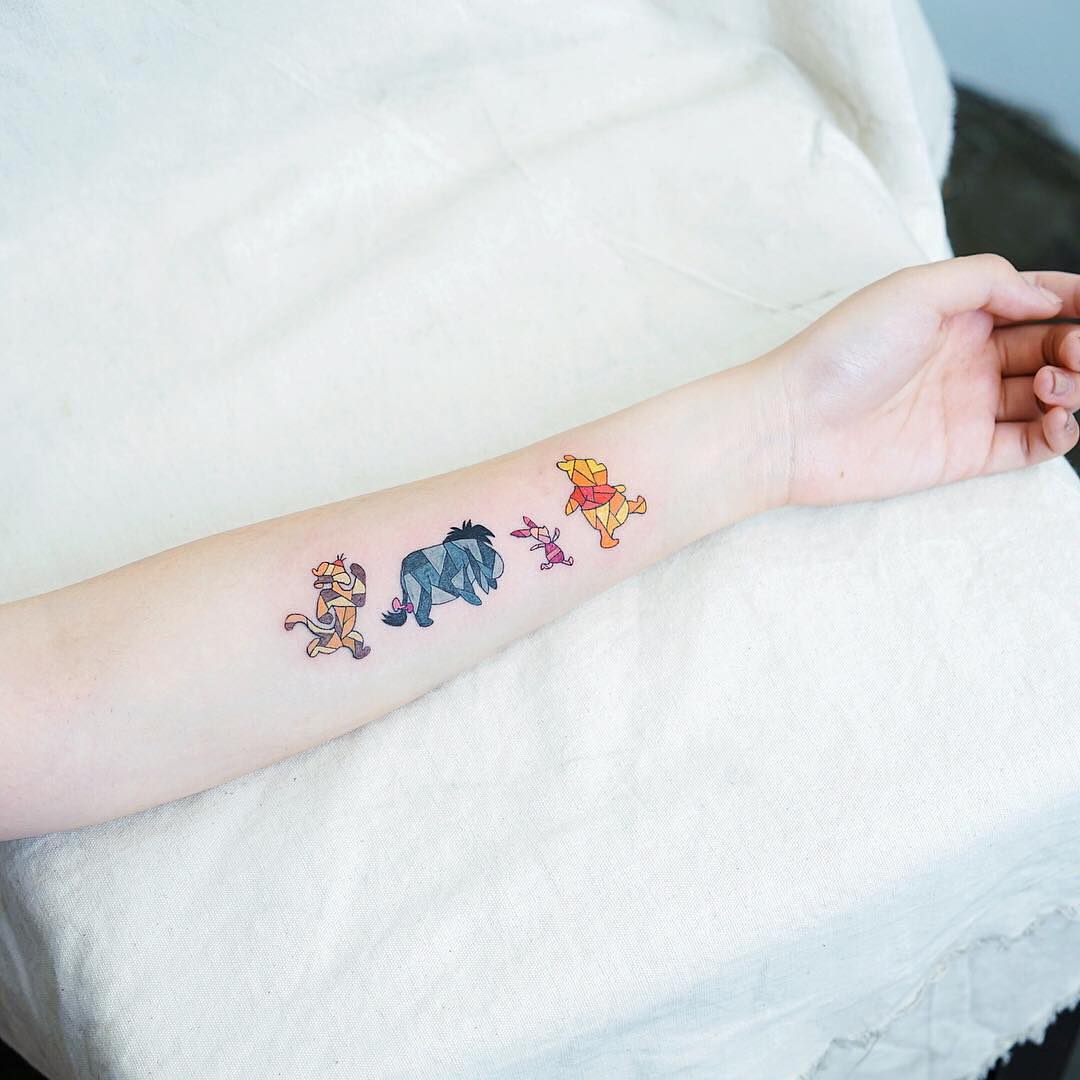
This unique design transforms Winnie the Pooh, Piglet, Eeyore, and Tigger into a colorful geometric pattern. Depending on placement, it can look as if they’re marching off on an adventure together—perfect for a forearm tattoo!

Tigger Outline Tattoo

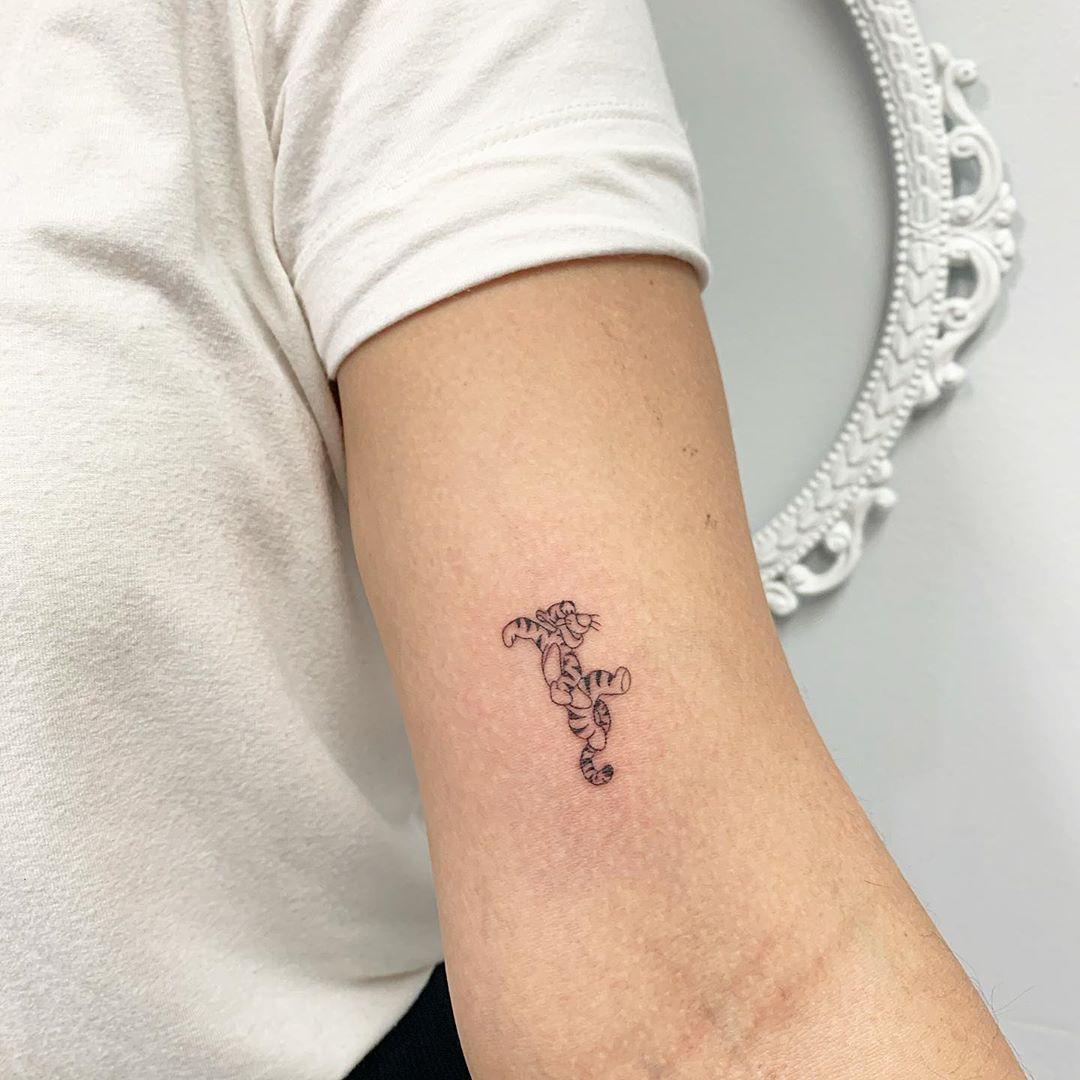
Simple yet full of energy, this outline tattoo captures Tigger mid-bounce. Its minimalist design makes it a great choice for the arm, ankle, shoulder, or anywhere you prefer.

Winnie the Pooh Honey and Floral Tattoo

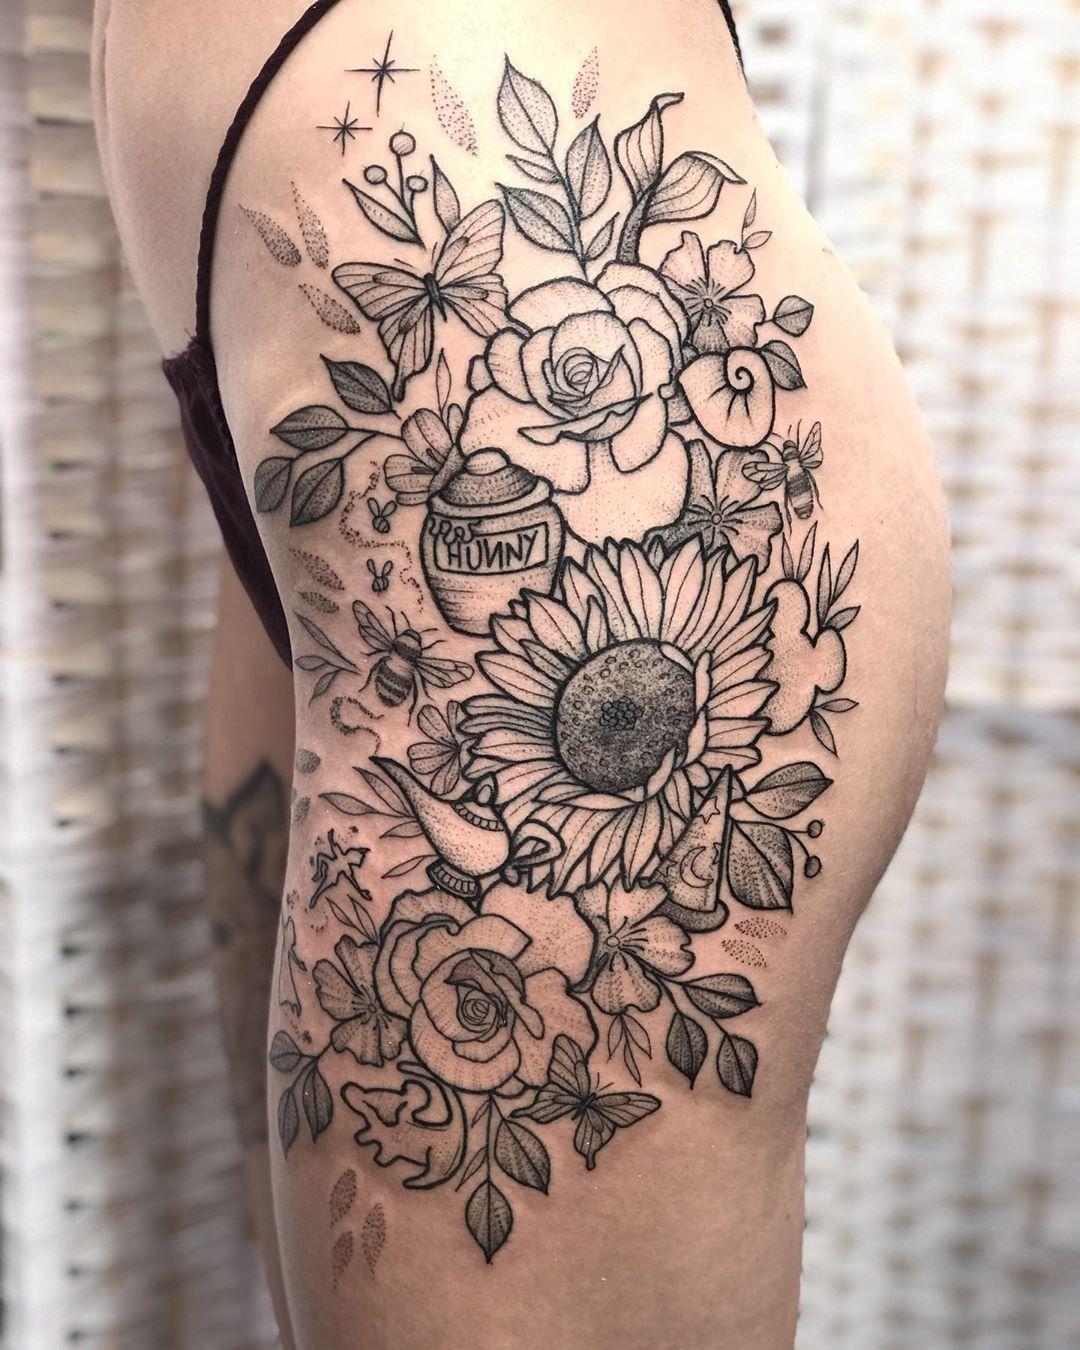
For lovers of intricate details, this tattoo features Pooh’s iconic Hunny pot surrounded by delicate florals. The fine linework adds elegance, making it a beautiful addition to any collection.

Classic Winnie the Pooh and Honey Jar Tattoo

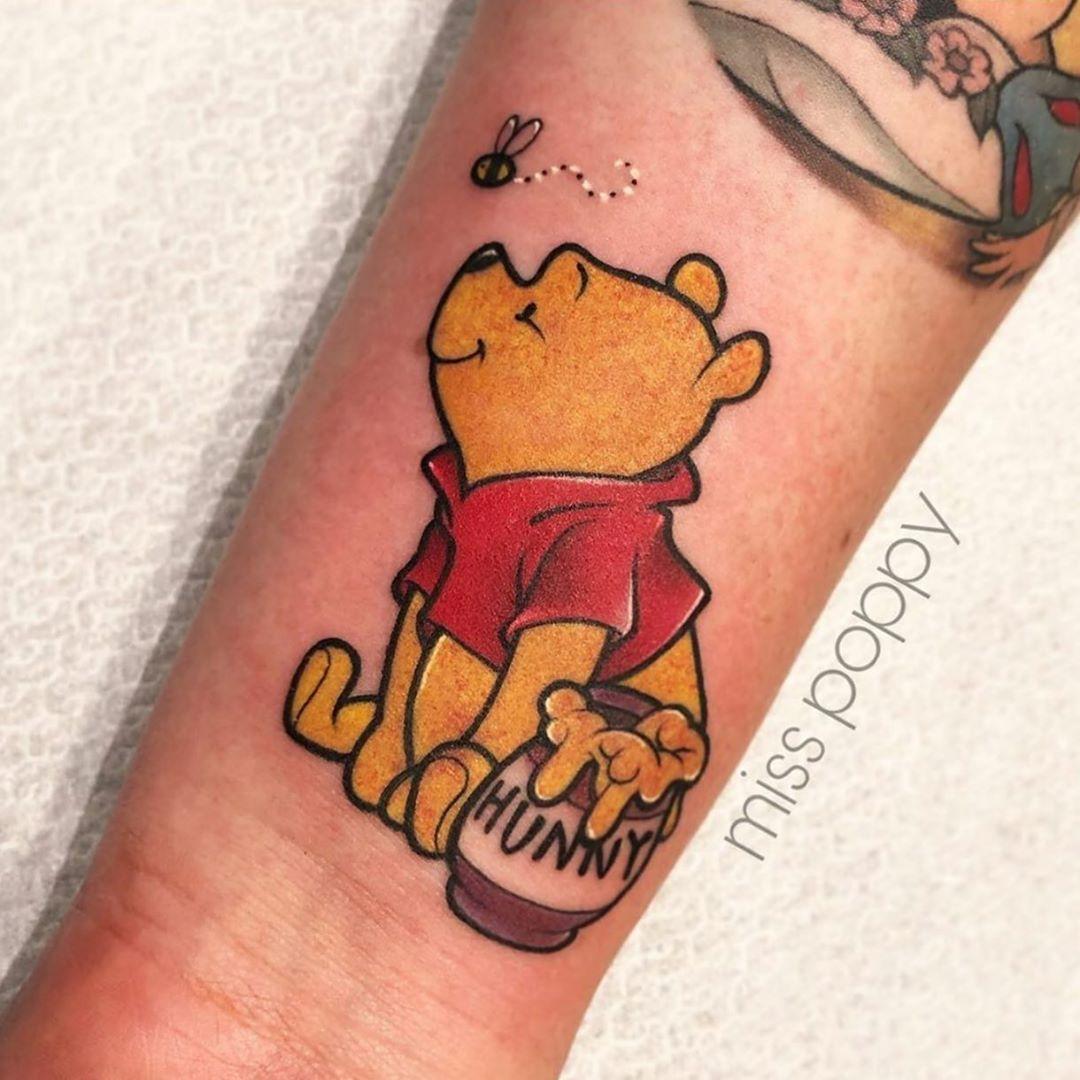
This charming cartoon-style design showcases Pooh with his beloved honey jar, complete with a tiny bee hovering nearby. A simple yet nostalgic choice for classic Disney fans.

Winnie the Pooh Awareness Tattoo

This design features Pooh floating away with three balloons, which can be customized with awareness ribbon colors that hold personal significance. The watercolor effect adds a soft, artistic touch.

Christopher Robin and Winnie the Pooh Tattoo

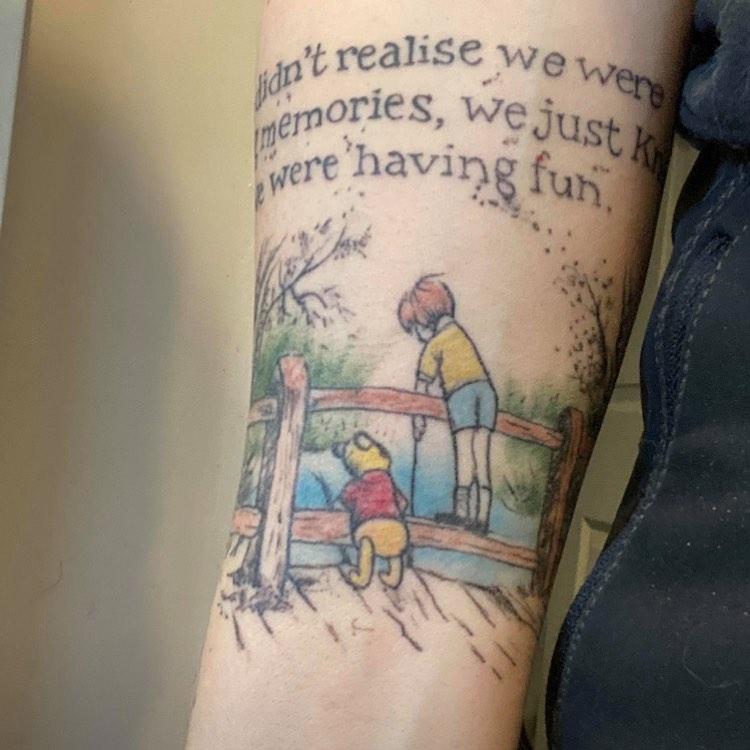
A heartwarming nod to childhood memories, this colorful tattoo showcases Christopher Robin and Pooh near a pond, staying true to the beloved book’s illustration style.

Matching Winnie the Pooh and Piglet Tattoos

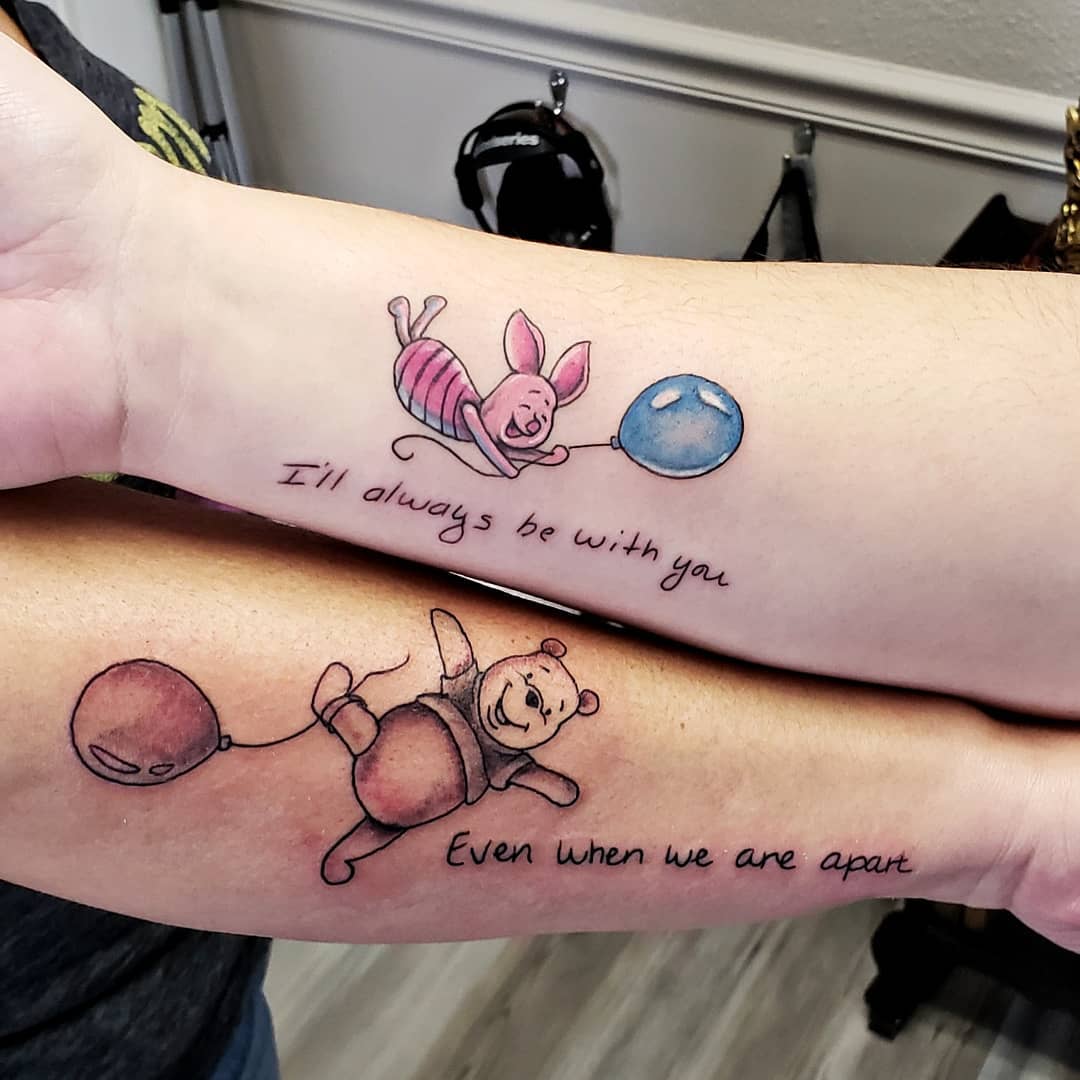
The perfect tattoo for best friends! Pooh and Piglet are depicted floating away with balloons, making this an adorable matching tattoo idea. Add a meaningful quote for a personal touch.

Winnie the Pooh Balloon Tattoo

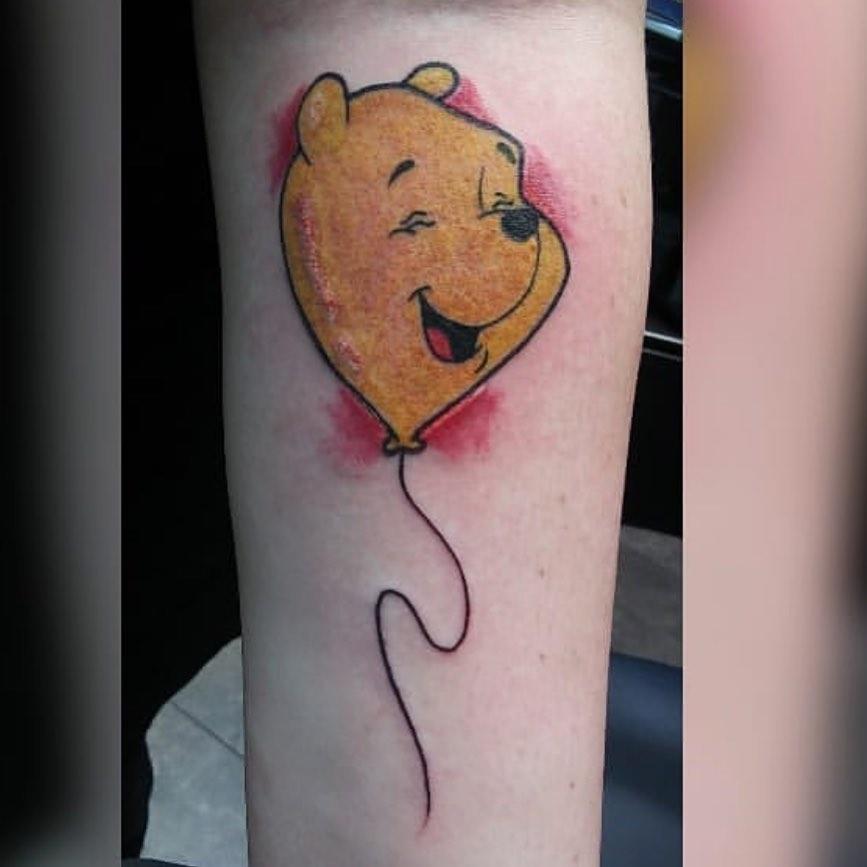
This playful design turns Pooh himself into a balloon, his face forming its round shape. A fun and whimsical idea that works well on the arm, leg, or torso.

Winnie and Friends Greyscale Tattoo

A beautifully shaded black-and-grey tattoo featuring Pooh, Piglet, Eeyore, and Tigger. This highly detailed piece is ideal for a sleeve, back, or chest.

Floating Winnie the Pooh Balloon Tattoo

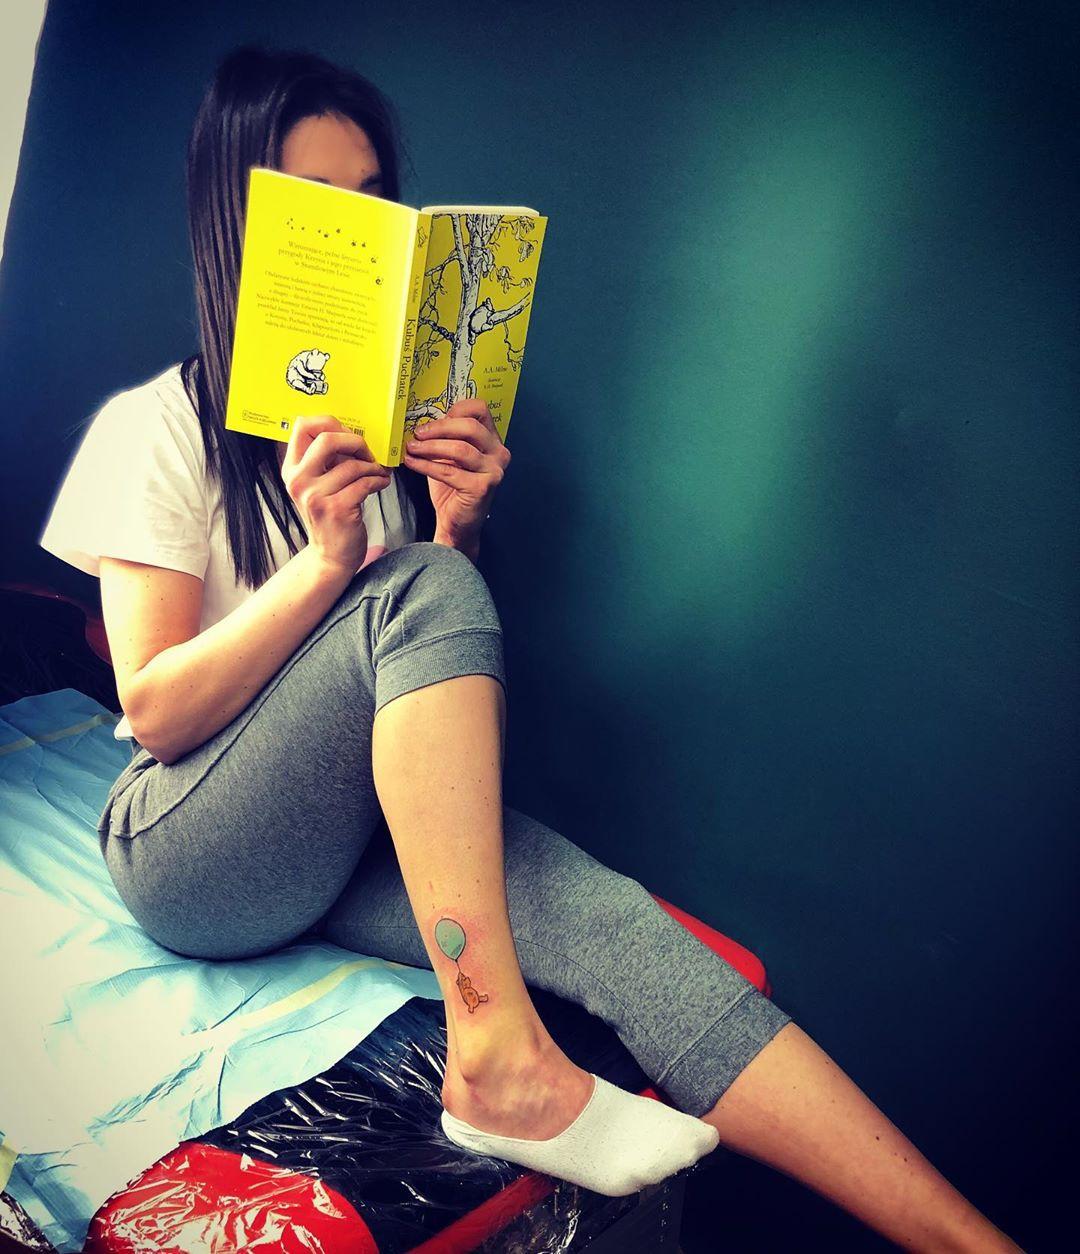
If you’re looking for something small yet meaningful, consider this tattoo of Pooh floating away with a single blue balloon. It’s the perfect fit for an ankle or wrist tattoo.

Winnie the Pooh Cartoon Tattoo

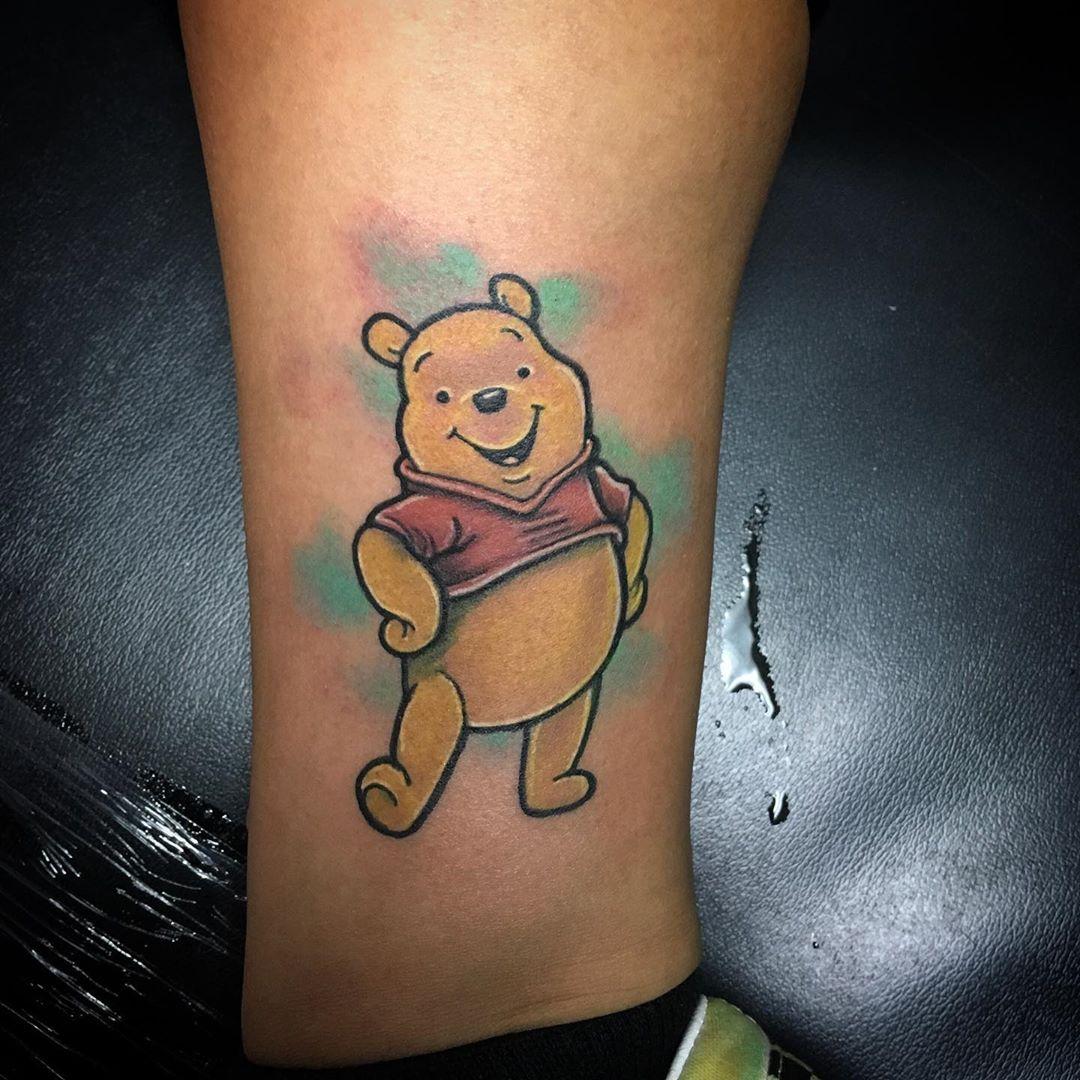
A classic take on Pooh, this design features him smiling with his hands on his hips against a shaded blue backdrop. A simple and timeless tribute to this lovable bear.

Winnie the Pooh and Friends Scribble Tattoo

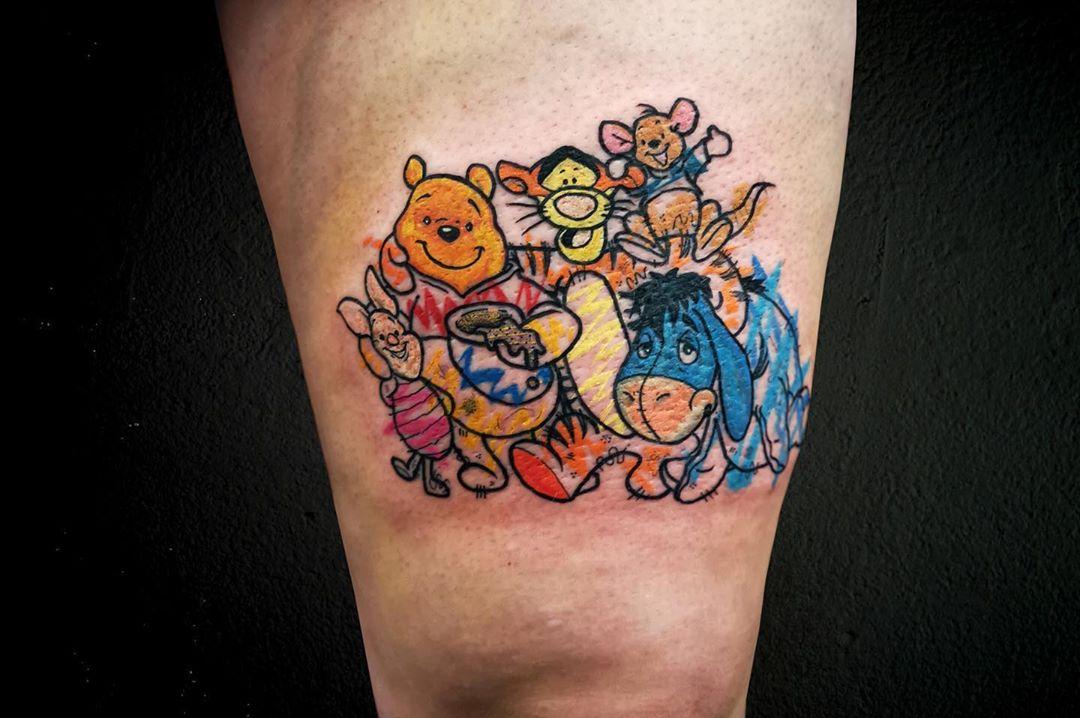
This tattoo playfully mimics a child’s crayon drawing, featuring all of Pooh’s friends in bright, vibrant colors. A fun and artistic way to celebrate your love for the Hundred Acre Wood.

Baby Winnie the Pooh Tattoo

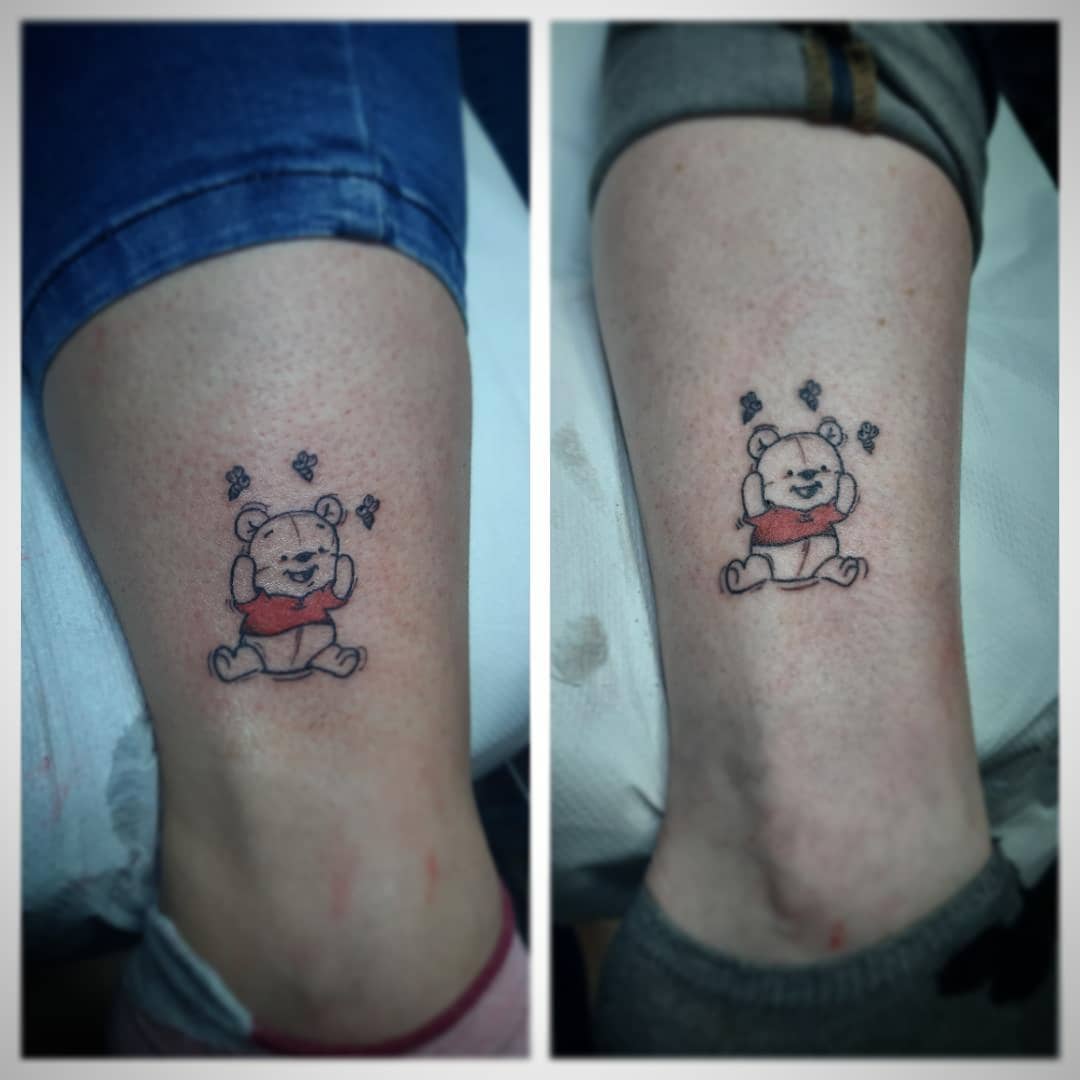
What’s cuter than Pooh? Baby Pooh! This minimalist tattoo features a simple black outline with just a hint of color on his iconic red shirt.

Simple Winnie the Pooh Tattoo

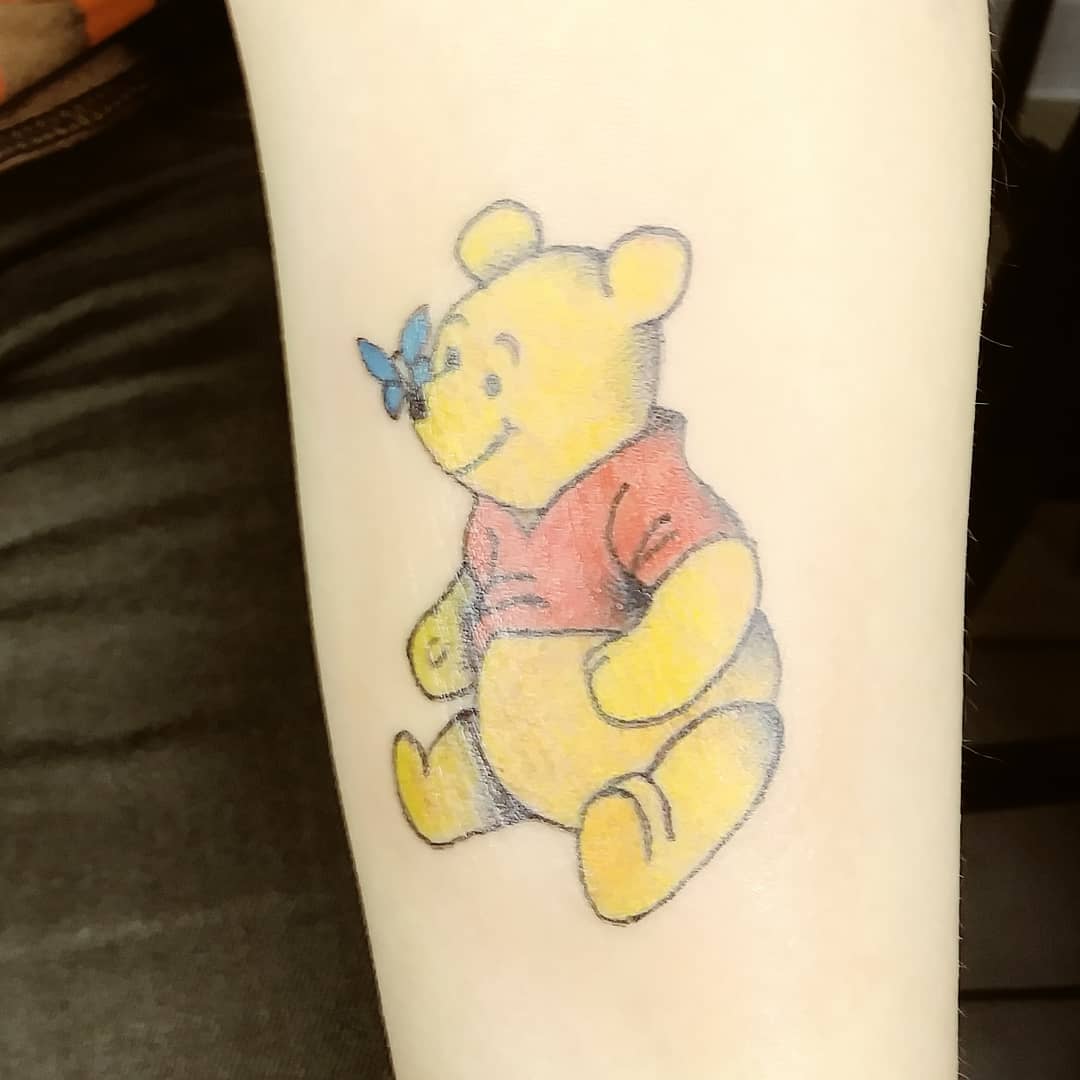
In this sweet design, Pooh is sitting peacefully, mesmerized by a tiny butterfly on his nose. A great choice for a small, delicate tattoo on the wrist, shoulder, or ankle.

Winnie Sitting and Smiling Tattoo

A detailed and colorful depiction of Pooh sitting contently, shaded beautifully to enhance his iconic look.

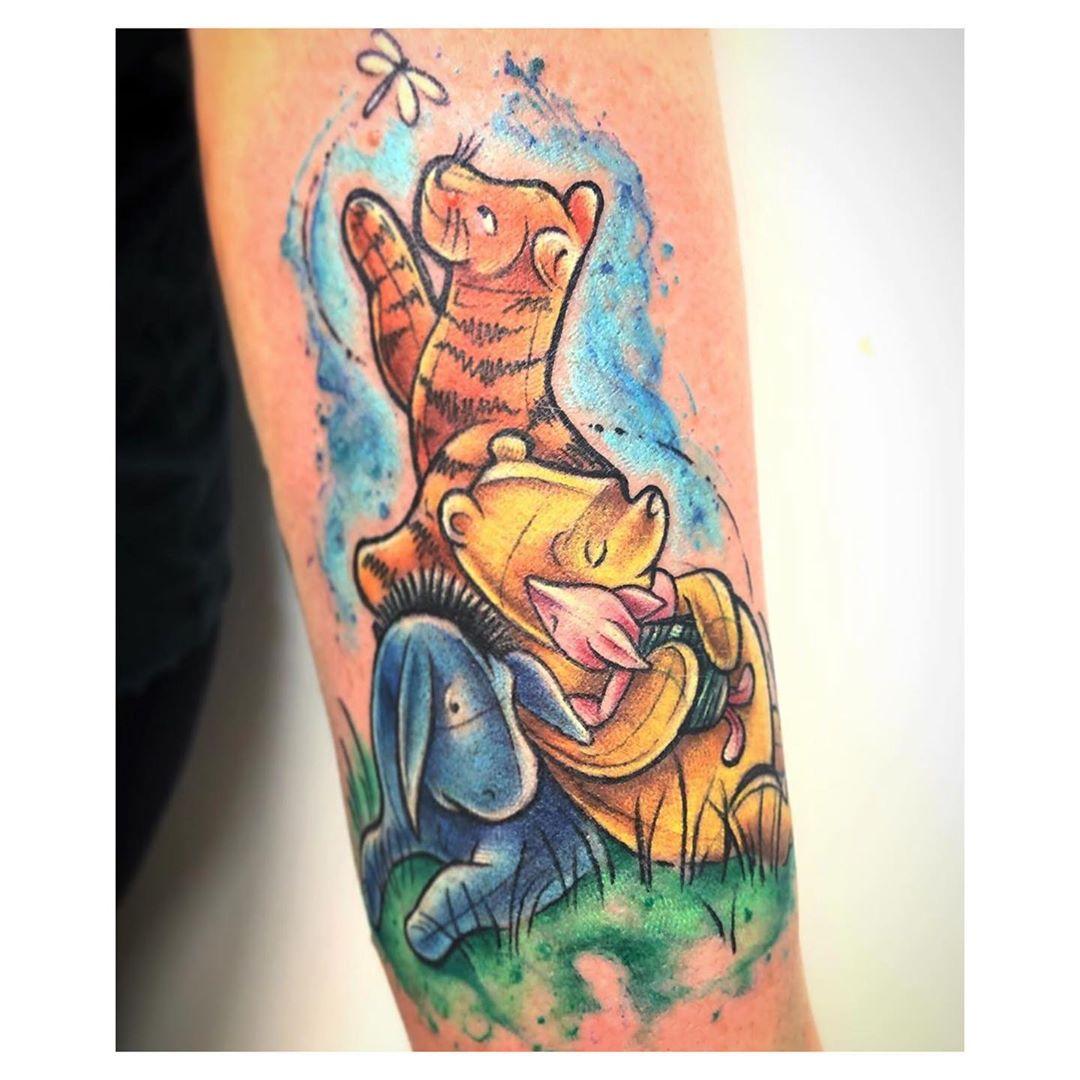
Tigger, Winnie, and Eeyore Tattoo

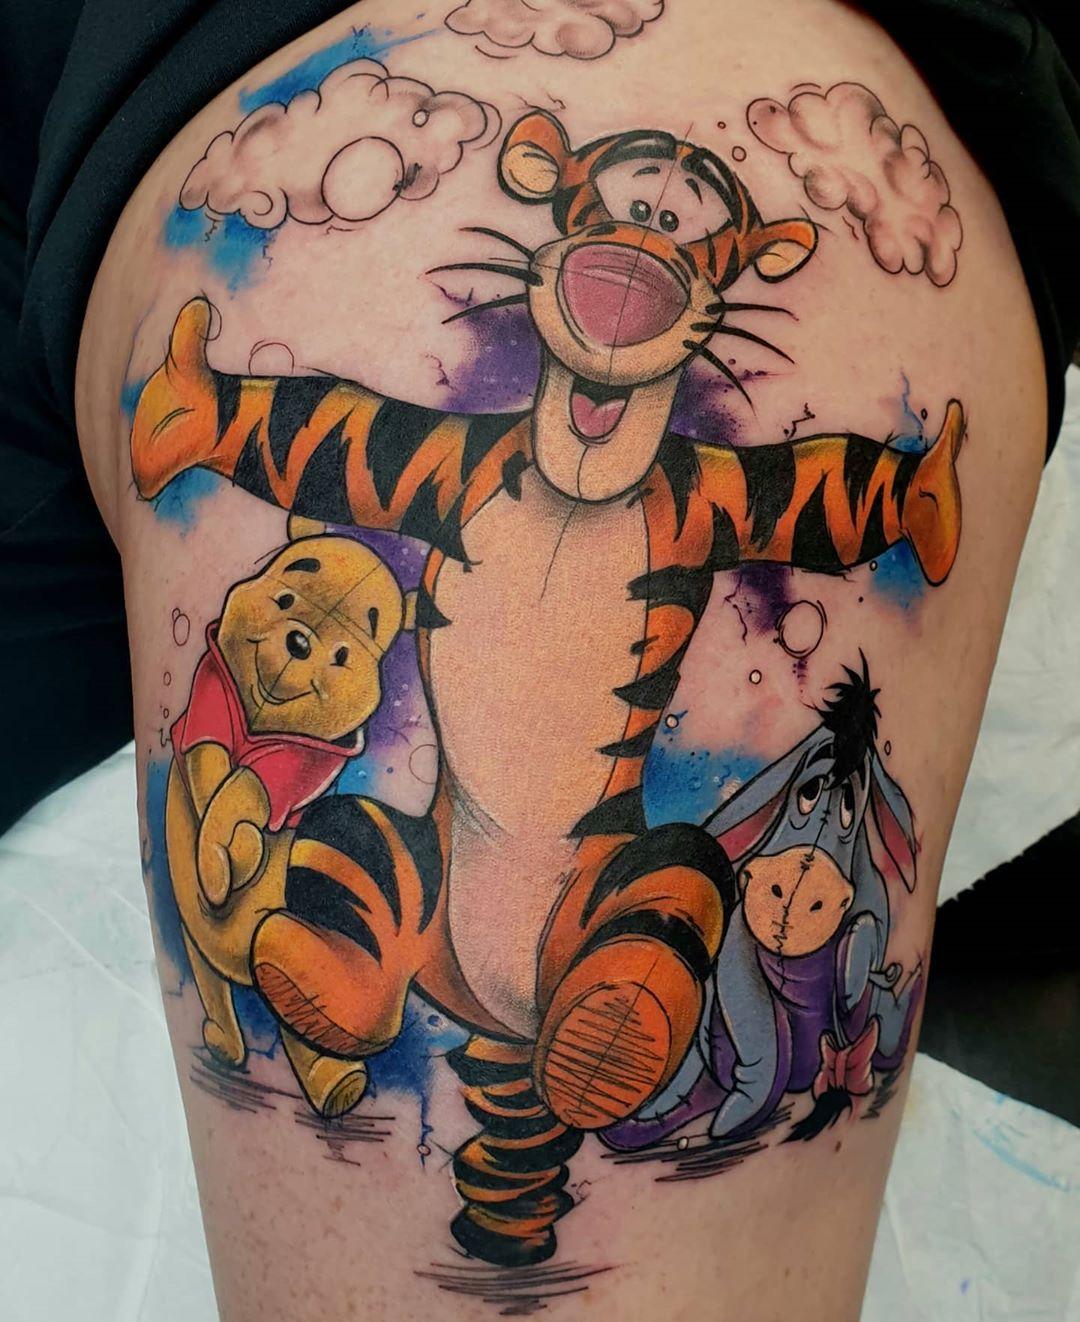
This lively design showcases Tigger joyfully bouncing, with Pooh and Eeyore smiling in the background. A fantastic choice for a larger tattoo with a dynamic composition.

Large Winnie the Pooh and Piglet Sketch Tattoo

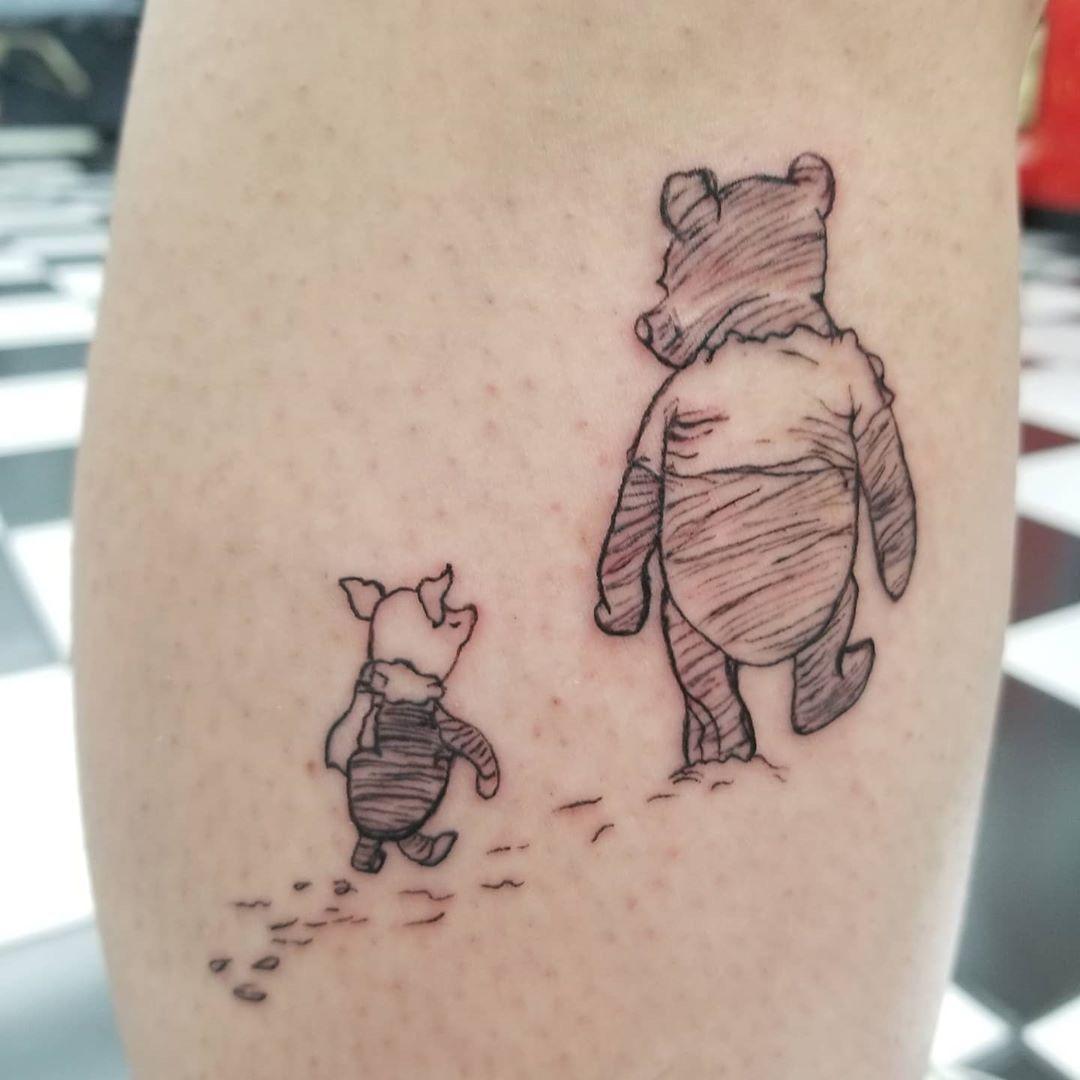
A nostalgic pencil-sketch-style tattoo of Pooh and Piglet, capturing the essence of their heartwarming friendship. The size can be adjusted to fit different placements.

Colorful Winnie the Pooh Friends Doll Tattoo

A creative take on Pooh and his friends, this tattoo reimagines them as stuffed ragdolls with bright, playful colors. A unique and artistic spin on a childhood classic.

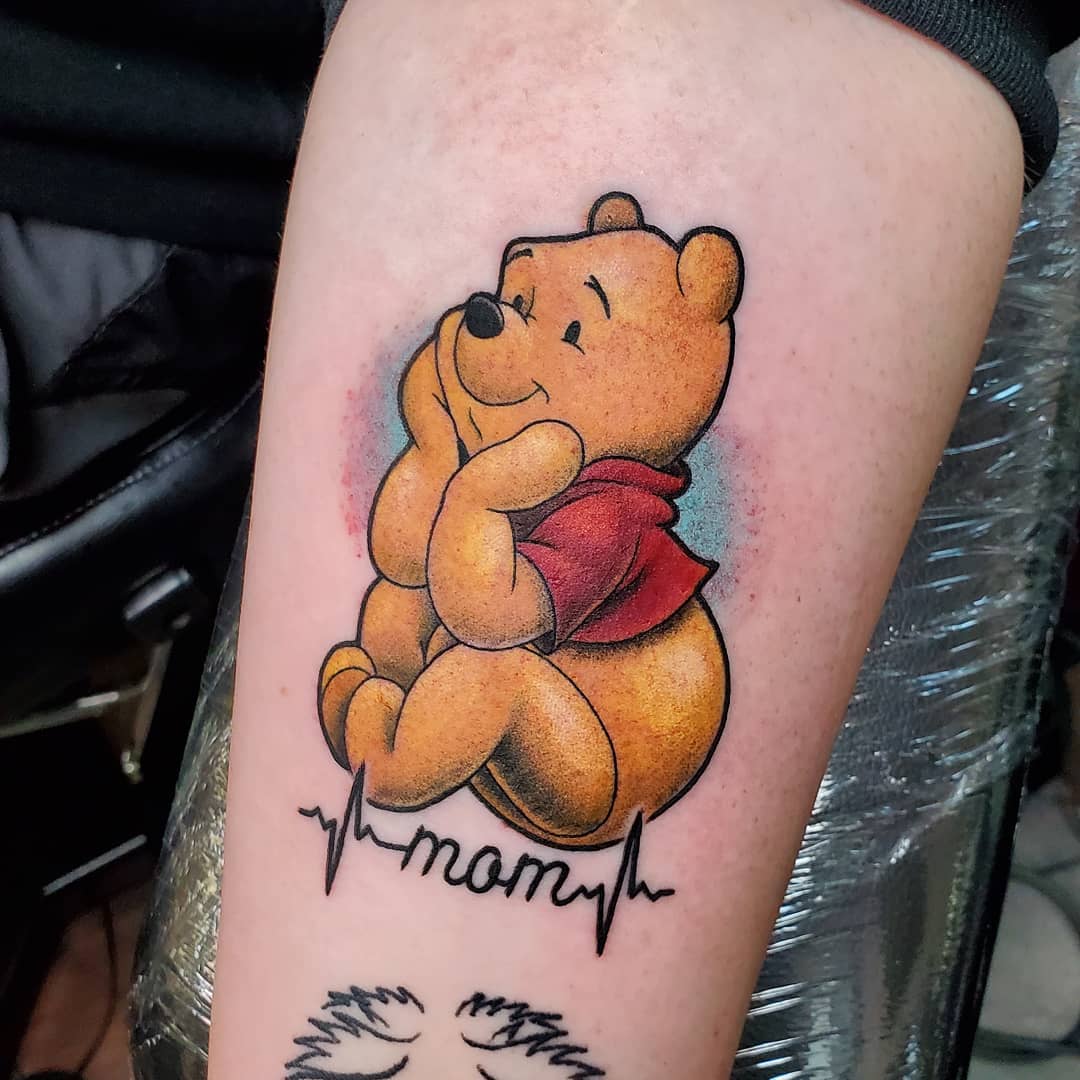
Adorable Greyscale Winnie the Pooh Tattoo

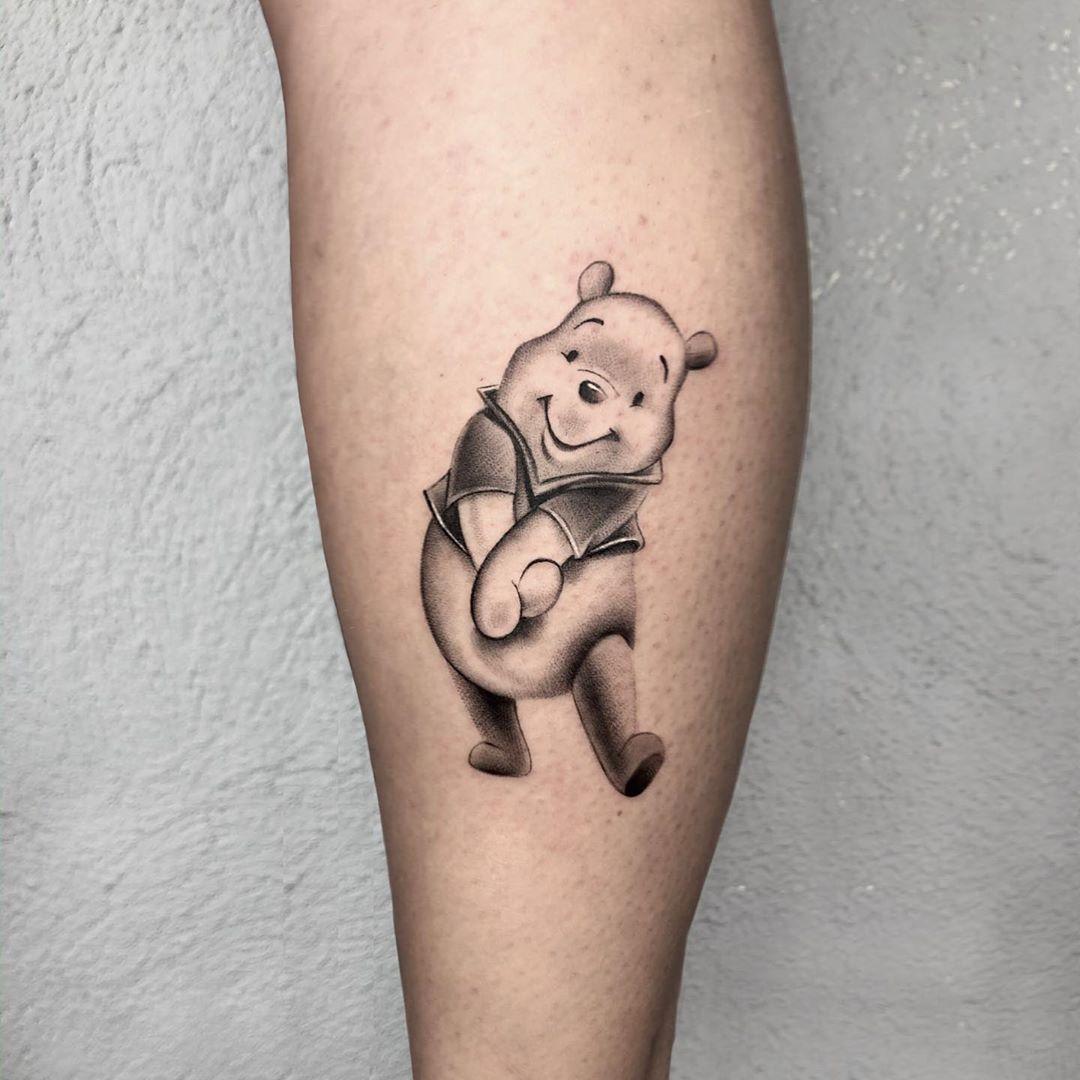
This charming greyscale tattoo captures Pooh in a bashful pose, radiating warmth and innocence.

Winnie and Eeyore Hug Tattoo

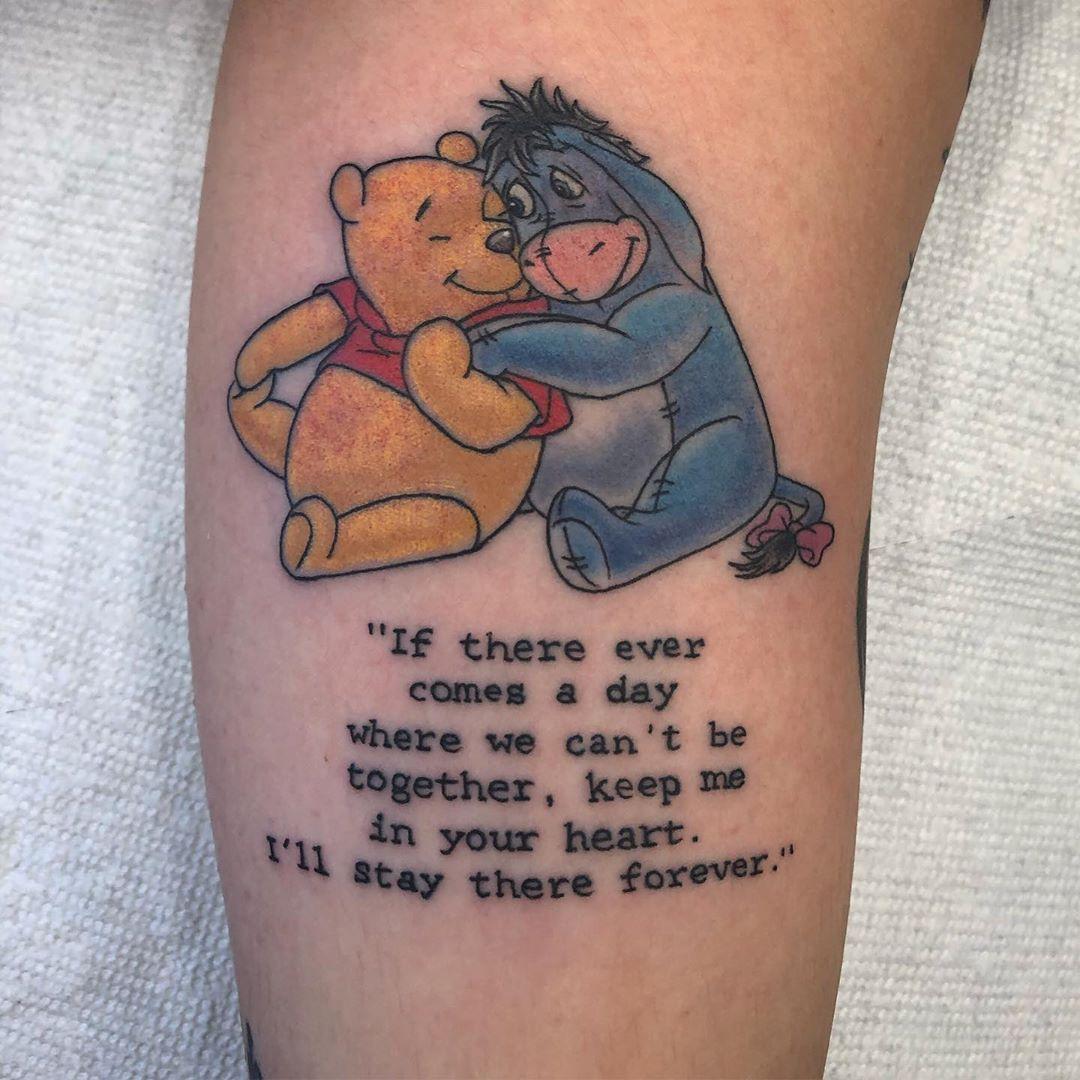
A touching tattoo that beautifully represents friendship, showing Pooh hugging Eeyore. Pair it with a meaningful quote to make it even more special.

No matter your style, there’s a Winnie the Pooh tattoo idea that’s perfect for you. Whether you prefer classic designs, playful colors, or minimalist outlines, these tattoos capture the magic of Pooh and his friends in the most adorable way!

BABY BEAR LOVEY FREE CROCHET PATTERNS

A baby bear lovey is a small, soft blanket or toy that is designed to provide comfort and security to babies and young children. It is often made from soft, cuddly materials such as cotton or fleece, and may have a variety of features such as a small stuffed animal attached to it, or a crinkled texture.

Baby bear loveys can be a great way to help babies feel safe and secure, and can also be a fun and stimulating toy. They make a great gift for newborns or toddlers, and can be used for many years. Try following our method to get a beautiful bear like that.

MATERIALS YOU’LL NEED

To get started making this free crochet snuggler pattern, you’ll want to gather all your materials first.

  • 200g Premier Basix Chenille in the color Sand 
  • Small amount Premier Basix Chenille Winter White
  • Small amount of black yarn for the embroidered eyes
  • Embroidery thread for eyebrows
  • 18mm safety eyes, if you prefer
  • Crochet Hook in Size 4.5mm
  • Tapestry Needle
  • Polyfil
  • stitch marker

NOTES

Notes: This snuggler pattern is made from the feet up. You will make two feet, fastening off one and then attaching them together from the second one. The body will decrease and then increase into the head. This video shows how to strengthen the neck. This has a double use in this pattern- keeping the head from being overly floppy and to allow the head to be stuffed without losing the stuffing in the body. Because of the nature of this pattern, the head will still “flop” but that is what I expect of the lovey/blanket form.

The arms are attached with a long needle. You can find the video for that here.

I embroidered the eyes so it would be safe for a baby/toddler. You can find my collection of embroidery videos here.

Substitute yarns could be Bernat Blanket yarn or Big Twist from Joann’s. You may need to change the hook size if you change the yarn.

Free Bear Crochet Lovey Pattern

Neck Support Piece:

Begin with a magic circle and work 7 single crochets (SC). Continue to SC in each stitch around for a total of 10 rows. Fasten off, leaving a long tail—this will be needed before stuffing the head. Check out this tutorial to see how it all comes together!

Beginning with the feet and using the body color:
Round 1: In a magic circle, SC 6.
Round 2: SC INC in each around. (12)
Round 3: SC in the first, SC INC in the next. Repeat around. (18)
Rounds 4-7: SC in each around. (18) *4 total rows*
Round 8: SC in the first, INV DEC in the next. Repeat around. (12)
Round 9: INV DEC in each around. (6)

Stuff the foot part, but not the next chain rows.
From here on, you will be chaining 2, DC in the same stitch and crochet around. Then attach to the first stitch with a slip stitch. This creates the part of the leg that you will knot. You can knot before you attach the legs or afterwards. The foot may be “squished” a bit as you tie, but there should be enough length. I created a video to show the next part of the leg, and you can see that here.
Rounds 10-18: DC in each around. (6) *9 total rows*
Round 19: SC INC in each around. Attach to the first stitch with a slip stitch and chain 1 (12)
Round 20: SC in each around. (12)
Fasten off the first foot. On the second foot, chain 4 and slip stitch to the first leg where you fastened off.

Click here for a video and photo tutorial of this next part! (note that the numbers are different for this mini version, but the method is the same)
Round 21: Chain 1 and SC in each stitch around on the leg (12). SC in each chain across. (4) SC in each stitch around the second leg. (12) SC on the other side of the chain. (4) Attach to the first SC with a slip stitch. (a total of 32)
Rounds 22-26: SC in each around. (32) *5 total rows*
Round 27: SC in the first two. INV DEC in the next. Repeat around. (24)
Rounds 28-31: SC in each around. (24) *4 total rows*
Round 32: SC in the first. INV DEC in the next. Repeat around. (16)
Round 33: INV DEC in each around. (8)
Round 34: SC INC in each around. (16)
Round 35: SC in the first stitch, SC INC in the next. Repeat around. (24)
Round 36: SC in the first two stitches, SC INC in the next. Repeat around. (32)
Round 37: SC in the first three stitches, SC INC in the next. Repeat around. (40)
Rounds 38-40: SC in each around. (40) *3 total rows*
Round 41: SC in the the first three, INV DEC in the next. Repeat around. (32)
Round 42-43: SC in each around. (32) 2 total rows
Begin to stuff here. If you haven’t already, attach the neck strengthener! If you choose to use safety eyes, attach them around rounds 38-39.
Round 44: SC in the first two, INV DEC in the next. Repeat around. (24)
Round 45: SC in each around. (24)
Round 46: SC in first, INV DEC in the next. Repeat around. (16)
Round 47: INV DEC in each around. (8)
Fasten off and sew the remaining hole closed.

Crochet Lovey Bear Snout, Ears, and Arms

Ears (Make 2):

Round 1: Start with a magic circle and work 8 single crochets (SC).
Round 2: Increase (SC INC) in each stitch around. (16)
Round 3: SC in the first stitch, SC INC in the next. Repeat around. (24)
Round 4: SC in each stitch around. (24)

Fasten off, leaving a long tail. Fold each ear in half before attaching. Sew through both halves of the ear and secure them to the head, positioning them about 3 rows from the top. The ears will naturally curve, spanning approximately 5 rows across each side.

Note: The photo below shows my worsted weight yarn bear, but the technique remains the same even with thicker yarn. If you’d like to see the video tutorial for the worsted weight bear in action, check it out here!

Snout
Round 1: In a magic circle, SC 6
Round 2: SC INC in each stitch around (12)
Round 3: SC in first, SC INC in next. Repeat around. (18)
Rounds 4: SC in each around. (18)
Fasten off and leave a long tail to sew on to the face, with the bottom around round 34 and the top just under round 38. Lightly stretch the snout into an oval shape before you attach.
Using a long piece of brown yarn. Embroider the nose on about row 4, making about 4-5 passes through the same stitches. Bring the needle up from the back, and cover about 4-5 stitches.

Eyes
I embroidered the eyes to make them safe for babies. If you want to see the video and picture tutorials for those, you can find the collection here.

Arms

NOTE: I highly suggest you visit this post before attaching the arms and the legs. This is my favorite method by far to attach limbs, and is worth watching the video and seeing the tutorial pictures!

Round 1: In a magic circle, SC 7.
Round 2: SC INC in each around. (14)
Round 3-4: SC in each around. (14)
Round 5: INV DEC in the first. SC in the next 5. INV DEC. SC in the remaining 5. (12)
Round 6: SC in each around. (12)
Round 7: INV DEC in the first. SC in the next 4. INV DEC. SC in the remaining 4. (10)
Round 8: SC in each around. (10)
Round 9: INV DEC in the first. SC in the next 3. INV DEC. SC in the remaining 3. (8)
Rounds 10-11: SC in each around.
Fasten off and leave an extra long tail. Sew the opening closed (leave unstuffed!).
Attach the arms between rows 31 and 32 of the body. Use the yarn through method outlined, or if you prefer you can do it the traditional way.