80 ADORABLE AND SIMPLE NATURAL HAIRSTYLES FOR BLACK WOMEN

The natural hair movement has significantly impacted the Black hair community, revolutionizing how Black women and girls embrace their natural textures. After years of relying on harsh treatments and chemicals to achieve straight and silky hair, many are now confidently showcasing their natural curls and kinks.

This movement has spurred the creation of numerous natural hair care brands and products designed to cater to various hair types and textures. With over 25.7 million posts under #naturalhair and more than 400,000 under #naturalhairproducts on Instagram, it’s clear that this trend is here to stay.

Whether you prefer store-bought natural hair products or enjoy crafting your own blend from natural ingredients, styling your natural hair is no longer a challenge. Unlike relaxed hair, which often limits styling options due to its straight nature, natural hair offers incredible versatility.

Whether you have thick, kinky hair, curly 4b or 4c textures, or anything in between, the possibilities for styling your natural hair are endless. In this article, we’ll explore 80 easy and cute natural hairstyles for Black women, including mini twists, claw clip styles, afros, space buns, and more.

LOW PONYTAIL NATURAL HAIRSTYLES

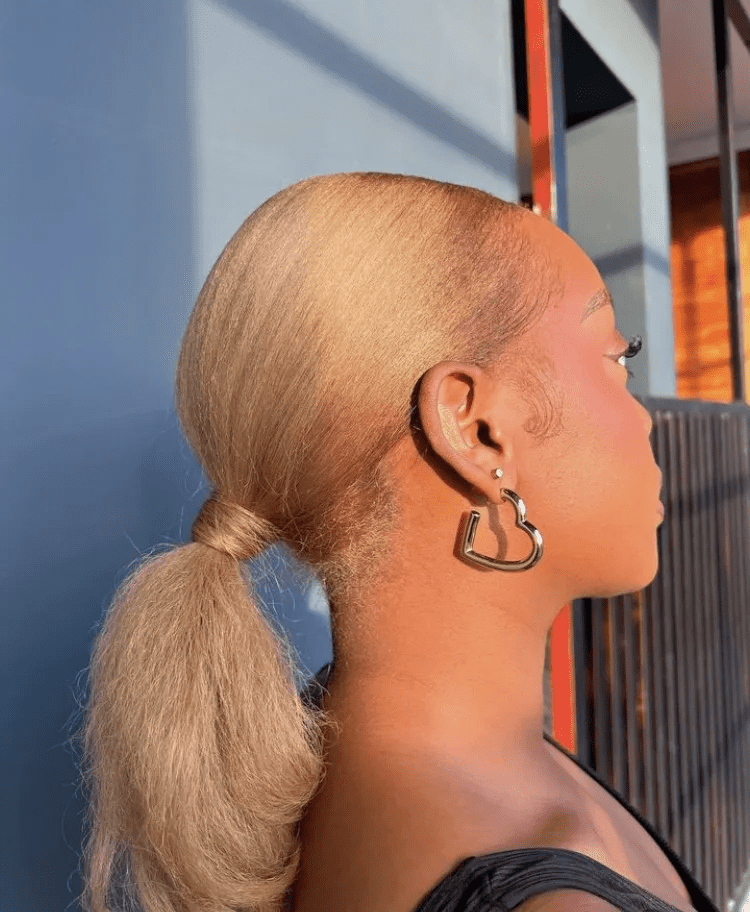
LOW PONYTAIL ON DYED NATURAL HAIR

LOW PONYTAIL WITH CURLED ENDS
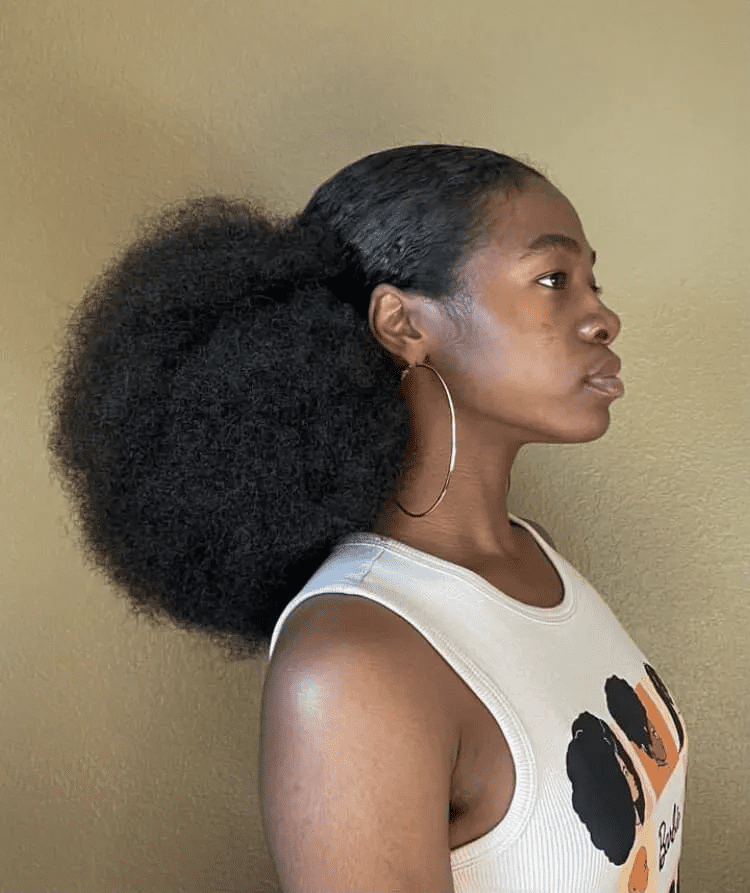
LOW PONYTAIL PUFF

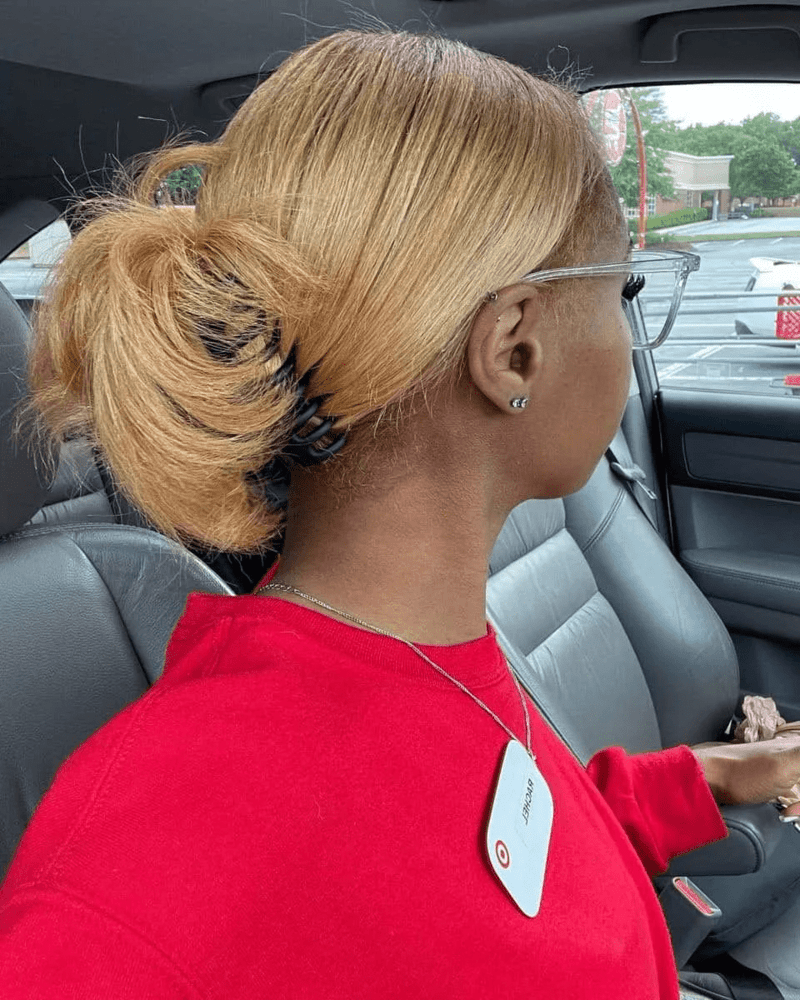
SLEEKED DOWN LOW PONYTAIL

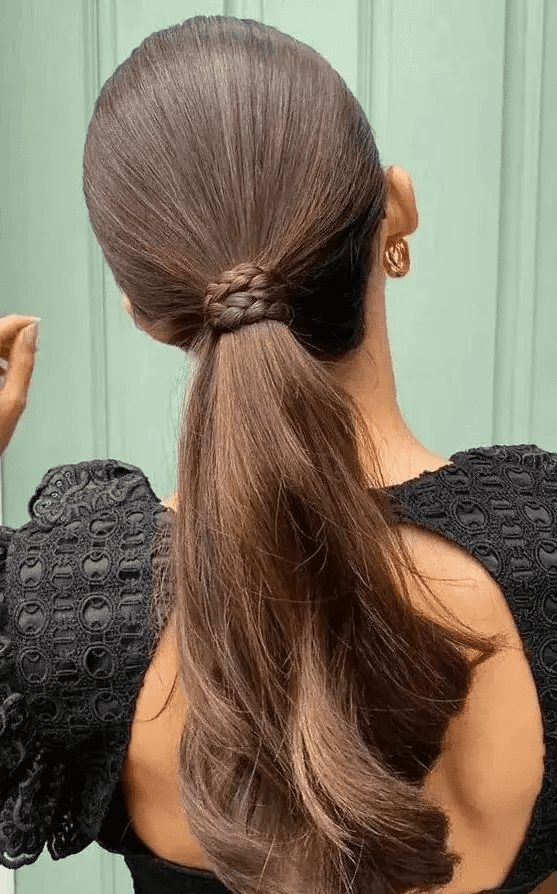
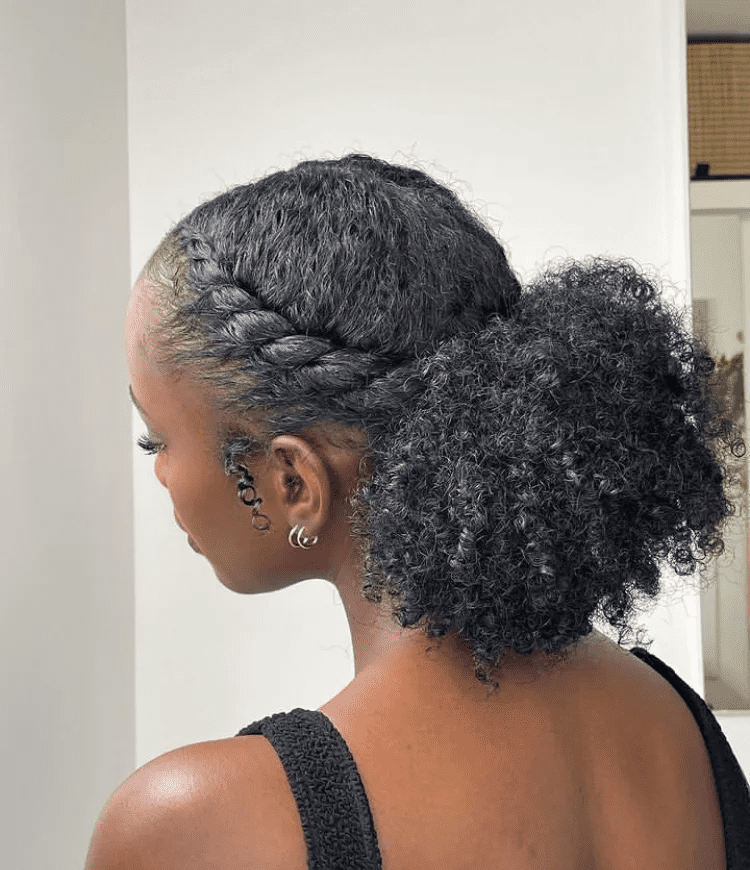
FLAT TWIST LOW PONYTAIL NATURAL HAIRSTYLE

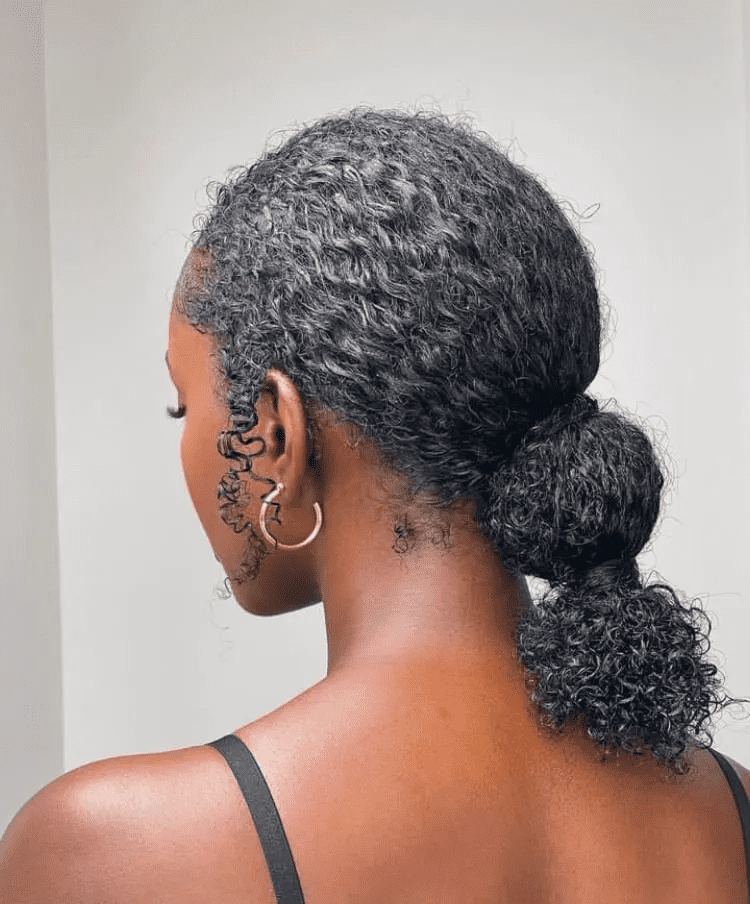
LOW PONYTAIL ON CURLY NATURAL HAIR

TWO FLAT TWISTS INTO A LOW PONYTAIL

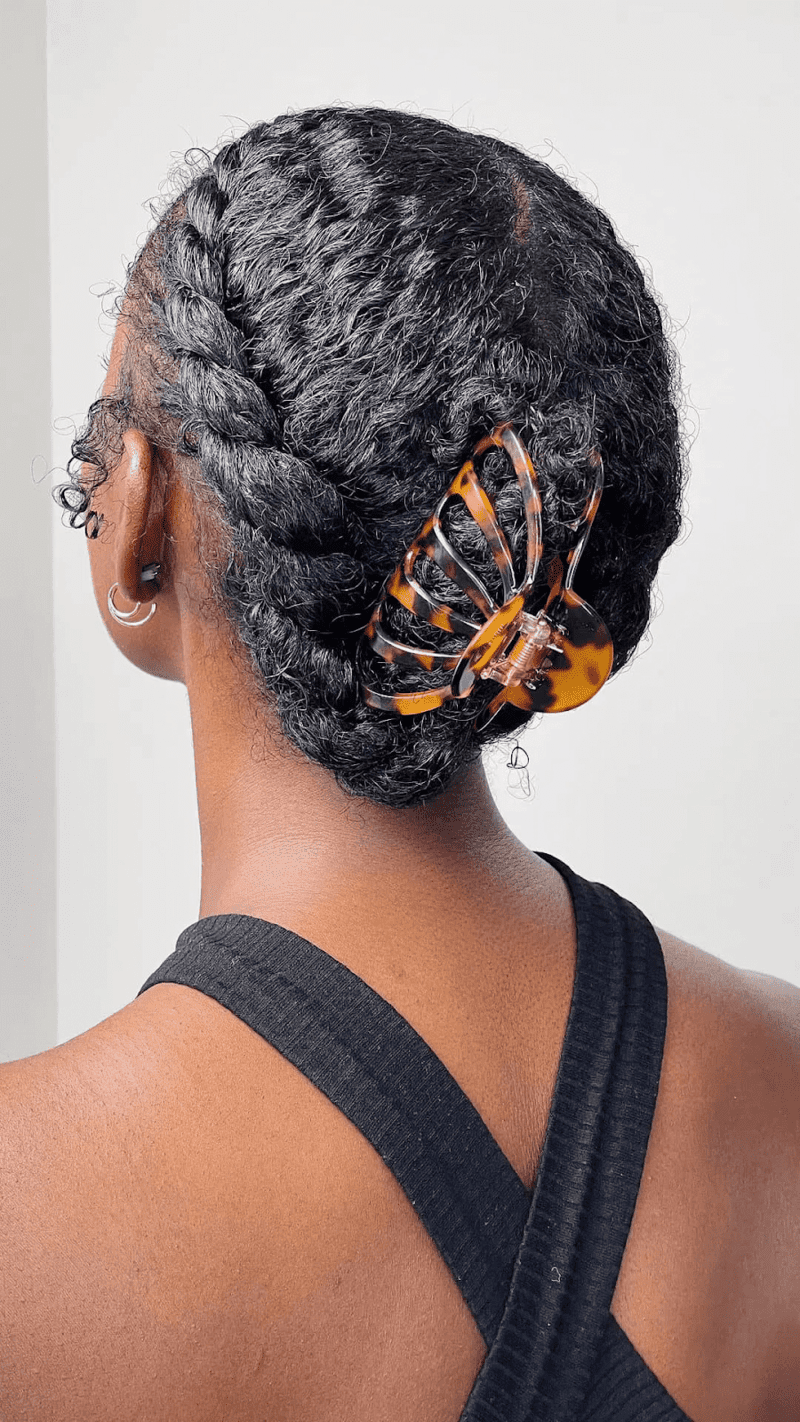
CLAW CLIP NATURAL HAIRSTYLE IDEAS

Claw clips are great for styling both un-stretched natural hair and blown-out natural hair.

TWO FLAT TWISTS CLAW CLIP NATURAL HAIRSTYLE

SLEEKED DOWN CLAW CLIP HAIRSTYLE

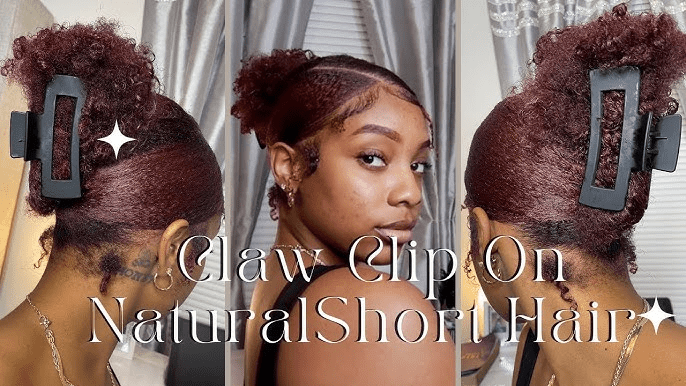
CLAW CLIP HAIRSTYLE ON TYPE 4 NATURAL HAIR

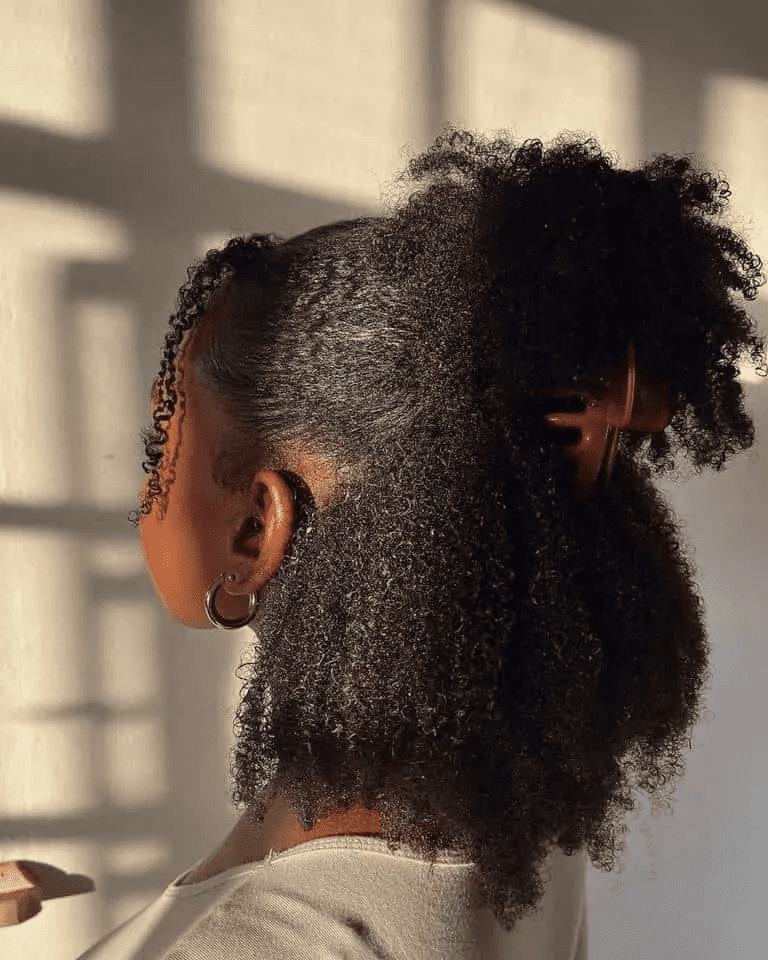
HALF UP HALF DOWN CLAW CLIP HAIRSTYLE ON NATURAL HAIR

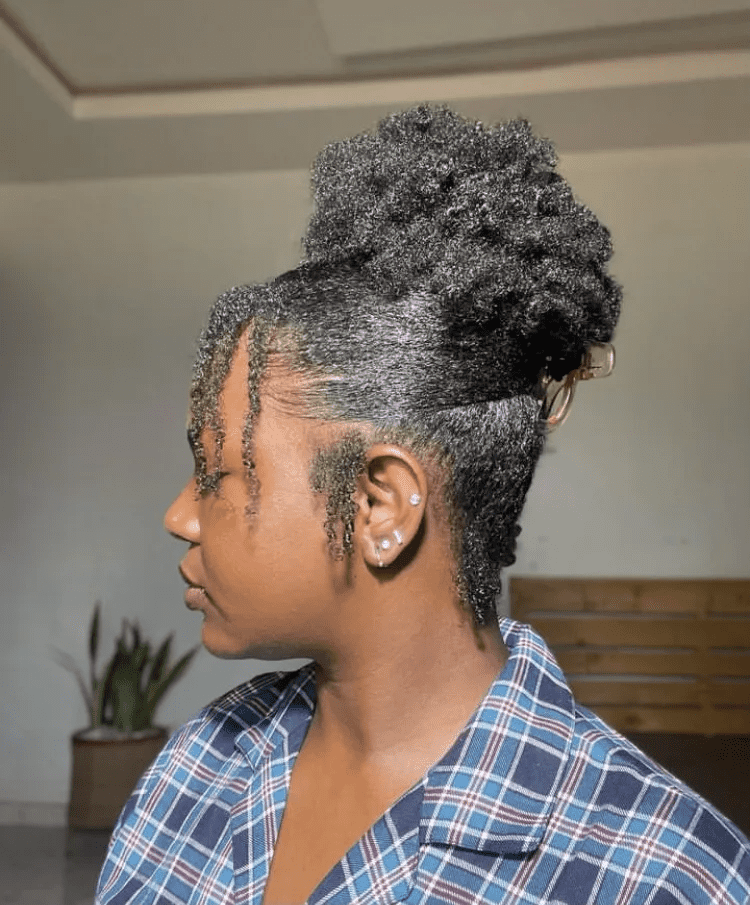
SLEEKED DOWN CLAW CLIP UPDO ON NATURAL HAIR

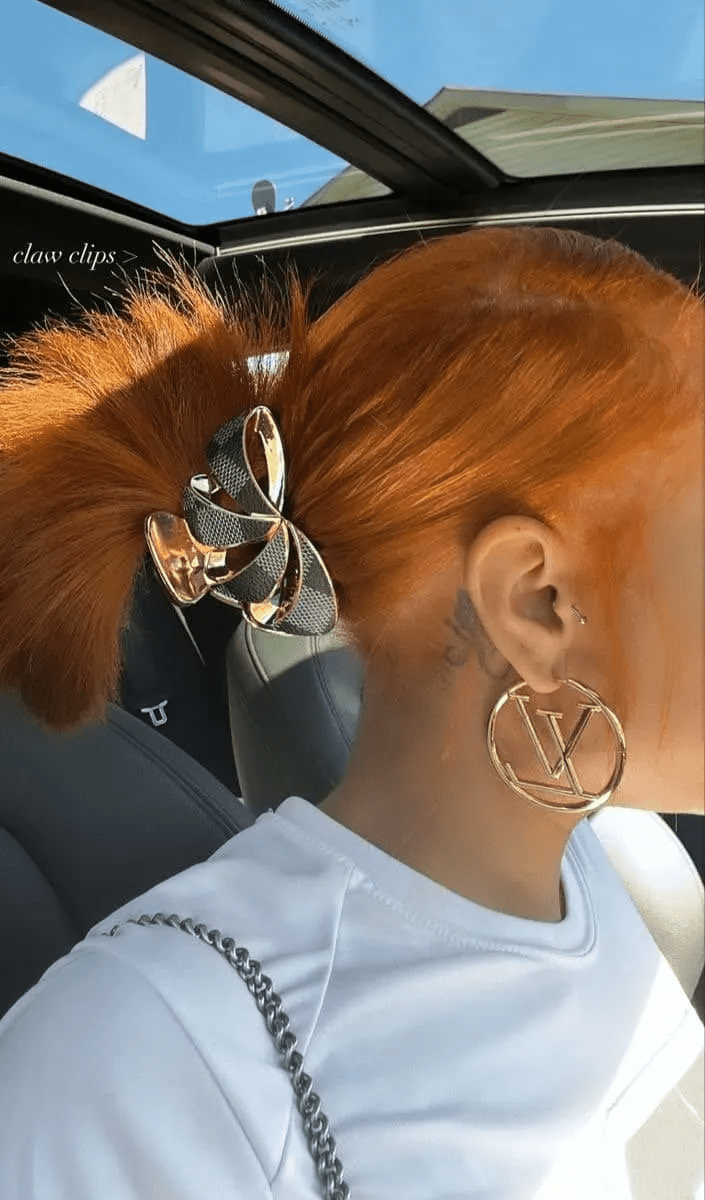
LOW PONYTAIL CLAW CLIP HAIRSTYLE ON GINGER HAIR

LOW PONYTAIL CLAW CLIP HAIRSTYLE

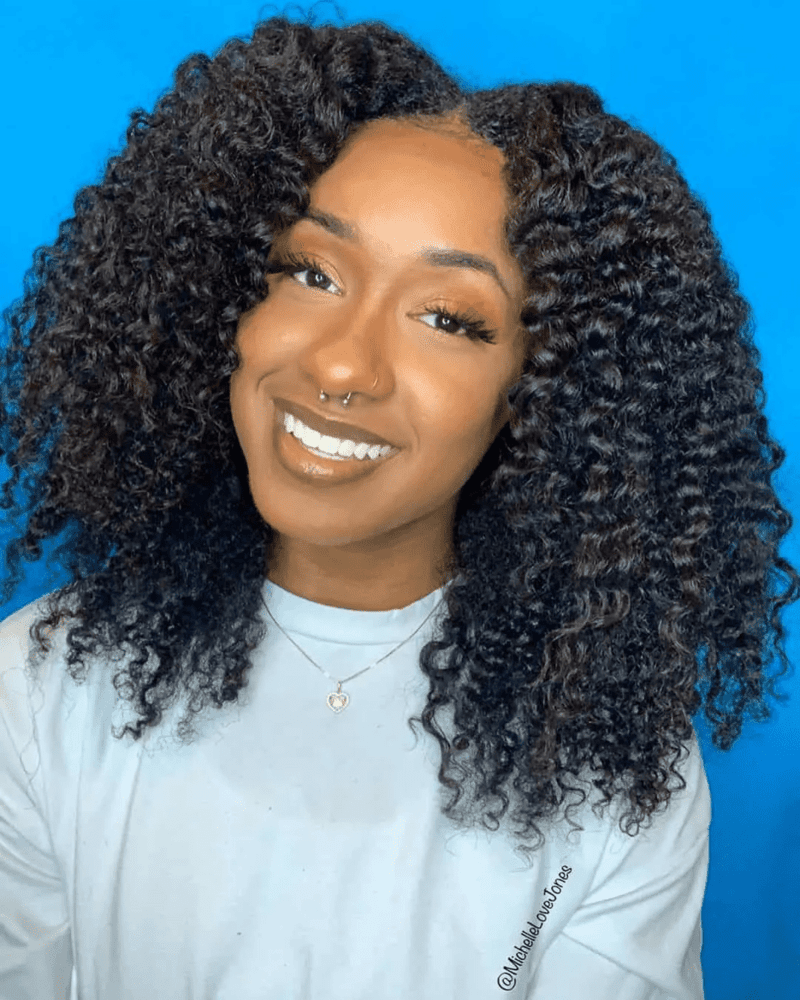
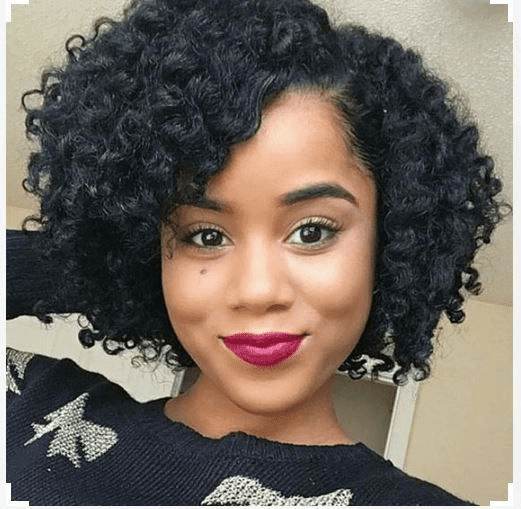
TWIST OUTS ON NATURAL HAIR

To achieve a twist out, start by washing your hair with shampoo and deep conditioning it. Apply shea butter or curling butter, along with any other preferred products. Next, section your hair and twist it using either the two-strand or three-strand twist method.

Leave the twists in overnight and unravel them the next day. The result is a beautiful twist out that varies based on your hair texture and the products used.

For the best results, let your twists set for a longer period, and use curling butters that are suitable for your hair type to enhance the outcome.

AFRO TWIST OUT

CORNROW UPDO TWIST OUT

TWIST OUT ON SHORT HAIR

TWIST OUT ON TYPE 3 HAIR

MIDDLE PART TWIST OUT

SIDE PART TWIST OUT

FLEXI ROD SET TWIST OUT

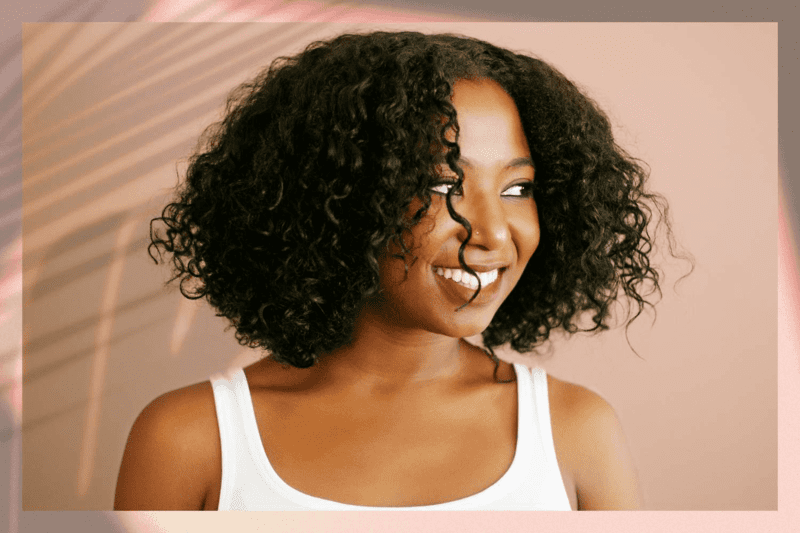
TWISTS OUTS ON TYPE 3 HAIR

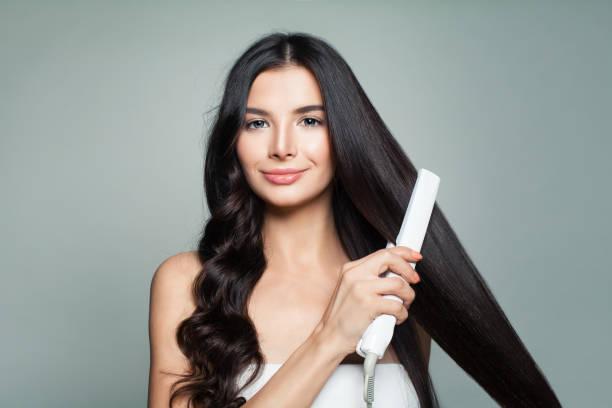
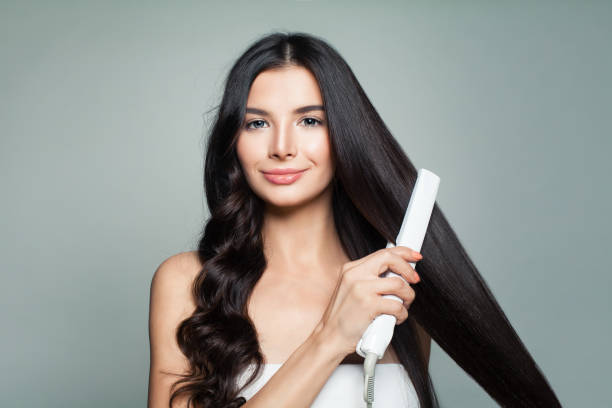
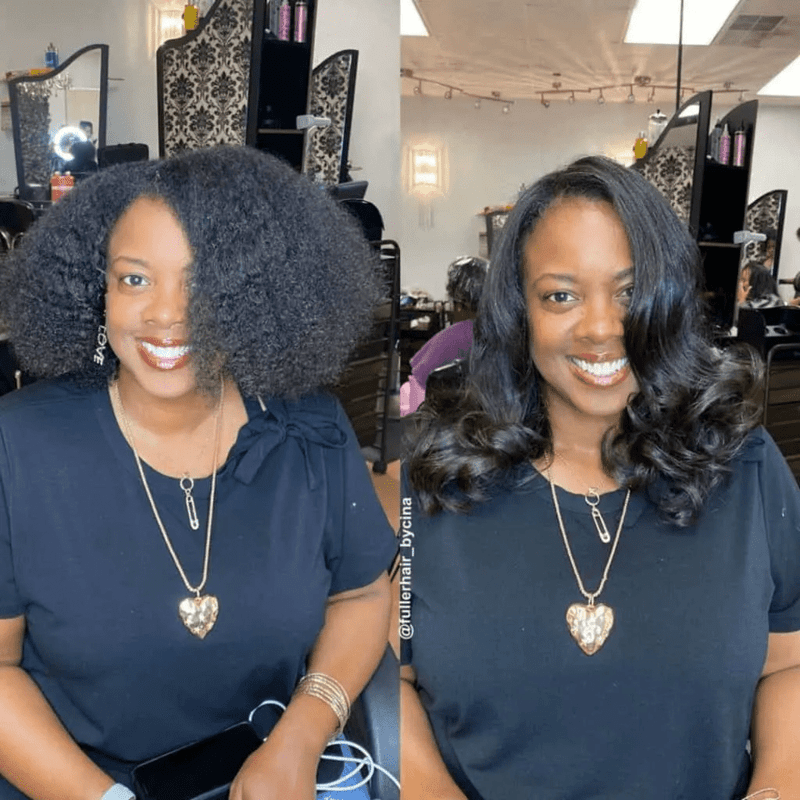
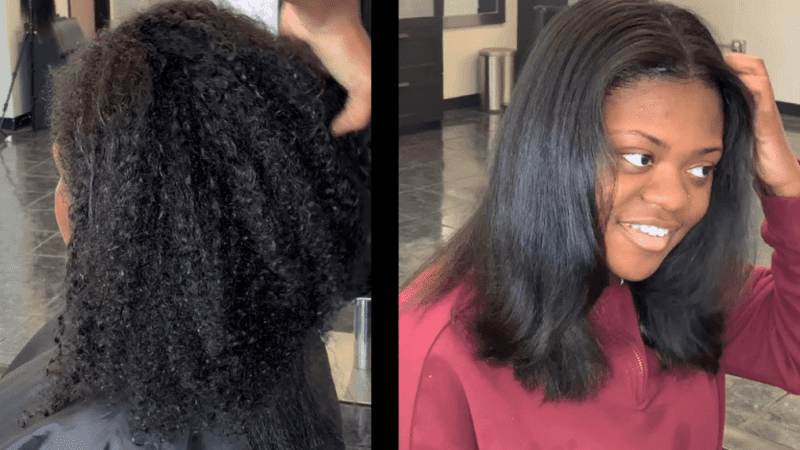
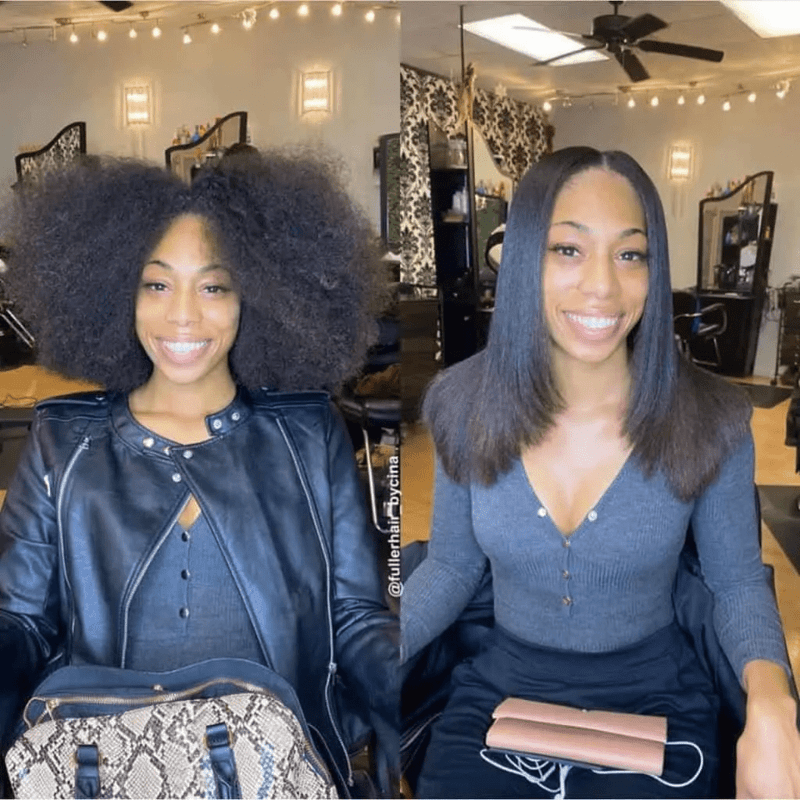
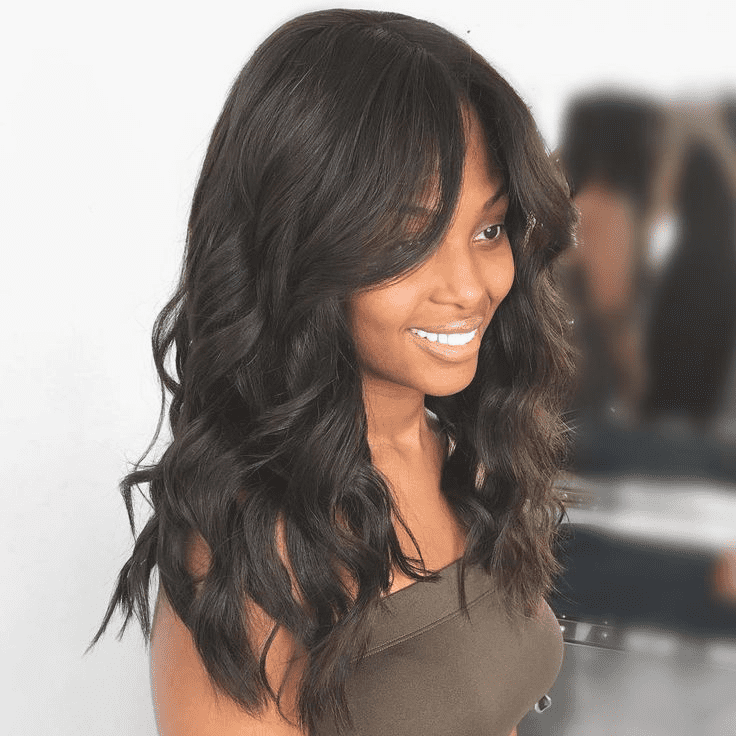
SILK PRESS ON NATURAL HAIR

A silk press is a technique for achieving sleek, straight hair using heat. To avoid damaging your natural hair, it’s essential to use a heat protectant serum and other protective products.

This method lets you enjoy the look of straightened hair without the need for chemical relaxers. However, it’s important to limit the frequency of silk presses throughout the year. Excessive heat can lead to significant damage, so be mindful of not overusing this styling technique.

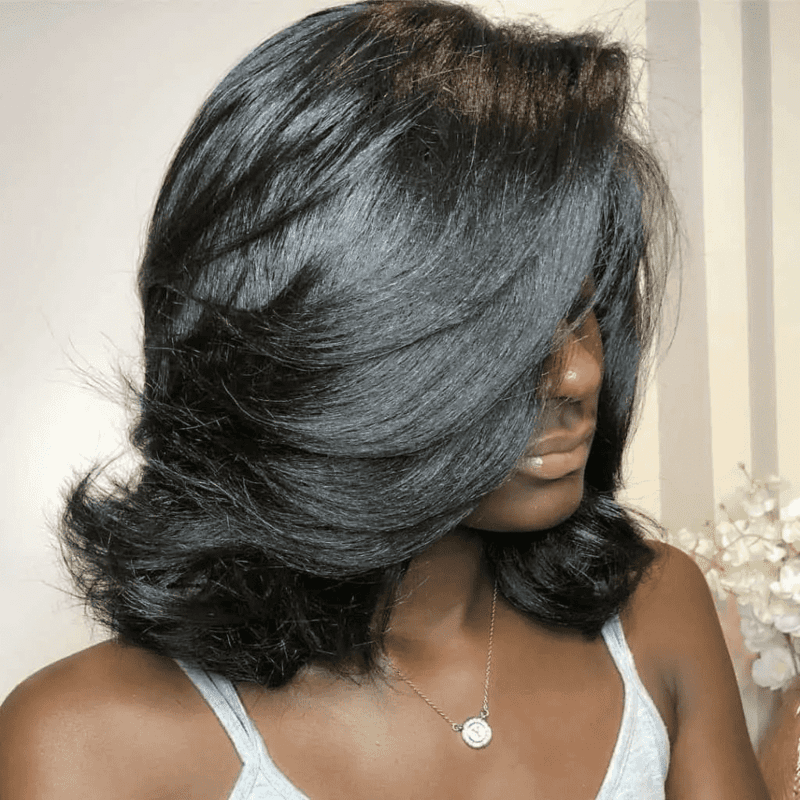
SIDE PART SILK PRESS & CURLS ON TYPE 4 HAIR

SILK PRESS & TRIM

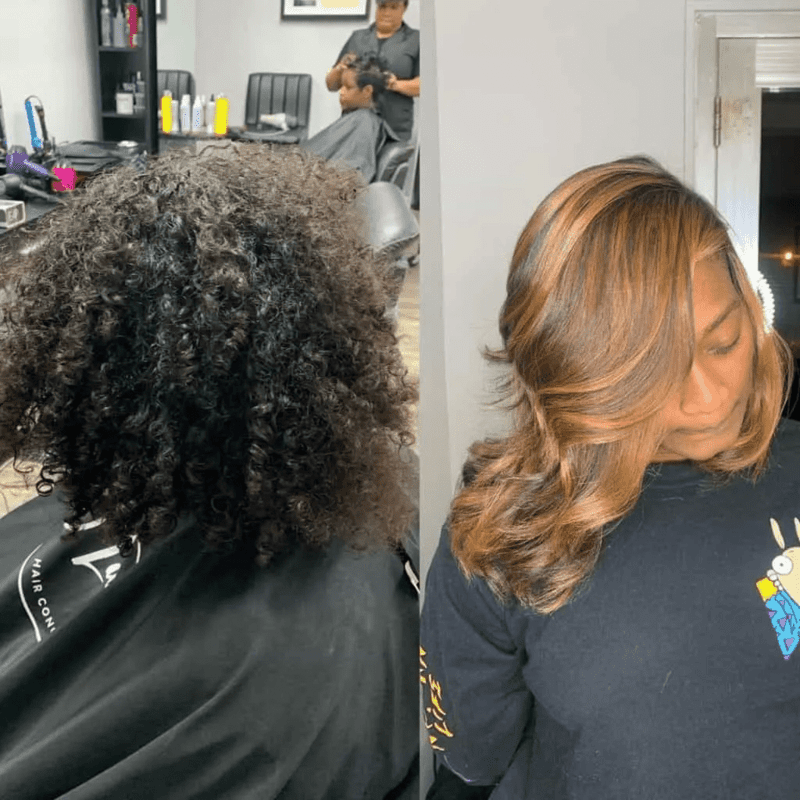
SILK PRESS & BROWN HIGHLIGHTS ON NATURAL HAIR

SILK PRESS RESULTS ON TYPE 4 HAIR

SILK PRESS X DYE TRANSFORMATION ON NATURAL HAIR

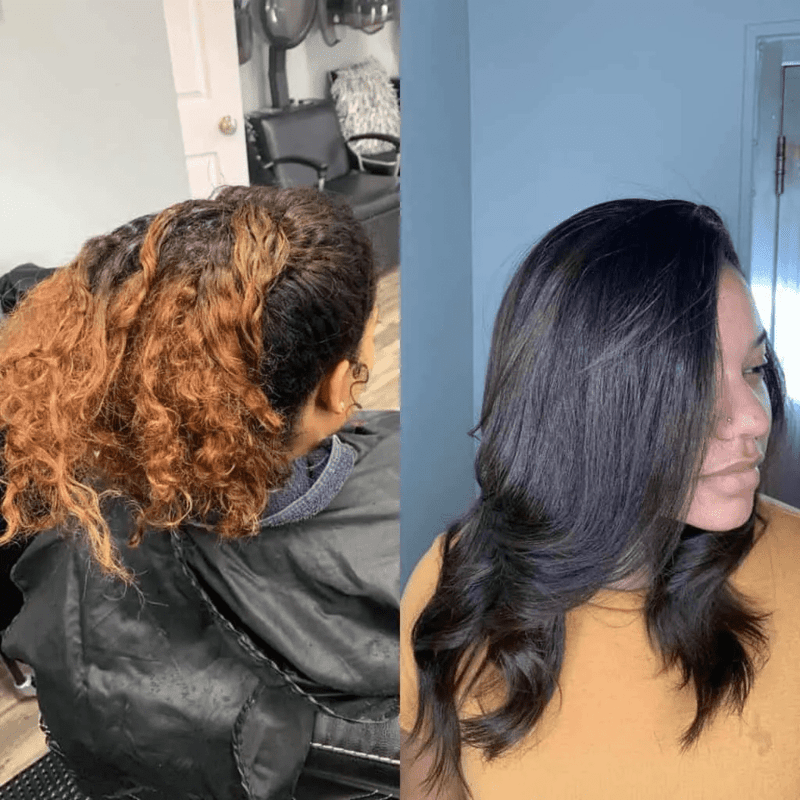
SILK PRESS X DYE ON NATURAL HAIR

SIDE PART BANGS

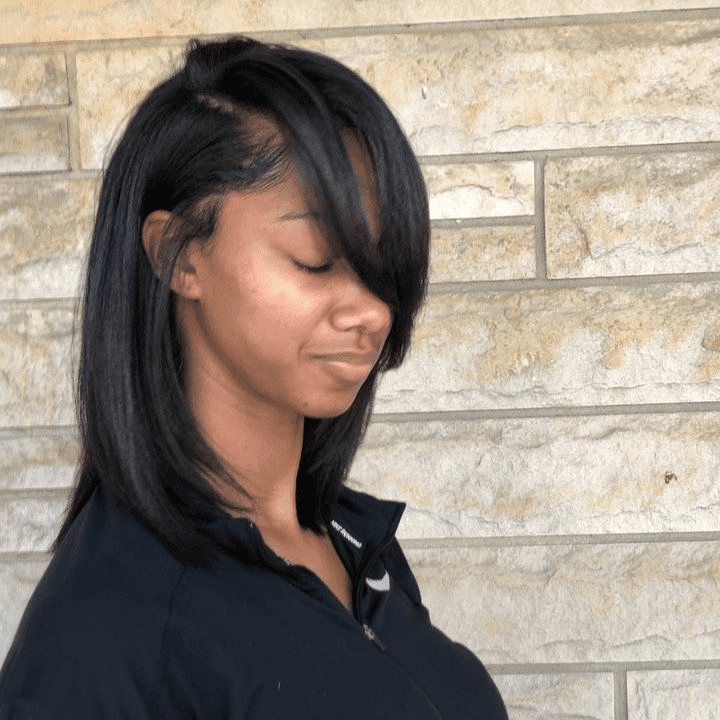
SIDE PART FEATHER CURLS CURTAIN BANGS

FEATHER CURL BOB WITH SIDE PART BANGS

CURTAIN BANGS ON DYED HAIR

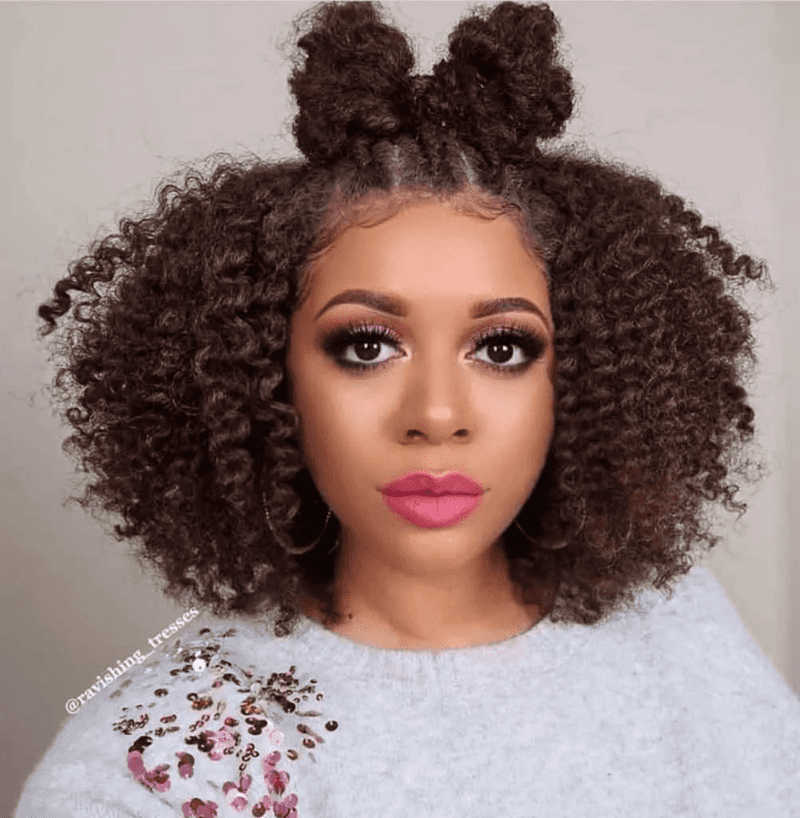
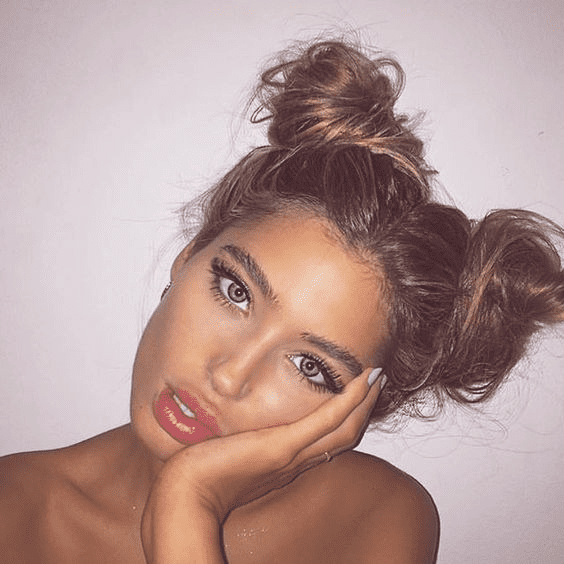
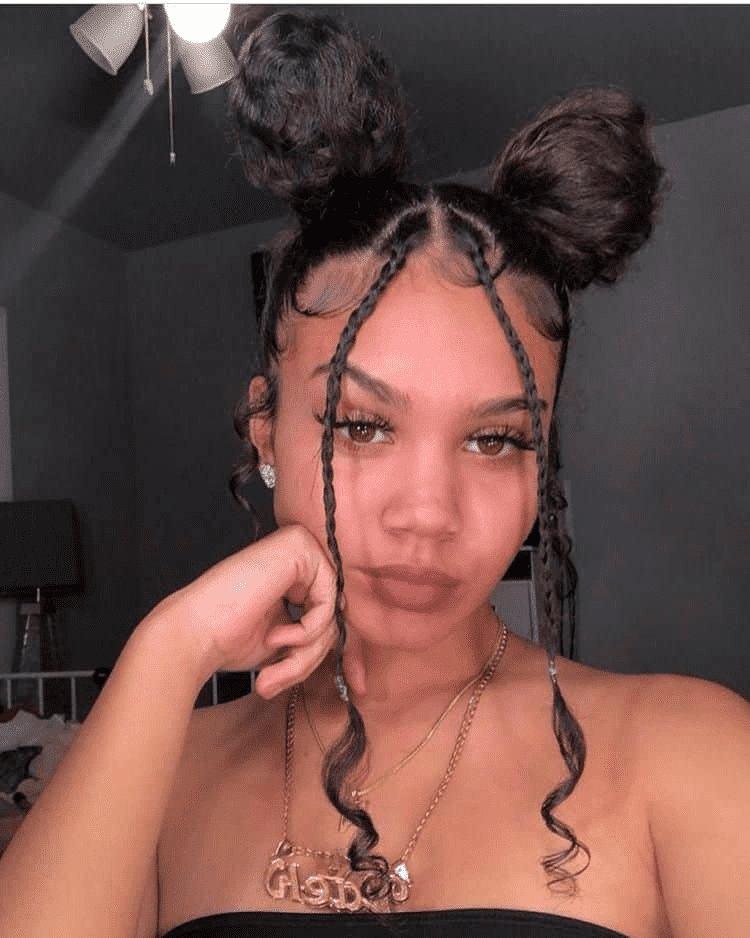
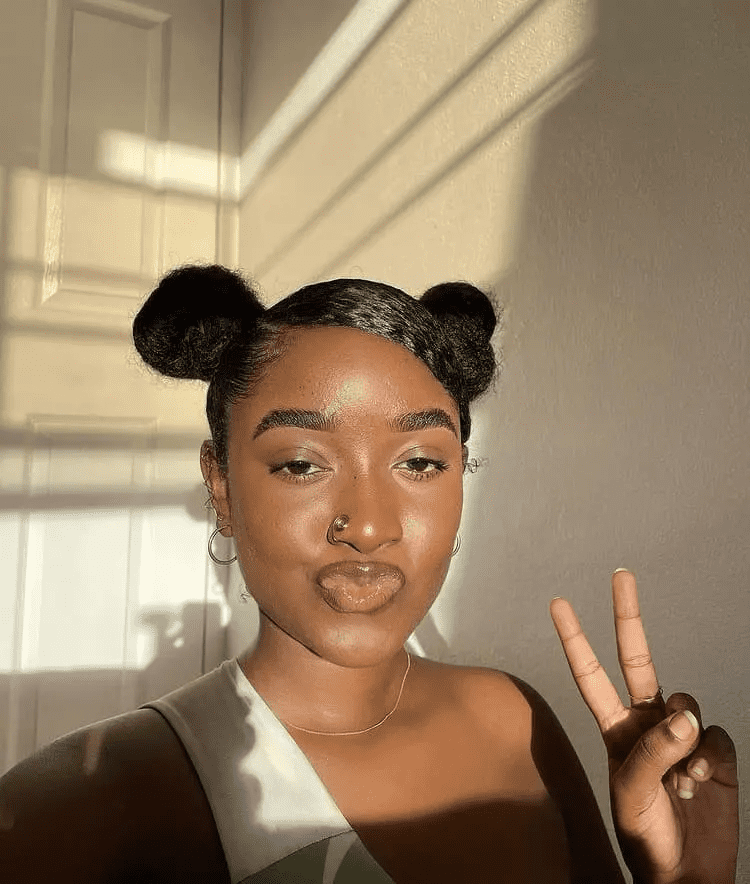
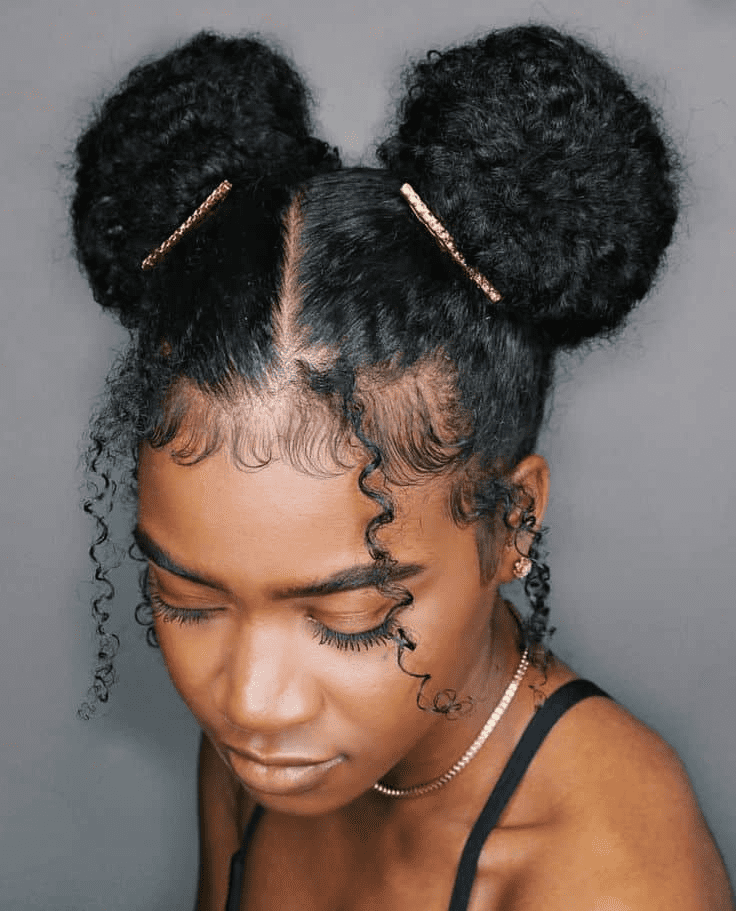
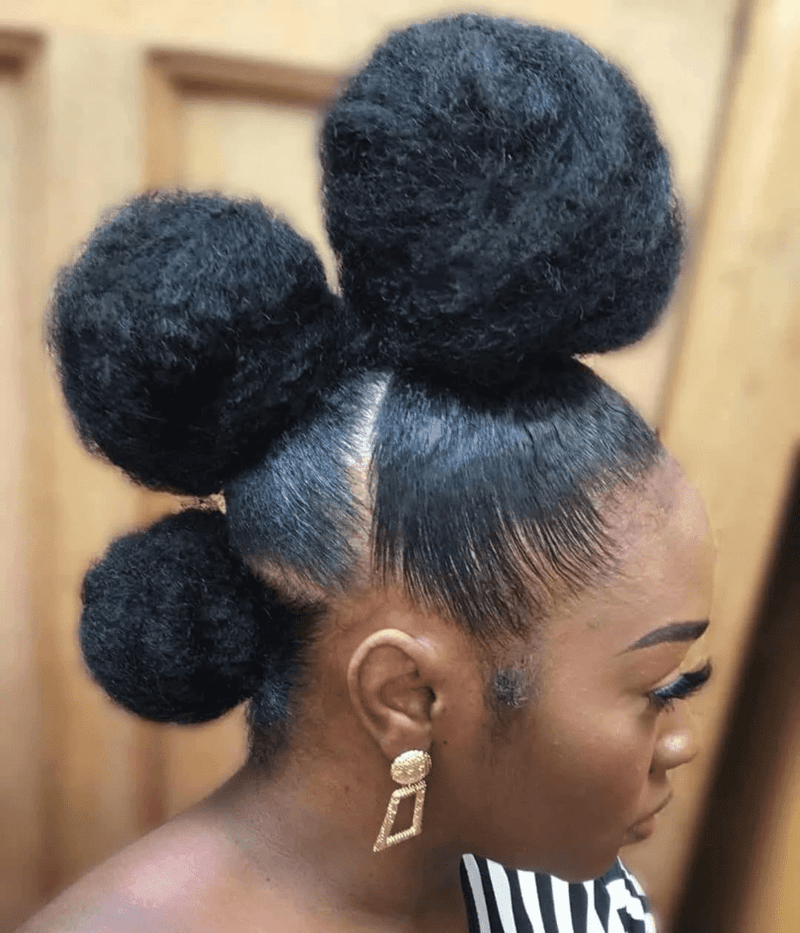
SPACE BUN HAIRSTYLES ON NATURAL HAIR

Space buns are a quick and easy hairstyle that offers versatile styling options. To create them, simply section your hair into parts and secure each section into buns on either side of your head. For longer or fuller hair, you can divide it into three sections for the buns. You can use bobby pins or colorful hair pins to style and secure your hair, especially to tame any shorter or stubborn pieces.

MESSY SPACE BUNS

SPACE BUNS WITH TWO BRAIDED BANGS

SIDE PART SPACE BUNS

SPACE BUNS ON SLEEKED DOWN HAIR

SPACE BUNS ON 4C HAIR

MOHAWK SPACE BUNS

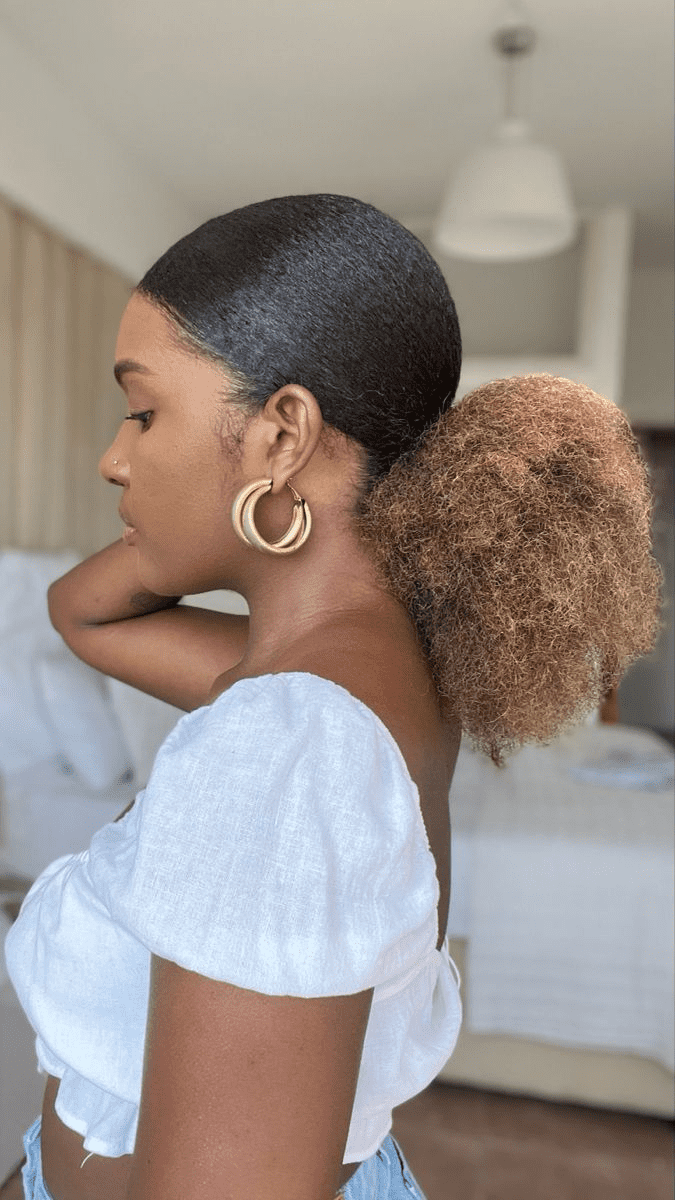
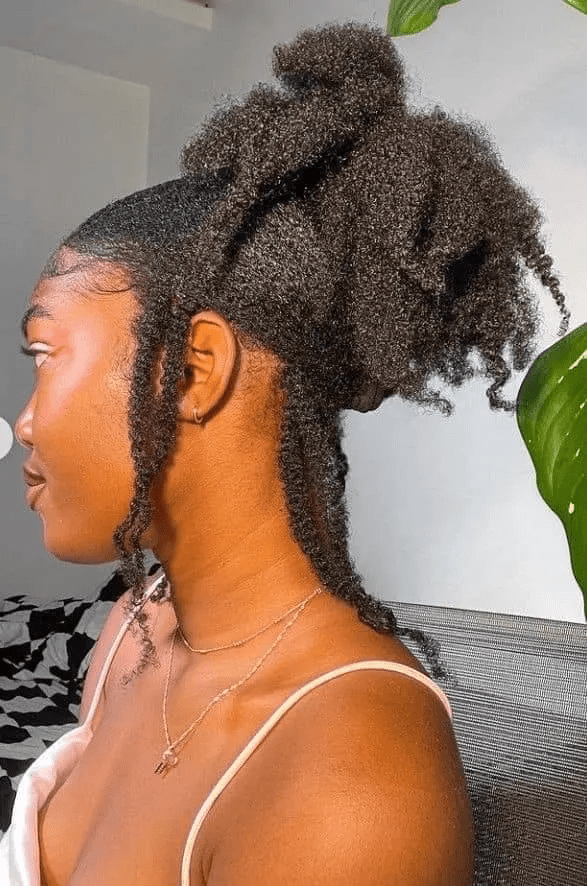
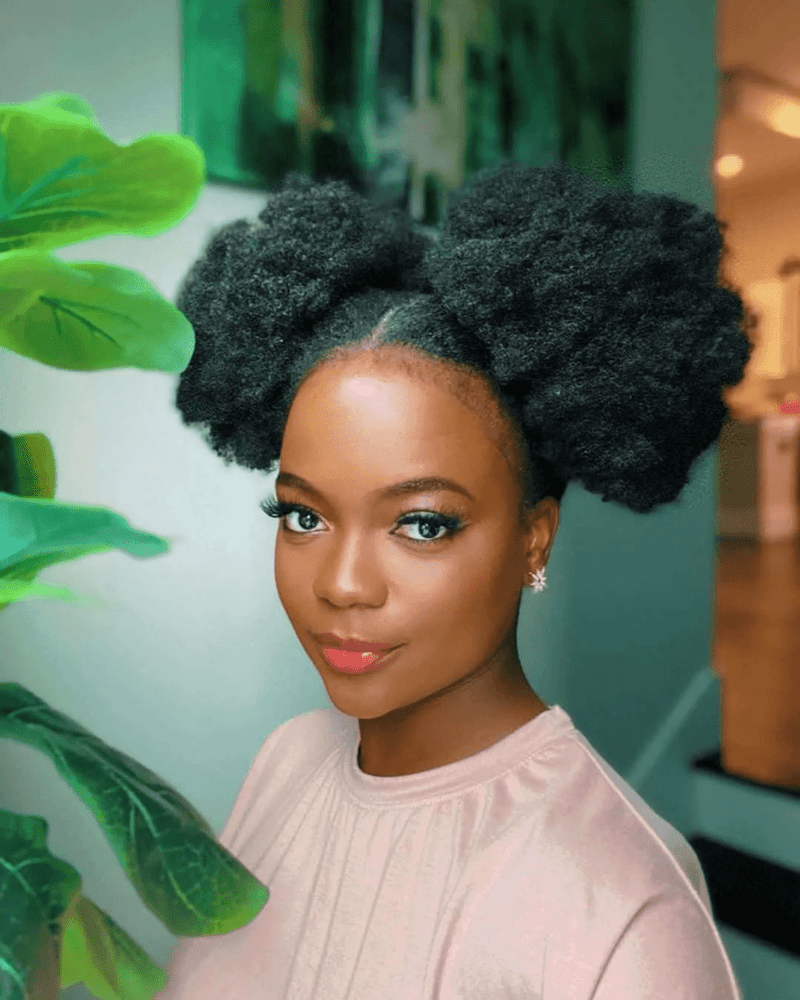
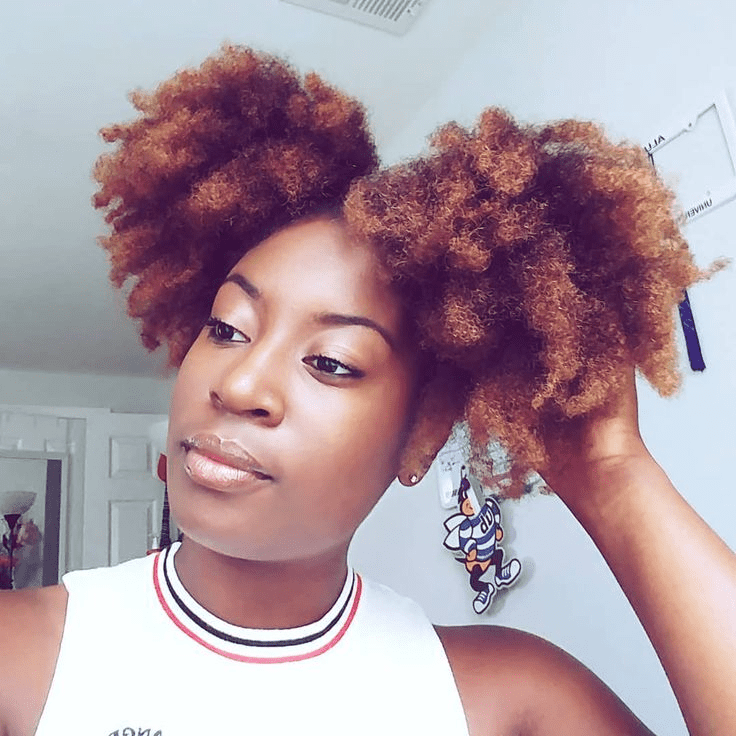
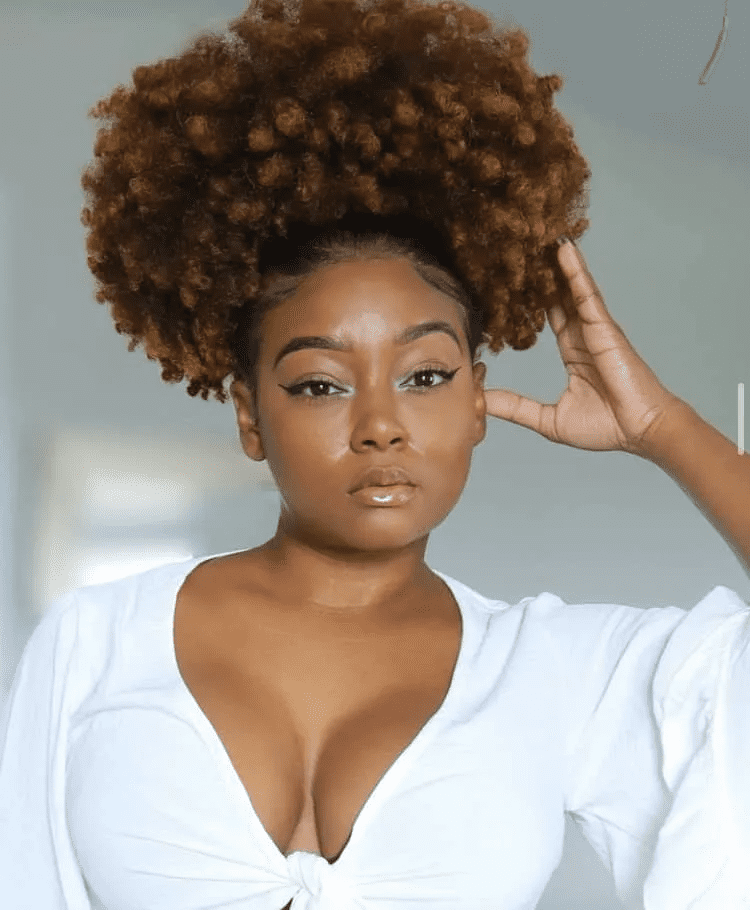
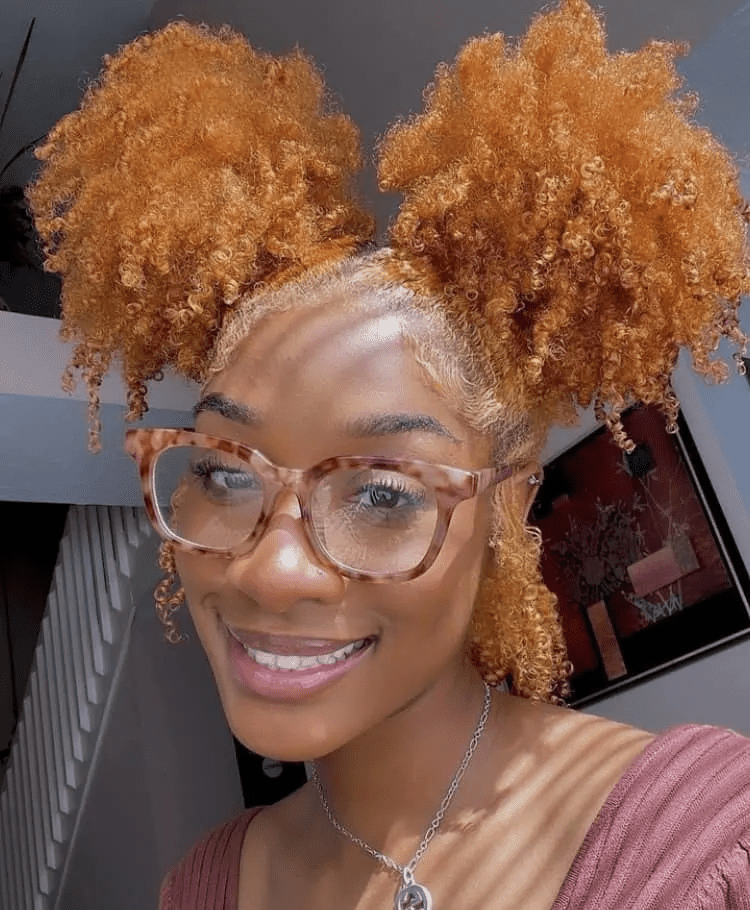
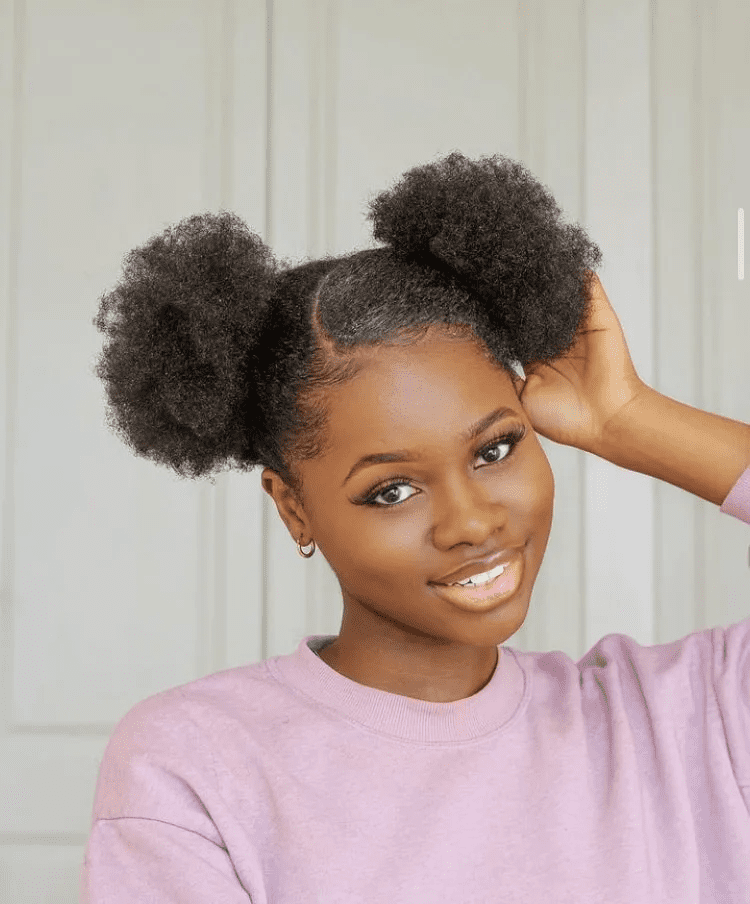
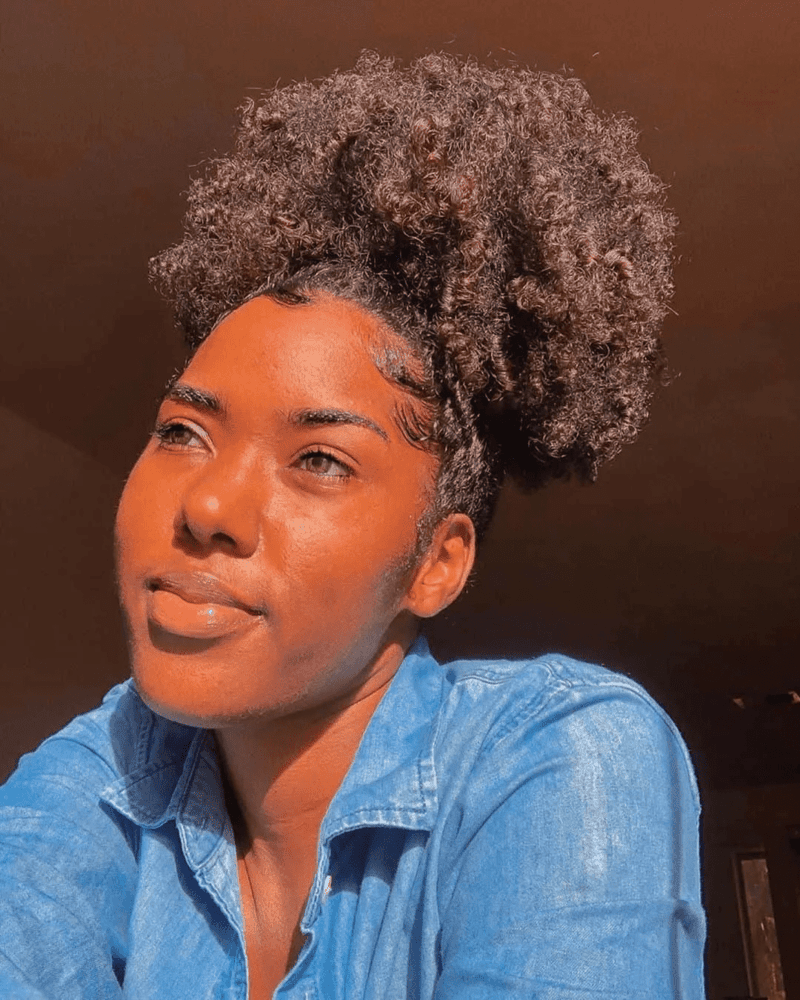
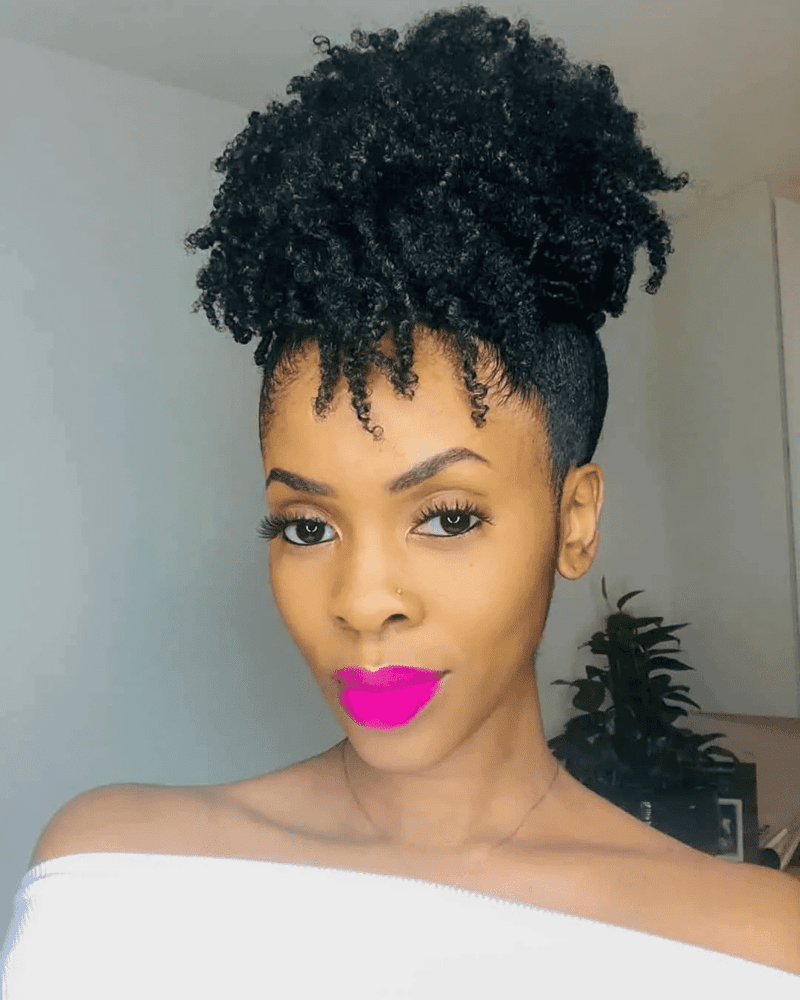
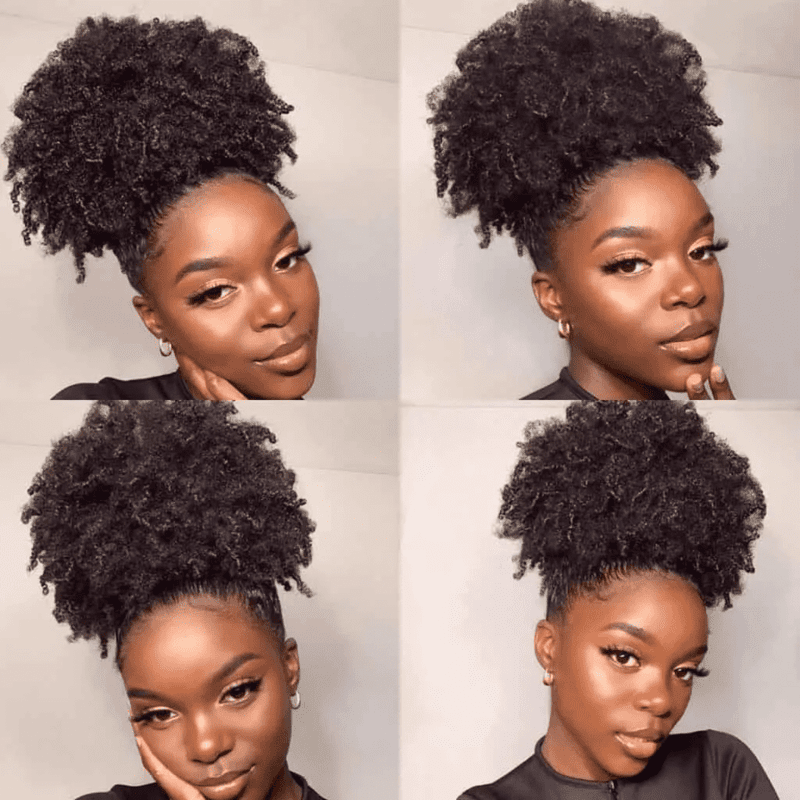
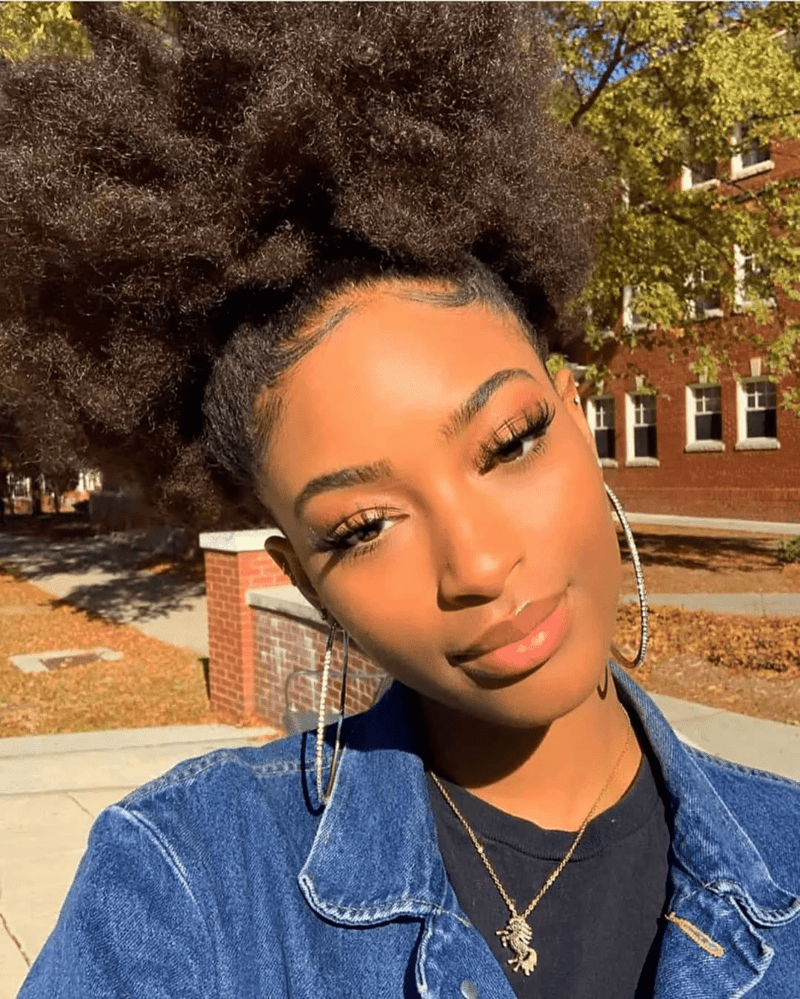
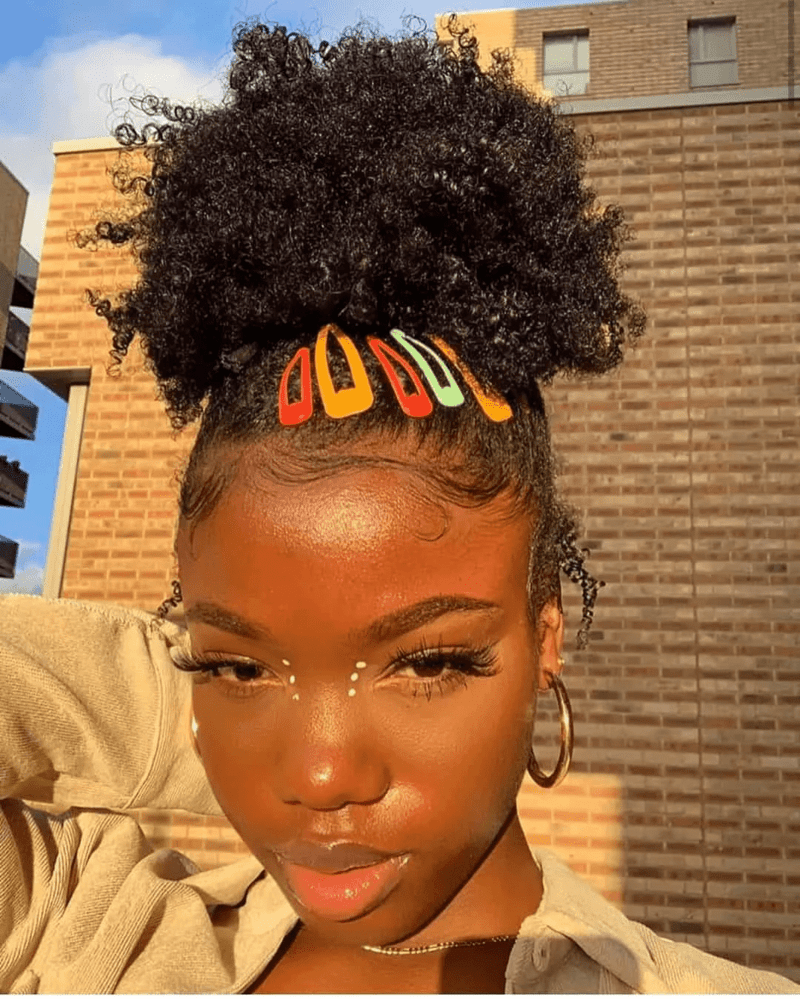
NATURAL HAIR PUFF HAIRSTYLES

If you’re short on time or having a laid-back natural hair day, a puff is a quick and easy option. Start by combing your hair and applying leave-in conditioner, then use gel to smooth it down.

Wrap a scarf around your head for a few minutes to help achieve a sleek finish. Finish the look by laying your edges with your favorite edge control, and either gather your hair into a single puff on top or create two puffs on each side.

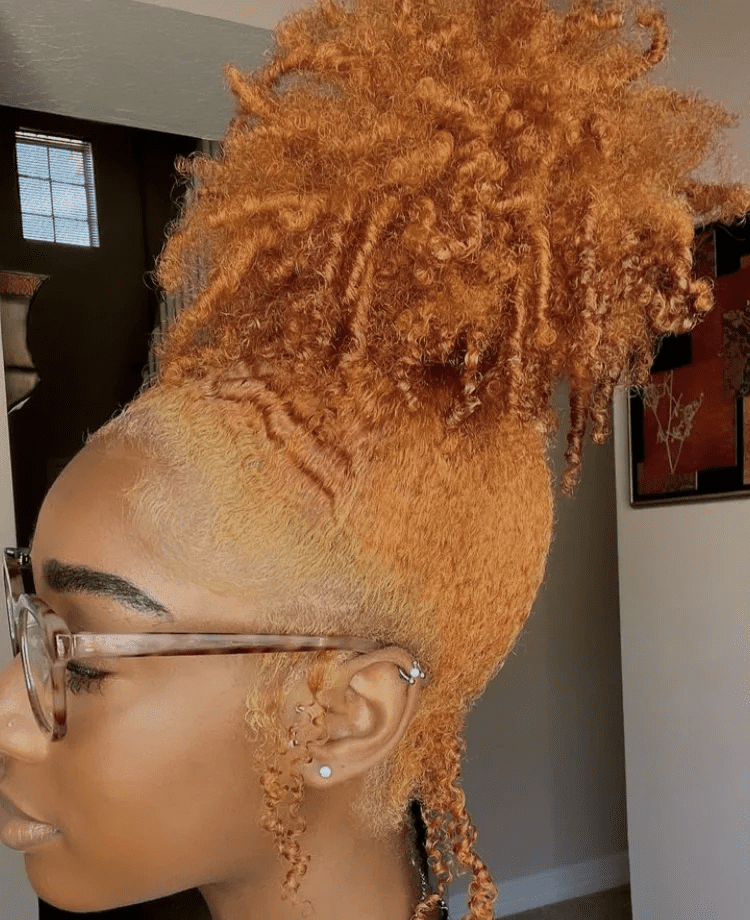
TWO CURLY NATURAL HAIR PUFFS ON GINGER HAIR

NATURAL HAIR PUFF UPDO

CURLY NATURAL HAIR PUFFS ON GINGER HAIR

TWO NATURAL HAIR PUFFS ON SHORT HAIR

CURLY AFRO PUFF ON GINGER HAIR

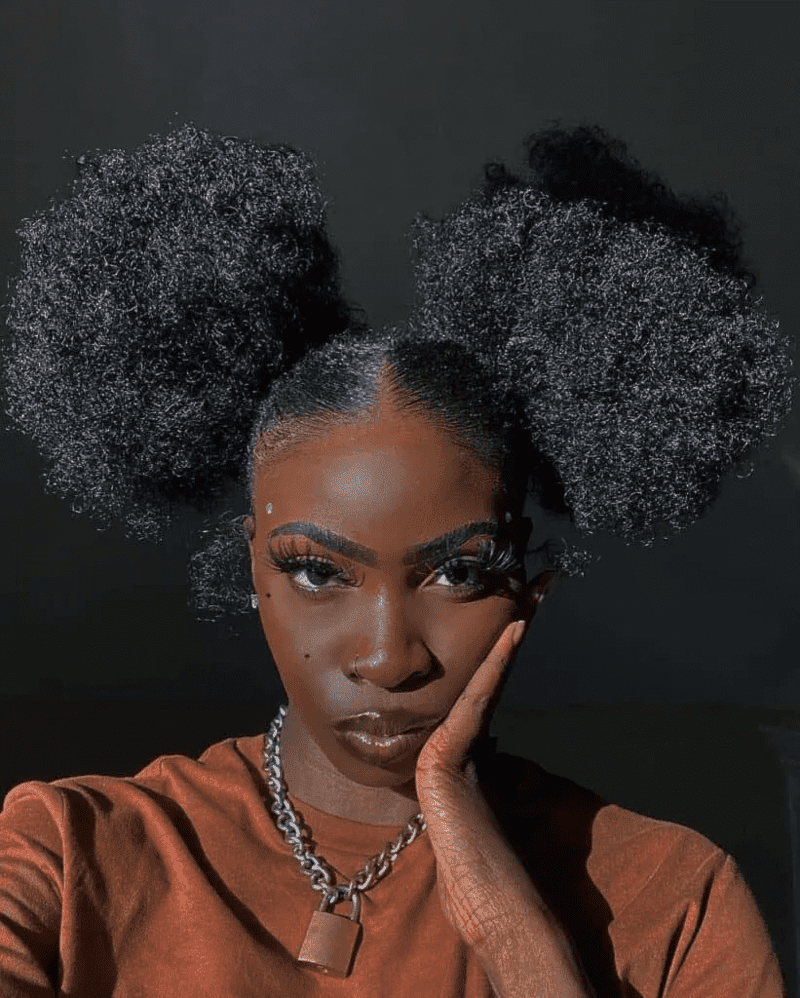
TWO AFRO PUFFS ON SLEEKED HAIR

COILY AFRO PUFF

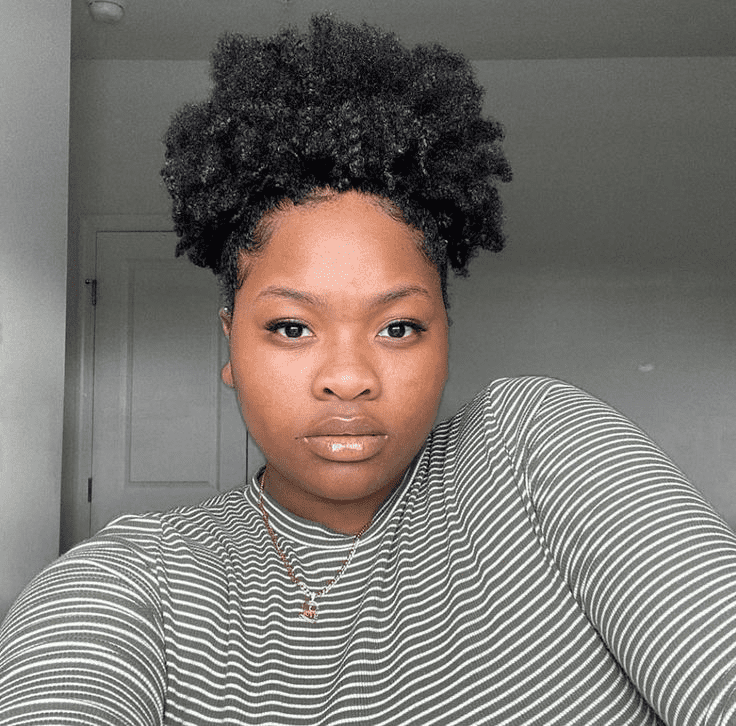
CURLY HAIR AFRO PUFF

TWIST OUT X AFRO PUFF

AFRO PUFF ON COILY NATURAL HAIR

FLUFFED OUT AFRO PUFF

AFRO PUFF ON CURLY NATURAL HAIR

CURLY AFRO PUFF

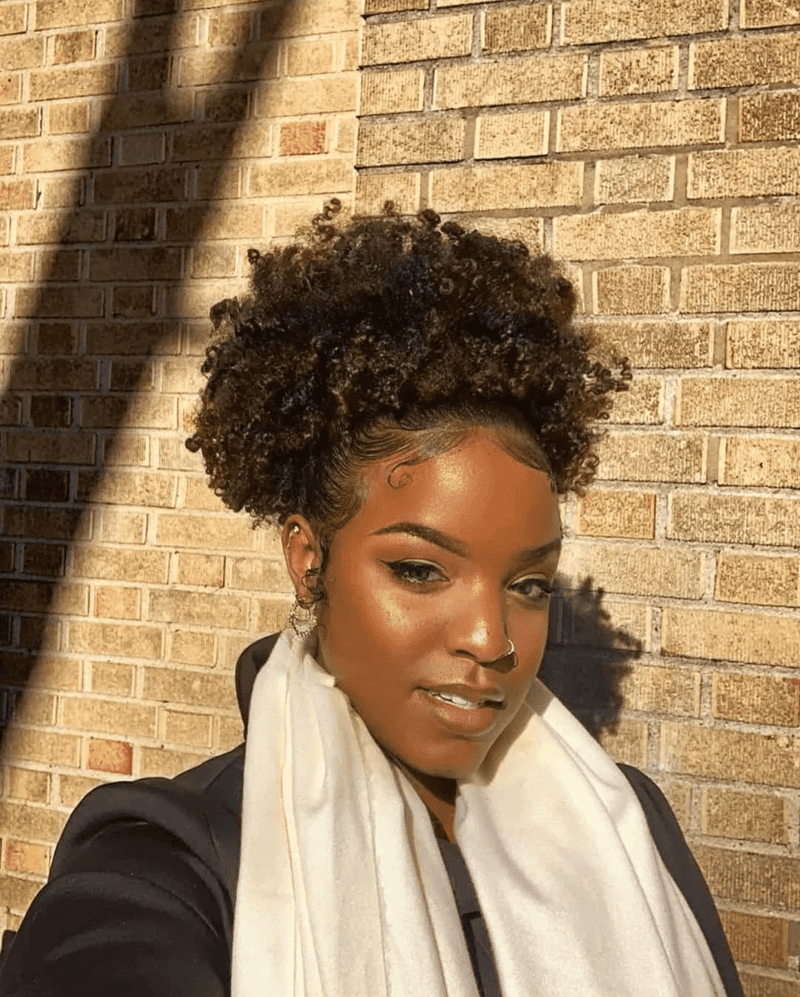
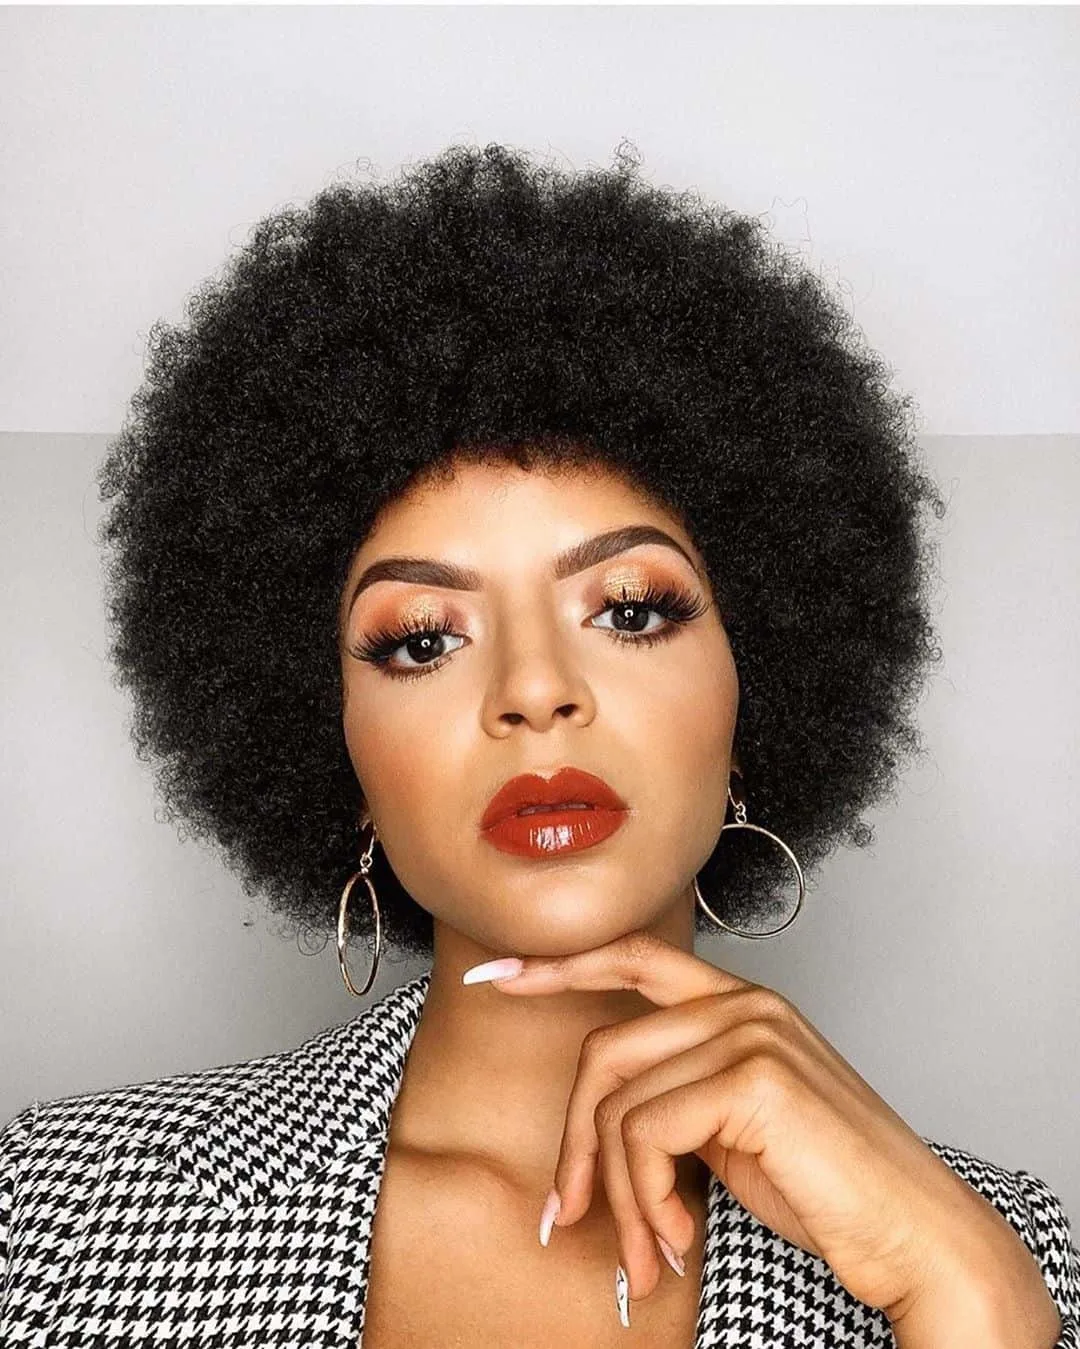
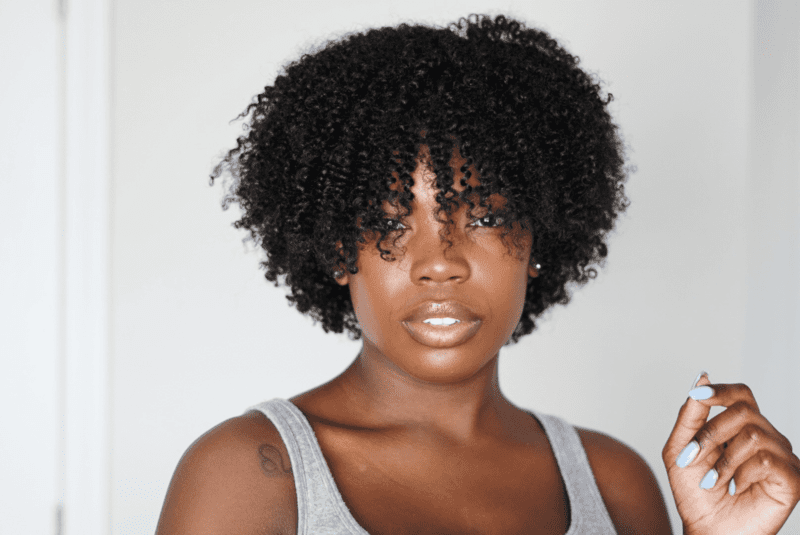
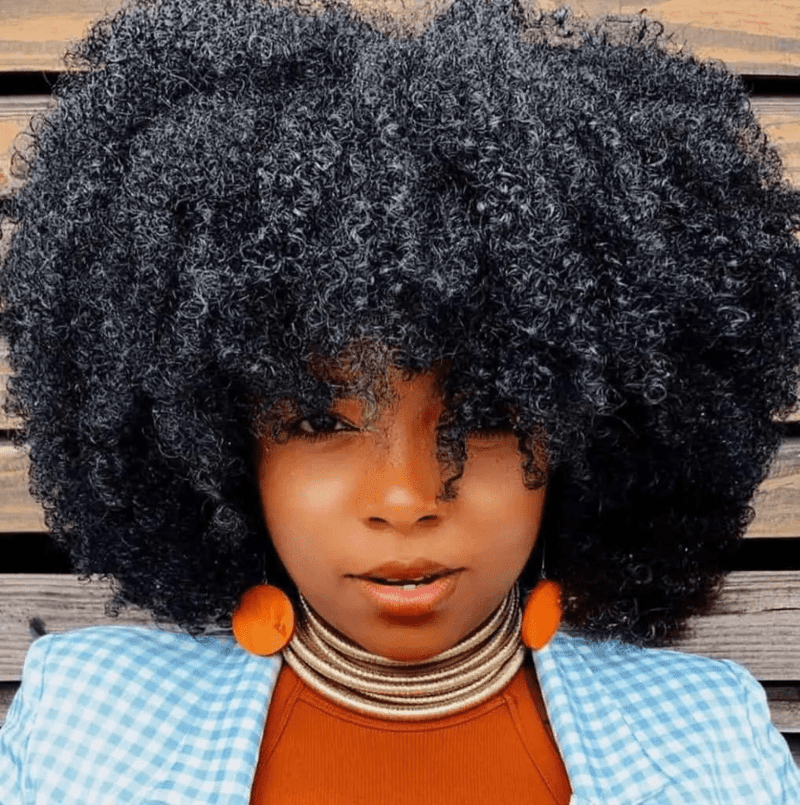
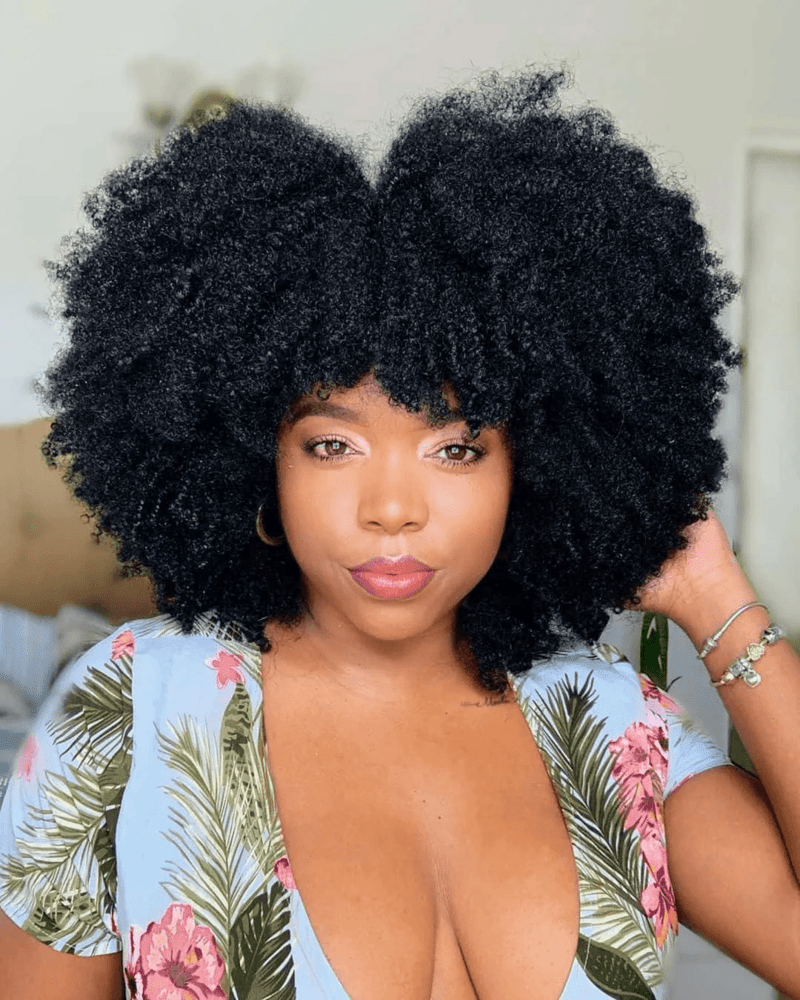
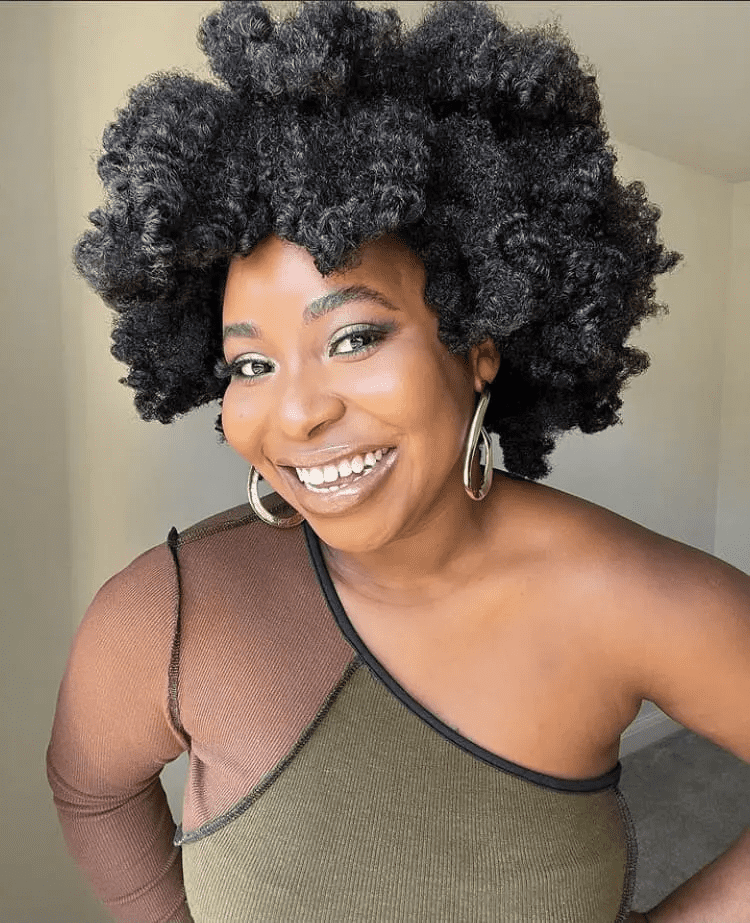
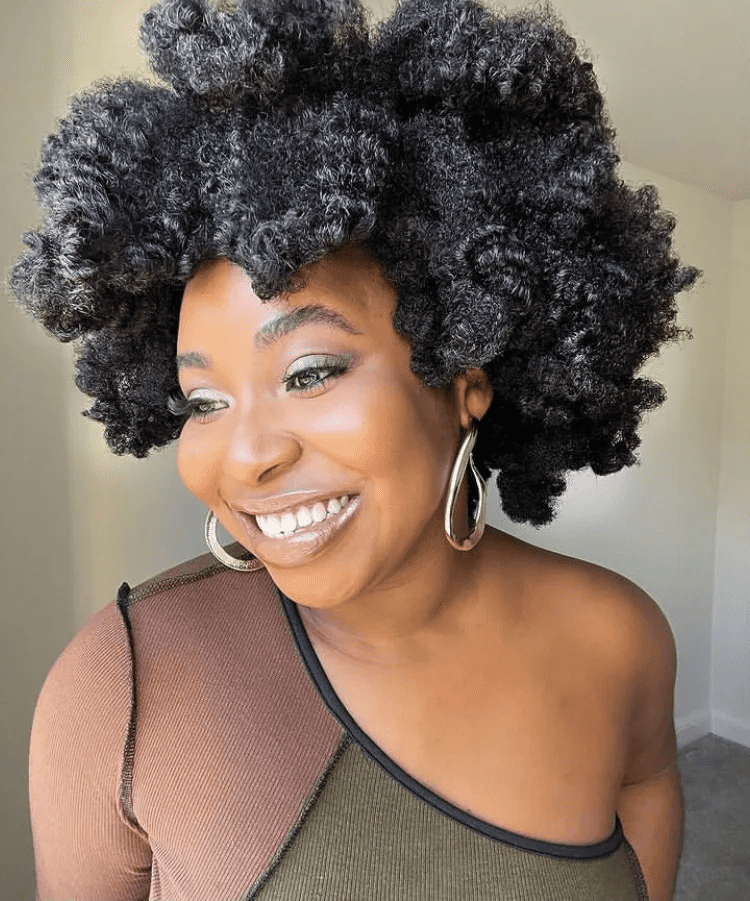
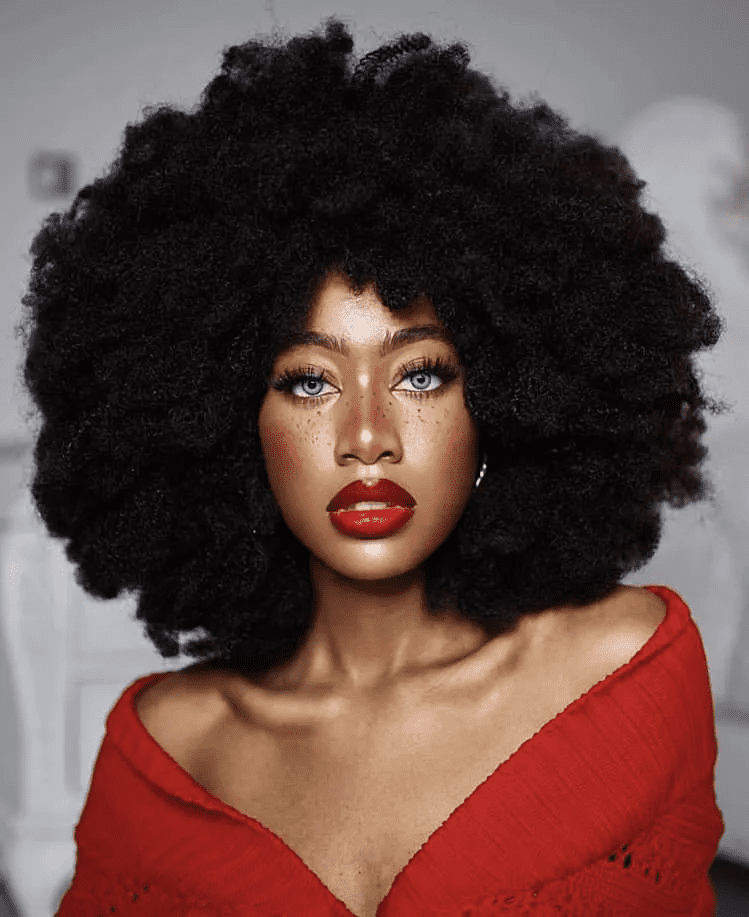
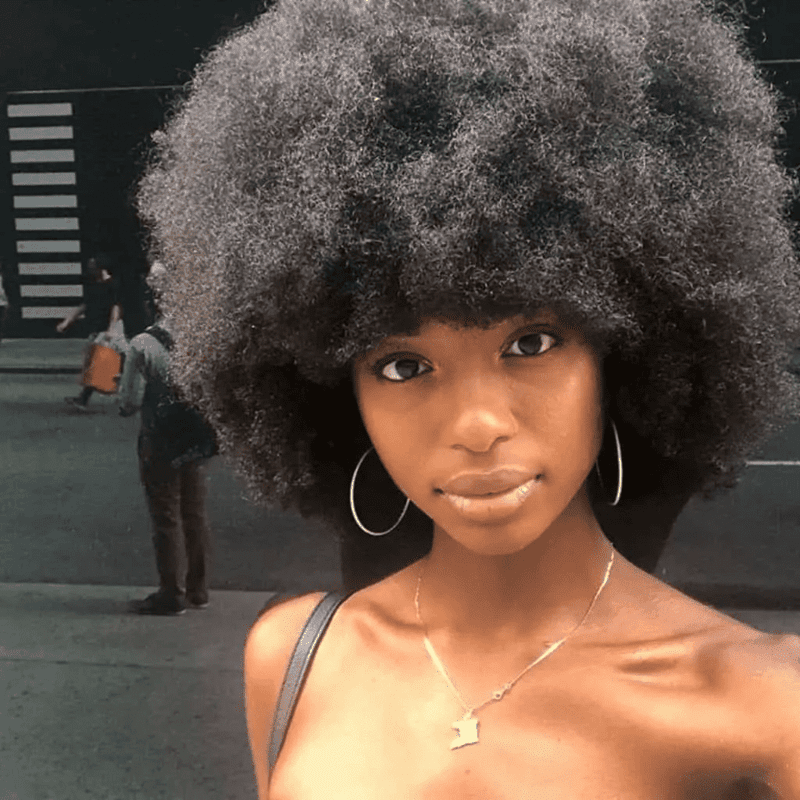
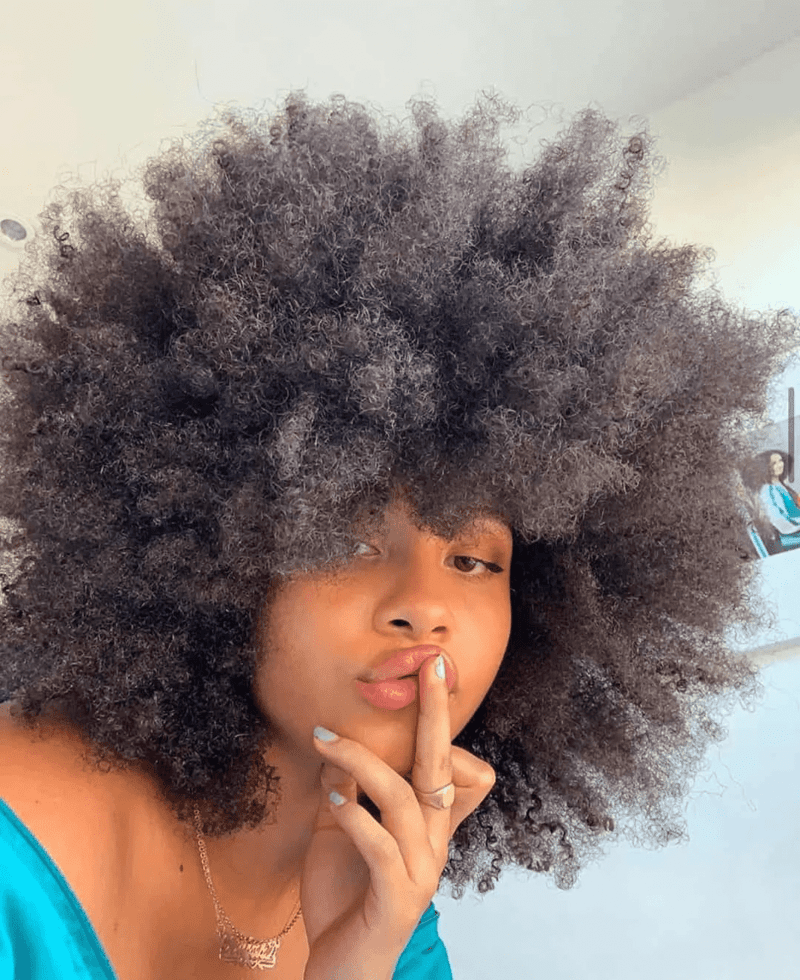
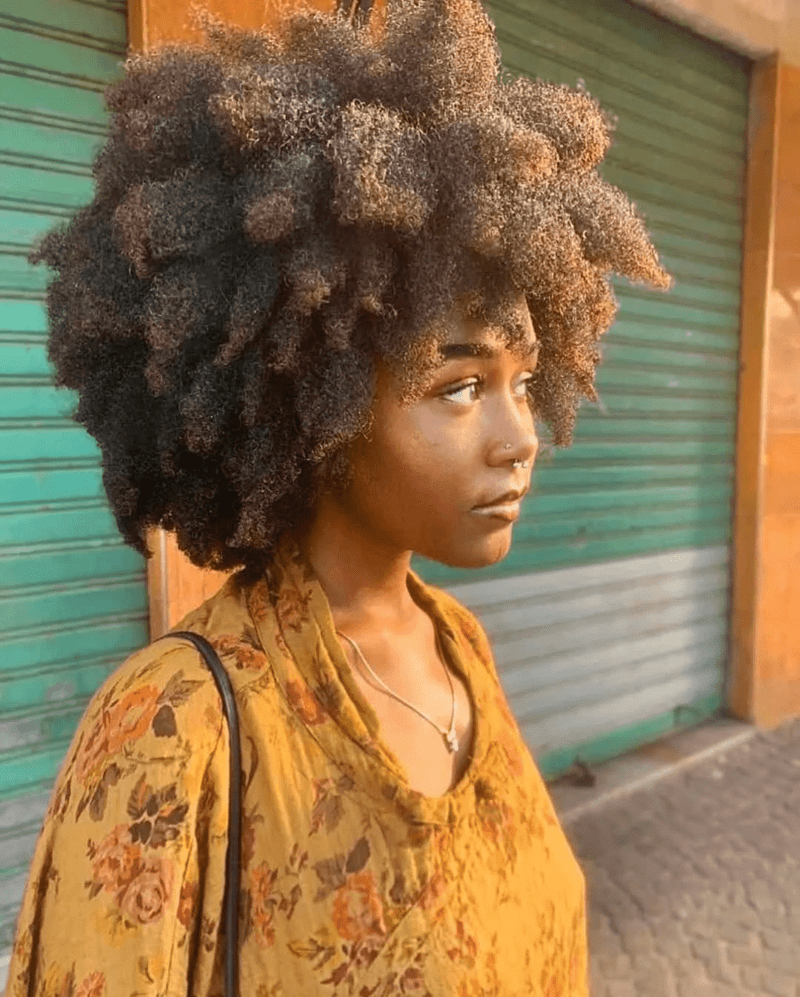
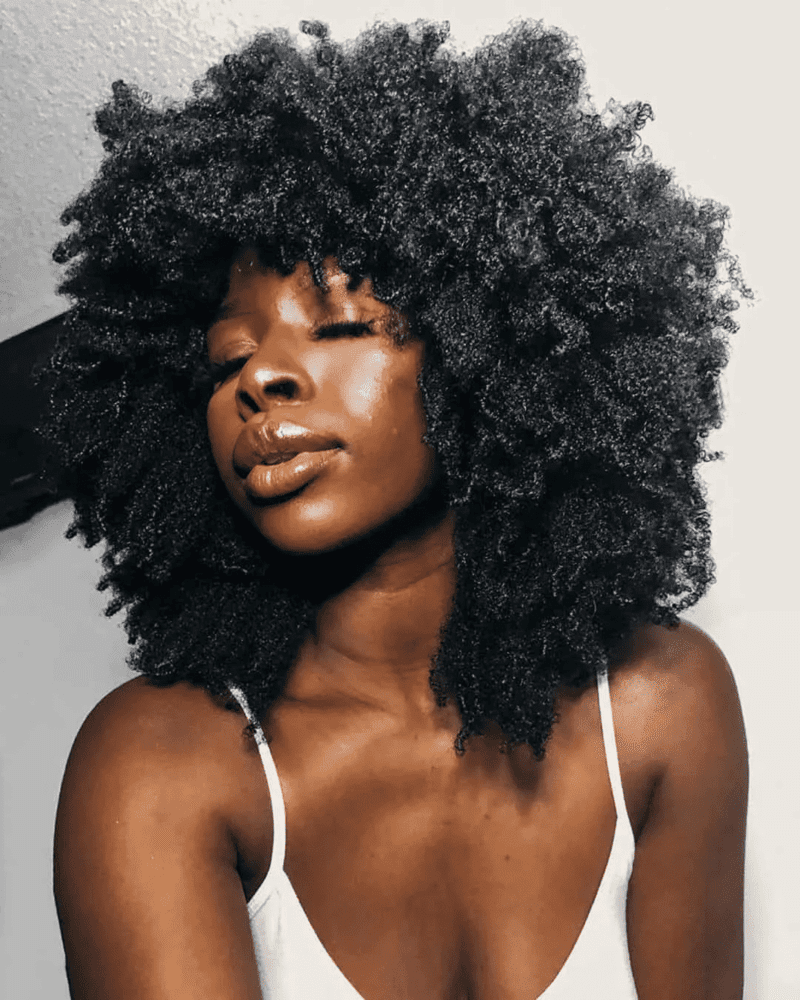
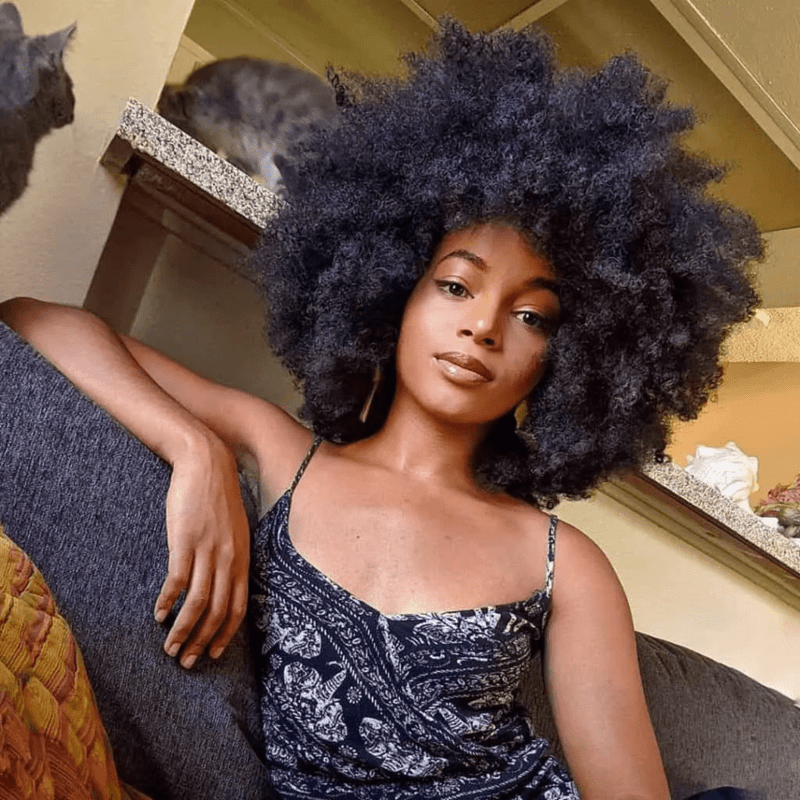
AFRO HAIRSTYLES FOR NATURAL HAIR

Few things are as stunning as a big, voluminous afro in its natural state. This hairstyle is simple to achieve, no matter your hair type or texture. Just moisturize your hair and use your fingers or a wide-tooth comb to add volume and fluff it up.

Remember, a bigger afro often looks even more striking. If you’re just starting your natural hair journey and have a teeny weeny afro (TWA), don’t worry—these small afros are equally beautiful.

BANTU KNOT OUT ON TYPE 4 HAIR

BANTU KNOT OUT FRO

PUFFY AFRO

WASH N GO AFRO

FLUFFED OUT AFRO

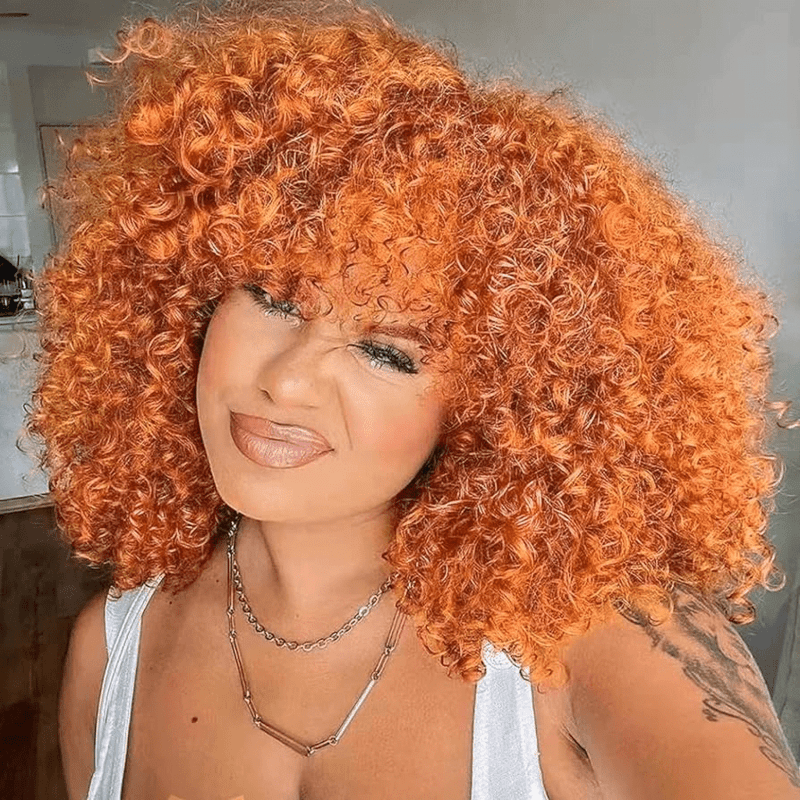
AFRO ON CURLY GINGER NATURAL HAIR

PUFFY AFRO

FLUFFED OUT STYLED AFRO ON DYED HAIR

STRUCTURED AFRO

COILY AFRO

FLUFFED AFRO ON 4B HAIR

CONCLUSION

Embrace your natural beauty with these adorable and simple hairstyles! From protective styles to everyday looks, there’s a perfect natural hairstyle for every Black woman. Remember, confidence is the best accessory, so rock your natural hair with pride! Experiment, have fun, and let your hair shine.

How to Silk Press Natural Hair like a pro

If you’ve ever dreamed of having gorgeously straight and smooth hair while keeping your natural texture intact, you’re in for a treat with the silk press. It’s like a magical hair transformation that allows you to switch up your style temporarily. Whether your hair is curly, coily, or wavy, the silk press can give you that sleek, elegant look you’ve been cravin. Unlike traditional methods of straightening hair, silk pressing leaves your locks with a silky, bouncy finish that looks and feels natural. 

In this article, we’ll discuss everything you need to know about silk pressing natural hair – from what it is and how to do it to its pros and cons.

What is a Silk Press?


A silk press is a hair straightening technique that uses a combination of blow-drying and flat ironing to achieve a smooth, silky finish. It is a popular technique for people with naturally curly or textured hair, as it can help to reduce frizz and create a more manageable style.

The process involves using heat to temporarily break down the protein bonds in the hair, allowing it to be molded and styled into straighter patterns. The term “silk press” comes from the silky and smooth finish that the hair gets after the process is complete.

Unlike chemical relaxers, which permanently alter the hair’s structure, silk pressing only lasts until the next time you wash your hair. Additionally, silk pressing doesn’t involve the use of harsh chemicals, making it a safer and gentler alternative for those who prefer not to use chemicals on their hair or have sensitive scalps.

how to do a silk press on natural hair at home

Materials You’ll Need

  • Shampoo and conditioner
  • Wide-tooth comb or detangling brush
  • Heat protectant spray or serum
  • Blow dryer with a nozzle attachment
  • Ceramic flat iron (with adjustable temperature settings)
  • Clips or hair ties
  • Silk or satin scarf or bonnet
  • Silk or satin pillowcase

Step 1: Start with Clean Hair

Silk pressing should always be done on freshly washed and conditioned hair. This will ensure that your hair is free from any product buildup or oils that can interfere with the straightening process. After washing, apply a heat protectant to protect your hair from heat damage.

Step 2: Detangle Your Hair

While your hair is still damp, use a wide-tooth comb or detangling brush to gently remove any knots or tangles. Begin at the tips of your hair and work your way up to the roots to avoid excessive breakage.

Step 3: Apply Heat Protectant

Apply a heat protectant spray or serum evenly throughout your hair. This will create a barrier between your hair and the heat from the flat iron, reducing the risk of damage.

Step 4: Blow Dry Your Hair

Attach a nozzle to your blow dryer for more precise air control. Using a medium to low heat setting, begin blow drying your hair in sections. Use a paddle brush to guide the heat through your hair, stretching it out as you go. Aim to get your hair as straight as possible during this step.

Step 5: Section Your Hair

Divide your hair into small, manageable sections using clips or hair ties. Smaller sections allow for more even and effective straightening.

Step 6: Straighten Your Hair

  • Set your ceramic flat iron to an appropriate temperature for your hair type. Lower temperatures are suitable for fine hair, while higher temperatures are better for coarse or thick hair. Start with a lower temperature and gradually increase it if needed to avoid excessive heat damage.
  • Take one of the sections you’ve created and run the flat iron down a small portion of hair, starting as close to the roots as you can without burning yourself. Use a slow, steady motion to straighten the hair. Repeat this process for each section of your hair until it’s all straightened.

Step 7: Silk Wrap Your Hair

After straightening each section, wrap it around your head in the direction you want it to fall, creating a silk wrap. Use clips or pins to secure it in place. This helps to set the hair and maintain its sleekness.

Step 8: Let Your Hair Cool

Allow your hair to cool down in the silk wrap for at least 10-15 minutes. This helps the hair’s cuticles close and maintain the straightened style.

Step 9: Style and Finish

Carefully unwrap your hair from the silk wrap and style it as desired. You can add a little oil or serum for extra shine and smoothness

Pros and Cons of a Silk Press

Like any hair styling technique, silk pressing natural hair has its pros and cons. Here are some of the most important ones:

Pros 

  • Give your hair a smooth, sleek finish that can last for several days.
  • Help to reduce frizz and make your hair more manageable.
  • Once your hair has been silk pressed, you can style it in a variety of ways, such as straight, curly, or wavy.
  • Can be used on all hair types, including naturally curly or textured hair.

Cons 

  • Can be a time-consuming process, especially if you have thick or long hair.
  • If not done correctly, a silk press can damage your hair. It is important to use a heat protectant spray and to avoid over-flat ironing your hair.
  • If you get a silk press done at a salon, it can be expensive.

How long does silk press last on natural hair?

The longevity of a silk press on natural hair can vary depending on several factors, including your hair’s texture, the quality of the silk pressing technique, your hair care routine, and your environmental conditions. On average, a well-done silk press can last anywhere from 1 to 2 weeks. However, for some individuals with extremely curly or coily hair, the results might start reverting to their natural texture sooner. 

To prolong the life of your silk press, it’s essential to protect your hair while sleeping with a silk or satin scarf or bonnet, avoid excessive moisture or humidity, and use lightweight hair products to minimize the risk of reversion. Regular maintenance and touch-ups can also help extend the duration of your silk press.

FAQs 

  1. Is a silk press damaging? Silk pressing can cause heat damage if not done properly or excessively. To minimize damage, always use a heat protectant and only flat iron your hair when it’s completely dry.
  2. Can I silk press my hair at home? Yes, you can silk press your hair at home, but it’s important to use the right tools and techniques to avoid damaging your hair. Make sure you have a high-quality flat iron with adjustable temperature settings, a heat protectant, and a shine serum or oil to finish the look.
  3. Can I silk press my hair if it’s already been chemically treated? It is not recommended to silk press your hair if it has been chemically treated, as it can lead to further damage and breakage. Instead, consider other styling methods that are gentle on chemically treated hair.
  4. How often should I silk press my hair? The frequency of silk pressing your hair depends on your hair type, its condition, and your personal preferences. However, it’s generally recommended to wait at least 2-4 weeks between each silk pressing session to give your hair time to recover and minimize the risk of heat damage.

Final Takeaway

Silk pressing natural hair is a great way to achieve a sleek and bouncy look without the use of harsh chemicals. By following the right steps and using the right tools, you can achieve the perfect silk press that leaves your hair looking and feeling silky smooth. However, it’s important to keep in mind the potential risks and drawbacks of silk pressing and explore alternative styling methods that may work better for your hair type and condition. With the right knowledge and guidance, you can achieve any hairstyle you desire while keeping your hair healthy and beautiful.