DIY MANICURE AT HOME + TIPS FOR REMOVING GEL POLISH

Tired of spending a fortune on manicures? Want nails that look flawless without leaving your house? You’re in the right place! This guide will walk you through the steps to create a stunning DIY manicure in the comfort of your own home. We’ll also share essential tips for safely removing stubborn gel polish, ensuring your nails stay healthy and beautiful. Get ready to pamper yourself and discover the joy of achieving salon-quality results with a little DIY magic! Let’s dive in!

Here are two simple steps to remove your gel polish

  • Start with a Nail File: The key to effectively removing gel polish is to first remove the top layer. Take a nail file and gently sand down the surface. You don’t need to remove all the polish—just enough to take off the shine and rough up the top coat.
  • Soak for 10 Minutes: I’ve tried the cotton ball and aluminum foil method, but this technique works better for me.

Fill a large bowl with hot water and place a smaller bowl inside it. Pour acetone nail polish remover into the smaller bowl and soak your fingers for 10 minutes. Then, use a tool to push off the remaining polish. If some gel remains, soak your nails for another 5 minutes and repeat until all the polish is removed. *Avoid soaking any nails that don’t have gel polish on them—keep those out of the bowl.

After soaking in acetone, be sure to wash your hands. Your nails and hands will need some nourishing lotion and cuticle oil to replenish moisture.

Here are the final steps to revive your nails:

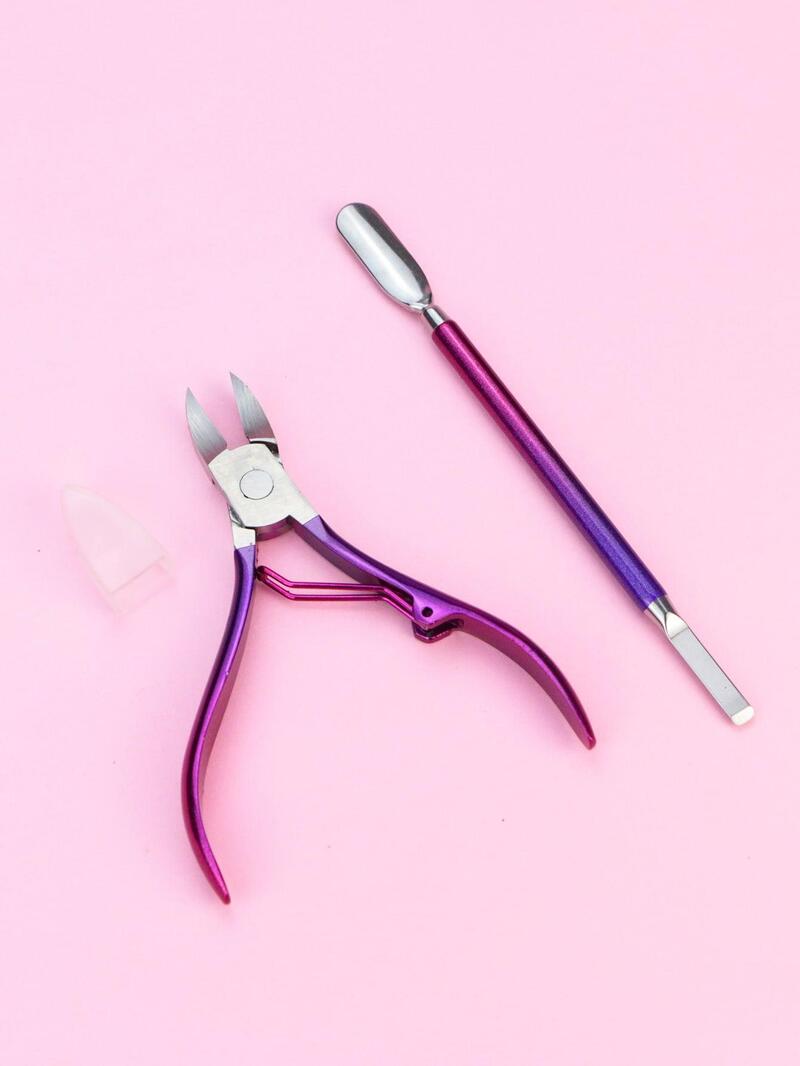
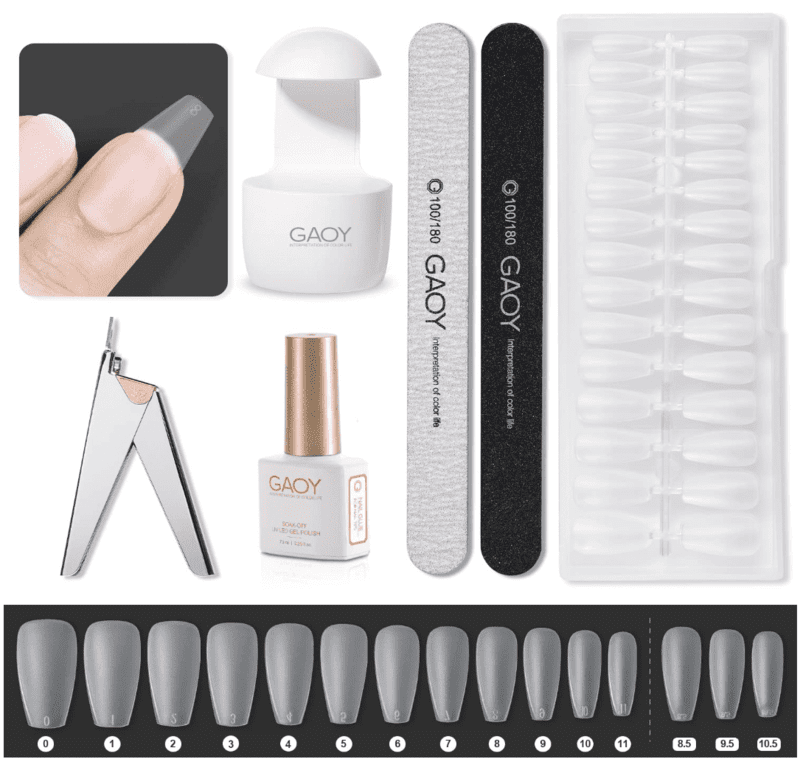
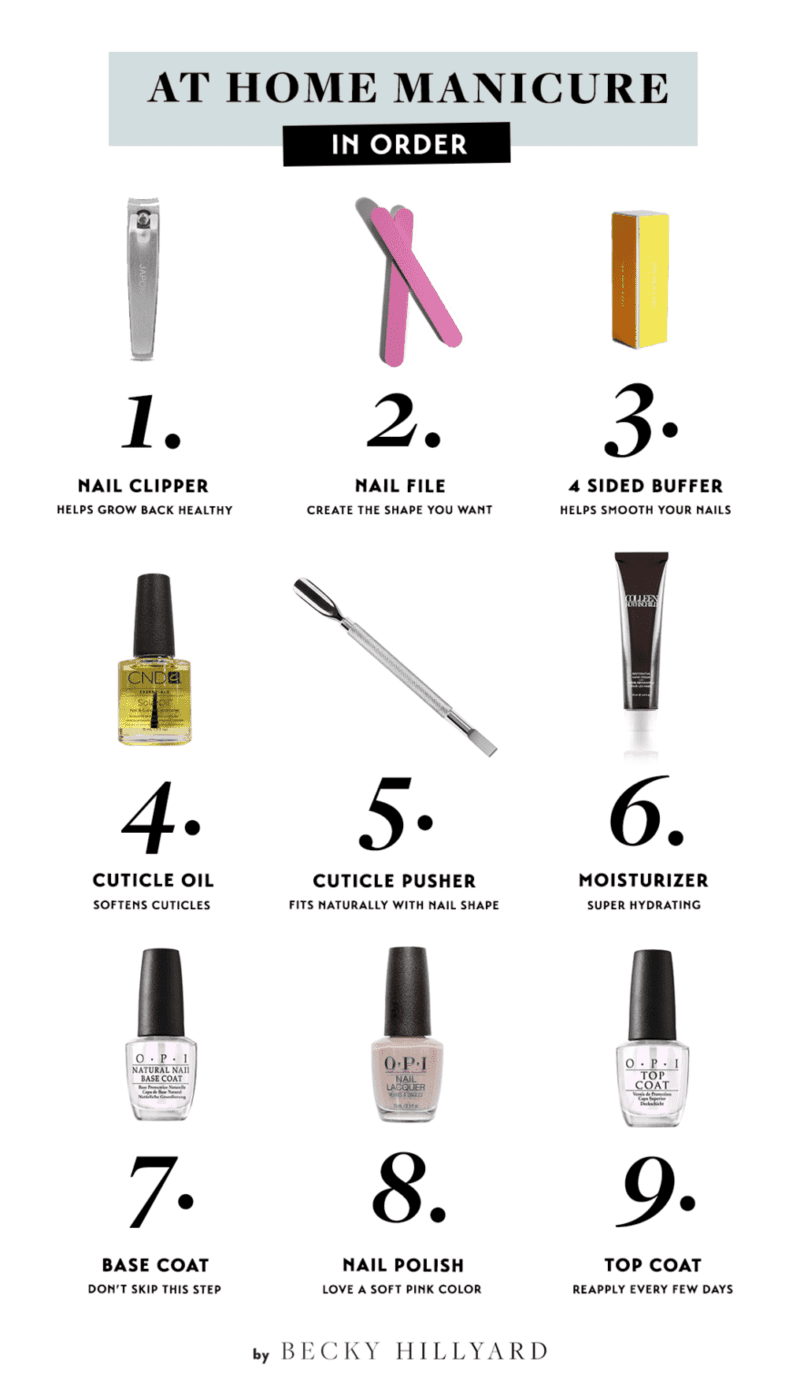
Cut, File, and Buff: After removing gel polish, my nails always need a good buffing and smoothing. I use this tool, which works perfectly. Then, I cut and shape them to my liking.

Soften Your Cuticles: Apply cuticle oil to each nail to soften the cuticles. I love using CND’s cuticle oil. Once your cuticles are nice and soft, use a tool like this or an orange wood stick to gently push them back.

Prep Your Nails: Wash your hands to remove any leftover lotion or oil—it’s important to start with dry nails.

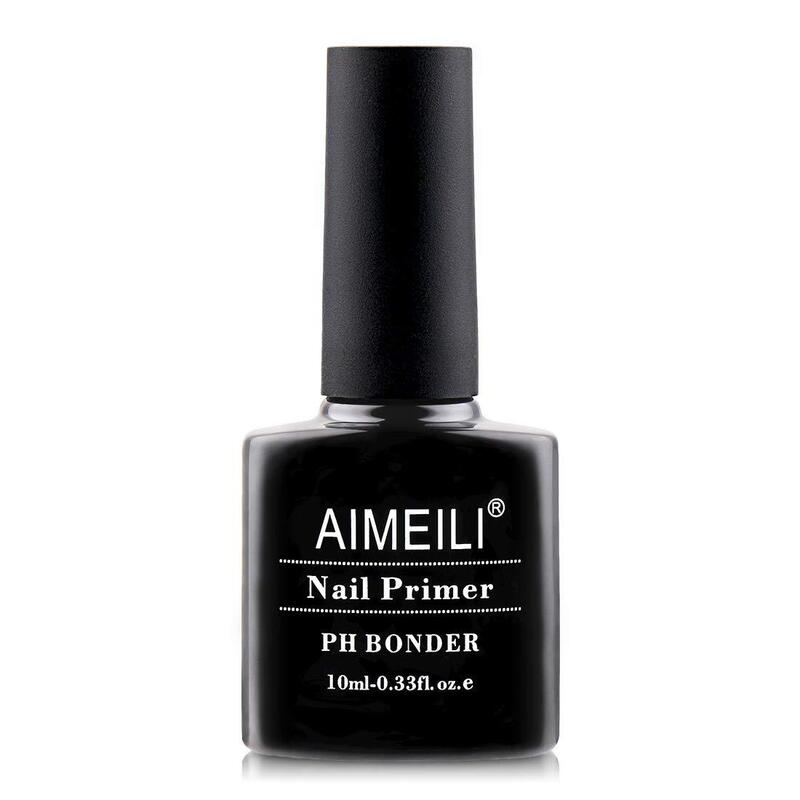
Apply a Base Coat: A single thin layer of base coat is perfect.

Paint Your Nails: Apply two thin layers of polish, allowing each coat to dry completely before adding the next.

Finish with a Top Coat: Start with one coat, and then apply additional coats throughout the week to help your polish last longer.

DIY GUIDE: ACHIEVING THE VIRAL JELLY NAILS TREND AT HOME ON A BUDGET

Jelly nails have taken the beauty world by storm with their translucent, dreamy look. But don’t be fooled by their salon-worthy appearance! You can easily recreate this trend at home without breaking the bank. In this guide, we’ll walk you through the steps to achieve perfect jelly nails, sharing budget-friendly tips and tricks along the way. Get ready to transform your nails into a work of art!

PRESS ON NAILS

For those that don’t enjoy painting their nails, I linked some press-on nails below. You can find some other press-on jelly nail styles by clicking through to the Etsy/Amazon stores. Here are a few options you might like!

KISS Bare But Better Nude Jelly Nails

AILLSA Press on Jelly Nails

GAOY Jelly Gel Nail Polish (6 colors)

DIY JELLY NAILS

PREP

Make sure to prep your nail bed beforehand—check out my favorite products that help prepare your nails for this dreamy manicure.

Professional Stainless Steel Cuticle Clippers

Sally Hansen Instant Cuticle Remover

AIMEILI Nail Prep Bond Primer, UV LED Gel Foundation for Acrylic Powder and Builder Gel

DIY USING NAIL POLISH YOU ALREADY HAVE

Don’t worry if you don’t have specific jelly nail polish! You can easily transform your existing polishes into a jelly-like finish. By mixing your favorite color with a clear base coat, you can create a translucent effect. Experiment with different ratios to achieve your desired level of opacity. Get creative and explore the colors already in your nail polish collection!

Alternatively, you can follow the Nailcou YouTube tutorial for a step-by-step guide on achieving the jelly nail look at home using gel polish. If you don’t have a gel set yet, I’ve linked some beauty blogger favorites below that can help you achieve salon-quality manicures at home. The Goay set is particularly handy for replicating the jelly nail trend, as it includes pre-made polish that already has the jelly nail effect.

GAOY Gel Nail Polish Kit with U V Light, 16 colors, & prep kit

Beetles Easy Gel Tips Almond Nails Extension Kit

GAOY Acrylic Nail Tips with UV Light, 300Pcs Press Ons w/ Tools

Vishine Nude Gel Polish Kit

GAOY 15 Pcs Jelly Gel Nail Polish Kit

OPUIU 10 Pcs Pastel Jelly Gel Nail Polish Set 

NAIL POLISH

If you prefer traditional nail polish over gel, check out the two products below. CirqueColors and JLLaquer are popular choices for achieving the jelly nail look on Etsy. With these polishes, you can easily create the effect by applying just one coat of polish followed by a top coat.

Cocoa Jelly Nail Polish

Jade Jelly

Pics to use as mani inspo:

If you prefer traditional nail polish over gel, check out the two products below. CirqueColors and JLLaquer are popular choices for achieving the jelly nail look on Etsy. With these polishes, you can easily create the effect by applying just one coat of polish followed by a top coat.

CONCLUSION

Creating the viral jelly nails trend at home doesn’t have to break the bank. With a little creativity and budget-friendly materials, you can achieve a stunning, professional-looking manicure. Remember, practice makes perfect, so don’t be discouraged if your first attempt isn’t flawless. With time and patience, you’ll master the technique and enjoy the satisfaction of DIY nail art. So, gather your supplies, unleash your inner artist, and get ready to rock those jelly nails!