In the world of personal grooming, getting the right razor is like finding a good friend for smooth and irritation-free skin. If you’re a careful woman who wants an effective and comfortable shaving routine, looking for the best women’s razor is important. We’re going to explore different kinds of razors, from fancy ones with many blades to cool electric ones. This exploration will help you understand each option better so you can choose the right one for you. It’s all about making a smart choice that fits your needs. Keep reading!
Things to Consider When Choosing a Razor
Skin Type
Do you have sensitive skin? If so, you’ll need to choose a razor that is designed for sensitive skin. These razors typically have fewer blades and lubricating strips to help reduce irritation.
Hair Type
Do you have thick, coarse hair? Or is it fine and thin? The thickness of your hair will also affect the type of razor you need. A razor with more blades may be necessary for thick hair, while a razor with fewer blades may be sufficient for fine hair.
Budget
Razors can range in price from a few dollars to several hundred dollars. It’s important to set a budget before you start shopping so you don’t end up overspending.
Features
Do you want a razor with a built-in lathering bar? Or one that comes with a travel case? There are a variety of features available, so consider which ones are important to you.
Top-rated razors for women
Gillette Venus Extra Smooth Swirl
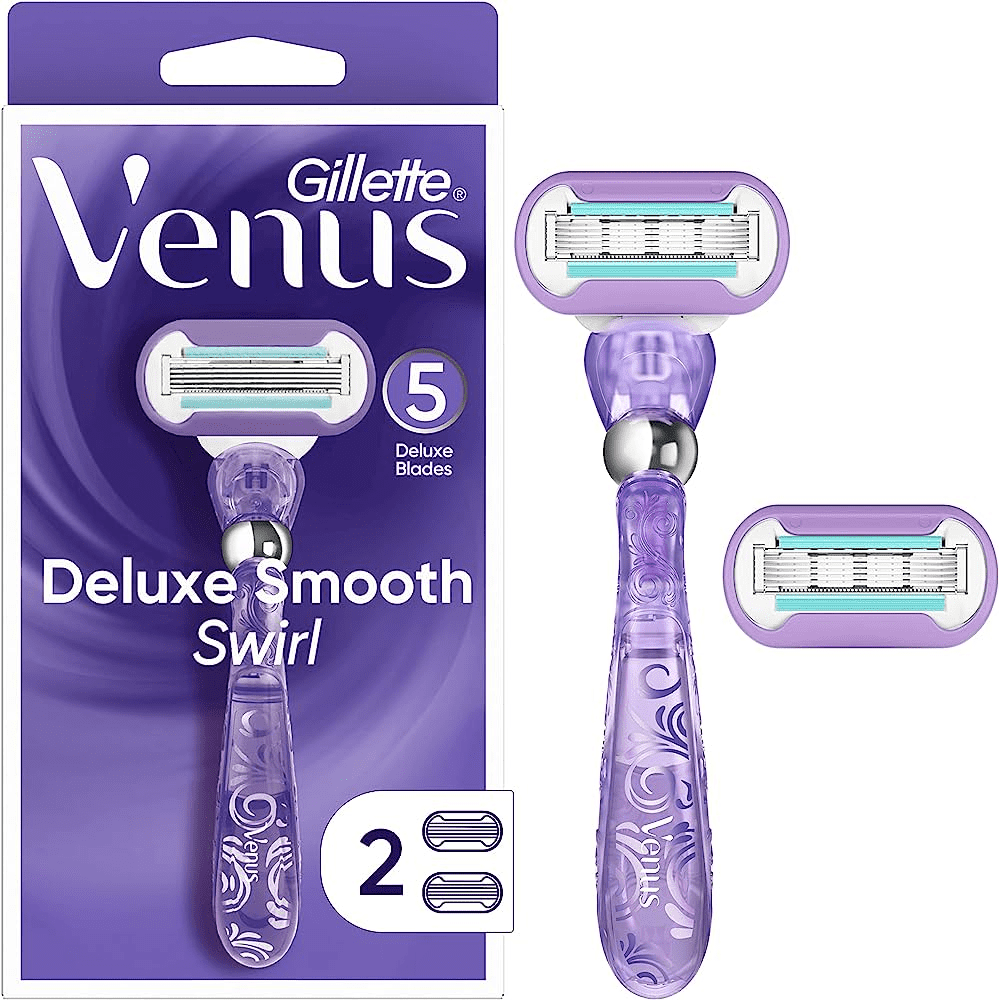
First, put Barbasol Shave Aloe on your legs. Then, use the five blades of the Gillette Venus Extra Smooth Swirl by moving them in the same direction your leg hair grows. This way, you get a really clean and smooth shave. One quick move removes all the hair in the razor’s path. For tricky spots like knees or ankles, one or two more moves should do it. The blade has a special lubrication layer to help it glide smoothly, and I didn’t get any cuts or scrapes. Instead, it felt nice on my skin, leaving my legs feeling really soft. A lot of people really like this product, and so far, there haven’t been any negative reviews about it.
Billie Women’s Razor Refill Blades 5-Blade Cartridges

This razor is budget-friendly and great for sensitive skin. It won’t bother your skin if it’s easily irritated. And, it comes with a service that sends you new blades regularly. So, you won’t have to worry about running out of blades. It’s an easy way to make sure your razor is always ready without stressing about it. It has five really sharp blades with soothing aloe and a flexible, curve-following head. It’s a good deal, even though it’s not as fancy.
Schick Hydro Silk 5 Sensitive Care Razor
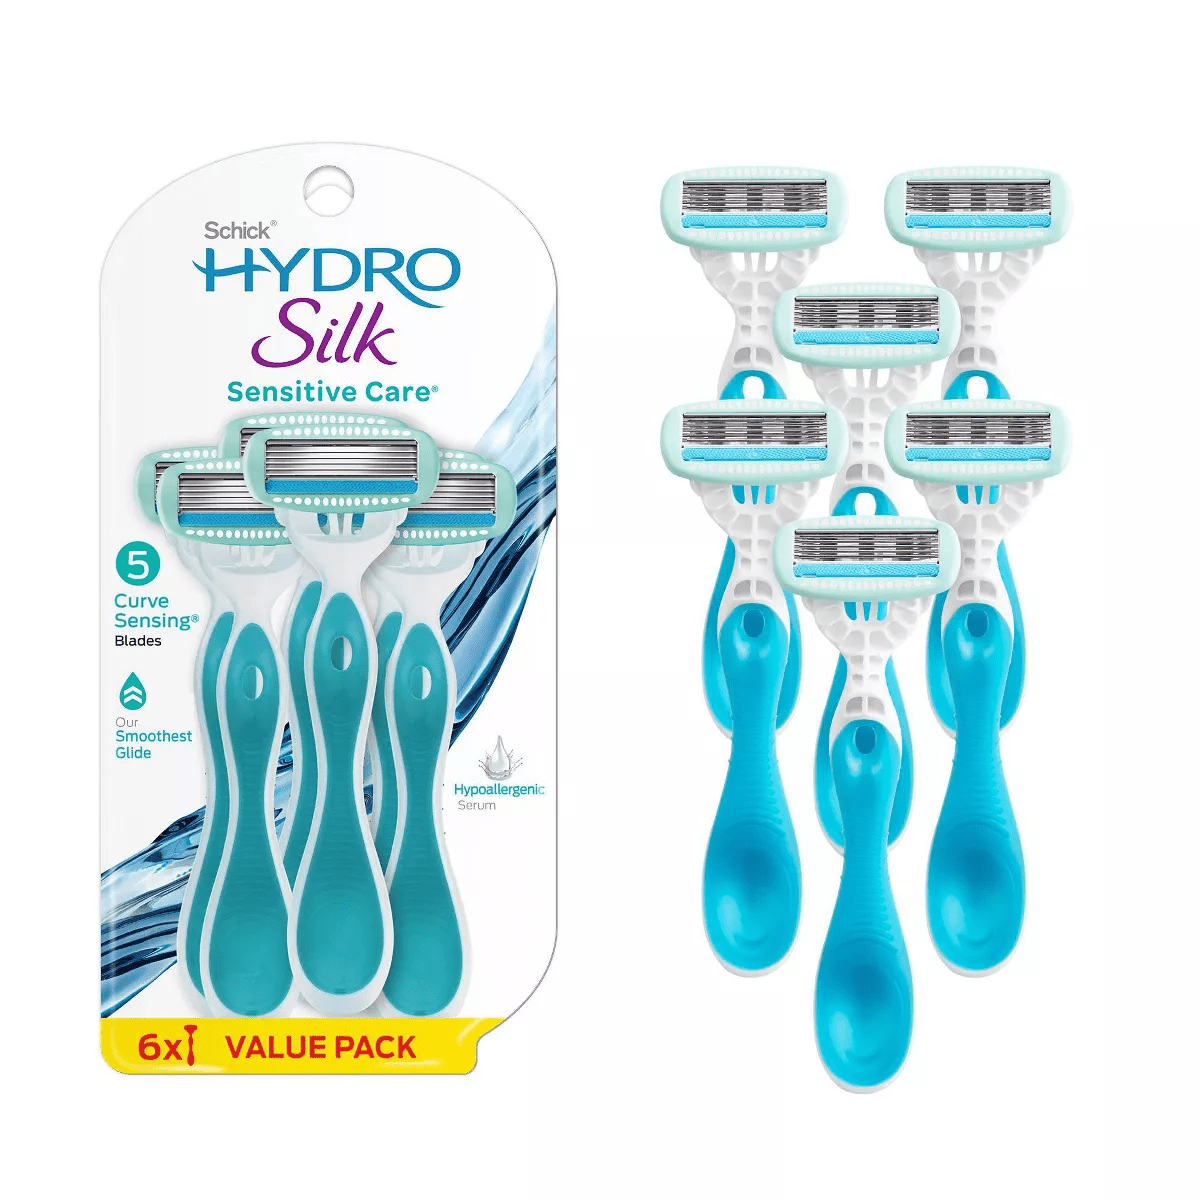
The Schick Hydro Silk Sensitive Skin razor works like the others – it smoothly moves along your legs and clears away hair in just one or two swipes. It has a bendy head, so you can keep the handle straight against your leg while the five blades do their job. This is handy for tricky spots like the back of your knees. The handle has a unique shape with a slope and rise in front of the razor head. However, there are some drawbacks. The handle is a bit awkward to hold, and the wall holder it comes with may not stay in place.
Athena Club The Razor Kit
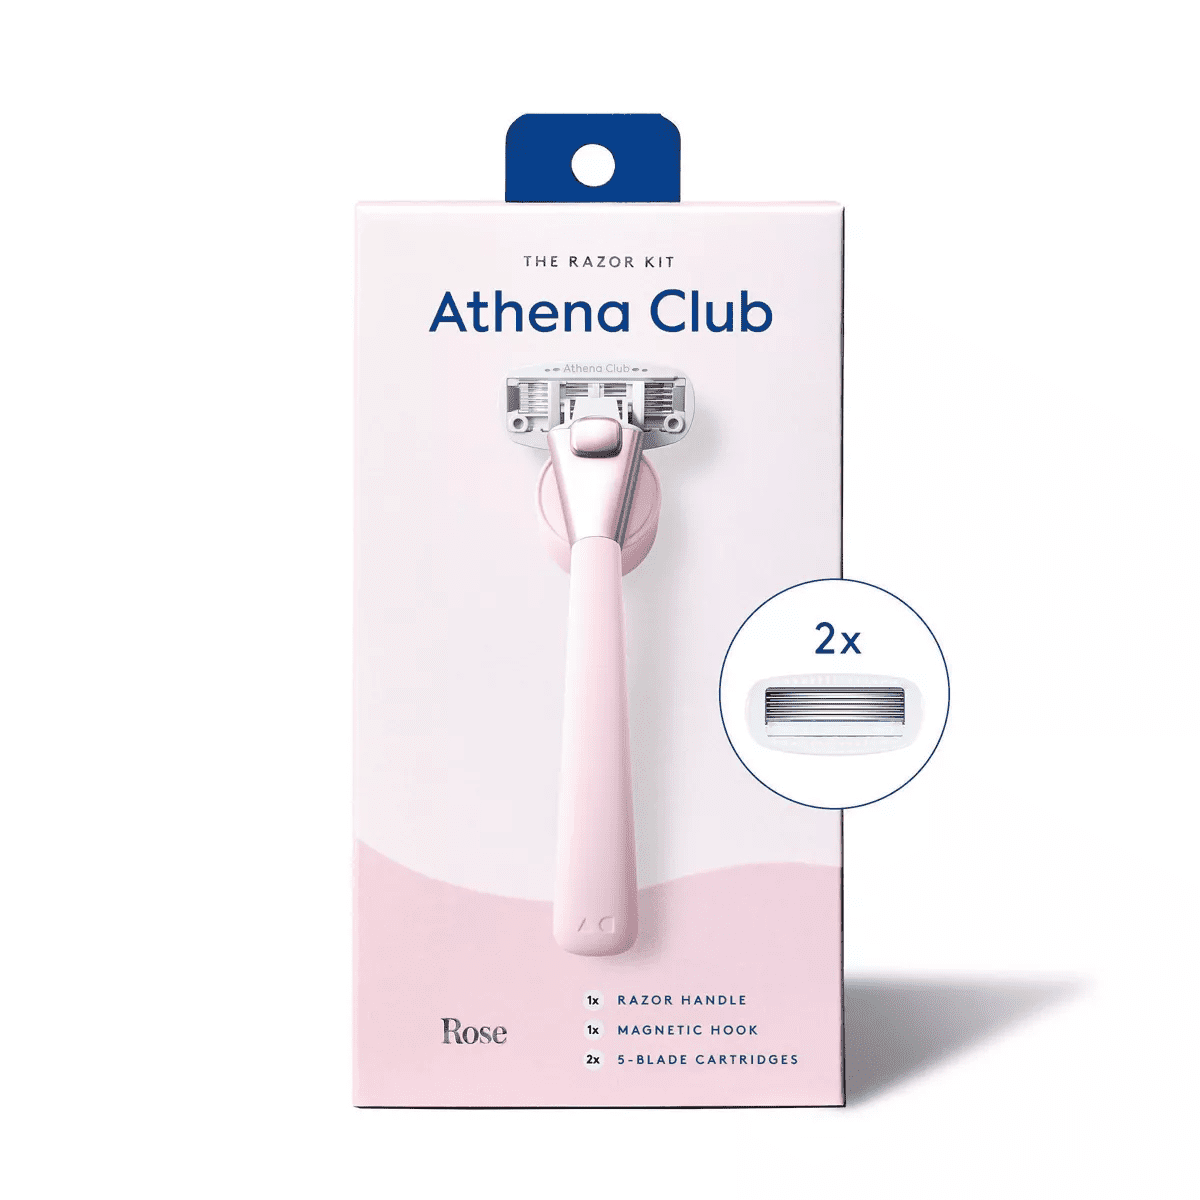
Athena Club’s The Razor Kit gives you a razor handle, two five-blade cartridges, and a magnetic hook for your shower. The razor is easy to use on your legs, but it doesn’t have a thick lubrication coating like some other brands. It’s smooth, but if you’re not careful, it might sting a bit (though it won’t make you bleed). What’s special about this razor is that it’s strong and well-made. The handle feels heavier because it’s made of aluminum and fiberglass instead of all plastic.
Oui The People The Single Rose Gold Safety Razor
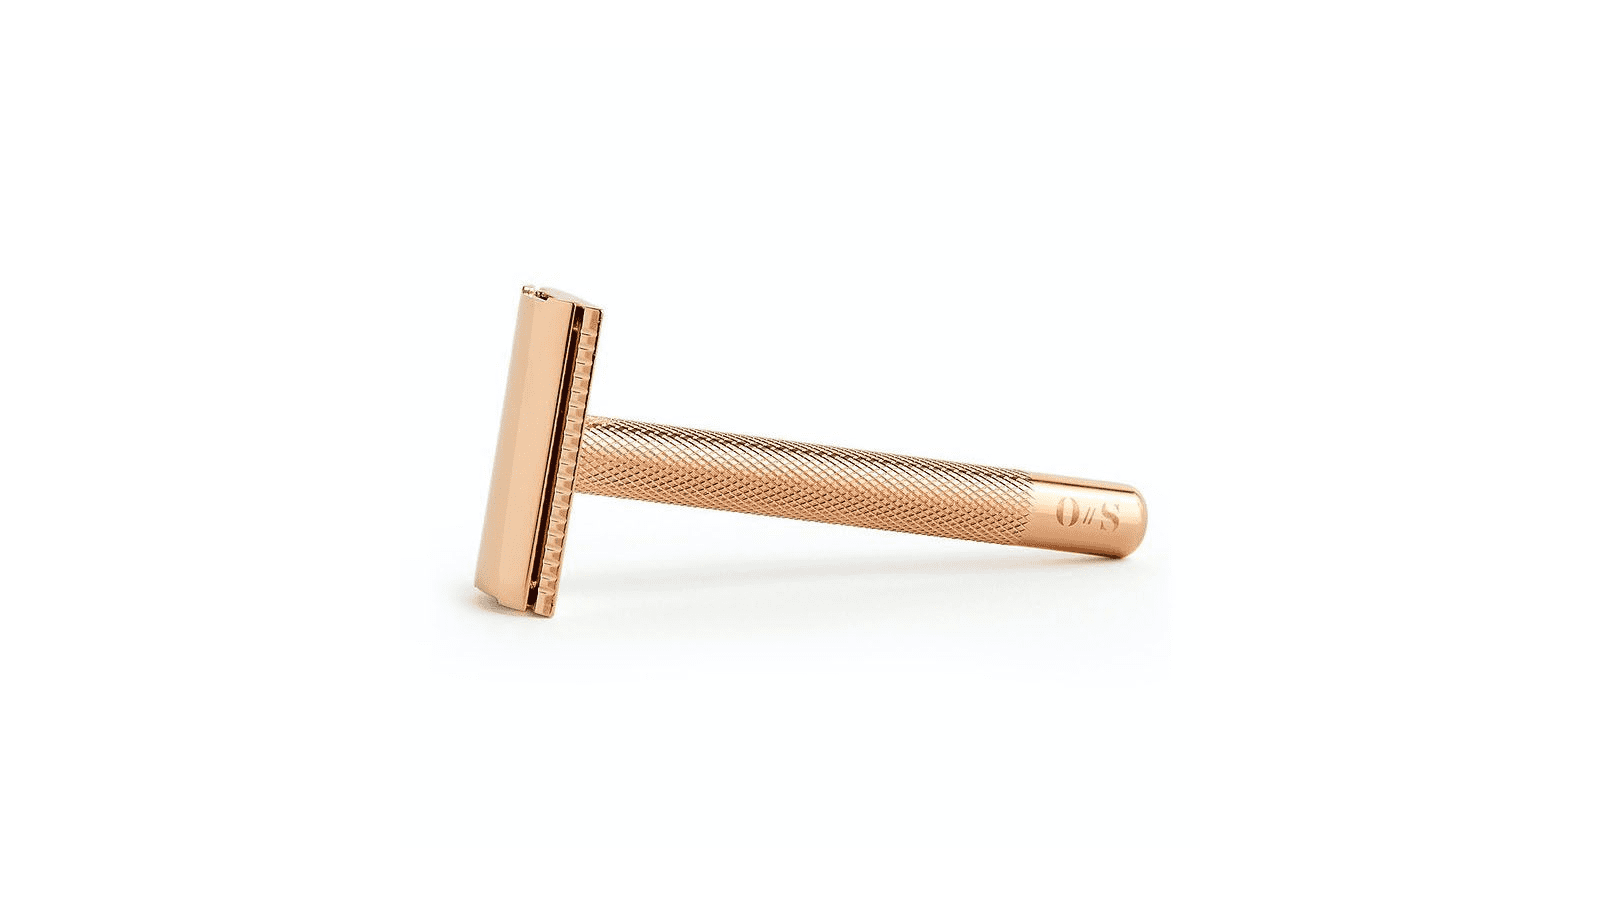
This special razor is made in Germany by skilled craftspeople with 100 years of experience. It’s crafted from 100% recyclable stainless steel, built to last a lifetime, and provides a close shave. Great for ingrown hairs and sensitive skin, it removes hair without harming your skin. No need to apply pressure, and it exfoliates as you shave for smoother skin. Results from a study with 35 women aged 21 to 45 using this razor and Sugarcoat Moisturizing Shave Gel-to-Milk with Vitamin C (sold separately) 91% had less irritation by day 5, 88.6% had good or excellent smoothness right after use, 74% noticed slower hair growth by day 5.
Solimo 5-Blade Razor for Women
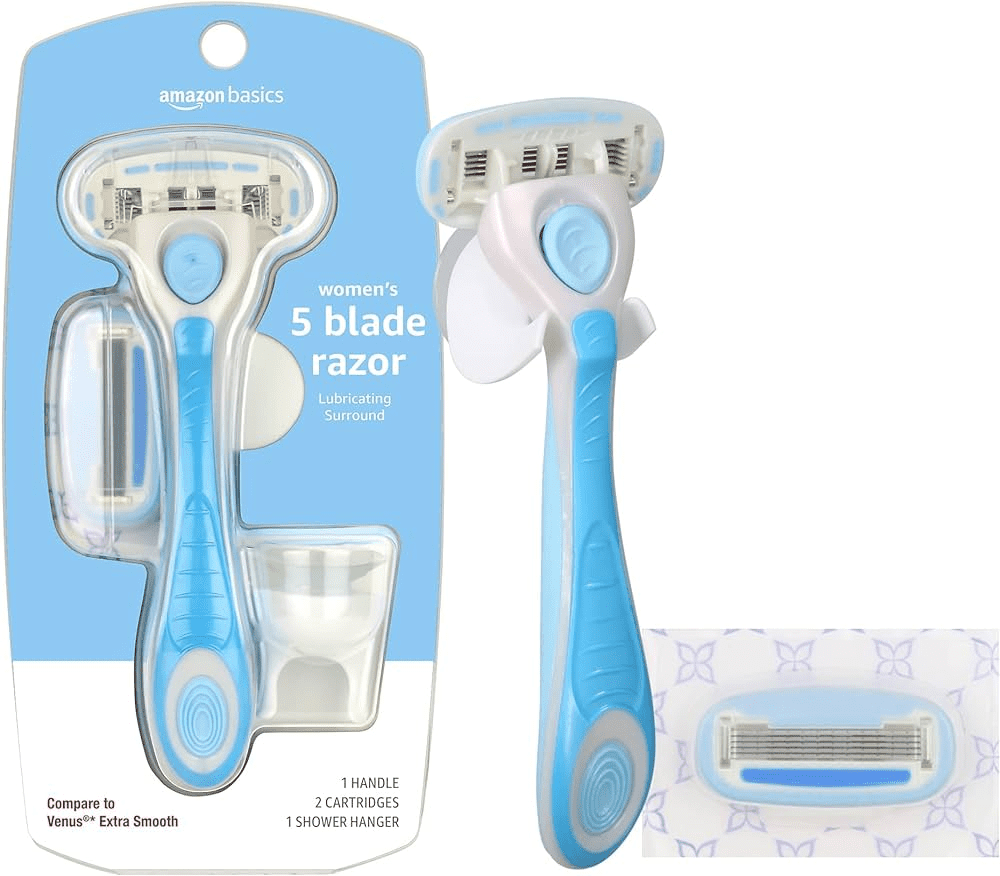
This razor from Amazon’s Solimo brand is almost as nice as our top pick. It smoothly moves on your skin, works well with or without shaving cream, and has a coating that conditions the skin around the blades. It’s great for a quick shave because it easily removes hair in one go. You can buy it in a pack with one handle and either two or 12 cartridges. The 12-cartridge pack is way cheaper per cartridge than the Gillette Swirl. However, it comes with a wall holder that didn’t stay in place during my shower. The only drawback is you need to buy the full 12-pack again to get the same blades, as Amazon doesn’t sell refill cartridges for the women’s handle separately.
Bic Soleil Smooth Colors
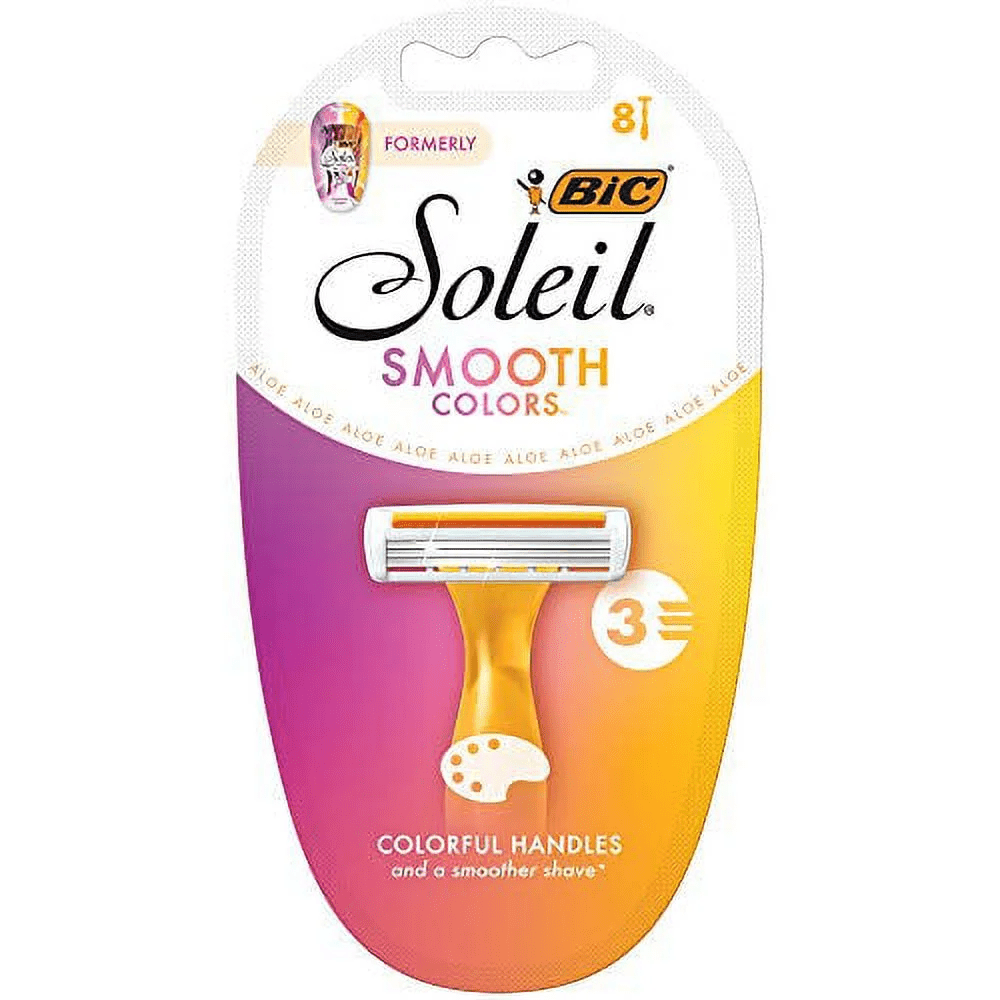
The Bic Soleil razor isn’t refillable, and its three blades are fixed in place. Some may find it a bit cheap, but it gets the job done in a few passes. The small head is good for moving around curves, but it’s not as effective in those areas compared to others. These disposables are handy when you’re in a rush, but you have to go slow and use lots of soap or shaving cream to avoid missing spots or causing uncomfortable friction on your skin. You can find sets in different sizes. Downsides include cheap quality, small heads, and the fact that they’re not refillable.
FFS beauty shaving essentials premium razor
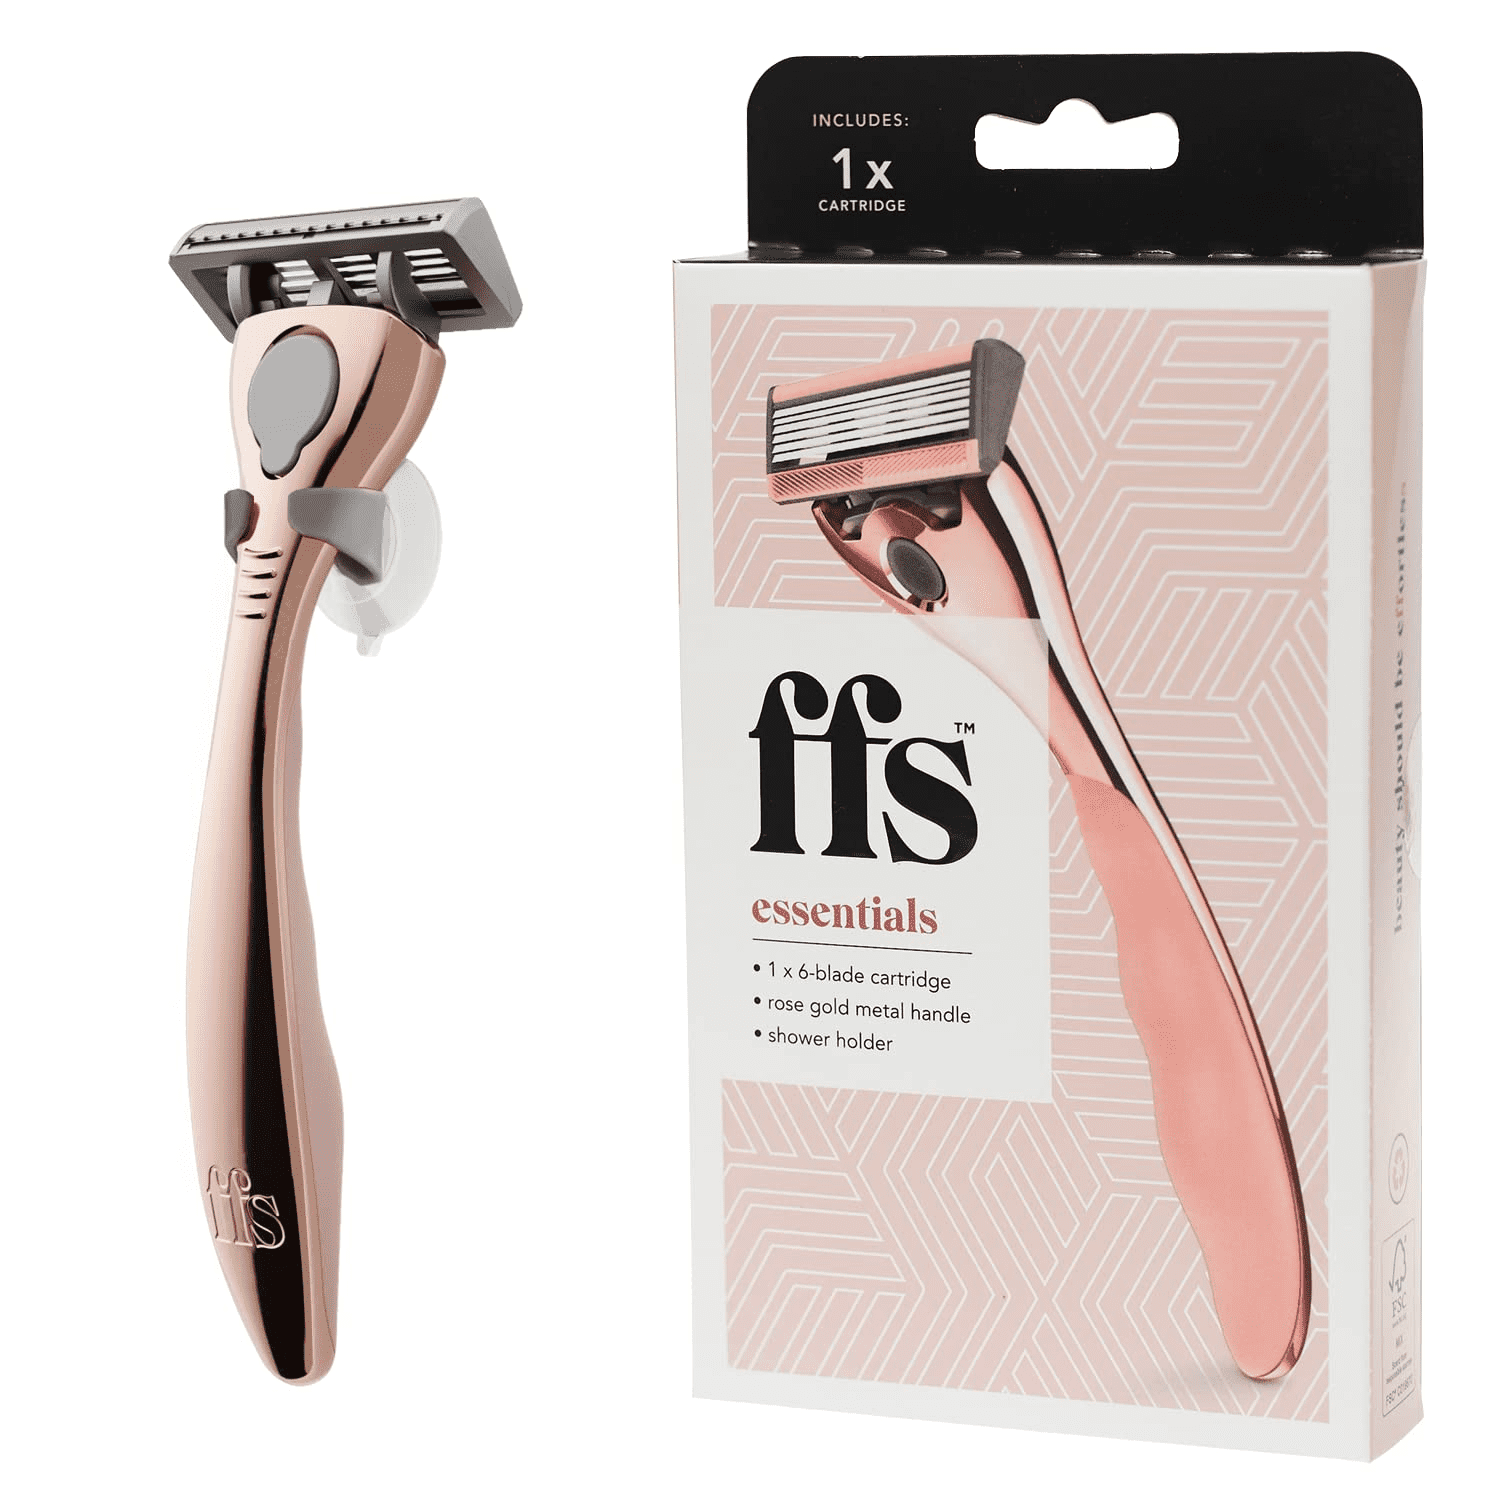
FFS is a razor subscription that’s proud to be vegan and cruelty-free. They care about the environment and have a program to recycle blades and packaging. Their razor was one of the first with a metal handle, and we love the rose-gold design. It’s made of zinc alloy metal with a grip for better control while shaving. The razor also has a conditioning strip with vitamin E, which felt nice on our skin during testing.
Panasonic Close Curves Electric Shaver
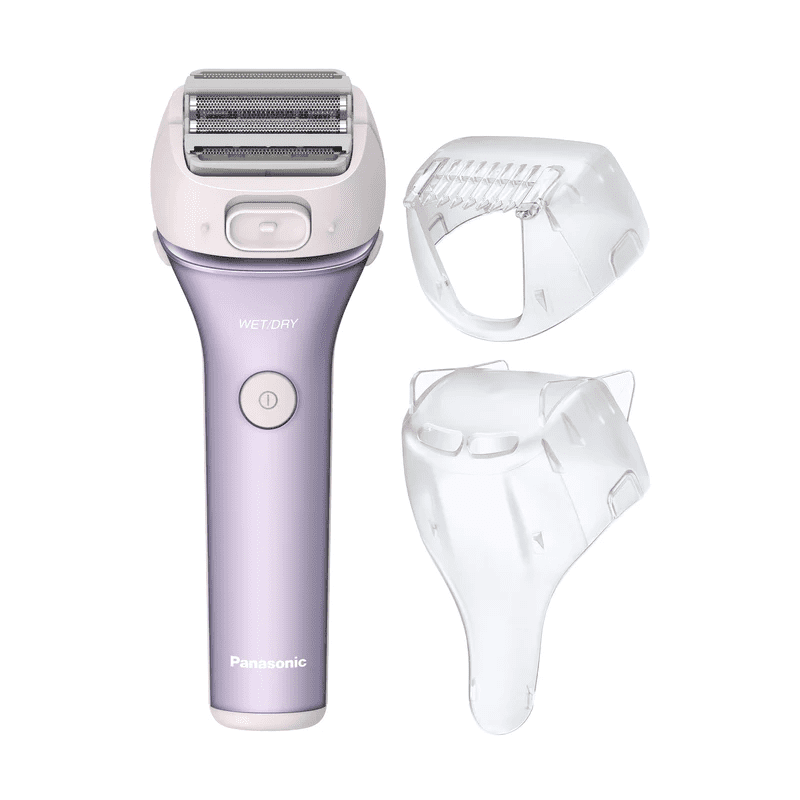
If you prefer using an electric shaver instead of a regular razor, give this one a try. Testers really liked it for their armpits. They even said it gave them the ‘closest shave ever in the underarm area.’ It’s good for people with sensitive skin and can be used on dry skin without causing razor burn or irritation. However, some reviewers found it a bit tricky to use because it doesn’t have a moving head, and they had to go over their legs a few times to completely remove hair.
Public Goods Bamboo Razor Handle
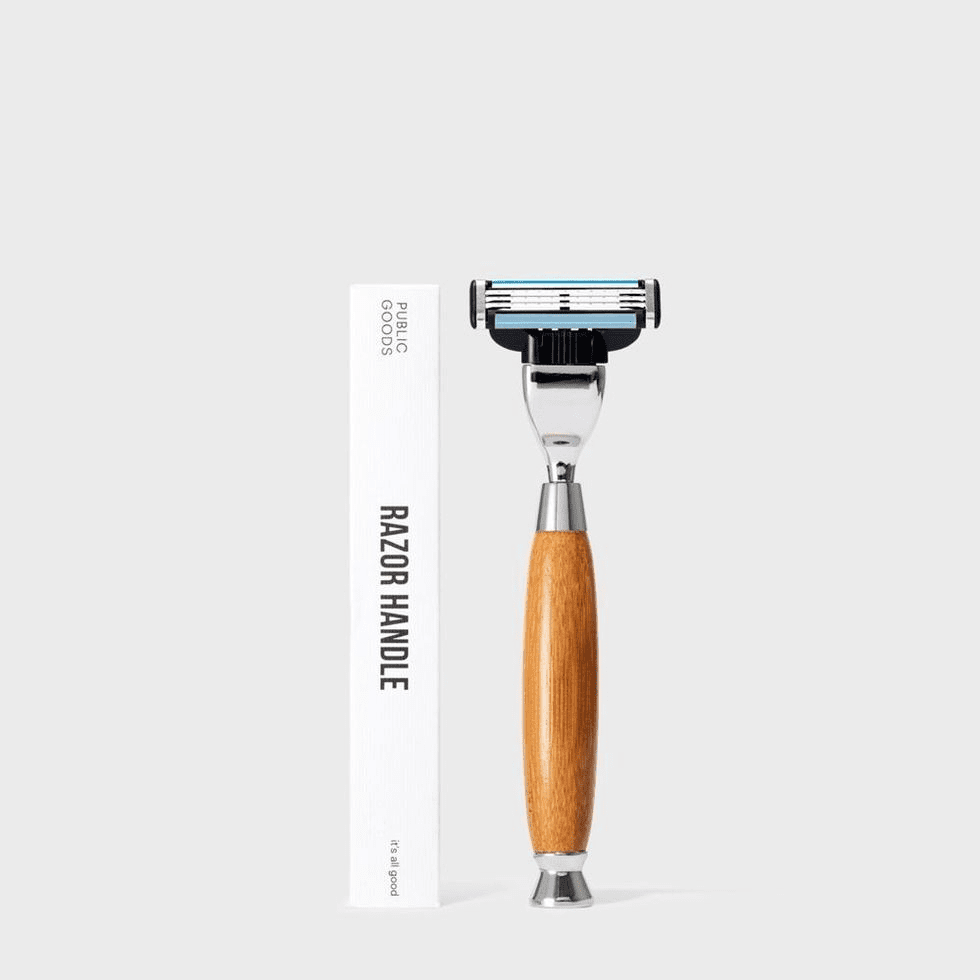
Glide smoothly over your skin, including the bikini area, with this reusable razor handle that has a moving head. Our testers really liked it for how easily it moved over the skin, especially when removing hair from the bikini line. The strong bamboo handle feels luxurious, and you can get a pack of four blades (sold separately) that won’t cut your skin. The moving head helps it move easily over the skin and removes hair effectively from the bikini line. Just remember, it doesn’t come with a cover for the blade, and the handle can get slippery when wet, so be sure to store it safely.
What qualities to seek in a quality razor
Choosing the right razor among the abundant options for women can be overwhelming. When selecting a razor, consider these factors:
Effectiveness
When evaluating efficacy, consider how efficiently the razor tackles hair removal, paying special attention to challenging or curved areas. Assess the razor’s performance in maneuvering around contours and tight spots, ensuring that it consistently delivers a smooth and even shave across various parts of the body. The effectiveness of the razor in hard-to-reach areas contributes significantly to its overall performance and user satisfaction.
Ease of use
How user-friendly is the razor in navigating hard-to-reach or curved areas? Is it easy to clean and remove cut hair from the razor? If the blades are interchangeable, how straightforward is the process of attaching and detaching cartridges? Overall, how effortless is it to use this razor?
Comfort
Consider the comfort level when holding and using the razor. Assess whether there were any incidents like cuts or nicks during use. Additionally, reflect on how your skin feels after shaving – does it feel smooth, irritated, or uncomfortable? Evaluating these aspects contributes to understanding the overall comfort and performance of the razor in your shaving routine.
Build
Examine the build quality of the razor – how sturdy and well-made is it? Consider its portability, taking into account factors like size, shape, weight, and how easy it is to store. Assessing these features provides a comprehensive understanding of the razor’s durability and convenience, ensuring it aligns with your preferences and lifestyle.
FAQ
1. Is it better to Epilate or shave?
Choosing between epilating and shaving depends on your priorities. Shaving is quick, painless, and inexpensive, but results are short-term and can lead to irritation. Epilating removes hair from the root, offering long-term results and fewer ingrown hairs, but it’s painful, time-consuming, and requires practice
2. Can You Use An Epilator On Pubic Hair?
Sure, you can use epilators on your pubic hair, but be careful because that area is sensitive. If you don’t use it right, it can irritate your skin and be more painful. So, make sure to gently exfoliate your skin before using epilators.
3. How many blades should a good razor have?
The kind of hair you have decides how many blades you should pick. If your hair is soft, use a one-blade razor. If your hair is thick and rough, choose a razor with three to five blades.
4. Does epilator cause skin darkening?
Nope. Using an epilator under your arms doesn’t cause dark shadows, unlike shaving. Epilators are gadgets that use no chemicals, so they won’t darken your skin.
5. How often should you change your razor?
It’s a good idea to aim for changing your razor blades every 5 to 7 shaves for a smooth and safe shaving experience.
Conclusion
In the ever-evolving landscape of personal care products, staying open to trying new technologies and innovations can lead to discovering a razor that provides not only a close and comfortable shave but also complements individual lifestyles. Ultimately, the best razor for women is the one that empowers them with confidence, comfort, and a sense of personal well-being, making the daily ritual of shaving a positive and enjoyable part of self-care.