Choosing the right facial cleanser is an important step in the skin care process. However, with so many products on the market, finding the best facial cleanser for your skin can be confusing. Let’s learn about the top 14 types of facial cleansers most recommended by pharmacies, suitable for many different skin types through this article.
WHAT SHOULD YOU LOOK FOR IN A FACIAL CLEANSER?
According to New York-based dermatologist David Kim, choosing the right facial cleanser depends mainly on your skin type. However, one important thing all good facial cleansers have in common is their ability to remove “sweat, residue and pollutants without making your skin dry,”
Dry skin: If your cleanser makes your skin feel tight and lose its natural moisture, look for products with hydrating ingredients like ceramides, niacinamide, and hyaluronic acid.
Oily skin: Try products that contain acids to help remove excess oil effectively.
Combination skin: In case your skin is oily on the forehead and dry on the cheeks, look for a balanced cleanser that both removes excess oil and moisturizes dry skin.
Sensitive skin: If some ingredients in regular facial cleansers irritate your skin, choose products specifically for sensitive skin, eliminating irritants such as perfume, alcohol,…
Regardless of your skin type, you can find a suitable facial cleanser without spending too much money. “There are great options [at the drugstore],” Kim says. “Cleansers shouldn’t be so expensive.”
HOW OFTEN SHOULD YOU WASH YOUR FACE?

According to dermatologists, washing your face once or twice a day is essential to maintain skin health. However, the appropriate frequency depends on each person’s skin type and living habits.
“It is always important to wash the face at the end of the day to remove buildup of dirt, debris as well as excess oil and makeup from throughout the day,” recommends Board-certified dermatologist Dr. Marisa Garshick. However, for those with sensitive or dry skin, washing your face only in the evening may be a more suitable choice. So, when should you wash your face?
Morning: Washing your face in the morning helps remove sebum and sweat that has accumulated on the skin overnight, while also helping the skin get ready to receive the next skin care products.
Evening: Washing your face at night is the most important step in your skin care routine, helping to remove dirt, makeup and sunscreen.
BEST DRUGSTORE FACIAL CLEANSER
CETAPHIL HYDRATING GENTLE SKIN CLEANSER
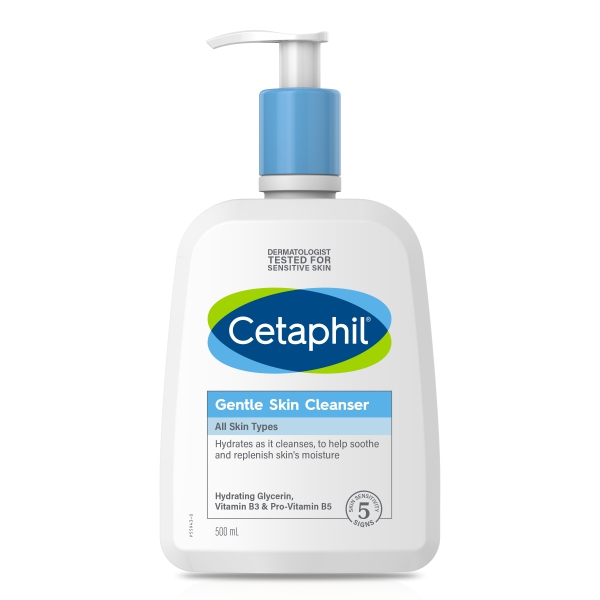
Dermatologists recommend this gentle cleanser for dry, sensitive skin. It contains hydrating glycerin and niacinamide to soothe and protect the skin barrier, without stripping away natural oils. The non-foaming formula leaves your skin feeling comfortable and hydrated. Besides that, it is also one of the best cleansers for rosacea.
DIFFERIN CLEANSER DAILY DEEP 5% BENZOYL PEROXIDE
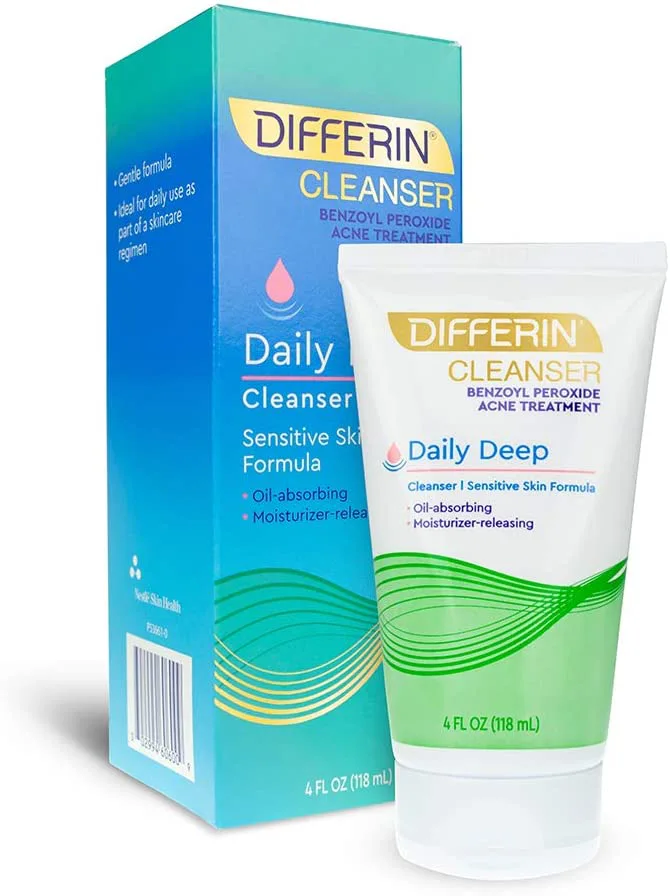

Struggling with persistent acne? This benzoyl peroxide cleanser is your go-to! It tackles breakouts and blackheads while absorbing oil and keeping pores clear. Gentle enough for daily use, it effectively fights acne without irritation.
ST. IVES SKIN SCRUB AVOCADO AND HONEY
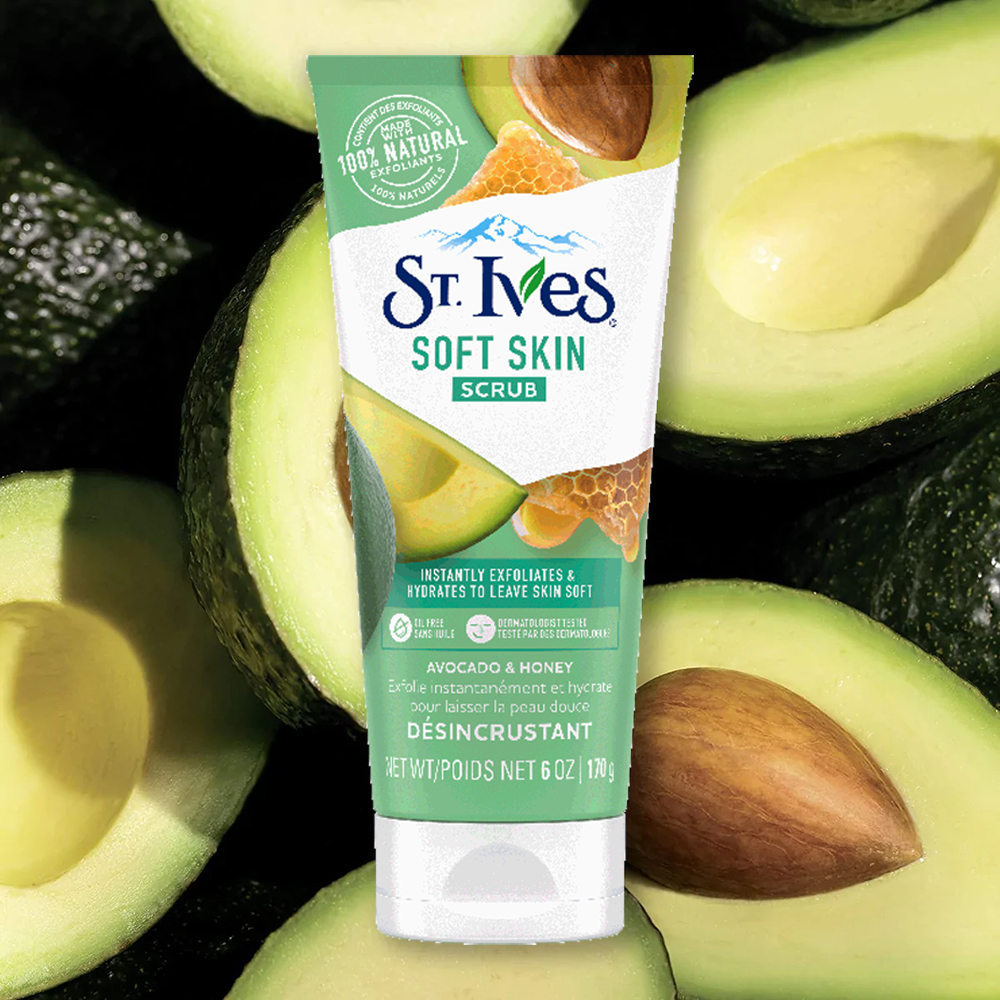
This scrub buffs away dullness! It uses finely ground walnut shells to gently exfoliate dead skin cells, while avocado and honey keep your skin feeling hydrated and happy. If you have normal skin, swap this scrub in for your regular cleanser once a week to reveal a brighter, smoother complexion.
CERAVE HYDRATING FOAMING OIL CLEANSER
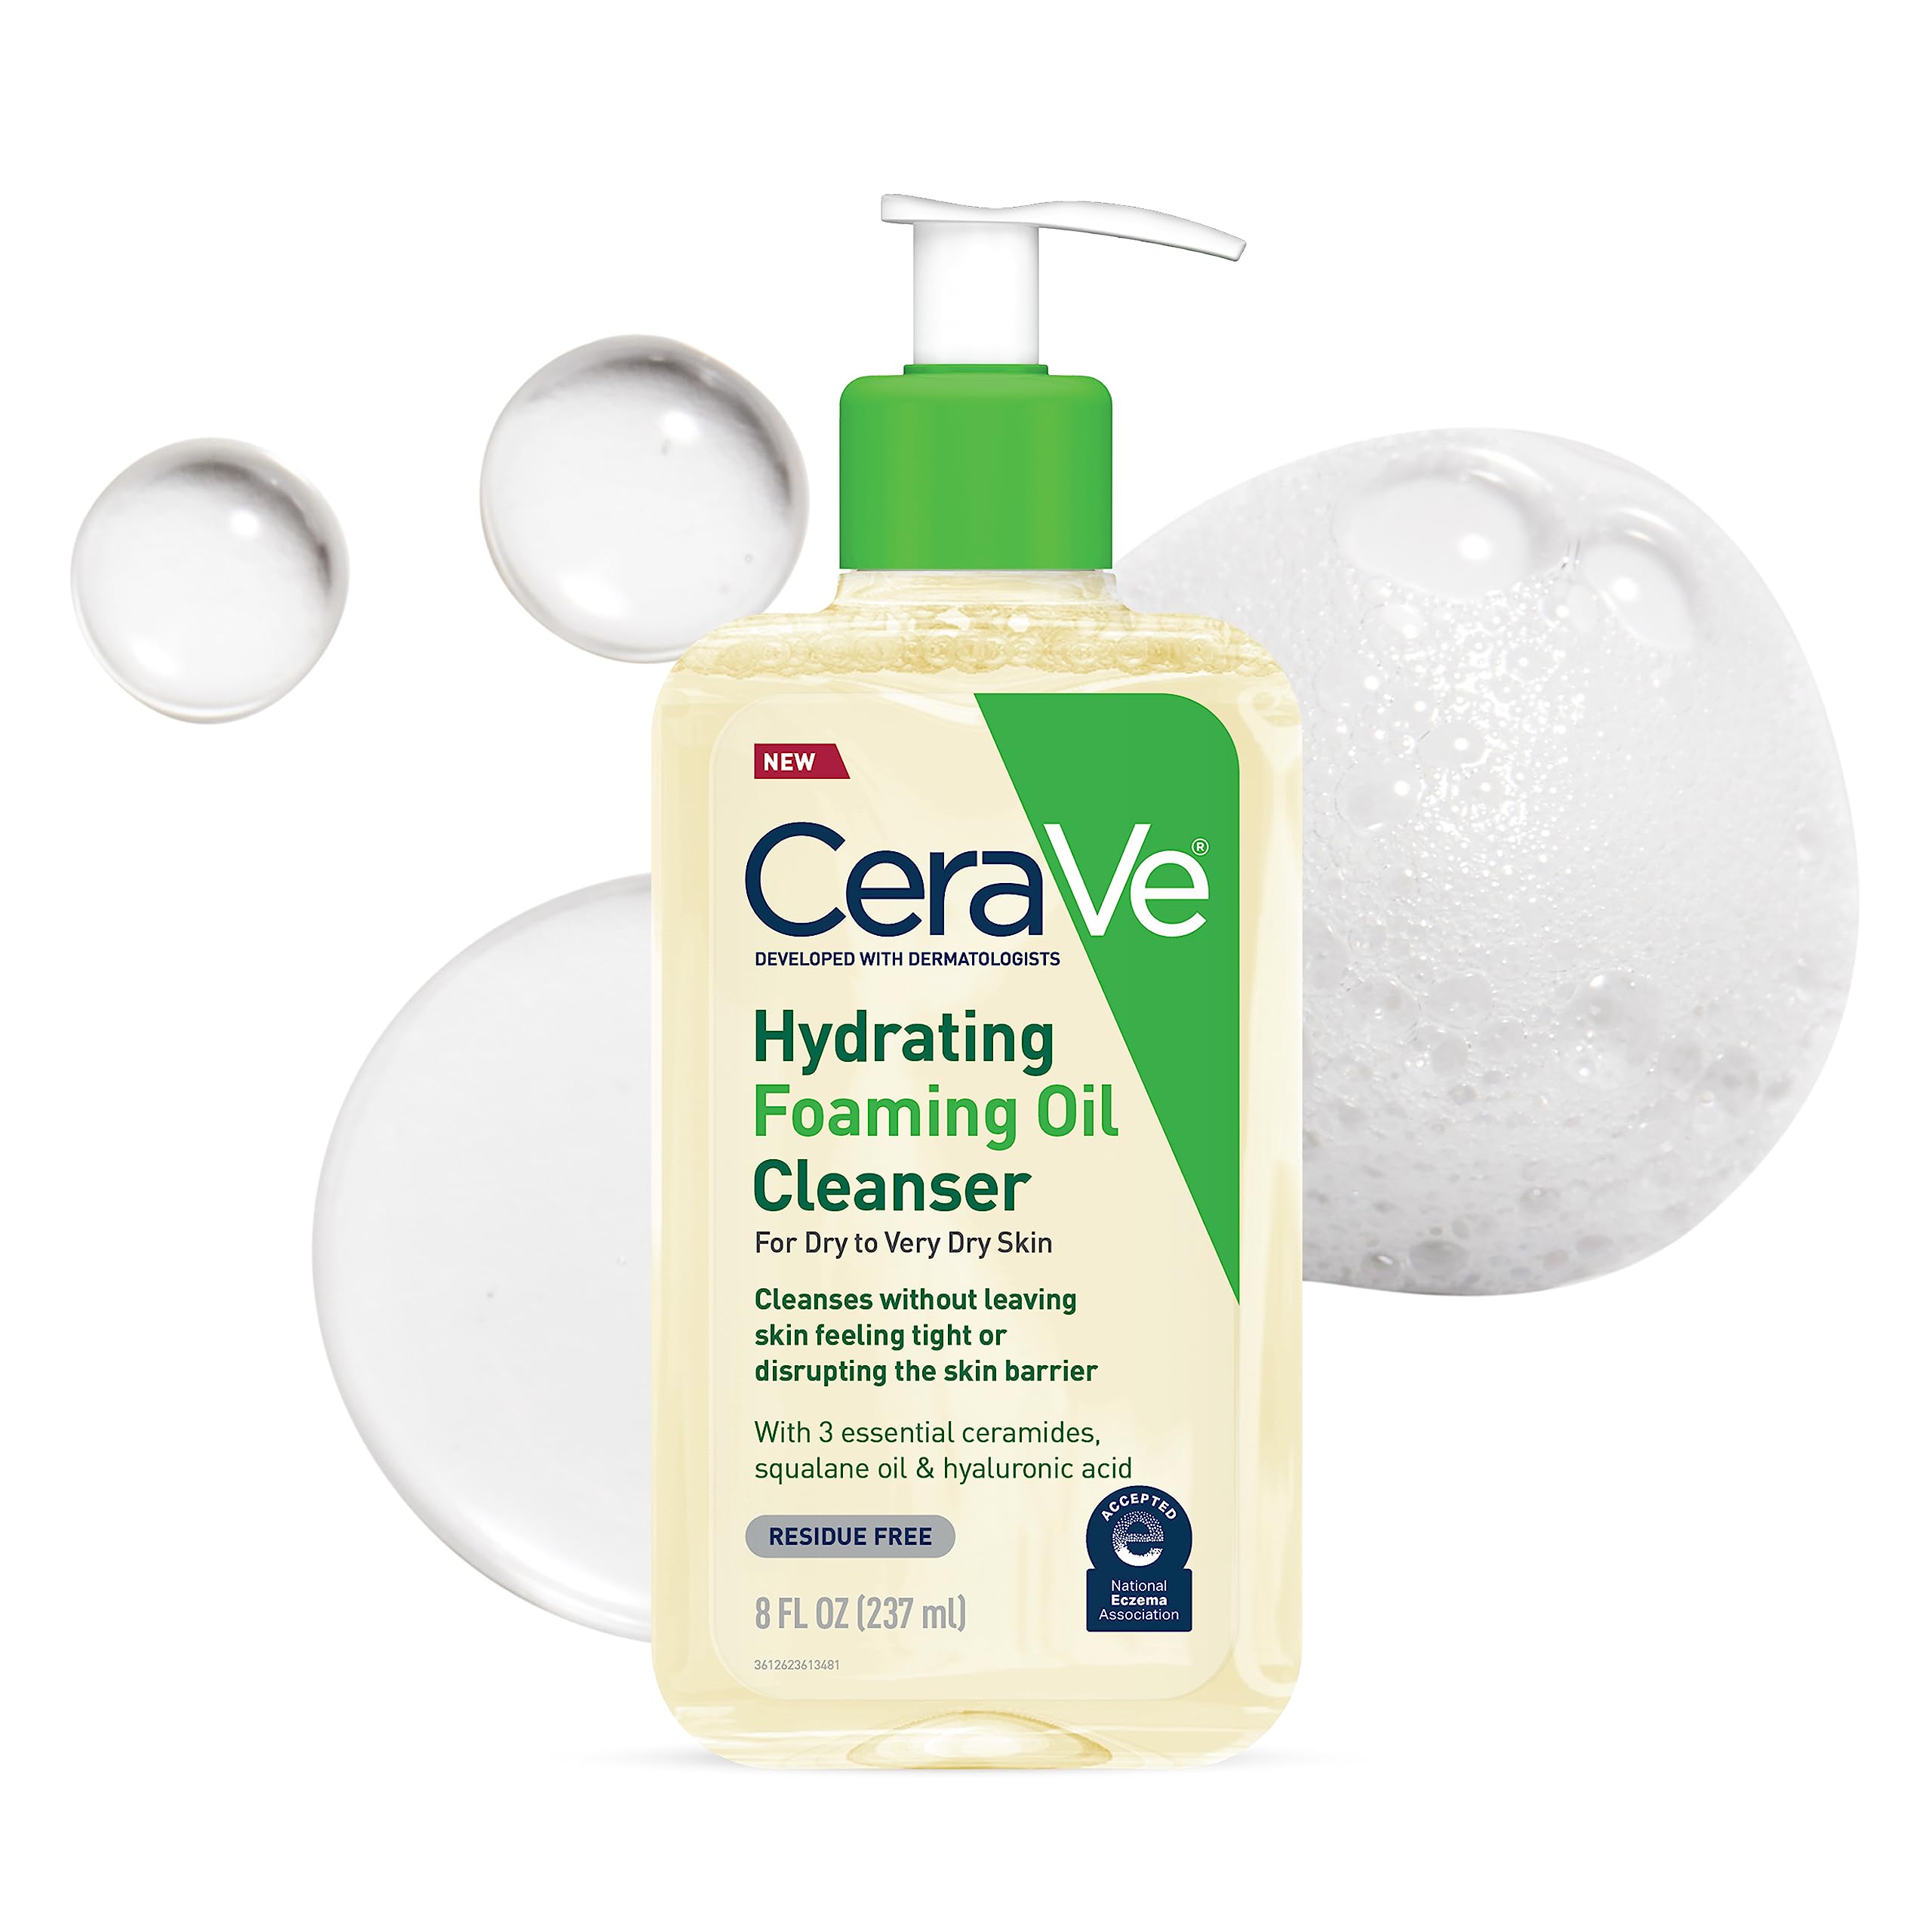
This award-winning 2023 cleanser is a must-have for your skincare routine! It starts as a luxurious oil, melting away makeup and impurities while deeply nourishing your skin. Then, as you add water, it transforms into a gentle lather that rinses clean, leaving your skin feeling soft, hydrated, and comfortable.
NEUTROGENA OIL-FREE ACNE WASH
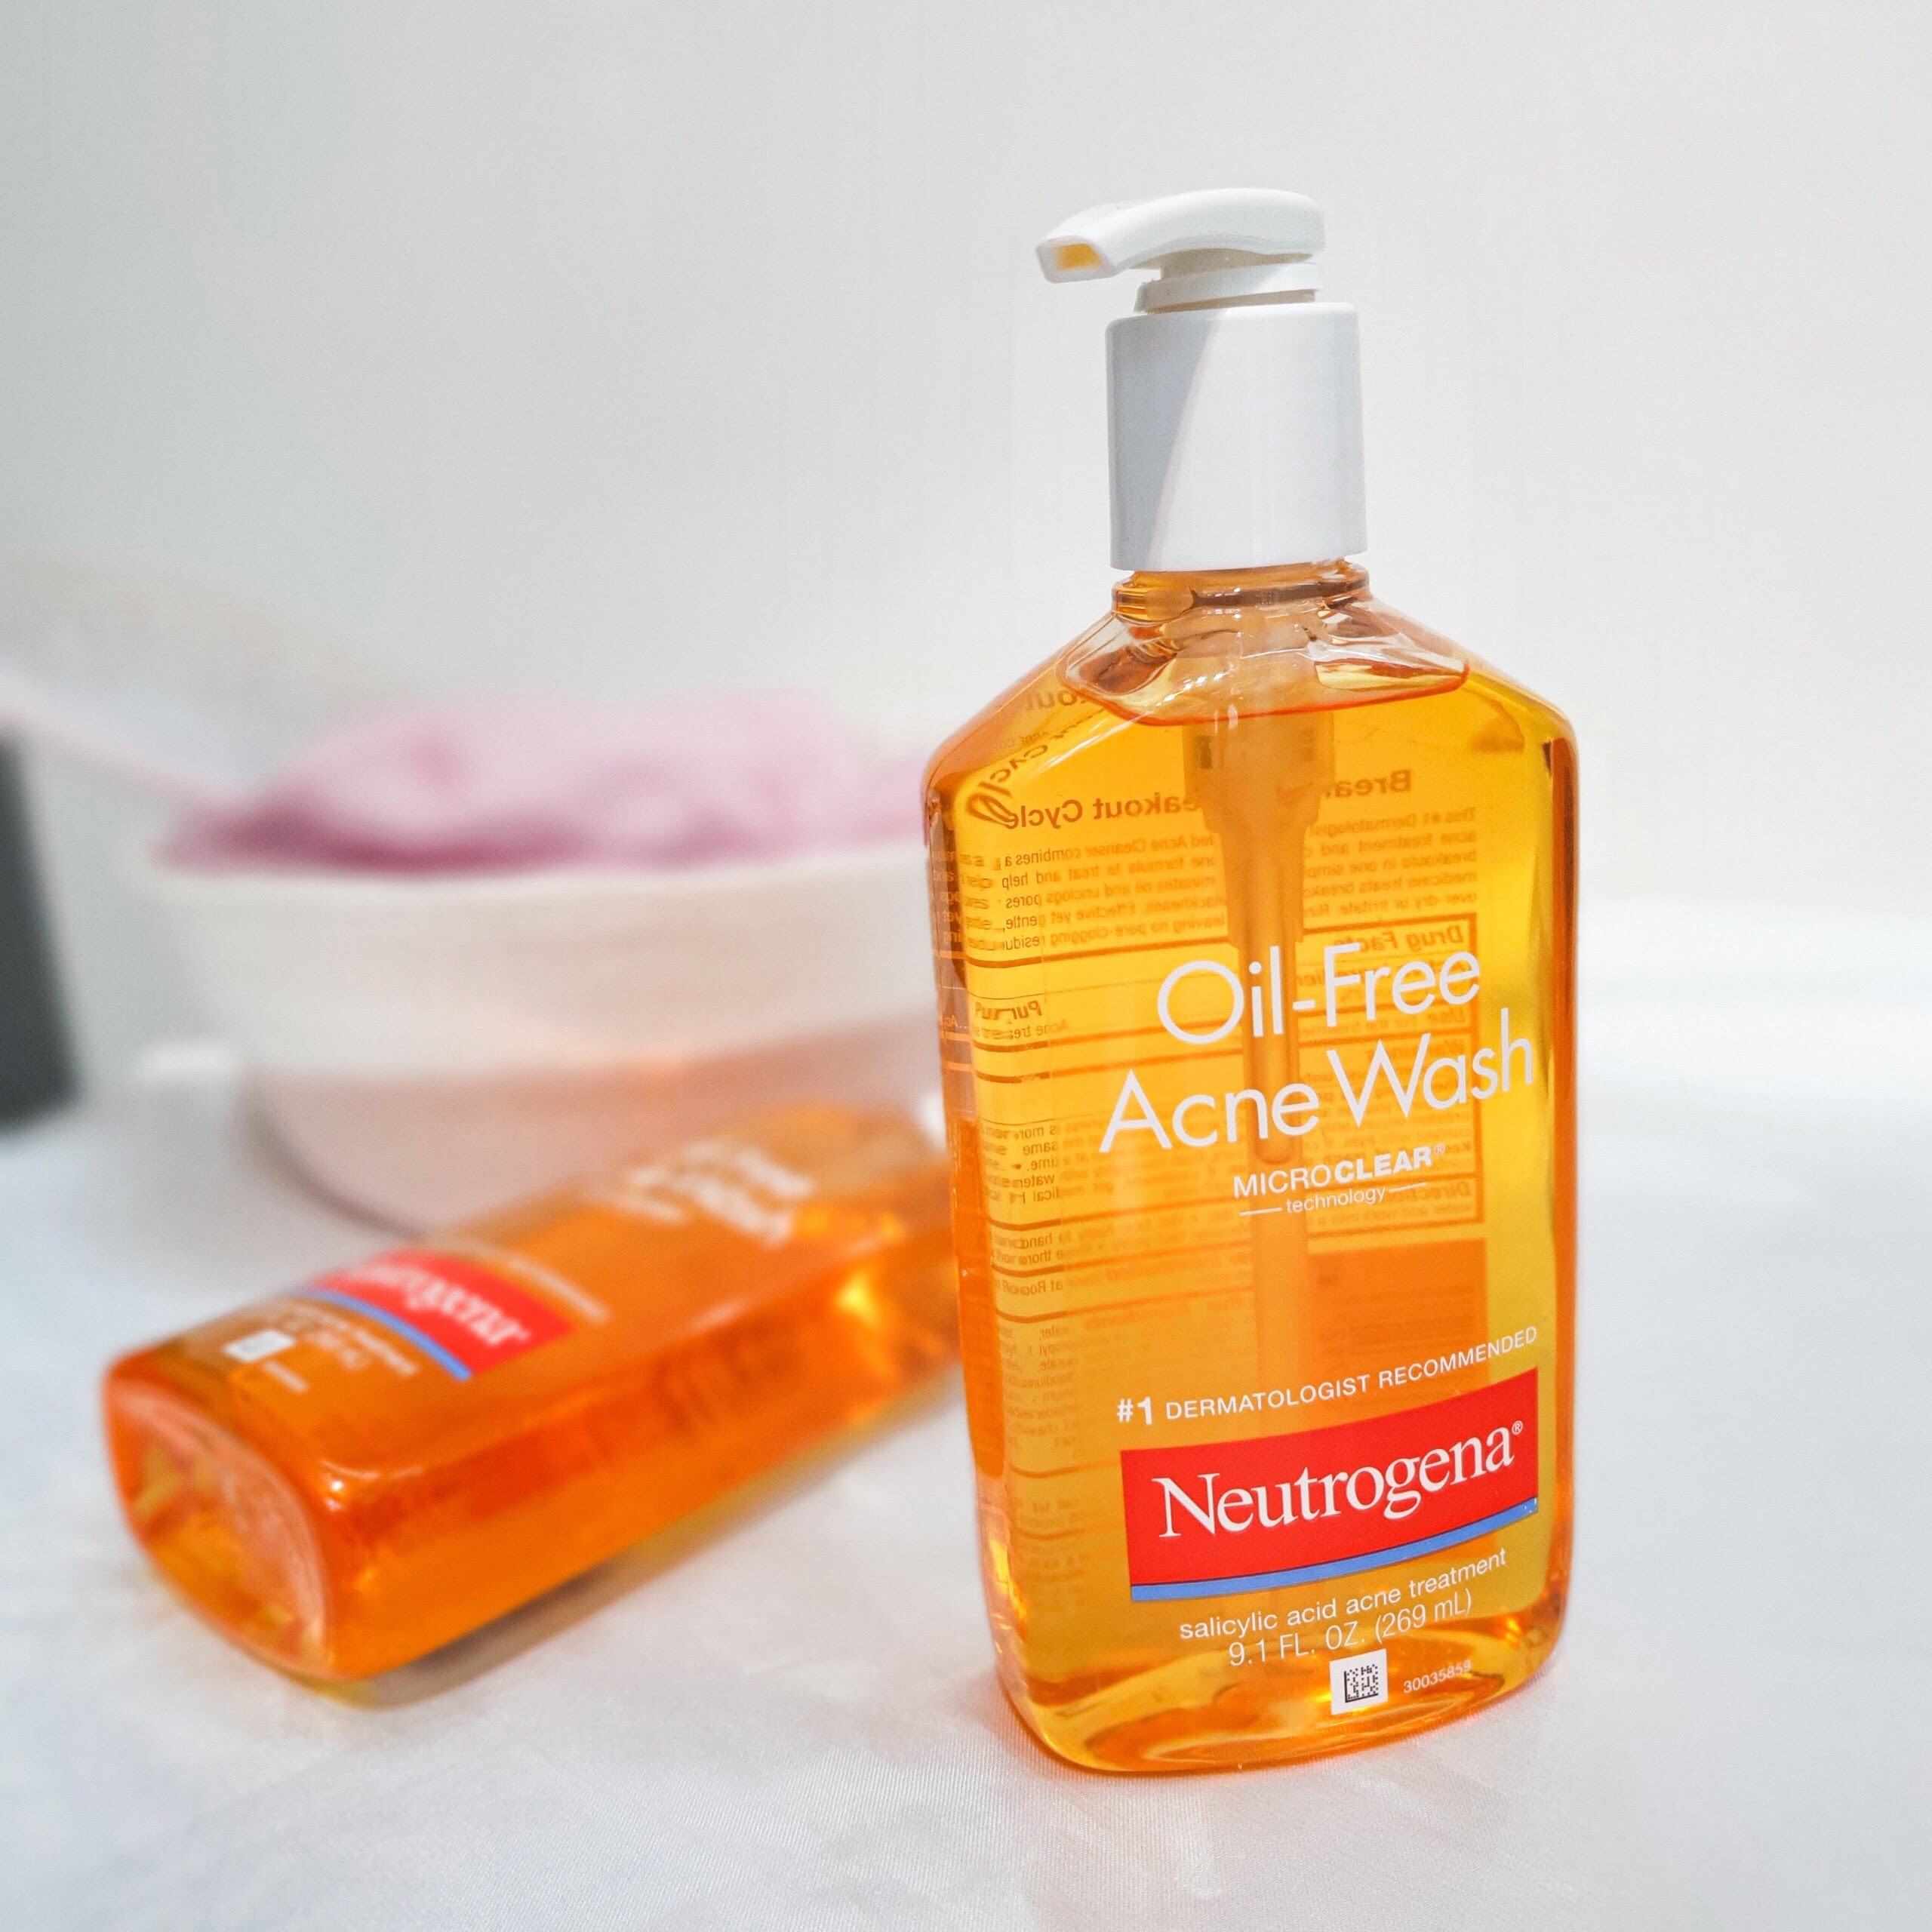
For those battling blemishes and clogged pores, this oil-free formula is your new best friend. Salicylic acid, a powerful BHA, works its magic by exfoliating and clearing out trapped oil, dirt, and bacteria that contribute to breakouts. With consistent use, expect smoother skin, fewer pimples, and a brighter, more even complexion.
VANICREAM GENTLE FACIAL CLEANSER
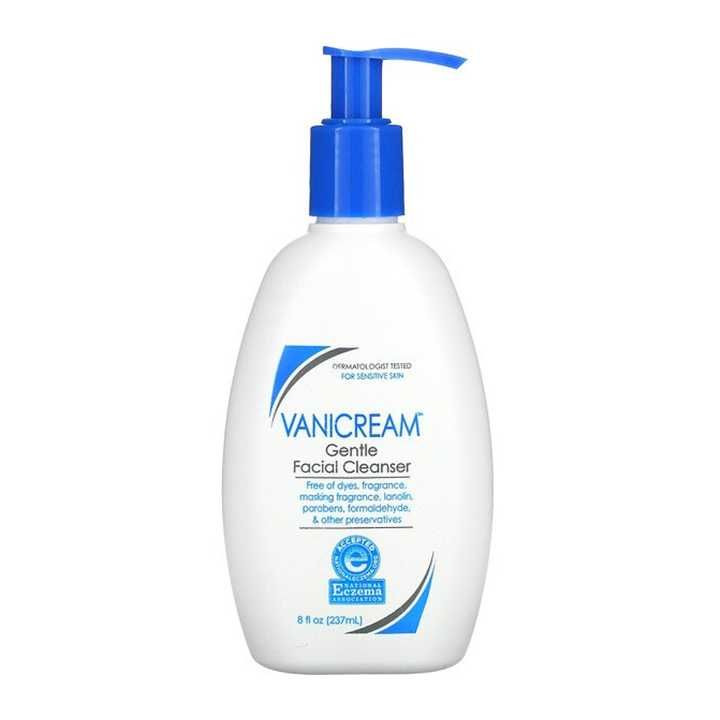
This cleanser is perfect for those with sensitive skin! Free of sulfates, dyes, fragrance, parabens, and gluten, it provides a gentle clean without irritation. Dermatologist-tested and safe for eczema-prone skin, it won’t clog pores and leaves you feeling refreshed.
GARNIER SKINACTIVE MICELLAR CLEANSING WATER
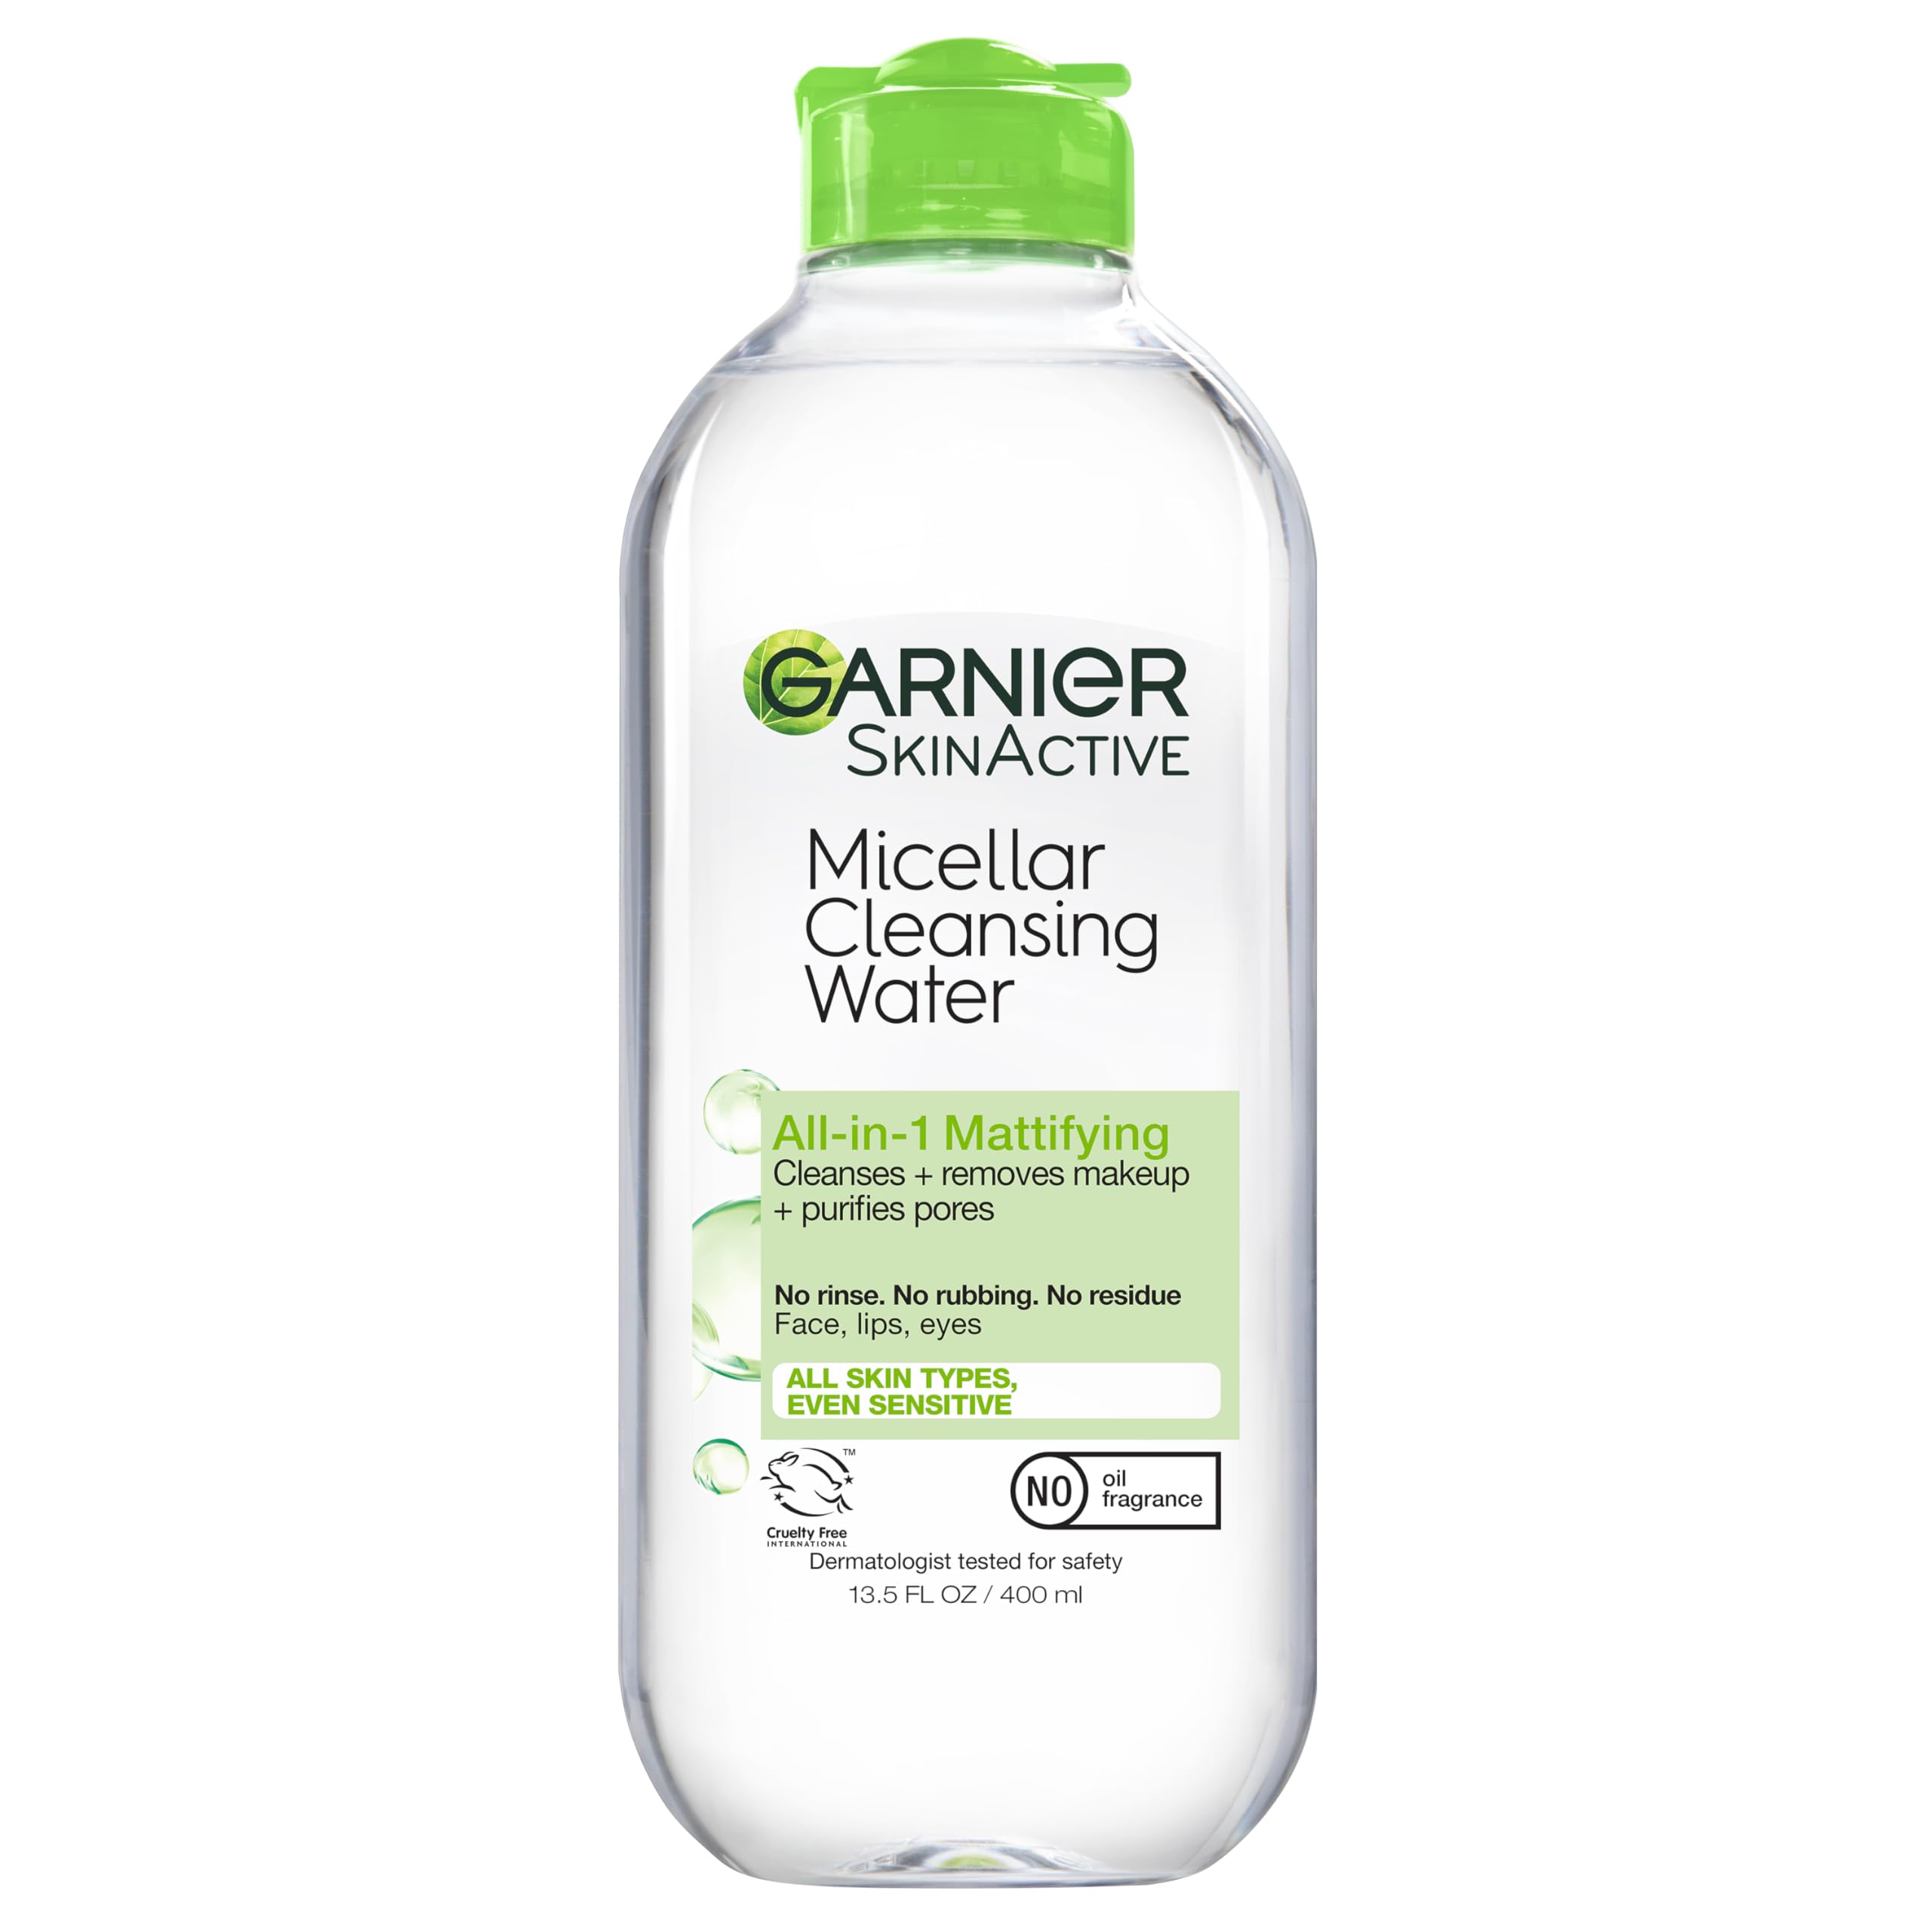
Ditch the harsh scrubbing! This micellar water gently removes makeup, dirt, sunscreen, and excess oil without irritating your eyes. It’s so versatile you can use it alone as a cleanser and makeup remover, or as the first step in your double cleansing routine.
AVEENO ULTRA-CALMING FOAMING CLEANSER
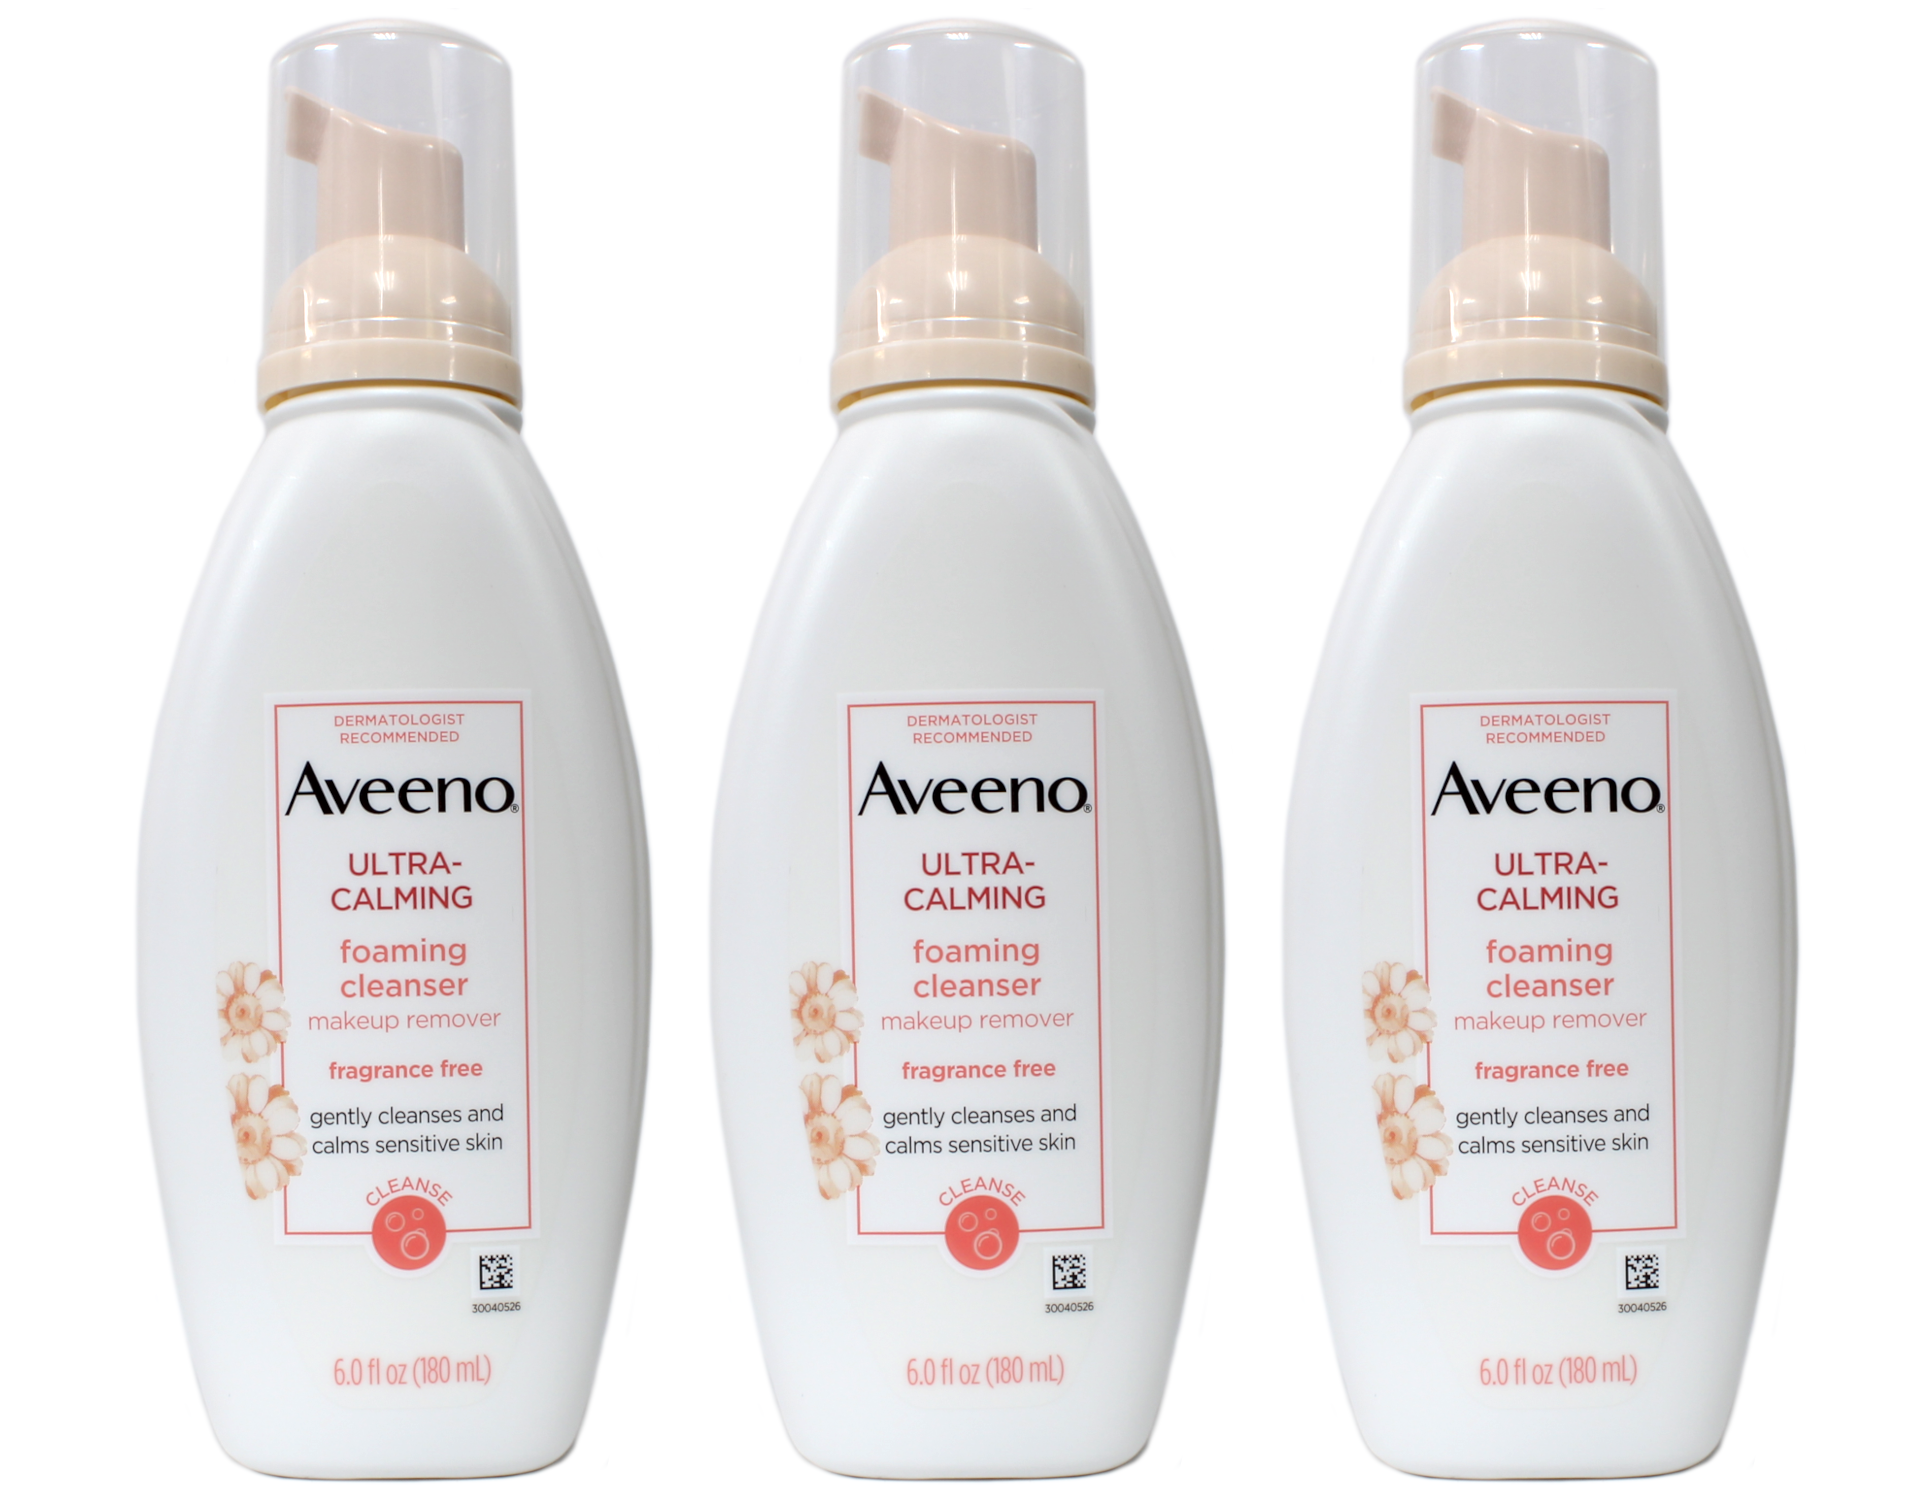
This gentle cleanser is a lifesaver for sensitive or irritated skin, whether caused by allergies, overdoing strong skincare, or anything else. It calms and soothes redness without irritating further. Plus, it’s hypoallergenic and won’t clog pores, thanks to its non-comedogenic formula. It even contains feverfew, a natural ingredient known for calming inflamed skin.
AVÈNE CLEANANCE CLEANSING GEL

Struggling with oily skin? This gel wash is your new best friend! It controls oil production and contains comedoclastin, a natural extract that fights redness and blemishes. Use it on your face or body for a refreshed, shine-free feeling.
LA ROCHE-POSAY LIPIKAR WASH AP+ GENTLE FOAMING MOISTURIZING WASH
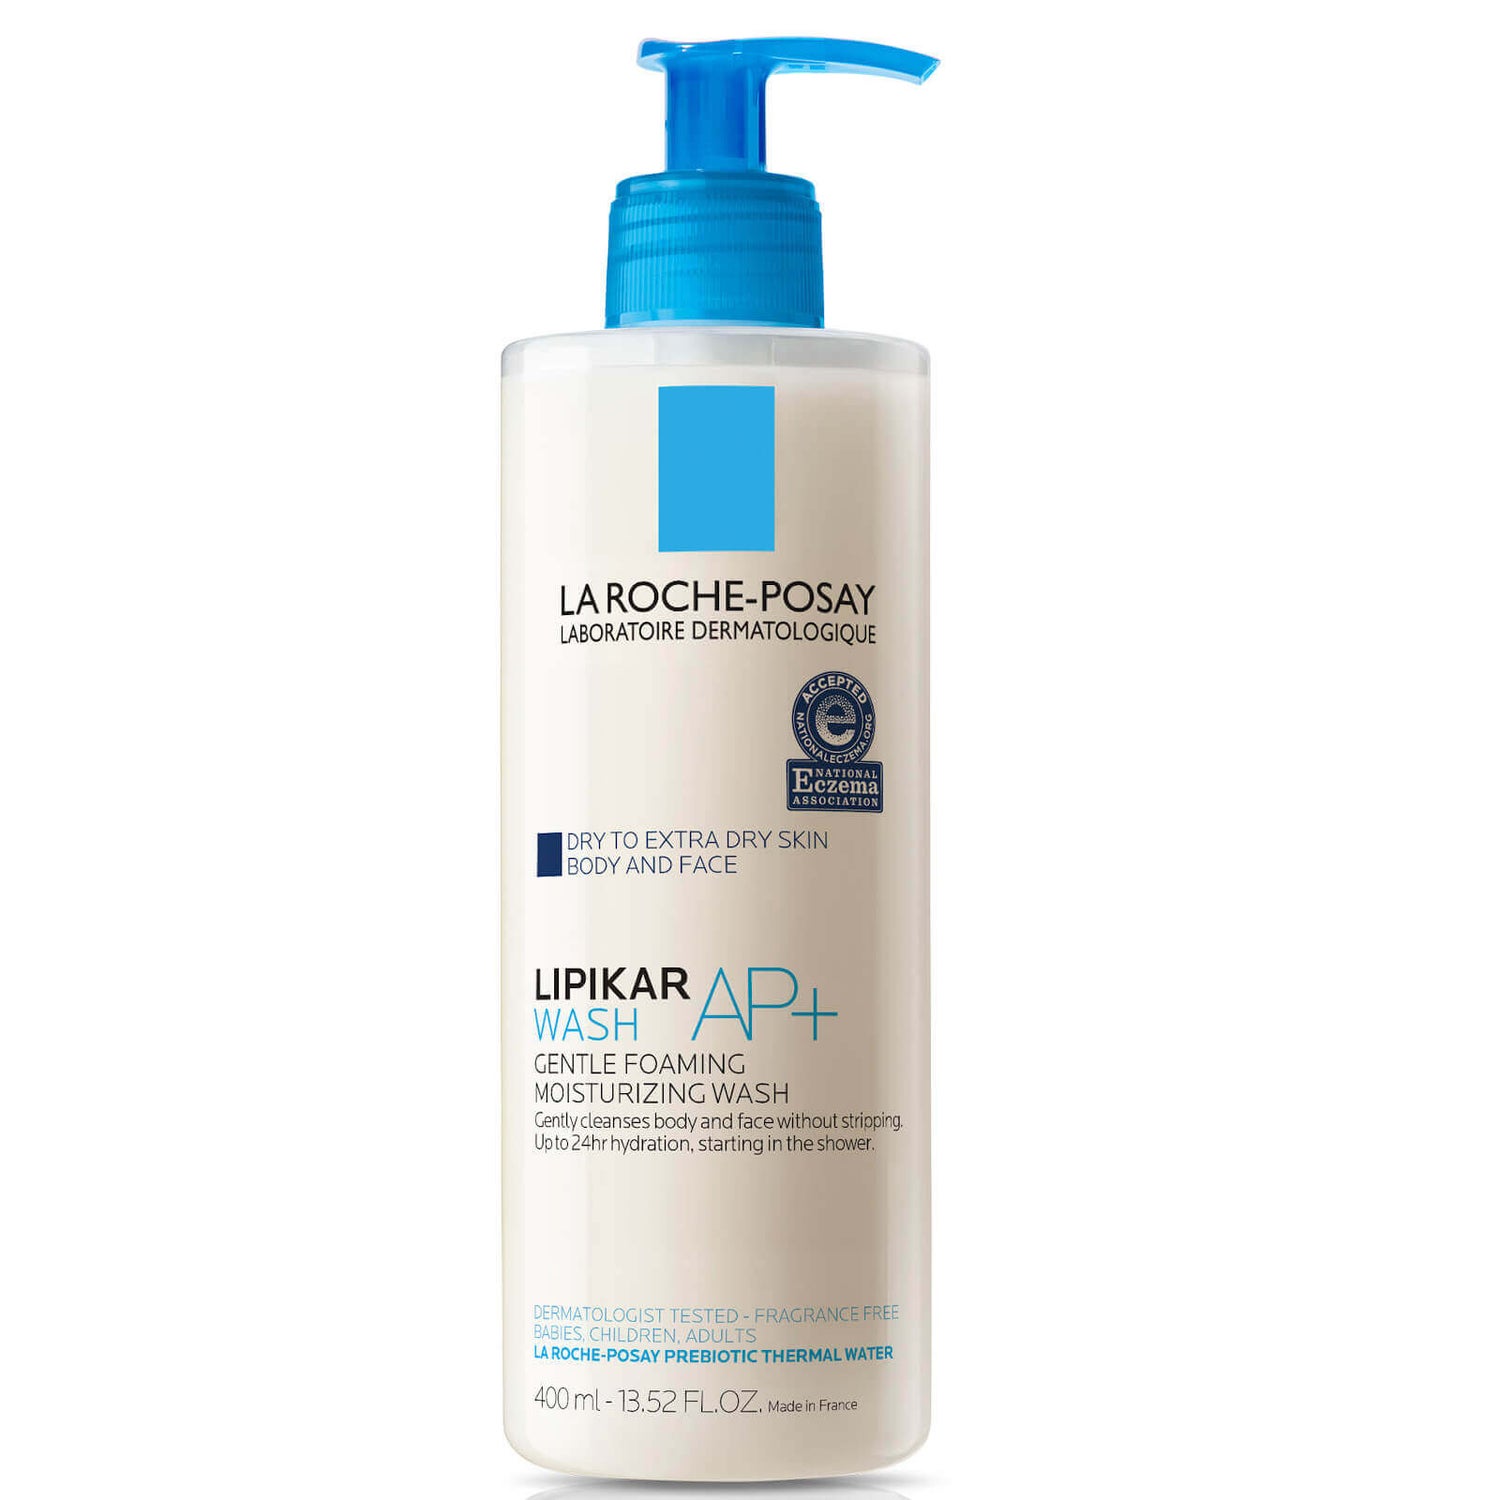
This cleanser is a favorite among dermatologists for its super gentle formula. Packed with prebiotic thermal water, shea butter, and hydrating ingredients like glycerin and niacinamide, it cleanses even very dry skin without stripping away natural moisture. So mild it’s suitable for babies and eczema-prone skin, this cleanser leaves your face feeling comfortable and soothed.
OLAY REGENERIST REGENERATING CREAM CLEANSER
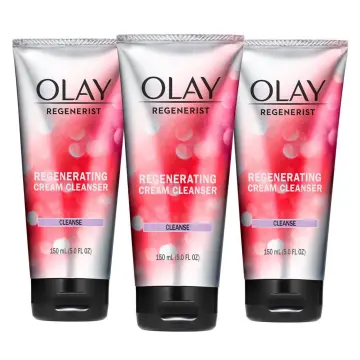
Forget fancy cleansers for wrinkles (anti-aging serums are the real heroes there). However, a cleanser with an amino-peptide complex, glycerin, and exfoliating salicylic acid can brighten dull skin, smooth uneven texture, and leave you feeling clean.
WELEDA SKIN FOOD FACE CARE NOURISHING OIL-TO-MILK CLEANSER
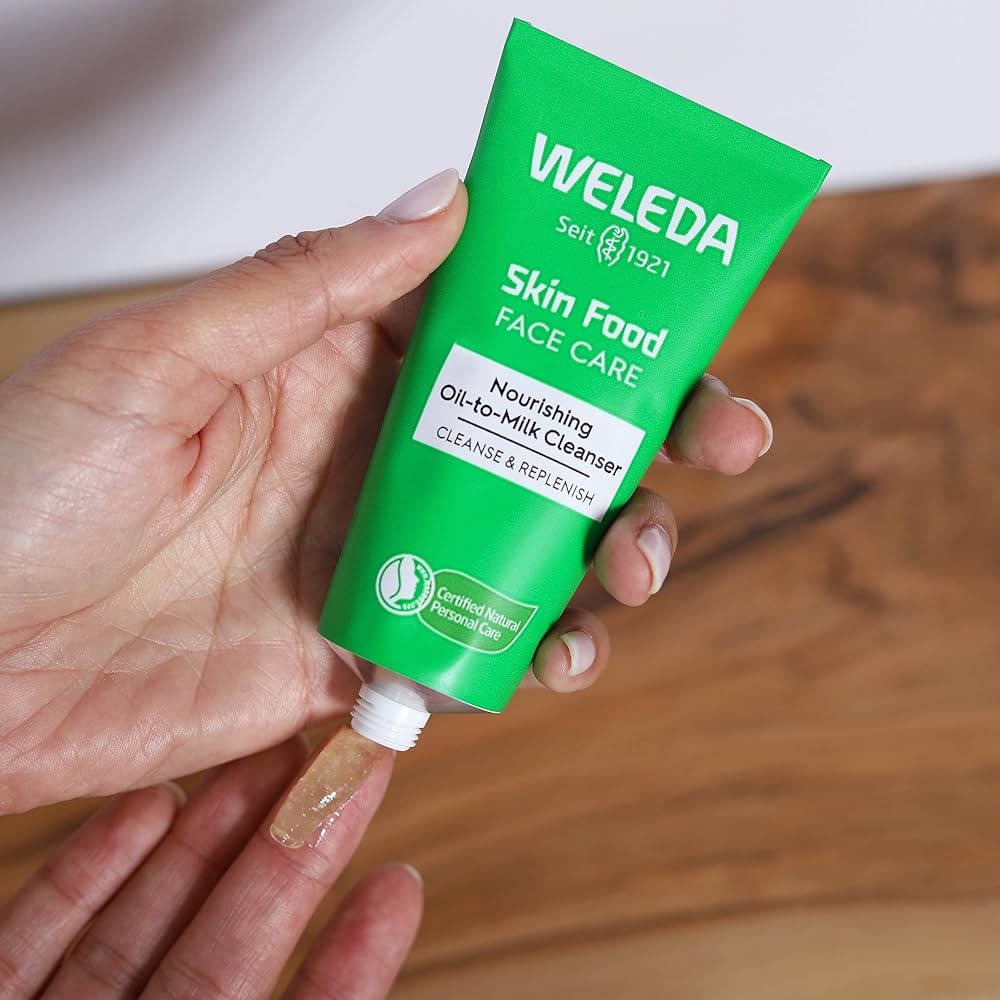
This cleanser is a dream come true for soft, supple skin! Combining sunflower seed oil and chamomile flower extract, it starts as a luxurious oil and transforms into a gentle milk. This unique formula effortlessly removes makeup, dirt, and oil, leaving your skin feeling clean, refreshed, and oh-so-touchable.
BURT’S BEES FACIAL CLEANSING OIL
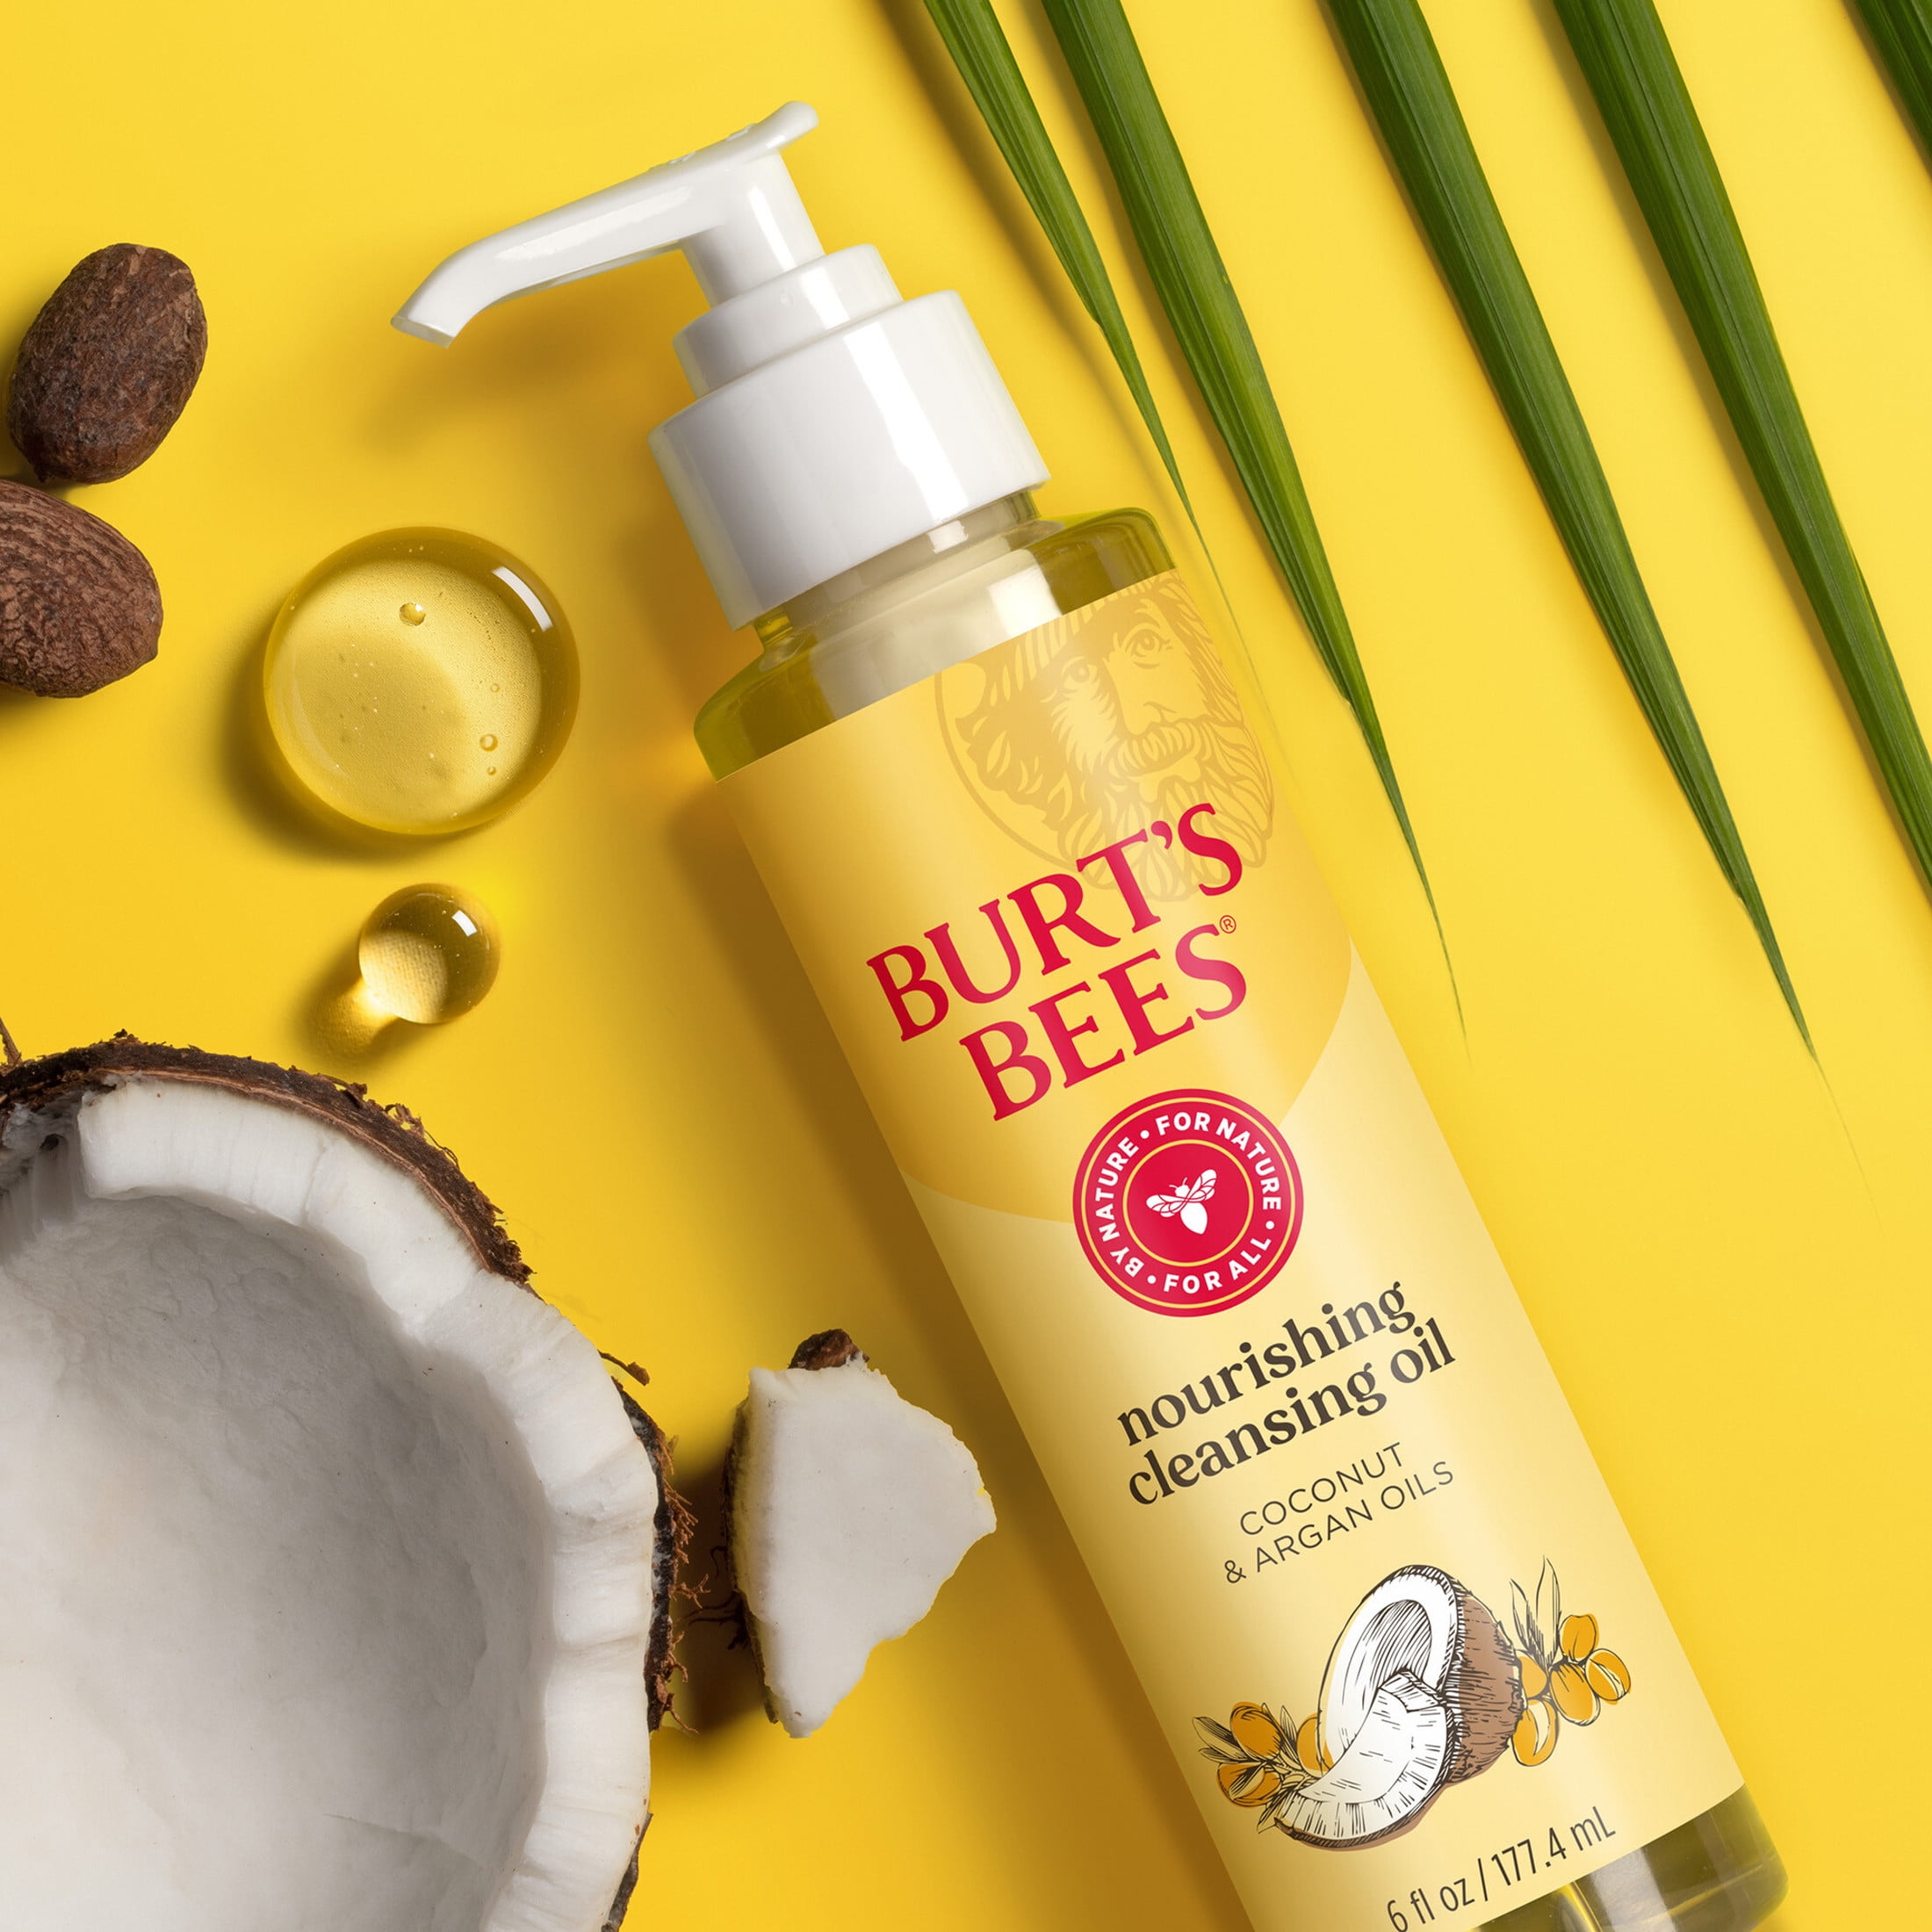
Perfect for those with normal or dry skin, this coconut and argan oil blend gently melts away makeup and impurities without leaving a greasy residue. Your skin will feel luxuriously soft and smooth after every use.
UNTOXICATED CLEAN START FACIAL CLEANSER
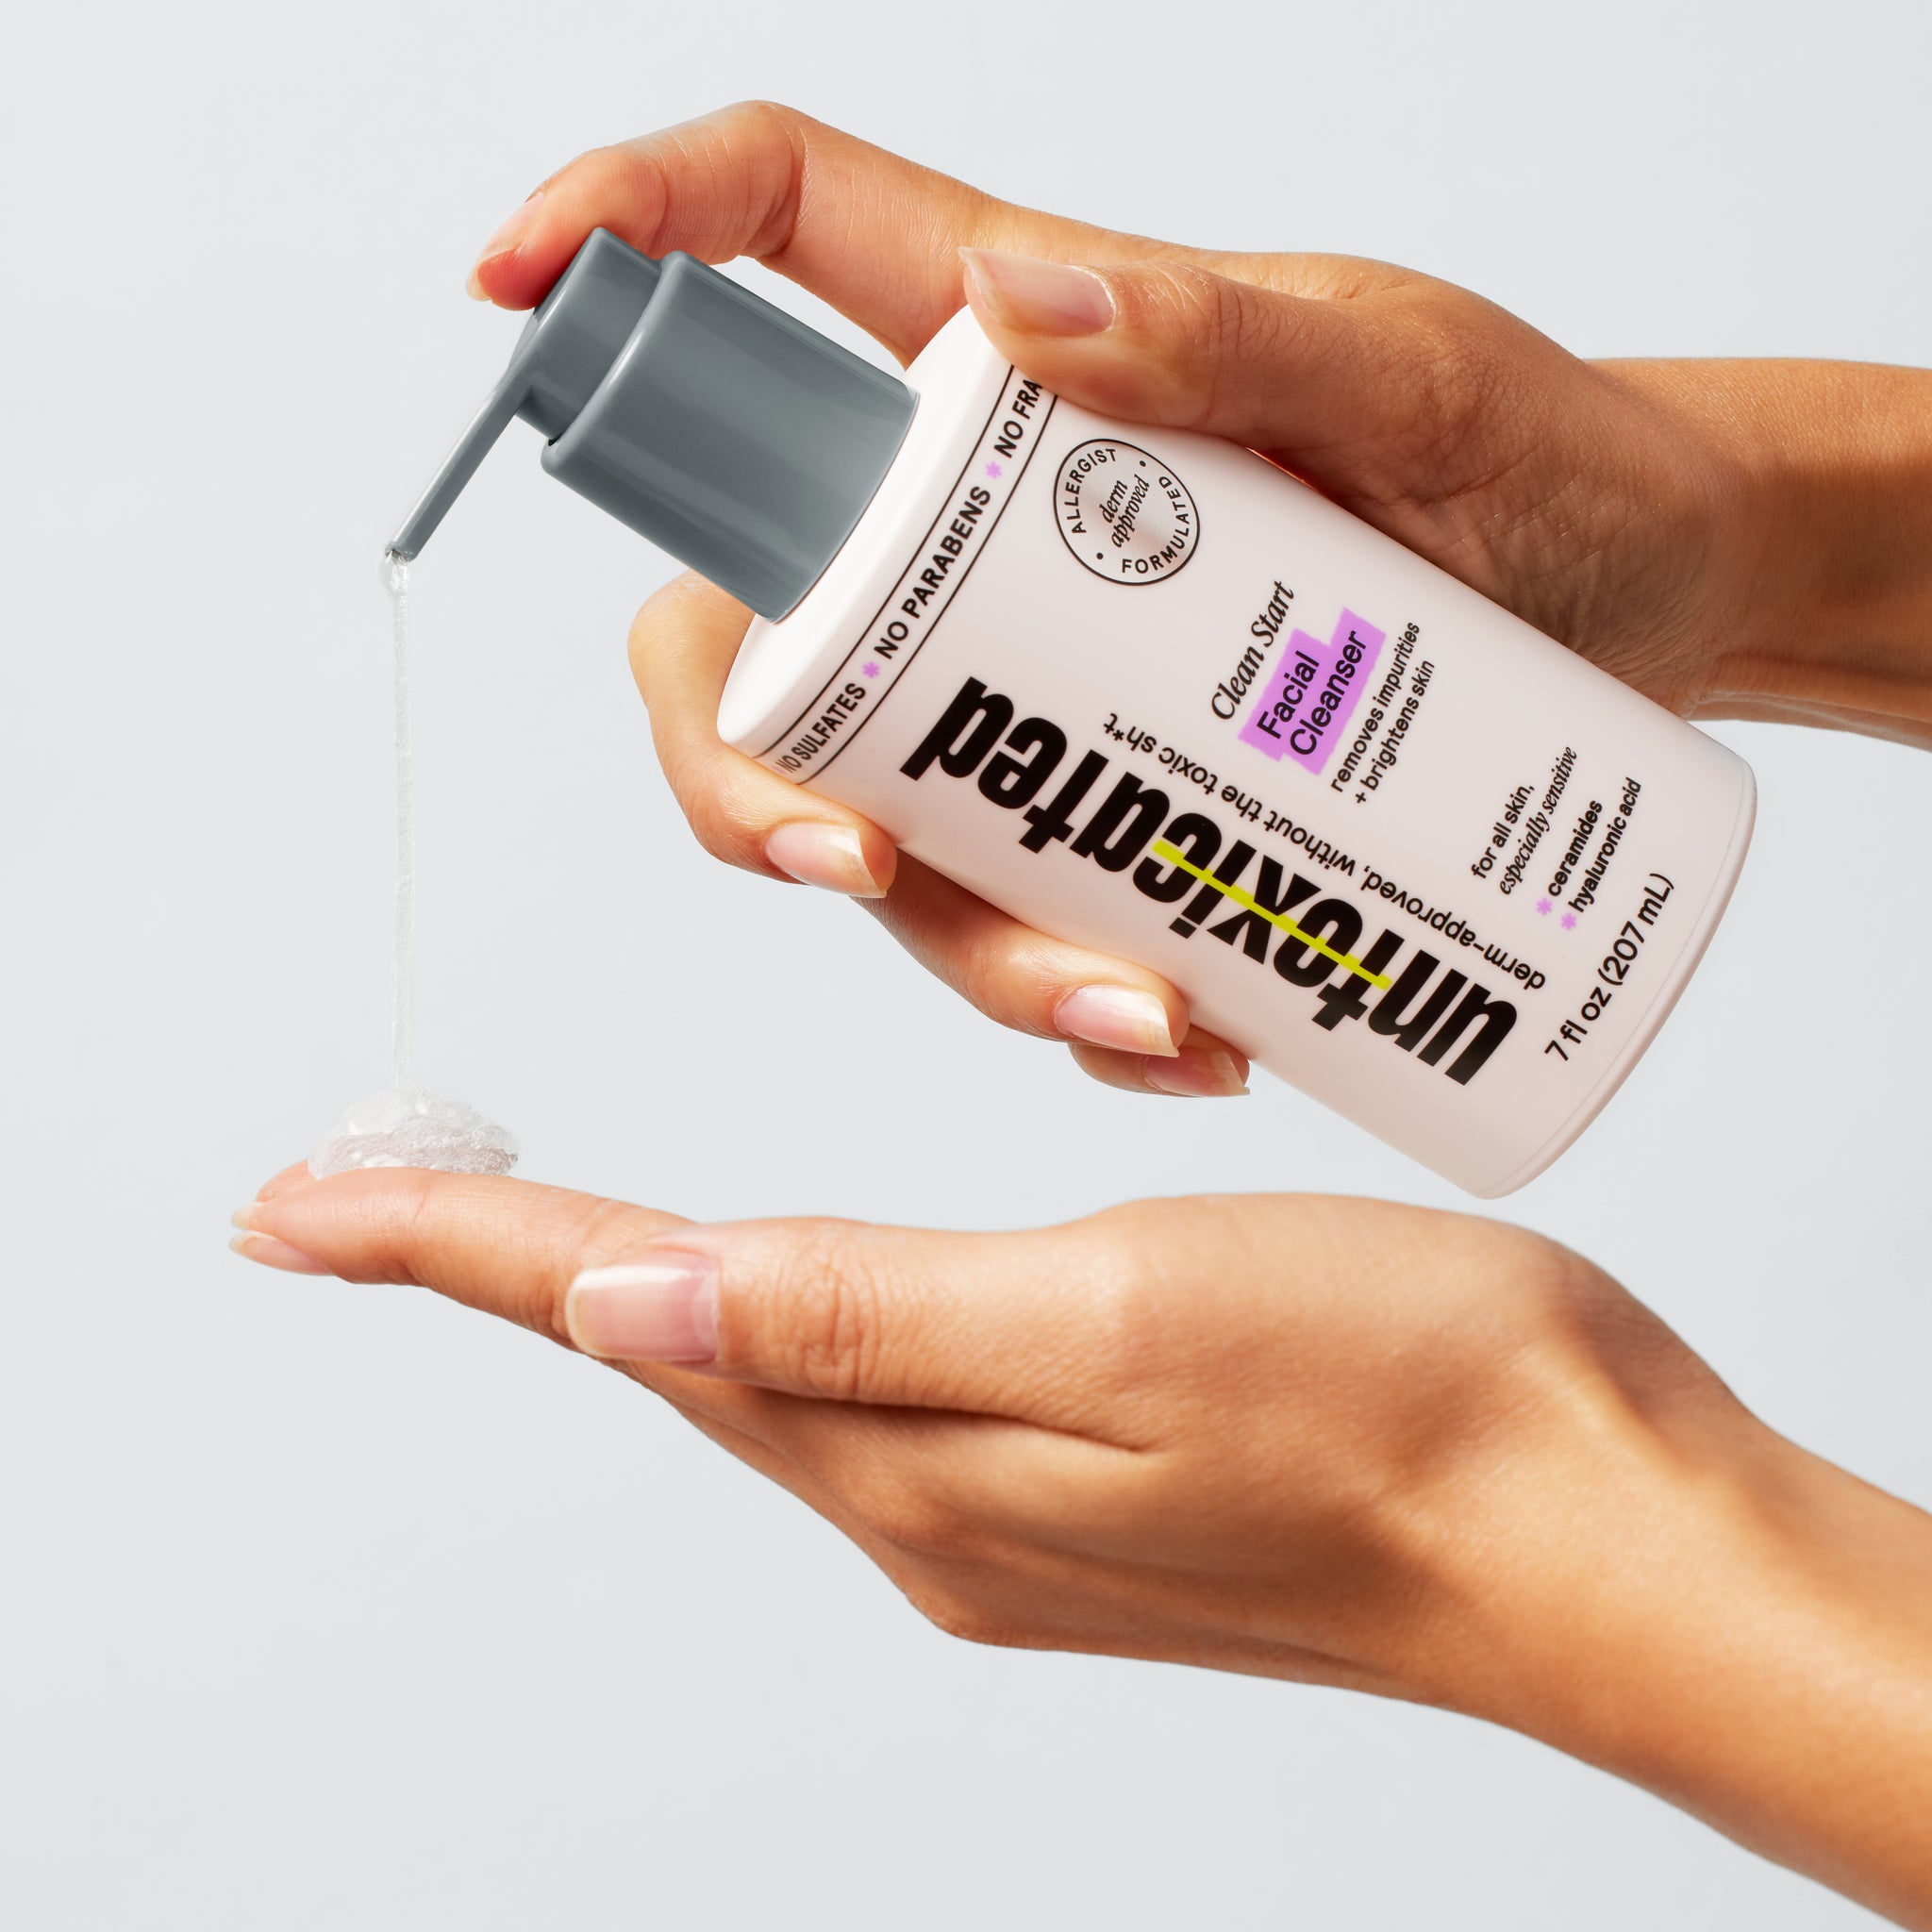
Newcomer brand Untoxicated offers a gentle facial cleanser online at a drugstore-worthy price. This cleanser is perfect for sensitive skin as it’s free of common allergens and packed with hydrating ingredients like ceramides and hyaluronic acid. You might not find it on drugstore shelves yet, but it’s definitely worth checking out online.
TIPS ON FACIAL CLEANSING FOR SKINCARE
- You should choose a facial cleanser that suits your skin type and needs.
- Use warm water to wash your face, do not use water that is too hot or too cold.
- Gently massage your face when washing your face.
- Moisturize your skin after washing your face.
- Consult a dermatologist if you have sensitive skin or skin problems.
- Use facial cleanser twice a day, in the morning and at night.
CONCLUSION
Choosing the right facial cleanser is an important step in skin care. Hopefully with the list of 14 types of facial cleansers recommended by pharmacists and notes when using, you can find a product that suits your needs and skin type. Remember, everyone’s skin is different, so you should experiment and find the products that work best for you. Wishing you always have healthy and radiant skin!