Cowboy Candy, also known as candied jalapeños, is the perfect balance of sweet and spicy! It’s a delicious addition to burgers, sandwiches, nachos, or even enjoyed on its own. With jalapeños and banana peppers in peak season, this recipe is a fantastic way to preserve their bold flavor before they go to waste. It’s one of my all-time favorites!
INGREDIENTS
- 2 cups apple cider vinegar
- 1 ¼ cups white sugar
- 1 cup brown sugar
- 1 Tbsp salt
- ½ Tbsp turmeric
- ½ Tbsp ginger
- 4 cups chopped jalapeños

INSTRUCTIONS
- Prepare the Syrup:
- In a large pot, combine apple cider vinegar, white sugar, and brown sugar.
- Bring the mixture to a boil, then reduce the heat and let it simmer for 10 minutes.
- Add the Spices:
- Stir in the salt, turmeric, and ginger until well combined.
- Cook the Jalapeños:
- Add the chopped jalapeños to the pot and simmer for another 10 minutes.
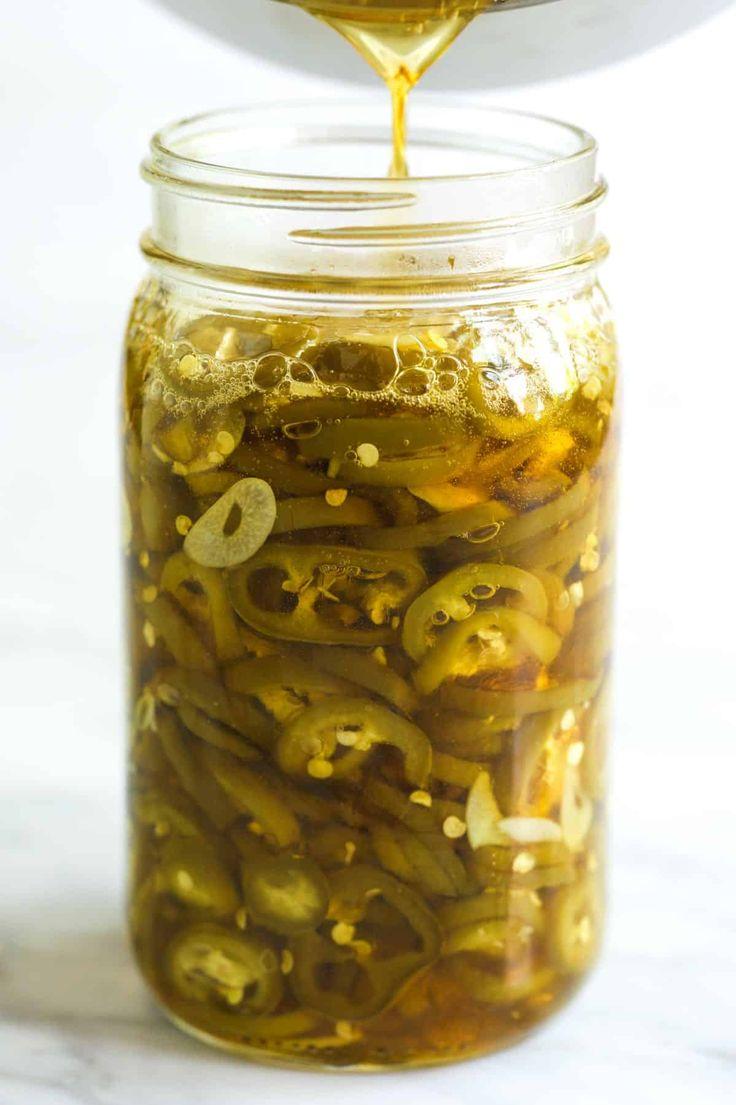
- Jar the Cowboy Candy:
- Fill clean, sanitized canning jars with the jalapeños and syrup.
- Use a knife to remove any air bubbles by gently pressing the jalapeños down.
- Seal and Store:
- Wipe the jar rims with vinegar and secure the lids finger-tight.
- If consuming within a month, refrigeration is sufficient.
- Optional Canning Process:
- For longer storage, process the jars in a boiling water bath for 10 minutes.
- Let the jars rest in a cool, dark place for two weeks before opening to allow the flavors to develop.
NUTRITION INFORMATION (PER SERVING, YIELD: 60)
- Calories: 28
- Total Fat: 0g
- Sodium: 107mg
- Carbohydrates: 7g
- Sugar: 7g
- Protein: 0g
Cowboy Candy is the perfect blend of sweet and spicy, making it a delicious topping for burgers, sandwiches, nachos, or even enjoyed straight from the jar!