If you’re planning to get your first tattoo, this guide on essential tattoo tips might be just what you need! Getting a tattoo is a significant step, and proper skin preparation is crucial to minimize discomfort during the process and avoid any unwanted issues afterward.
You’ve finally decided to get your long-awaited first tattoo at a well-known New York studio, such as Love Machine Tattoo Studio! But naturally, plenty of questions come to mind: How can you ensure you won’t regret it later? How do you choose the best tattoo parlor? Where should you get it to minimize pain? Since first experiences are always special, take your time selecting the right shop—consider everything from the artist’s expertise to the quality of tattoo needle cartridges used.
HOW TO CHOOSE A PLACE FOR GOOD FIRST TATTOO
First and foremost, not every part of the body is ideal for a tattoo. Areas where the skin constantly bends, such as the fingers and palms, struggle to retain pigment, causing the tattoo to fade unevenly over time. The most frustrating part is that the ink may wear off in patches.
Since tattoos are permanent, removing them requires laser treatments, which can be both painful and expensive. However, if you’re considering tattoo removal in Melbourne, researching costs thoroughly can help you find a skilled professional who meets your needs without overcharging. So, if you’re still thinking about getting a tattoo in these challenging areas, be sure to weigh your options carefully.
HERE ARE SOME TIPS FOR GETTING A TATTOO
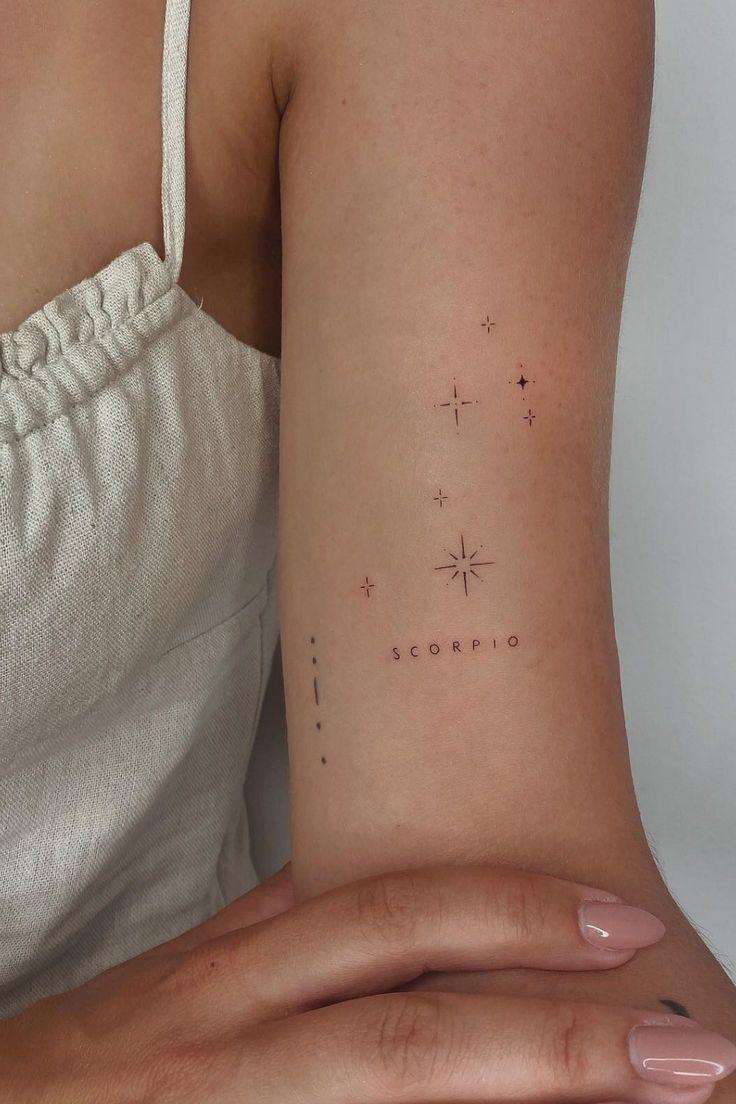
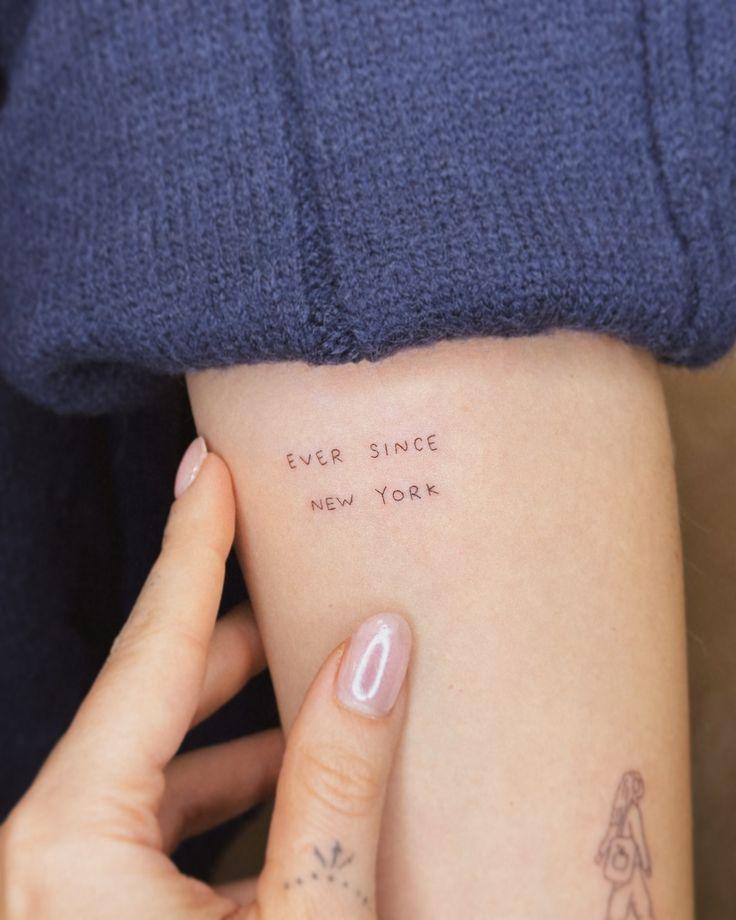
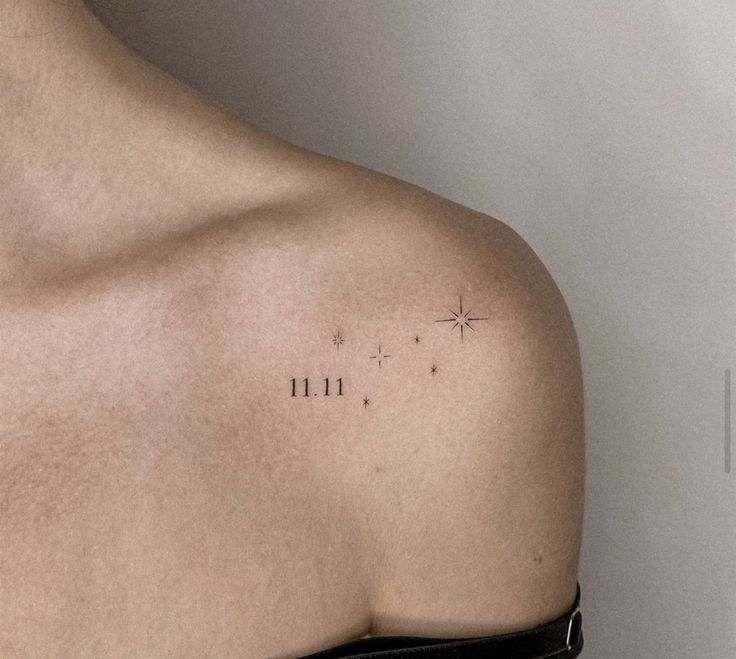
For beginners, the best areas for a first tattoo are the shoulder, lower back, outer elbow, or lower leg, as these spots tend to be less painful. When selecting a location, keep in mind that skin loses elasticity over time and may sag, which can cause the tattoo to shift. Considering these factors will help you choose the right placement for a lasting design.
- The outer thigh and shoulder blades can be slightly more uncomfortable.
- Tattoos on the ribs, knees, neck, and spine are significantly more painful.
- Session length varies by artist.
Every tattoo artist works at their own pace. Speed doesn’t necessarily indicate skill—one artist may complete a design quickly, while another takes more time to achieve the same high-quality result.
FACTORS THAT INFLUENCE THE DURATION OF YOUR FIRST TATTOO
Generally, the larger the design, the longer the session will take. For instance, a realistic portrait covering the forearm may require up to three sessions, lasting around 5-6 hours in total. In contrast, a small geometric tattoo can typically be completed in about 3 hours.
- Color tattoos with shading, gradients, and intricate transitions take longer than simple black ink designs.
- The more detailed the tattoo, the longer the process will be.
- Pain tolerance varies from person to person. Some may require breaks due to discomfort, while others can sit through the session without much trouble. In some cases, individuals may even experience a fever above 38°C during the process.
WHEN IS THE BEST TIME TO GET A TATTOO?
Tattoo artists generally advise against getting a tattoo in the summer since freshly inked skin is like an open wound that must be protected from dust, sweat, and infections. While a new tattoo looks vibrant for the first 2-3 days, it soon develops a healing crust, which may not appear aesthetically pleasing for a couple of weeks. Additionally, prolonged sun exposure can negatively affect the tattoo’s quality. Autumn is considered the ideal season for getting your first tattoo, while winter is also an option—though friction from clothing may slow down the healing process. Despite this, summer remains the most popular time for tattoos. If you choose to get inked during the warmer months, it’s best to schedule your appointment on cooler days.
WHAT TO AVOID A FEW DAYS BEFORE YOUR TATTOO SESSION
- Avoid consuming alcohol.
- Stay out of the sun to prevent sunburn.
- Do not shave the area beforehand to prevent skin irritation.
- Refrain from taking blood-thinning medications.
- Limit caffeine intake, as it can stimulate the nervous system.
- If you are feeling unwell, reschedule your appointment.
TIPS FOR A MORE COMFORTABLE TATTOO EXPERIENCE
- Eat a proper meal about an hour before your session.
- Stay hydrated before, during, and after to maintain your body’s water balance.
- Wear comfortable clothing that won’t restrict movement.
- Get a good night’s sleep before your appointment.
- Ask your tattoo artist about numbing creams or ointments if you’re concerned about pain.
- Follow all aftercare instructions provided by your tattoo artist.
- Bring snacks like nuts or candy to replenish energy during long sessions.
- Take a shower before your appointment to keep the area clean.
- Bring headphones and music if you prefer to relax during the process.
Remember, a tattoo is a lifelong commitment! We hope these recommendations help you keep your first tattoo looking great for years to come.