

Wearing a black dress is a surefire way to achieve a glamorous and sophisticated look. To complete your ensemble, finding the perfect makeup is crucial. Whether you’re aiming for a classic, bold, or unique style, your makeup should complement both your black dress and the occasion.
If you’re unsure about which makeup styles best suit a black dress, this article is here to help. Read on to discover the ideal makeup looks to enhance your outfit and highlight your personality.
THE PERFECT MAKEUP FOR A BLACK DRESS: A STEP-BY-STEP GUIDE
Before applying makeup for a black dress, start by selecting your dress. The design of your dress can significantly influence your makeup choice.
For a black dress with a plunging, sensual neckline, opt for natural, soft makeup to keep the look balanced. Conversely, if your dress has a more modest cut and subtle neckline, you can go for a bold smoky eye to make a striking impression.
PREPARE YOUR FACE FOR A GOOD MAKEUP
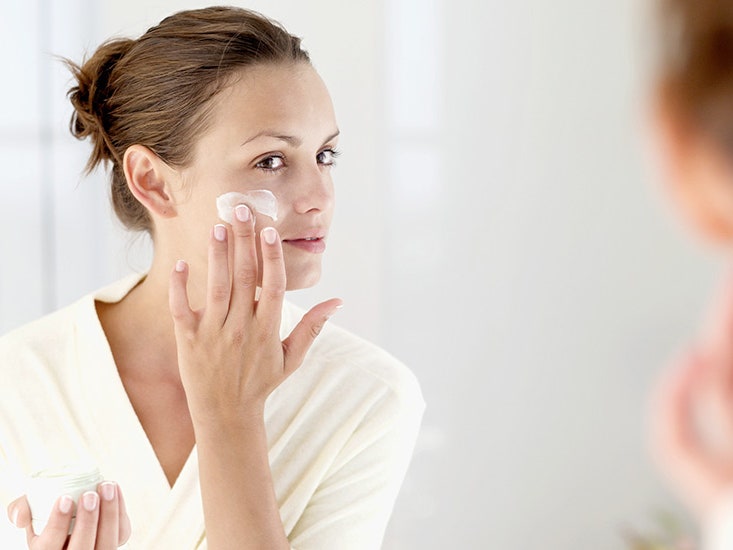
Before applying makeup, it’s crucial to prepare your skin by using a moisturizing cream. This will help keep your skin hydrated and protect it from any adverse reactions to makeup.
Next, apply a foundation that matches your complexion to ensure a natural look. This will also illuminate your skin and help conceal imperfections like spots, freckles, or marks. A light layer of foundation can make a noticeable difference.
Opt for a foundation that hydrates and enhances your skin’s glow to maintain a flawless appearance.
You may also use a concealer to hide dark circles from late nights or lack of rest. Finish with a soft blush to add a subtle, delicate color to your cheeks. These steps will.
ADD COLOR TO YOUR LOOK
The eyes are the focal point of any makeup look, so they should be bright and captivating to truly shine. You can choose various eye makeup styles that complement your personal taste while avoiding an overly dramatic appearance.
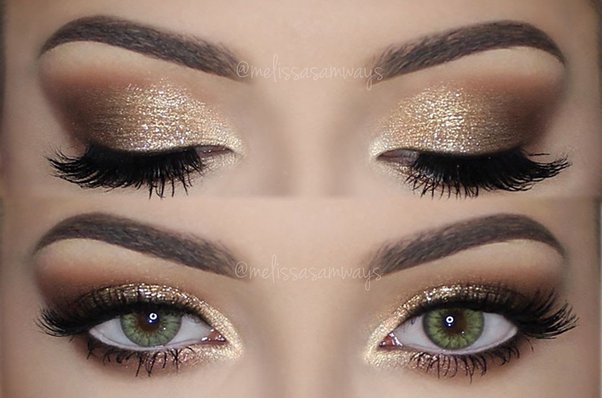
SMOKEY EYES MAKEUP
Smoky eye makeup is perfect for black dresses and evening events, creating a dramatic and captivating look.
To achieve this:
- Start with a neutral eyeshadow: Use a light brown shade as your base.
- Add depth with darker shades: Apply a darker shadow in a V shape at the outer corner of your eye, blending it inward on the upper eyelid.
- Highlight with lighter tones: Apply a lighter shade from the inner corner of your eye towards the middle of the eyelid.
For added brightness, you can apply a highlighter in the tear duct and along the lower eyelid.
PIN UP MAKEUP
The Pin-Up makeup style has made a significant impact in the world of beauty and remains a favorite for many. Ideal for evening events, this look features bold black eyeliner on the mobile eyelids, perfectly complementing a black dress and ensuring you stand out and capture everyone’s attention.
ILLUMINATING MAKEUP
This quick and practical eye makeup technique adds luminosity to the upper and lower eyelids, enhancing the overall brightness of your face. Use a thin brush to apply a highlighter, focusing more on the tear duct area. Popular shades for this are white or ivory, which can be paired with various eyeshadow colors for a versatile and radiant look.
ADD VOLUME TO YOUR EYES
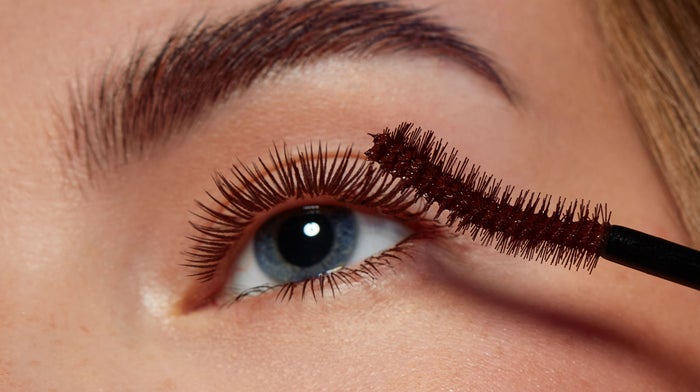
Mascara is a crucial finishing touch for any makeup look, enhancing your overall appearance. For a stunning look with your black dress, apply black mascara carefully to both upper and lower lashes. This will add volume and definition without smudging your eyeshadow, perfect for both daytime and evening wear.
FRAME YOUR EYEBROWS

Enhance your makeup by adding color to your eyebrows. Define and intensify them with a shade that complements your skin tone. Use fine strokes to mimic hair and fill in any gaps, giving your brows a fuller, more polished look that will captivate everyone.
MAKEUP WITH EYELINER
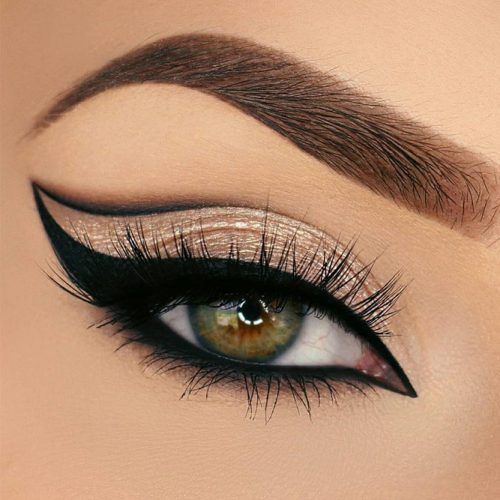
Eyeliner adds a touch of elegance and allure to any makeup look, making it a key choice for framing your eyes. It can be used alone or with eyeshadow, especially for a black dress at daytime events.
Here are some eyeliner options to consider:
- Colored Eyeliner: Adds a fresh, vibrant effect.
- Bold Eyeliner: A thick line extending to the outer corner of the eye.
- Double Eyeliner: Thick lines applied on both the upper and lower eyelids.
- Classic Eyeliner: A standard thick line on the upper eyelid.
SHOW OFF LIPS FULL OF SENSUALITY
When wearing a black dress, a bold red lipstick is ideal for making your lips stand out. Choose a shade that contrasts with your dress for maximum impact, and opt for a long-lasting formula to ensure your color remains vibrant throughout the event. Alternatively, pink or nude lipsticks can also be great choices, depending on your overall makeup look.
TAKE CARE OF ALL THE DETAILS
To look your best, pay attention to every detail of your makeup, clothing, and accessories. Choose pieces that reflect your personality and ensure you feel comfortable and beautiful. Embrace the glamour and elegance of a black dress, which is perfect for any occasion—whether it’s a wedding, birthday, bachelorette party, or formal meeting—offering a stunning look without the need for multiple outfits.
NIGHTTIME MAKEUP FOR A BLACK DRESS
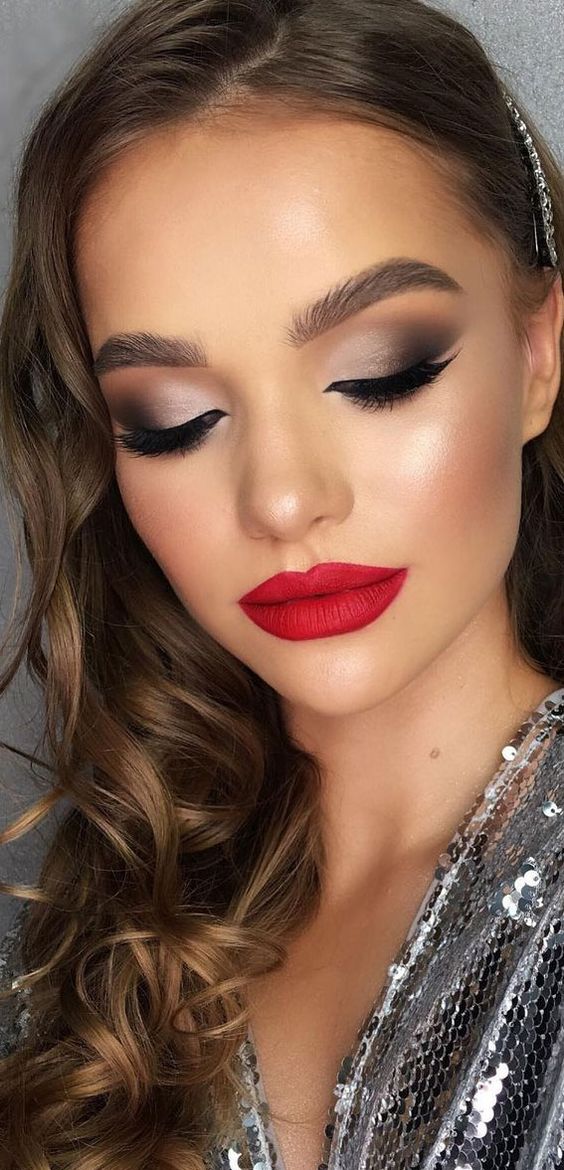
If you’re attending an evening wedding and want to showcase your little black dress, go all out. A black dress offers unmatched elegance and glamour, especially when paired with the right evening makeup. Opt for a smoky eye look with dark brown tones and add a touch of highlighter to your upper eyelids. Don’t forget to refine your eyelashes, eyebrows, and finish with a bold red lipstick for a stunning, unforgettable look.
MAKEUP FOR A BLACK DRESS DURING THE DAY
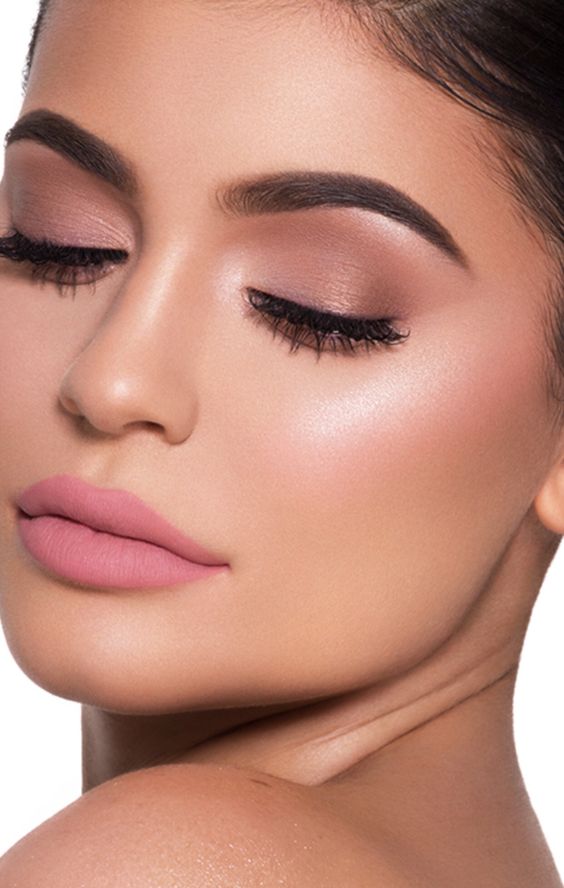
For a daytime gathering with friends in a black dress, opt for soft and natural makeup to achieve a feminine and subtle look. Use nude or earth-toned eyeshadows that blend with your skin, and apply a coat of mascara and a delicate eyeliner for a refined touch. Finish with a nude or soft pink lipstick to add a hint of color without overpowering your look.
MAKEUP FOR A BLACK DRESS: A GLAM LOOK FOR DARK-SKINNED BEAUTIES
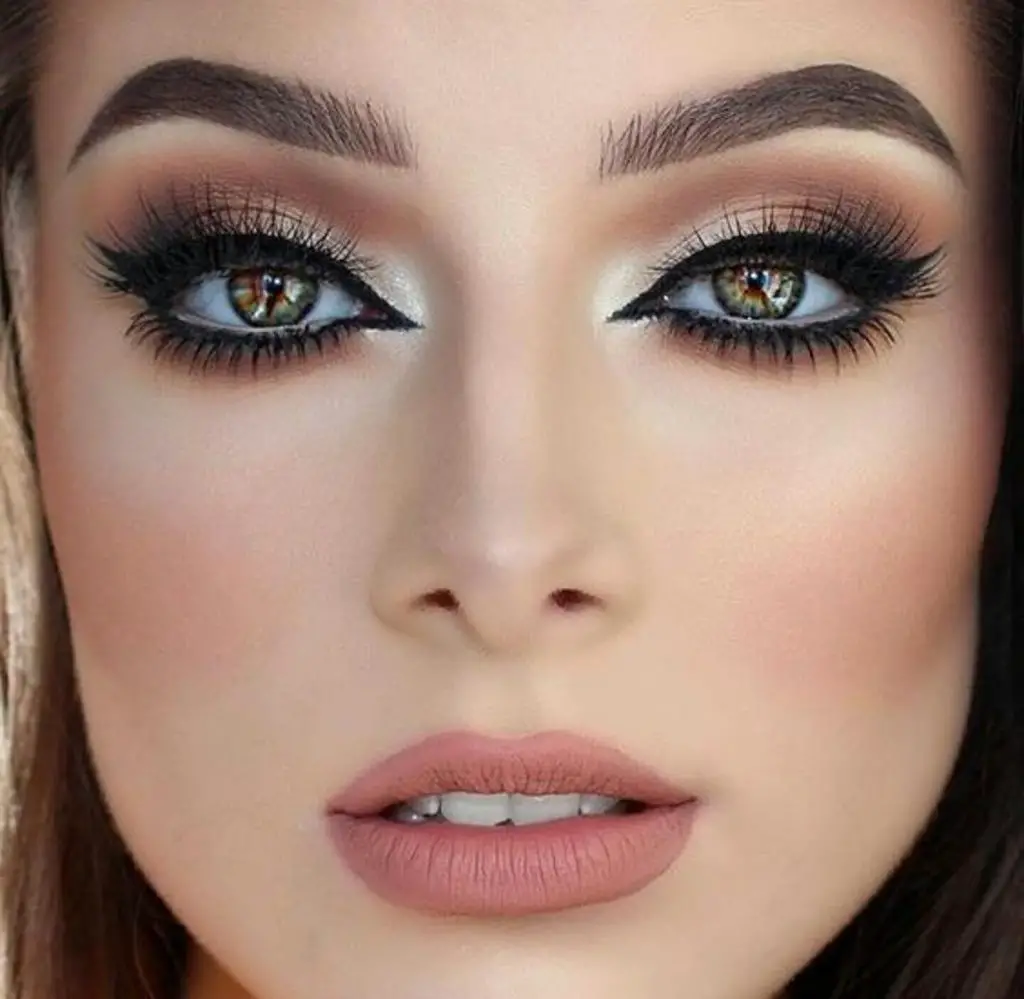
For a natural and understated look with a black dress during the day, opt for makeup in nude tones.
- Foundation: Use a warm-toned foundation similar to your complexion, and set it with translucent powder to reduce shine and conceal imperfections.
- Eyes: Apply a lighter eyeshadow on your eyelid and a darker shade in the crease. Define your upper lashes with black eyeliner, avoiding the tear duct for a subtle effect. Curl your lashes and apply a non-clumping mascara.
- Blush: Choose peach or soft pink blush, applying it in circular, upward motions from the apples of your cheeks to your temples.
- Eyebrows: Define your eyebrows with a brown pencil to fill in gaps and add definition.
- Lips: Use a bright nude or coral lip color with a brush, avoiding orange tones. You can choose to add gloss or keep it matte, based on your preference.
This approach will enhance your natural beauty while keeping the look elegant and appropriate for daytime events.
MAKEUP FOR A BLACK DRESS: A RED LIP MAKEUP FOR WHITE SKIN!
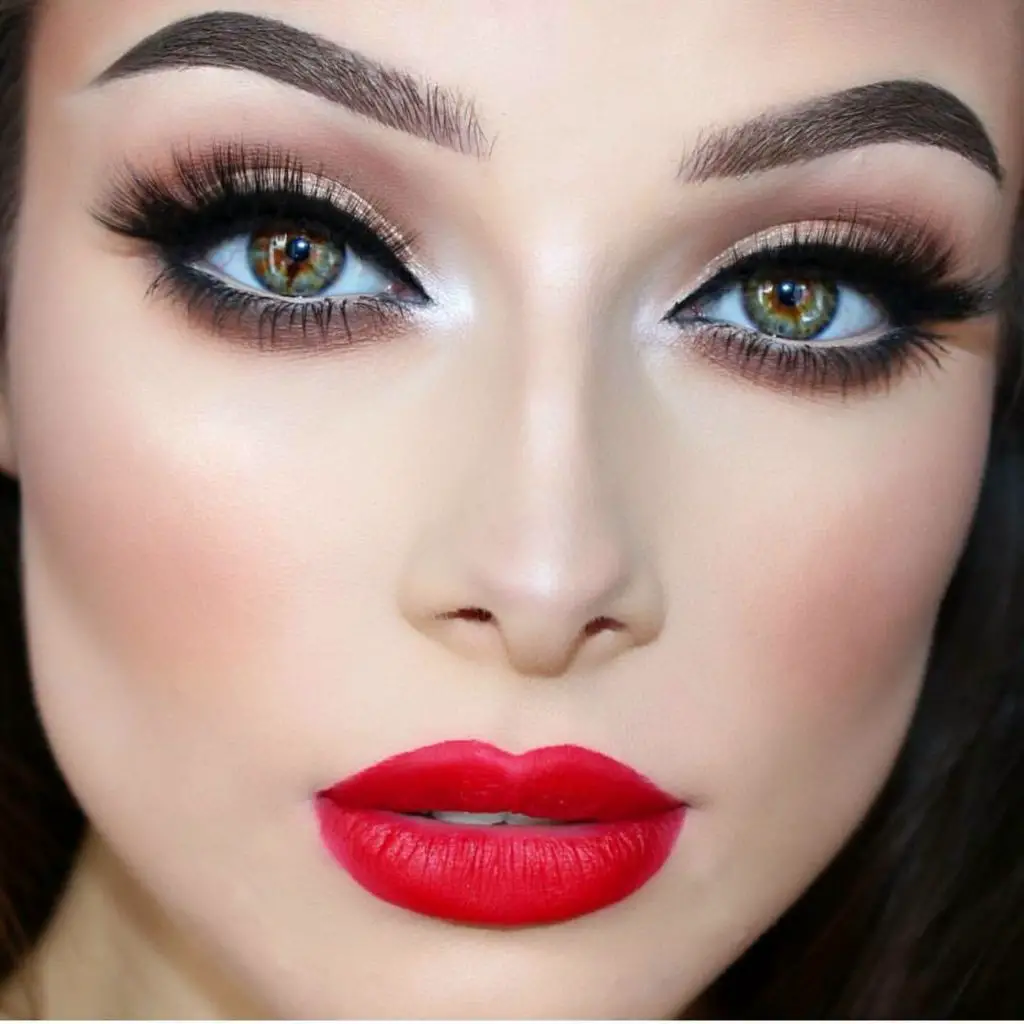
For a stunning look with a black dress, pair it with deep red lips for a striking contrast. The cool tone of the black dress will highlight the passionate red on your lips.
Keep your eye makeup soft and understated to let your lips take center stage. Opt for neutral eyeshadows like nudes or light reddish browns, and apply a subtle eyeliner with greyish-black mascara.
Balance your makeup by keeping the rest of your look discreet and natural. Use a light foundation, concealer, powder, and blush in nude, peach, or pink tones to complement your fiery red lips.
CONCLUSION
In conclusion, the black dress, a timeless and versatile piece, offers endless possibilities for self-expression. By carefully selecting the right makeup to complement your ensemble, you can elevate your look and make a lasting impression. With the right makeup choices, the black dress can be more than just an outfit; it can be a statement of confidence and style.


