CURLY HAIR ROUTINE FOR BEGINNERS 

Curly hair is beautiful and unique, but it can also be challenging to manage. If you’re new to embracing your curls, don’t worry! This beginner’s guide will walk you through a simple yet effective routine to help you achieve defined, bouncy, and frizz-free curls. Let’s embark on this curly hair journey together!

CHOOSING THE RIGHT SHAMPOO

The “right” shampoo is one that’s gentle and designed to enhance your curls. With so many options out there, it can feel overwhelming, but starting with a sulfate-free shampoo is a great choice—these are increasingly common as more brands release sulfate-free ranges.

Most products will be clearly labeled as sulfate-free, but if you’re unsure, you can easily check. Just search for the shampoo’s ingredients online, then copy and paste them into CURLSBOT, a tool that instantly tells you if it’s Curly Girl-approved. I keep CURLSBOT saved on my phone—it’s a lifesaver at any stage of the curly journey!

CHOOSING THE RIGHT CONDITIONER

The “right” conditioner for curly hair means opting for a silicone-free formula. If you’re used to products with silicones, going silicone-free may feel like a big change, but it’s an important step in a curl-friendly routine.

Many commercial conditioners contain silicones, so it’s worth checking labels. Silicone-free conditioners don’t need to be expensive—they simply avoid silicones that can build up on your hair, causing greasiness, weighing curls down, and reducing bounce.

A T-SHIRT FOR DRYING

That’s right—a simple t-shirt is perfect for drying curly hair! Unlike a regular towel, a t-shirt is much softer and won’t roughen the hair cuticle.

You can use it as you would a towel, or you can try “plopping.” To plop, gently lower your hair forward into the t-shirt, then wrap and secure it around your head. Leave it on for 10-40 minutes to absorb moisture while helping curls form into defined clumps.

Alternatively, there’s “micro-plopping,” where you scrunch each curl individually with the t-shirt to remove excess water. Whether plopping or micro-plopping, a t-shirt is gentler than a towel, though a microfiber towel is also a good option for curly hair.

CHOOSING A STYLING PRODUCT – GEL, MOUSSE, OR CREAM

When starting a curly hair routine, it’s common to use a gel, mousse, or cream. Some people even layer all three! For beginners, starting with one product is ideal; you can experiment and build up your routine as you get to know what works for your curls.

It’s a good idea to check product ingredients, avoiding “nasties” like drying alcohols (e.g., Alcohol Denat) and silicones. This extra step helps keep curls healthy and bouncy.

Apply styling products on soaking wet hair to lock in moisture and minimize frizz. Scrunch the product up to the roots, aiming to shape your curls while wet and keep that definition as they dry.

GEL

Gel is great for setting curls in a “cast” as it dries, holding the shape until you’re ready to scrunch out the crunch, leaving soft, defined curls. A favorite gel for many is the Umberto Giannini Curl Jelly.

CREAM

Creams reduce frizz and add moisture, giving a softer look and more volume, though they typically don’t define curls as much as gel.

MOUSSE

A lightweight mousse helps define curls and add volume, especially at the roots. It should be light and non-sticky, so curls feel soft once dry. Each product offers unique benefits—try one and see how your curls respond!

A DIFFUSER

While air-drying is a solid option, many people find that a diffuser becomes an essential tool for styling curls. Air-drying can take a long time, especially since curly hair tends to dry in clumps and retains more moisture with the products you’re using.

Using a diffuser can speed up drying while encouraging curl formation by lifting and holding curl clumps closer to the scalp. For best results, use a low heat setting to reduce potential heat damage.

Avoid using a regular dryer without a diffuser, as it can disrupt curl clumps. If you don’t have a diffuser attachment, it’s actually better to air-dry. And as you transition into a new curl routine, try to minimize the use of heated tools like curling wands—your curls will thank you!

A DEEP CONDITIONER

Deep conditioning is key to keeping curls hydrated and healthy. Aim to deep condition at least every two weeks, or even weekly if your hair needs the extra moisture. A quality deep conditioner helps rehydrate naturally dry curls, while also softening and detangling them.

These treatments often contain nourishing oils and butters. Simply apply after shampooing and let it sit for around 30 minutes before rinsing out.

Another option is a “pre-poo” treatment, where you apply an oil or conditioning treatment like Olaplex to dry hair before shampooing. Leave it on overnight or for a few hours to give your curls a deep boost before you wash.

FINAL TIP

Keep track of your washday routine to fine-tune your curly hair care and see what works best for you. Here’s what to note down:

  • Which cleansing and conditioning products you used, including any deep conditioners
  • Did you plop or micro-plop?
  • Which styling products you applied, and in what order
  • Did you apply them with your hair hanging forward or back?
  • Did you scrunch the products in?
  • Did you diffuse until your hair was 100% dry or just 80%?

Also, take photos of your results! They’ll be invaluable when you’re figuring out what works best for your curls. I still jot down small changes I make to my routine, as even minor adjustments can lead to major differences in results.

I created a tracker for myself to keep track of my washdays, and I’m sharing it here because I’ve found it super helpful!

CONCLUSION

Congratulations, you’ve taken the first step towards embracing your natural curls! Remember, consistency is key. As you continue to experiment with your routine, you’ll discover what works best for your unique hair type.

Don’t be afraid to seek advice from other curly-haired individuals or consult with a hairstylist who specializes in curly hair. By following these basic steps and tailoring them to your specific needs, you’ll be well on your way to achieving healthy, beautiful, and bouncy curls.

DIY HAIR GROWTH OIL FOR RAPIDLY ACHIEVING LONGER, THICKER, AND LUSCIOUS HAIR

Looking to quickly achieve longer, thicker hair? While there’s no miracle solution for instant growth, this homemade hair growth oil can help accelerate the process. Packed with herbs and essential oils, this all-natural recipe is the result of years spent experimenting with effective methods for fast hair growth. It’s simple to make and highly effective.

There are plenty of so-called “fast hair growth secrets” out there—some work, while others don’t, and I’ve likely tried most of them! My journey into natural beauty began with a desire for longer, thicker hair. Like all my DIY beauty recipes, this hair growth oil stems from my personal experiences.

As a teen, I would spend hours hunting for herbs and supplements in specialty stores, diligently reading Long Hair Care Community forums, and testing various tips and remedies to grow my hair to hip length. In retrospect, I wish I’d focused less on superficial goals, but this quest provided valuable insights into the beauty industry, helping me cultivate discernment.

Whether you’re looking to combat hair loss, encourage regrowth after stress, or simply boost your hair growth, I hope this hair oil recipe helps you reach your goals.

CAN OILS REALLY HELP GROW YOUR HAIR FASTER?

The hair growth industry is booming, with countless new, exotic “fast hair growth oils” and magic serums promising to deliver your dream of long, mermaid-like locks.

However, the reality is that most carrier oils lack any truly magical properties for hair growth. In fact, using excessive amounts of the wrong oil can lead to issues like yeast overgrowth, exacerbating hair loss and scalp problems.

Take argan oil, for example. It was once hailed as the miracle hair growth oil, but its fatty acid profile is quite ordinary, resembling that of sesame or sunflower oil—neither of which have been shown to promote hair growth. (And I say this as someone who once relied on argan oil!)

That said, a few oils do genuinely support hair growth and thickness. When combined with certain herbs and essential oils—like rosemary and peppermint—you can create a more effective homemade hair growth oil.

DIY HAIR GROWTH OIL BENEFITS + HOW IT WORKS

This homemade hair oil promotes natural hair growth in several effective ways:

  • Stimulates Scalp Blood Flow: Infused with powerful herbs and essential oils, this recipe enhances blood circulation to the scalp and hair follicles.
  • Modulates Hair Growth Phase: Castor oil activates prostaglandin pathways linked to the growth phase, accelerating hair growth.
  • Reduces Scalp Buildup: Massaging the oil into your scalp before washing helps loosen buildup that can clog hair follicles, similar to how cleansing oils keep facial pores clear.
  • Antioxidant Activity: The antioxidants in this DIY hair oil protect hair follicles and shafts from oxidative stress, supporting faster growth.
  • Antimicrobial Activity: Excess bacteria and yeast can cause issues like dandruff and scalp acne, hindering growth. The antibacterial herbs and essential oils in this recipe, such as rosemary oil, help maintain a balanced scalp environment.

Now that we’ve covered the essentials, let’s dive into how to make your own hair growth oil.

KEY HERBS FOR HAIR GROWTH

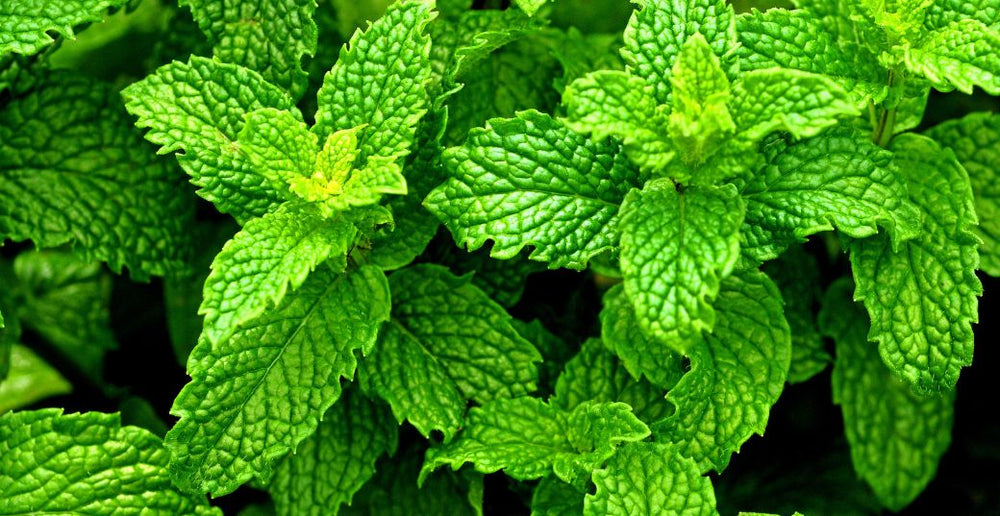
PEPPERMINT

Known for its cooling and soothing effects, peppermint oil is great for irritated scalps. Research suggests it may promote hair growth even more effectively than rosemary. Peppermint oil accelerates the hair growth phase and increases hair follicles, contributing to longer, thicker hair. Its anti-inflammatory and antimicrobial properties also support scalp health.

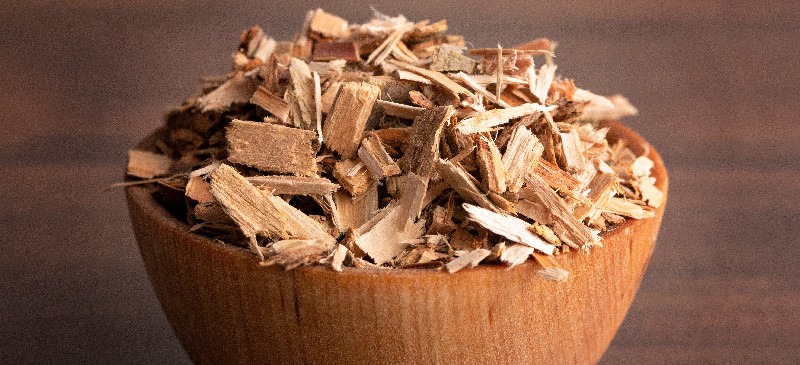
WHITE WILLOW BARK

If you face scalp issues like dandruff or acne, white willow bark can be beneficial. It contains salicin, a natural anti-inflammatory and gentle exfoliant. While it doesn’t directly stimulate hair growth, it promotes a healthy scalp by soothing irritation, unclogging pores, and reducing buildup.

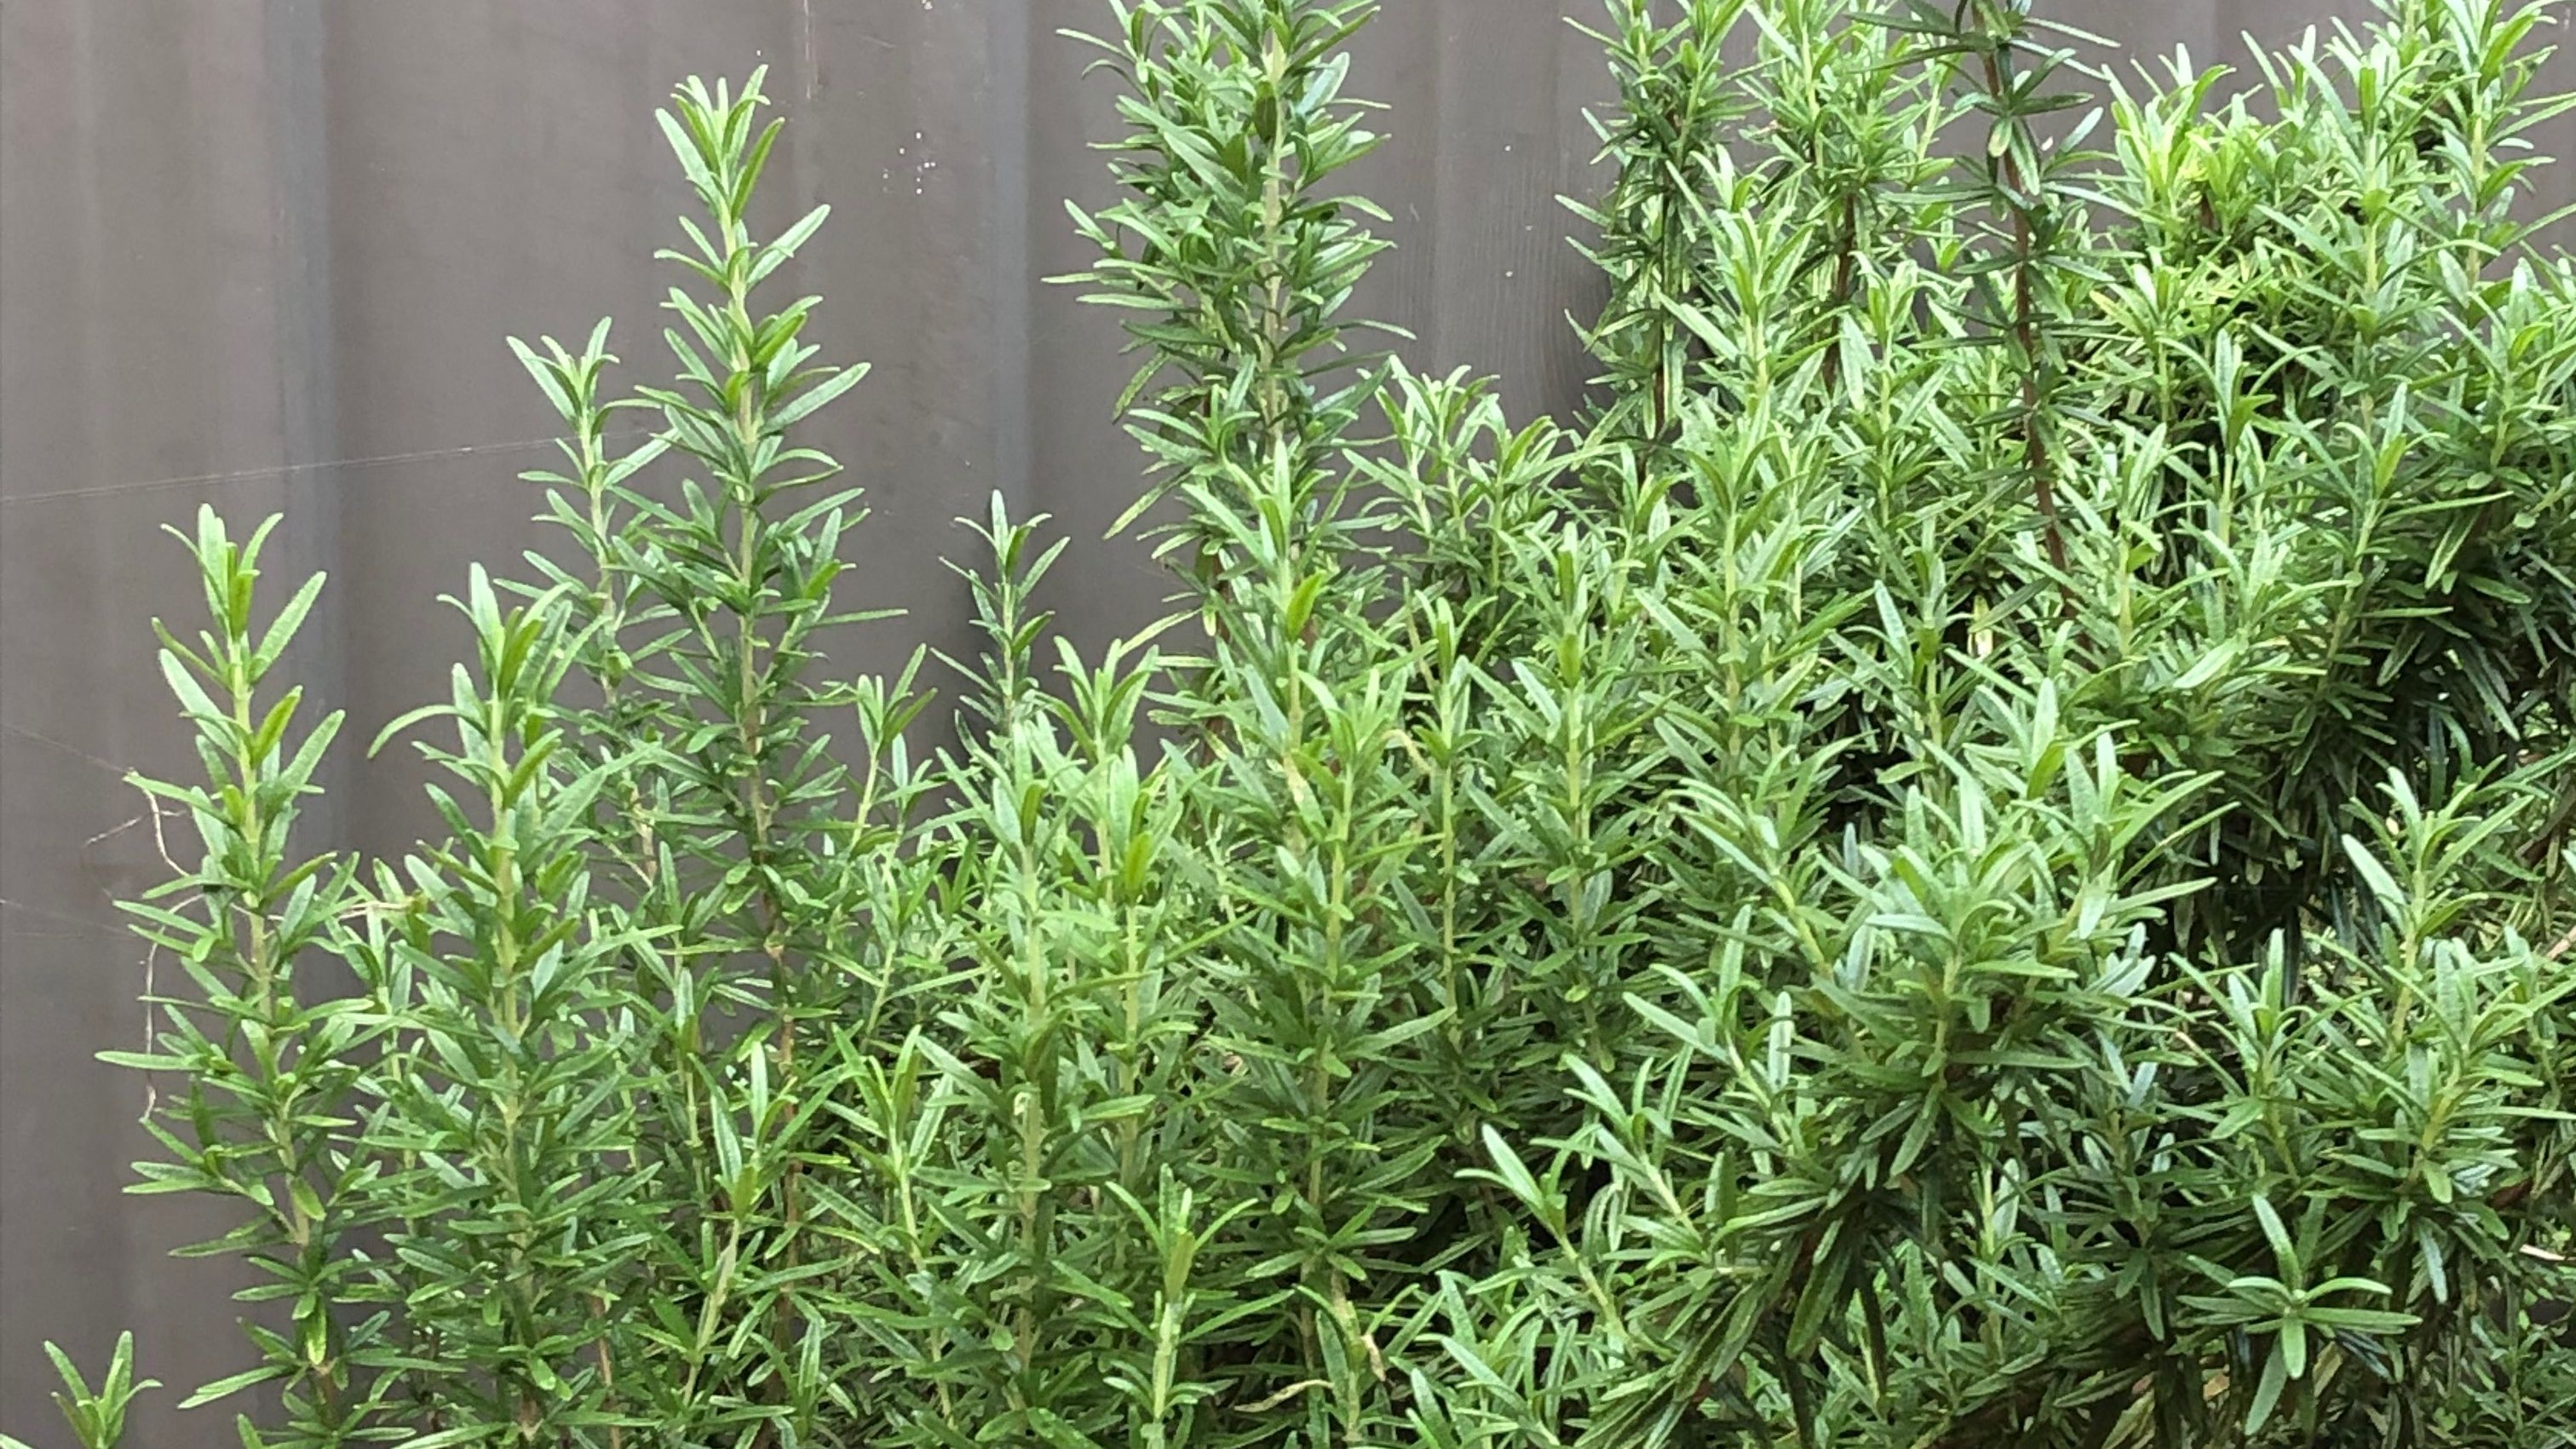
ROSEMARY

Rosemary-infused oil is a popular remedy for hair growth. Studies show it can be as effective as minoxidil without side effects. Rosemary stimulates blood flow to the scalp, nourishing hair follicles and encouraging both new and existing hair growth. Its antibacterial and antifungal properties help maintain a healthy scalp, while its antioxidants protect against oxidative stress, which can lead to hair loss.

GREEN TEA

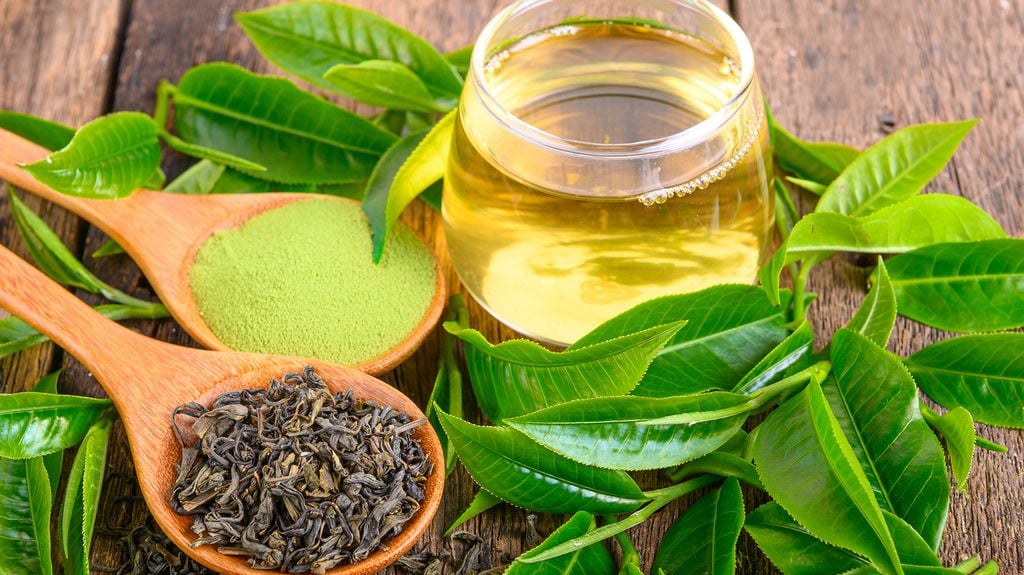
Adding green tea leaves to your hair oil infuses it with antioxidants that support hair follicle health. Although caffeine and ECEG—key components for hair growth—are water-soluble and won’t transfer to oil, the antioxidants in green tea still provide benefits. Note that it can impart a deep green color to the oil, but it generally doesn’t stain hair.

These herbs are effective allies in your quest for longer, thicker hair, and incorporating them into your hair oil can enhance its benefits.

ESSENTIAL OILS FOR HAIR GROWTH

To enhance your herbal hair growth oil, consider adding essential oils for concentrated benefits. 

Peppermint and rosemary essential oils are particularly effective for promoting hair growth, and using both can provide optimal results. You can also create a blend with cedarwood, lavender, thyme, frankincense, myrrh, palmarosa, and nettle, all known for supporting hair growth and scalp health. 

Additionally, incorporating an essential oil blend like Beauty Within can further boost scalp health with its antifungal properties, making it a great addition to your scalp treatments and hair masks.

FAST HAIR GROWTH OIL INGREDIENTS

You’ll need just a few ingredients for this DIY hair growth oil:

  • Heat-stable carrier oil for herbal infusion
  • Cold-pressed castor oil
  • Dried, organic hair growth herbs
  • Growth-boosting essential oils
  • Vitamin E oil

You can choose to make this oil with essential oils, herbal infusion, or both. I prefer using both to maximize the plant’s benefits. If you’re short on time, simply mix the carrier oils with the recommended essential oils.

INGREDIENTS

  • J MAC BOTANICALS Organic Cold-Pressed Castor Oil
  • Starwest Botanicals Organic Rosemary Leaf
  • Simply Earth Rosemary Essential Oil
  • Vitamin E Oil from Forefront Health

CARRIER OIL OPTIONS

  • MCT oil
  • Fractionated coconut oil
  • Avocado oil
  • Jojoba oil
  • Olive oil

Using a stable carrier oil is crucial. Many common oils, like sweet almond and sunflower oil, contain unstable polyunsaturated fatty acids (PUFAs) that break down with heat and light, losing their beneficial properties. Instead, opt for monounsaturated or saturated oils, which are more stable. I recommend MCT or fractionated coconut oil, especially if you have issues with yeast overgrowth, as MCT oil won’t feed Malassezia yeast.

Once you prepare the herbal-infused oil, dilute it with castor oil. Castor oil is well-regarded for hair growth due to its unique properties:

  • It mimics prostaglandins, extending the active hair growth phase and delaying the resting phase.
  • It conditions and prevents hair follicles from drying out.
  • It moisturizes and protects existing hair from breakage.
  • It has antibacterial and antifungal properties to maintain a healthy scalp.
  • It’s rich in antioxidants like vitamin E, which protect hair follicles from oxidative damage.

DIY HAIR GROWTH OIL RECIPE

INGREDIENTS

  • 47g herbal infused oil (see below for instructions)
  • 47g castor oil
  • 3.5ml peppermint essential oil
  • 3.5ml rosemary essential oil

HERBAL INFUSED OIL

  • 1 cup (200g) carrier oil (e.g., MCT, olive, or avocado oil)
  • ~3/4 cup dry herbs (e.g., rosemary, willow bark, peppermint, green tea)
  • 5ml (1 tsp) vitamin E oil

INSTRUCTIONS

  • Prepare Herbal Infused Oil:
    • Place dry herbs in a clean, heat-proof mason jar. Pour carrier oil over the herbs and add vitamin E oil. Stir gently to ensure herbs are fully submerged.
    • Seal the jar with a one-piece metal lid.
  • Infuse Oil:
    • In a slow cooker, place a hand towel at the bottom and fill with water to submerge the jar without leaking. Set to low and infuse for 8-12 hours, keeping water temperature between 50°C-71°C (120-160°F). Monitor closely to avoid overheating.
  • Strain Oil:
    • Once infused, let the oil cool. Strain out the herbs using cheesecloth or a sieve, pressing gently to extract all the oil. Be cautious of sharp herb pieces.
  • Combine Oils:
    • Mix equal parts of the herbal infused oil and castor oil. Add peppermint and rosemary essential oils, stirring well.
  • Store:
    • Transfer the final mixture to a glass dropper bottle for easy application.

Enjoy your homemade hair growth oil!

HOW TO MAKE HAIR OIL WITH ESSENTIAL OILS

Combine castor oil and a low-PUFA carrier oil (like fractionated coconut oil, jojoba oil, or olive oil) in equal parts. Add vitamin E and a hair growth essential oil blend to the mixture. Then, transfer it to a glass dropper bottle.

HOW TO USE HOMEMADE HAIR GROWTH OIL

To use the hair growth oil, apply it directly to your scalp using the dropper applicator, section by section, to ensure even coverage. After saturating your scalp, gently massage the oil in with your fingers or a jade gua sha comb to boost blood circulation to the follicles, promoting faster growth. If safe for you, you can also massage your scalp with your head upside down.

Leave the oil on for at least an hour or overnight, depending on your hair washing routine. When ready to wash it out, use conditioner first to help remove the castor oil, then follow with your regular shampoo. For added benefits, consider using a rosemary hair rinse or a pH-balancing vinegar rinse afterward.

CONCLUSION

DIY hair growth oil offers a natural and cost-effective solution for promoting hair growth and improving hair health. By combining essential oils known for their hair-nourishing properties with carrier oils that provide moisture and penetration, you can create a personalized hair treatment that addresses your specific needs. Remember to patch test the oil before applying it to your scalp to ensure you don’t have any adverse reactions. Consistent use and proper application are key to achieving optimal results.