DIY LIP BALM RECIPE 

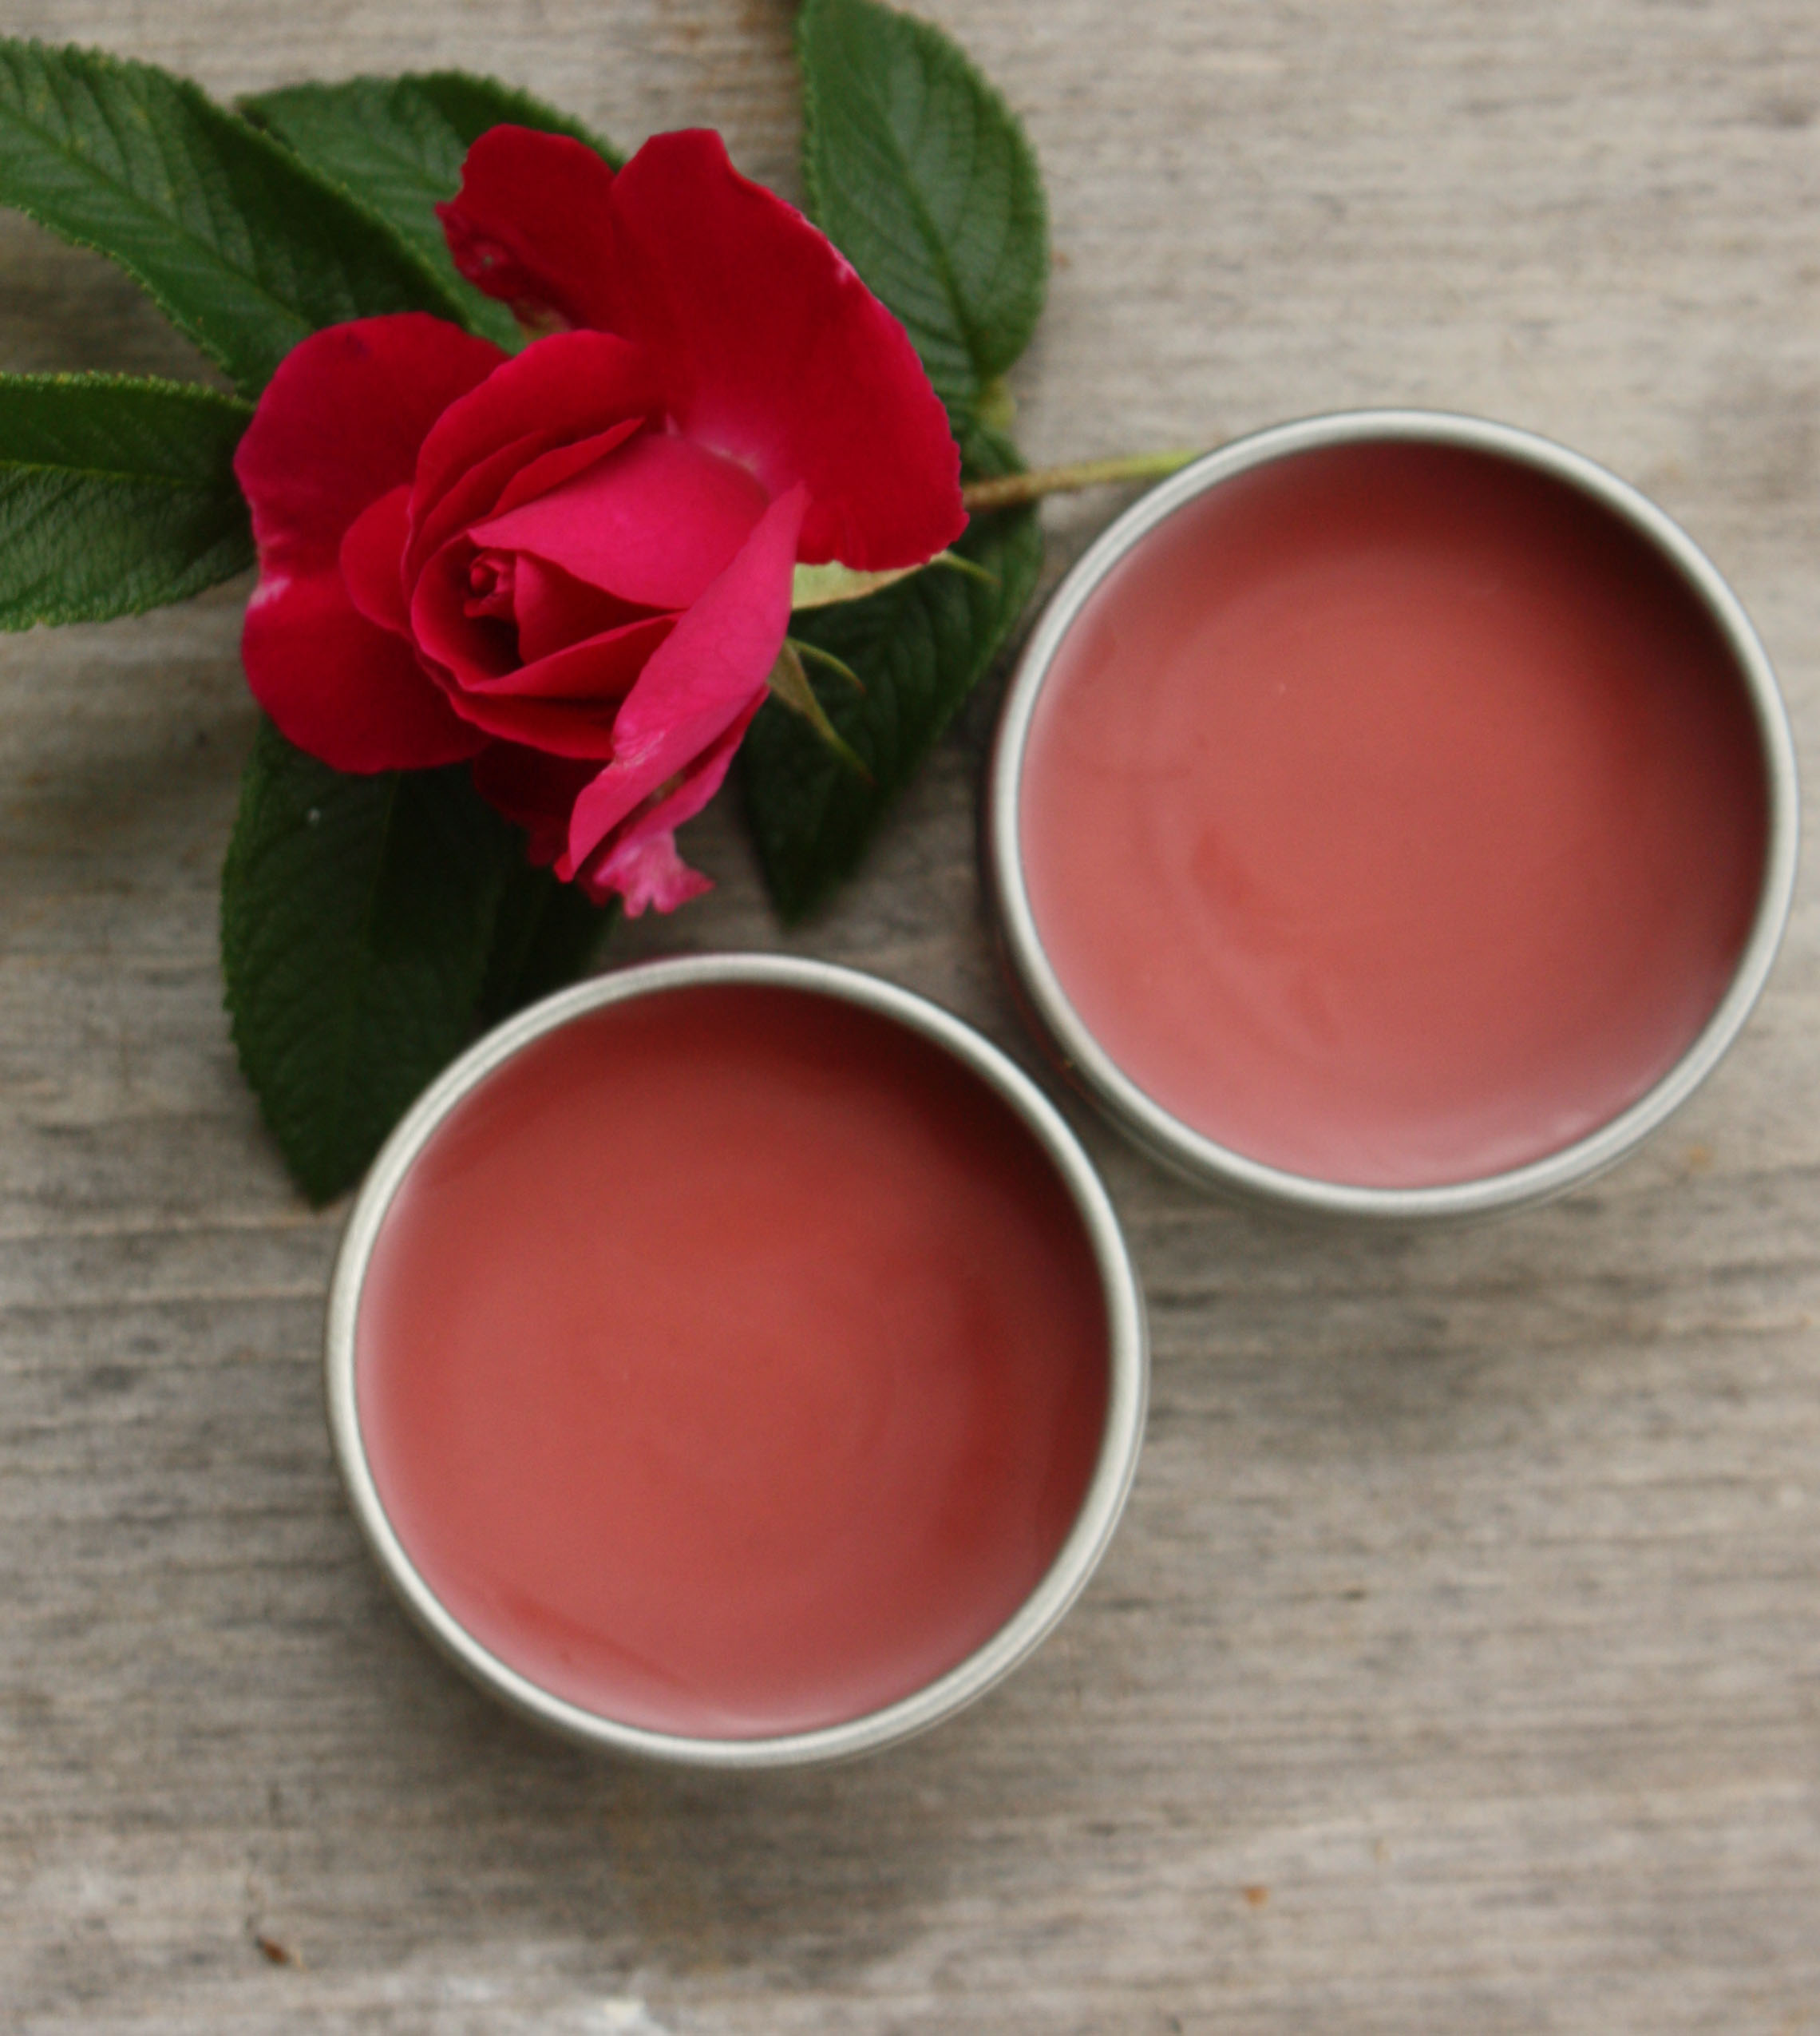
Tired of dry, chapped lips? Looking for a natural and affordable solution? Look no further than DIY lip balm! With just a few simple ingredients and a little bit of time, you can whip up your very own nourishing lip balm that will leave your lips feeling soft, smooth, and kissable. In this post, we’ll guide you through a simple DIY lip balm recipe that you can customize to your liking. So, let’s get started!

WHY IS IT THE ONLY LIP BALM RECIPE YOU’LL NEED?

The initial version I tried many years ago only combined beeswax and olive oil, but over time, I’ve refined and adjusted it to achieve the perfect texture.

I can’t recall the original source—probably a DIY beauty website. At first, the consistency felt somewhat watery, so I experimented with the ratios and added varying amounts of cocoa butter. No matter how many lip balms I try, whether homemade or store-bought, this recipe remains my absolute favorite!

It feels just right on the lips: moisturizing without being watery, protective yet not overly waxy. I can’t stand the sensation of a dry, heavy layer on my lips or the need to reapply every few minutes.

Over the years, I’ve shared this recipe with friends, and everyone has loved the results. One friend even mentioned that her herpes sores healed much faster while using it.

Personally, I enjoy the warmth and increased circulation I feel on my lips when I wear it. While I typically don’t add essential oils, the mixture still seems to create a warming effect. I’m not sure if it’s the vitamin E naturally found in the olive oil that enhances circulation, or if the fatty barrier helps retain my body’s natural warmth. It could be a combination of both.

Whatever the reason, it works wonders for me! My lips feel plump and smooth.

A FEW NOTES ON THE INGREDIENTS

This lip balm recipe features just three essential ingredients: olive oil, beeswax, and cocoa butter.

Whenever possible, opt for organic, unrefined, cold-pressed, and pure ingredients. I prioritize this choice for all my DIY recipes because I want to benefit from the full medicinal and beauty properties each ingredient offers. However, I understand that sometimes budget constraints or availability may necessitate compromises.

In DIY beauty products like this, using high-quality ingredients is especially crucial. While other products might only penetrate the skin to varying degrees, lip balm is applied directly to your lips, which means you’ll be licking or “eating” it throughout the day. If you’re like me and wear lip balm 24/7, it’s essential to choose the best ingredients!

Moreover, since you’ll be making this recipe in small batches that last a long time, it’s worth it to invest in quality. I use it all day and night, and a small one-ounce jar typically lasts me over a month!

All the ingredients in this lip balm are naturally long-lasting and resistant to rancidity. Beeswax, for example, does not go rancid at all, unlike other waxes. In my lifetime of consuming extra virgin olive oil, I’ve never encountered it going bad—it can happen, but it’s rare.

What Makes These Ingredients Great?

  • Beeswax: Acts as an occlusive agent that locks in moisture and provides a protective barrier. It’s also an emollient (skin softener) rich in vitamin A, with antiseptic and anti-inflammatory properties.
  • Olive Oil: Packed with antioxidants, vitamins K and E, this stable oil serves as an emollient, softening and protecting the skin.
  • Cocoa Butter: High in antioxidants and stearic acid, cocoa butter is an emollient that offers a robust protective barrier for the skin.

You can typically find all the ingredients for this lip balm recipe at a good health food store or easily purchase them online.

OPTIONAL INGREDIENTS FOR YOUR LIP BALM RECIPE

Essential Oils: You can enhance your lip balm with essential oils if you wish. However, keep in mind that these oils are quite potent and may be too strong for the sensitive skin on your lips. Additionally, some essential oils, particularly citrus-based ones, can trigger photosensitivity, leading to rashes when exposed to sunlight.

Before applying any essential oil to your lips, it’s a good idea to perform a patch test on another sensitive area, such as the inside of your elbow. Be sure to limit yourself to just a couple of drops per ounce to avoid overwhelming your lips.

Peppermint and cinnamon are popular choices for lip balms, as they provide a plumping effect by boosting circulation. Peppermint is cooling and very high in menthol, which might be a bit intense during colder weather—I’ve found it can be too much for me. Cinnamon, on the other hand, is warming and spicy. Both oils have antimicrobial, antiseptic, anti-inflammatory, and antioxidant properties.

Lavender is another commonly used essential oil for lip balms. It has similar beneficial properties and is generally milder and safer for sensitive skin.

Honey: I’ve experimented with adding a bit of honey to this recipe a few times. However, honey can be tricky to incorporate because it doesn’t blend well in an oil base. Sometimes it mixes perfectly, while other times it simply sinks to the bottom of the jar.

To increase your chances of achieving a well-mixed batch, stir frequently as the mixture cools down, and avoid adding too much honey. Raw honey is antimicrobial, antibacterial, antioxidant, and anti-inflammatory, making it a great addition when used correctly.

THE LIP BALM RECIPE!

Ingredients (1 oz / 30 ml):

  • 1 teaspoon cocoa butter (grated or in pellets)
  • 2 teaspoons beeswax (grated or in pellets)
  • 3 teaspoons extra virgin olive oil
  • (Optional) ¼ teaspoon honey
  • (Optional) A couple of drops of essential oil (peppermint, cinnamon, or lavender)

Preparation:

  • Melt Ingredients: In a water bath, melt the beeswax, cocoa butter, and olive oil together. Ensure the water bath stays just below the boiling point.
  • Mix Well: Once everything is melted, stir the mixture thoroughly.
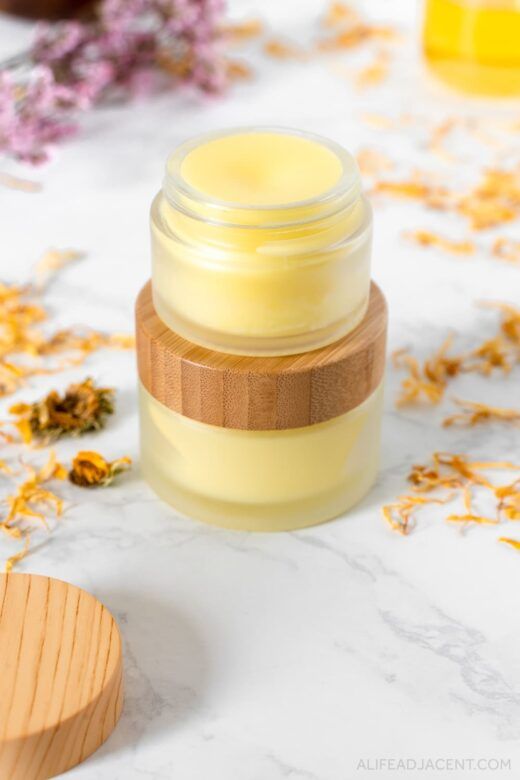
  • Pour and Cool: Pour the mixture into your chosen container and let it cool with the lid off until it hardens completely.
    • If you’re using a small jar as your container, you can melt all the ingredients directly in that jar to simplify the process and minimize waste.
  • Add Honey (if using): If you choose to include honey, stir the mixture frequently as it cools to help incorporate it evenly.
  • Add Essential Oils (if using): Allow the mixture to cool until it’s slightly warmer than room temperature, so it remains fluid but not too hot to touch. Once it reaches this stage, add a couple of drops of your selected essential oil(s) and mix well.
  • Let it Set: Allow the lip balm to cool and harden completely before sealing the container. Enjoy your homemade lip balm!

CONCLUSION

And there you have it! A simple and effective DIY lip balm recipe that you can easily make at home. By customizing the ingredients and essential oils, you can create a lip balm that not only moisturizes your lips but also smells amazing. Remember, the key to a great lip balm is using high-quality ingredients. So, choose natural waxes, oils, and butters that are gentle on your skin. Now, get creative and experiment with different flavors and scents. Happy crafting!

23 SUMMER HAIRSTYLES FOR A CAREFREE BEAUTY ROUTINE

Summer hairstyles are truly the go-to choice, as the season is all about embracing relaxation and minimizing effort, giving you more time to enjoy the sunshine and carefree vibes. from relaxed or polished updos to an array of braids, these 23 summer styles make your beauty routine more enjoyable and quick, rather than time-consuming.

AIR-DRIED ANYTHING

Your natural texture is your ultimate summer companion. “Effortless summer hair, to me, means embracing your hair’s natural state, whether it’s 3A or 4C, and letting it be bold and free with minimal upkeep,” says Wright. Step out of the shower, ocean, and let your hair do its thing—you might be pleasantly surprised by the outcome.

PLAITED PONY

Minimized styling is essential for summer, and creating a simple, single braid that swings between your shoulder blades is a quick and effective way to manage any texture while maintaining a touch of glamour. This effortless braid keeps your hair in check and exudes a relaxed yet stylish look.

BED HEAD

Some of the best summer hairstyles are defined by what you don’t do. In this case, tousled, messy waves embody the essence of the season, reflecting a carefree, laid-back attitude. These effortless waves signal your dedication to summer vibes, effortlessly exuding a sense of casual, cool sophistication.

SLEEK HIGH PONY

Quickly refresh day three (or four) hair by smoothing it back from your roots into a high ponytail. Run a straightener through the lengths to achieve a sleek, polished look, effortlessly reviving your style.

GODDESS LOCS

Goddess locs, a glamorous variation of boho braids, offer a shinier finish and partially undone ends for a classic look with a modern twist. Teyana Taylor’s take on goddess locs is perfect for summer, combining natural texture with partial protection to create an eye-catching and stylish effect.

OVERSIZED SCRUNCHIE

Oversized scrunchies are definitely a favorite for me as well. They bring a touch of drama and feminine elegance to any hairstyle. Opting for silk or satin materials not only adds a luxurious feel but also helps maintain healthy hair.

SLICKED-BACK BUN 

The timeless slicked-back bun is an ideal choice for summer, offering a chic and practical style that’s easy to achieve. To keep the look smooth and frizz-free, apply a strong-hold gel to tame flyaways and maintain that sleek finish throughout the day. 

WRAPPED UP

A headscarf or wrap is a stylish and practical way to shield textured hair from the summer elements. It adds a touch of elegance while providing protection against sun and humidity.

BUTTERFLY CUT

This style is, admittedly, easier for those with the hair texture to hold it and a real love for the blowout process, but its lasting appeal is unquestionable. “I recommend a round brush and blow dryer to give your hair big, voluminous body with a classic blowout,” says Fitzsimons.

BEACH WAVES

For a timeless warm-weather look, embrace the natural effects of salt water and sun. This style captures the essence of summer, giving you a relaxed, sun-kissed appearance that’s both effortless and iconic.

SWEPT BACK

Sweep your hair back into a delicate clasp for a relaxed style that accentuates highlights and balayage. This effortless look highlights your hair’s color and texture, offering a chic yet easy way to showcase your hair’s natural beauty.

TENDRIL TWIST

The classic French twist, also known as “businesswoman hair,” is making a comeback in 2024. To make it summer-ready, add face-framing tendrils or parted bangs for a more relaxed and easygoing feel. This update brings a touch of effortless sophistication to a timeless style, perfect for the season.

BEACHY PONYTAIL

If loose beachy waves seem stressful, gather your hair into a low ponytail positioned just above the nape of your neck. This style allows you to showcase your curls while keeping things neat and controlled.

UNDONE UPDO

Loose updos offer the perfect balance of laid-back summer vibes and a touch of evening-ready elegance. These relaxed styles let you embrace a carefree, effortless look while still appearing polished enough for any occasion, from beachside strolls to sunset dinners. 

CUTE CLIPS

A fun and easy way to accessorize your hair when you’re on the go or in a rush is by using trendy accessories that pay homage to the ’90s nostalgia. These accessories add a touch of style with minimal effort, making them perfect for quick, chic looks.

PIGTAIL PLAITS

A pair of plaited pigtails is a classic way to keep your hair out of your face and tidy up your look, no matter your natural texture or how long it’s been since your last wash.

TEXTURED UPDO

The sleekness of a polished style gains a summery twist when you highlight the natural texture within the ponytail or knot. This blend of refinement and organic texture adds a fresh, relaxed vibe to an otherwise polished look.

LOW BUN

Longer hairstyles that start to misbehave in the summer can be effortlessly tamed by twisting them back into a low bun. This simple solution keeps your hair neatly in place while adding a touch of elegance, making it perfect for both casual outings and more refined occasions.

ITALIAN BOB

The Italian bob’s popularity stems from its effortless charm, making it an excellent choice for summer. Cut to fall just below the chin, this style retains weight at the bottom. The Italian bob not only accommodates but actually encourages natural volume, offering a laid-back, yet stylish look that requires minimal maintenance.

HIDDEN LAYERS

If you have shorter layers in the front, pinning a few sections back is a playful way to switch things up while keeping cool. This easy adjustment adds a touch of style and helps manage your hair on warmer days.

HALF-UP HAIR

“A half-up, half-down style offers a versatile look that takes the hair out of the face without it being completely up,” says Fitzsimons. “You can take this look to new heights without heat styling and embracing your natural texture, leaving out your fringe for some playful pieces, or even putting the top half in a bun—you can really tailor this to fit your style.”

BRAIDED BACK

For long, curly, or coily hair, braids are an excellent low-maintenance summer option. A braided-back style is particularly effective if you prefer to keep your hair out of your face during hot weather, providing both practicality and style.

THE FRENCH GIRL

This versatile cut is tailored to graze the cheekbones, jawline, or shoulders based on your preference and is complemented by a blunt, easy fringe. “The ‘French girl’ cut is suitable for all hair types, can enhance the hair’s natural texture, and works for most hair lengths,” says Fitzsimons.

CONCLUSION

In conclusion, summer hairstyles embrace ease and practicality while showcasing effortless style. From relaxed beachy waves and sleek ponytails to chic braids and polished updos, these looks are designed to keep you cool and stylish with minimal fuss. By leveraging natural texture and opting for low-maintenance designs, you can enjoy a season of sun and fun without sacrificing your hair’s appearance.