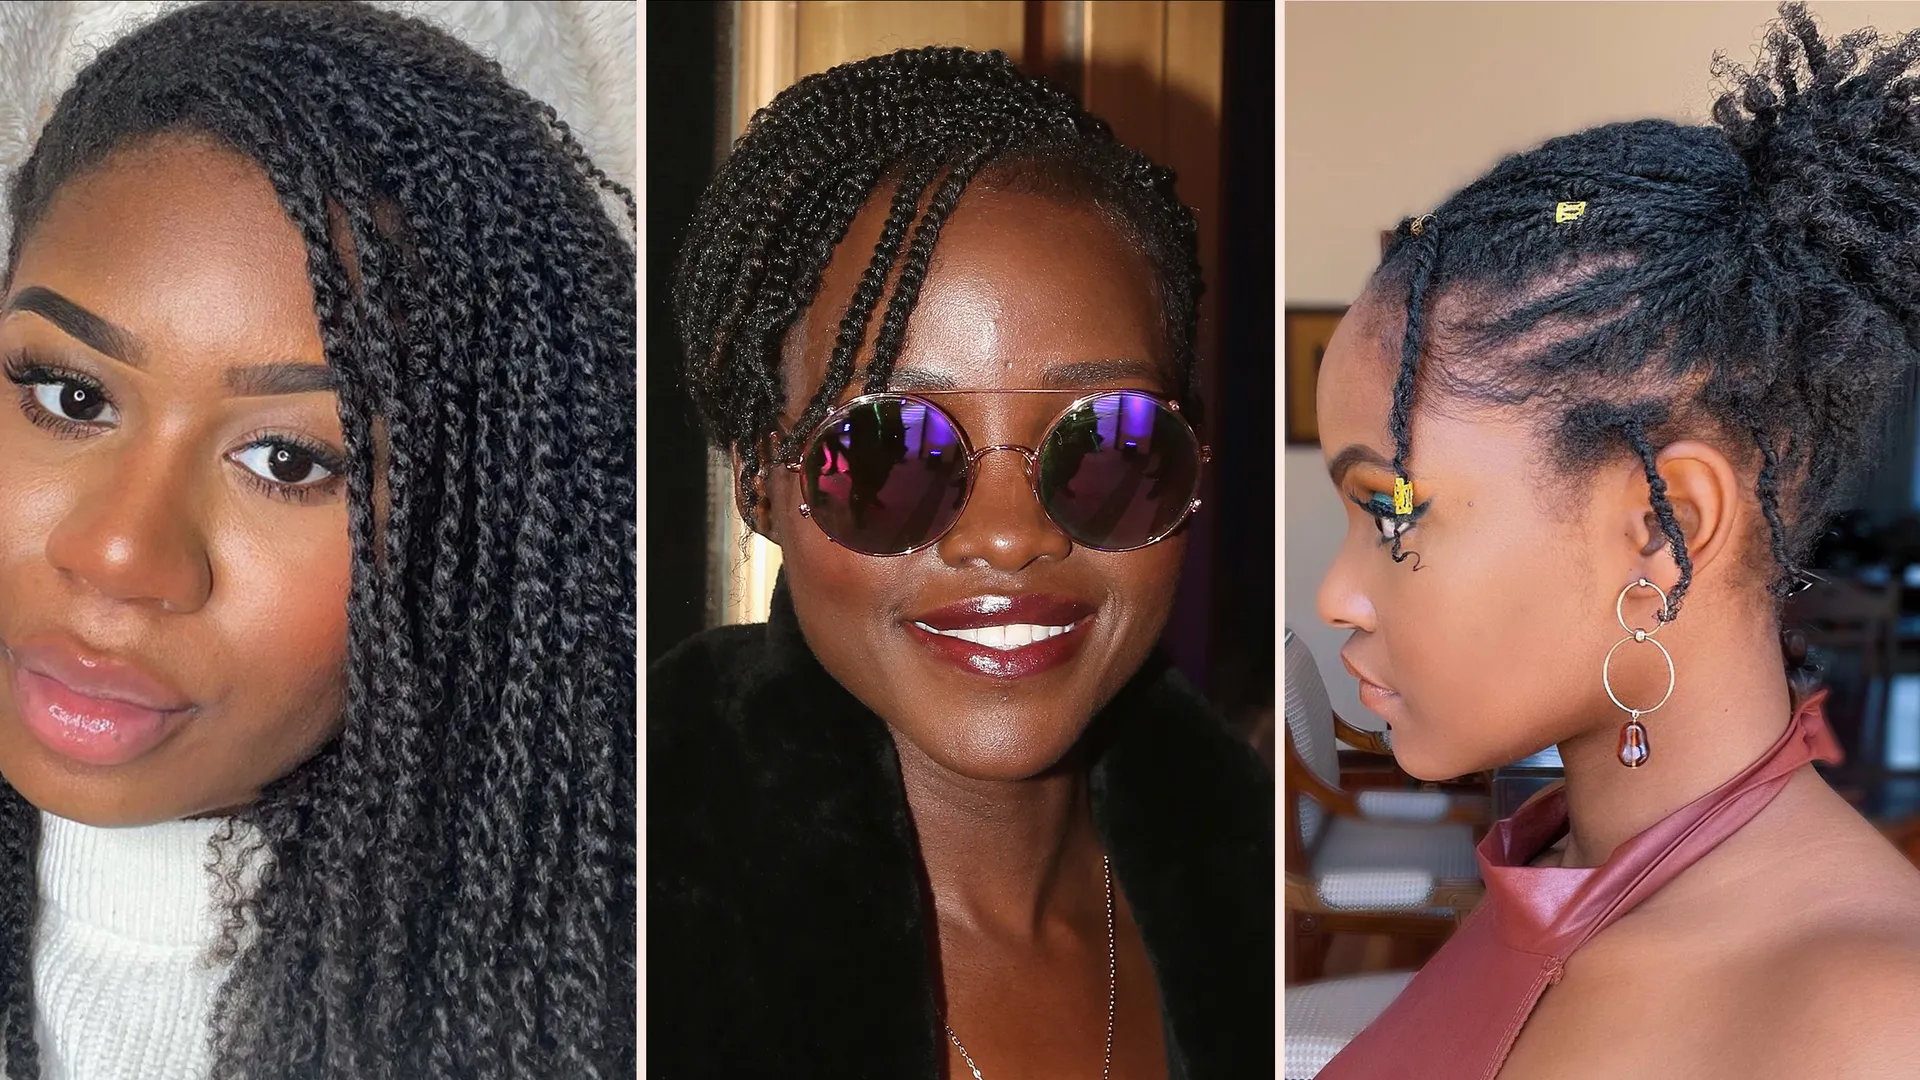
Twists are a versatile and protective hairstyle that can be worn in various ways, from sleek and sophisticated to fun and funky. If you have medium-length natural hair, you’re in luck! There are countless stunning twist styles to choose from that will flatter your face shape and enhance your natural beauty. In this article, we’ll explore 20 of the most gorgeous medium-length twist styles for natural hair. Get ready to elevate your natural hair game with these fabulous twist styles!
Criss-Crossing Hair Twists
Natural hair offers endless styling possibilities, and twist hairstyles are a perfect way to protect your strands while showing off your unique look. Try creating criss-cross cornrows combined with sleek twists, and finish with a light-hold hairspray to keep everything in place and looking polished.
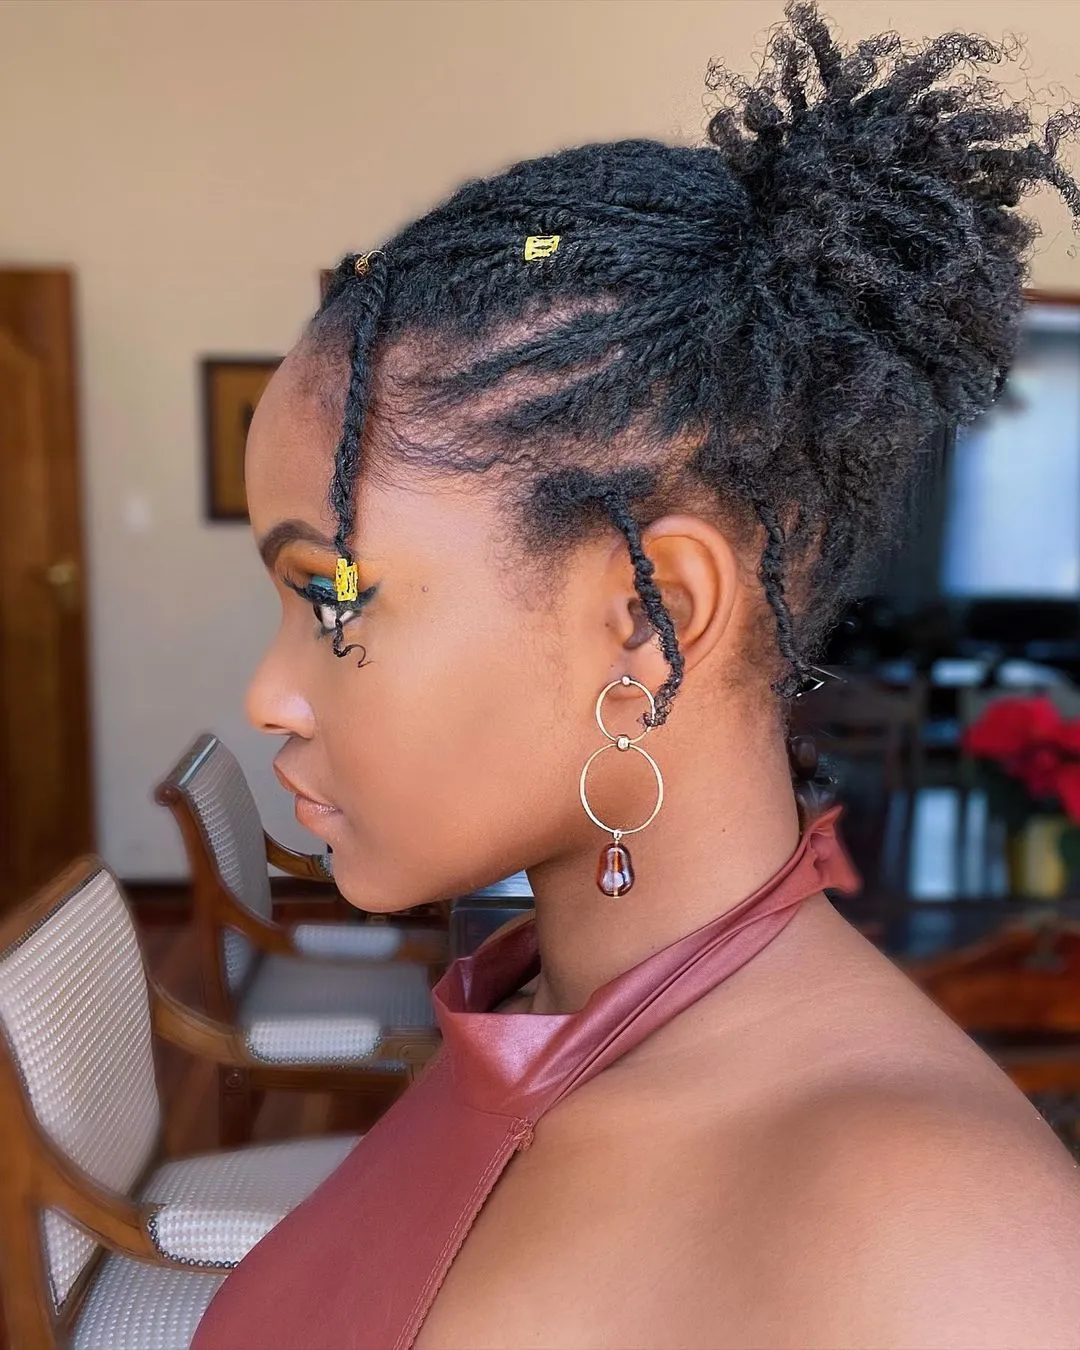
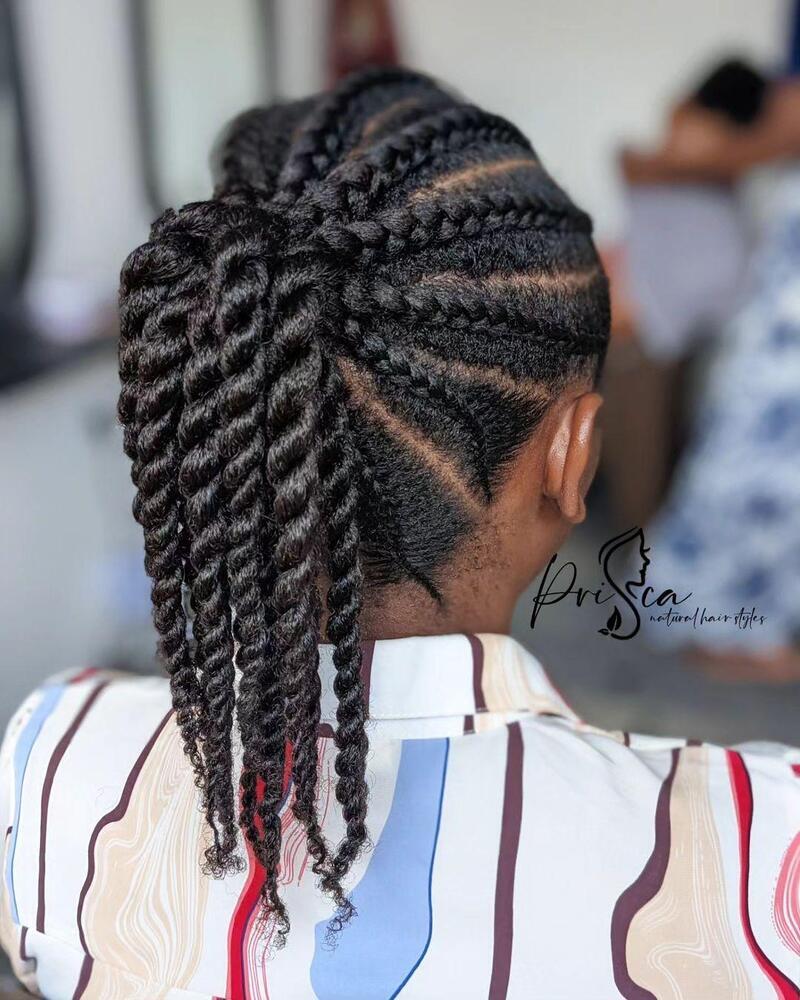
High Pony with Two Strand Twist Locs
This hairstyle features a voluminous, curly ponytail set high on the crown, with plenty of twisted strands adding texture and fullness. Loose tendrils fall gracefully to frame the face, giving it a soft and romantic feel. The twisted strands add a playful, dynamic look to the overall style, perfect for an effortlessly chic vibe.
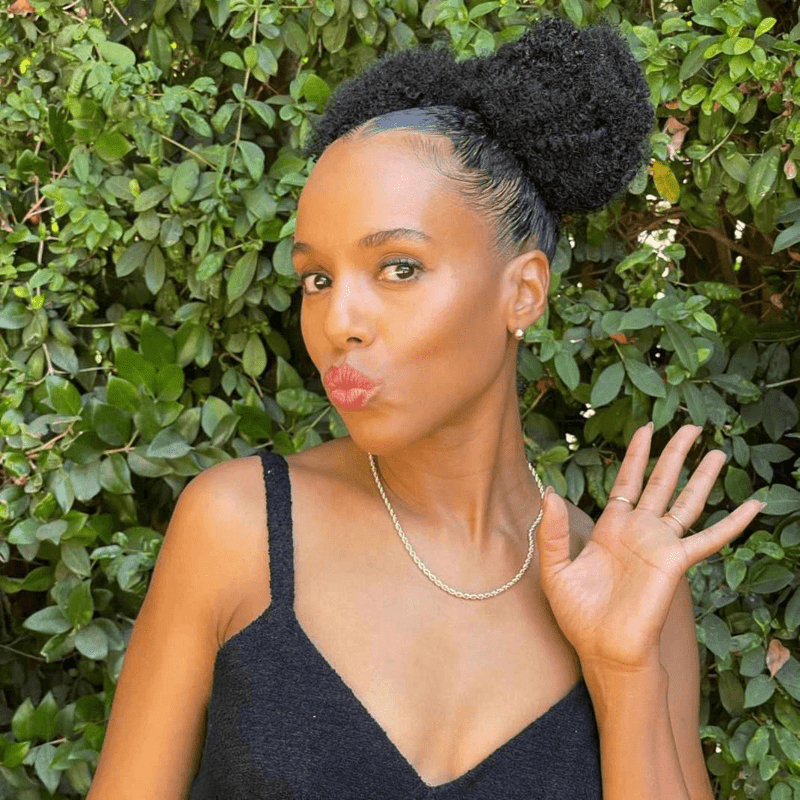
Medium Twists Updo
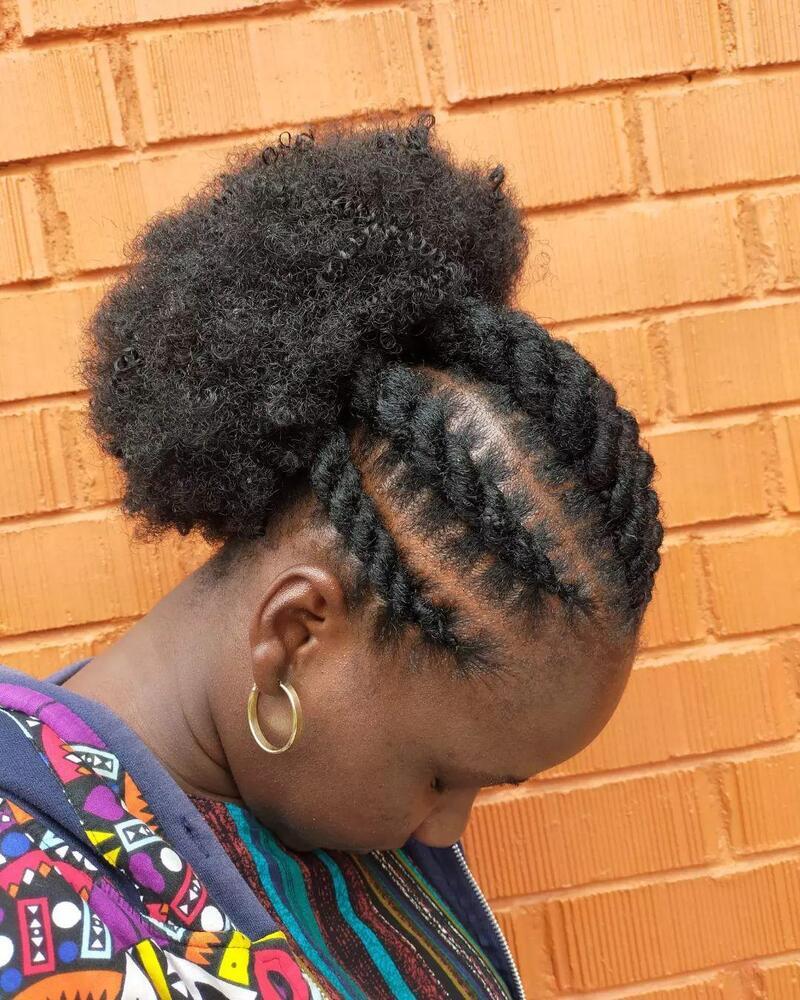
Flat twists are an excellent lightweight option, making them ideal for those seeking a protective style without added weight. Have your stylist twist your hair close to the scalp, similar to cornrows, and secure them at the back, leaving a voluminous bun for a stylish finish.
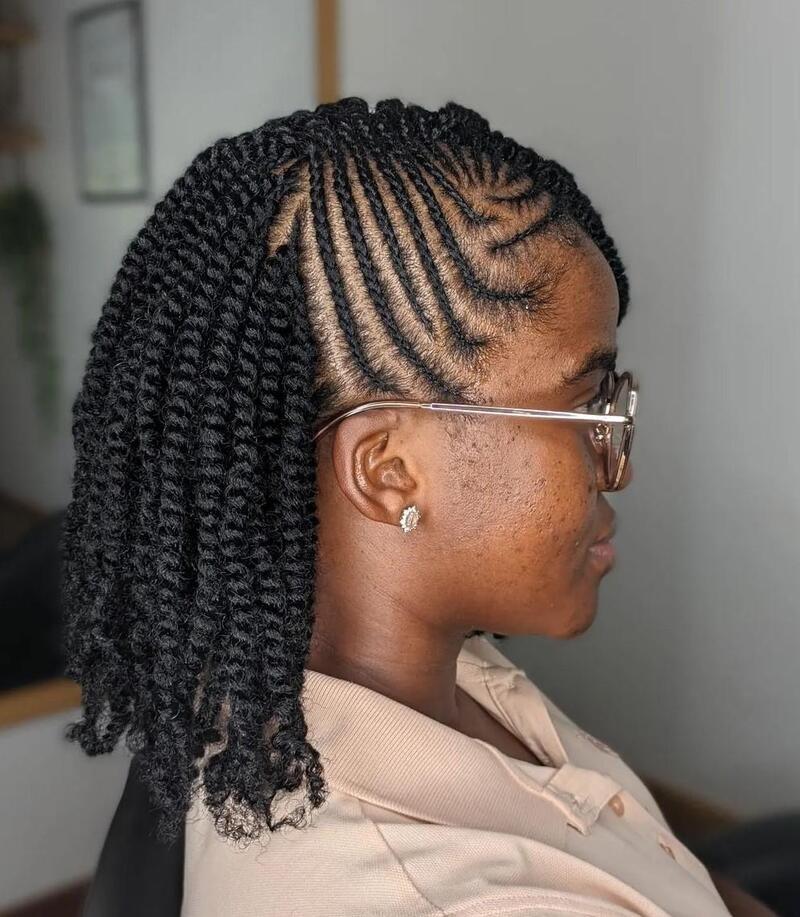
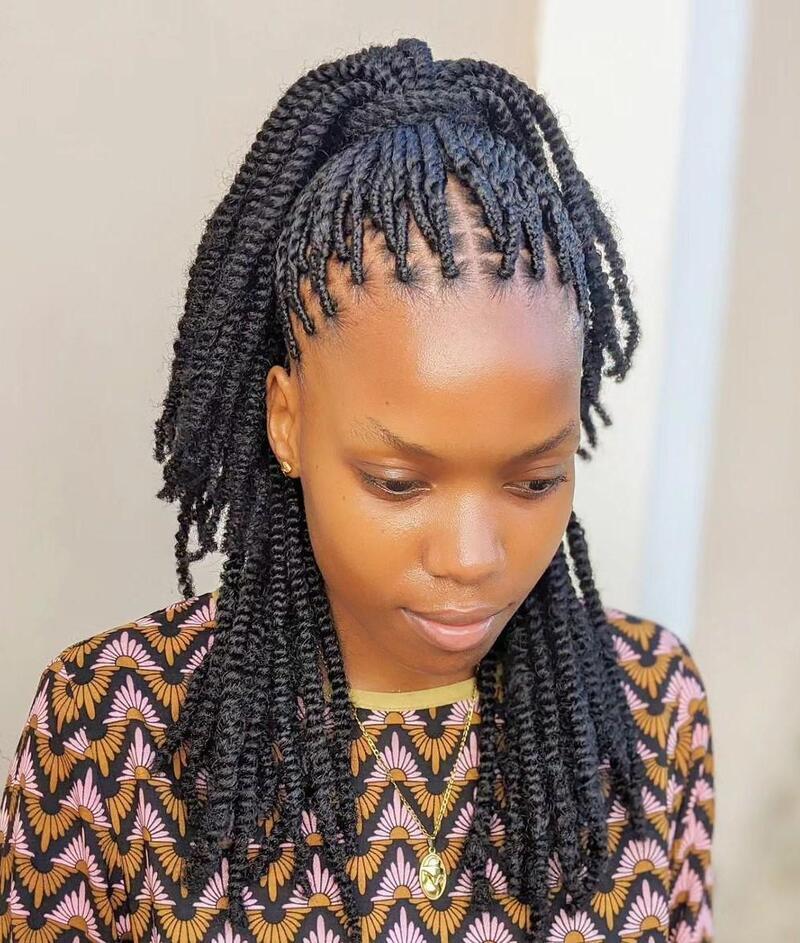
Small 2 Strand Twist Hairstyle with Interlaced Design
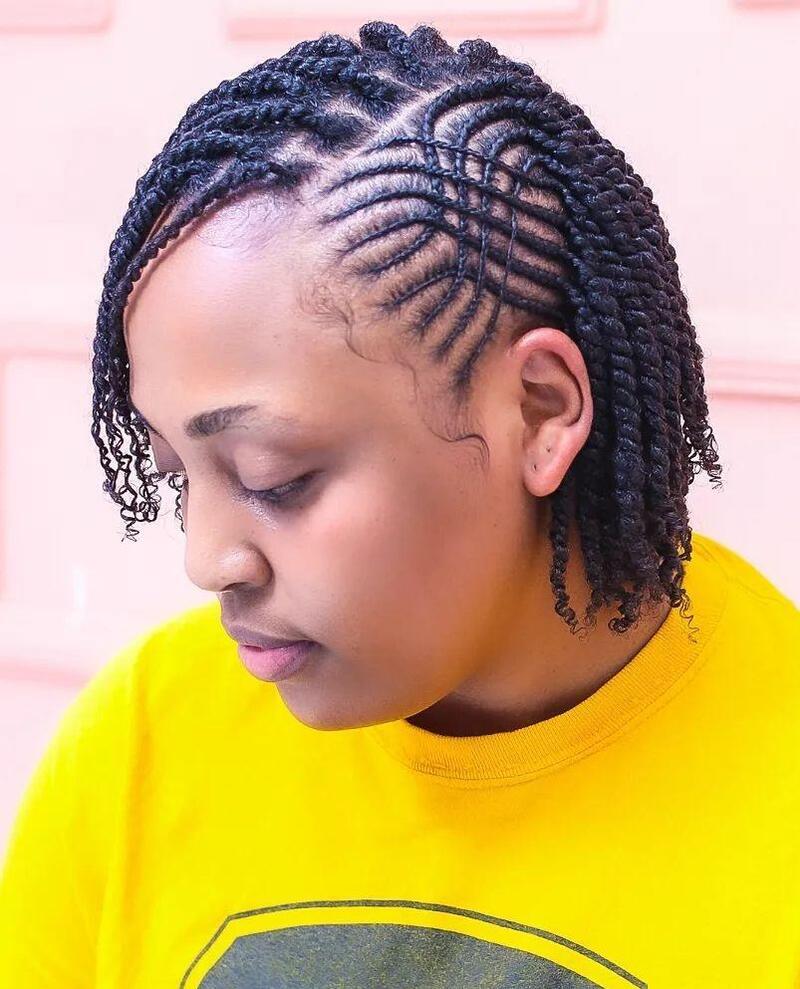
In this style, petite twists with soft, curly ends are swept to one side, creating room for a beautifully intricate woven pattern on the other.
Captivating Twist Braid Hairstyle
Adding various shades to twisted hairstyles opens up endless options for customization and self-expression. For a softer, more feminine look, try incorporating warm caramel extensions that beautifully enhance and complement warm skin tones.
Fulani-Themed Two Strand Twist for Natural Hair

This style gets an extra touch of flair with a bold center braid paired with chunky twists, highlighting the beautiful, natural texture of type 4 hair.
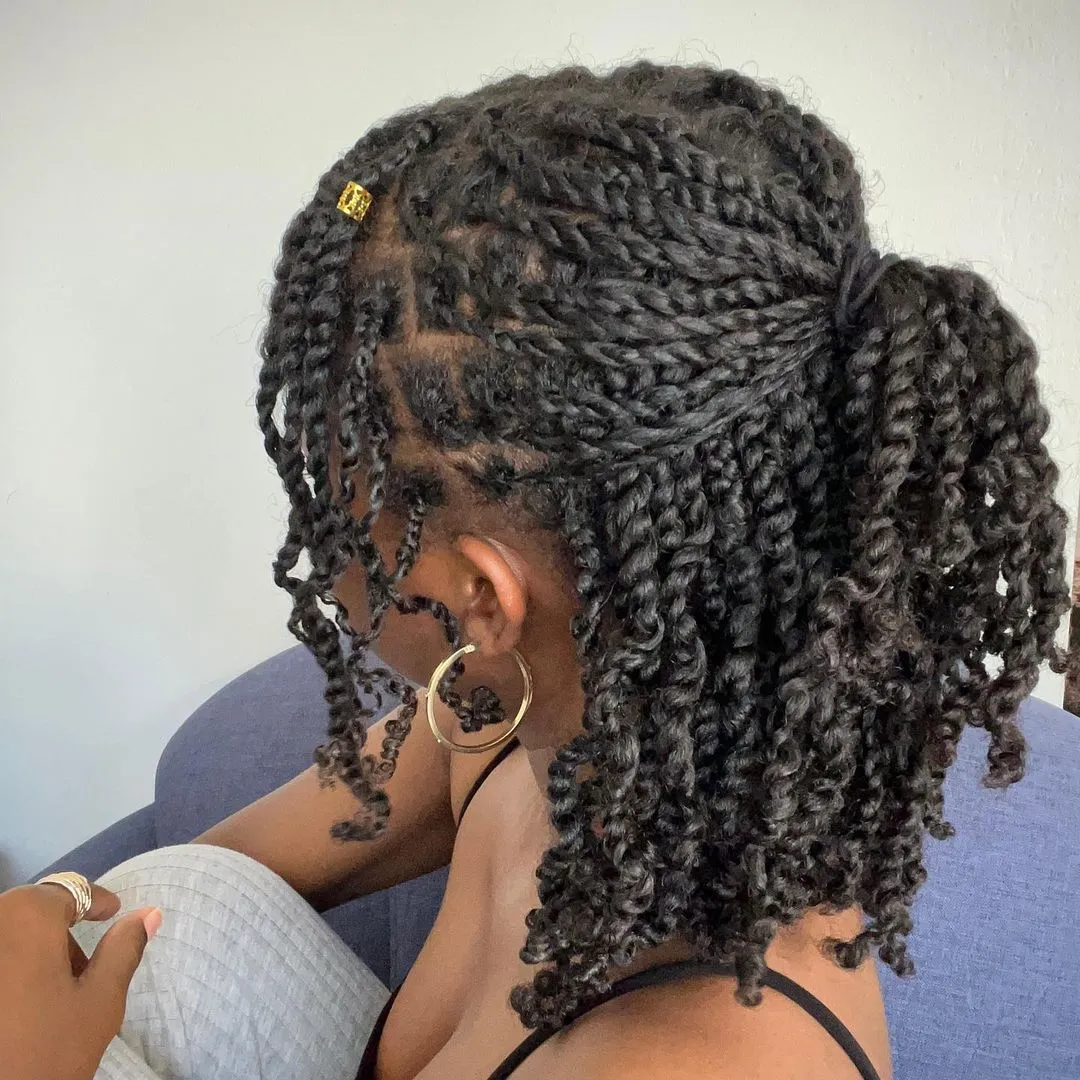
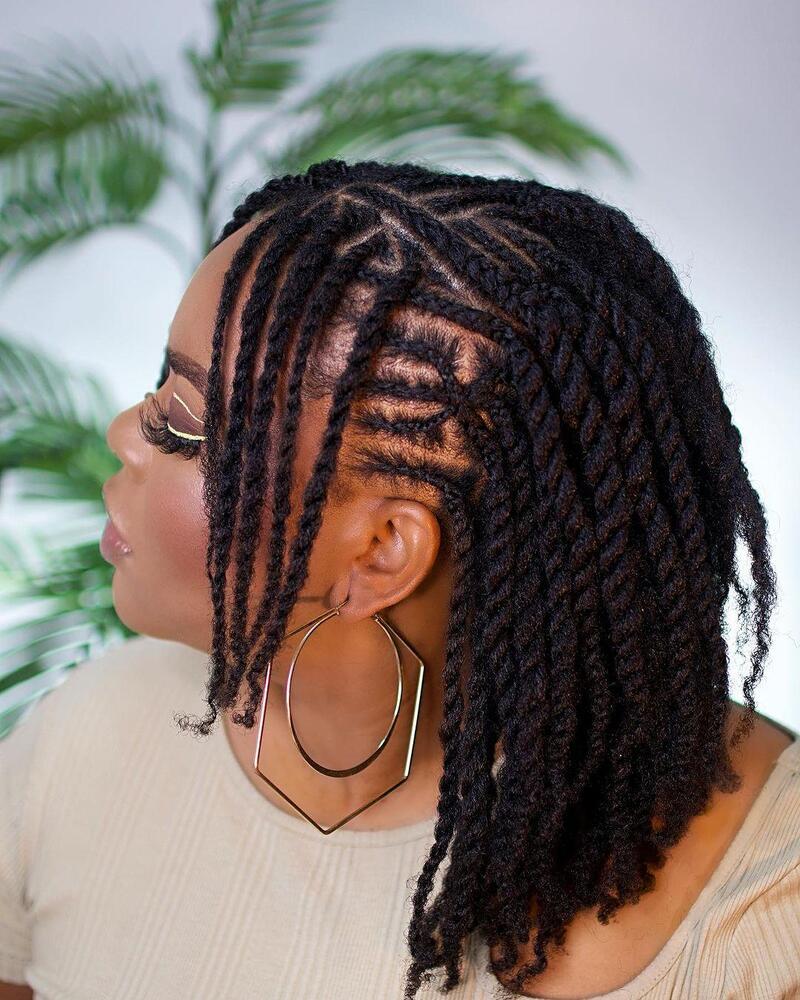
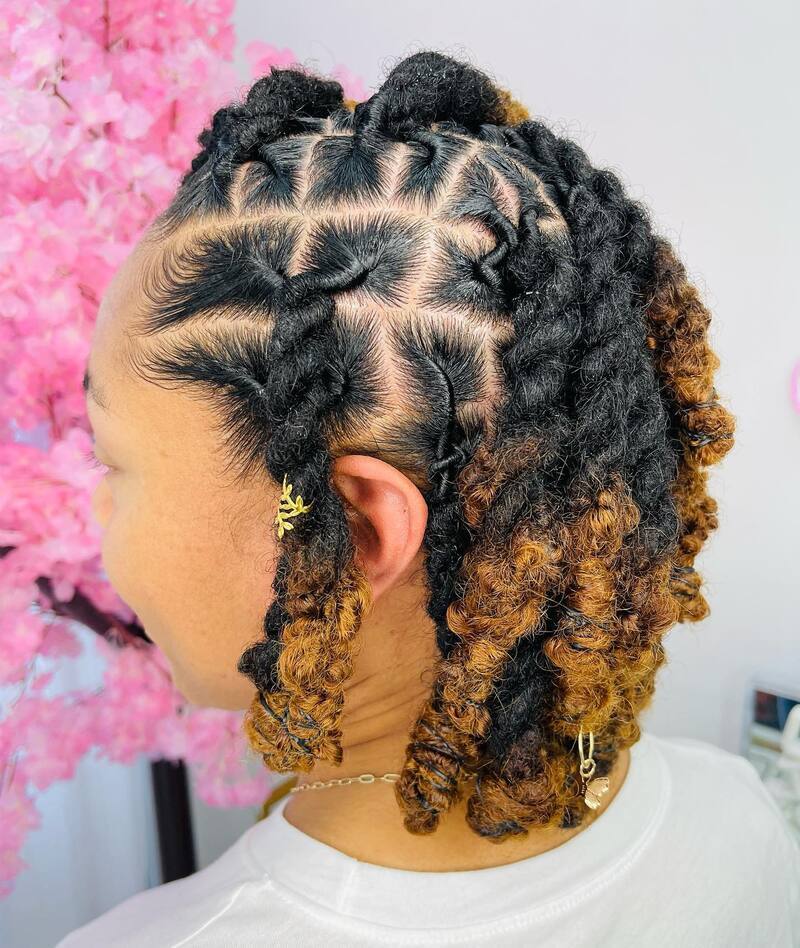
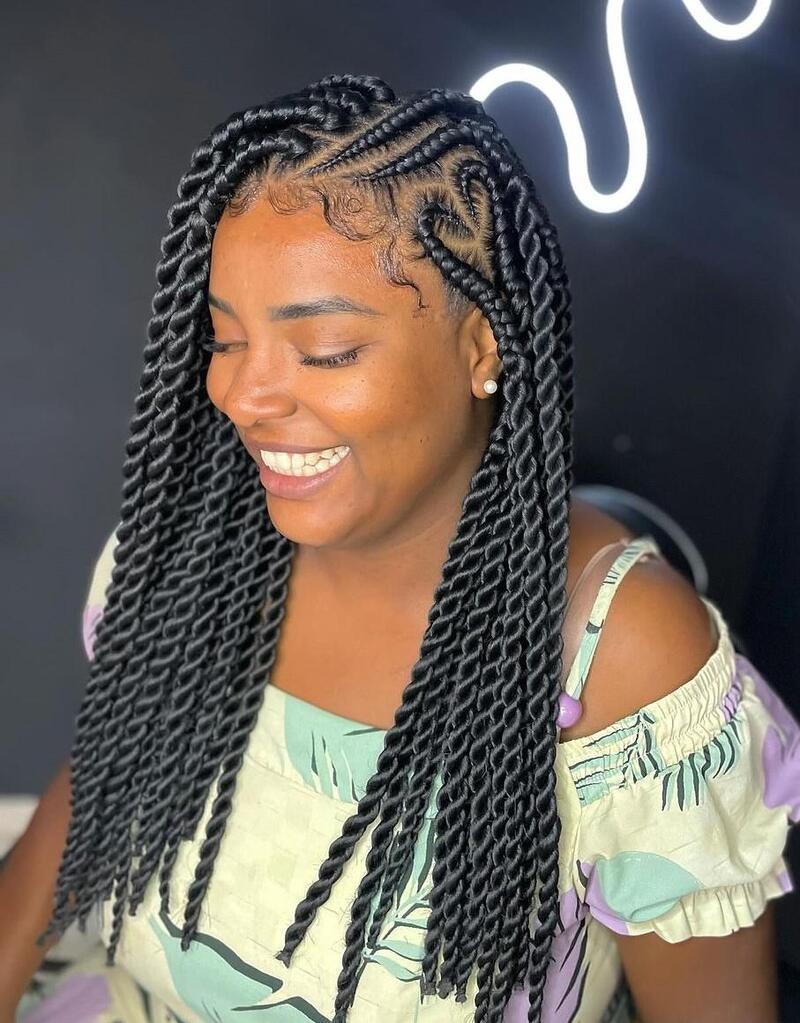
Cornrows and Two Strand Twists
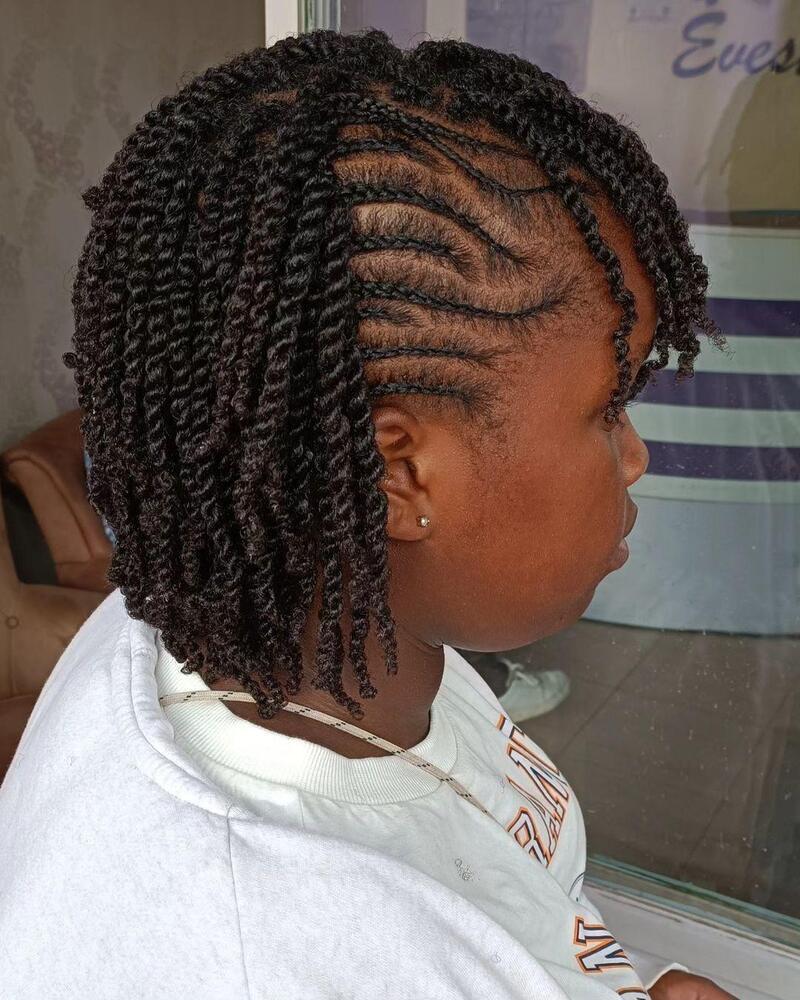
The blend of cornrows and short two-strand twists creates versatile and imaginative hairstyles that perfectly complement natural hair. Twist bangs add a playful touch, offering a fun contrast to the sleek, thin scalp braids.
Full-Size and Side-Parted Twists
We recommend side-parted two-strand twists for women looking to add volume to their hair while enhancing their facial features. This style provides a beautiful lift in the front, creating a balanced and flattering appearance.
Playful Half-Up Twists Style
For the best results, it’s ideal to create twists on your hair wash day when your hair is clean and detangled. After thoroughly moisturizing your hair, part it down the middle and divide it into equal sections before you begin twisting. Be sure to keep the twists loose enough to allow your scalp to breathe comfortably.
Side Cornrows and Honey Ombre
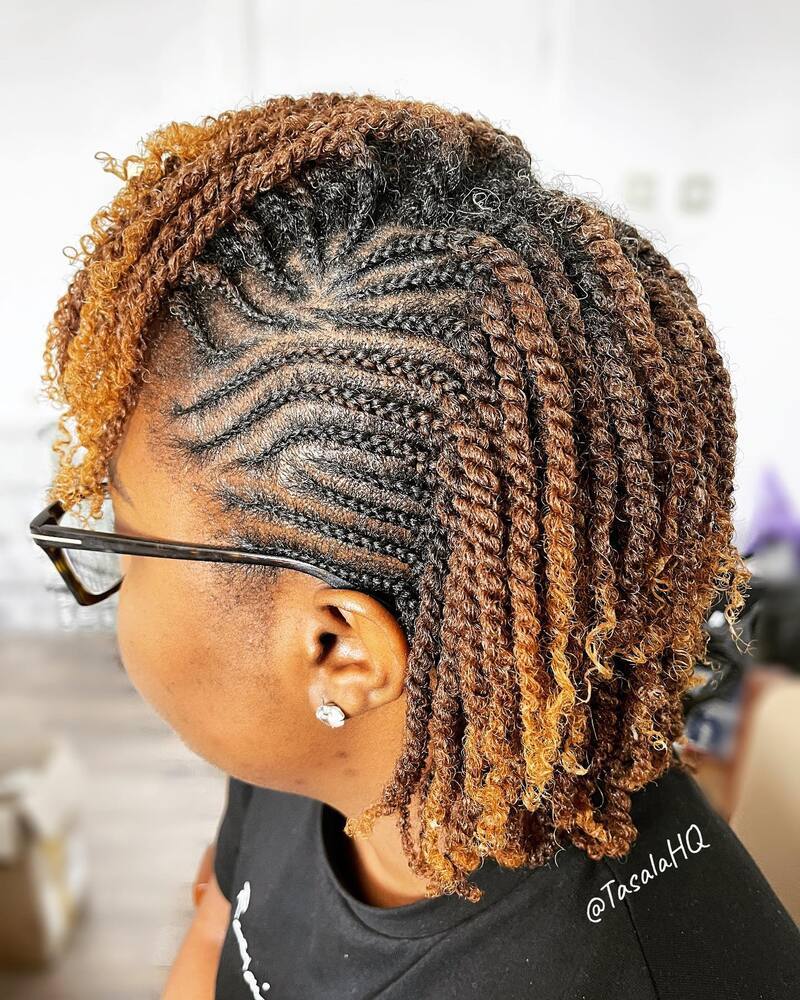
Here’s another stylish take on short two-strand twists—this version features a mix of cornrows and a stunning brown-to-honey-blonde color melt for added depth and dimension.
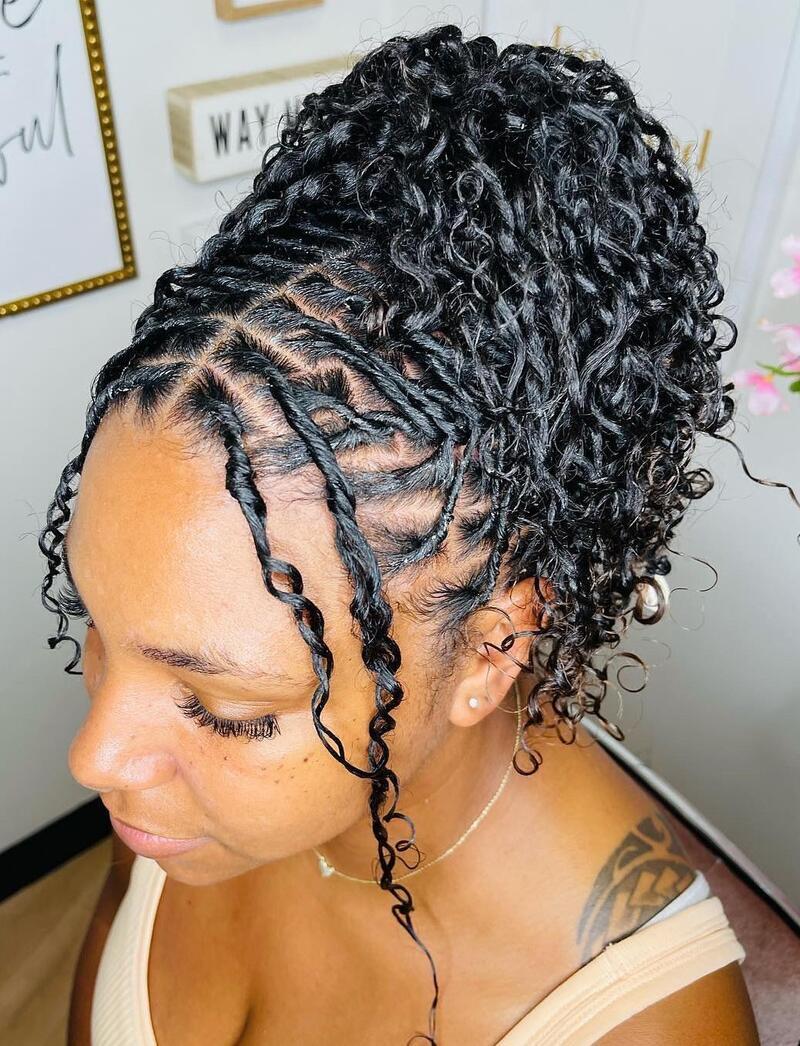
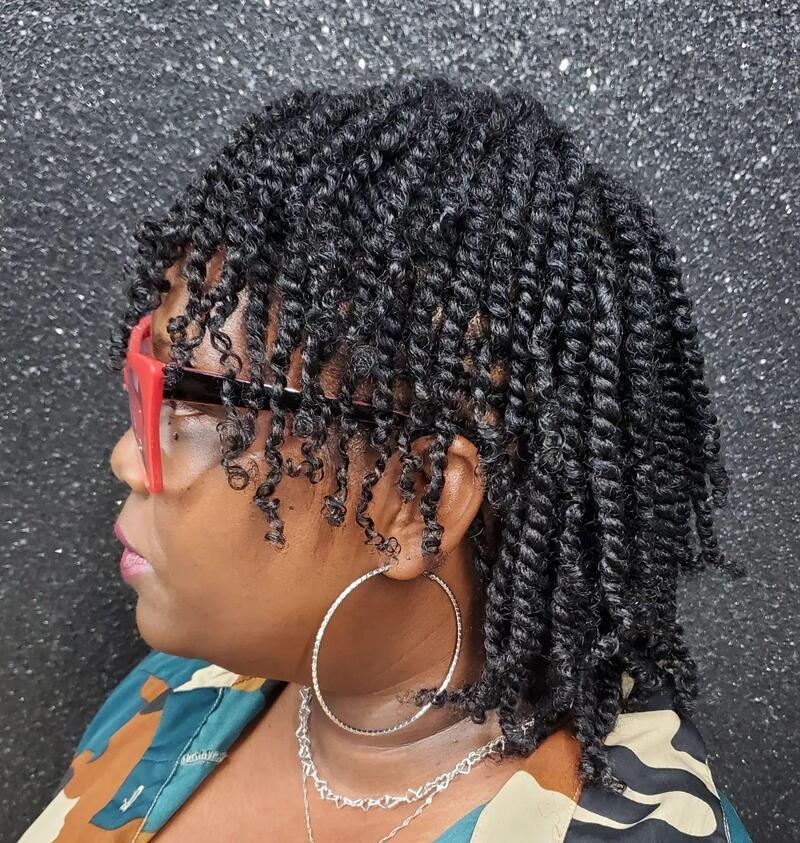
Voluminous Mini Twist Outs
A twist-out is an excellent styling option for natural hair, particularly for those with type 4 textures. By using smaller sections, you can create a more defined pattern that beautifully highlights your hair’s natural texture and volume.
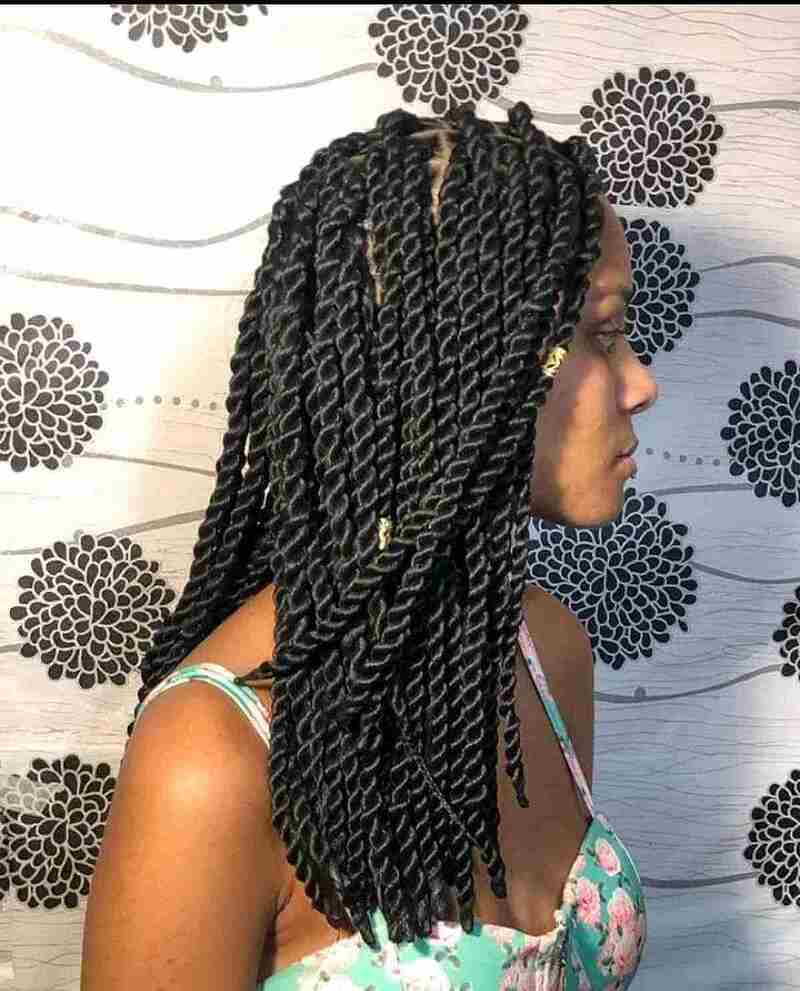
Dip-Dye Hair with Chunky Locs
Here’s a fantastic example of voluminous two-strand twists for anyone looking to elevate their locs style with a vibrant pop of color.
Twist Braids with Heart Cornrows
Two-strand twists paired with heart-shaped scalp twists bring a touch of sophistication to your hairstyle while offering excellent protection for your hair. Whether you’re heading to a formal event or going about your daily activities, this style will help you radiate confidence and elegance.
Senegalese Twist Braids with Curly Ends
Goddess twists offer a bold and striking hairstyle that beautifully showcases the beauty of your natural hair. The playful, messy twists combined with a half bun give this look a dynamic flair, making it truly attention-grabbing.
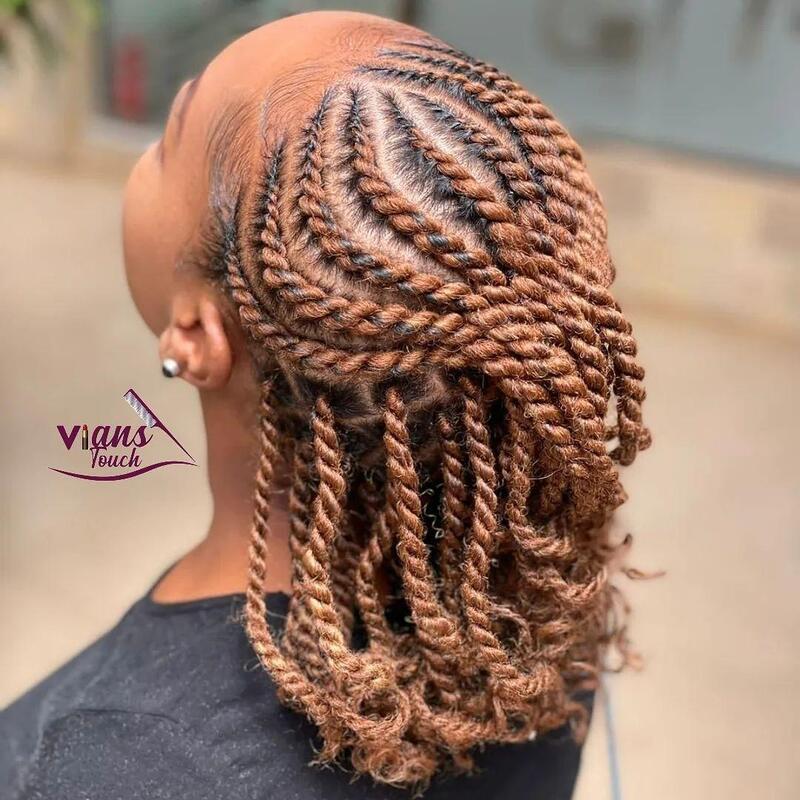
Sweet Cinnamon Passion Twists
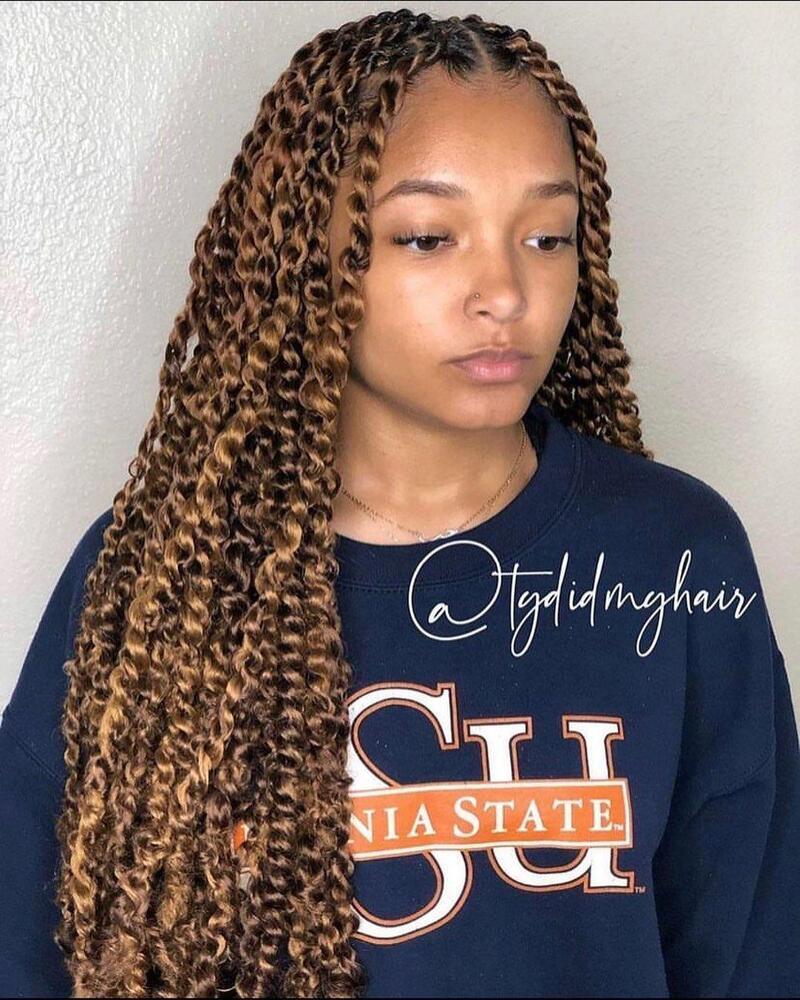
Twist hairstyles offer a fantastic way to express your creativity and individuality with a variety of styling options and color combinations. If intricate styles aren’t your preference, keep it simple by enhancing the visual appeal of your twists with a rich caramel hue for a striking effect.
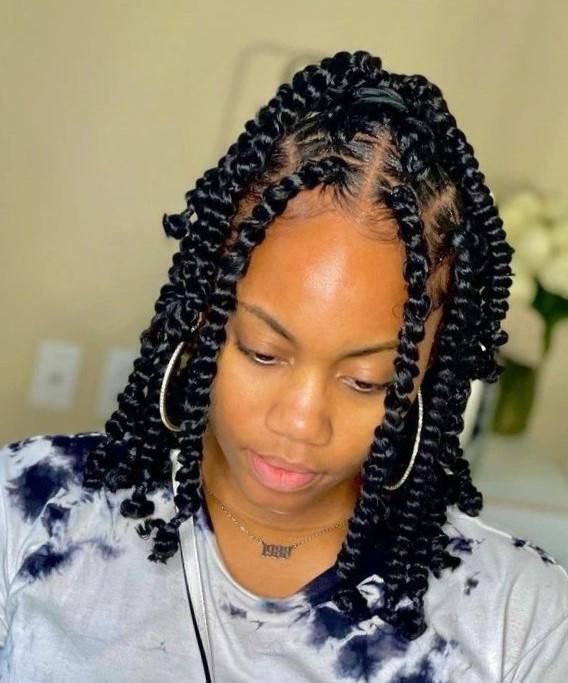
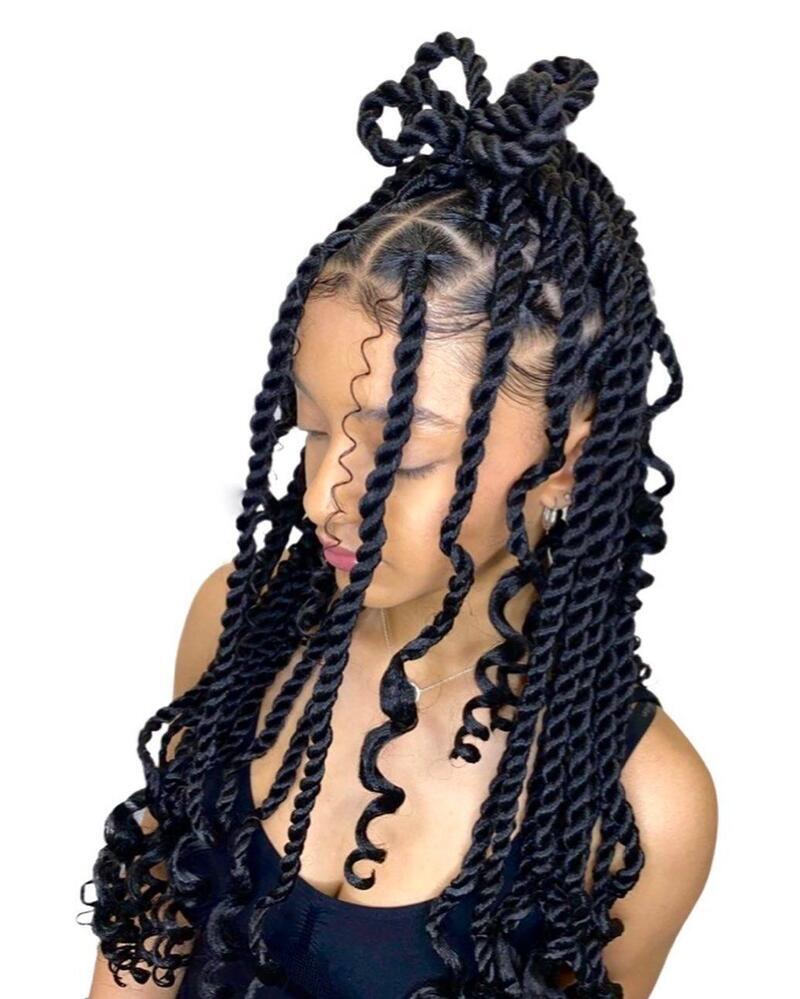
Knotless Twists with Curly Ends
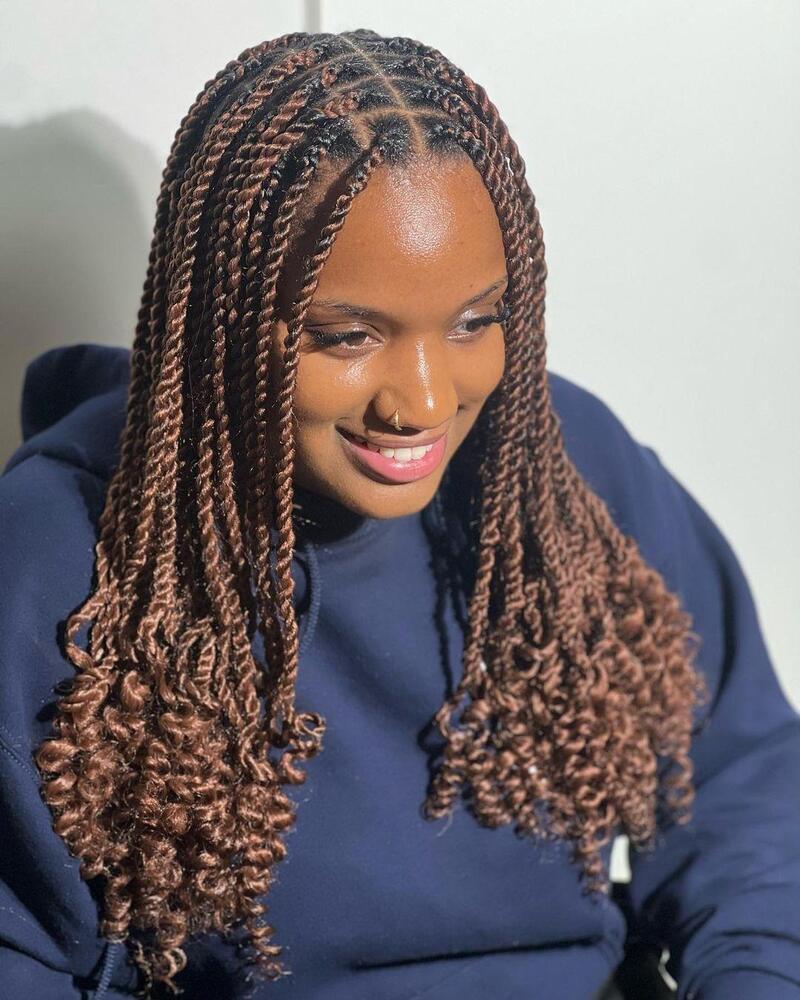
Extensions are a great way to add length and volume to thick natural hair, enabling more elaborate and creative hairstyles. When seamlessly blended with your locks, twists provide a range of styling options, including buns, ponytails, and half-updos, enhancing your overall look.
Cornrows and Twisted Ponytail
There are endless styling options to explore with twist hairstyles, and a classic ponytail paired with cornrow braids is a great place to start. You’ll be pleasantly surprised by how easy this style is to maintain, not to mention the compliments you’ll receive wherever you go!
Rich Mahogany Bob Twists
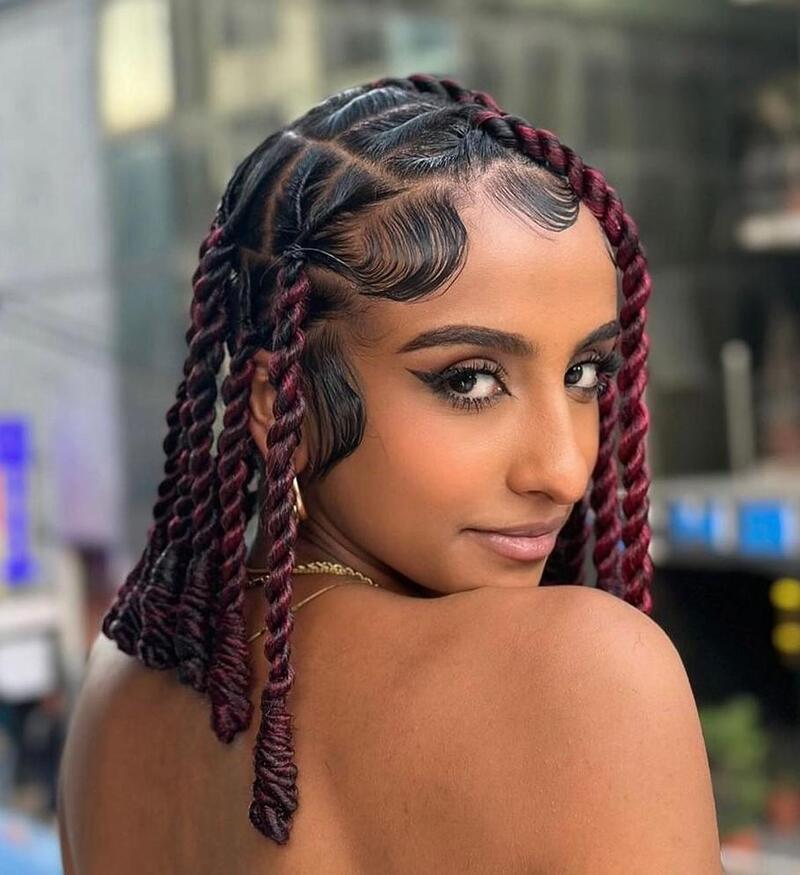
The contrast between burgundy and black hues creates a stunning gradient effect, giving your short passion twists a multi-dimensional look. This color combination adds visual interest to twist hairstyles, similar to how balayage enhances straight hair.
Glamorous Bouncy Twists
The blend of scalp braids and a bouncy twisted bob is the ultimate hairstyle, whether you’re working with your natural hair or adding extensions! The precise twists and mini cornrows make your natural curls more manageable and help reduce frizz. Just apply a moisturizer to your dry hair before twisting to hydrate and nourish your curls.
Short Spring Twist Braids
Whether worn loose or styled into an updo, kinky twists provide a convenient and fashionable option for women looking for a natural look with a touch of flair. For a more modern and funky vibe, consider wearing your twists half-up.
CONCLUSION
Medium-length natural hair offers a canvas for a myriad of stunning twist styles. From classic two-strand twists to intricate patterns and accessories, the possibilities are endless. By experimenting with different techniques and products, you can achieve a look that is both stylish and protective.
Remember, the key to maintaining healthy, beautiful twists is proper care. Keep your hair moisturized, avoid excessive heat styling, and protect your twists at night with a satin scarf or bonnet.