Piercing, a popular form of body modification, adds a unique touch to personal style. While the piercing process is typically a routine beauty treatment, the subsequent healing period is crucial. Ear piercings, especially those located below the earlobe, often experience a faster healing process, involving the intricate cartilage structure. Despite the commonality of piercings, infections can occasionally occur, prompting questions about their causes, identification of symptoms, and proper treatment methods. In this comprehensive exploration of ear piercing infections, we will address the causative factors, identify potential warning signs, and offer detailed guidance on effective treatment methods.

WHAT IS AN INFECTED EAR PIERCING?
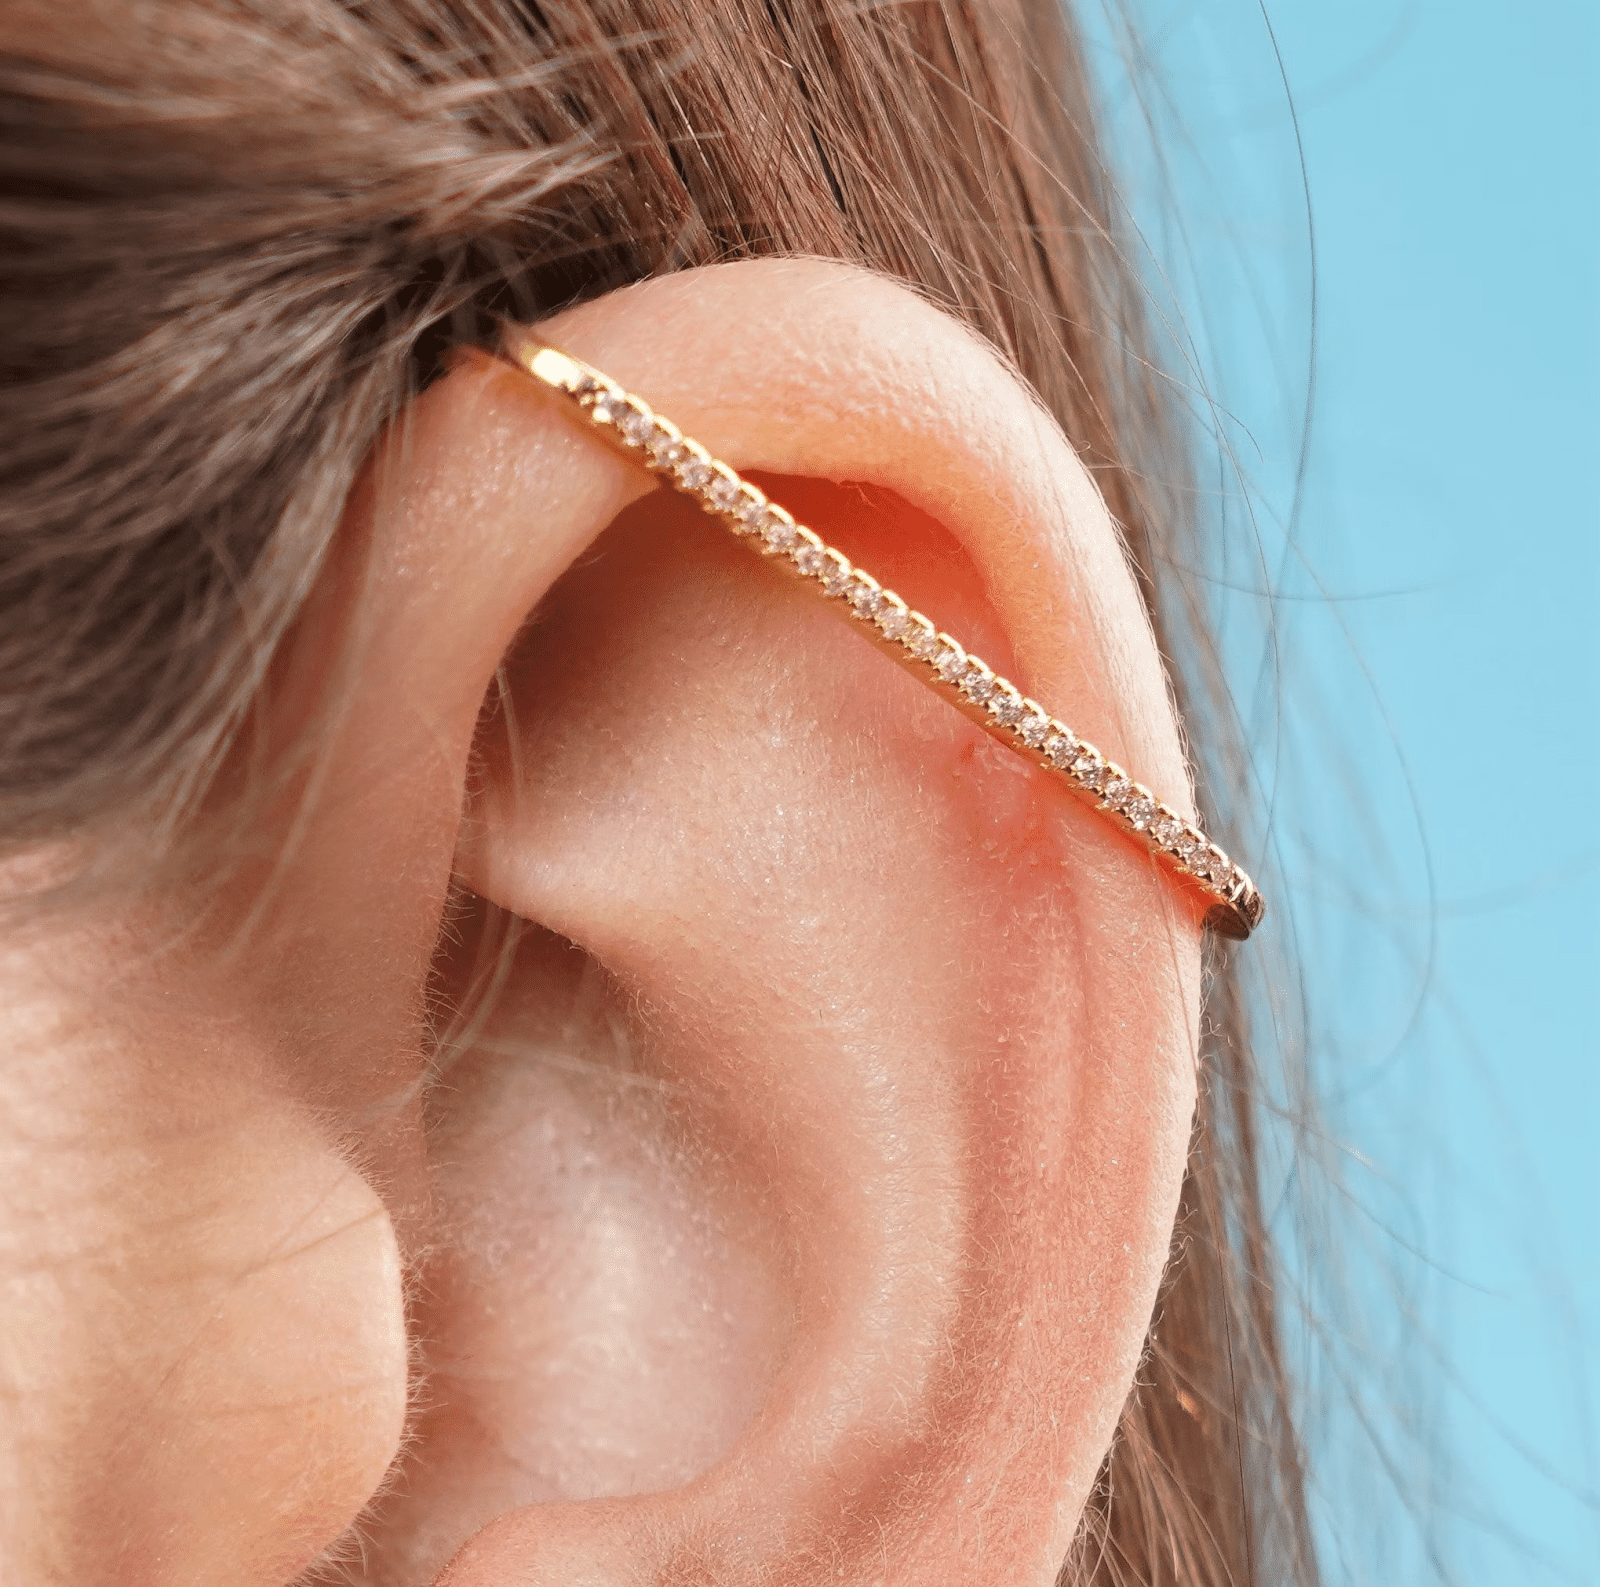
An ear piercing involves creating an opening in either your earlobe or the cartilage in your middle or upper ear. Infections related to ear piercings may manifest as redness, swelling, soreness, warmth, itchiness, or tenderness. Occasionally, piercings may discharge blood, or exhibit white, yellow, or green pus.
Since a fresh piercing is essentially an open wound, the complete healing process typically takes several weeks. Throughout this period, any introduction of bacteria into the wound can potentially result in an infection.
TYPES OF EAR PIERCING INFECTIONS
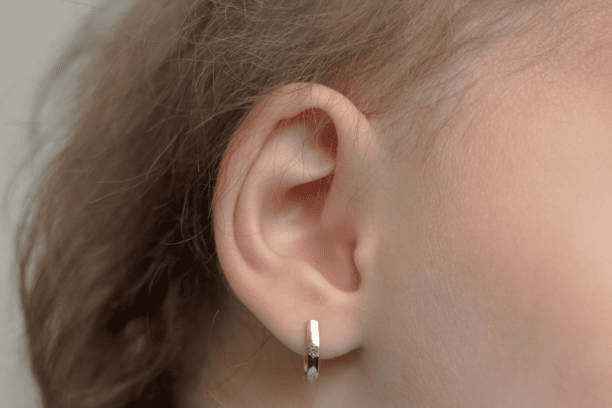
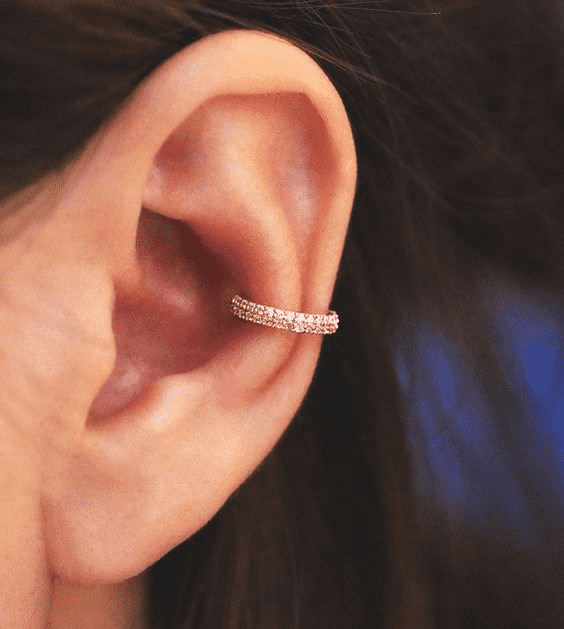
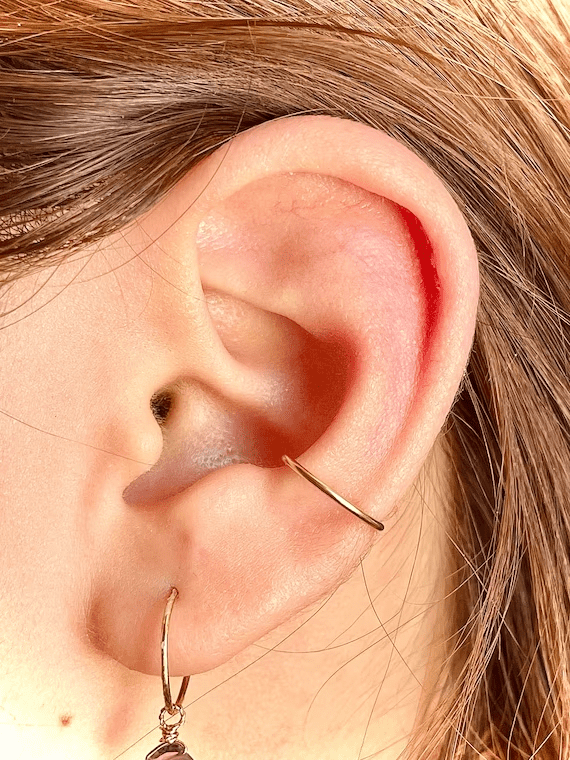
There are primarily two types of ear piercings: those through the earlobes and those through the cartilage of the ear.
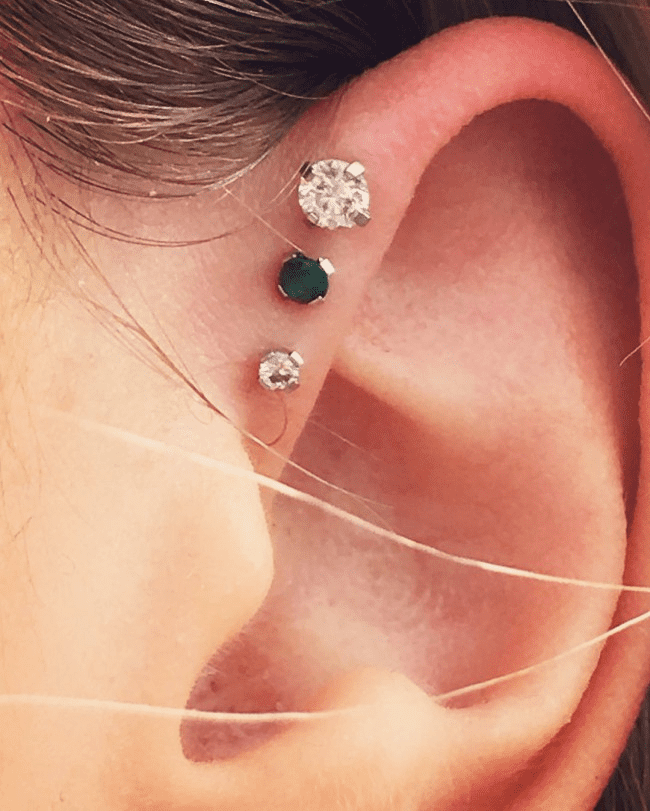
Earlobes, being fleshy and fatty, boast robust blood circulation, leading to quick healing and minimizing the likelihood of an infected earlobe piercing.
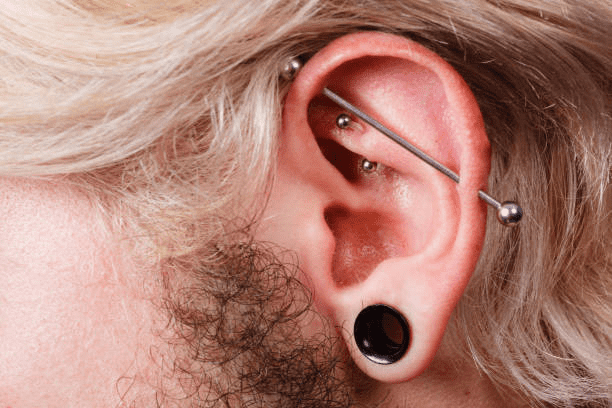
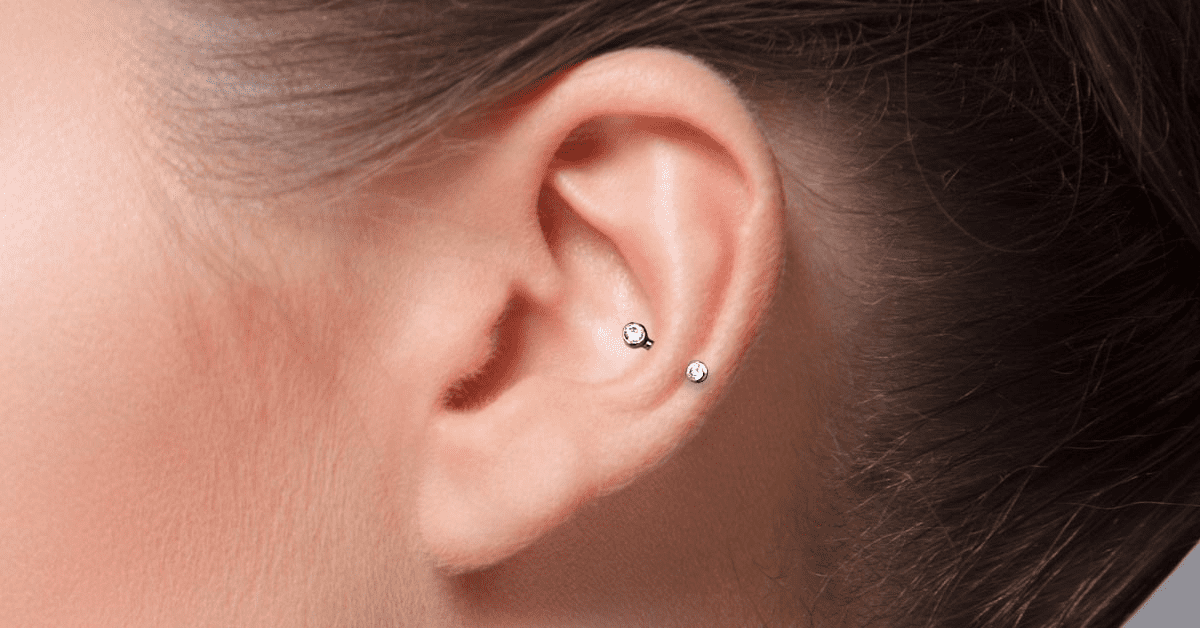
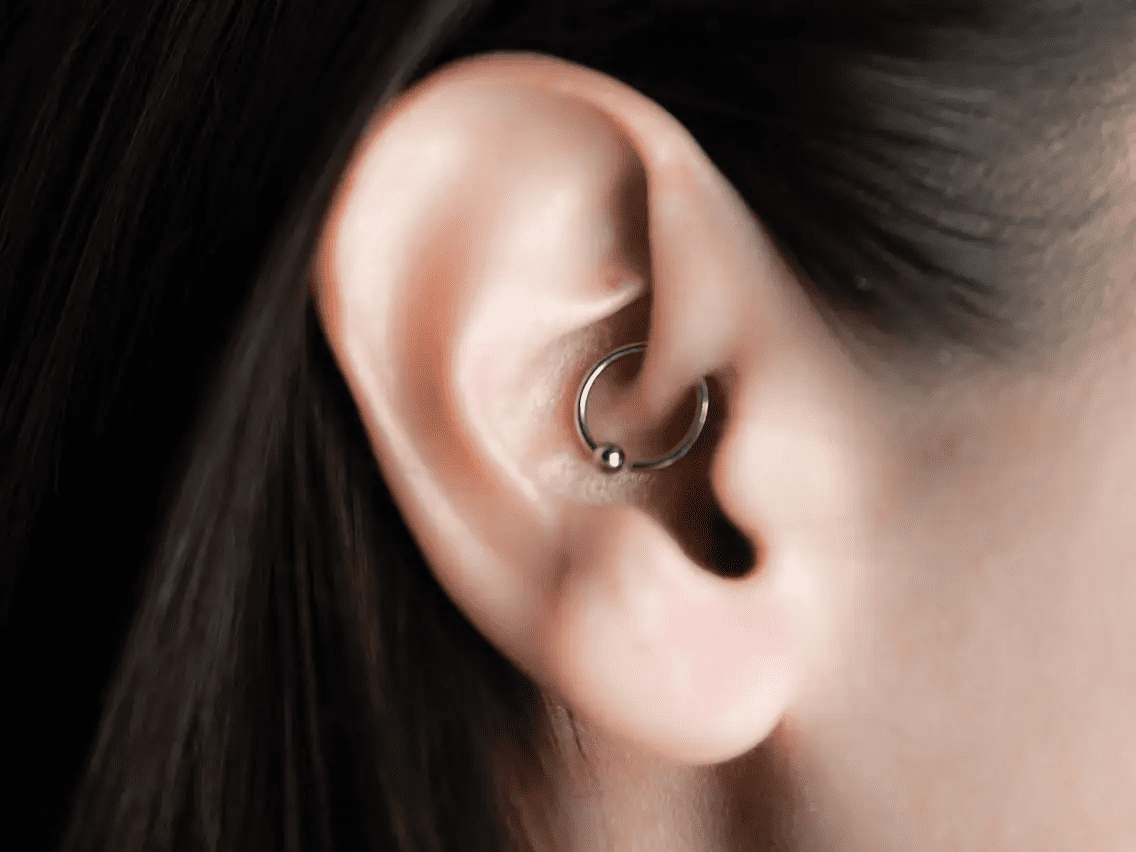
Conversely, the upper ear consists of cartilage, a dense and rigid tissue with comparatively lower blood flow. Piercings in this region are more susceptible to infections, and infections in the upper ear can occasionally pose more serious concerns.
HOW COMMON ARE EAR INFECTIONS FROM PIERCINGS?
Every year, millions of individuals opt to have their ears pierced, with the majority experiencing no significant complications. Yet, it’s not uncommon for new piercings to exhibit mild irritation and infections. Fortunately, in the majority of cases, these infections are not serious and tend to resolve swiftly.
According to a study, up to 35% of individuals with pierced ears encountered one or more of the following complications:
Minor infection: 77%
Allergic reaction: 43%
Formation of scar tissue (keloid): 2.5%
Traumatic tearing: 2.5%
HOW TO HEAL AN INFECTED PIERCING
CLEAN THE INFECTED SKIN AREA
The first step involves identifying the infection’s signs, such as redness, swelling, pain, or discharge. If you suspect an infection, it is crucial to refrain from removing the jewelry, as doing so may trap the infection and hinder drainage. Instead, clean the area with a saline solution or mild, non-alcoholic antiseptic solution recommended by a professional piercer.
CLEAN YOUR PILLER HOLE
Thoroughly cleaning an infected ear piercing with sterile saline is a meticulous process that promotes optimal healing and helps prevent further complications. Sterile saline solution is a mild and gentle antiseptic that can effectively cleanse the affected area without causing irritation.
To initiate the cleaning procedure, start by washing your hands thoroughly with soap and water to ensure a hygienic environment. Next, prepare a saline solution by either purchasing pre-packaged sterile saline solution from a pharmacy or mixing your own by dissolving a teaspoon of non-iodized salt in a cup of warm, distilled water. Ensure the mixture is well-dissolved and free of any impurities.
Dip a sterile cotton ball or swab into the saline solution, allowing it to become saturated. Gently clean around the infected ear piercing, taking care not to rotate or excessively move the earring, as this could exacerbate the irritation. Gently dab the saline-soaked cotton ball on the front and back of the piercing site, removing any crusted discharge or debris.
If your piercing involves a stud or earring with a back, make sure to clean both the front and back of the jewelry thoroughly. Additionally, be cautious not to introduce any additional contaminants during the cleaning process.
SOAK IN WARM SALT WATER
Incorporating warm salt water into your care routine can provide a therapeutic and nurturing environment for an infected piercing. This practice involves the careful preparation of a warm saline solution, which can contribute significantly to the soothing and healing process.
To begin, ensure that you have impeccably clean hands before handling the infected piercing. Create the saline solution by dissolving a quarter to a half teaspoon of sea salt into a cup of comfortably warm, distilled water. Stir the mixture thoroughly to ensure the salt is completely dissolved, preventing any abrasive particles from causing irritation during the soak.
Once the solution is properly mixed, immerse the affected piercing in the warm saline bath for approximately 5-10 minutes. This gentle soaking serves a dual purpose: it helps alleviate inflammation and discomfort while also stimulating blood circulation around the piercing site. Improved blood flow is essential for delivering nutrients and immune cells to the area, promoting the body’s natural healing processes.
During the soak, take care to keep the infected piercing submerged and allow the warm saline solution to penetrate the affected area. You may use a clean cup or soak the pierced area directly in the solution, depending on the location of the piercing. While soaking, you can gently move the jewelry back and forth to ensure the solution reaches all parts of the pierced area.
USING ANTIBIOTIC OINTMENT
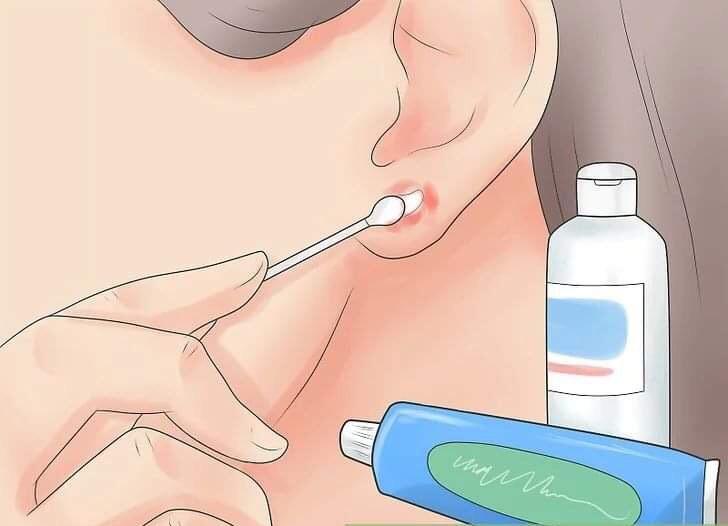
Utilizing antibiotics for infected piercing involves a meticulous process to care for and treat the affected area. Specifically designed for various skin conditions, including wounds, cuts, or infections, this approach utilizes a topical ointment containing antibiotics. These antibiotics play a crucial role in preventing bacterial growth, facilitating healing, and minimizing the risk of complications.
To initiate this procedure, begin by ensuring that your hands are thoroughly clean to prevent introducing additional contaminants to the affected area. Carefully clean the infected area with a mild soap and water, patting it dry gently with a clean, lint-free cloth.
Once the area is dry, take a small amount of the prescribed or over-the-counter antibiotic ointment on a clean cotton swab or sterile applicator. Ensure that you follow the specific instructions provided by your healthcare provider or included with the ointment.
If the affected area is covered by a bandage or dressing, reapply a fresh dressing after applying the antibiotic ointment to maintain a sterile environment. Follow the recommended frequency and duration of application, as directed by your healthcare provider or as specified on the product packaging.
ORAL ANTIBIOTICS
In cases where an infected piercing has progressed to a more severe stage, oral antibiotics may be prescribed as a crucial component of the treatment plan. Oral antibiotics work systemically, entering the bloodstream and targeting the infection from within the body. This method is particularly effective when the infection has spread beyond the localized area of the piercing or when topical treatments prove insufficient.
Before prescribing antibiotics, a healthcare provider will typically assess the severity of the infection and may take a sample for culture and sensitivity testing. This allows them to identify the specific bacteria causing the infection and determine the most appropriate antibiotic for effective treatment.
It’s essential for individuals taking oral antibiotics to strictly adhere to the prescribed dosage and duration. Failure to complete the full course of antibiotics can lead to incomplete eradication of the infection, increasing the risk of recurrence and potential antibiotic resistance. Patients should not self-prescribe or share antibiotics, as this can have adverse effects and contribute to the development of antibiotic-resistant strains of bacteria.
BALANCED DIET
Maintaining a balanced diet plays a crucial role in supporting the overall health of the body, and this extends to the healing process of an infected piercing. A diet rich in essential nutrients, such as vitamins, minerals, and proteins, can contribute to a robust immune system and facilitate the body’s natural ability to combat infections. Nutrients like vitamin C, zinc, and antioxidants aid in tissue repair and collagen synthesis, essential for the regeneration of damaged skin around the piercing. Additionally, consuming an adequate amount of protein is vital for the production of antibodies and immune cells that help fight infection. Staying well-hydrated is equally important, as proper hydration promotes optimal blood circulation, ensuring that essential nutrients reach the affected area.
While a balanced diet is not a direct treatment for an infected piercing, it can certainly complement other care measures, fostering a healthy internal environment that supports the body’s ability to heal efficiently.
HOW TO PREVENT INFECTED PIERCING
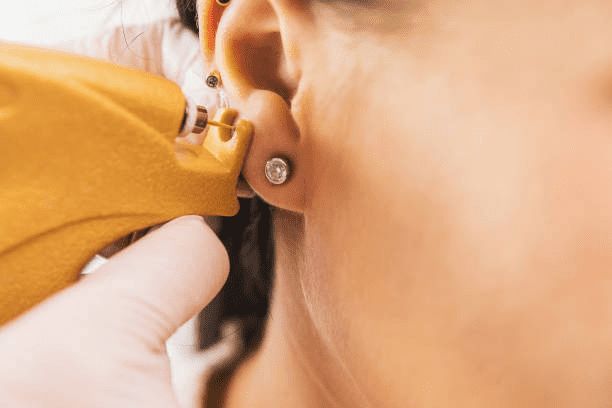
To minimize the risk of infection, it is advisable to have your ears pierced by a professional rather than attempting it at home. When choosing a piercer, inquire about their infection prevention protocols and the sterility of their tools. Ensure that the earrings used are extracted from new, sterile packages.
Following the piercing, maintain a hygiene routine by cleaning your ears twice a day, either with the provided rinse or sterile saline solution. It is important not to twist or turn your jewelry, as this can traumatize the skin and increase the likelihood of infection. Cleaning around the piercing without removing the earring is a suitable practice.
Resist the urge to excessively handle or play with the jewelry, as such actions are common culprits for initiating infections. While the process may be slightly uncomfortable, the brief moment of pain during the piercing procedure is a small price to pay for the opportunity to adorn your earlobes and have some fun. In the event of an infection, prompt treatment is essential for expedited healing and a reduced risk of complications.
WHEN YOU SHOULD SEE A DOCTOR
In most cases, a mild infection from an ear piercing can be effectively managed at home. However, remember to seek medical attention if any of the following symptoms arise:
- The earring becomes immobile.
- The earring clasp becomes embedded in the skin.
- The infection shows no improvement with home treatments within a two-day period.
- A fever develops.
- The infection, or the associated redness and inflammation, extends beyond the initial piercing site.
FAQ
1. Should I leave my piercing in if it’s infected?
Keep your jewelry in place unless directed by a medical professional to remove it.
2. How quickly can an infected piercing heal?
Mild infections in pierced ears can be addressed at home, and with appropriate care, the majority of them typically resolve within 1 to 2 weeks.
3. Should I put ice on my infected ear piercing?
Yes. Ice is effective in reducing both swelling and pain. Employ an ice pack or place crushed ice in a plastic bag for this purpose.
CONCLUSION
With the right knowledge, care, and a proactive approach, individuals can transform these challenges into opportunities for a healthier and beautifully adorned body. May this guide serve as a valuable resource in fostering a safe, hygienic, and ultimately gratifying piercing experience.