Pink is playful, feminine, and undeniably glamorous. When combined with the dazzling allure of glitter, it creates a manicure that’s simply irresistible. Get ready to elevate your nail game with these 18 stunning pink glitter nail designs. From subtle shimmers to bold, full-on sparkle, there’s a perfect pink glitter look for every occasion and personality. Let’s dive into a world of glitter and glam!
DISCOVER ESSENTIAL PINK GLITTER NAIL SUPPLIES
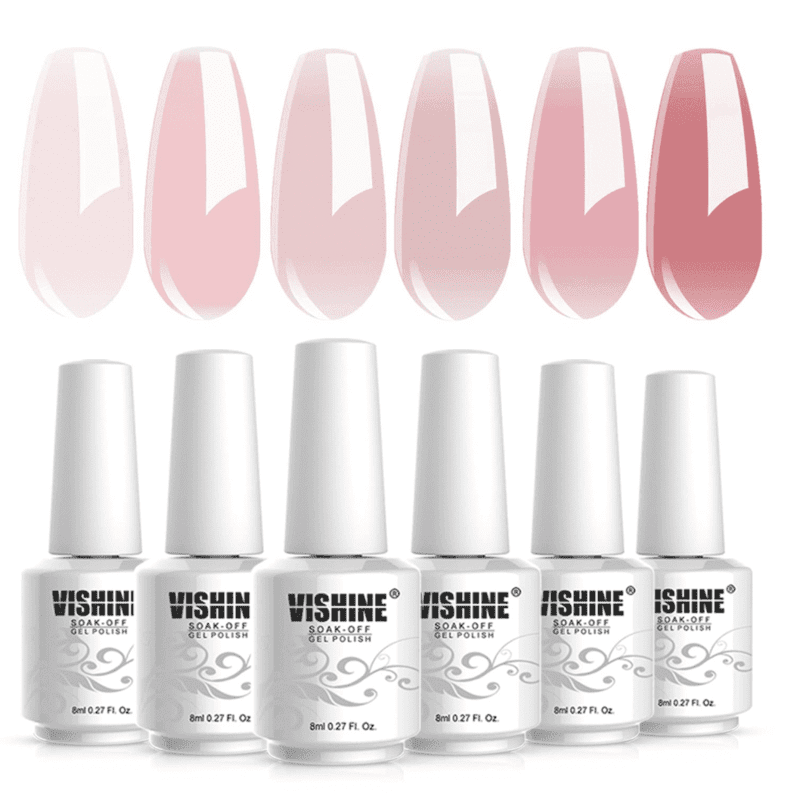
Ready to shine? Let’s gather the essentials for achieving that perfect pink glitter look. Prepare to dazzle with your fingertips!
DRUGSTORE FAVORITES
- Essie: Offers a wide range of pink glitter polishes, from subtle shimmers to bold, chunky glitters.
- Maybelline: Provides affordable options with good quality and a variety of pink glitter finishes.
- L’Oréal Paris: Known for its long-lasting formulas and stylish glitter shades.
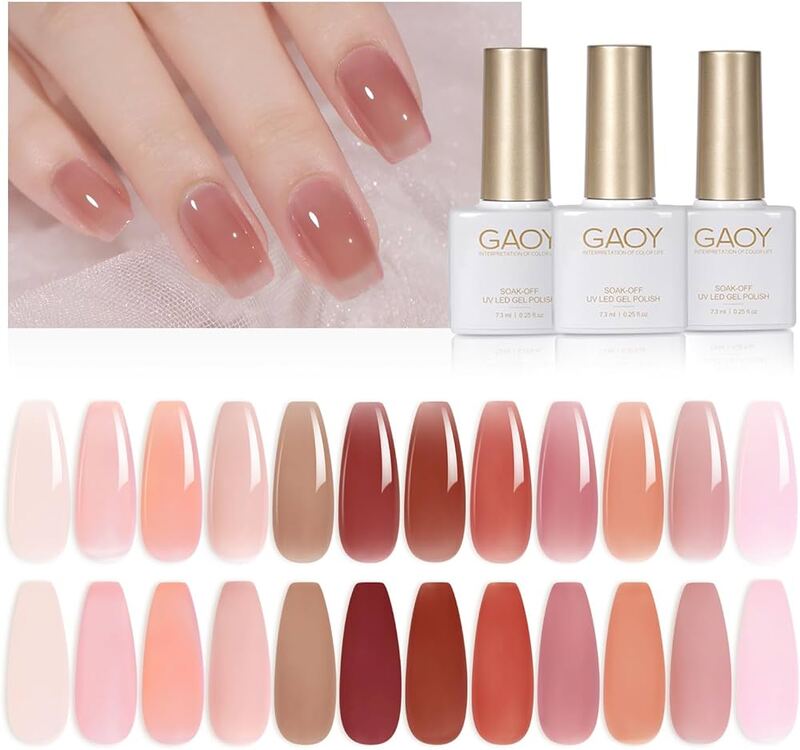
HIGH-END OPTIONS
- Dior: Luxurious and high-quality glitter polishes with sophisticated pink hues.
- Chanel: Offers elegant and timeless pink glitter options.
- OPI: Known for its wide color selection and innovative glitter formulas.
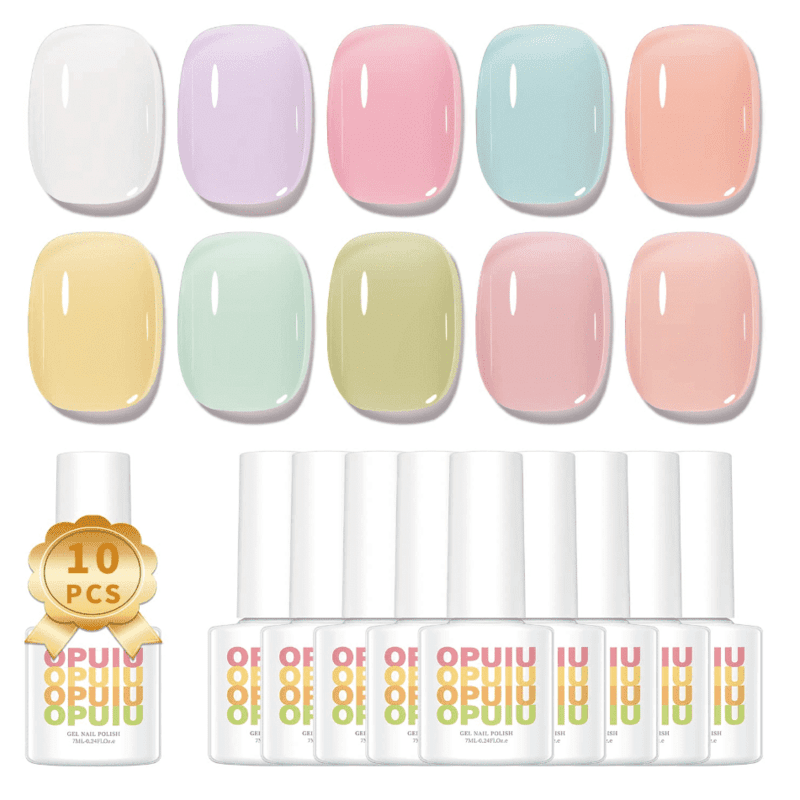
INDIE BRANDS
- China Glaze: Offers a diverse range of affordable glitter polishes with unique finishes.
- Zoya: Focuses on natural ingredients and provides beautiful, long-lasting glitter polishes.
Remember: When choosing a brand, consider factors like the size of the glitter particles, the finish (holographic, iridescent, etc.), and the opacity of the polish.
18 BEST PINK GLITTER NAILS
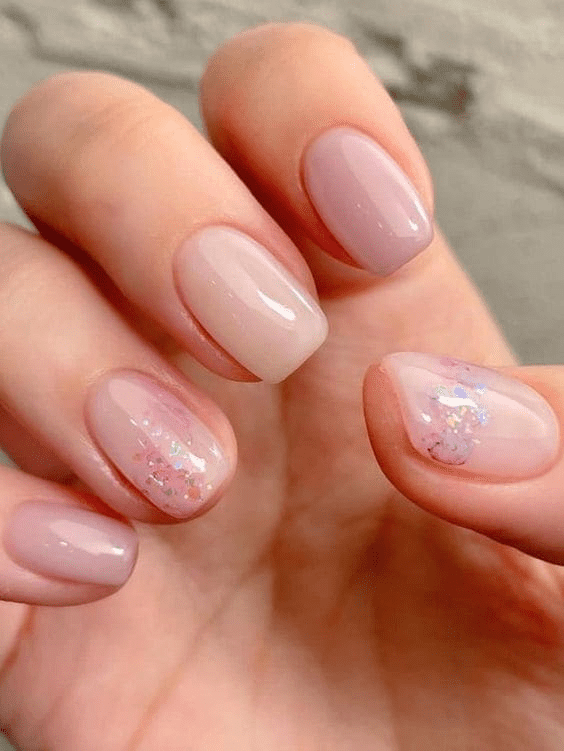
PINK DREAMS WITH IRIDESCENT ACCENTS
Decorate your fingertips with the enchanting softness of pink and white, highlighted by the whimsical sparkle of iridescent glitter. This design evokes the gentle essence of a spring day, featuring a serene pastel pink base.
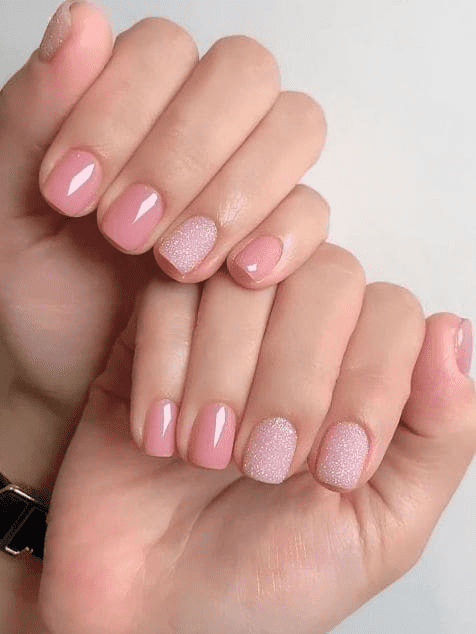
PASTEL PERFECTION WITH A GLITTERY TWIST
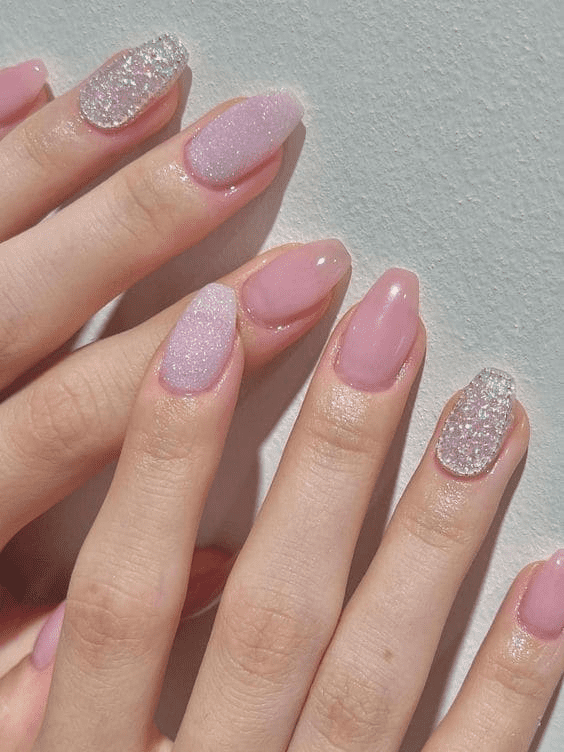
Prepare to fall for this delicate blend of baby pink and soft shimmer! The mix of matte and glittered nails forms a textured symphony that’s both refined and playful. The matte nails offer a timeless, understated elegance.
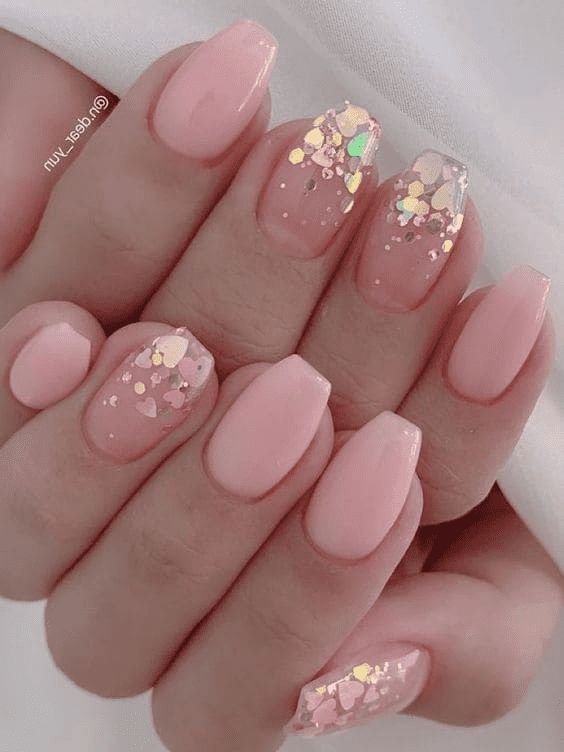
SOFT BLUSH WITH ARTFUL ACCENTS
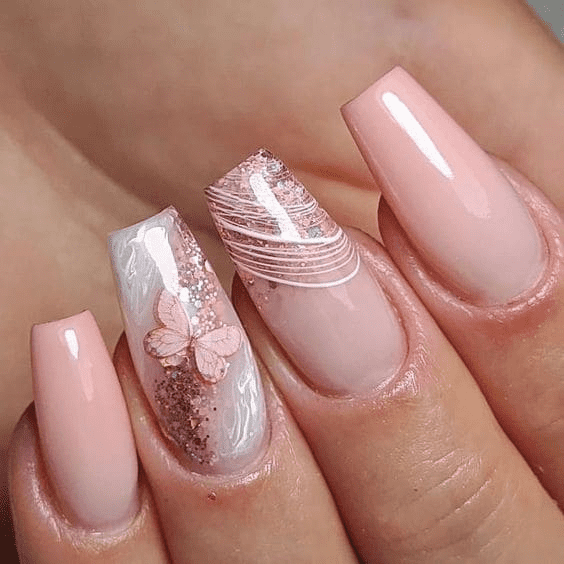
The set starts with a soft blush base, reminiscent of a shy smile or the early light of dawn. On the accent nails, a delicate butterfly appears as if it has just landed, its wings adorned with a stunning mix of pinks and subtle glitter that harmonize with the rest of the set.
PINK OMBRE WITH A DAZZLING DIAGONAL
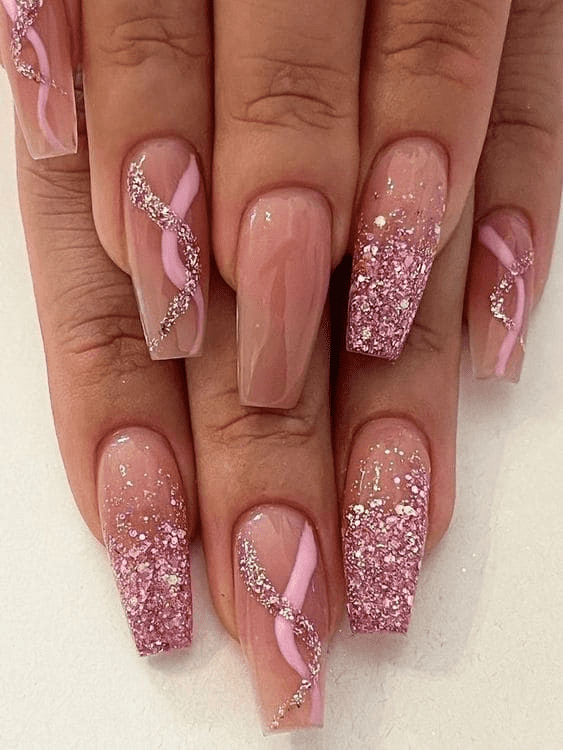
The nails feature a captivating gradient, highlighted by a bold diagonal stripe of silver glitter that streaks through like a shooting star. The glitter’s vibrant contrast against the soft ombre creates a dynamic yet elegant effect.
PINK BLISS MEETS SPARKLING SANDS
Experience the enchantment of gradients with this stunning design, where a soft blush of pink gracefully transitions into a burst of sandy glitter. The look evokes a tranquil sunset with a sparkling flair, merging the day’s calm with the excitement of the night.
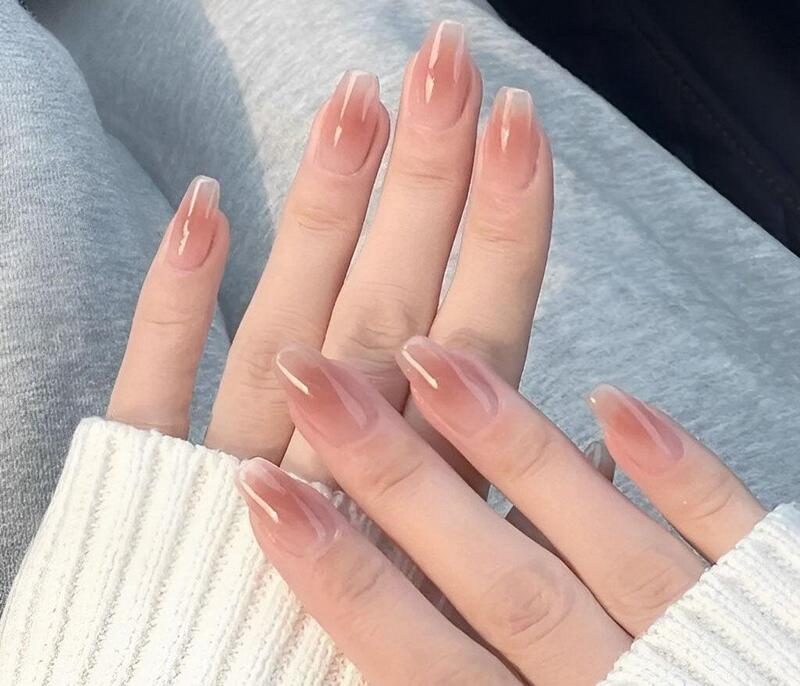
PINK NUDE WITH HEARTFELT ARTISTRY
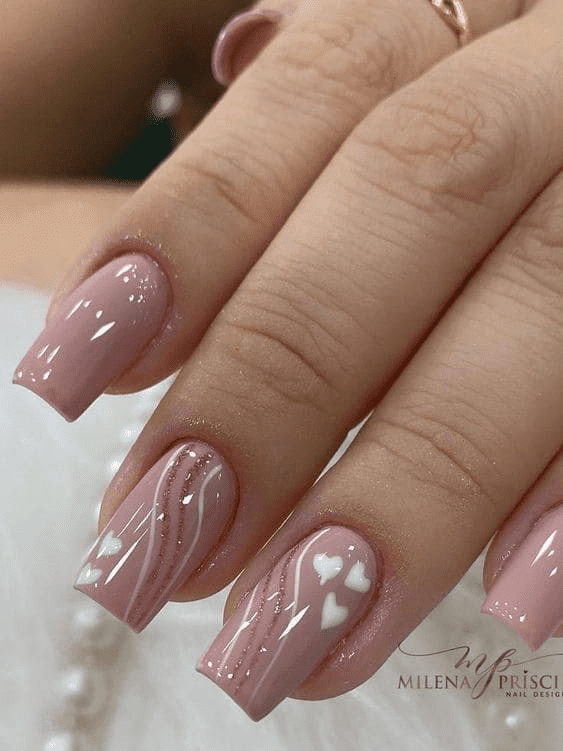
The nails start with a smooth, solid color, providing a tranquil backdrop for the delicate nail art that shines. White accents, including fine lines and tiny hearts, tell a story of love and precision on two of the nails, transforming them into miniature canvases of expression.
The glossy finish over the nail art adds depth and dimension, ensuring these small details catch the eye and touch the heart.
TRIO OF PINK WITH A FESTIVE FLAIR
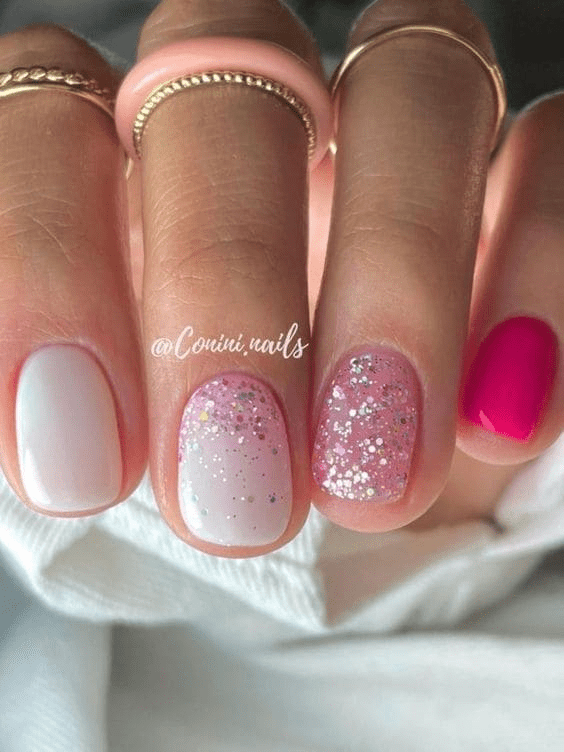
This nail set is a celebration for your fingertips, showcasing a stunning gradient of pink hues that’s guaranteed to bring joy. Beginning with a clean white base for a crisp, calm foundation, the design transitions to a soft pink on the middle nail, adorned with silver and pink glitter that resembles confetti mid-flight—ideal for any celebration.Finally, the hot pink nail delivers a vibrant burst of color, radiating fun and boldness.
BOLD BUBBLEGUM WITH A GLITTERING ACCENT
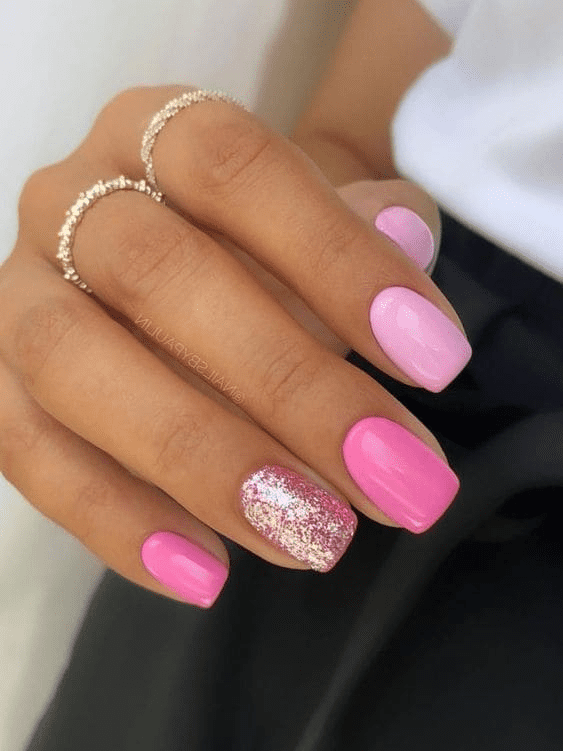
Make a bold statement with vivacious bubblegum pink nails, perfect for those who love adding a splash of color to their life. This design boasts a bright, playful pink that exudes confidence, reminiscent of sweet candy and joyful days.
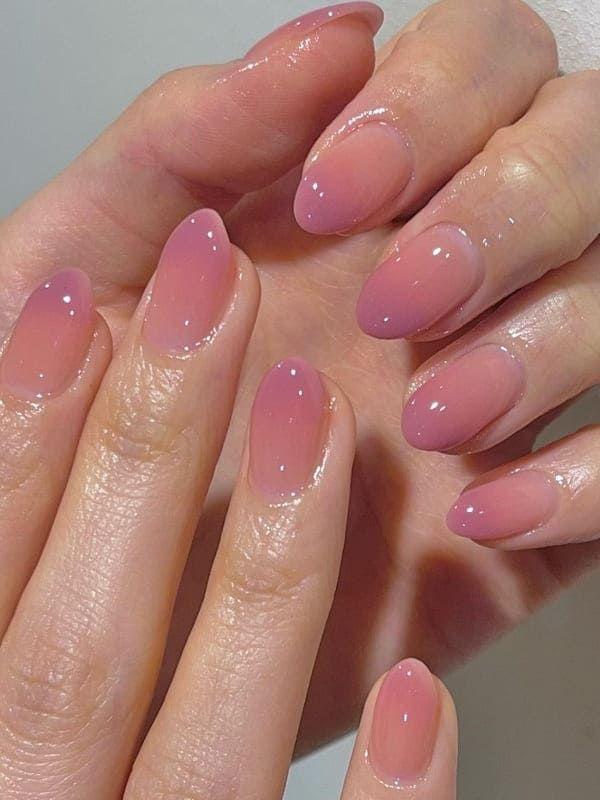
LUSTROUS CAT EYE WITH A BERRY TWIST
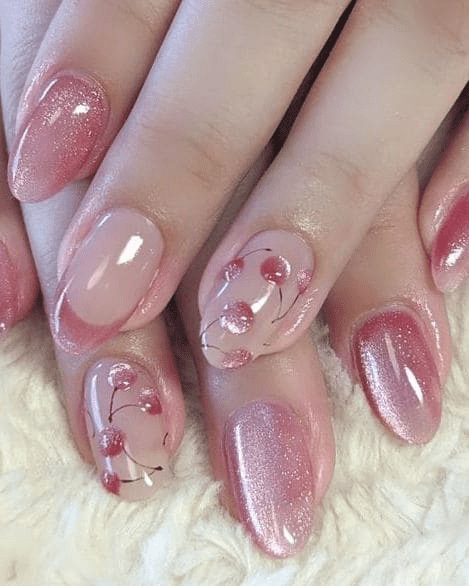
This nail design offers a fun spin on the classic cat-eye look, showcasing a lustrous pink shade as sweet and enticing as ripe cherries beneath a summer sky. The magnetic cat-eye effect adds captivating depth and movement, with a shiny, reflective finish that shifts with the light—much like the gaze of a curious cat.
A BALLET OF BLUSH AND BEDAZZLE
Let your nails dance in the light with this enchanting blend of soft blush tones and a festive burst of chunky pink glitter. Starting with a clear base, the design evolves into a dazzling display of pink, reminiscent of the grand finale of a ballet performance.
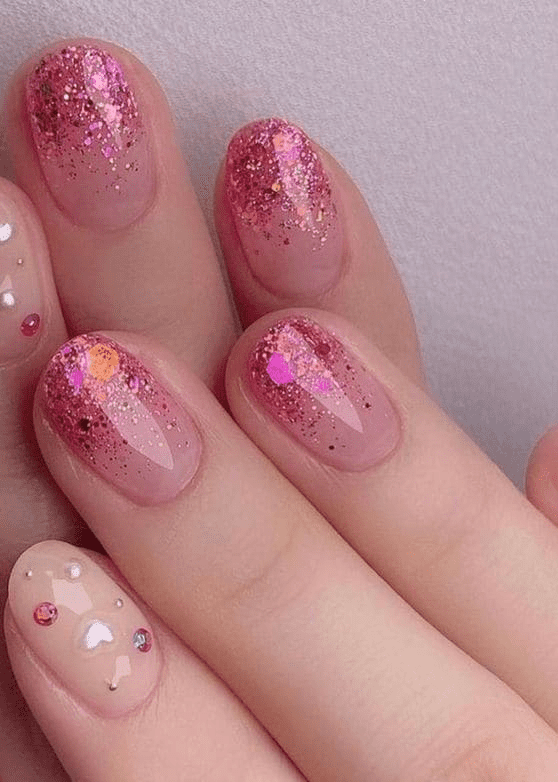
A SPRINKLE OF PINK ON BLUSH PINK
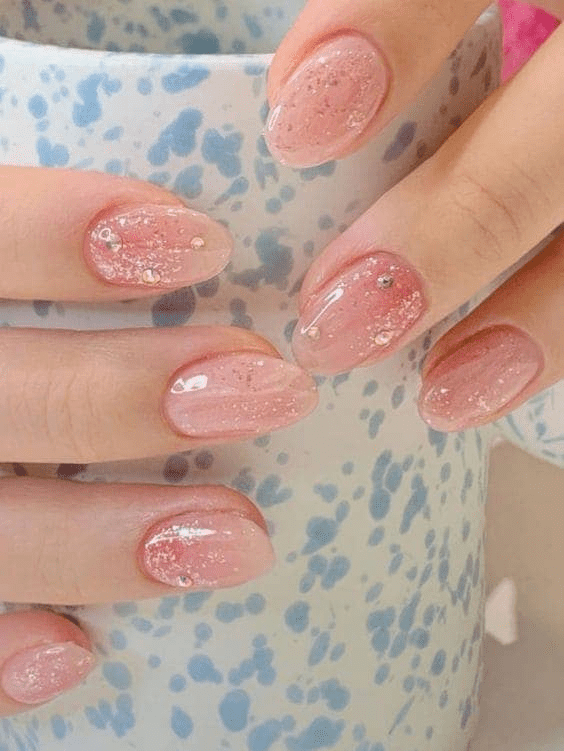
These nails embody subtle romance, starting with a blush pink base that evokes the delicate charm of vintage rose petals. Scattered pink glitter adds a touch of luxury and magic, with its fine particles catching the light and giving the nails added depth and character.
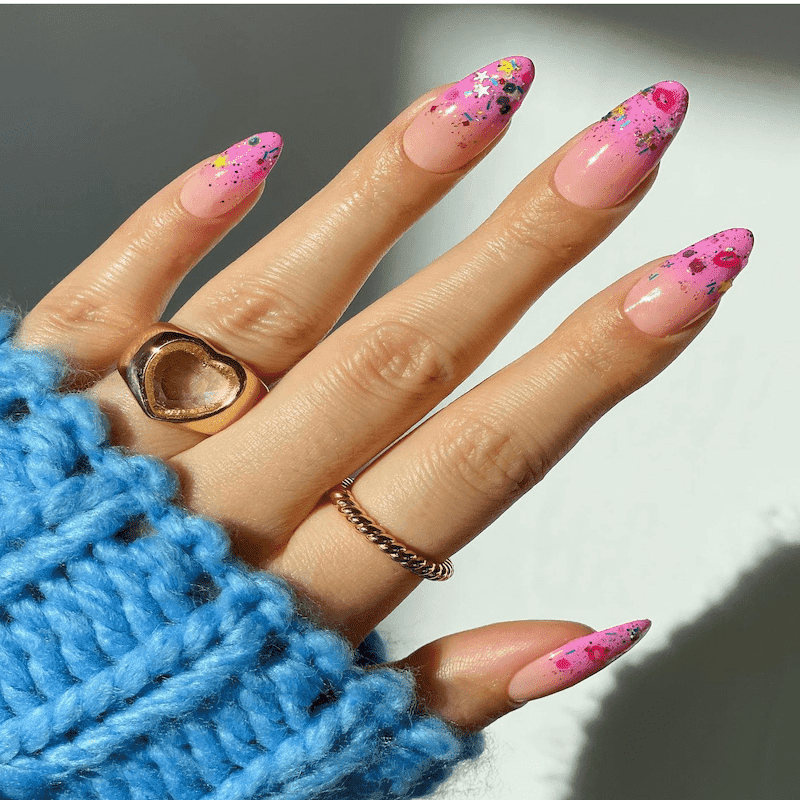
PINK WITH CHERRY BLOSSOM ACCENTS
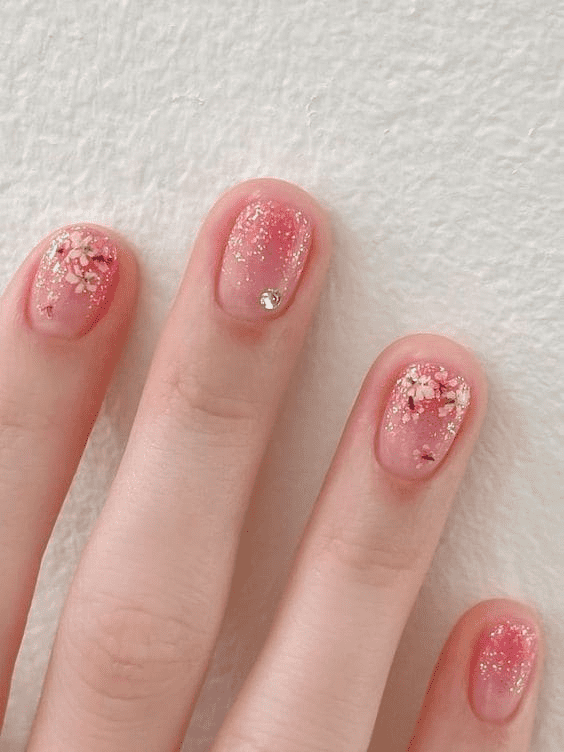
Each nail features a pink canvas, reminiscent of the gentle hue of early cherry blossom petals. Pink and white fragments in the polish resemble fallen petals drifting on a pond, while a hint of glitter adds a touch of morning dew sparkle. This floral design evokes the tranquility of strolls through blooming orchards.
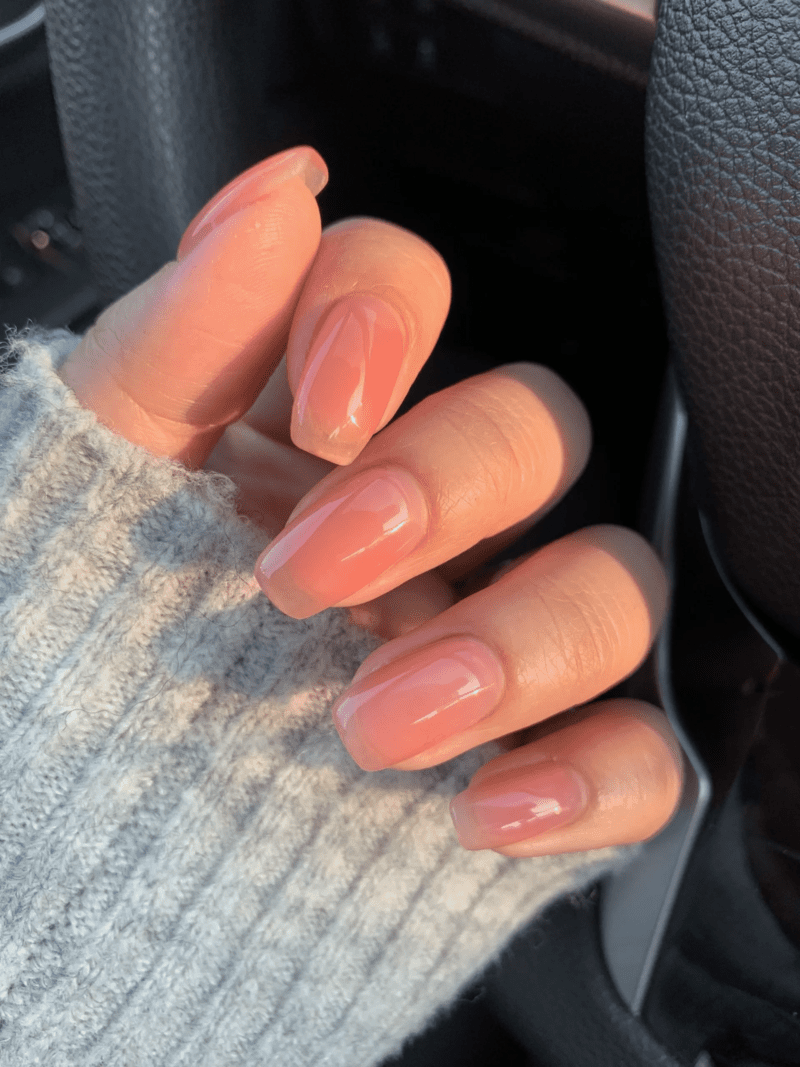
PINK SHIMMER WITH AN UNDERSTATED SHINE
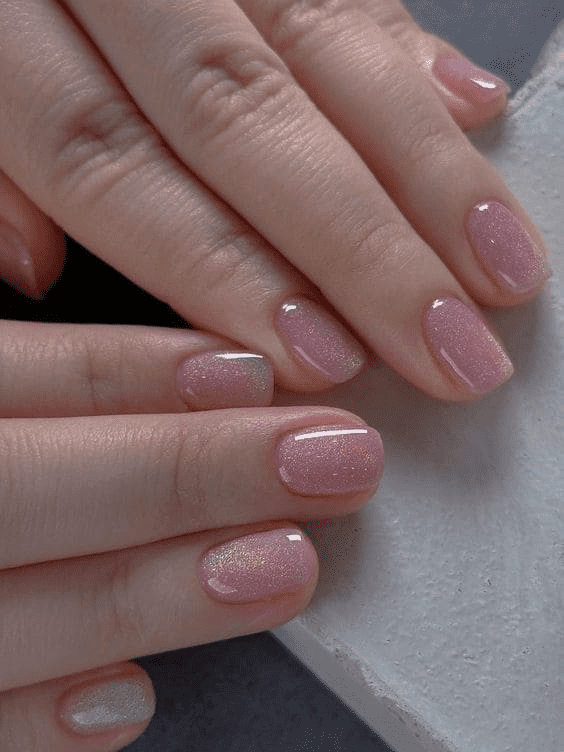
This design epitomizes chic simplicity, featuring a soft pink coat that subtly hints at sparkle. Short and natural in shape, it’s perfect for everyday wear, adding a refined touch to any look. Ideal for moments when you desire a hint of luxury without the drama, it offers a subtle nod to your impeccable taste. For those who value the elegance of simplicity, these nails provide a touch of poise and gentle radiance throughout the day.
A SYMPHONY OF HOLOGRAPHIC GLITTER
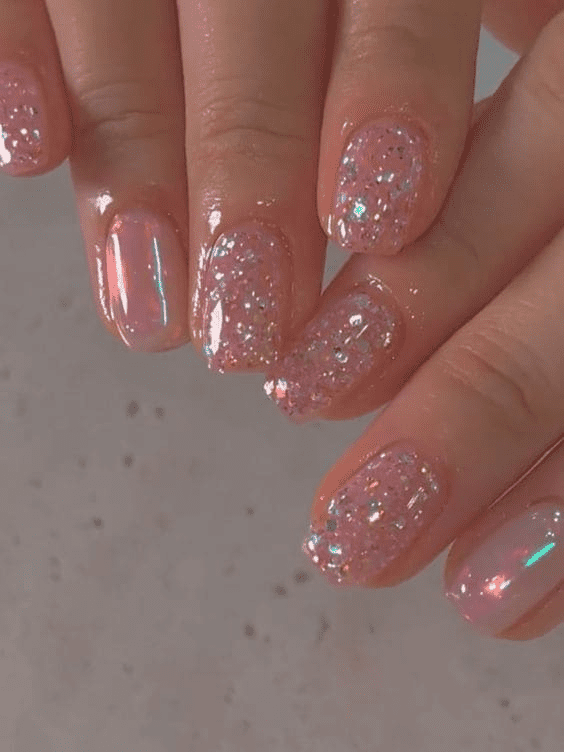
These nails sparkle like confetti in motion, catching every color of the rainbow with the slightest shift in light. The transparent pink base enhances the holographic glitter, making it truly stand out. The rounded shape of the nails adds a touch of charm, creating a dazzling kaleidoscope of color with every movement.
MAUVE HUES WITH A CONFETTI HIGHLIGHT
Find tranquility in simplicity with this elegantly understated nail design, featuring a calming mauve base and a playful touch of iridescent confetti glitter. The majority of the nails are adorned with a soothing, creamy pink, providing a serene and refined look.
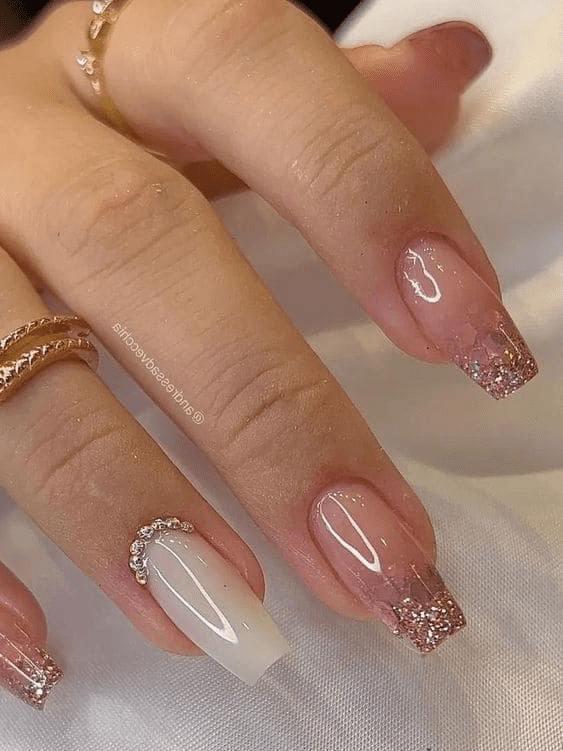
PINK NOSTALGIA WITH METALLIC FLAIR

Travel back in time with this playful nail design that captures the essence of the iconic Y2K aesthetic, blending nostalgic elements with a contemporary twist. The soft base contrasts with striking silver chrome lines, reflecting the sleek, futuristic trends of the millennium. Sparkles lend a touch of magic, echoing the glittery fashion of the era, while a tiny ribbon detail nods to the playful accessories of Y2K style.
PINK JELLY ELEGANCE WITH A SUGARY SHIMMER
Immerse yourself in the charm of baby pink and sugary glitter for a fairy-tale touch on your nails. This design delicately enfolds your nails in a creamy pink base, evoking soft, dreamy hues.
SOFT OMBRE WITH A GLITTERY GLOW
These coffin nails embody elegance, featuring a creamy peach pink base that’s both inviting and sophisticated. A delicate ombre transitions into a glittery cascade at the tips, where varied shapes and sizes of glitter catch the light in a stunning display.
FAQS
1. What makes pink glitter nails unique?
Pink glitter manicures elevate the classic feminine style with a dazzling twist. The glitter adds a playful and modern touch to the traditional pink manicure. It not only reflects light but also infuses the look with a glamorous sparkle, ideal for those wanting a subtle yet striking appearance. Featuring a range of designs with various shades and textures, pink glitter nails offer a versatile and dynamic option for anyone with a fashion-forward edge.
2. What are some popular pink glitter nails?
Here are some top choices:
- Glitter Ombre: This style creates a beautiful gradient effect with pink shimmer, resulting in an elegant and sophisticated look.
- Holographic Glitter: Featuring vibrant holographic glitter in various shades of pink, this design makes a bold and dynamic statement.
- Floral Designs: Adding delicate floral patterns to pink glitter nails introduces a romantic and feminine touch.
- Nude Pink with Silver Glitz: For a more subtle approach, nude pink shades enhanced with silver glitter offer a minimalist yet stylish finish.
3. Which nail shapes go well with pink glitter nails?
Various nail shapes enhance the look of pink glitter nails, depending on personal style and design preferences. Popular options include:
- Short Squoval and Oval: These shapes are perfect for a natural look, showcasing the glitter subtly without being overwhelming.
- Coffin, Almond, or Stiletto: Ideal for longer nails, these shapes elongate the fingers and offer a dramatic backdrop for vibrant pink glitter designs.
CONCLUSION
There you have it – a world of pink glitter nail inspiration at your fingertips! From subtle shimmers to bold, statement-making designs, there’s a pink glitter manicure perfect for every occasion and style. Remember, confidence is the best accessory, and these dazzling nails are sure to boost your sparkle factor. So, don’t be afraid to experiment, have fun, and let your nails shine!