Rose water for hair has been a popular natural remedy for centuries. This fragrant liquid is extracted from rose petals and is known for its many benefits for the skin, hair, and overall health. In this article, we will explore the various ways in which rose water can be beneficial for your hair and how you can use it to get healthy and beautiful locks.

The Benefits of Rose Water for Hair
Rose water is packed with nutrients that are beneficial for hair growth and maintenance. Here are some of the key benefits of using rose water for hair:
Promotes Hair Growth
Rose water contains vitamins A, C, and E which help to nourish and strengthen hair follicles and promote healthy hair growth. It also contains antioxidants that protect the scalp from damage caused by free radicals, ensuring healthy hair growth.
Soothes Scalp Irritation
The anti-inflammatory properties of rose water make it effective in soothing an irritated scalp. Regular use of rose water can help to reduce itchiness, dryness, and inflammation on the scalp.
Hydrates Dry Hair
Rose water is an excellent natural moisturizer that helps to hydrate dry and brittle hair. It locks in moisture and prevents breakage, making your hair look and feel healthier.
Adds Shine to Dull Hair
Rose water helps to restore the natural shine of your hair by removing buildup and restoring the pH balance of your scalp. It also helps to seal the cuticles, making your hair look shiny and glossy.
How to Use Rose Water for Hair
Now that you know the amazing benefits of rose water for hair let’s look at some of the ways in which you can use it to get healthy and beautiful locks.
Rose Water Rinse
One of the simplest ways to use rose water for hair is by adding it to your hair rinse. After shampooing your hair, dilute 1-2 tablespoons of rose water in a cup of water and use it as the final rinse. This helps to restore the pH balance of your scalp and adds shine to dull hair.
Rose Water Hair Mask
You can also make a DIY hair mask using rose water for deep conditioning. Mix 2-3 tablespoons of rose water with 1 tablespoon of honey and 1 tablespoon of coconut oil. Apply the mixture all over your hair and leave it on for 30 minutes before washing it off with a mild shampoo. This will help to nourish and hydrate dry hair, making it soft and silky.
Rose Water and Aloe Vera Gel Spray
Mix equal parts of rose water and aloe vera gel in a spray bottle and use it as a leave-in conditioner. Spray the mixture on damp hair and comb through to distribute evenly. This helps to detangle hair and keep it hydrated throughout the day.
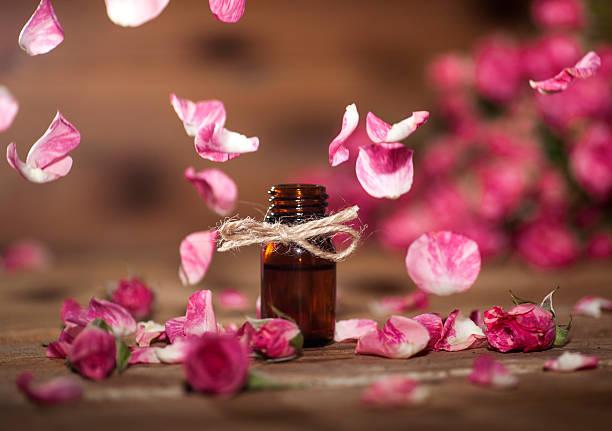
DIY rose water for your hair
Making DIY rose water for your hair is a simple and natural way to promote hair health and add a lovely scent to your locks. Rose water is known for its moisturizing and nourishing properties. Here’s a step-by-step guide on how to make it:
Ingredients
Fresh rose petals (about 2 cups)
Distilled water (enough to cover the rose petals)
A large pot with a lid
A heat-resistant glass or ceramic bowl
Ice cubes (optional)
Cheesecloth or a fine sieve
A clean spray bottle
Instructions
- Choose fresh, organic rose petals from your own garden or from a reliable source. Make sure they are clean and pesticide-free.
- Gently rinse the rose petals under cold running water to remove any dirt or debris.
- Fill a large pot with water and place a heat-resistant glass or ceramic bowl inside it. The bowl should fit snugly in the pot without touching the water. This setup will create a double boiler.
- Place the clean rose petals in the bowl.
- Pour enough distilled water into the pot to cover the rose petals in the bowl. You don’t want the water level to be too high; just enough to cover the petals.
- Put a lid on the pot and turn on the heat to low or medium-low. You want to gently steam the rose petals without boiling them. Steam for about 20-30 minutes.
- As the steam rises and condenses on the lid of the pot, it will form droplets that will fall into the bowl containing the rose petals. This is your rose water. You can speed up the process by placing ice cubes on the lid of the pot to help condense the steam more quickly.
- After about 30 minutes, turn off the heat and carefully remove the bowl from the pot. Allow it to cool. Then, strain the rose water through a cheesecloth or fine sieve into a clean container to remove any impurities and rose petal residue.
- Pour the strained rose water into a clean spray bottle. This will make it easy to apply to your hair.
- Store your DIY rose water in the refrigerator to extend its shelf life. It can last for several weeks if kept refrigerated
Tips for Using Rose Water
- Always use pure and organic rose water to ensure maximum benefits.
- Avoid using too much rose water as it can make your hair greasy. Start with small quantities and increase gradually if needed.
- Use rose water sparingly during winters as it can cause scalp dryness in cold weather.
- If you have oily hair, mix rose water with apple cider vinegar to balance the pH level of your scalp.
- For best results, use rose water for hair at least once a week.
FAQs
- What is the Best Time to Use Rose Water for Hair? There is no specific time to use rose water for hair. You can use it anytime during the day or night, depending on your convenience.
- Can Rose Water Cause Allergic Reactions? Rose water is generally safe for use on all skin and hair types. However, if you have sensitive skin or a history of allergic reactions, it is recommended to do a patch test before using rose water for hair.
- How Long Does it Take to See Results with Rose Water for Hair? The results of using rose water for hair may vary from person to person. However, with regular use, you can expect to see visible results within 2-3 weeks.
- Can You Use Rose Water for Colored Hair? Yes, you can use rose water for colored hair as it is natural and does not contain any chemicals that can harm your hair color.
- Can You Use Rose Water Daily for Hair? While you can use rose water for hair daily, it is recommended to use it at least once a week for best results.
Final Takeaway
Rose water has been used for centuries for its many benefits for the skin, hair, and overall health. Using rose water for hair can help to promote healthy hair growth, soothe an irritated scalp, hydrate dry hair, and add shine to dull hair. With regular use, you can get healthy and beautiful locks naturally. So, what are you waiting for? Add rose water to your hair care routine today and experience the benefits for yourself! Remember to use pure and organic rose water and follow the tips and guidelines mentioned in this article for best results. With a little effort and consistency, you can achieve healthy and beautiful hair that you always wanted.