Tattoos have been an integral part of human culture for centuries, ranging from ancient tribal markings to modern artistic expressions. Among the many tattoo styles, blackwork tattoos stand out as some of the most bold and captivating. Characterized by the use of solid black ink to craft intricate designs, patterns, and imagery, blackwork tattoos are a testament to precision, intensity, and timeless allure. Whether you’re a seasoned tattoo enthusiast or exploring body art for the first time, this guide will walk you through everything you need to know about blackwork tattoos—their history, various styles, and why they continue to rise in popularity.
WHAT IS A BLACKWORK TATTOO?
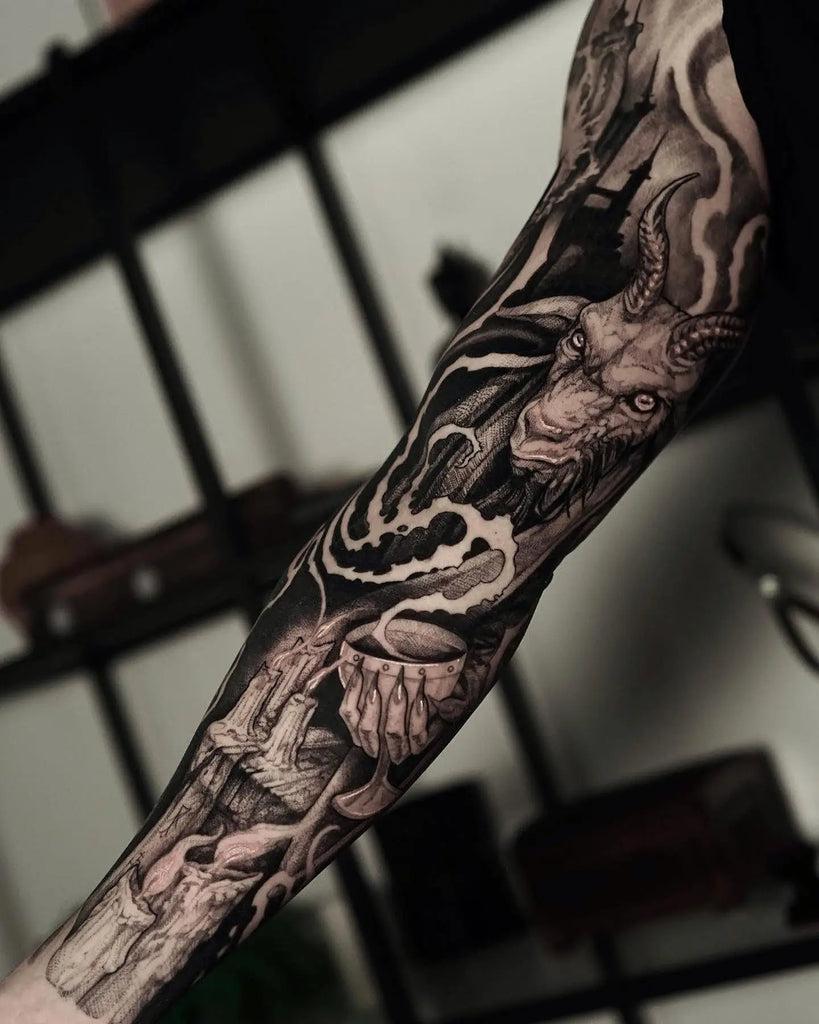
Blackwork tattoos are defined by their use of solid black ink to create striking, graphic designs. This style often features bold lines, geometric shapes, and intricate shading to form detailed patterns or imagery. Unlike other tattoo styles that incorporate multiple colors and gradient shading for depth, blackwork relies solely on the contrast and intensity of pure black ink to make a powerful visual impact. Designs can range from minimalist patterns to expansive, full-body artwork.
Despite its modern resurgence, blackwork tattooing has deep historical roots. Many indigenous cultures, such as the Polynesians and Maori, have long used black ink tattoos for spiritual, ritualistic, and decorative purposes. Today’s blackwork tattoos draw inspiration from these ancient traditions while integrating contemporary artistic elements, resulting in a timeless and ever-evolving style.
THE HISTORY AND EVOLUTION OF BLACKWORK TATTOOS
The history of blackwork tattoos dates back thousands of years, with cultures such as the Polynesians, Maoris, and indigenous peoples of the Philippines using black ink tattoos to represent status, spiritual beliefs, and tribal identity. These tattoos often featured intricate, repetitive patterns and sacred symbols, each carrying deep cultural significance.
Over time, blackwork tattoos evolved beyond their traditional origins, spreading worldwide and becoming a prominent style in modern tattoo artistry. In the West, blackwork gained traction in the late 20th century as tattoo artists embraced bold, black designs as symbols of strength, defiance, and rebellion. Today, the style has moved beyond its rebellious associations, emerging as a widely admired choice for those seeking striking and meaningful body art.
POPULAR STYLES OF BLACKWORK TATTOOS
Blackwork tattoos encompass a diverse range of styles, each offering something unique to the wearer. Some of the most popular styles include:
Geometric Patterns: Geometric blackwork tattoos are a top choice for many enthusiasts. They feature intricate designs made up of straight lines, circles, and other shapes, creating mesmerizing patterns. Known for their symmetry and precision, these tattoos often cover large areas such as the arms, back, or legs, making a bold visual statement.
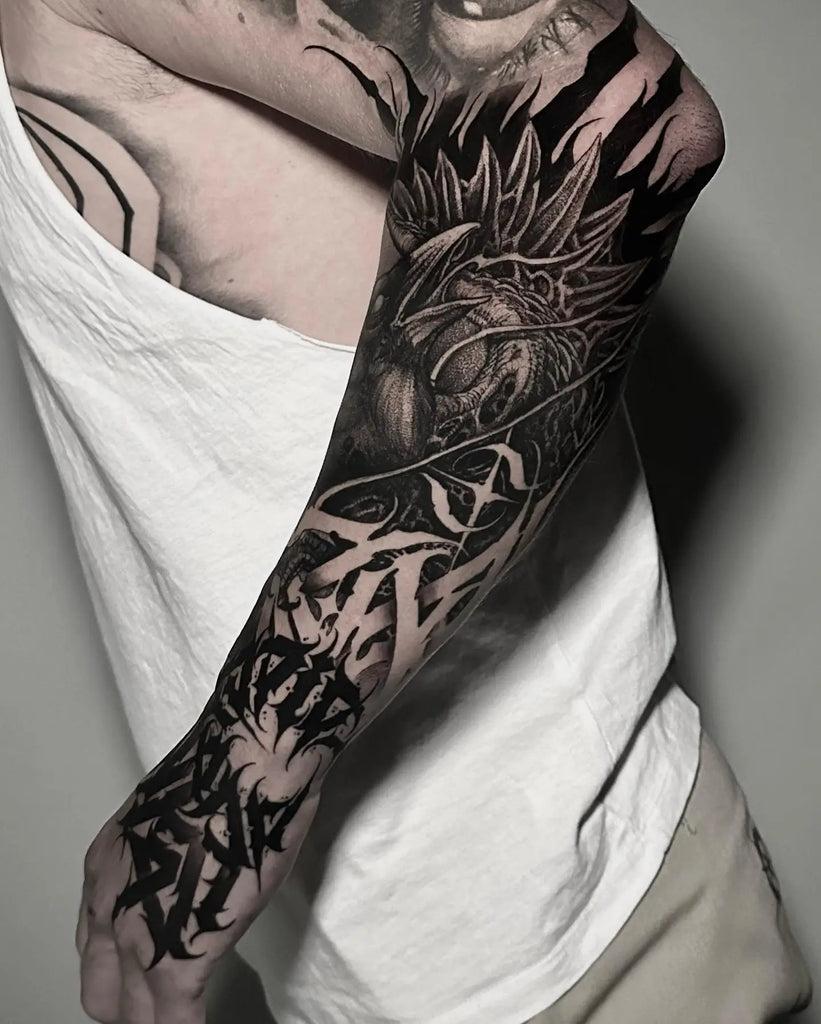
Tribal Designs: Deeply rooted in ancient traditions, tribal blackwork tattoos honor the tattooing practices of indigenous cultures. Characterized by bold, sweeping lines and symbolic patterns, these designs often represent heritage, strength, and resilience, making them a meaningful choice for many.
Minimalist Blackwork: For those who prefer a more understated approach, minimalist blackwork tattoos offer simplicity with impact. These designs focus on clean lines, small patterns, or meaningful symbols executed with precision. Despite their subtlety, minimalist tattoos stand out due to their sleek and refined aesthetic.
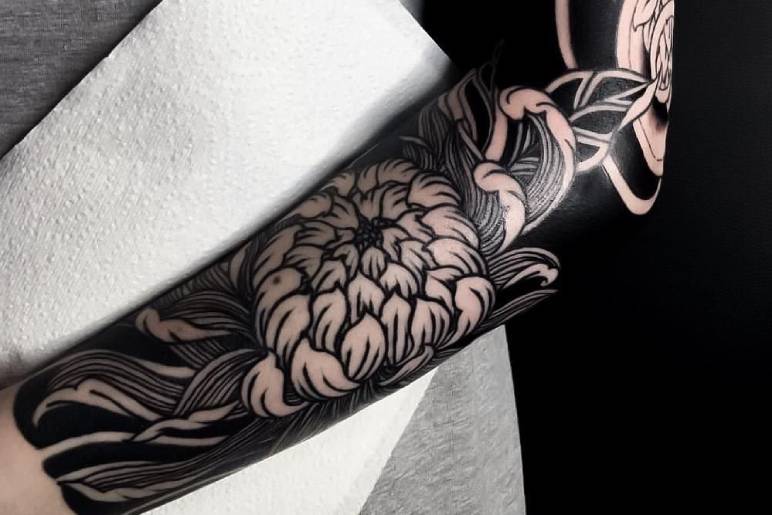
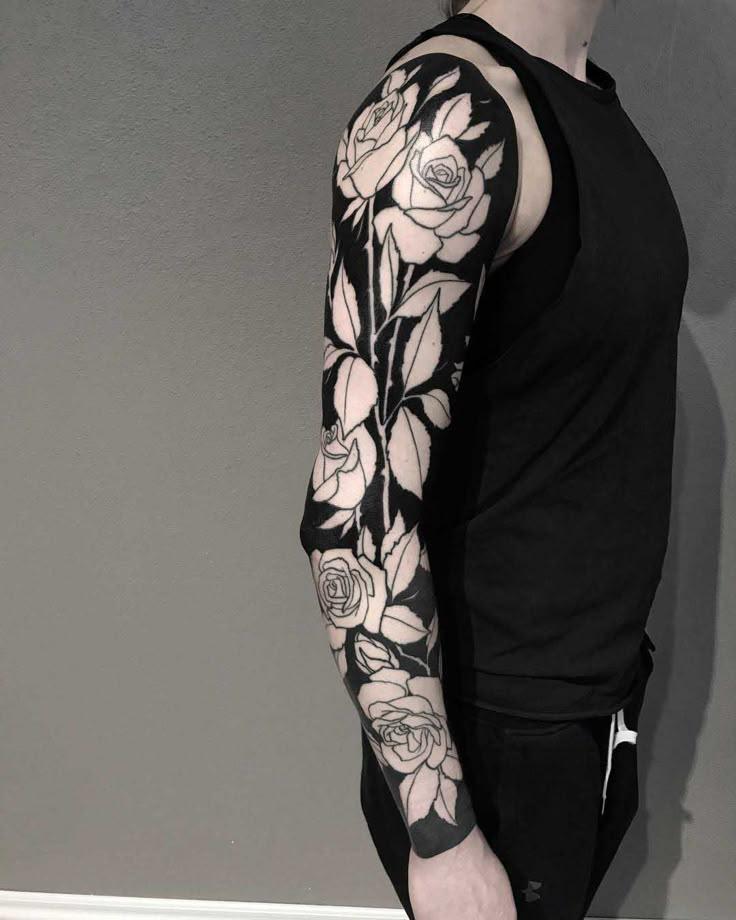
Floral and Nature-Inspired Blackwork: Blackwork isn’t limited to abstract or geometric patterns—many artists use this style to create detailed depictions of flowers, animals, and other elements of nature. The contrast between solid black ink and negative space allows for intricate shading and texture, making these tattoos visually striking.
Mandala Tattoos: Mandala designs, often associated with spirituality and meditation, are another stunning choice for blackwork tattoos. These symmetrical, circular patterns create a hypnotic effect, blending artistic beauty with deep symbolic meaning. Their intricate details make them a favorite among those seeking both aesthetic appeal and personal significance.
WHY BLACKWORK TATTOOS ARE SO POPULAR
The rising popularity of blackwork tattoos can be attributed to several key factors:
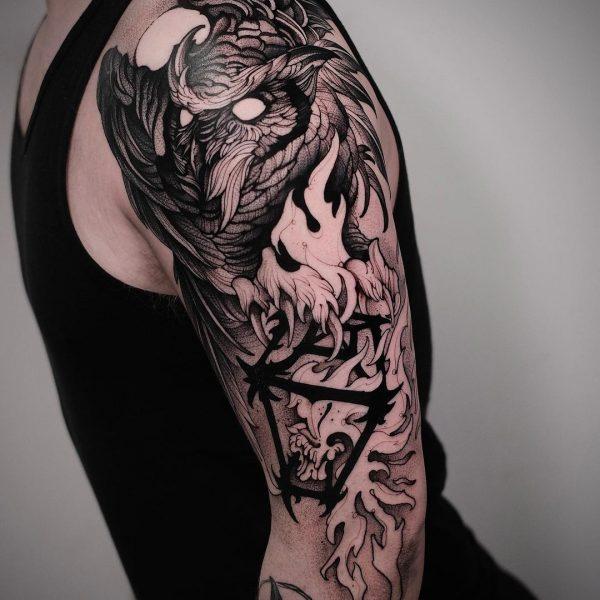
Bold and Striking Appearance: The strong contrast between black ink and bare skin creates a visually impactful look, often making blackwork tattoos stand out more than multi-colored designs.
Timeless Appeal: Black ink is highly durable and resists fading better than many other colors, allowing blackwork tattoos to retain their sharpness and clarity over time.
Versatility: Blackwork tattoos can be as simple or intricate as desired, ranging from small, subtle pieces to large, complex designs, making them adaptable to almost any artistic vision.
Cultural Significance: Many individuals choose blackwork tattoos to pay tribute to their heritage or embrace ancient tattooing traditions, adding deeper meaning to their body art.
Low Maintenance: While all tattoos require proper care, blackwork tattoos are generally easier to maintain due to their solid design and the long-lasting nature of black ink.
THE PROCESS OF GETTING A BLACKWORK TATTOO
If you’re considering a blackwork tattoo, it’s important to understand the process. While the overall approach is similar to other tattoo styles, the use of solid black ink requires precision and skill. Larger designs may take multiple sessions to complete, and filling in extensive black areas demands patience and expertise.
Choosing an experienced artist who specializes in blackwork is crucial. The clean lines, smooth shading, and bold designs characteristic of this style require a high level of technique. Not all tattoo artists excel in blackwork, so doing research and finding a skilled professional is essential.
AFTERCARE FOR BLACKWORK TATTOOS
Proper aftercare is key to maintaining the clarity and longevity of your blackwork tattoo. Follow these general aftercare tips:
- Keep It Clean: Gently wash your tattoo with mild soap and water to prevent infection.
- Moisturize: Use a fragrance-free moisturizer to keep the tattoo hydrated and prevent dryness or cracking.
- Avoid Sun Exposure: Direct sunlight can cause fading, especially during the healing process.
- Be Patient: Larger blackwork tattoos take time to heal. Follow your artist’s aftercare instructions closely for the best results.
CONCLUSION
Blackwork tattoos are a bold, timeless, and versatile form of body art that continues to captivate enthusiasts around the world. Whether you’re drawn to their deep cultural roots, striking aesthetic, or limitless artistic potential, blackwork tattoos offer something for everyone. If you’re thinking about getting one, be sure to choose a skilled and reputable artist who can bring your vision to life with precision and expertise.
Ultimately, blackwork tattoos are more than just ink—they’re a powerful expression of identity, strength, and beauty. If you’re ready to embrace the elegance and intensity of black ink, this style might be the perfect choice for you.