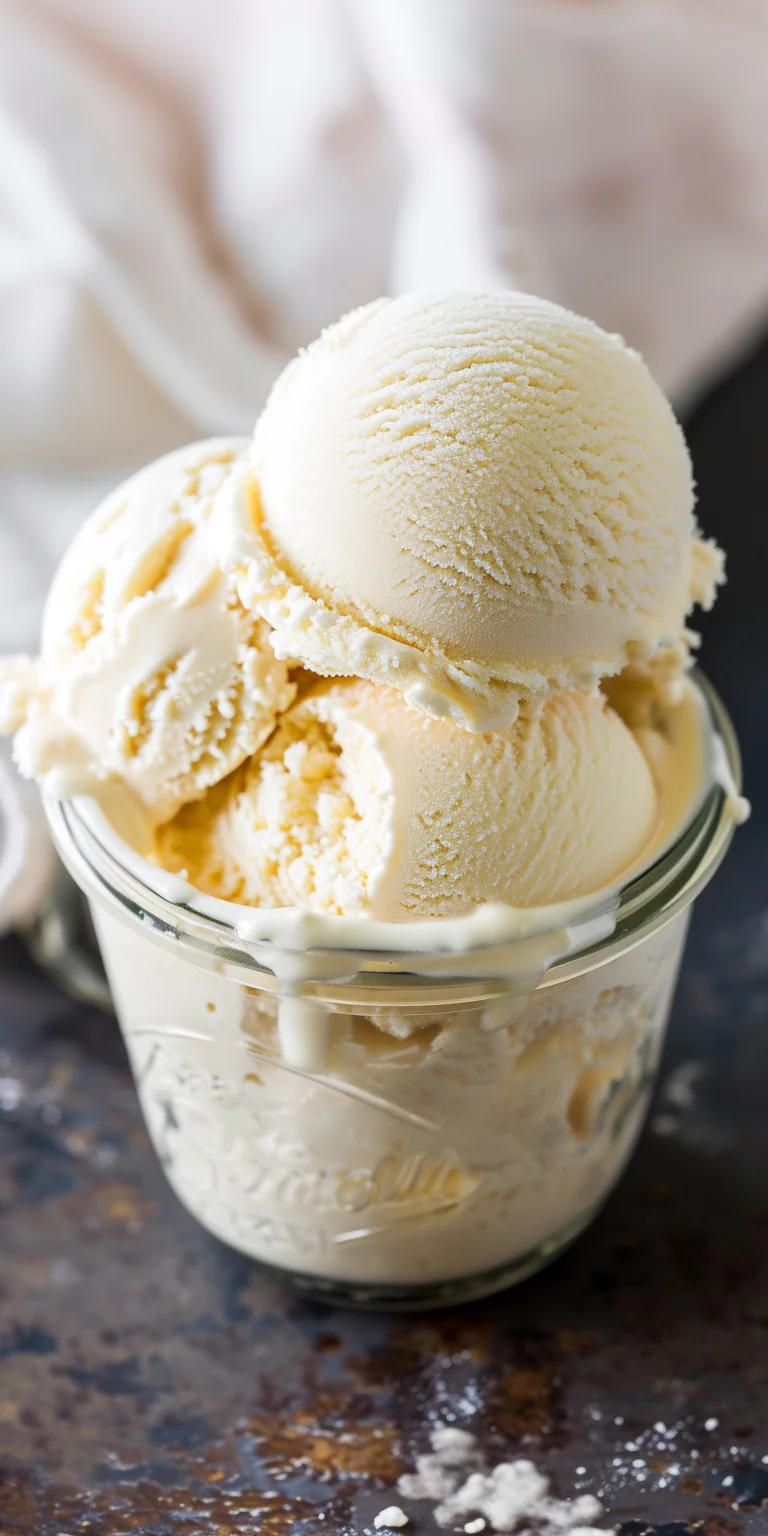
Homemade ice cream only takes about 25 minutes to churn. Just be sure to pre-chill your bowl for 24 hours and let the mixture rest for 3 hours before churning.
INGREDIENTS
- 4 large egg yolks
- 2/3 cup granulated sugar
- 1 1/2 cups whole milk
- 1 vanilla bean or 1 teaspoon vanilla extract
- 1 1/2 cups heavy cream
EQUIPMENT
- Mixing bowls
- Fine-mesh strainer
- Whisk
- Measuring cups and spoons
- Medium saucepan
- Spatula or wooden spoon
- Instant-read thermometer
- Ice cream machine
- Wax paper

INSTRUCTIONS
- Chill the ice cream bowl: If your ice cream machine has a bowl that needs to be frozen before use, place it in the freezer the night before. If you forget, you can prepare the base and refrigerate it overnight while the bowl freezes, then churn the next day.
- Prepare an ice bath: Fill a large bowl with ice and water. Place a smaller bowl on top and set a fine-mesh strainer inside. Keep this setup nearby while you make the ice cream base.
- Whisk the yolks and sugar: In a medium bowl, whisk together 4 egg yolks and 2/3 cup granulated sugar until smooth. The mixture will initially be thick and dark yellow, then lighten to a pale lemon color.
- Warm the milk: Pour 1 1/2 cups of milk into a medium saucepan. Split the vanilla bean lengthwise, scrape the seeds into the milk, and add the pod (or use 1 teaspoon of vanilla extract). Bring the milk to a simmer, then remove from heat.
- Temper the egg-sugar mixture: Slowly pour about 1 cup of the hot milk into the egg-sugar mixture while whisking constantly. This process gently warms the eggs, preventing them from curdling.
- Combine the mixtures: Gradually pour the tempered egg-sugar mixture back into the saucepan with the remaining milk.
- Cook the base: Return the saucepan to low heat. Stir constantly, scraping the sides and bottom of the pan. Continue cooking until the base thickens enough to coat the back of a spatula and reaches 170°F on an instant-read thermometer.
- Strain the base: Pour the ice cream base through the fine-mesh strainer into the prepared bowl to remove the vanilla pod and any curdled bits of egg. Discard the strainer, scraping any remaining base into the mixture.
- Add the cream: Stir in 1 1/2 cups heavy cream into the base.
- Chill the base: Place the bowl in the ice bath, stirring occasionally, until the mixture is completely chilled (about 20 minutes). Alternatively, cover and refrigerate for at least 3 hours or up to overnight.
- Churn the ice cream: Transfer the chilled base to the ice cream machine. Churn according to your machine’s instructions until the consistency is between a thick milkshake and soft-serve ice cream, usually about 20 minutes.
- Freeze until solid: Transfer the churned ice cream to a freezer container. Place a piece of wax paper against the surface to prevent ice crystals from forming. Freeze for at least 4 hours, or until solid.
RECIPE NOTES
- Other flavor variations: You can customize the flavor of your ice cream by adding ingredients to the milk along with the vanilla, such as fresh herbs, spices, coffee beans, or cacao nibs. Melted chocolate can also be incorporated to create chocolate ice cream.
- Storage: The ice cream will keep in the freezer for about 2 weeks before it becomes icy.