DIY LOTION WITH SHEA BUTTER

Do you ever find yourself playing detective, carefully scanning product labels before making a purchase? It can be a bit overwhelming, especially when so many body care products—supposedly natural or organic—are packed with questionable ingredients! That’s one of the reasons I love making my own. I get to control exactly what goes into my products, and it’s such a fun process! Come along with me as I share how to make your own luxurious shea butter lotion.

Non greasy shea butter lotion recipe

In my journey of healing, I became increasingly aware of the massive toxic burden in our modern world, and a big part of that is the products we use on our skin. Did you know that our skin, the largest organ in our body, quickly absorbs whatever we put on it? It’s a sobering thought, especially when we consider just how many commercial personal care products are packed with harmful chemicals.

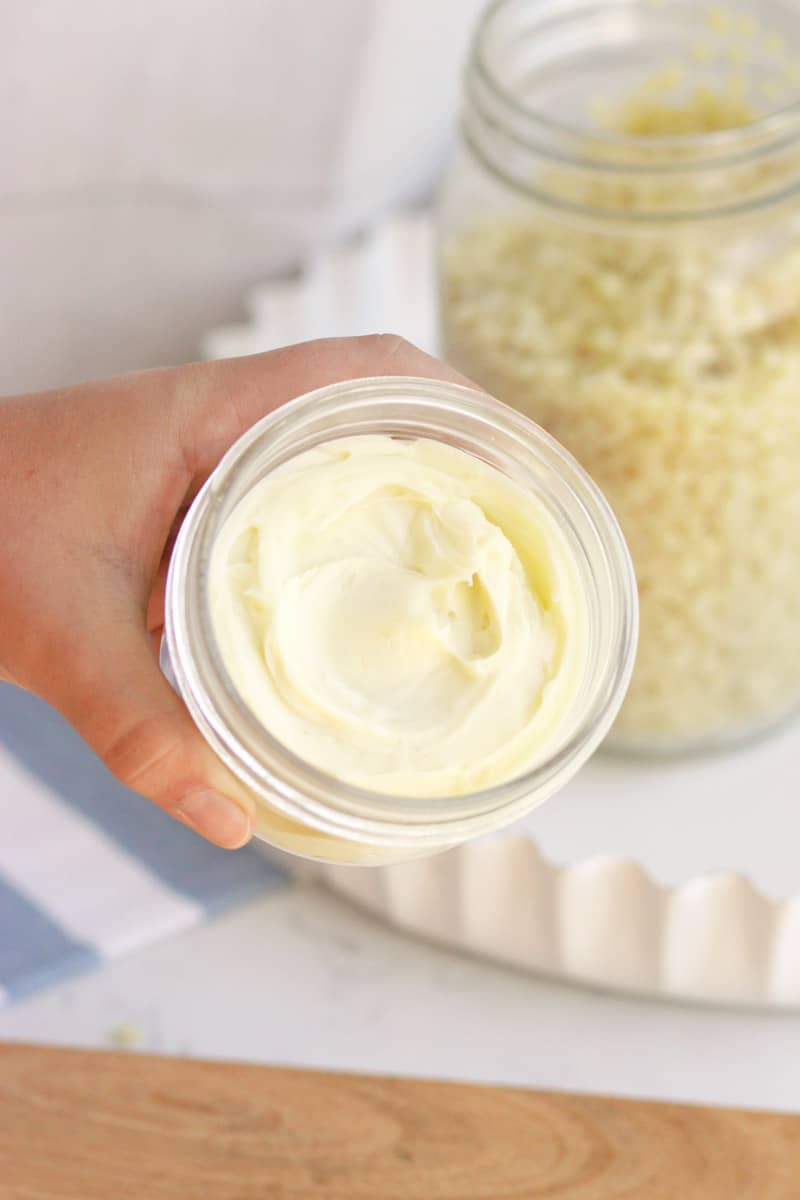
This lotion is the perfect solution for when you want a light, non-greasy moisturizer made with only the purest, most natural ingredients. I’m excited to share with you how to make lotion with shea butter—I think you’ll love it!

Taking it into my own hands with DIY lotion 

In my quest for the purest, most natural skincare, I decided to try making some products myself. After all, creating things has always been a huge passion of mine.

What I quickly discovered is that making your own organic skincare is not only fun but incredibly rewarding! One of my favorite things to make is lotion. While I love DIY skincare, makeup is one area I don’t usually tackle—check out my review of 100% Pure makeup here for more on that.

I just find it so satisfying to blend ingredients that don’t naturally mix and turn them into a smooth, light, and luxurious lotion. It’s like a little magic every time!

How do you make your own lotion?

When you make lotion, you’re creating an emulsion—essentially forcing two ingredients that don’t naturally mix to combine. It’s similar to the process of making homemade mayonnaise!

My favorite tool for making lotion is a food processor. While a blender works too, I find that the food processor gives the most consistent results.

Cleanliness is crucial when making skincare products, especially when they contain water. I suggest cleaning all your equipment with a weak bleach solution and allowing it to air dry before starting. This helps prevent introducing any bacteria into your recipe.

For the water component, I highly recommend using distilled water. This ensures that the lotion remains as pure as possible, free from any unwanted contaminants that could affect the final product.

How to make lotion with shea butter directions

INGREDIENTS:

  • 3/4 cup jojoba oil
  • 5 TBSP shea butter
  • 2 TBSP beeswax
  • 1 cup distilled water
  • 1/2 tsp preservative
  • 96 drops essential oil (optional)

INSTRUCTIONS:

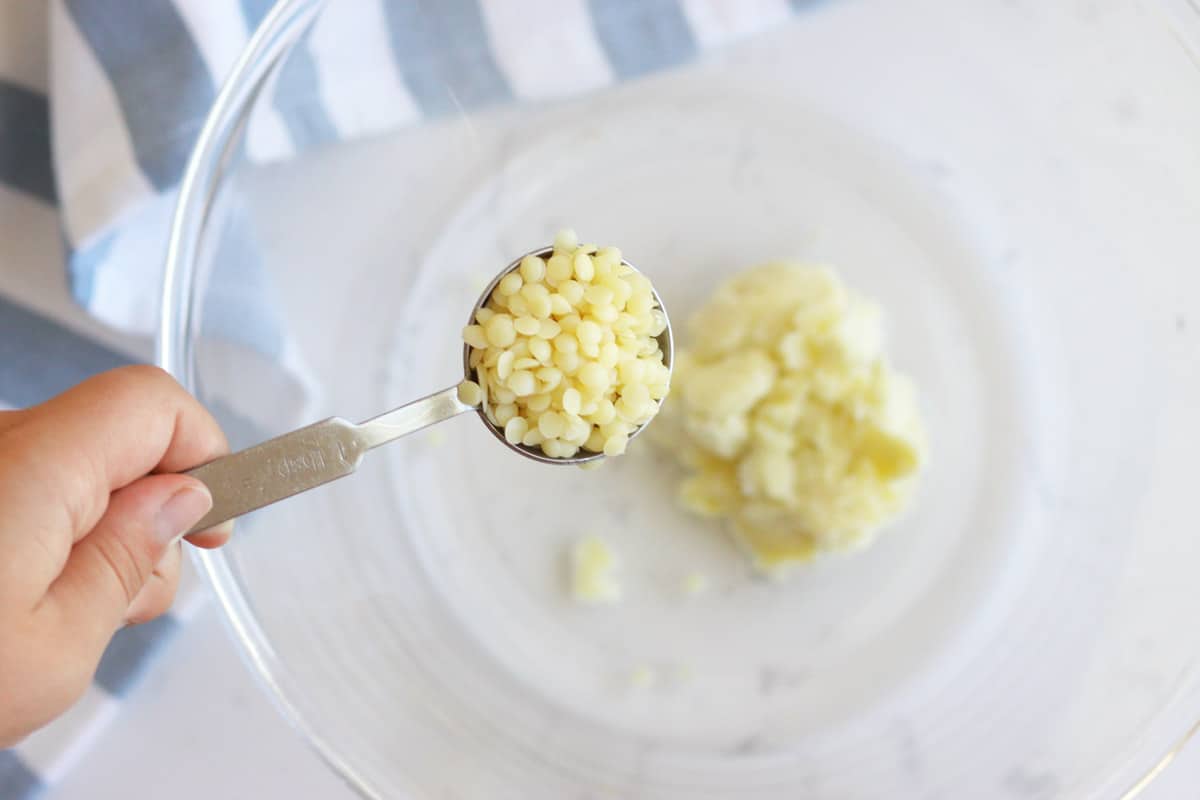
  1. Measure the jojoba oil, shea butter, and beeswax into a heat-safe glass container, such as a pitcher.
  2. Create a double boiler by placing the pitcher on a cloth in a pan of water.
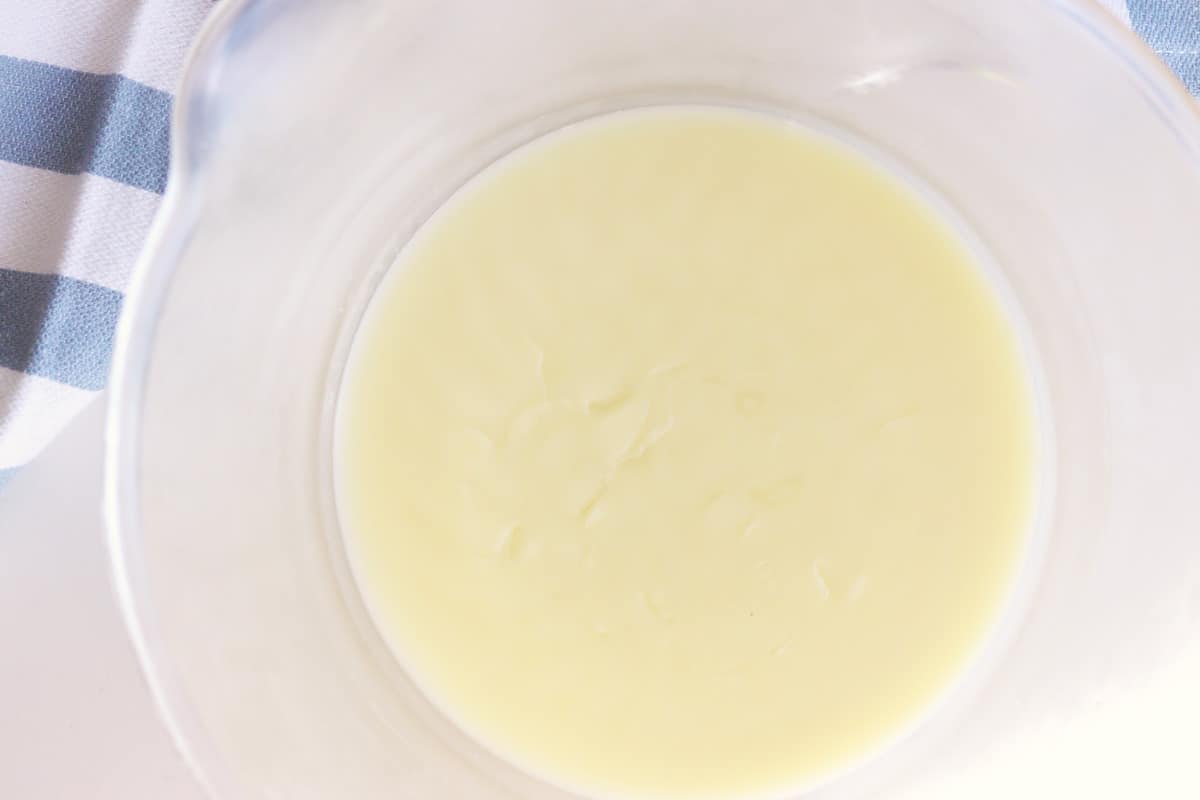
  3. Heat the water to a gentle simmer until the shea butter and beeswax are completely melted.
  4. Pour the hot oil mixture into a food processor.
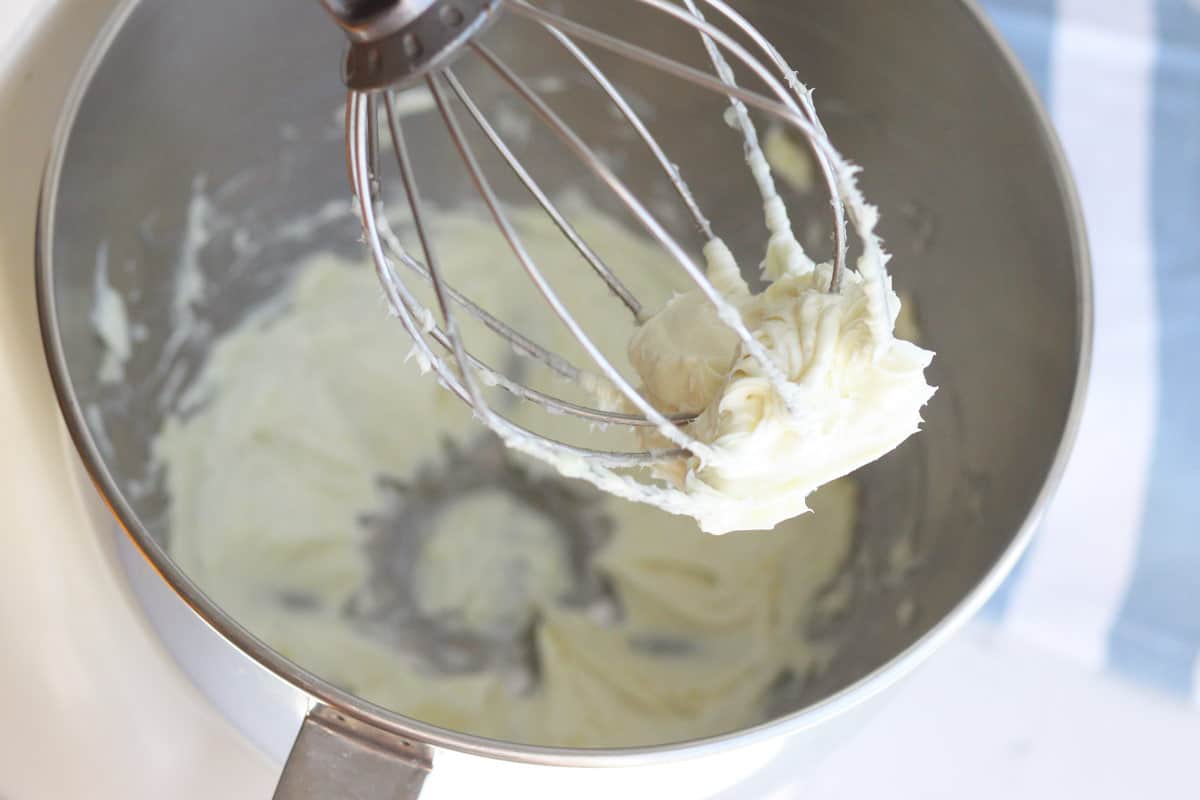
  5. Turn the food processor on, and in a small, slow stream, gradually pour the distilled water into the food processor.
  6. Allow the food processor to run for another minute or so, letting the emulsion form.
  7. Ensure the lotion mixture stays below 176°F (80°C).
  8. Add the preservative and essential oils, if using, and let the food processor run for another minute.
  9. Pour the lotion into glass containers.
  10. Store in a cool, dark place at room temperature.

Enjoy your homemade, luxurious lotion!

Natural preservative for homemade lotion

When making homemade lotions that contain water, it’s crucial to use a preservative.

Hold up, though—don’t we usually try to avoid preservatives in our food?

I had the same hesitation at first. But here’s the thing: when we make something with water and store it at room temperature, we really do need to add something to keep it fresh and prevent the growth of unwanted bacteria or mold.

I’ve found a natural preservative that works great, and it’s one I feel comfortable using—Optiphen Plus. It’s paraben-free and formaldehyde-free, which is exactly why I love it. That’s the preservative I recommend when making lotion with shea butter.

If you prefer to go preservative-free, you can store your homemade lotion in the refrigerator. Just keep in mind, the shelf life will be shorter.

Now that we’ve covered the essentials, let’s get started on making some beautiful lotion!

Customize your DIY lotion

What’s even more fun is when you get to experiment and play around with ingredients. That’s when things get really exciting!

In this recipe for making lotion with shea butter, I’ve used jojoba oil as the liquid oil and shea butter. But here’s the best part—you can totally swap these out for other oils and butters that suit your preferences! You could try sweet almond oil and cocoa butter, or even avocado oil and coconut oil. The possibilities are endless, and each combination will give your lotion a unique feel and scent!

Make it smell pretty and do even more

Essential oils are such a fun addition to homemade lotions! You can use a single oil, a pre-mixed blend, or even create your own custom blend.

Some essential oils are fantastic for their anti-aging properties, making them perfect for homemade lotions. For example, lavender oil is packed with beneficial ingredients for the skin and has a beautiful scent.

A couple of my favorite pre-mixed blends from Plant Therapy are Soft Skin and Bouquet. Soft Skin is filled with oils that help to soften and renew the skin, offering lovely anti-aging benefits. Bouquet has a gorgeous, floral scent that’s perfect for a soothing lotion. There are so many other beautiful blends to choose from as well.

And of course, you can get creative and mix your own! If you’re looking for natural gift ideas, I’ve shared some essential oil gift ideas here.

If you’re dealing with skin rashes or itchy skin, I’ve got a post with info on which essential oils can help with that too!

Is commercial natural skincare the real deal?

I’ve come to realize just how much our personal care and skincare products truly matter. To reduce our personal toxic load, it’s much better to use pure, natural ingredients and avoid synthetic and artificial substances.

There are plenty of skincare and personal care products on the market that are labeled as “natural” or even “organic,” but are they really the best choice?

Sadly, the answer is often no. Many so-called natural skincare products still contain ingredients that aren’t actually natural, and ones I’d rather avoid.

If you’re looking for some of my favorite non-toxic cleaning products, check out this post here. I also have a great tallow lotion recipe for you here!

Benefits of shea butter

Shea butter is an incredible plant-based ingredient that’s both moisturizing and soothing for the skin. It’s rich in fatty acids, as well as vitamins A and E, and has natural anti-inflammatory properties, making it a great choice for revitalizing and nourishing your skin (source).

When choosing between unrefined and refined shea butter, I recommend going with unrefined if you can. It retains more of its beneficial nutrients compared to the refined version. The only downside is that it has a stronger smell, but in my opinion, the extra benefits make it worth it!

CONCLUSION

In conclusion, making your own skincare products, like homemade lotion with shea butter, is not only a fun and rewarding experience but also an empowering way to ensure you’re using the purest, most natural ingredients. By choosing wholesome oils, butters, and essential oils, you can create a personalized lotion that nourishes your skin and keeps it free from harmful chemicals.

Whether you’re experimenting with different oils, blending your own essential oils, or using natural preservatives like Optiphen Plus, the process allows you to have full control over what goes onto your skin. Plus, it’s a great way to reduce your toxic load and embrace a cleaner, more natural skincare routine.

So, get creative and enjoy the process! With a little knowledge and the right ingredients, you can make your own luxurious, non-toxic lotion that’s perfect for your skin.

HOMEMADE HERBAL BATH MELTS

These herbal bath melts are perfect for moisturizing your skin, resetting your energy, calming your mind, and opening your heart. There’s no better way to unwind and release the day’s stress than through a self-care ritual, setting a personal bath intention. With these melts, you’ll create a soothing experience that nourishes both body and soul.

If you’ve been following the blog for a while, you know how much I advocate for self-care. One of my favorite ways to practice self-care is by enjoying a nourishing bath that refreshes both your skin and your spirit.

Over the years, I’ve shared various bathtime essentials, including bath salts, soaks, and bath bombs. These herbal bath melts offer a unique experience—they’re portable like bath bombs yet deliver the deep hydration of a bath soak, making them a perfect addition to your relaxation routine.

WHAT IS AN HERBAL BATH MELT?

Imagine the silky, indulgent experience of a bath soak combined with the convenience of a bath bomb. These herbal bath melts gently dissolve without fizzing, releasing essential herbs and oils for a deeply hydrating bath.

Infused with cocoa butter, shea butter, coconut oil, and skin-soothing herbs, these melts create a balanced, nourishing bath ritual that your skin will adore. As you soak, a sense of calm, renewal, and heart-opening warmth will envelop you, leaving your skin soft and replenished.

ARE BATH MELTS HARD TO MAKE?

Nope! Making herbal bath melts is actually quite simple and allows for a lot of flexibility with ingredients. All it takes is mixing your chosen ingredients, pouring them into a silicone mold, and letting them set.

The recipe I used combines clays, essential oils, organic flowers, and coconut oil. Unlike bath bombs, these herbal melts are less labor-intensive and offer more creative freedom. I love how soft and nourished my skin feels after using them!

The best part of this herbal bath melt recipe is its flexibility—you can tailor the ingredients to suit your specific herbal needs, spiritual intentions, or simply what you have on hand.

FAVORITE DIY HERBAL BATH MELT INGREDIENTS

Creating your own bath melts lets you design a bath experience perfectly suited to your needs. I often begin with Epsom salts, which offer muscle-relaxing properties and skin nourishment, much like a bath bomb.

I also love adding my favorite organic flowers like calendula and chamomile, which bring a touch of beauty and tranquility to the bath. Be sure they’re 100% organic since you’ll be soaking in them!

When choosing ingredients for your herbal bath melts, think about the self-care ritual you want to create—one that encourages focus and letting go. Each ingredient has nourishing properties for the skin, but consider those that uplift your soul as well.

HEART-OPENING HERBAL SOAK

There’s nothing quite like a warm bath to thaw your body, mind, and heart on a chilly evening. Let the cocoa butter in these herbal bath melts melt into your skin, providing deep moisture and warmth.

Rose is a beautiful, heart-opening addition to this ritual, perfect for the colder months when many of us feel more introspective. Chamomile brings a gentle, calming quality with its light floral aroma, helping you drift off to a peaceful place, while calendula offers soothing support as you release and heal from the past.

For a touch of winter magic, bright orange peel brings fresh energy to your connections, love, and dreams. And the earthy scent of cedar offers a grounding presence, helping you reconnect with your inner wisdom, grounding you as you explore and embrace your truest self.

Other ingredients added:

  • rose clay
  • french green clay
  • rhassoul clay
  • cocoa butter wafers
  • shea butter
  • essential oils
  • cedar leaf
  • calendula flowers
  • chamomile
  • dried orange peel
  • rose petals

These ingredients not only hold everything together but also provide essential nutrients to nourish your skin.

Feel free to get creative, experimenting with or mixing your favorite ingredients. Whatever herbs you choose, simply stick to the recommended ratios, and you’ll create a magical DIY bath melt every time!

HOW TO MAKE HERBAL BATH MELTS

First, weigh out the coconut oil, cocoa butter wafers, and shea butter using a digital kitchen scale.

Next, melt the ingredients in a double boiler or a makeshift double boiler (by placing a Pyrex measuring cup or bowl over a pan with an inch or two of simmering water) until the oils reach a fully melted state.

If you’re using any optional clay ingredients, divide the melted oils into separate bowls. Stir in each clay while mixing to ensure they melt smoothly. Keep in mind that different clay types will affect the color of the melts and provide additional skin benefits.

Next, pour the melted oil mixtures into silicone molds. Then, in each mold, add Epsom salts and your chosen herbal ingredients. Feel free to use flower petals, cedar leaves, dried orange peel, or any other herbs in combinations that best suit your needs.

Allow the bath melts to dry and harden in the silicone molds overnight. If you’re in a hurry, you can speed up the process by placing them in the refrigerator.

Once they are completely set, gently pop the herbal bath melts out of the molds. Then, enjoy your soothing ritual of self-love, self-realization, and self-companionship!

HOW TO STORE AND USE HERBAL BATH MELTS

While you await their use, keep these lovely bath melts at room temperature, storing them in a cool, dry, dark place away from direct sunlight.

If you live in or visit a very hot climate, it’s best to store the herbal bath melts in the refrigerator. After all, no one wants a pre-melted bath melt!

Use the herbal bath melts as needed to moisturize your skin and relax your mind. Embrace the herbal benefits as you reconnect with your inner self. Just as the melts cater to your individual needs, create a ritual that feels right for you in the moment.

There’s nothing selfish about self-care. You’ll discover that as the bath melt dissolves, you’ll also melt away the day’s stressors.

Simply place a bath melt into a tub of hot water and allow it to melt, releasing the soothing herbs as you soak. Enjoy the experience!

FREQUENTLY ASKED QUESTIONS

How can I avoid the bath melts making a mess in the bathtub?

If you’re concerned about a mess after using the bath melt, I have a few tips for you. First, grind the flower petals using a coffee grinder, a circle silicone mold, a double boiler insert, a blender, or a food processor to minimize residue. Second, you can use a cheesecloth secured with a rubber band to strain out any leftover materials, making cleanup easier.

Regarding plumbing worries, I found that while using the bath melts, I focused on applying the oils to my skin, similar to a lotion bar. By the end of your bath, you’ll likely notice any remaining oils floating on top of the water. You can scoop these up with a cup to prevent them from going down the drain. If this method doesn’t work for you, consider leaving out the Epsom salt from the recipe and using the bath melt right after getting out of the bath!

Will the bath melts stay solid at room temperature?

Absolutely! We created and tested the bath melts recipe to ensure they stay solid at room temperature. However, we recommend storing them in a cool, dark place until you’re ready to use them. Avoid sunny windows and be cautious when transporting the melts on hot days to keep them in perfect condition.

What tools will I need to make the bath melts?

I recommend using a silicone mold to shape the bath melts; I used a circular silicone mold for mine. For melting, I often set up a standard double boiler by placing a glass bowl on top of a pot filled with warm water. Alternatively, I love using a double boiler insert for easy heating and pouring. A kitchen scale is also helpful for measuring the ingredients accurately!

conclusion

In conclusion, creating your own herbal bath melts is a delightful and customizable way to enhance your self-care routine. By choosing ingredients that resonate with your needs and preferences, you can craft a soothing and nourishing bath experience that promotes relaxation, skin hydration, and inner peace. With simple steps and flexible options, you can enjoy the calming benefits of these bath melts while reconnecting with yourself. So gather your materials, let your creativity flow, and indulge in the magic of a personalized herbal bath ritual that rejuvenates both your body and mind! Enjoy every moment of your self-care journey!