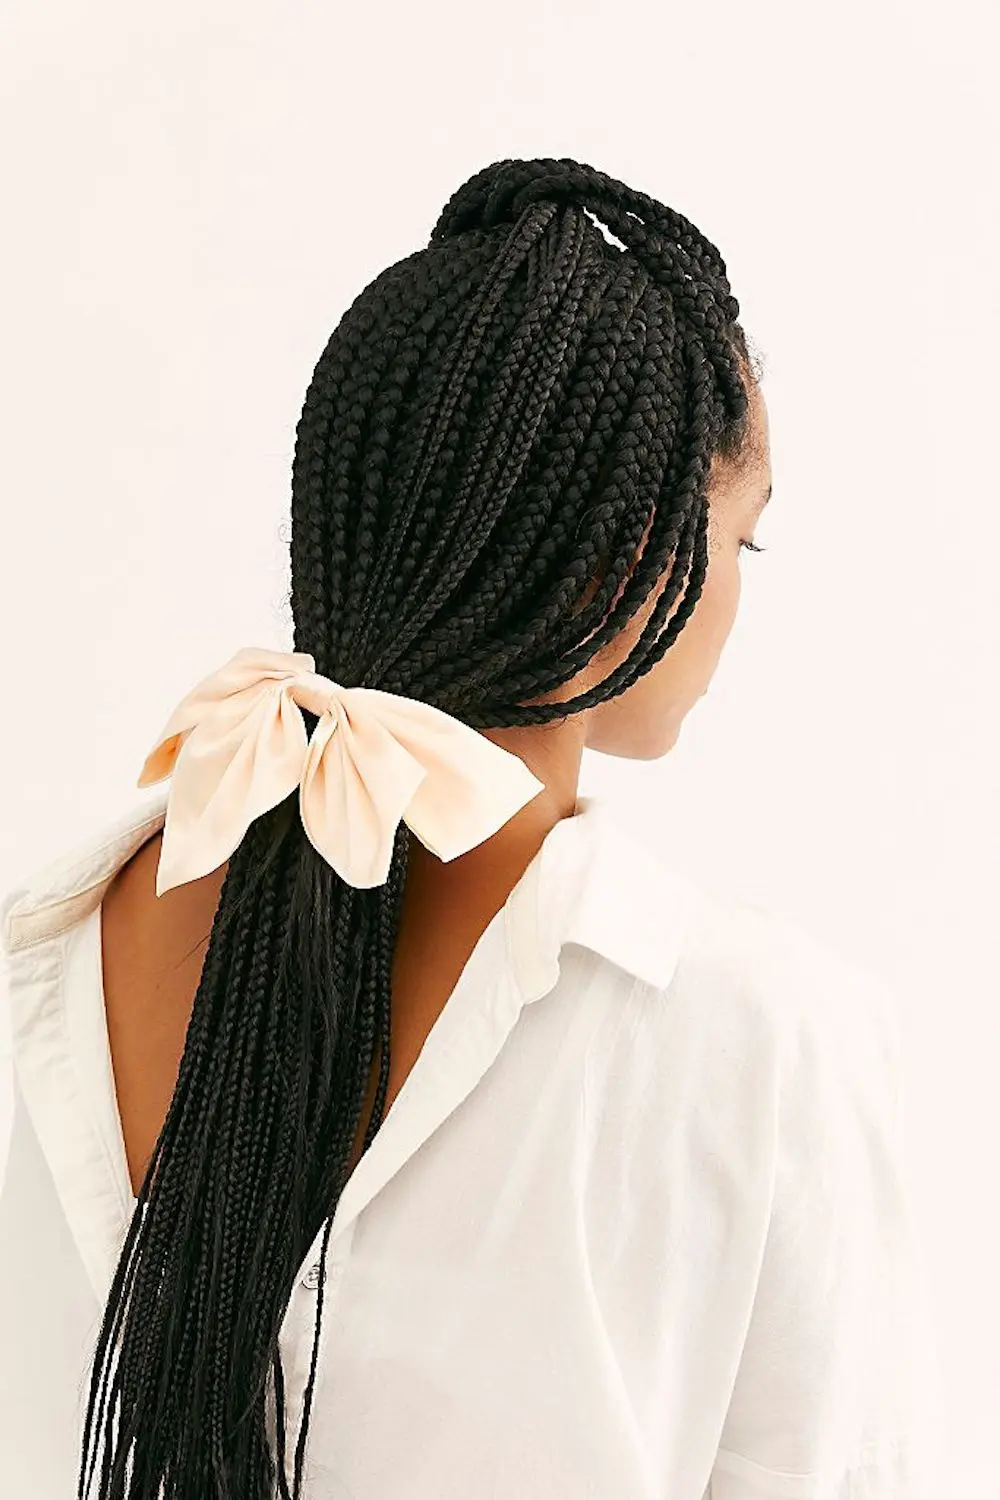
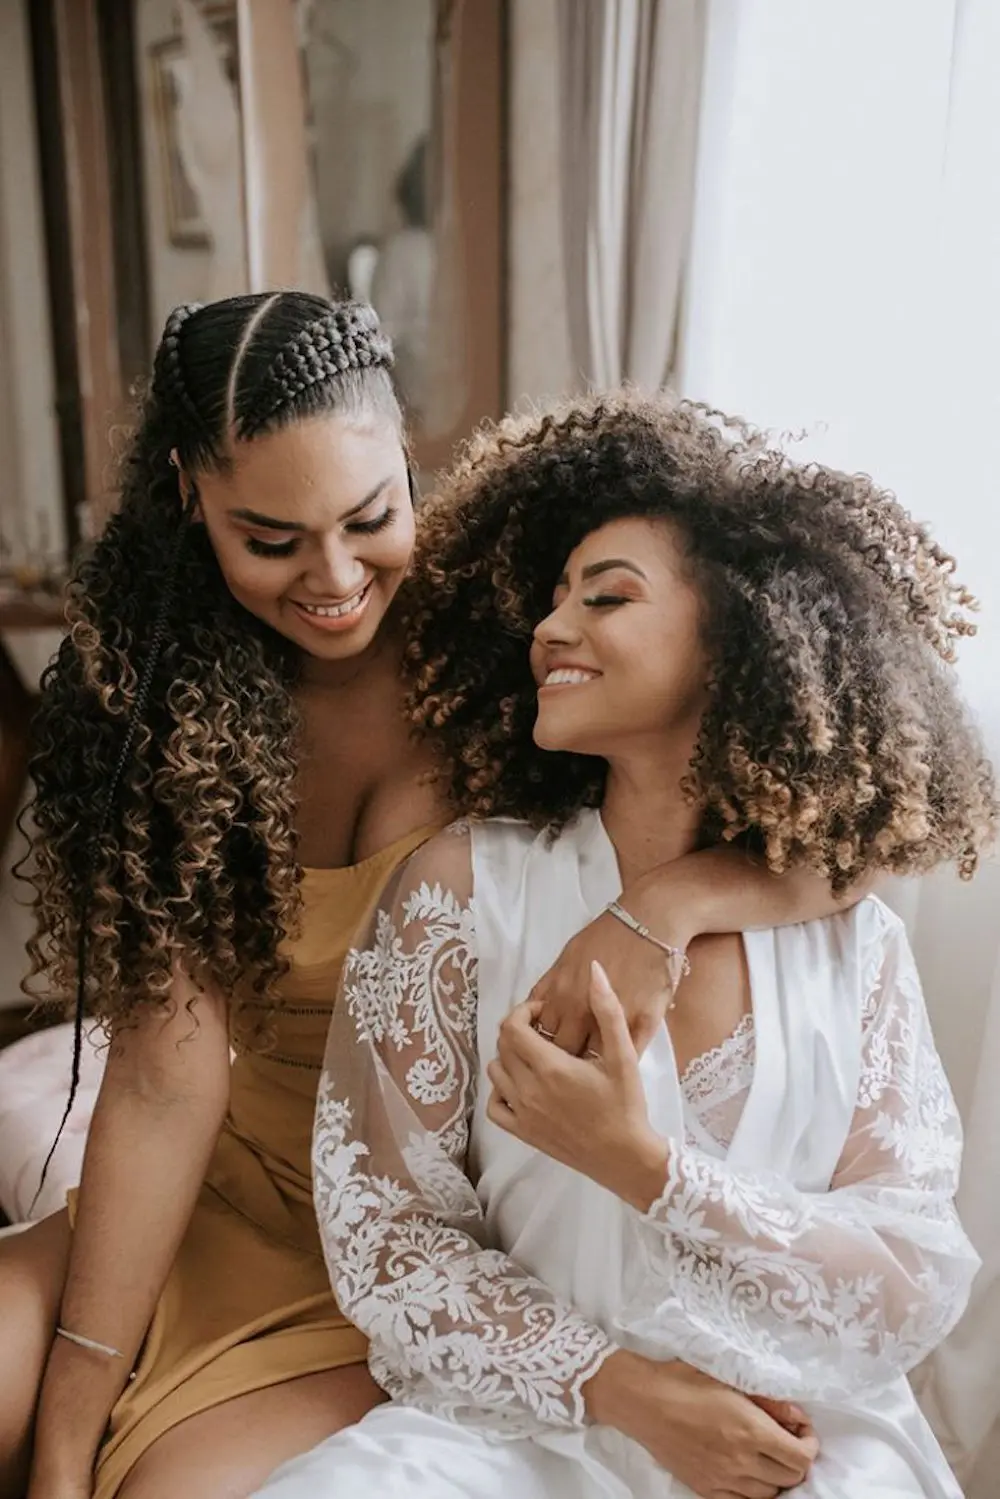
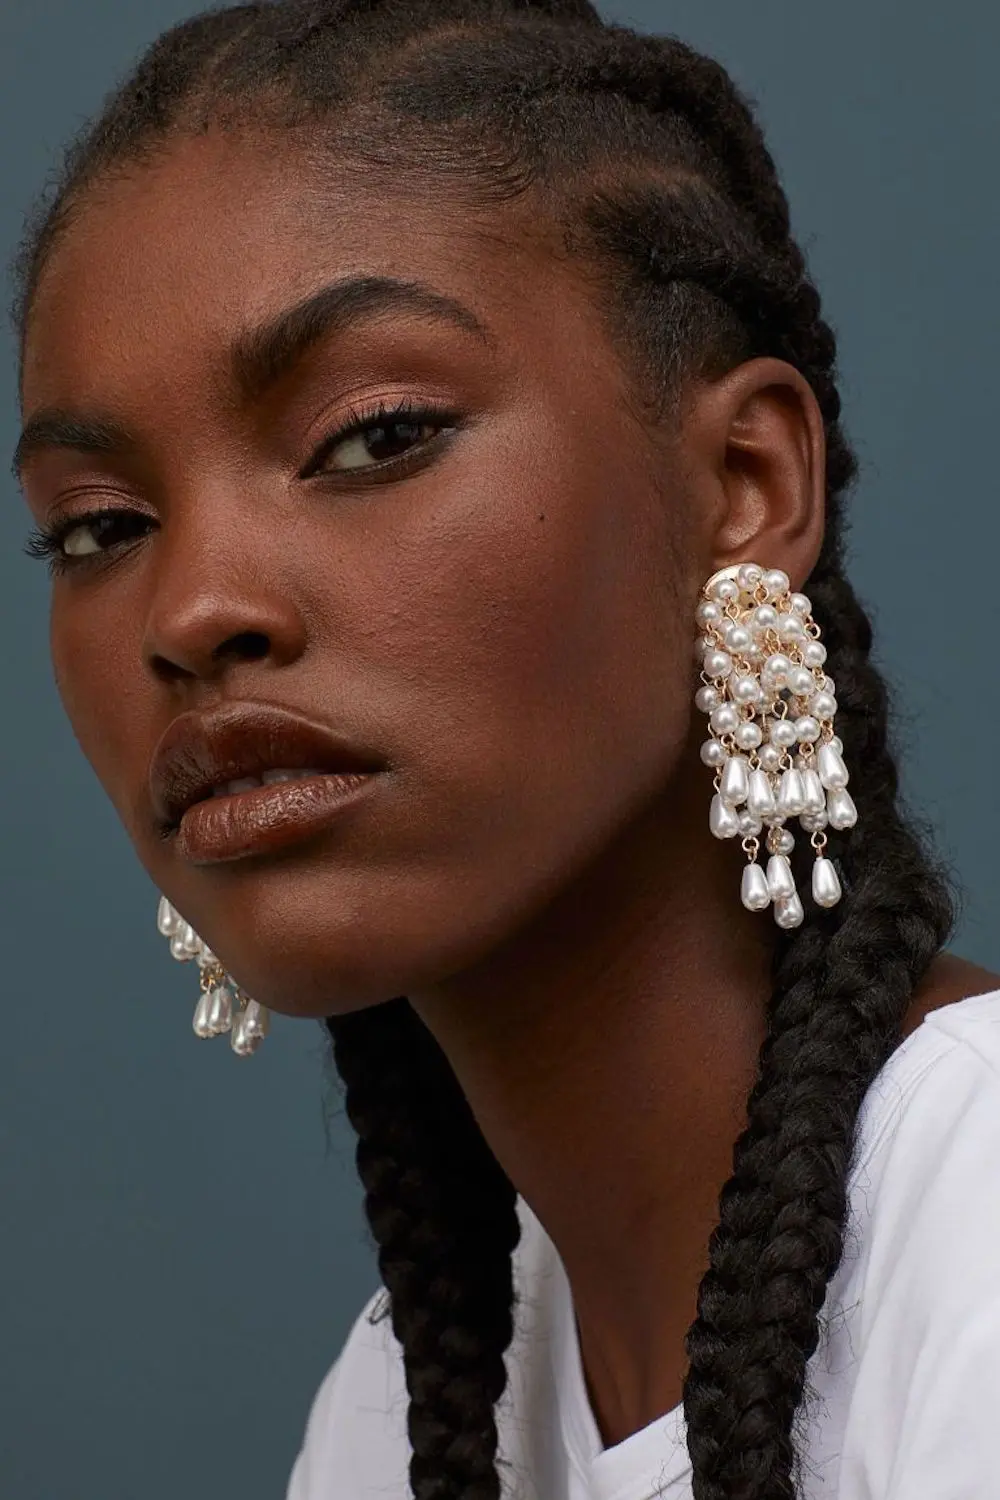
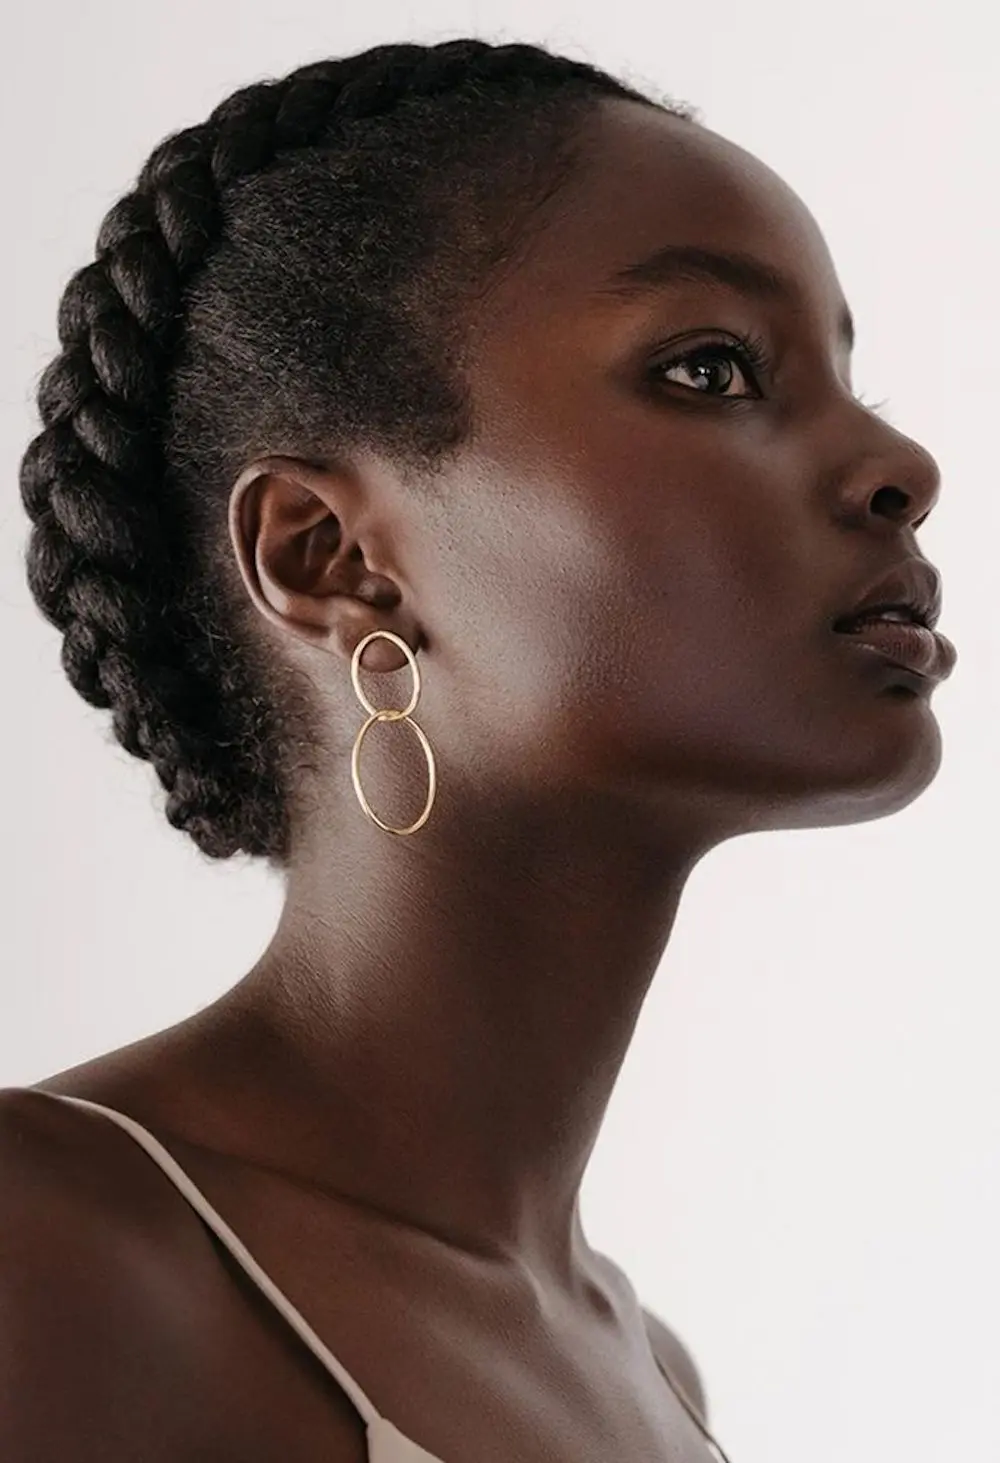
If you’re looking for a protective hairstyle that can last for weeks, then cornrows might be the perfect choice for you. Cornrows are a traditional African hairstyle where hair is braided close to the scalp in straight lines or intricate patterns. This style is not only fashionable but also helps protect your hair from damage and breakage.
So, scroll down and check out how to do cornrows step-by-step. Keep reading!
Tools Needed for Cornrowing
Before starting with the actual cornrowing process, it’s essential to have the necessary tools and products. Here are some of the things you’ll need:
- Wide-tooth comb
- Rat-tail comb
- Hair clips
- Hair ties
- Gel or edge control
- Hair oil or moisturizer
- Extra hair extensions (optional)
Step-by-Step Guide on How to Do Cornrows
Step 1: Preparation
Start with clean, detangled hair. If your hair is not freshly washed, you can dampen it slightly using a water and conditioner mixture.
Step 2: Sectioning
- Use a wide-tooth comb to part your hair into sections. The size and shape of the sections will determine the pattern of your cornrows.
- You can create straight rows, zig-zags, or curved lines depending on your desired style.
Step 3: Detangle and Moisturize
- Apply a hair moisturizer or styling product to the section you’re about to braid. This will help make the hair more manageable and reduce frizz.
- Use a wide-tooth comb to gently detangle the sectioned hair.
Step 4: Creating the Cornrows
- Start with the first section at the front of your head. Divide this section into three equal strands, just like you would for a regular braid.
- Cross the right strand over the center strand, then cross the left strand over the new center strand. This is the beginning of a basic braid.
Step 5: Adding Hair
- As you continue braiding, add a small section of hair from the root of the scalp to the right strand before crossing it over the center.
- Similarly, add a small section of hair from the root to the left strand before crossing it over the center.
- This technique is similar to French braiding but much closer to the scalp.
Step 6: Continue Braiding
- Keep adding small sections of hair to each side as you braid. Make sure to pull the strands tightly to the scalp for neat and tight cornrows.
- The added hair should be consistent in size to create uniform rows.
Step 7: Secure the Cornrow
- Continue this braiding pattern until you reach the nape of the neck or the desired endpoint for that particular cornrow.
- Braid the remaining hair without adding any extra sections and secure the end with a small elastic band or hair clip.
Step 8: Repeat for Each Section
- Repeat the braiding process for each section you’ve created during the sectioning step.
- Make sure to maintain consistent tension and size for each cornrow.
Step 9: Final Touches
- If any strands are sticking out or if the cornrows aren’t as neat as you’d like, you can use bobby pins to secure them.
- You can also apply a light hair spray or gel to tame any flyaways and keep the cornrows looking polished.
Step 10: Maintenance
- To keep your cornrows looking fresh, you can sleep with a satin or silk scarf or use a silk pillowcase to prevent friction and frizz.
- You can also oil your scalp with a lightweight oil to keep it moisturized.
Remember that cornrowing takes practice to master, so don’t get discouraged if your first attempts aren’t perfect. With time and patience, you’ll improve your skills and create beautiful cornrow styles. If you’re new to braiding, it might be helpful to have a friend or family member assist you, especially with the sections at the back of your head.
Different Cornrow Styles
- Straight-back cornrows: This is the most common type of cornrow style where the braids are done in straight lines going back.
- Zigzag cornrows: These cornrows are done in a zigzag pattern from the hairline to the nape of the neck.
- Ghana braids: These cornrows are usually thicker and longer than regular cornrows and are braided in intricate patterns.
- Crown braids: In this style, the cornrows are braided in a circular pattern around the head, creating a crown-like effect.
- Feed-in cornrows: Also known as stitch braids, feed-in cornrows start with small braids at the hairline that gradually get bigger as they go towards the back of the head.
Comparisons of Cornrows vs. Other Hairstyles
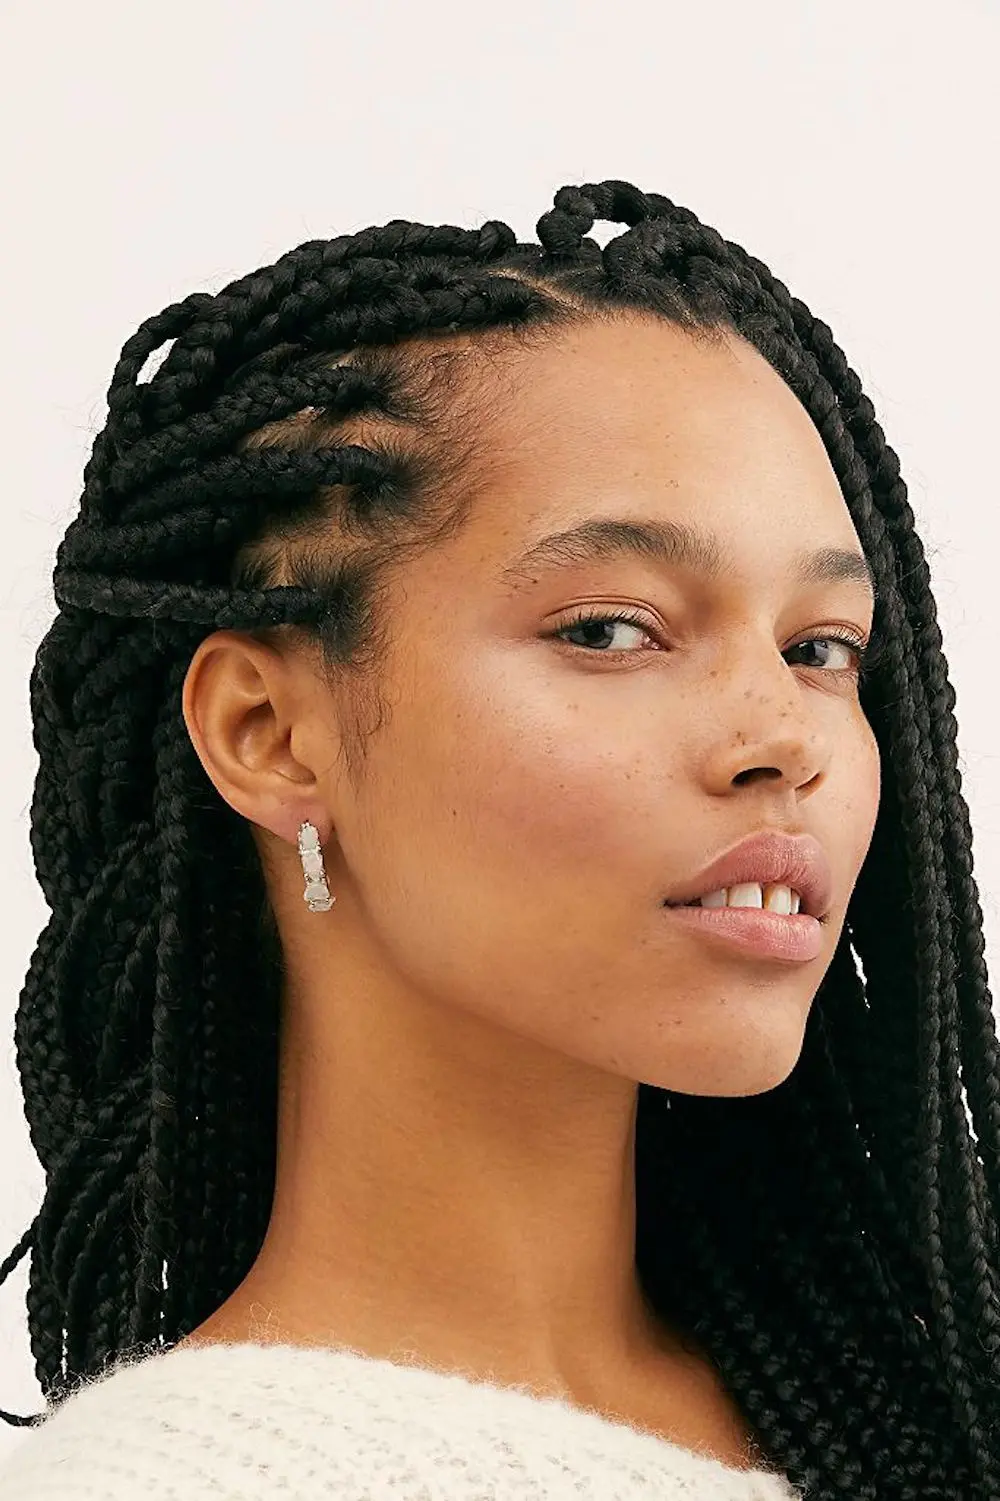
- Box braids vs. cornrows: Box braids are similar to cornrows but involve braiding the hair into individual sections rather than braiding the hair close to the scalp in straight lines.
- Twists vs. cornrows: Twists involve twisting sections of hair together, while cornrows braid the hair close to the scalp. Both are great protective styles.
- Bantu knots vs. cornrows: Bantu knots involve twisting small sections of hair into tight knots. While cornrows involve braiding the hair close to the scalp. Both styles look great when done correctly.
Tips for Beginners
- Start with small sections of hair until you get the hang of it.
- Be patient and take your time. Cornrowing can be time-consuming but the results are worth it.
- Don’t braid your hair too tightly as this can cause damage to your scalp and hairline.
- Use a rat-tail comb to create neat parts and section your hair evenly.
- Moisturize your hair before and after cornrowing to prevent breakage.
FAQs
- How long do cornrows last? Cornrows can last anywhere from 2-6 weeks depending on how well they’re maintained.
- Can I wash my hair with cornrows? Yes, but be gentle when washing your hair and avoid using harsh shampoos or conditioners.
- Can I do cornrows on short hair? Yes, but you may need to use extensions to achieve the desired length or pattern.
- Do cornrows cause hair loss? Cornrows done too tightly can cause temporary or permanent hair loss, so it’s important not to braid your hair too tightly.
- Are cornrows suitable for all hair types? Cornrows can be done on all hair types, but the process may vary depending on the texture and length of your hair. For example, if you have thick or curly hair, it may take longer to detangle and section your hair before braiding.
Conclusion
Cornrows are a versatile and stylish hairstyle that can protect your hair from damage and breakage. With the right tools, techniques, and products, anyone can learn how to do cornrows. Whether you’re looking for a simple straight-back style or a more intricate pattern, cornrows offer endless possibilities for creativity. Remember to take your time, be patient, and don’t braid your hair too tightly. With these tips and tricks, you’ll be rocking your new cornrows in no time!


