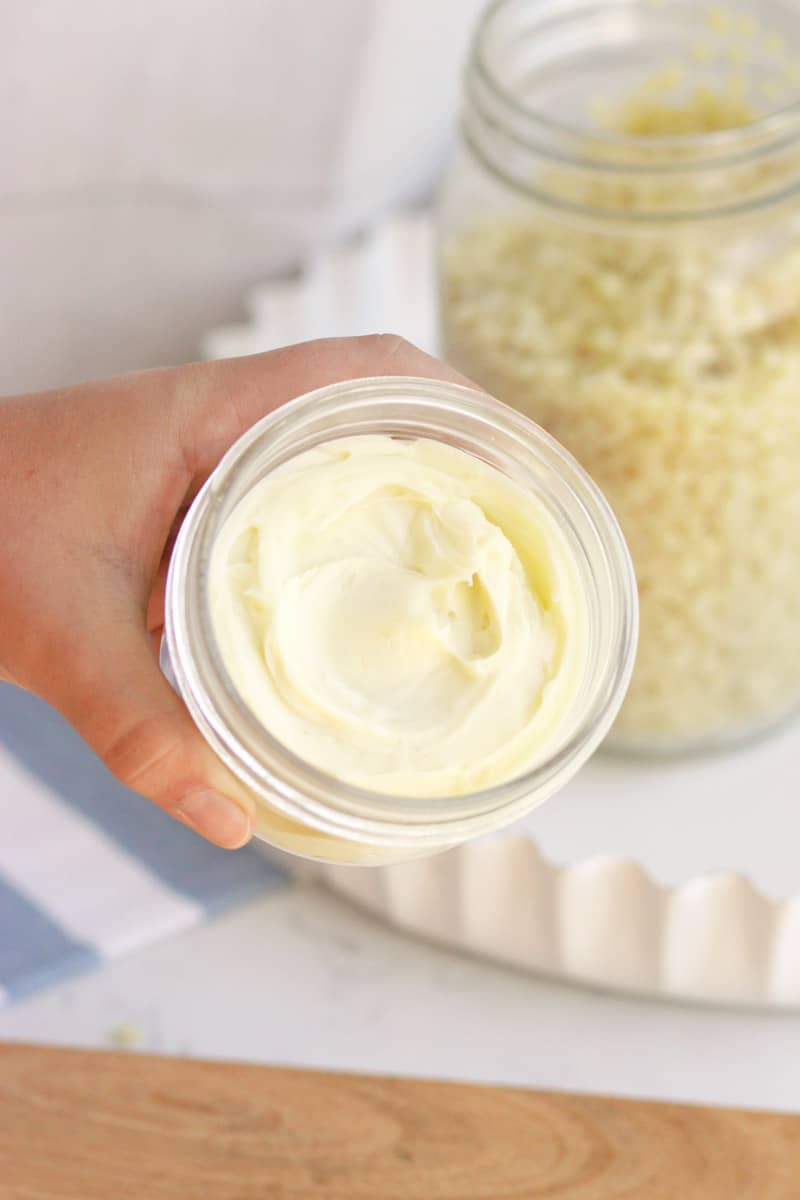
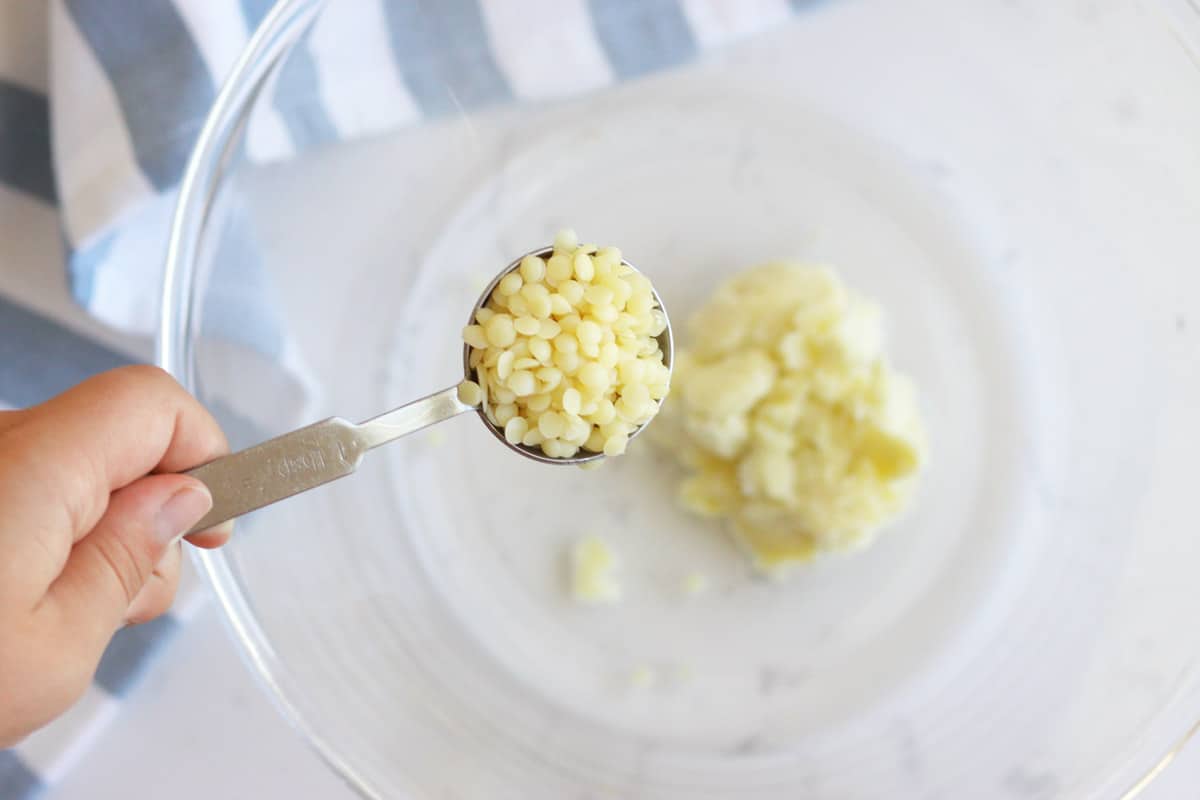
When it comes to the most popular way to get rid of body hair, waxing comes first on the list. It’s quick, convenient, and effective. Since the hair is pulled out from the root, it may grow slower than shaving.
Its popularity may be attributed to its convenience as you can do it at home by yourself. Before waxing, there are things that you need to know, including what type of wax is most suitable for you. There are two different types: hard wax vs soft wax.
Even though both do the same job which is removing the hair from the follicle, each has its distinct function. Hard wax is better for smaller, more sensitive areas like your bikini area. Soft wax, on the other hand, works well with larger areas like your legs.
Knowing the growing demand for waxing, this article will highlight the differences between hard wax and soft wax, and give you some instructions to help you choose the right wax for your needs.
What is Hard Wax?
If you want to remove hair in a sensitive area, hard waxing is the perfect choice. That’s because it adheres only to the hair rather than to the skin, leading to less pain and irritation to the individual during the hair removal process.

There is no need to use a strip to remove it once it hardens, as you can use your hand. Hard wax is typically applied to the skin in a thick layer, and once it has cooled and hardened, it is removed by gripping the edge of the wax and pulling it off in the opposite direction of hair growth.
According to experts, hard wax is best suited for use on your bikini area, underarms, and facial hair.
What is Soft Wax?
Unlike hard wax, it requires a strip to be removed. Because of that, when the wax is pulled off, it may leave the skin red and irritated. Soft wax is applied to the skin in a thin layer, and a cloth or paper strip is required to remove the wax. Once the strip is pressed onto the wax, it is quickly removed in the opposite direction of hair growth, taking the wax and hair with it.

Soft wax is often used on larger areas of the body, such as the legs, back, and arms because it can be applied quickly and efficiently. Yet, bear in mind that soft wax cannot be reapplied to the same area multiple times without causing damage to the skin.
Difference between Hard Wax and Soft Wax
When choosing between hard wax and soft wax for hair removal, there are several factors to consider.
The first thing that comes to our mind is pain tolerance. Hard wax is considered to be less painful than soft wax, so it is frequently preferred in sensitive areas of the body.
Also, remember to consider the hair type. Hard wax is typically more effective on coarse hair, as it can grip and remove shorter hairs more easily than soft wax. Soft wax may be more suitable for finer hair, as it can remove hair more thoroughly and quickly.
Don’t forget to see which is best suited for certain areas. Hard wax is often preferred for use on smaller, more sensitive areas of the body, such as the bikini area, underarms, and face. Soft wax may be more suitable for larger areas of the body, such as the legs and arms.
And lastly, hard wax is most suitable for those who are new to waxing, as it doesn’t cause much pain and it does not require a strip for removal.
Ultimately, the choice between hard wax and soft wax for hair removal comes down to personal preference and the factors outlined above. But, before doing, remember to consider those elements that are mentioned above to opt for the best one for you.
How Bad does Waxing Hurt?

Waxing involves tearing hairs out from the roots, which are firmly attached to our bodies so it makes sense that waxing could cause a little pain. It may be painful at first but the result you will get in the end is finer hairs that are also less dense since waxing weakens the hair bulb.
The pain level associated with waxing can vary from person to person depending on some factors such as the pain tolerance, the area being waxed, and the type of wax being used.
Waxing can cause discomfort or slight pain, especially in sensitive areas. However, the pain is usually brief and bearable. Many individuals find that after a few waxing sessions, the pains would lessen gradually as the hair becomes thinner. So, if you are not the type that is against pain, maybe you should try waxing.
Additionally, nowadays, there are many products available that can help to minimize discomfort during waxing, such as numbing creams and cooling gels. To minimize the pain during the session, preparation, instructions on how to wax correctly and proper aftercare are must-dos. Below are some tips for you to have the best waxing experience.
When preparing the skin before applying wax, remember to exfoliate to remove any dead skin cells and help prevent ingrown hairs. After that, cleanse the skin thoroughly and make sure it is dry. Don’t use any lotions and oils on the area which will be waxed, as they can interfere with the wax’s ability to grip the hair.
When applying wax, don’t forget to test the temperature to avoid burning. Then after making sure that it’s hot enough, apply the wax in the direction of hair growth, using a spatula to spread it easier. Lastly, for the hard wax, you need to ensure that the wax hardens and then grip the edge and pull it off in the opposite direction. For soft wax, you just quickly pull the strip off in the same direction.
After waxing, the waxed skin may be red a bit, and for new people, it might bleed. So, aftercare is important. Not only does it help the hair become thinner, but also helps to recover sensitive skin. To reduce redness and irritation, apply a soothing lotion or oil to the skin. Keep in mind to stay away from heat and friction for at least 24 hours and also stay out of the sun.
Pros and Cons of Waxing
Waxing’s growing popularity may be attributed to its long-lasting results. As waxing removes hairs from the roots, the results might last longer than other methods. Some people have reported that after a few sessions, the hair regrowth is thinner and finer, making it less noticeable. In addition, waxing can be done at home, and it is a relatively quick and easy process. However, when waxing sensitive areas, I still recommend going to a threading and waxing salon for a better experience. Also, threading and many more services available in the salon are alternatives to brazilian wax, in case you are against applying wax on your private area.

Aside from the benefits that waxing has brought, some disadvantages need to be mentioned. For those with sensitive skin, waxing can be slightly painful. It also causes skin irritation, redness, and allergic reactions, though those would rarely happen. So make sure to think carefully before making a decision.
Though having the same function, both hard wax and soft wax have their benefits and drawbacks. Hard wax is ideal for sensitive areas like the face, underarms, and bikini area, while soft wax works well with larger areas like the legs and back. Ultimately, the choice between hard wax and soft wax depends on personal preference and the specific hair removal needs of the individual. It’s important to consider factors such as pain tolerance, skin sensitivity, and the desired level of hair removal when making a decision.
If you struggle with your hair and body and are afraid to wear clothes that show off your skin, waxing won’t let you down. Why don’t you give it a try? I bet it is totally worth it. After reading this article, have you chosen the right one for you?


