12 Best Tattoo Numbing Creams to Help You Relieve the Pain

Tattoos are a fantastic way to express oneself. But the thought of having needles bore into your skin may prevent you from producing those coveted works of art. In this circumstance, the best tattoo numbing creams can be of assistance. We frequently hear tales of people arriving at the tattoo parlor and canceling the appointment after hearing the ink gun. Some clients describe getting tattooed as a horror story, which makes us question whether the experience is worthwhile. But trust us, things will get easier when you know these 12 best tattoo numbing creams.

Tattoo Goo Tattoo Balm

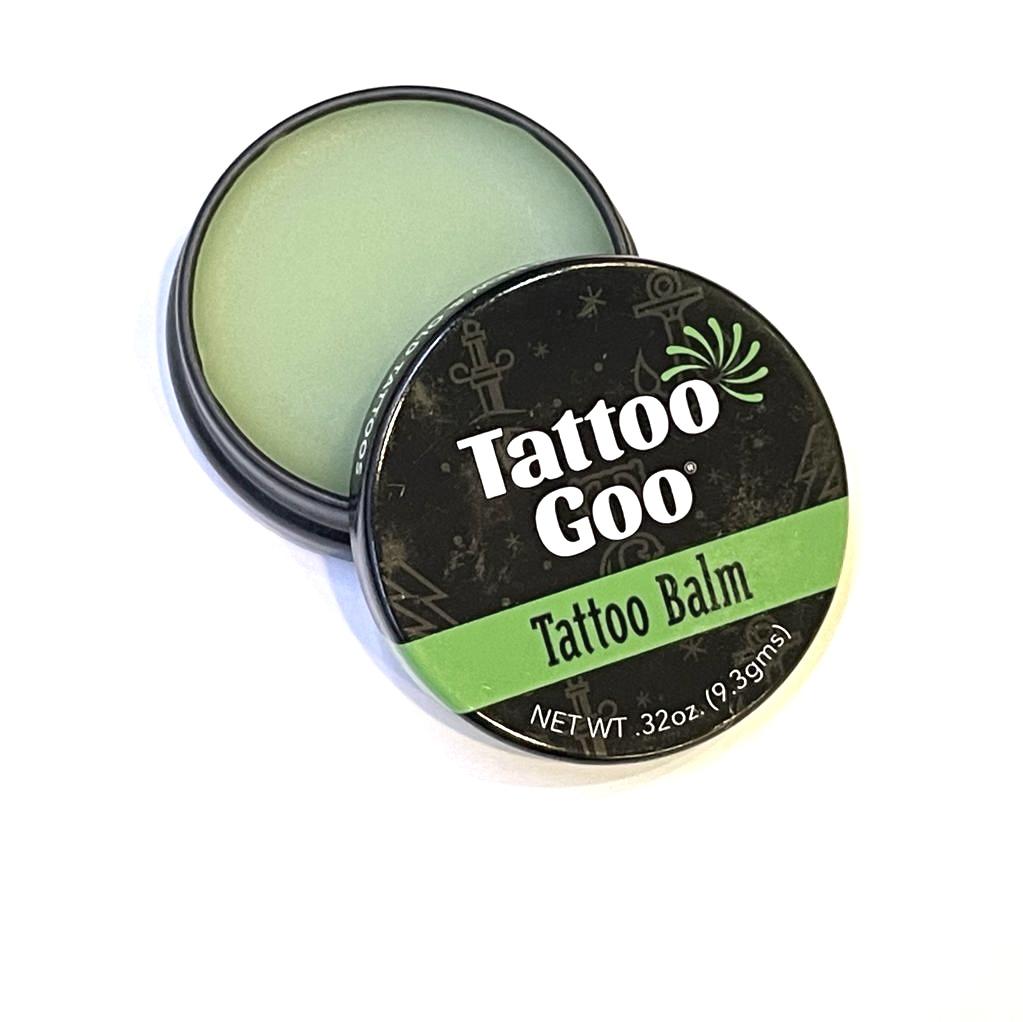
This balm is one of the best options you can imagine because it is made with the best mixture of humectants, essential oils, and premium natural components for moisturization, antibacterial action, anti-oxidation, and stimulation of circulation. By keeping the area lubricated and wet, it makes a tattoo softer and encourages quicker healing. Additionally, it includes a small, handy tin that makes applying it whenever necessary a breeze. Although this balm comes highly recommended, if you’re looking for a product that lasts a long time, consider elsewhere.

Redemption Tattoo Care

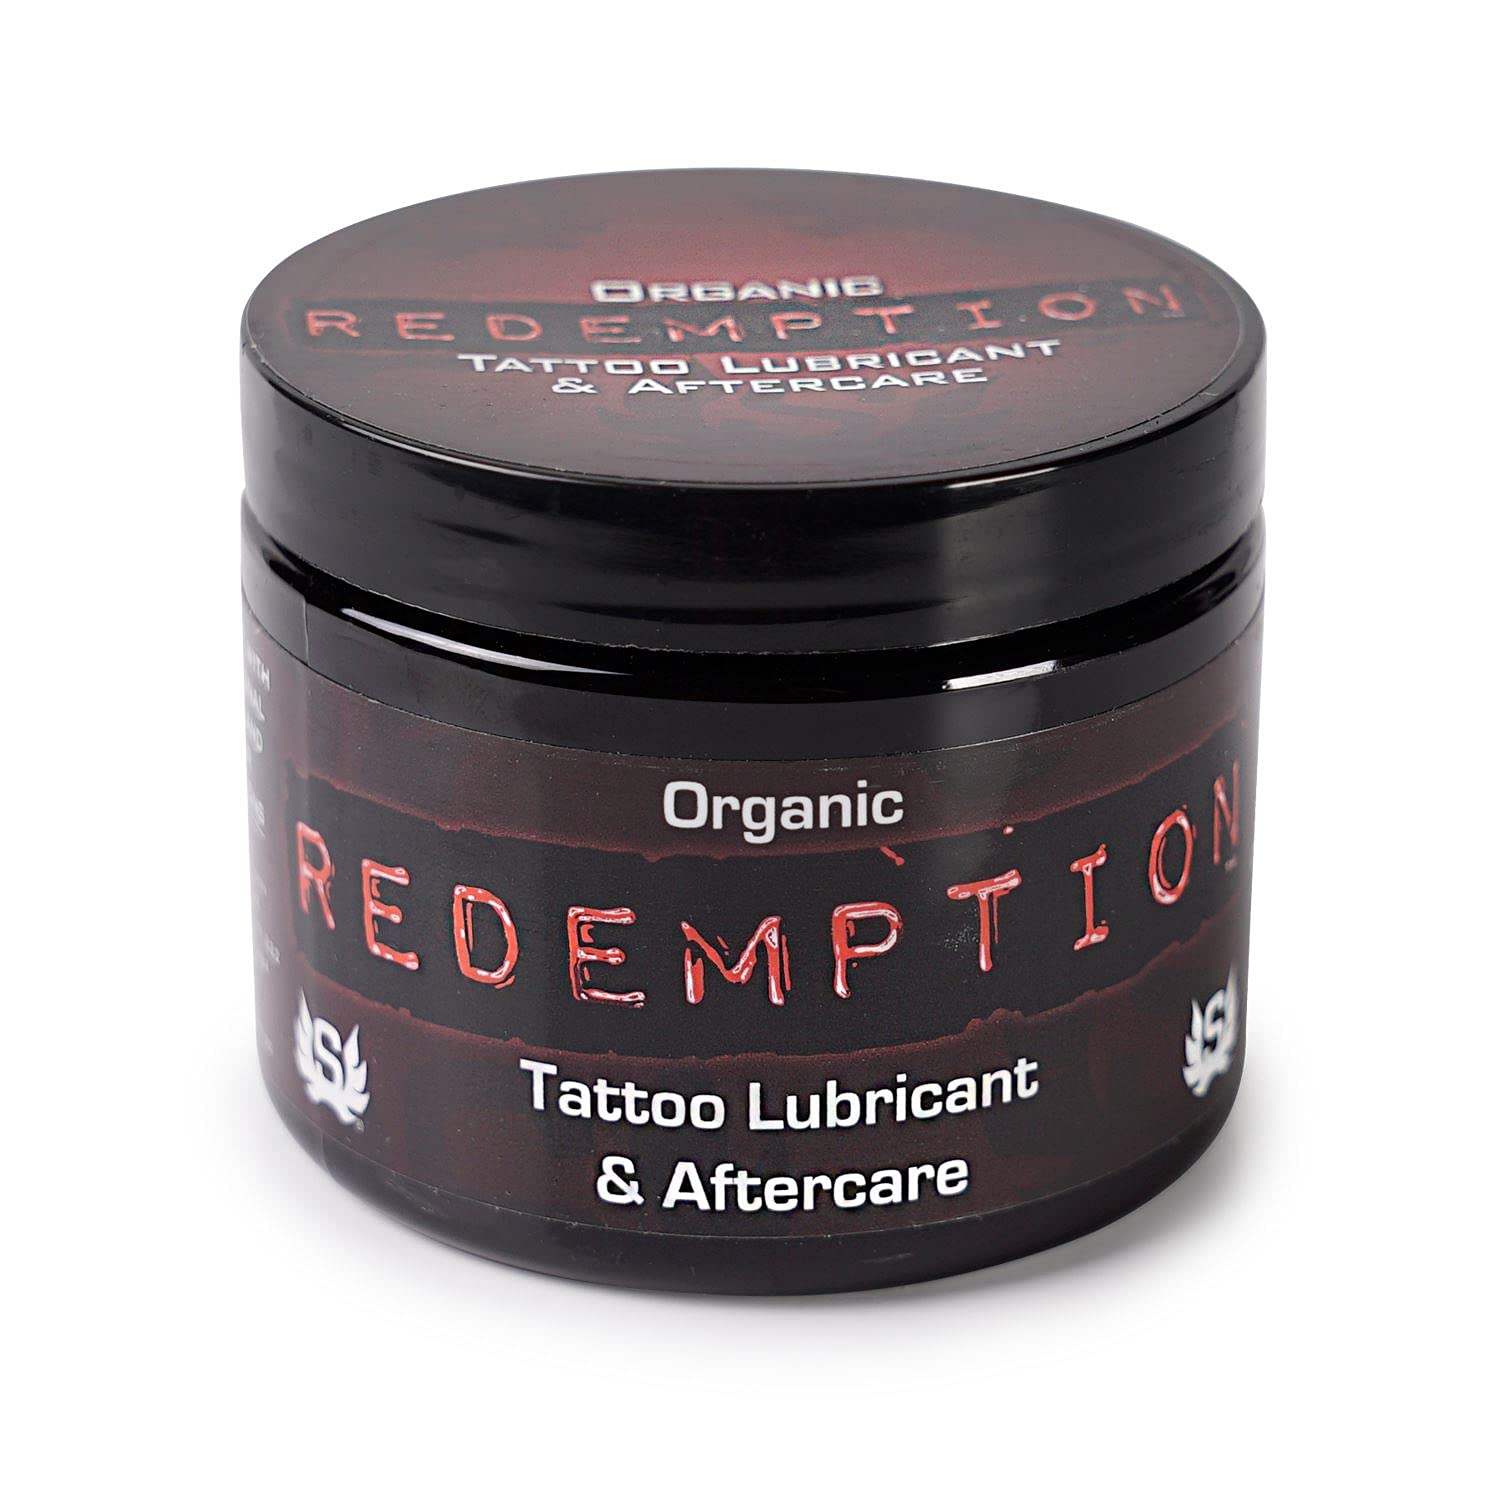
A ground-breaking solution designed specifically with tattoo artists in mind is called Redemption. It is notable for being the first and only petroleum substitute to obtain USDA certification, making it a dependable and environmentally responsible option. Redemption imitates the appearance and texture of petroleum-based products whilst being entirely natural. Due to its adaptability, it can be used both before and after tattooing. Redemption offers calming relaxation during the tattoo procedure, and post-tattoo application promotes recovery.

Hustle Butter Tattoo Aftercare

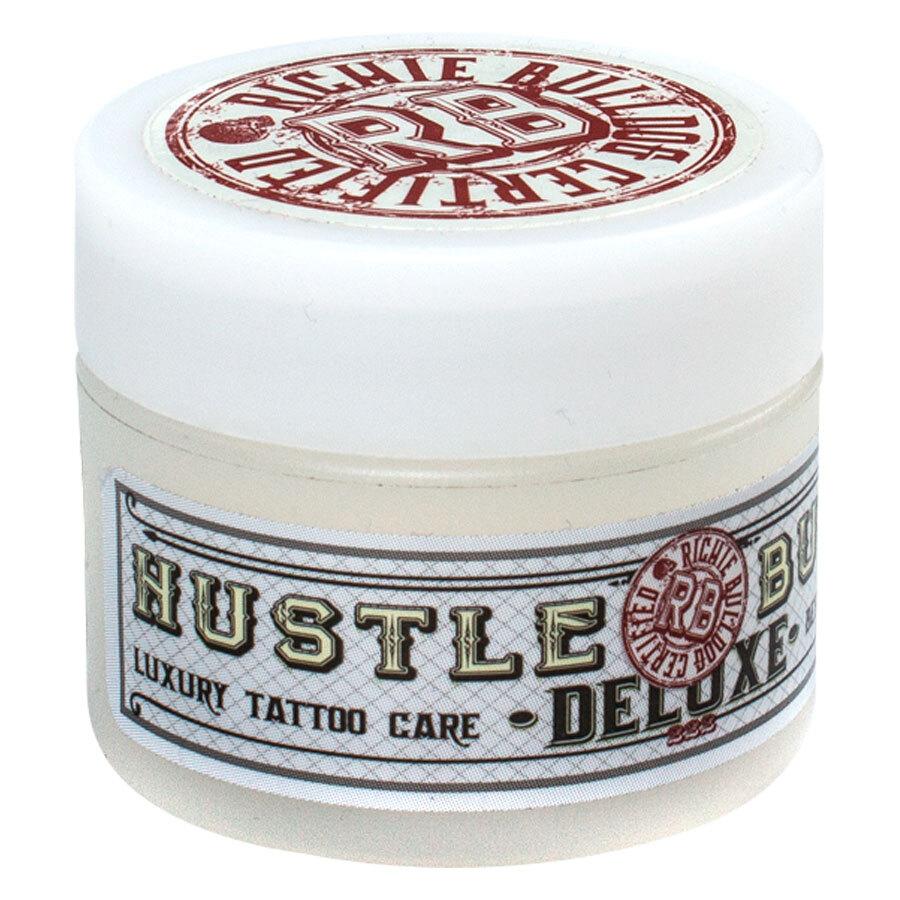
The original high-end tattoo aftercare product for both new and existing tattoos is called Hustle Butter.It is safe for most users because it contains only the best components, such as Shea, Mango, Aloe butter, Coconut, Sunflower, and Rice Bran oils, as well as Rosemary oleoresin, green tea, Vitamin E Complex, Mint Arvenis Essential Oil, and the essence of Papaya and Coconut. However, for smooth application, the texture needs body heat to dissolve.

Urban ReLeaf TATTOO SKIN SILK

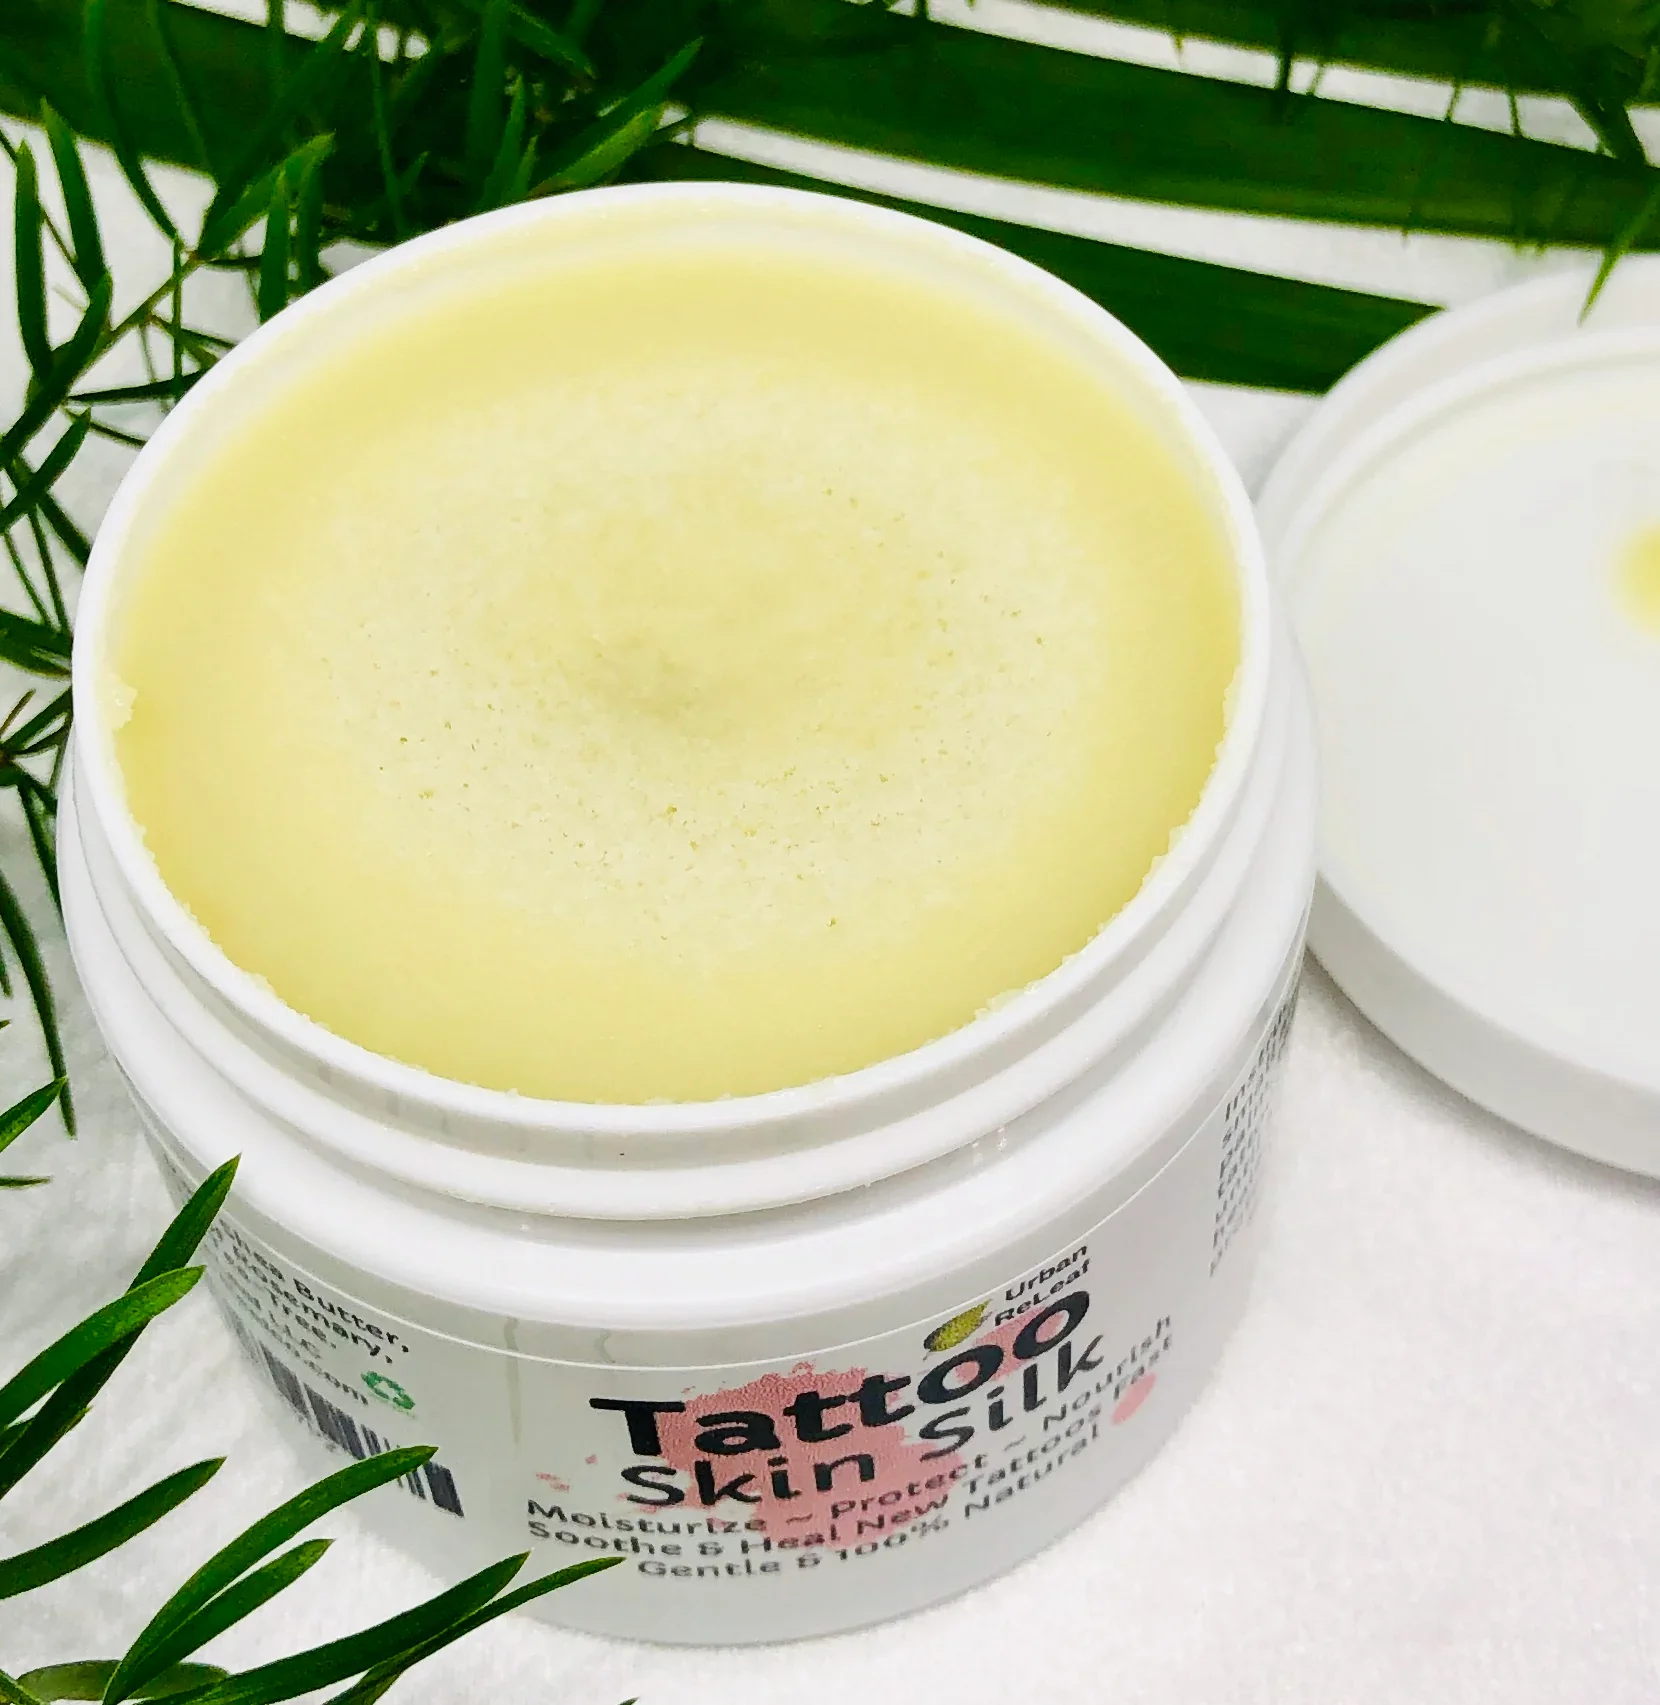
This all-natural Tattoo Silk will NOT clog pores or pull out your new ink, unlike lanolin and petroleum-based lotions. This balm allows your skin to breathe while healing, protecting, and healing swiftly. These natural silk balms for rejuvenation contain raw shea butter and essential oils. The most fragile, damaged, and itchy skin is softened, replenished, restored, and repaired with natural ingredients. There are many more options available to you if you have a sensitive nose because this cream doesn’t have the best scent.

Dr. Numb Maximum Strength Pain Reliever

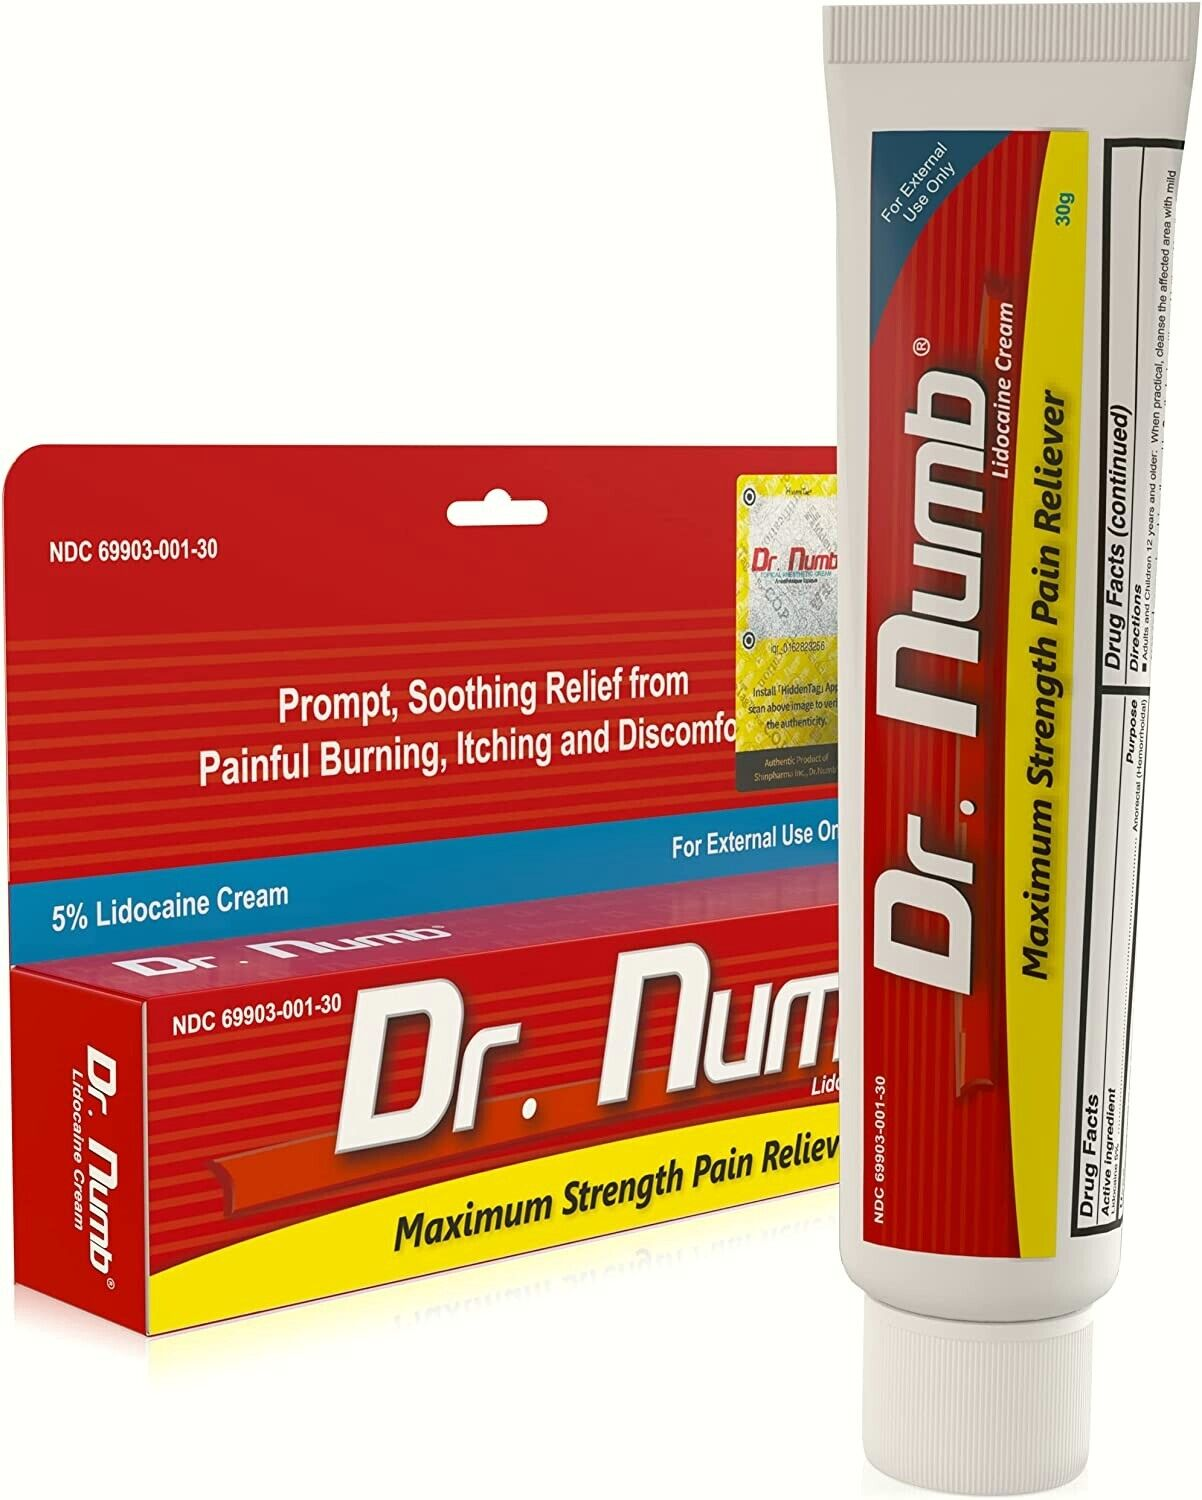
Dr. Numb’s 5% Lidocaine Cream is one of the strongest tattoo numbing creams for tattoos and piercings you’ll find over the counter and is a favorite among tattoo aficionados. This medication is quite good at reducing stings on your skin with a small amount, making it also very cost-effective. Additionally, this composition has a remarkably long-lasting power of 3 to 4 hours when compared to similar goods. Additionally, the lotion absorbs into your skin like a dream, making it simpler for your tattoo artist to work more precisely. But since there isn’t much product, a little won’t get you very far.

Welmate Lidocane Numbing Cream

This pain-relief cream from Welmate boasts wonderful moisturizing qualities that your skin will adore in addition to its skin-numbing advantages. The solution not only reduces localized pain from needling or threading, but also muscle pain in places including the lower back, shoulder, knees, and arms. Additionally, you can apply it to ease small burns, bruises, stings, and anorexia. You don’t have to wait for very long before getting tattooed because the effects of this formula start working in less than 10 minutes. 

MAXOCAINE LIDOCAINE MAXIMUM STRENGTH PAIN RELIEVING ROLL-ON

This Maxocaine tattoo numbing cream has a disappearing formula that enables your tattoo artist to work precisely. The cream’s roll-on dispenser makes application hygienic and hassle-free. The potent combination, in addition to needling methods, is beneficial in reducing pain from hip pain, arthritis, plantar fasciitis, aching muscles, sports injuries, and more. The lotion calms and energizes your skin to get it ready for tattooing. It contains menthol, arnica, and aloe extracts. When you apply it, there may be a slight tingling, but that’s completely normal.

INKED INSPIRED NUMBING CREAM

This tattoo-numbing cream from Inked is another product on the list that absorbs quickly, so you don’t have to wait around for very long before getting inked. The mixture makes use of the anti-inflammatory properties of arnica, emu oil, lidocaine, and all three of these, which work wonders to soothe pain and nourish the skin. Depending on the dosage and the degree of the needle procedure, the pain-relieving benefits of this medicine should persist for 1-2 hours. 

Zensa Numbing Cream

Zensa Numbing Cream is a great option if you’re seeking the ideal over-the-counter numbing cream. The vegan and cruelty-free recipe of this FDA-approved product contains 5% lidocaine and vitamin E to help alleviate discomfort. It is also hypoallergenic and appropriate for use near the eye area. Additionally, without blood constrictors, your tattoo’s ink color won’t deteriorate or change with time. Users have 2 to 8 hours of relief from the discomfort related to having tattoos, depending on the amount of coverage required during application (which can be reapplied).

TKTX Numbing Cream

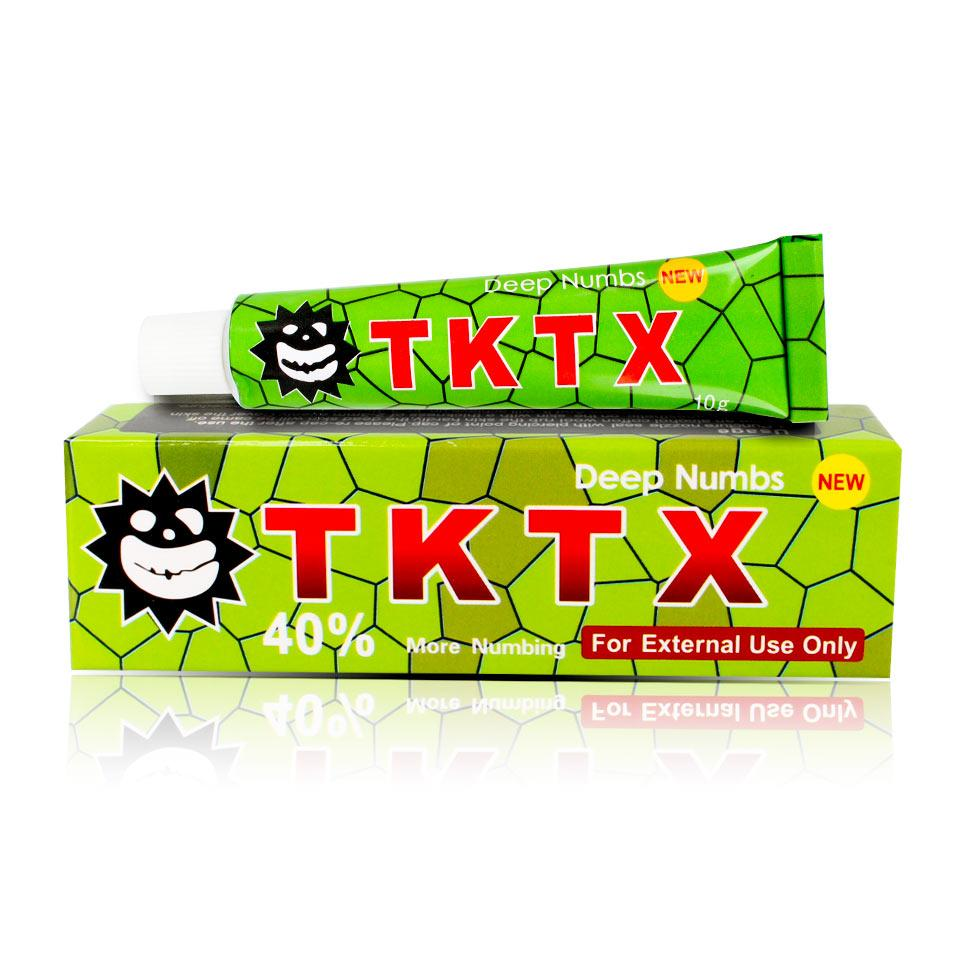
The TKTX cream has a ton of amazing components, unlike other numbing creams. Each active component functions to reduce pain, edema, and inflammation after getting a tattoo or getting a body piercing. The cream can also be used to relieve pain during microneedling, laser tattoo removal, permanent cosmetics, or hair removal. The fact that this cream is NOT healthy for those who have heart disease, high blood pressure, are pregnant or nursing, or are allergic to any of the aforementioned substances must be emphasized despite the fact that it works wonders. 

Ebanel Numb520 Topical Anesthetic Cream

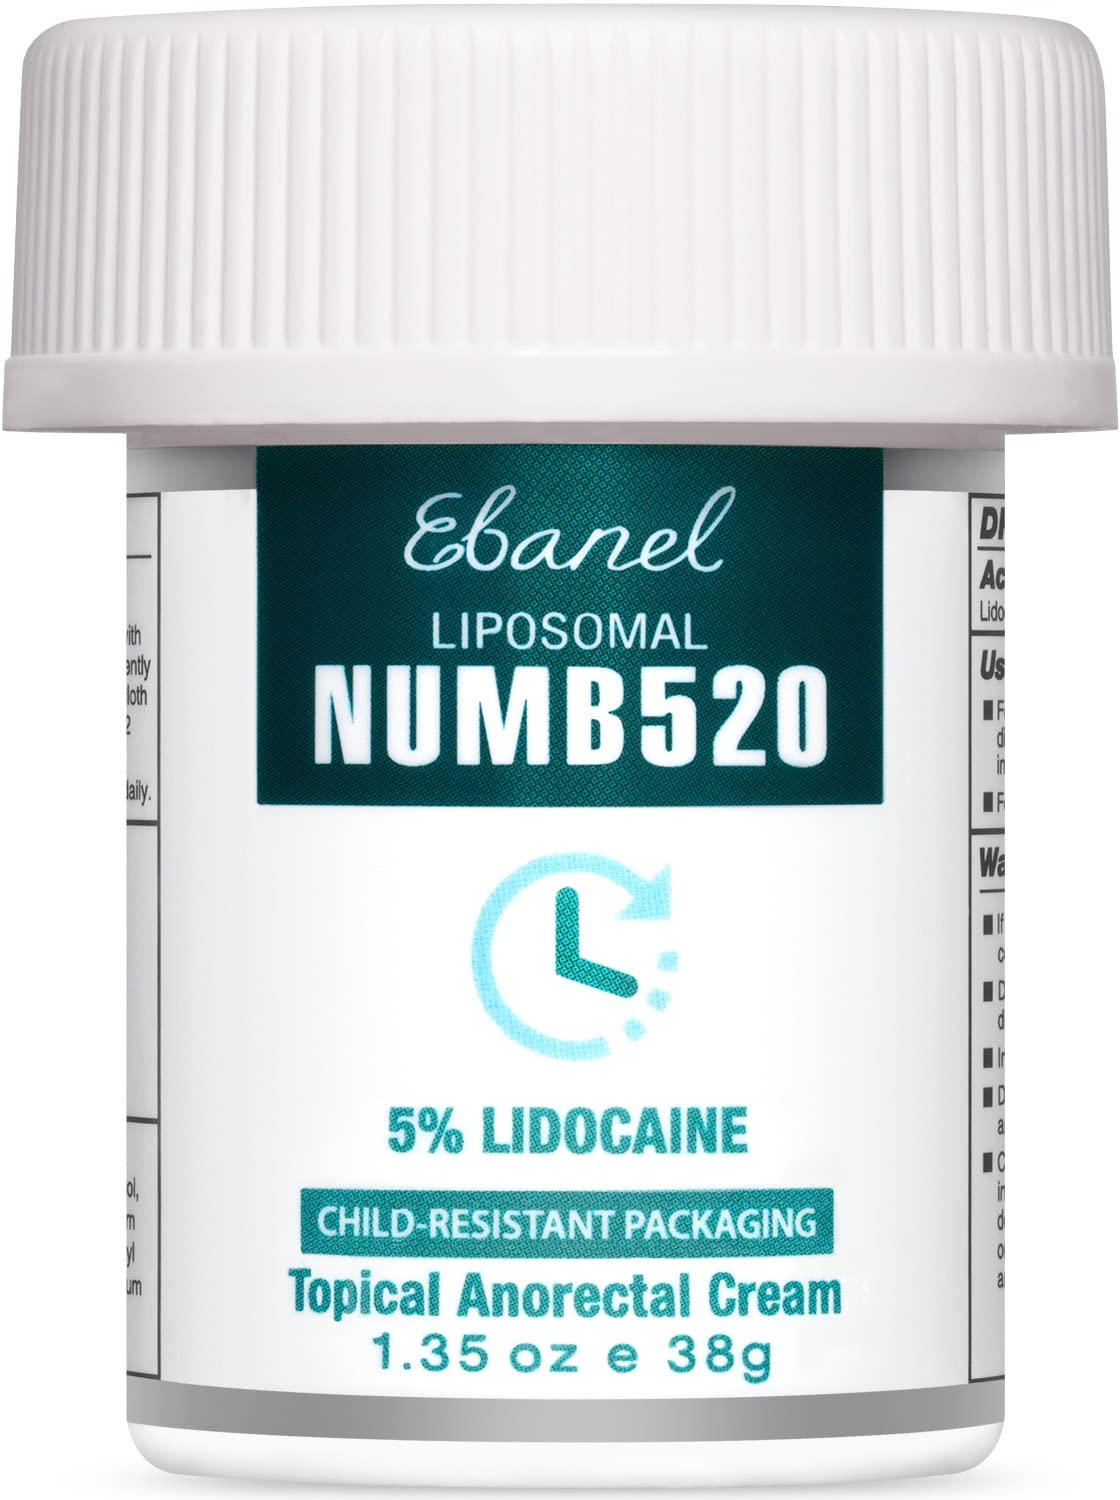
While obtaining the tattoo of your dreams, this over-the-counter numbing lotion will ease all the discomfort, agony, burning, itching, and soreness. This numbing cream’s potent 5% lidocaine concentration starts working within two to three minutes, achieves its peak within twenty to twenty-five minutes, and lasts for an additional hour. This tattoo pain relief cream eases the process and contains genuine aloe vera, vitamin E, lecithin, and allantoin. This water-based, non-greasy anesthetic cream is simple to use, suitable for all skin types, and non-greasy. It also includes a secure child-resistant cap, which is an added safety feature. Additionally, the product doesn’t have any artificial or dangerous substances. Some people, however, claimed that it adhered to their skin like glue and dried.

Hush Anesthetic Tattoo Numbing Gel

Because of the discomfort, the majority of us put off getting that long-awaited tattoo. For a positive experience, this product was created with the tattoo artist and the customer in mind. This long-lasting tattoo numbing gel makes your skin numb for around two hours, allowing you to consider getting that large tattoo you’ve been wanting. Aloe vera and other effective botanical extracts are combined to effectively alleviate skin inflammation and redness. Additionally, it speeds up tattoo healing and is suitable for all skin types—even the most delicate. This clear gel’s non-oily formulation ensures that there won’t be any mess or stains. It’s quite costly when compared to most products on the market.

One of the primary objections to tattoos is their discomfort. We’re all perplexed about this idea at the end of the day because no one appreciates pain, but many people think that beauty equals anguish. With our suggestions, you won’t have to worry about any pain whatsoever when getting a tattoo.

THE HISTORY AND TUTORIAL OF AUTHENTIC 1940S MAKEUP

1940s makeup is one of the most “vintage” looks, and is rather simple to recreate. There was a push for all things natural, unlike the 1930s and 1950s, which favored reshaping eyebrows and contouring the face. 1940s makeup enhanced natural beauty with just a few tools.

During the war, European women dealt with huge cosmetics shortages, since petroleum and alcohol – some of the main ingredients in makeup at the time – were used for the war effort. When makeup ran out, women turned to home remedies to substitute, such as using beetroot juice to stain lips and petroleum jelly to darken lashes and shape eyebrows.

In the United States, cosmetics continued to be manufactured throughout the war and were seen by the government as a morale booster for the busy women on the home front. Women were encouraged to wear makeup all the time to hide sadness and attract men, even while at work. Athletes even wore makeup. Color films had a big impact on the market, as women could now imitate the shades worn by Hollywood starlets. By 1948, between 80 and 90 percent of women wore lipstick, two thirds wore rouge, and a quarter wore eye makeup.

The 1940s makeup look exudes classic sophistication and is surprisingly easy to recreate. The emphasis was on a flawless, fresh-faced appearance—natural, never overly done. Less was definitely more, which worked out well, especially during the war years when many women had to make do with fewer products and resources.

Although the final result seems simple, a woman’s 1940s makeup routine could take some time—quick five-minute makeup wasn’t a thing! The process began with applying and blending thick foundation. Women were encouraged to shape their face with both light and dark shades of foundation—darker tones could be used to contour areas like a large nose, broad forehead, or square jaw, while lighter shades on the cheeks would add a fuller, plumper appearance.

Next, eye shadow was applied, followed by moist rouge. This was often used not only for color but also for subtle shaping, always ensuring the look remained natural. Afterward, a generous application of powder was pressed into the face with a large velour or wool puff. The powder was applied heavily to ensure a matte finish, covering the entire face. Excess powder was then brushed away with a powder brush to reveal a smooth, polished look.

If the moist rouge needed extra reinforcement, a powdered version was applied on top of the powder. The final steps included defining the eyebrows with an eyebrow pencil, applying mascara for fuller lashes, and finishing with the signature bold lipstick.

What You’ll Need:

  • Foundation: Choose a shade that closely matches your skin tone.
  • Powder: Loose powder that matches your skin tone to set the foundation.
  • Cream Rouge: Go for a rose-pink cream rouge (avoid powder if possible, unless that’s all you have).
  • Eyebrow Pencil: Choose a pencil that matches your natural brow color, or one shade darker than your hair.
  • Eye Shadow: (Optional, for evening wear) Use matte shadows that match your eye color—avoid shimmer.
  • Mascara: Dark brown or black mascara, or you can even use petroleum jelly (like Vaseline) for a more subtle lash effect.
  • Lipstick: A classic, matte red lipstick for that bold, vintage look.

1940s Foundation and Powder

Foundations in the 1940s were quite different from today’s lightweight options. There were fewer shades available, and most foundations had a pinkish tint, which worked well for white women, but wasn’t always suitable for women of color. Many Black women, for instance, either mixed their own makeup or often went without powder.

Foundations during this time were much thicker and creamier compared to today’s formulations. Liquid foundations as we know them didn’t exist, and the creamier formulas helped provide a fuller coverage. Face powder, which was essential, was used to set the foundation and keep the face matte throughout the day. It matched the skin tone but was also used to help the foundation adhere better to the face—foundation alone would often cause powder to slip off.

The foundation and powder were extended down the neck and onto the blouse or dress line, as it was common for the foundation shade to not perfectly match the skin on the rest of the body. This helped create a seamless, blended look.

Tip: For a smooth application, lightly coat your face with baby oil (or mineral oil) before applying foundation. This helps create a smooth base and allows the foundation to blend more easily.

1940S FACE POWDER

Powders should match your natural skin tone as much as possible. Light shades kept a woman looking fresh and youthful, while a slightly bronzed shade added a sun kissed glow, popular with movie stars. Almost all makeup lines carried a sun kissed color or two.

If you are over 40, your skin is prone to yellowing, in which case a powder with a pink tinge will work better for you.  To apply, use a puff to dust your face all over and then brush from the neck up to the forehead. Only brush down once to finish and smooth out face fuzz.

Tip: A fluffy face puff makes a difference. Don’t use compressed powder with a flat pad for early 1940s looks. Pan-cake compressed makeup came out in the mid 1940s with big success. To women who could afford it, it provided more coverage applied in less time. Just remember to always brush up, never down.

1940s Blush

In the 1940s, blush (referred to as rouge) was applied sparingly to create a natural, rosy glow. The shades of rouge were limited, typically ranging from peach and coral to raspberry tones, with darker shades for those with bronze or deeper skin tones. Cream rouge (moist rouge) was the preferred choice, giving a more natural look, and was often blended directly into the foundation. Powdered rouges were also used lightly over the cheeks to give a soft flush.

Although rouge was an important part of the look, it wasn’t strictly necessary for achieving the 1940s style. You could still achieve the desired effect without it.

Tip: If you can’t find cream rouge, a light matte lipstick in a pink or peach shade works well. Simply apply it with your fingers, dab it on the cheeks, and blend it in until it seamlessly matches your skin tone.

Cream or liquid rouges were sometimes found in theatrical costume makeup stores and, in modern times, can be found in some makeup brands on platforms like Amazon.

1940s Eyebrows

The 1940s eyebrows were a continuation of the 1930s style, with thin, beautifully arched brows being the key feature. Eyebrows were kept natural-looking, with only stray hairs removed to maintain a soft, even arch. The arch itself was well-groomed but not overly thin—most women didn’t over-pluck.

Eyebrows were often defined with a pencil that was slightly darker than the hair color, or some women simply applied a bit of petroleum jelly to keep the brows in place and enhance their natural shape. For daywear, this softer look was more common, while in the evening, brows might be more defined.

As the decade progressed, the full, more defined brows of the late ’40s began to take hold, but they were never as thick as modern-day brows.

1940s Eye Makeup

Eye makeup in the 1940s was quite minimal, especially during the daytime. Most women wore just a light coat of mascara, often in dark brown or black. Some even used petroleum jelly (Vaseline) to achieve a subtle lash definition. Mascara came in different forms—liquid, paste, or cake—often built up by adding a little water or spit to the cake to get the desired consistency. Mascara was applied to both the upper and lower lashes for a fuller look.

For evening looks, eye shadow could be used, but only in neutral tones. The colors were typically chosen to match the eye color—blue-grey for blue eyes, grey for green eyes, and brown for brown or hazel eyes. The eyeshadow was applied in a single color, blended from the lash line up to the brow for an elegant and simple look. No smoky eyes or contouring here—just one shade blended well. For evening looks, sometimes silver or gold was added to create a little extra glamour.

Eyeliner wasn’t commonly used in the early 1940s; it was considered too harsh and “fake-looking.” It didn’t make an appearance until the late ’40s, and even then, it was applied only to the top lash line.

1940s Lipstick

Lips were the focal point of 1940s makeup, especially during the war years, when red lipstick was seen as a mood booster. Lipstick shades varied from bluish reds to orange-toned reds, but they were all red! Bright pinks weren’t worn until the 1950s, so reds were a constant. In the fall, red lipstick tended to get darker, and in the spring, it lightened up a bit.

Most lipsticks of the time were matte, and women were advised to moisturize their lips before applying. After applying lipstick, they would often blot their lips with a tissue to ensure the color stayed put. By 1948, lipstick pencils were introduced, allowing for a more precise application and a perfect outline around the lips.

The ideal lip shape was full and even, with a smooth contour on the top and bottom lips. The “Hunter’s Bow” lip shape, popularized by Joan Crawford, involved slightly over-drawing the lips to make them appear plumper. However, actresses like Lauren Bacall and Ingrid Bergman embraced their naturally thin lips and didn’t over-draw them.

Tip: To achieve a perfectly shaped lip, start with the cupid’s bow and draw the pencil out to the corners of the mouth. Fill in with lipstick and gently rub your lips together to ensure an even finish. Touch up any uneven spots on the bottom lip.

1940s Fingernail Polish

In the 1940s, nails were always neatly trimmed, often filed into a long oval shape. During wartime, nails were kept a bit shorter for safety, but they were still manicured regularly. Cuticles were carefully trimmed and moisturized for a polished look.

Nail polish in the ’40s was almost always red, and matching your nails to your lipstick was the norm. Other shades like pink, coral, rose, and burgundy were also popular. A clear topcoat was always used for durability, and some women embraced the “half-moon” style, where the base of the nail (around the cuticle) was left unpainted.

Tip: To create a half-moon shape on your nails, apply paper reinforcements to the base of each nail, aligning the top of the hole with the cuticle. Paint your nails, then remove the reinforcements before the polish fully dries for a neat, vintage look.

1940s Makeup Products to Buy Today

To create an authentic 1940s look today, you don’t need a complicated routine. A bit of face powder, black mascara, well-defined brows, and red lipstick will give you that classic, vintage style. Modern makeup tends to have more shine and glitter, but for a true 1940s look, opt for matte products—especially for your lips, cheeks, and eyes.

Tip: Many modern makeup lines offer matte formulas, but brands like Revlon and Max Factor (which were popular in the 1940s) still offer products that capture that vintage style. Besame is another brand that specializes in recreating vintage makeup colors and formulas from the ’40s.

For a more subtle daytime look, keep your makeup light—just a dusting of powder, a touch of blush, and a swipe of mascara. For a more dramatic evening or pinup style, go heavier on the lipstick and mascara, and use a little more rouge for that retro glam.