The ‘90s were a vibrant time for hair experimentation. With boy bands and iconic celebrities leading the way, men’s hairstyles entered a new era. If you’re seeking inspiration for your next haircut, check out some of the most popular hairstyles from that decade. Whether you prefer a full-on grunge look or a classic style, these trends are guaranteed to make a statement. So grab your gel and hairspray, and let’s take a nostalgic journey back to the ‘90s!
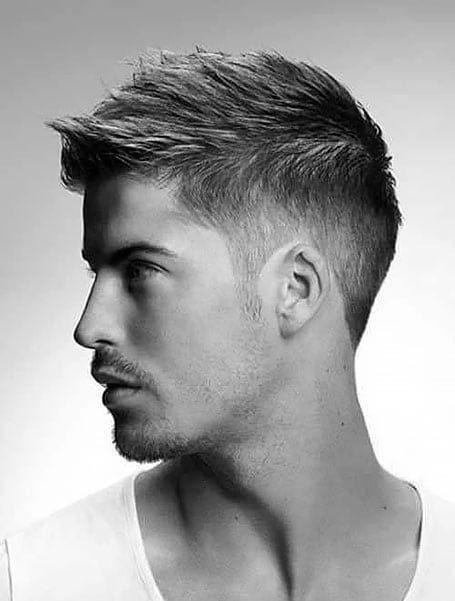
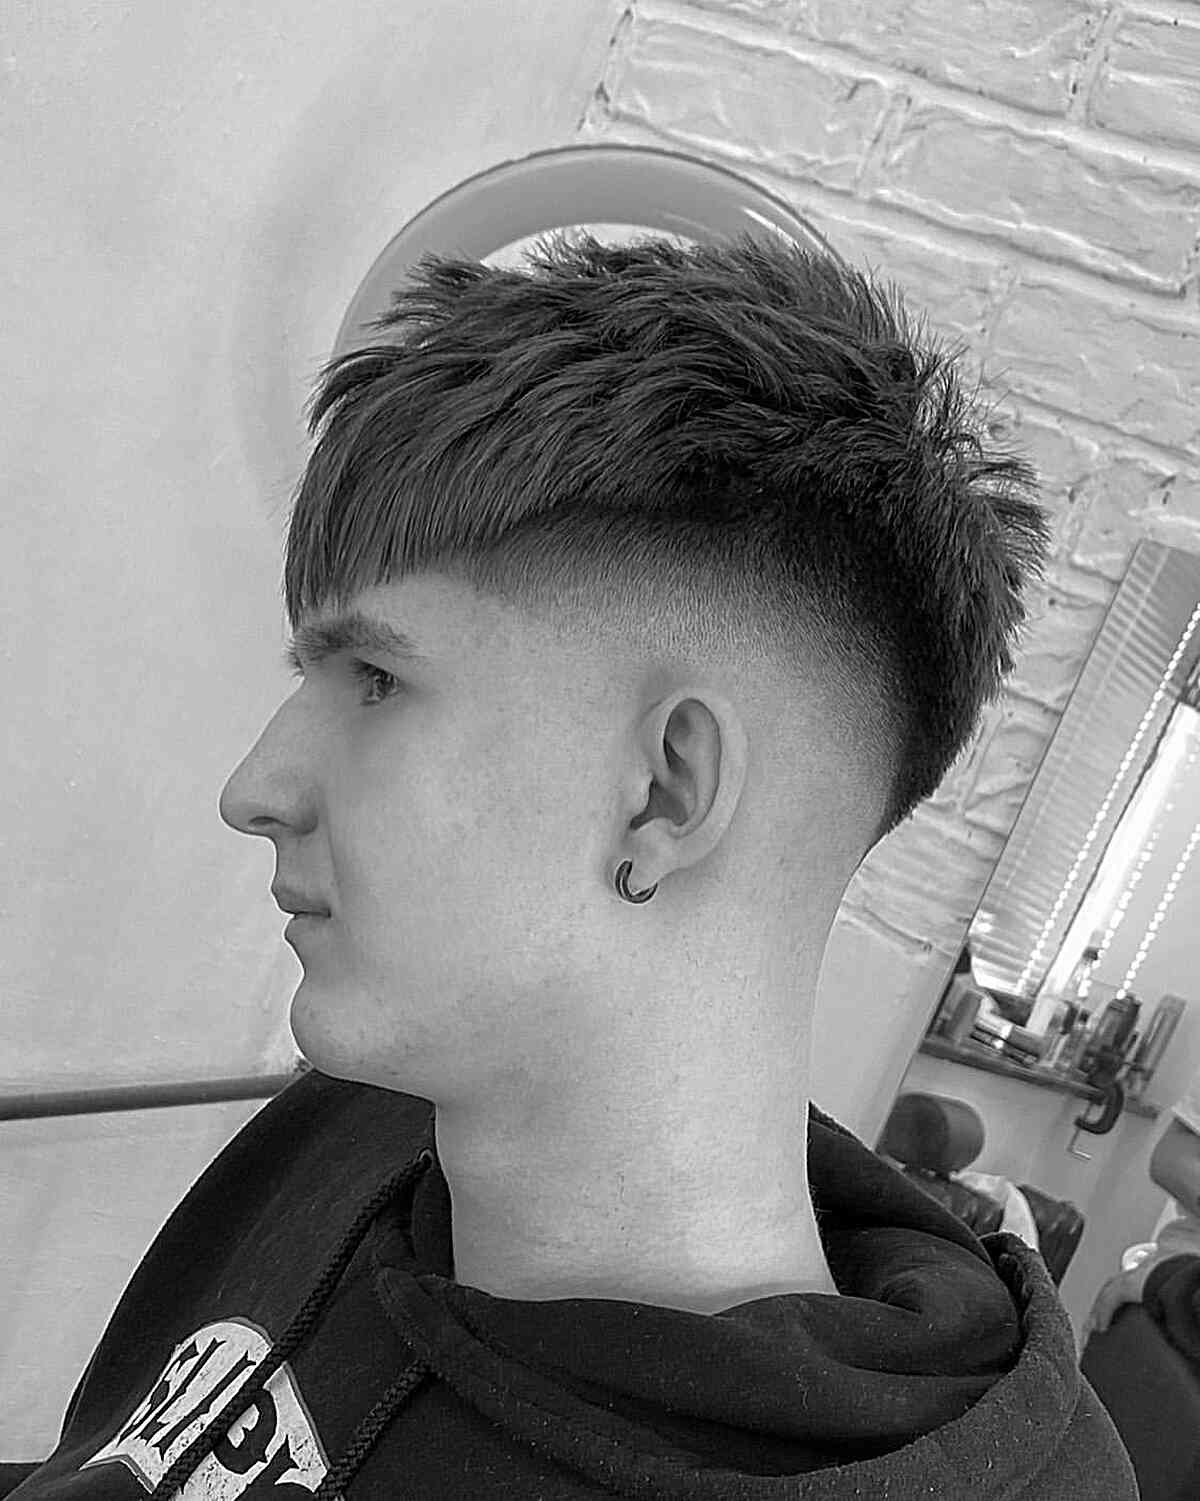
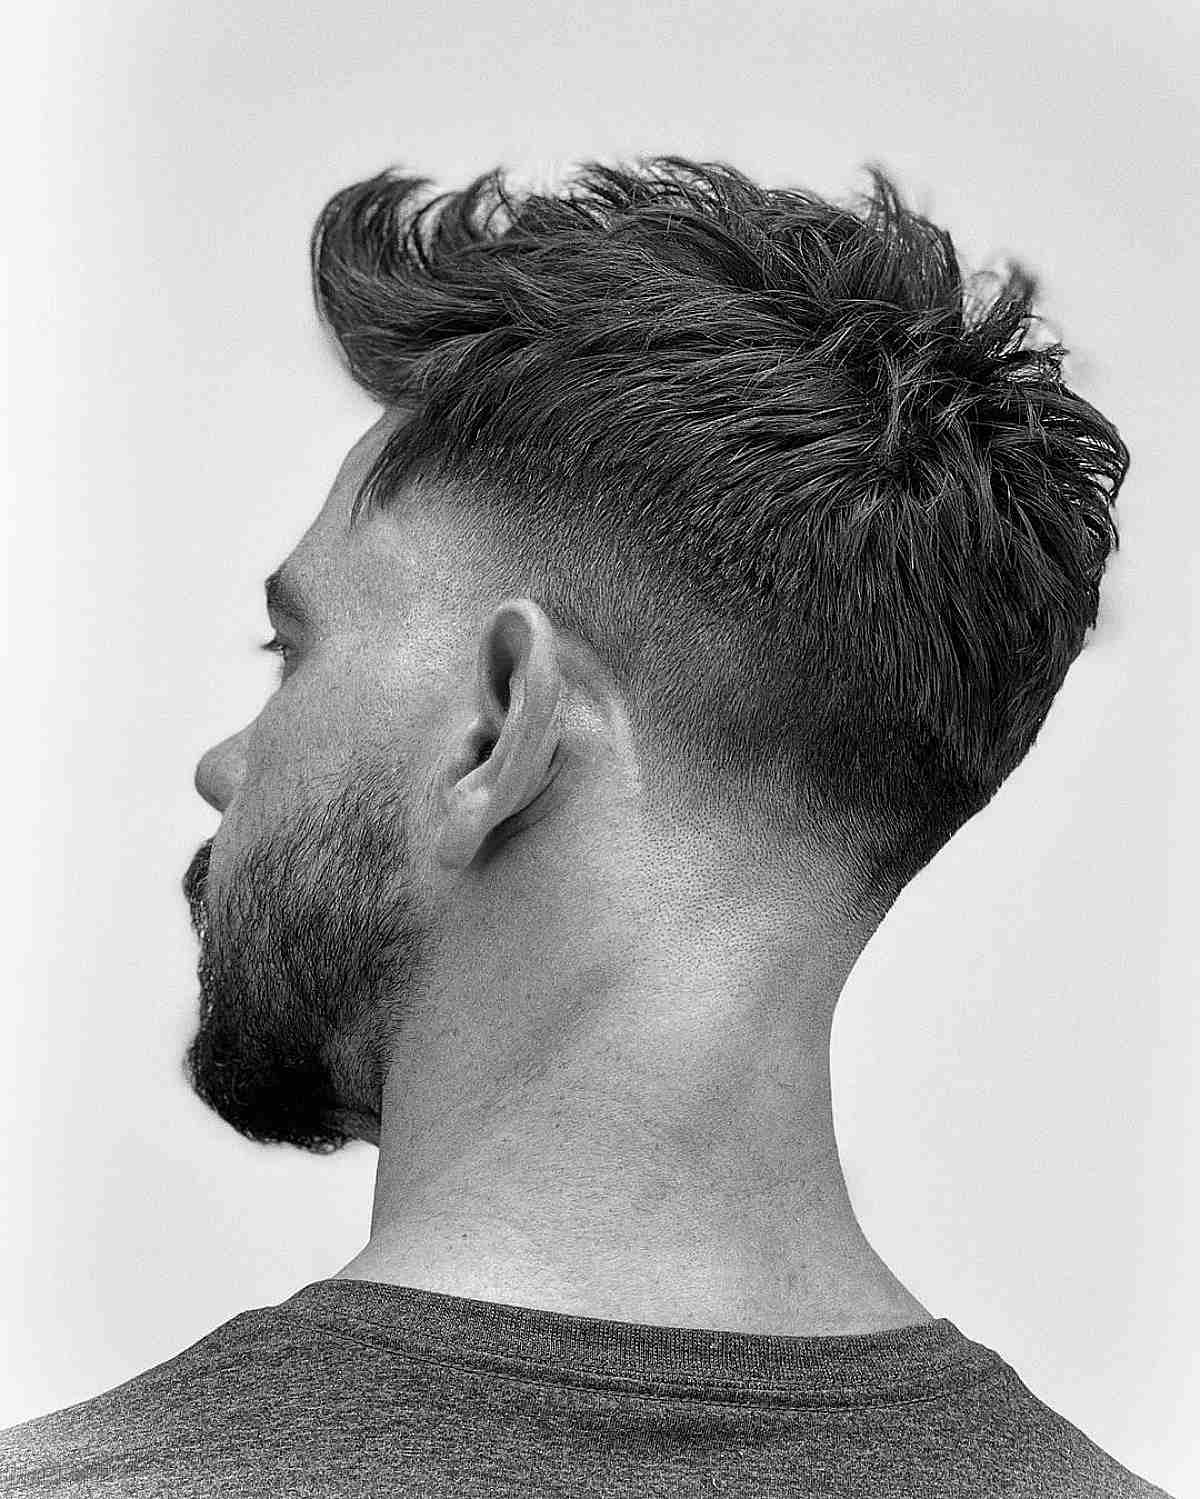
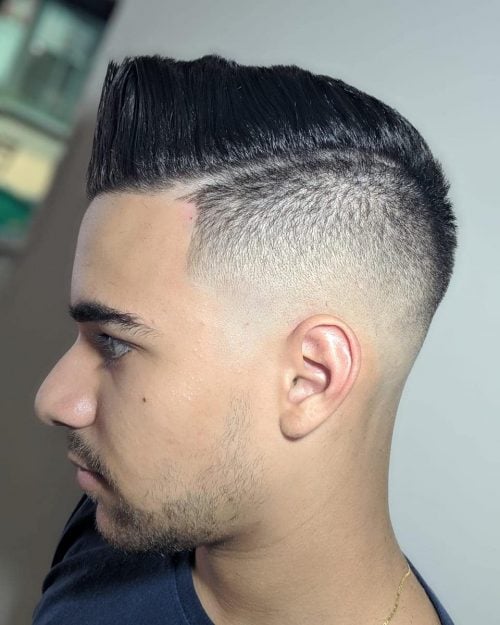
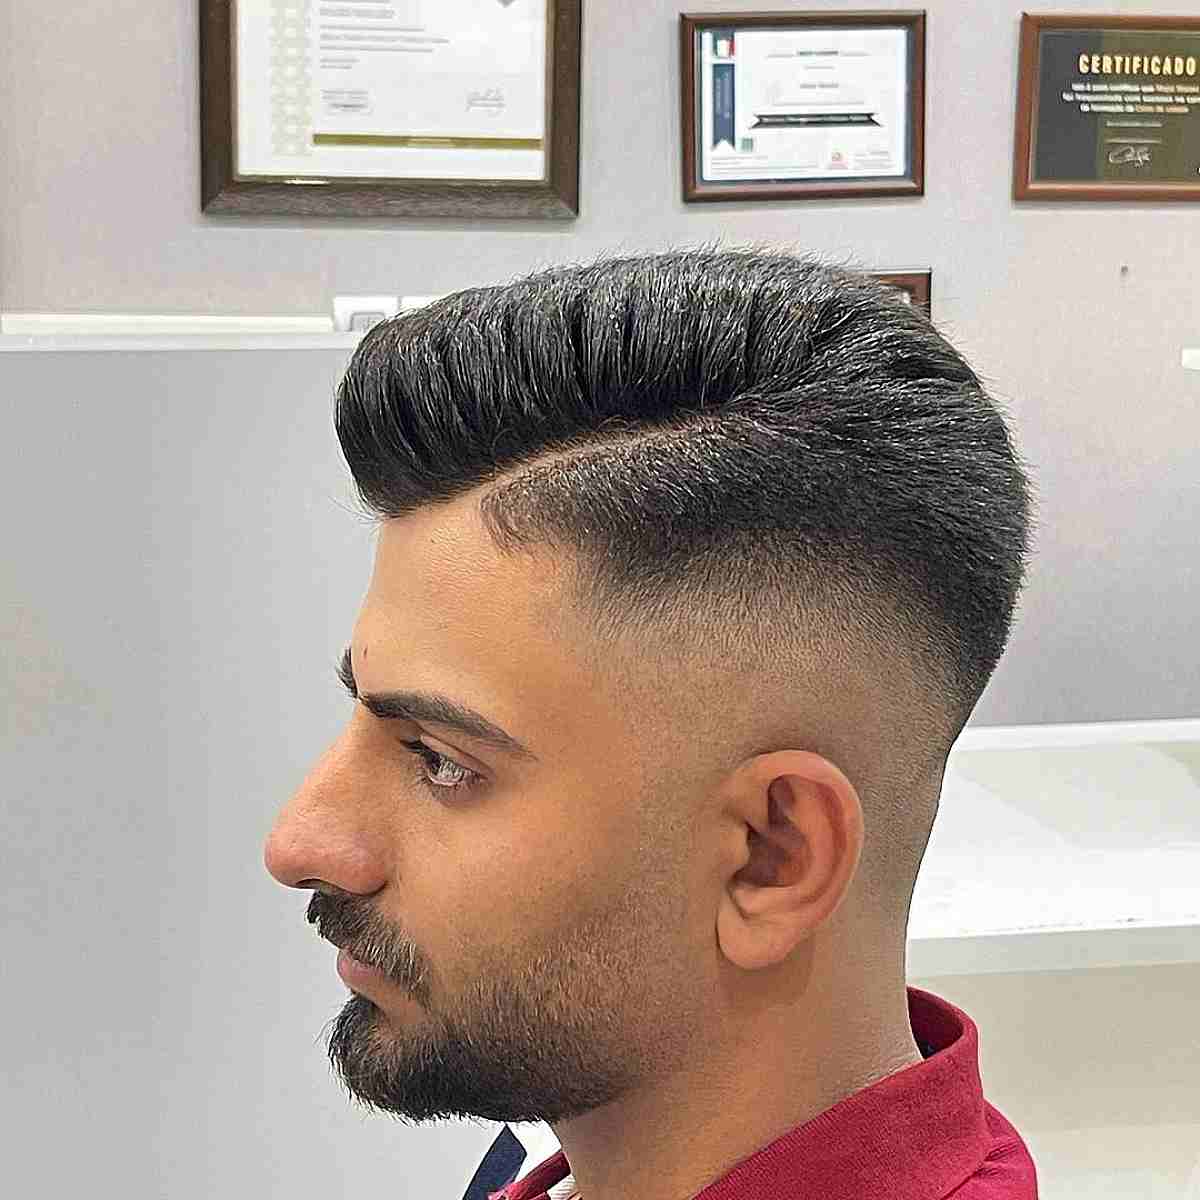
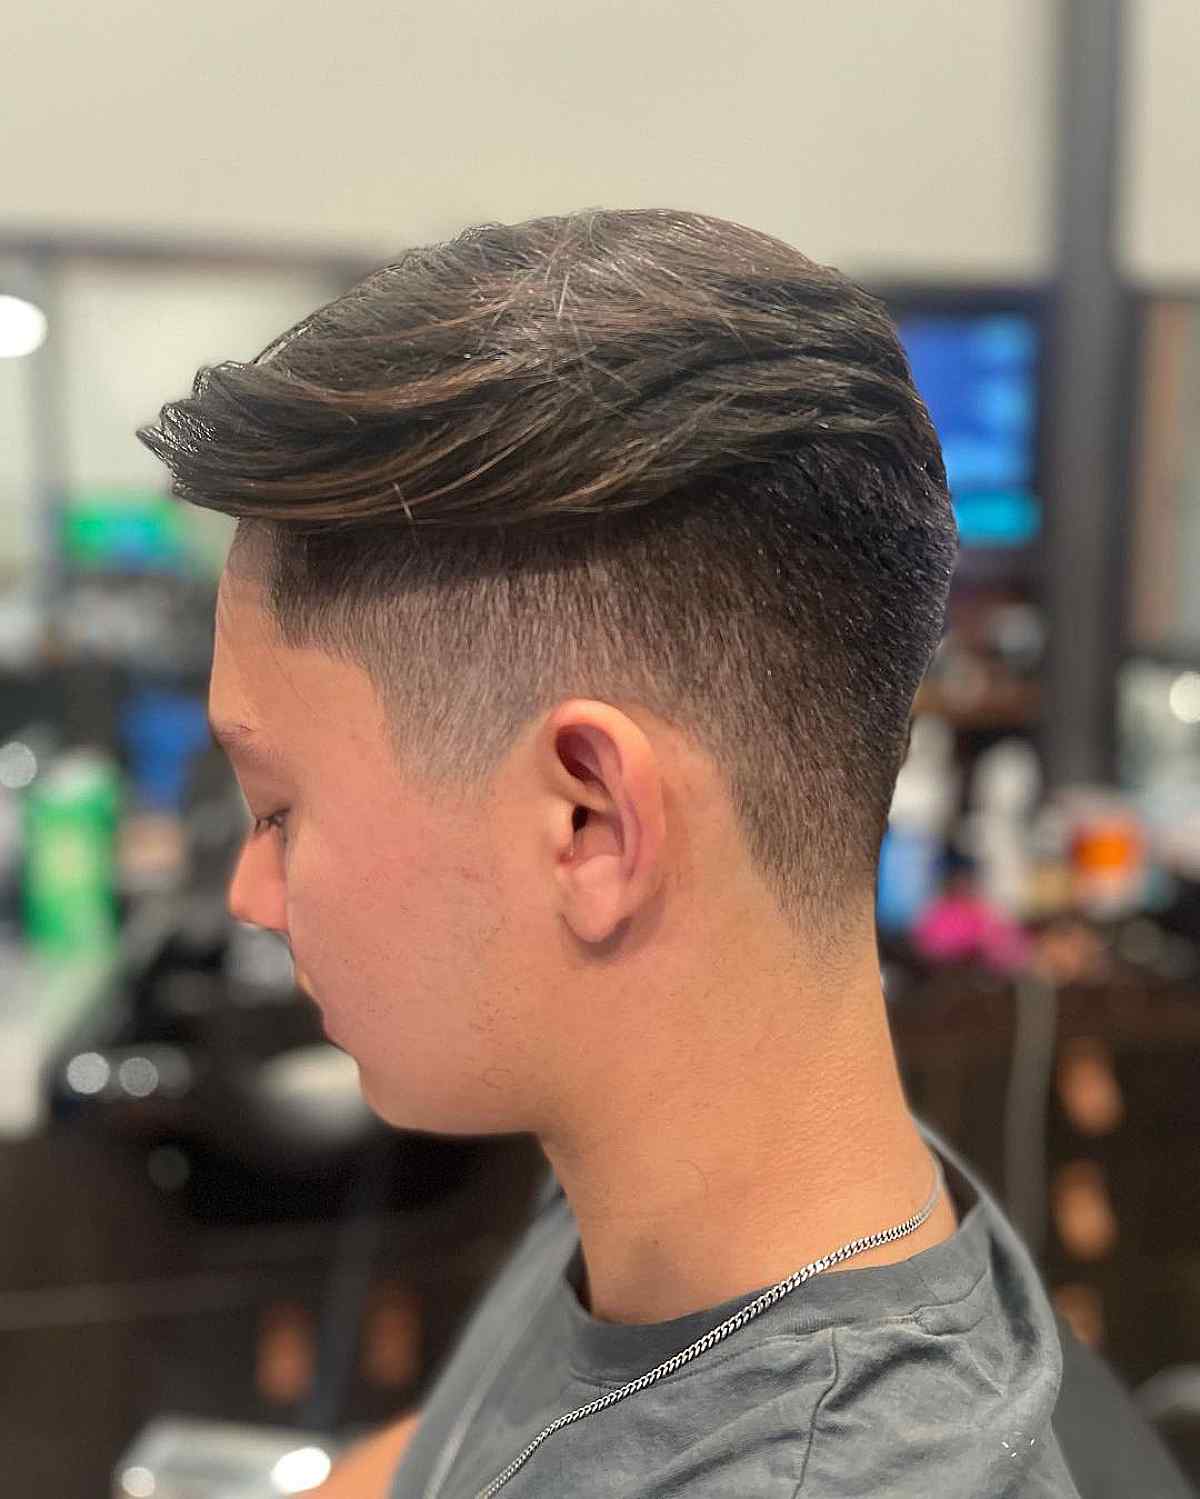
UNDERCUT
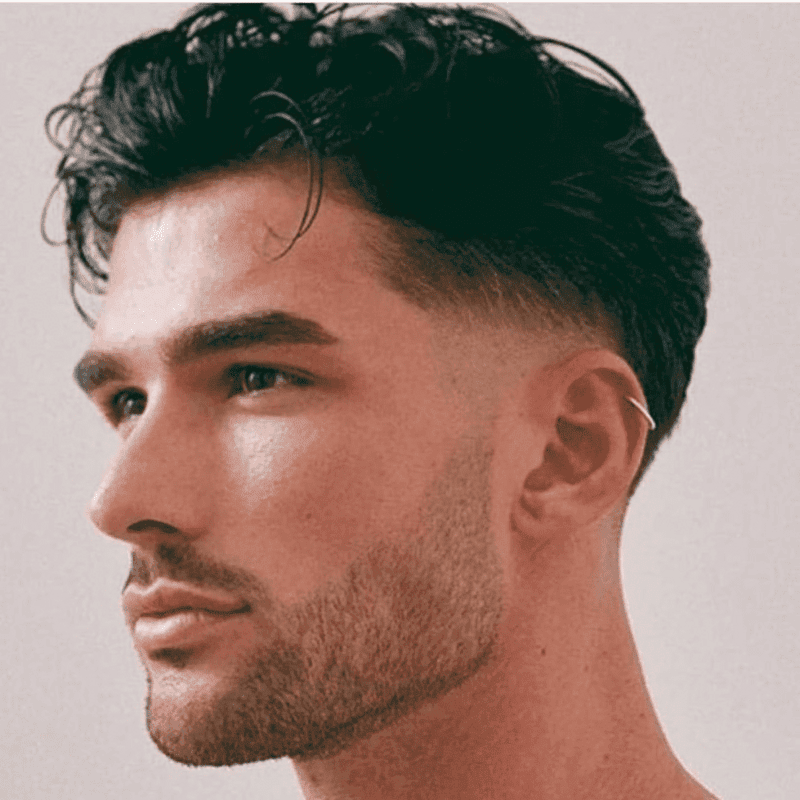
The undercut hairstyle features short sides with longer hair on top, creating a striking and versatile look. This style can be adapted in numerous ways, giving it a rugged and dynamic feel. Originally popularized by punk and grunge subcultures in the 1990s, the undercut was often paired with messy hairstyles, offering a distinctive edge for those wanting to stand out. Today, it remains a favorite among various groups, allowing individuals to style it in countless ways to reflect their personal tastes.
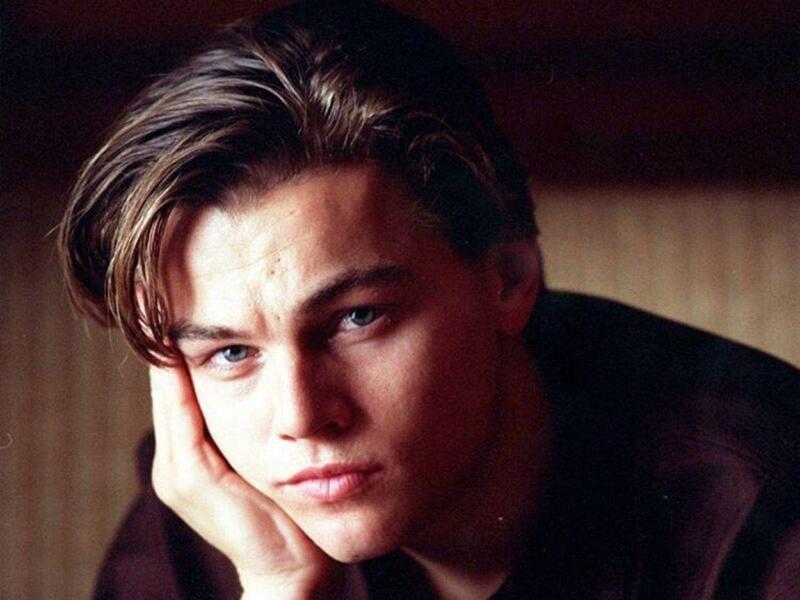
SHOULDER LENGTH HAIR

Shoulder-length hair is a versatile style that suits anyone, making it popular across all age groups. Its adaptability allows for various styling options, fitting any occasion, and it’s easy to maintain, requiring minimal time and effort.
This hairstyle gained prominence during the grunge subculture of the 1990s, often worn in a messy and unkempt fashion, featuring tousled waves or curls. This relaxed look mirrored the laid-back, casual vibe of the grunge scene. Today, shoulder-length hair remains a favorite among young adults and can be styled in a more polished or sophisticated way for formal events.
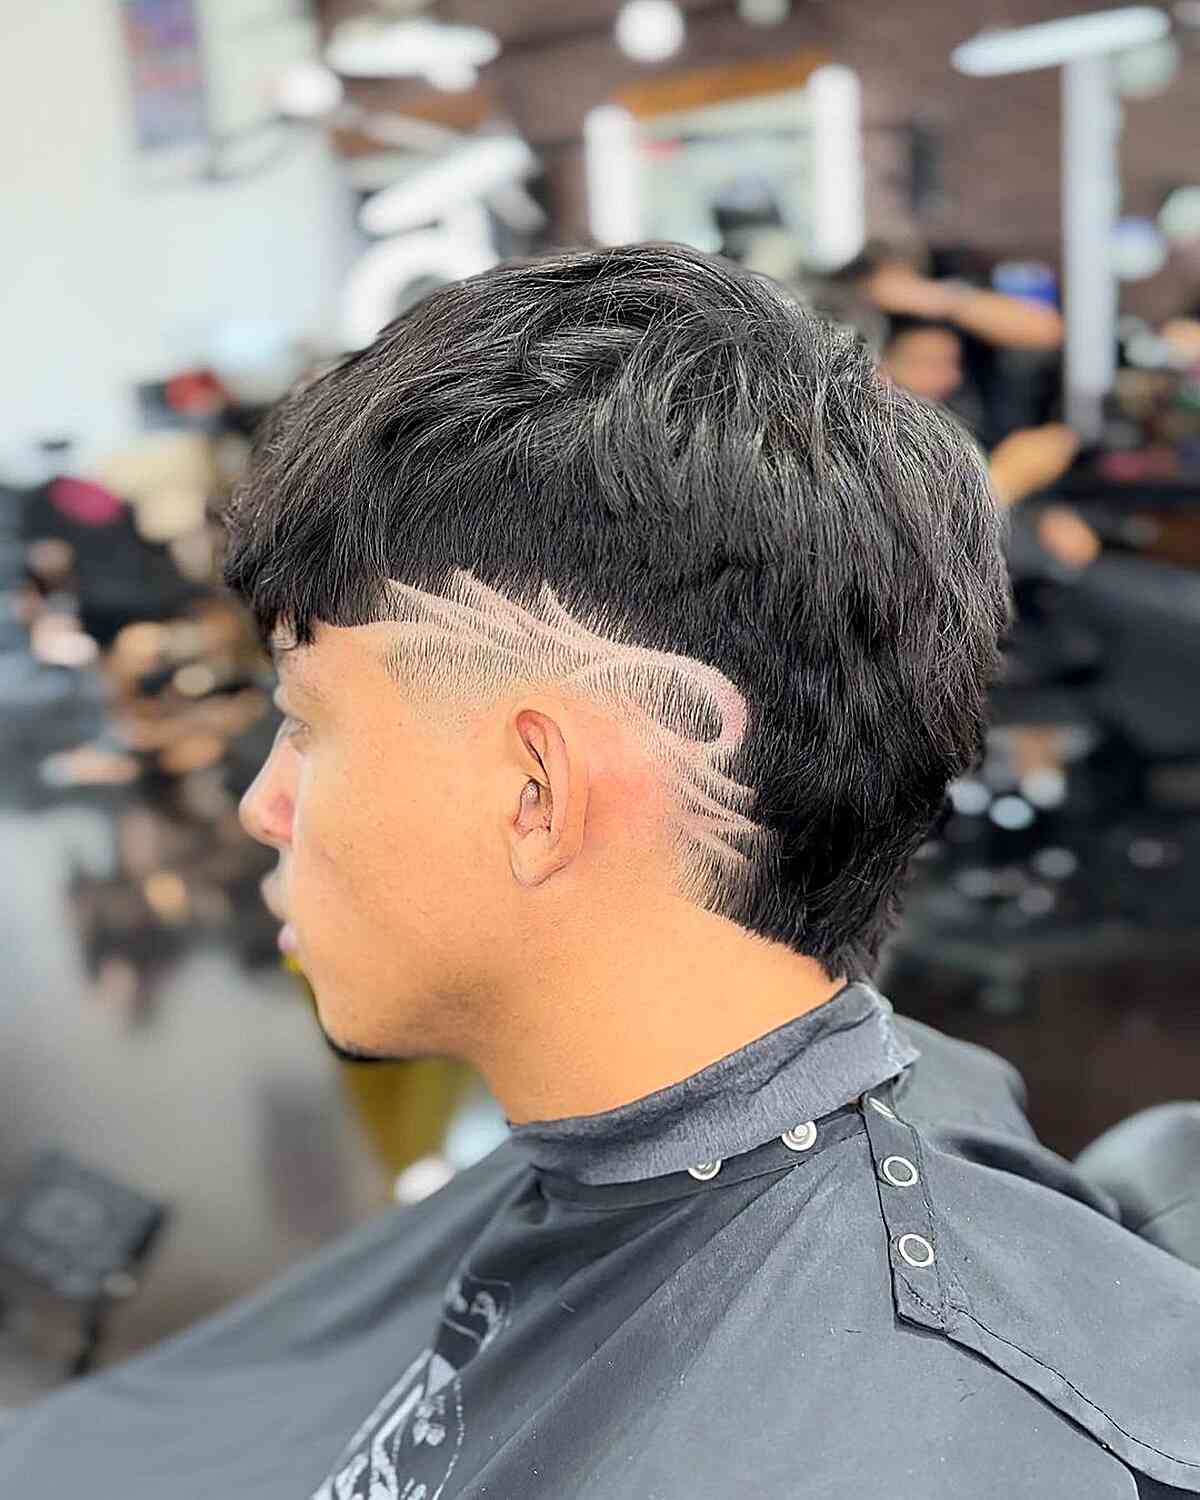
TRAM LINES/LINES IN HAIR
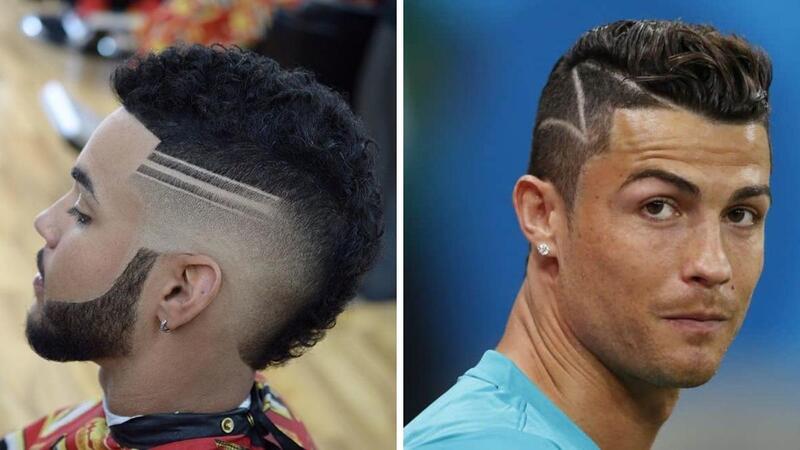
The Tram Lines hairstyle is a classic ’90s look for men characterized by straight, thin lines drawn down the center of the hair. This style was popular among both boys and girls and offered various styling options.
To achieve the Tram Lines hairstyle, begin by parting your hair in the middle. Next, use a comb or a toothbrush to create thin lines along the part with a black or brown gel or hairspray. You can adjust the thickness of the lines to your preference and even add curves for a more creative twist. Finally, finish with a spritz of hairspray to hold everything in place.
WGELLED HAIR
Gelled hair was a standout hairstyle in the 1990s, characterized by a spiky, mohawk-like appearance created with hair gel. This edgy look was commonly adopted by punk and metal bands, as well as their fans, embodying a messy and rebellious spirit. Achieving this style required significant time and effort, along with some practice; if not done correctly, it could result in clumps of sticky gel throughout your hair. While gelled hair gained immense popularity in the United States and Europe, it never quite resonated in Asia.
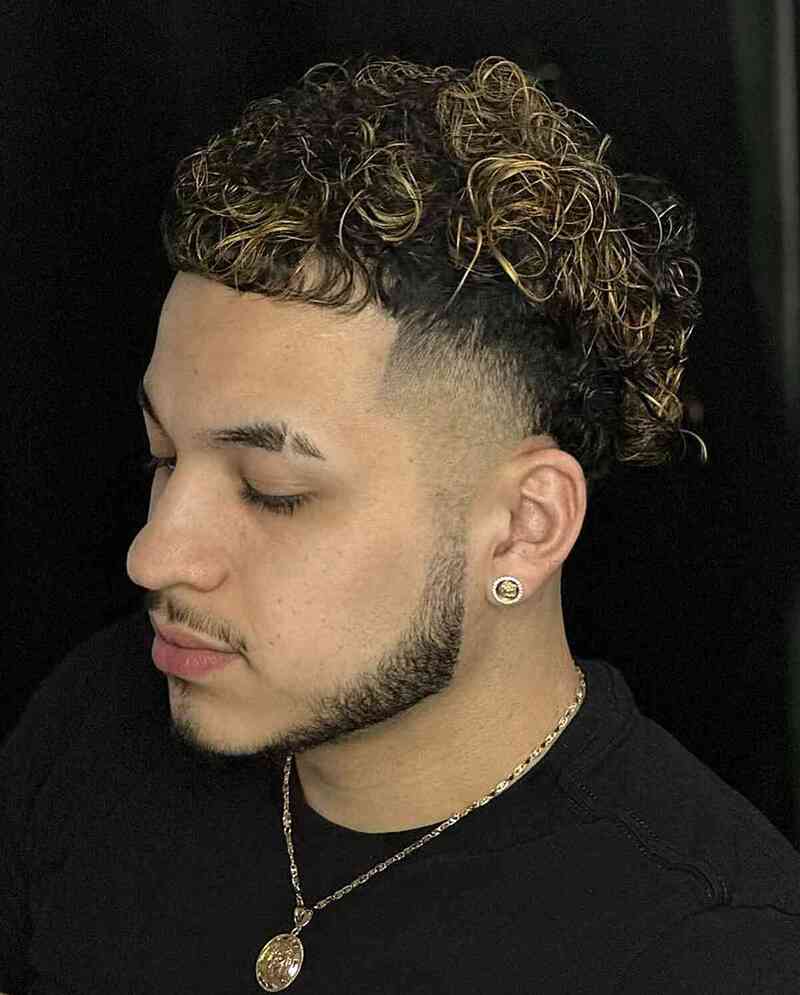
MOHAWK
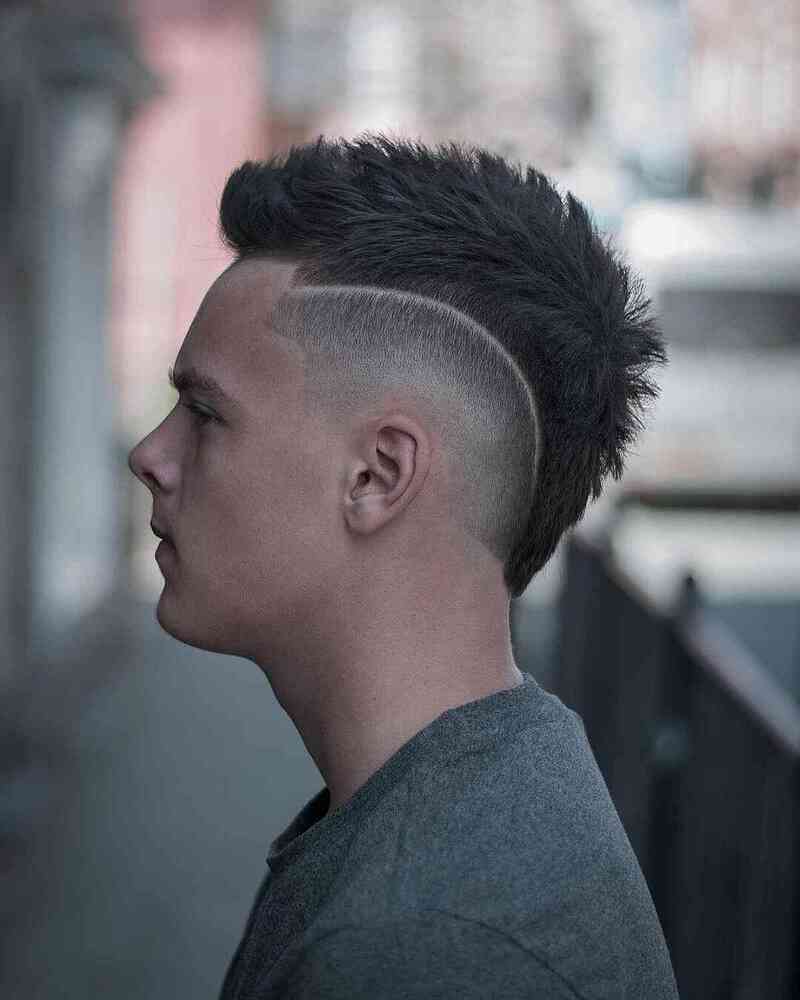
The mohawk was an iconic hairstyle for men in the ’90s, characterized by shaving the sides of the head while leaving a strip of longer hair down the center. Maintaining this look requires time and patience, as regular shaving is necessary to keep the contrast between the shaved and unshaved areas consistent. One of the great aspects of the mohawk is its versatility; it works well with most hair types, including curly hair, allowing for a unique and expressive style.
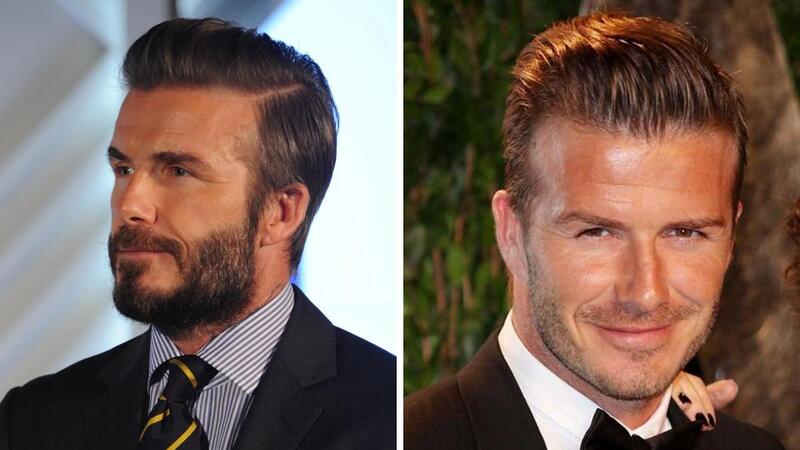
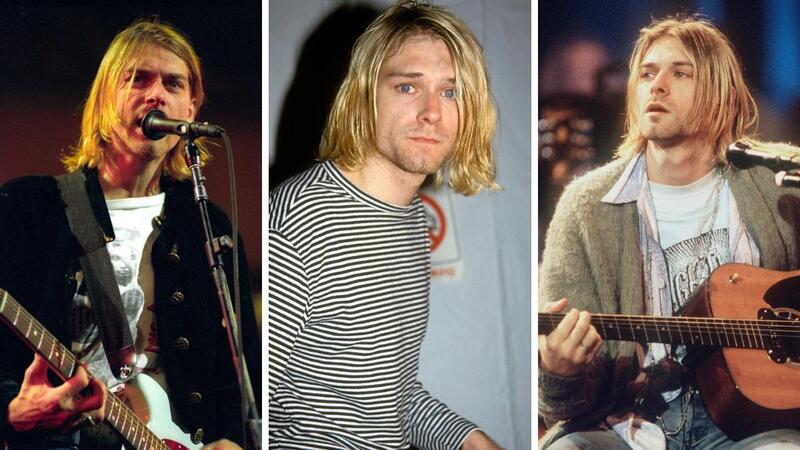
FROSTED TIPS
The Frosted Tips hairstyle was a popular trend among young people in the 1990s. This look involved bleaching the tips of the hair blonde and using a frosting or shaping product to achieve a white or light-colored “frosted” effect. Associated with the grunge and skater subcultures, the style was often paired with baggy jeans, hoodies, and other casual clothing. Many celebrities and musicians embraced this trend during the ’90s, including icons like Kurt Cobain, David Beckham, and Justin Timberlake.
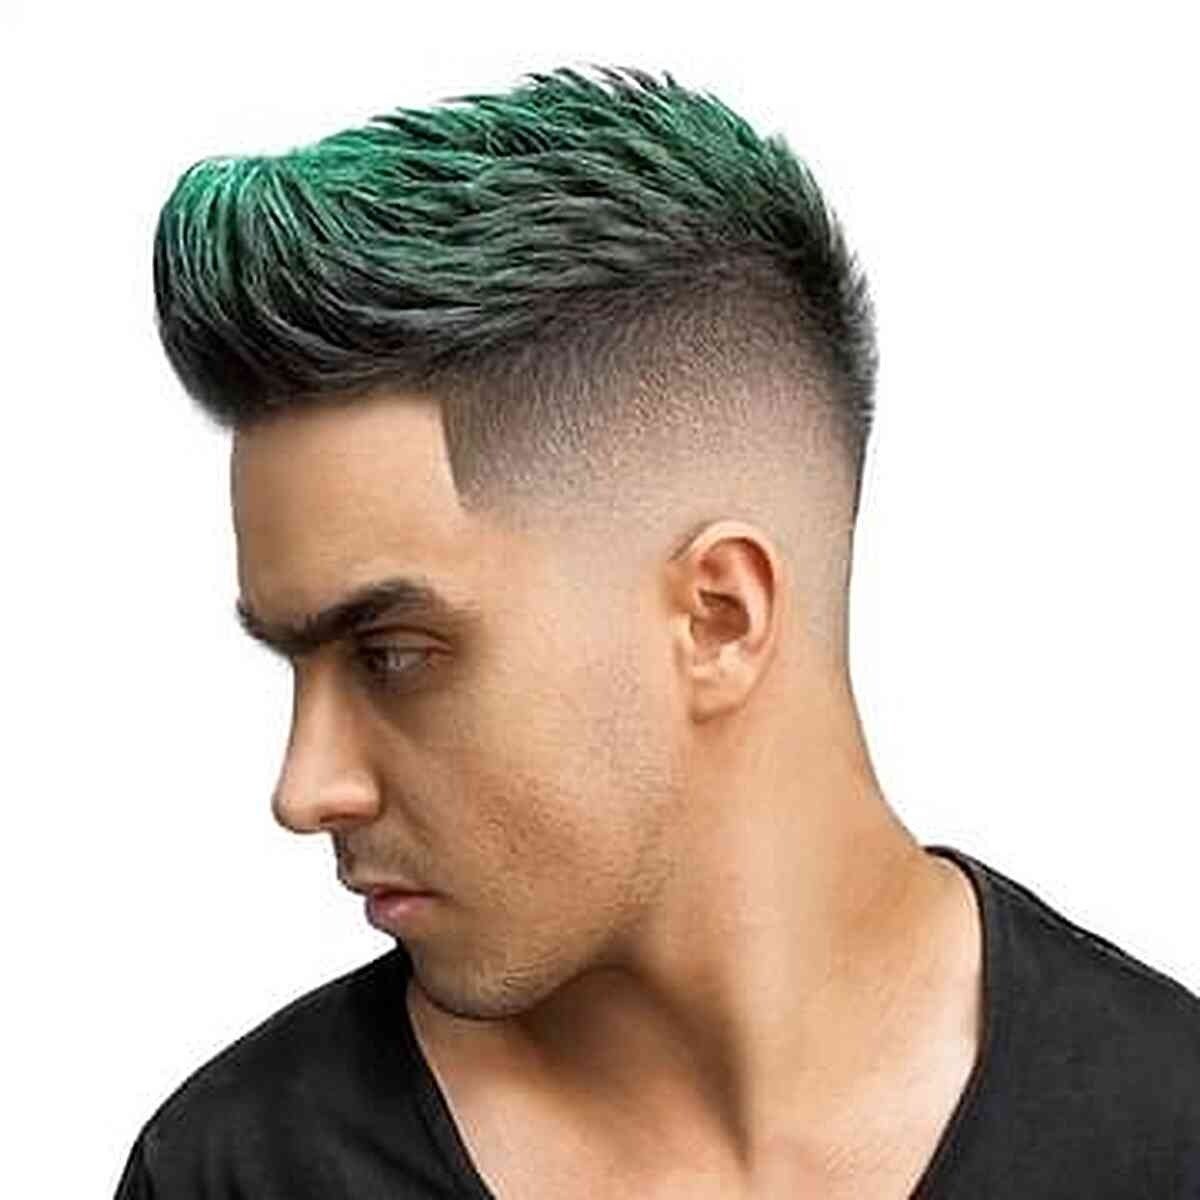
SPIKY HAIR

The spiky hairstyle features a series of tall spikes protruding from the top of the head. This look is particularly popular among teenagers and young adults and can be styled in various ways, including bowl cuts, mohawks, faux hawks, and more. Initially popularized in the ’90s by members of the punk rock subculture, the spiky hairstyle has since become more mainstream, appealing to people of all ages today. Its versatility allows for a range of creative expressions, making it a timeless choice.
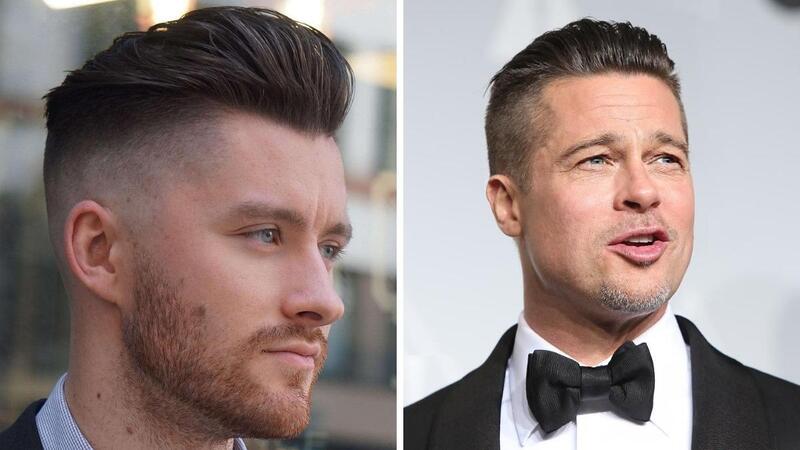
THE HEARTTHROB
The Heartthrob hairstyle was a trendy look for young men and boys in the 1990s, characterized by its thick, voluminous appearance. This style was typically achieved by using plenty of hair gel or mousse to add height and volume. Often embraced by boys in the grunge subculture, the Heartthrob hairstyle became emblematic of the era, reflecting a carefree and rebellious spirit while showcasing a youthful charm.
GRUNGE
The grunge style emerged in the early 1990s as a messy and carefree look, popularized by young people who identified with the grunge subculture. This counterculture movement embraced alternative music, casual clothing, and anti-establishment attitudes. Grunge hair was often characterized as “unkempt” or “disheveled.” The style involved allowing hair to air-dry into its natural curly or wavy texture without brushing or styling it. The result was a deliberately careless and relaxed appearance, perfectly reflecting the ethos of the grunge movement.
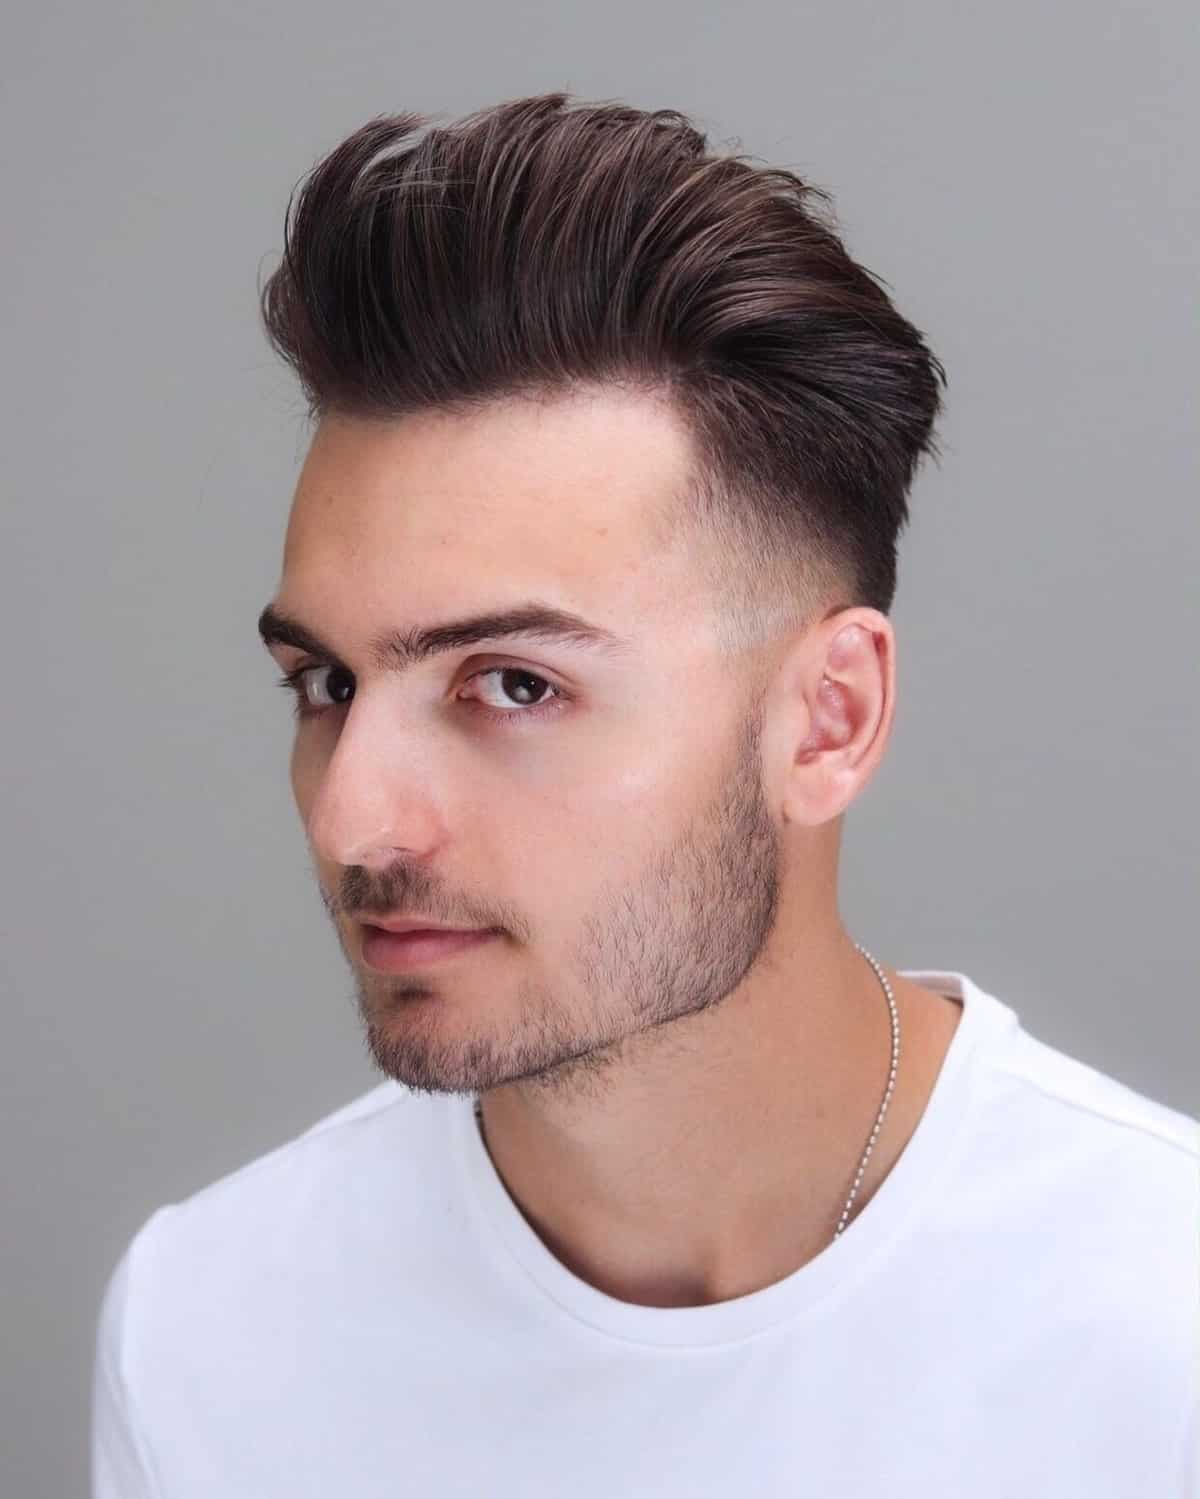
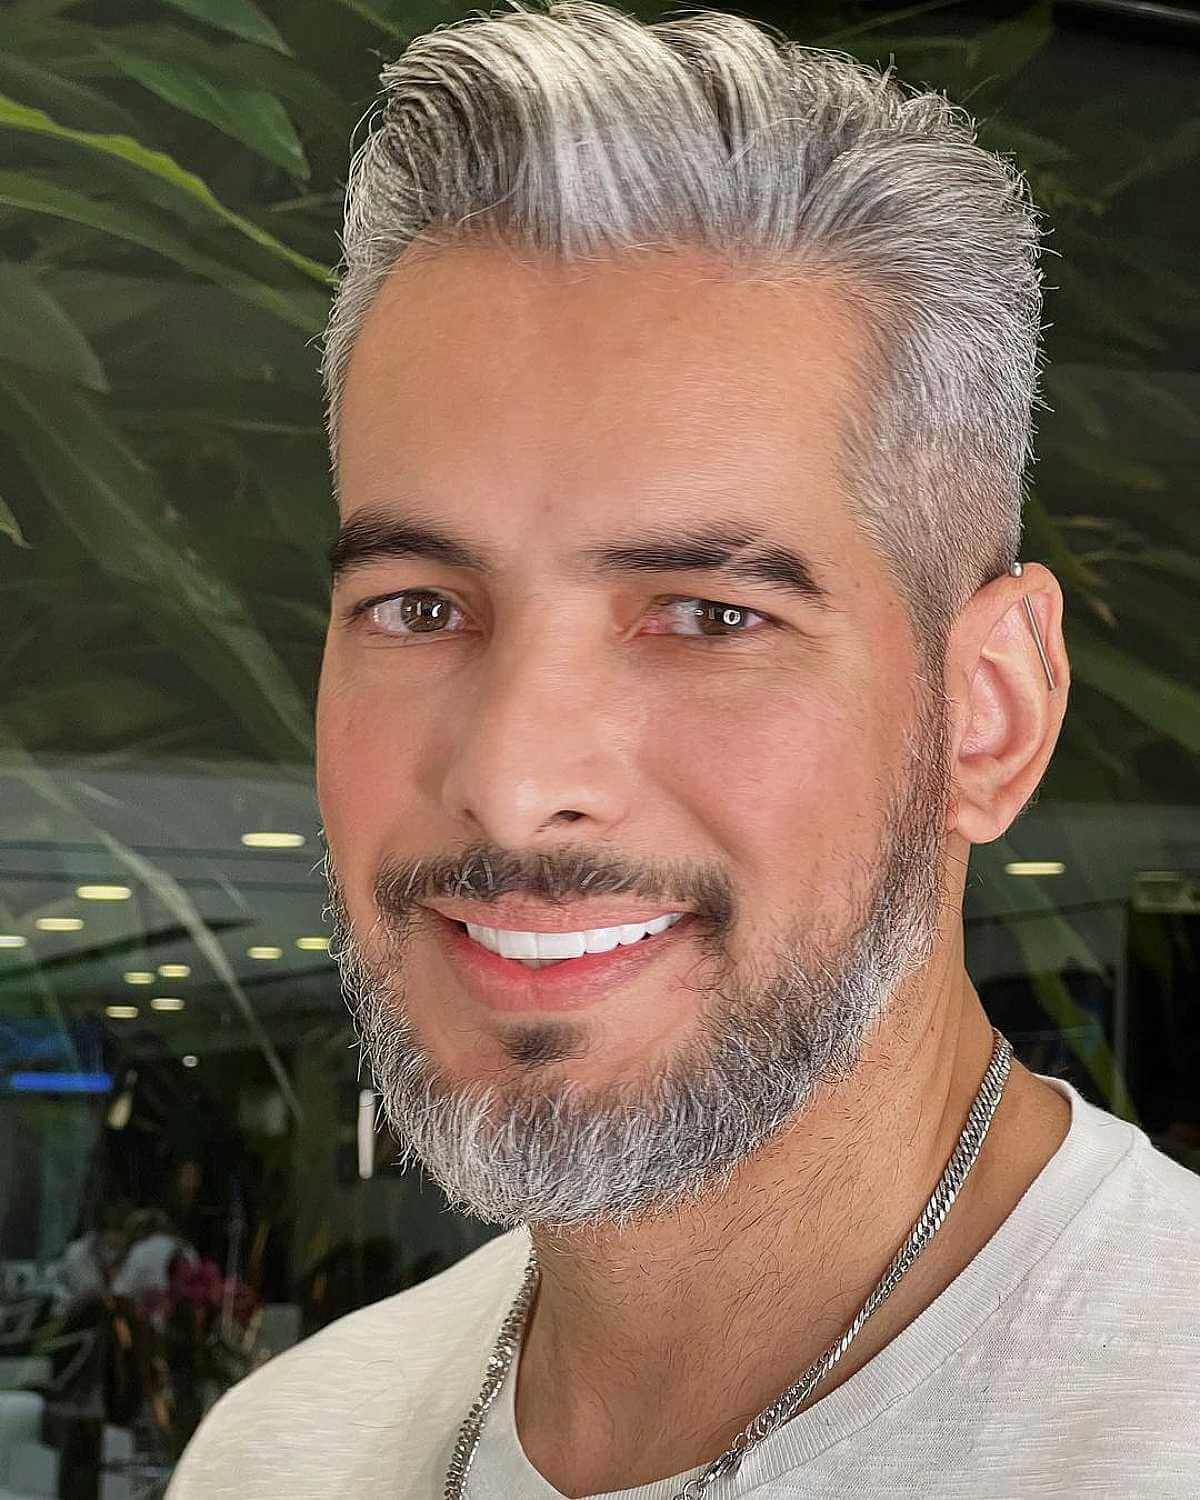
SLICK BACK HAIR
The slicked-back hairstyle is a classic look that has stood the test of time. Suitable for both men and women, it creates a polished and professional appearance. Typically, the slicked-back style involves smoothing the hair to achieve a sleek and shiny finish, pulled tightly away from the face. While this look gained popularity in the 1990s within the grunge and punk subcultures, it continues to be a favorite among professionals and businesspeople today.
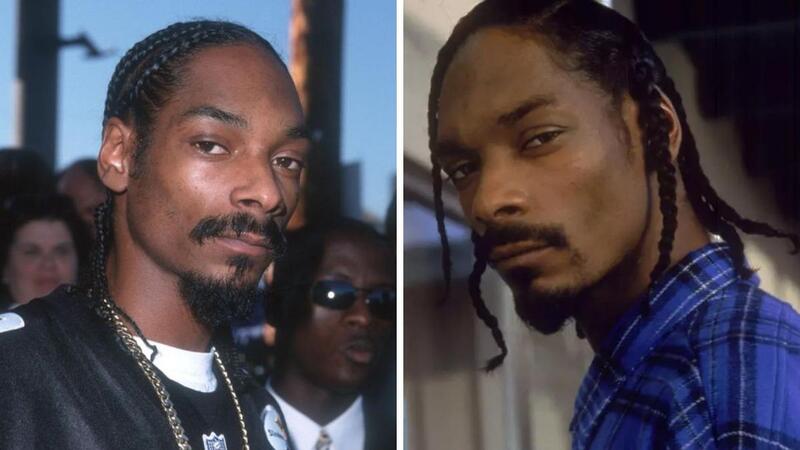
DREADS
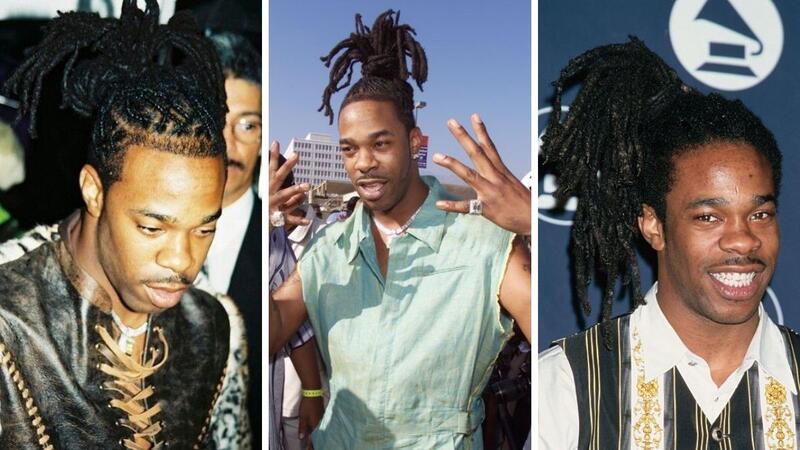
In the 1990s, black culture significantly influenced the fashion industry, largely driven by the rise of Hip Hop and R&B. As a result, men’s dreadlocks emerged as a popular hairstyle, becoming one of the most sought-after looks today. Originally rooted in Rastafarian culture in Jamaica, dreadlocks were embraced by men in the ’90s for their uniqueness, length, and versatility in styling. A prime example of this trend is Busta Rhymes, who showcased the distinctive look during that era.
AFRO

Afros are a hairstyle characterized by naturally curly hair with a tight, kinky texture. This look can be achieved by letting the hair grow out naturally or by employing specific styling techniques to create the desired shape. The afro was popularized in the 1970s by African American celebrities and athletes and continued to thrive in the 1990s, particularly among members of the hip hop and R&B subcultures. This iconic hairstyle celebrates natural texture and has become a powerful symbol of cultural identity and pride.
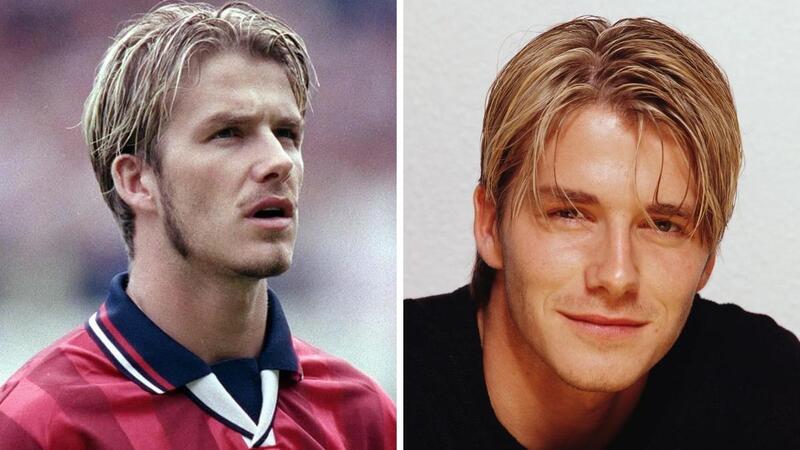
BLONDE HIGHLIGHTS
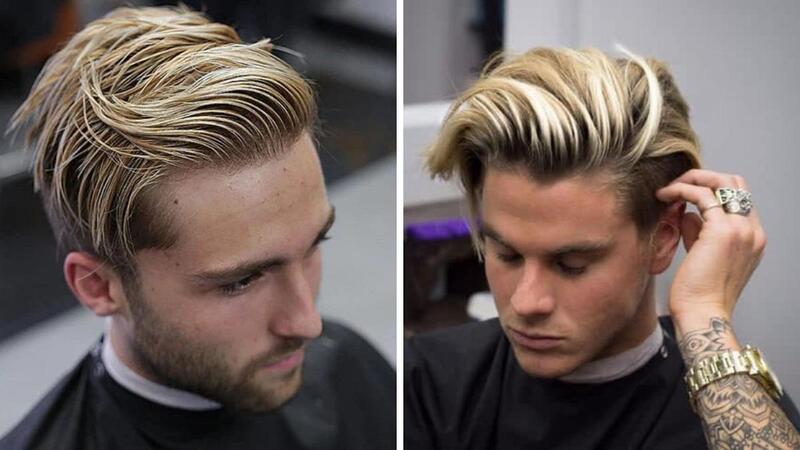
This style involved adding blonde highlights to the hair to create a striking effect. The key to achieving this look was ensuring the highlights were evenly distributed for a natural appearance. It was particularly flattering for men with light-colored hair. Often associated with grunge and metal aesthetics, this hairstyle provided a punk rock edge. Footballers in the ’90s embraced this look, further contributing to its popularity and making it a staple among young men during that era.
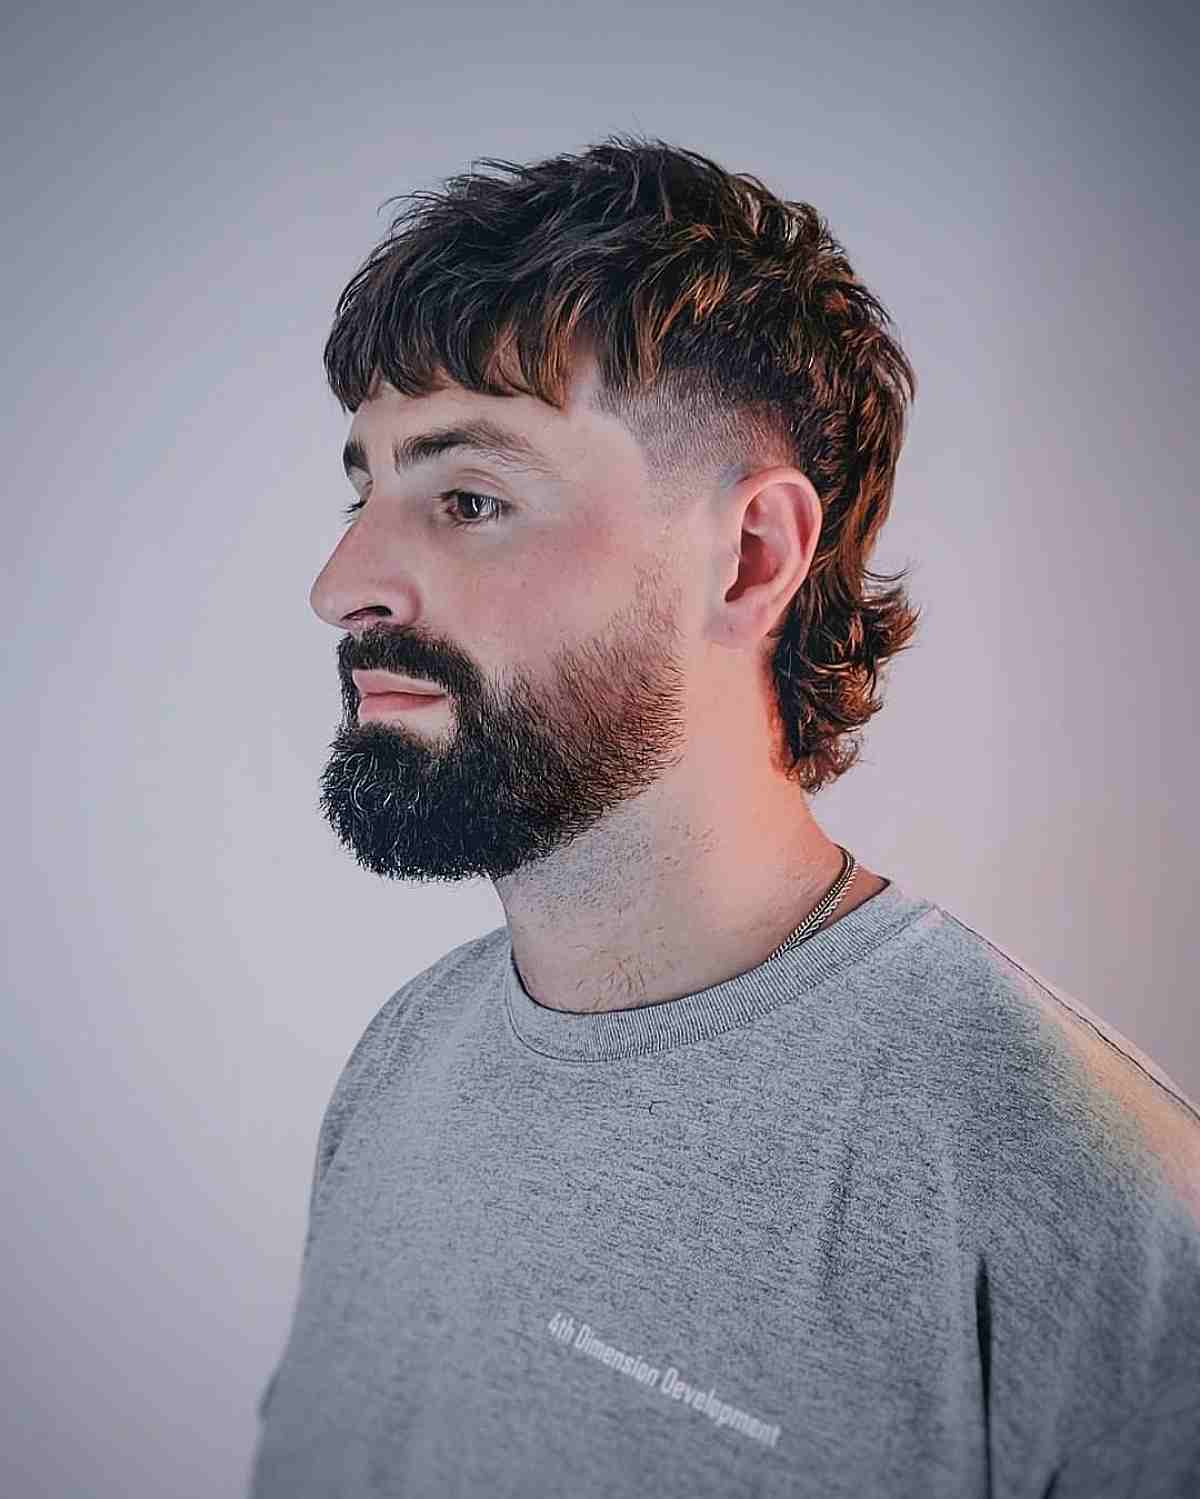
MULLET
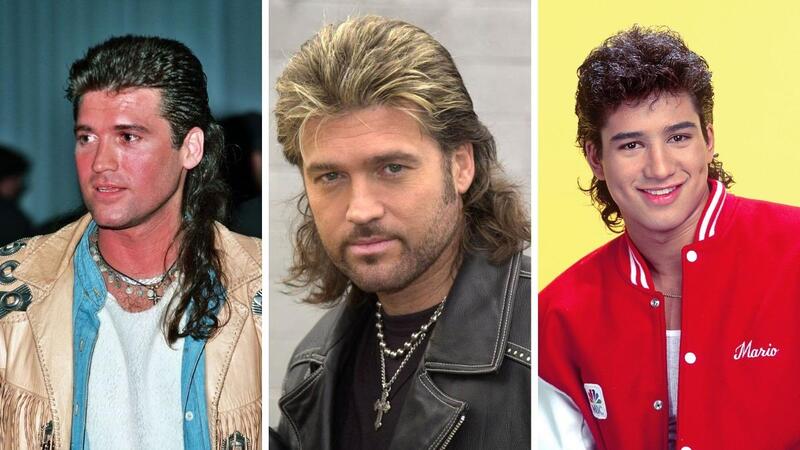
The mullet was one of the most iconic men’s hairstyles of the 1990s, and its recent resurgence suggests that this haircut is here to stay. The key to rocking this look is to maintain longer hair on top while keeping the sides and back short. Mullets were commonly associated with country music stars, heavy metal fans, truck drivers, and anyone looking to rebel against mainstream fashion trends of the ’90s. This hairstyle became a symbol of individuality and nonconformity during that era.
FLAT TOP
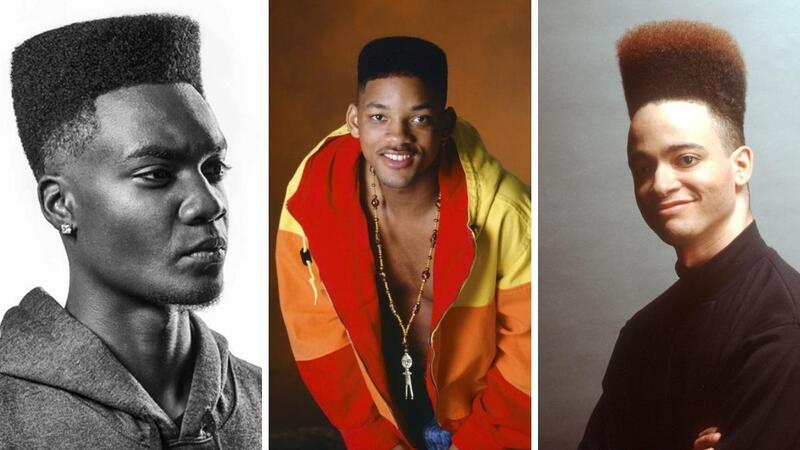
When we think of the ’90s Flat Top, Will Smith’s portrayal in The Fresh Prince of Bel-Air immediately comes to mind, as he became synonymous with this iconic hairstyle. The Flat Top was a popular men’s hairstyle during the ’90s, characterized by hair that is cut evenly around the head, laying flat on top. This look can be achieved with various hair lengths, textures, and styles, allowing for a sleek and straight appearance or a funkier, more eclectic 90s-inspired vibe. While the Flat Top was most commonly worn by men of African American descent, it can be styled by individuals of any race, showcasing its versatility and enduring appeal.
CORNROWS
Cornrows are a traditional African hair braiding style that involves twisting or gathering hair into small, individual units or “rows,” which are then secured close to the scalp using thread, elastic bands, or pins. This versatile style can be worn in various ways, including mohawk-like looks, parallel rows, zigzag patterns, and intricate designs that incorporate beads or other decorative elements.
While cornrows were popularized by African Americans in the early 1990s, they are now embraced by individuals of all races and cultures. Often associated with hip-hop culture, cornrows can create an edgy or tough appearance when styled effectively, reflecting both artistic expression and cultural heritage.
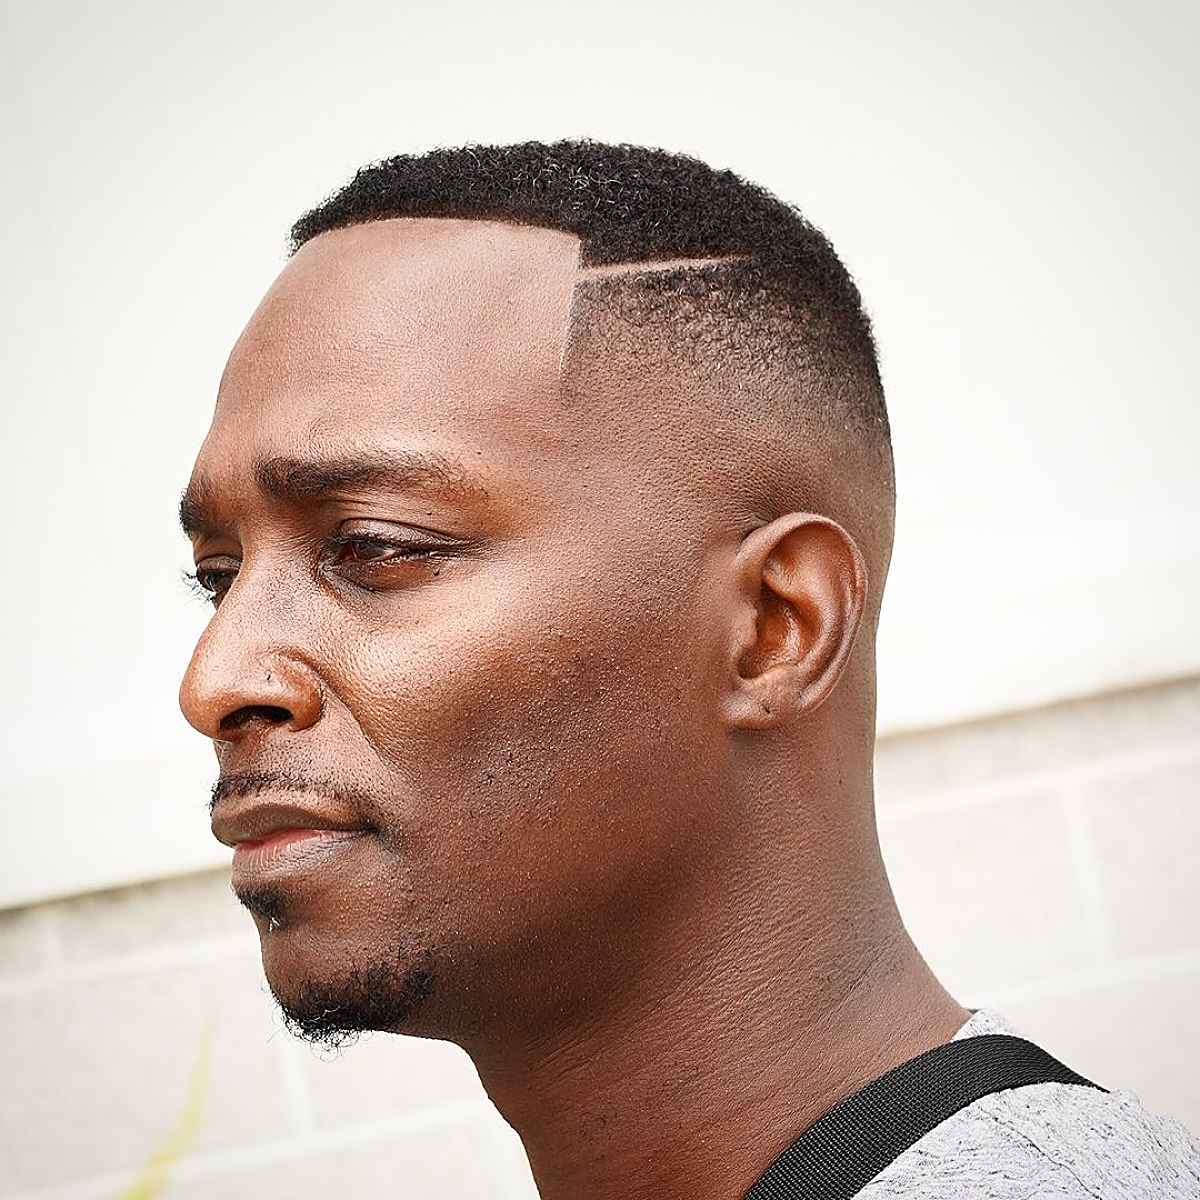
CAESAR HAIRCUT
The Caesar haircut is a timeless style that traces its origins back to Julius Caesar. This classic look features short, cleanly trimmed sides and a squared-off fringe in the front, often styled with products like Brylcreem or hair gel to achieve a wet, shiny finish.
In the 1990s, the Caesar haircut gained significant popularity among men, largely thanks to musicians like Kurt Cobain and Eddie Vedder, who brought it into the mainstream. Today, the Caesar haircut remains a fashionable and professional choice for men, continuing to stand the test of time with its sleek and polished appearance.
CURTAINS HAIRCUT
The curtains haircut is a quintessential ’90s hairstyle for men that emerged from the punk rock and heavy metal subcultures in the early 1990s. Essentially a variation of the Mohawk, this style features longer hair on the sides and back, styled into “curtains.”
To achieve the look, you can either shave the sides and back of your head or use gel, mousse, or hairspray to create the curtain effect. Punk rockers and metalheads often accessorized their curtains haircuts with studs, spikes, or chains, enhancing the edgy aesthetic.
While this style was immensely popular in the early ’90s, it has since fallen out of mainstream fashion. However, it remains a staple for some punk rockers and metalheads today, reflecting their distinctive style and cultural identity.
BOWL CUT
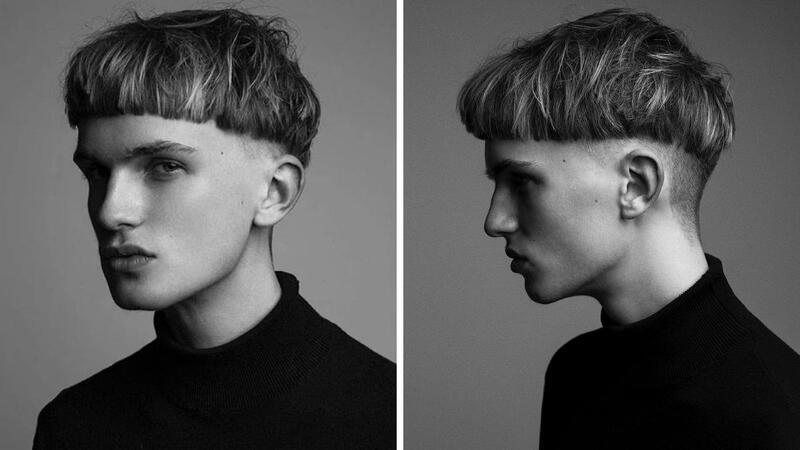
The bowl cut is a hairstyle commonly worn by young boys, characterized by a straight, blunt cut across the forehead that creates a rounded shape resembling a bowl. The hair on the sides and back is typically cut short or shaved bald.
In the 1990s, the bowl cut gained popularity among young skateboarders and surfer boys seeking a low-maintenance and easy-to-manage style. It was regarded as a cool and “hip” look for kids, embodying the carefree spirit of youth culture during that era.
CONCLUSION
The 90s witnessed a remarkable era of men’s hairstyles, characterized by a blend of rebellion, individuality, and confidence. These hairstyles not only defined a generation but also continue to inspire contemporary trends, showcasing the timeless appeal of 90s fashion. As we look back on this era, we celebrate the men who rocked these hairstyles with such conviction, leaving an enduring legacy of style and self-expression.