

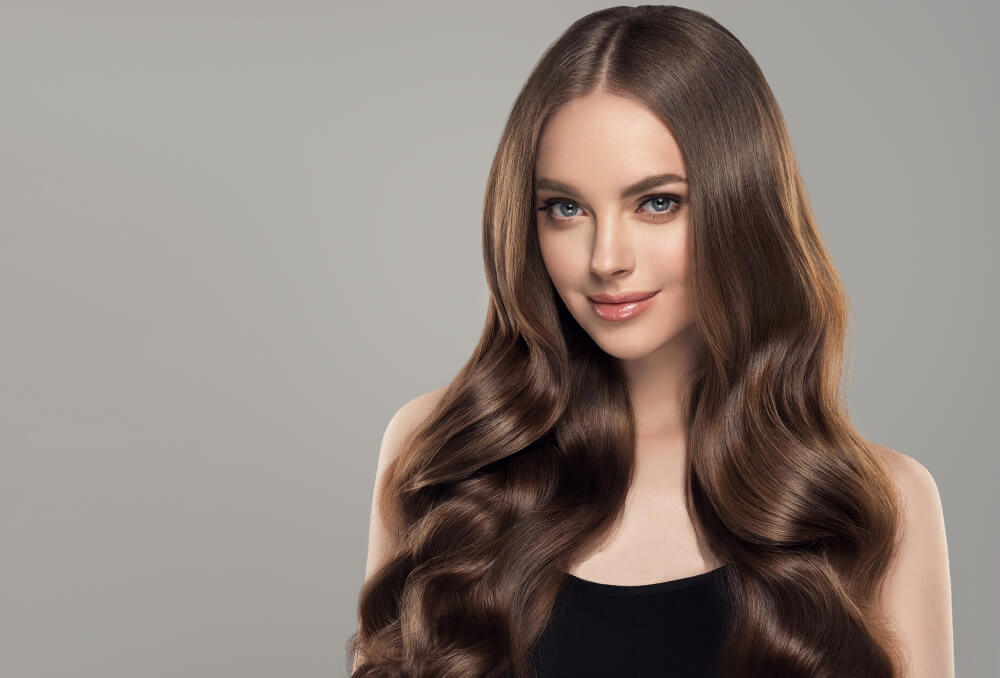
Taming thick hair can be a battle, but with the right flat iron, you can achieve sleek, straight locks that last. In this guide, we’ll unveil the best flat irons designed to conquer thick hair, so you can ditch the frizz and achieve salon-worthy smoothness at home.
HOW TO CHOOSE THE RIGHT FLAT IRON FOR THICK HAIR
PLATE MATERIAL
Selecting the ideal flat iron tailored to your hair type can transform your styling routine. For those with dry, thin, or damaged hair, ceramic plates or ceramic-coated plates are recommended. These plates heat up evenly from within, gliding smoothly without pulling or causing frizz. Conversely, if you have thicker or curlier hair, titanium plates are the go-to option, capable of reaching high temperatures and distributing heat evenly. Tourmaline is another excellent choice, enhancing ceramic plates for seamless gliding while reducing tension and minimizing damage. Hence, it’s essential to choose your plate material wisely to suit your hair’s unique needs.
TEMPERATURE SETTINGS
Temperature settings play a crucial role when using hot tools on thick or textured hair. Look for flat irons with higher temperature settings to effectively smooth and style coarse strands. Adjustable and precise heat settings are essential to avoid damage from excessive heat exposure. Starting with a lower heat setting and gradually increasing it is recommended to prevent potential hair damage. Finding the right temperature balance is key to achieving optimal styling results while protecting your hair.
PLATE SIZE
Consider the plate size when shopping for a flat iron for thick hair. Wider plates, typically ranging from 1.5 to 2.5 inches, cover more surface area for quicker and more efficient styling. Larger plates ensure superior heat distribution, reducing the risk of damage from hot spots. Opting for broader plates is especially beneficial for those with thicker hair, allowing for flawless, smooth results without subjecting your strands to excessive heat.
ADDITIONAL FEATURES
When choosing the best flat iron for thick hair, consider additional features that can enhance your styling experience. A swivel cord prevents tangling and makes maneuvering effortless, ensuring every hair section receives the necessary heat treatment. An auto shut-off function is essential for safety, automatically turning off the flat iron after a period of inactivity to minimize fire hazards or burns. Opting for a model with universal voltage ensures consistent heat performance while traveling internationally, catering to different voltage systems in various countries and ensuring effective styling results wherever you go.
TOP FLAT IRONS FOR THICK HAIR
BABYLISS PRO NANO TITANIUM OPTIMA 3000 1.25″ FLAT IRON WITH TITANIUM PLATES
The BABYLISS PRO Nano Titanium Optima 3000 is the best flat iron for both thick and fine hair. Its titanium plates heat up quickly and stay warm for efficient straightening. You can also use it to create waves or curls easily.
Safety is essential with this flat iron. It has silicone tips to protect your hair, and there’s a special attachment that works like a curling iron, perfect for making curls or waves. Plus, it has five heat settings from 300 to 465 degrees Fahrenheit, so you can choose the right temperature for your hair type. It’s a great choice for taming thick hair because of its versatility and safety features.
T3 LUCEA FLAT IRON
T3’s Lucea flat iron has received enthusiastic praise for its ability to effortlessly transform thick hair into smooth, glossy, straight strands with just one pass. Engineered with wider ceramic plates measuring one-and-a-half inches, it’s specifically tailored to tackle the challenges of thick hair without causing breakage. Its integrated microchip technology oversees rapid start-up, ensures even heating across the plates, and maintains stability across its nine temperature settings.
With a maximum temperature of 410 degrees Fahrenheit and ceramic plates, it offers optimal heat for effective styling. The inclusion of an auto shut-off feature enhances safety, while the nine heat settings cater to various hair types and preferences. Designed with the needs of thick, curly, and voluminous hair in mind, its microchip technology guarantees precise heat control and uniform heat distribution throughout the tool. Additionally, its 360-degree 8-foot swivel cord enhances maneuverability during styling sessions.

HSI PROFESSIONAL CERAMIC TOURMALINE IONIC FLAT IRON
The HSI Professional Ceramic Tourmaline Ionic Flat Iron stands out as an excellent option for those seeking a budget-friendly yet high-performing hair straightener. It comes with valuable accessories like a heat protective glove and argan oil, adding further value to its affordable price point. Users have praised its performance, reflected in its high ratings on Amazon.
Equipped with multiple heat settings and the ability to create both straight and wavy styles, this flat iron offers versatility comparable to more expensive models. However, some users have noted that the LCD screen can be confusing when powering down, presenting a minor drawback to an otherwise commendable device.
Despite this minor issue, the HSI Professional Ceramic Tourmaline Ionic Flat Iron stands out as a top choice on Amazon, offering a balance of affordability and performance that makes it a standout option for users seeking quality styling results without breaking the bank.
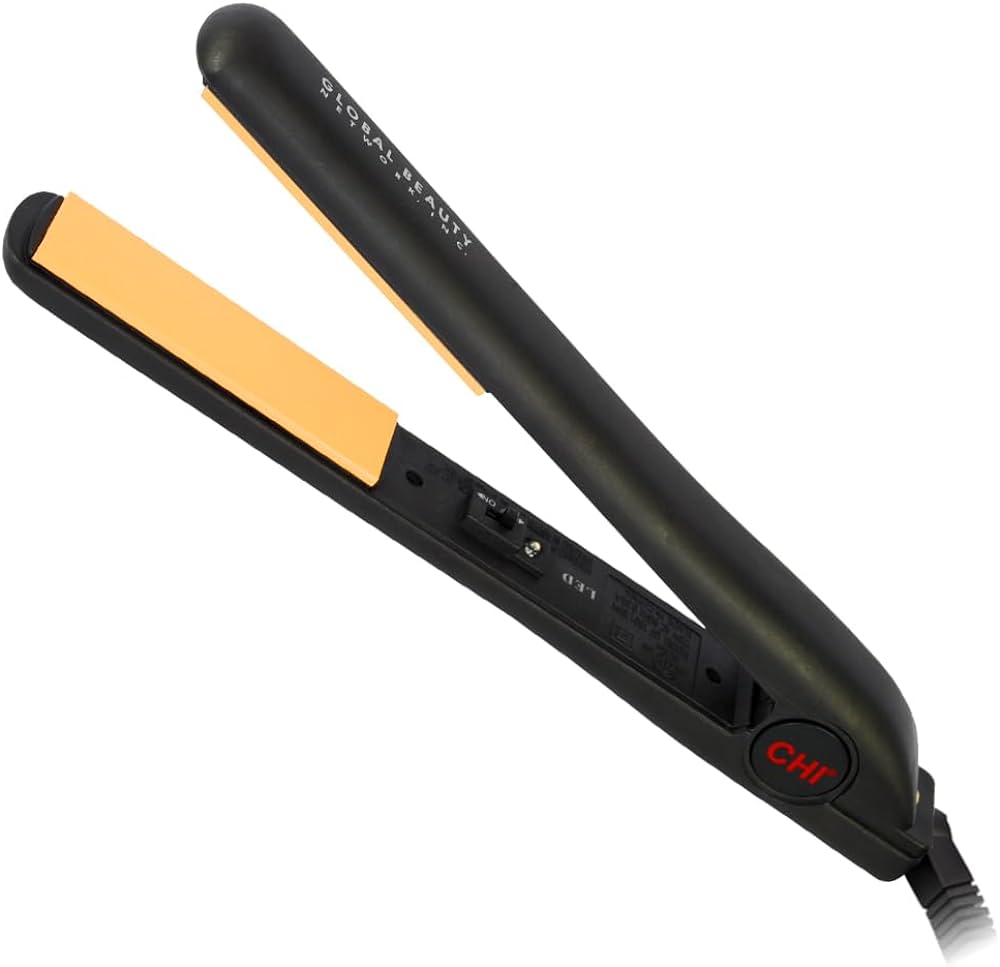
CHI LAVA 2.0 FLAT IRON
If you have wavy hair that tends to frizz easily, then Drybar’s flat iron might be the perfect solution for you. This ergonomic straightener features ionic technology to fight frizz and 0.5-inch titanium plates that heat up to 450 degrees Fahrenheit. The separate temperature controls for each plate allow for customized styling to minimize damage.
Despite the smaller plate size, which may seem like a drawback for straightening speed, you only need one or two passes to achieve your desired look. This flat iron also doubles as a curling iron thanks to its rounded plates, giving you the option to add waves or movement to your hair after straightening. While the price tag might be a bit steep at $190, this versatile tool offers two styling options in one and boasts a convenient, compact design that’s perfect for travel.
CHI ORIGINAL CERAMIC HAIR STRAIGHTENER
The Chi Original Ceramic Hair Straightener offers a compelling combination of features that make it a strong contender for anyone in need of a reliable styling tool. Boasting ceramic plates, it ensures even heat distribution, safeguarding against potential hair damage, particularly beneficial for those with color-treated or heat-sensitive hair. Its adjustable heat settings, reaching up to 400°F (204°C), provide versatility in styling while minimizing the risk of heat-related harm. The straightforward design simplifies the styling process, catering to both novices and seasoned users alike. Moreover, its budget-friendly price point makes it an attractive option compared to pricier alternatives, offering quality performance without breaking the bank.
DRYBAR RESERVE DUAL-PLATE STYLING IRON
Eva NYC introduces a specialized flat iron tailored for individuals with fine, color-treated, or delicate hair, offering a gentler alternative to high-heat styling. Crafted with ceramic plates, it ensures even heat distribution, safeguarding fragile strands from potential damage caused by hot spots. The adjustable heat settings, spanning from 200°F to 450°F, provide flexibility in styling while minimizing the risk of heat-induced harm. Additionally, the flat iron emits negative ions as it glides through the hair, smoothing the cuticle and reducing frizz for a healthy, shiny finish. Its compact 1.25-inch plate size facilitates easy maneuverability, especially for styling shorter hair sections. However, some users have noted challenges with adjusting the temperature dial, and the floral print design may not appeal to everyone’s aesthetic preferences.
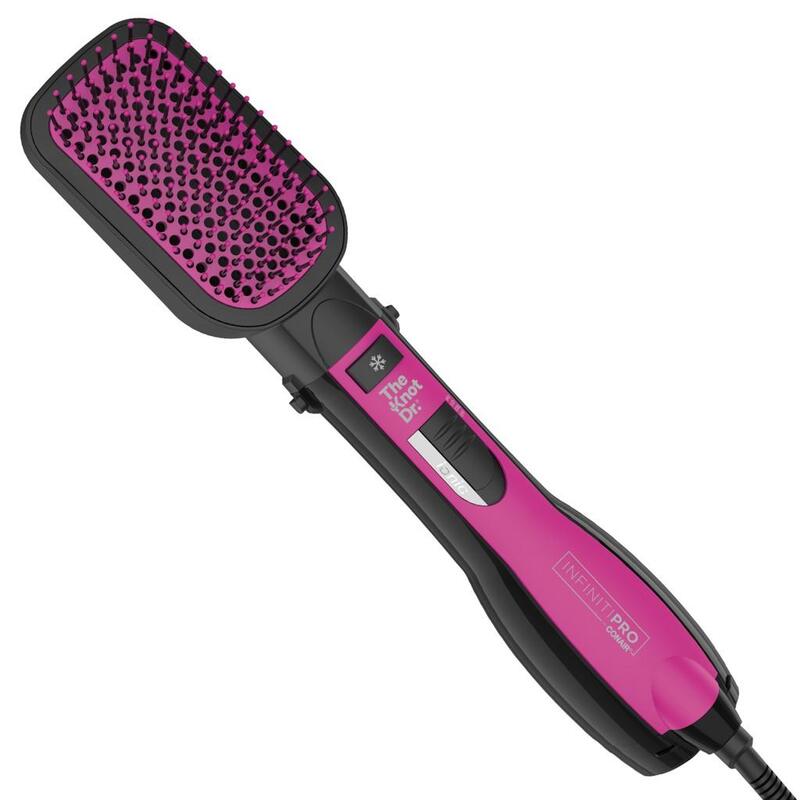
CONAIR THE KNOT DR. ALL-IN-ONE SMOOTHING DRYER BRUSH, HAIR DRYER & HOT AIR BRUSH
With a height of just eight inches, this compact flat iron has earned nearly four thousand enthusiastic reviews across various online platforms. Its half-inch ceramic plates can reach temperatures up to 350 degrees Fahrenheit, making it versatile for adding volume at the roots, straightening hair, or creating waves. One of its standout features is its convenient size, perfect for slipping into your travel tote alongside your makeup essentials for your next journey.
In terms of specifications, it boasts a fixed temperature of 350 degrees Fahrenheit and utilizes ceramic plates measuring 0.5 inches. While it lacks an auto shut-off feature, it compensates with a power indicator light, a 6-foot cord, and dual voltage capabilities, ensuring practicality and adaptability for travelers.
Priced at $26.99 upon publication, this flat iron has garnered praise for its ease of use and lightweight design. However, it’s worth noting that it offers only one heat setting, which may be a limitation for users with specific styling preferences or hair types.
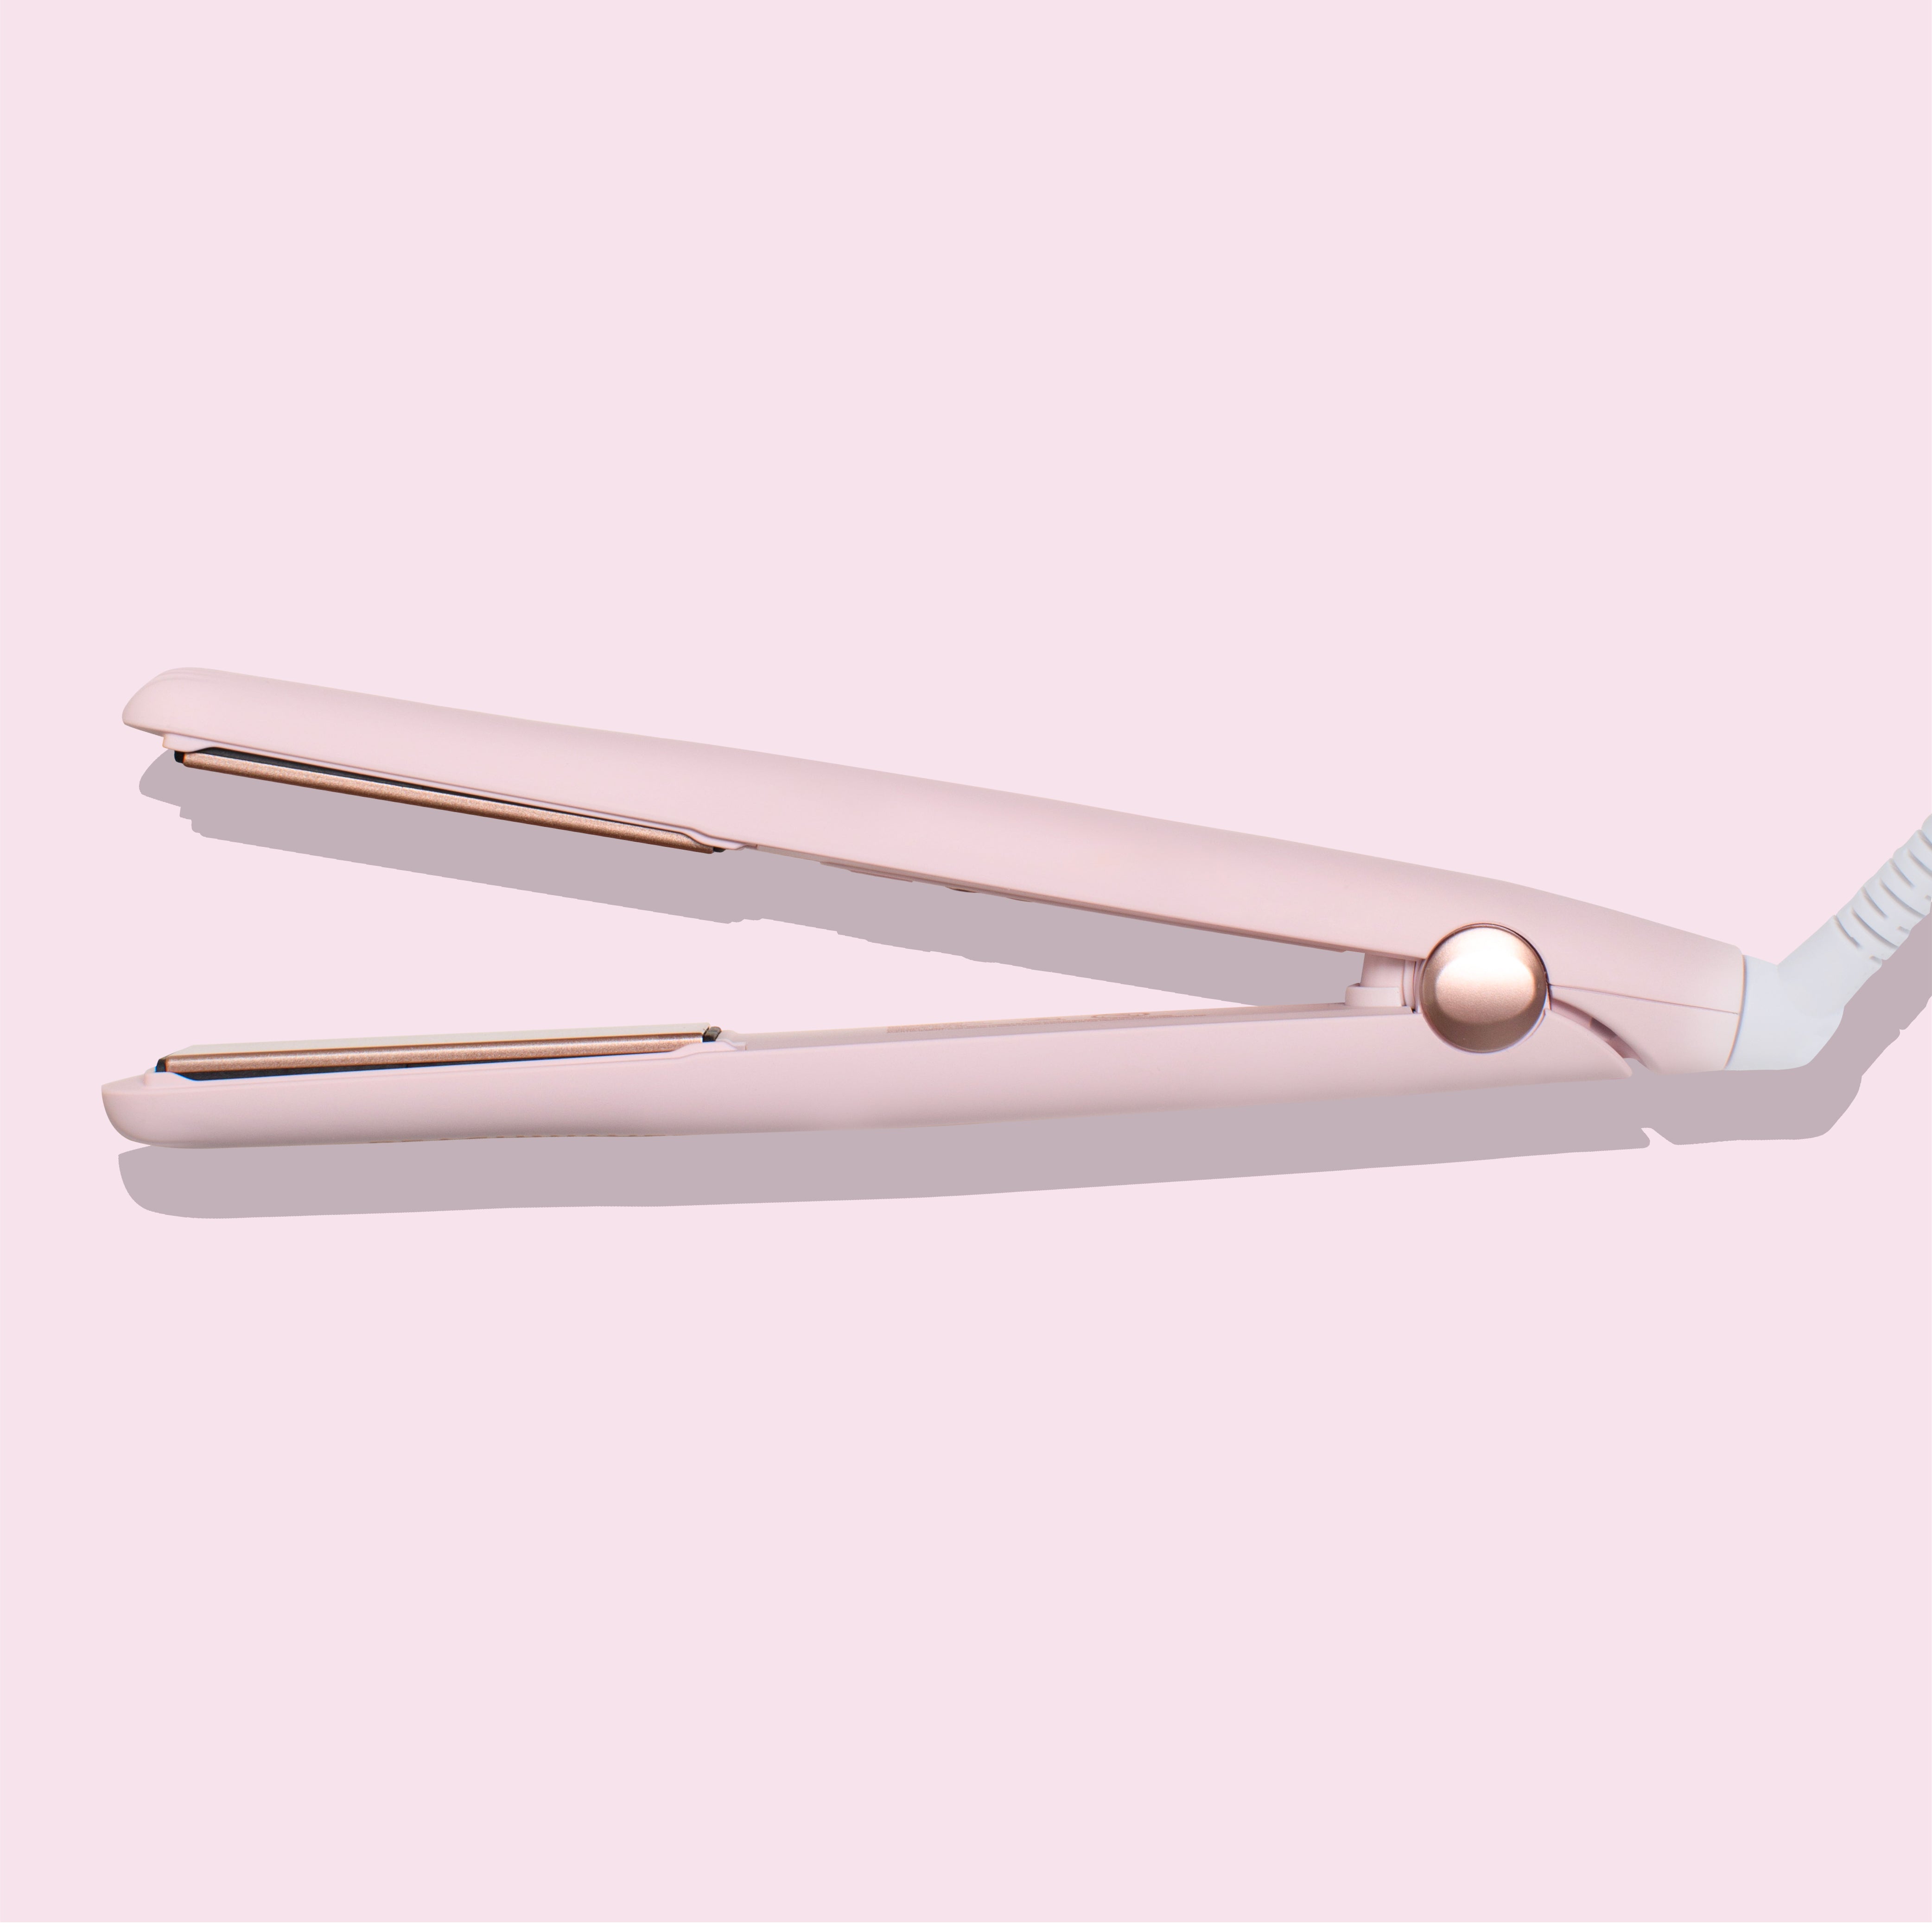
GHD PLATINUM+ STYLER
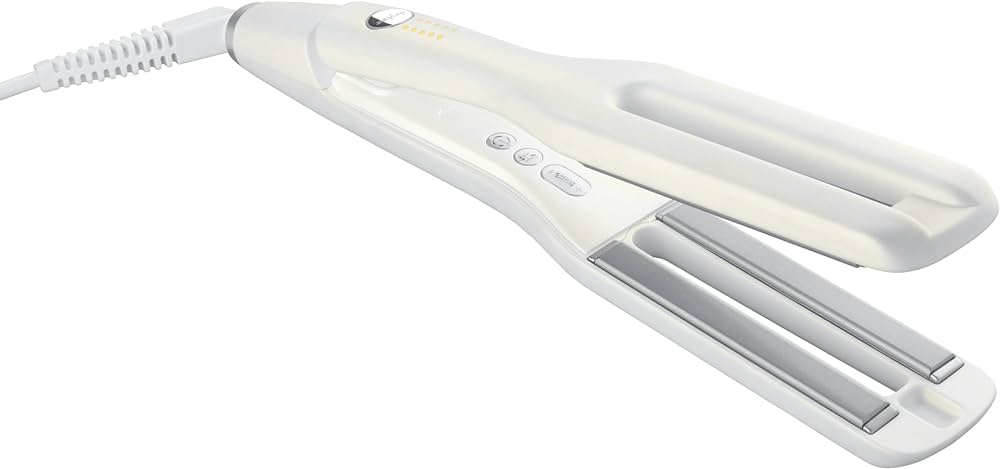
The Dyson Airstrait Straightener is new but already popular for its great performance. It’s special because it uses airflow to help style hair. It can dry and straighten your hair at the same time, saving you from using two different tools.
This straightener is smart too. It keeps track of how hot it’s getting and makes sure it doesn’t get too hot by checking every 30 seconds. It also fights frizz and keeps hair looking healthy by using negative ions. You can do more than just straighten your hair with it. You can use it to add volume by using it on the roots. It’s also easy to use with its different temperature options and cordless design. Plus, it turns off by itself when you’re not using it, which is handy.
People who have it say they can style their hair in just 10-15 minutes, which is super quick. Even though it’s a bit expensive, it’s worth it for how well it works and how easy it is to use.
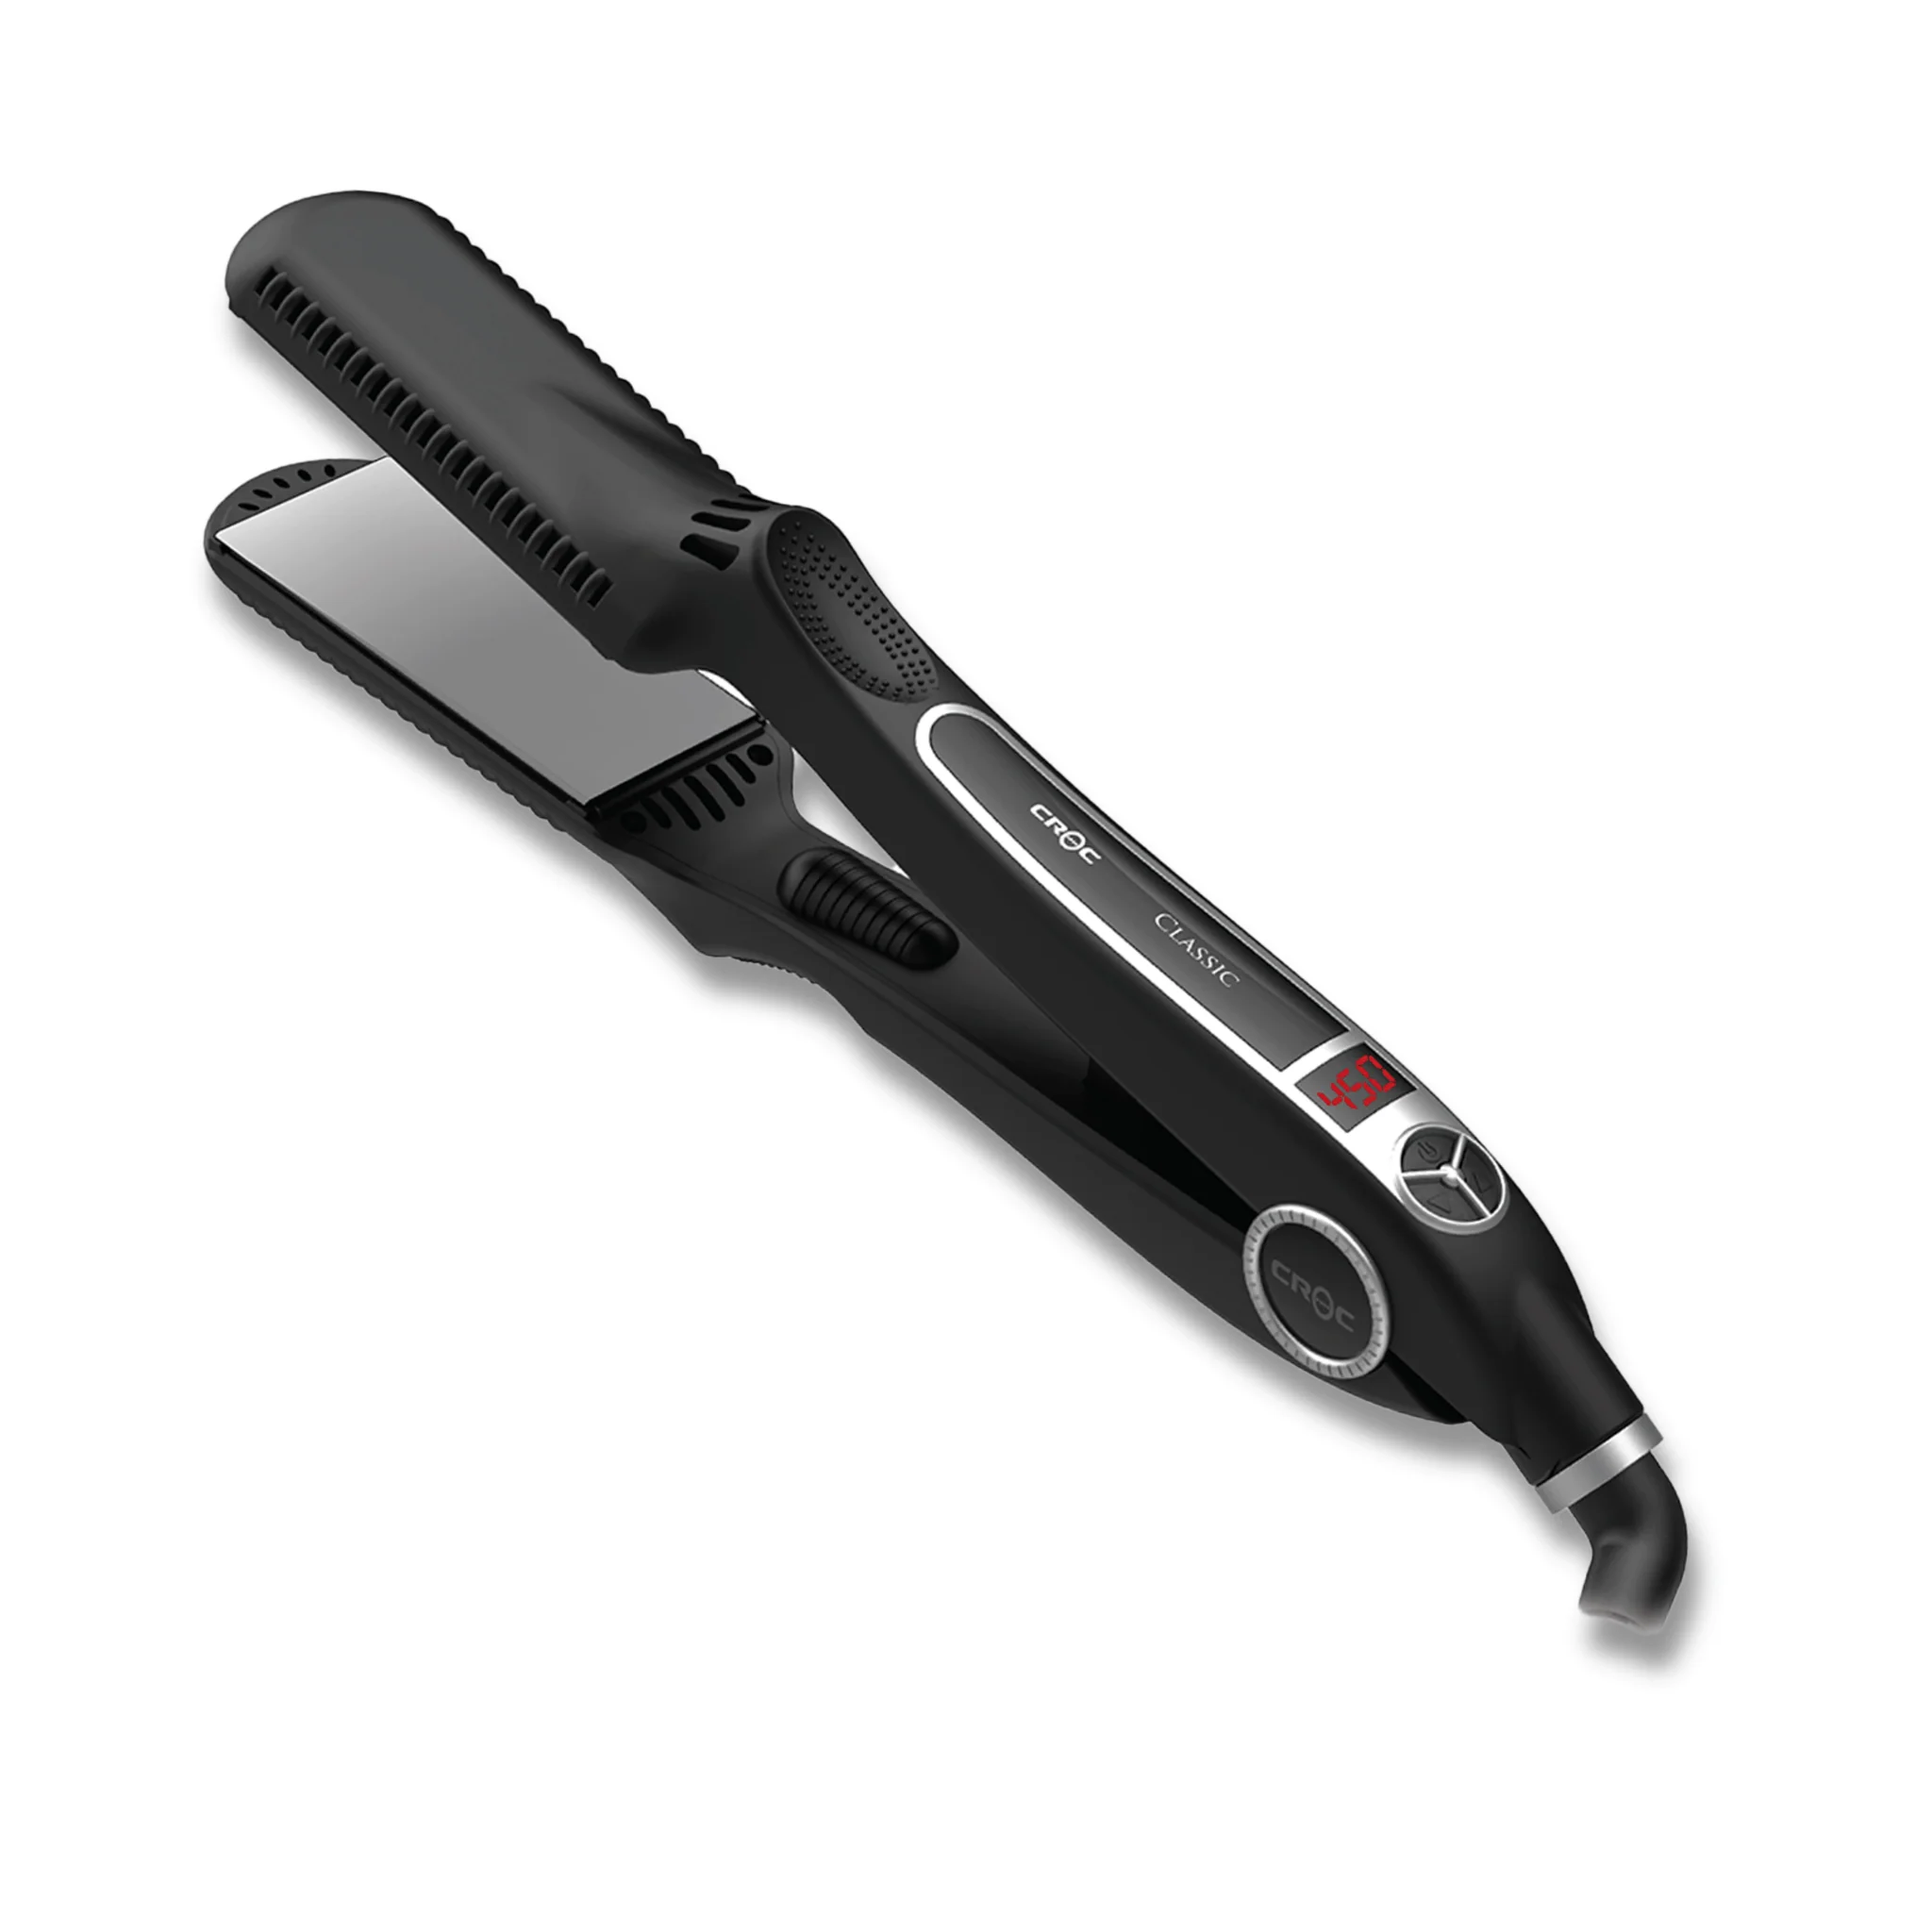
BEACHWAVER CO. CATWALK COÁT PRO CERAMIC FLAT IRON
If your hair is damaged but you still want it to look smooth and straight, you might find the YA-MAN flat iron helpful. It’s different from regular flat irons because it uses red light therapy and moisture pulse technology, which are gentle on dry and damaged hair. Instead of just using high heat like most flat irons, this one is gentler and helps keep your hair moisturized while straightening it in just one go. The plates on the flat iron spread the heat evenly, and they’re designed to not snag or pull on your hair. It costs $149, but it’s worth it if you want to take care of your damaged hair. Plus, it can work anywhere in the world and has a safety shut-off feature, which is handy for traveling.
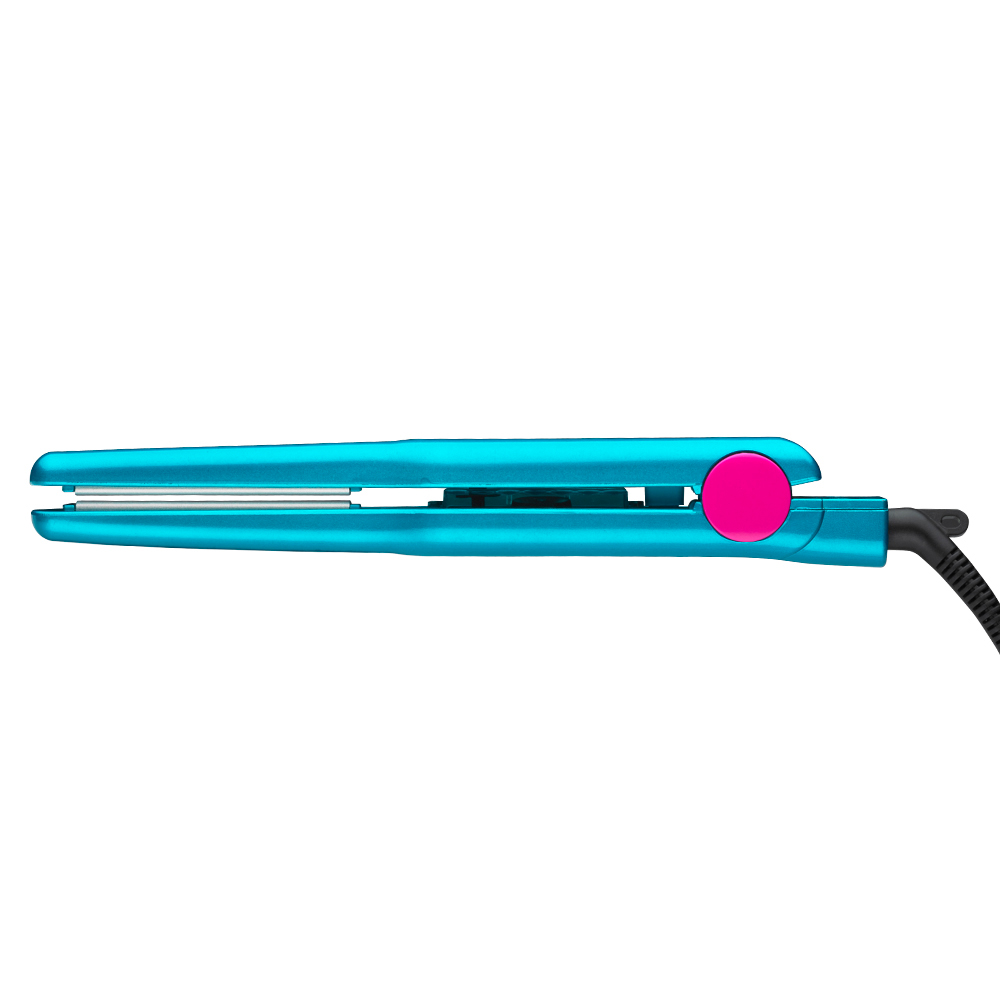
BED HEAD PIXIE1/2 TOURMALINE + CERAMIC FLAT IRON TURQUOISE
The Beachwaver flat iron is popular because it combines titanium and ceramic plates, making it great for straightening curly hair. The titanium spreads heat evenly, while ceramic plates gently straighten hair without causing damage. It has three heat settings to protect your hair from getting too hot. Plus, the long cord makes it easy to reach all parts of your hair. It can get as hot as 450 degrees and has a 1-inch plate size. It also has features like an automatic shut-off after 30 minutes and an LCD display to show the temperature. While it’s easy to use and switch between temperatures, some people might find it pricey.
TIPS AND TRICKS FOR THICK HAIR WHEN USING FLAT IRON
Thick hair is beautiful, but it can also present a challenge when it comes to straightening. Here are some tips and tricks to help you achieve sleek, frizz-free locks with your flat iron:
Prep is Key: Don’t underestimate the power of prepping your hair for heat styling. Start by washing and conditioning your hair with products designed for thick hair. Once your hair is towel-dried, apply a heat protectant spray to shield your strands from heat damage.
Blow Drying Makes a Difference: For the smoothest results, blow dry your hair partially before flat ironing. Use a round brush to pull your hair taut as you dry, which will help to pre-straighten it and make the flat ironing process easier.
Sectioning is Your Friend: Thick hair requires a section-by-section approach. Divide your hair into manageable sections using clips. This will ensure you don’t accidentally miss any strands and will prevent you from overheating a single section.
Thicker Plates, Faster Results: For thick hair, wider flat iron plates are your best friend. Opt for plates that are at least 1.5 inches wide. Wider plates allow you to straighten larger sections of hair at once, minimizing straightening time and heat exposure.
Lower Temperature, Higher Success: Thick hair can typically handle higher heat settings, but it’s always better to start with a lower temperature and gradually increase it if needed. This helps to prevent heat damage and protects the health of your hair.
Multiple Passes with Care: While thicker hair might require multiple passes with the flat iron to achieve the desired straightness, avoid going over the same section repeatedly. Each pass should be slow and controlled to minimize heat damage.
Ionic Technology for the Win: Consider a flat iron with ionic technology. Ionic technology emits negative ions that help to neutralize positive ions in the hair, reducing frizz and static and leaving your hair smoother and shinier.
Cooling Down is Crucial: Once you’ve finished straightening your hair, let it cool down completely before styling it further. This allows the hair cuticle to close properly and helps to lock in the straight style.
CONCLUSION
Keep in mind that finding the perfect flat iron depends on factors like your hair type, styling choices, and budget. Additionally, regular clean your flat iron after use is crucial. With the guidance provided, mastering the technique of flat ironing thick hair becomes achievable, resulting in the smooth, frizz-free look you desire. Embrace the process with confidence and take control of your mane!


