A good eyebrow pencil with brush is essential for stylish makeup. It shapes your face, lifts eyebrows, and fills in thin or light eyebrows. The best part is that you don’t have to spend a lot of money on something extravagant. All pharmacies have eyebrow pencils of the same quality as the expensive ones. These pencils usually have two ends – one with a thin applicator and the other with a spoolie. This way, you can fill in the eyebrows and blend the colors easily. Customer reviews, experts’s advice, and beauty editors’ tests make it easier for you to choose the right eyebrow pencil. It’s all in our article. Keep reading to find out the best drugstore eyebrow pencils you can buy.
OUR TOP PICKS
BEST OVERALL: MAYBELLINE EXPRESS BROW ULTRA SLIM EYEBROW PENCIL
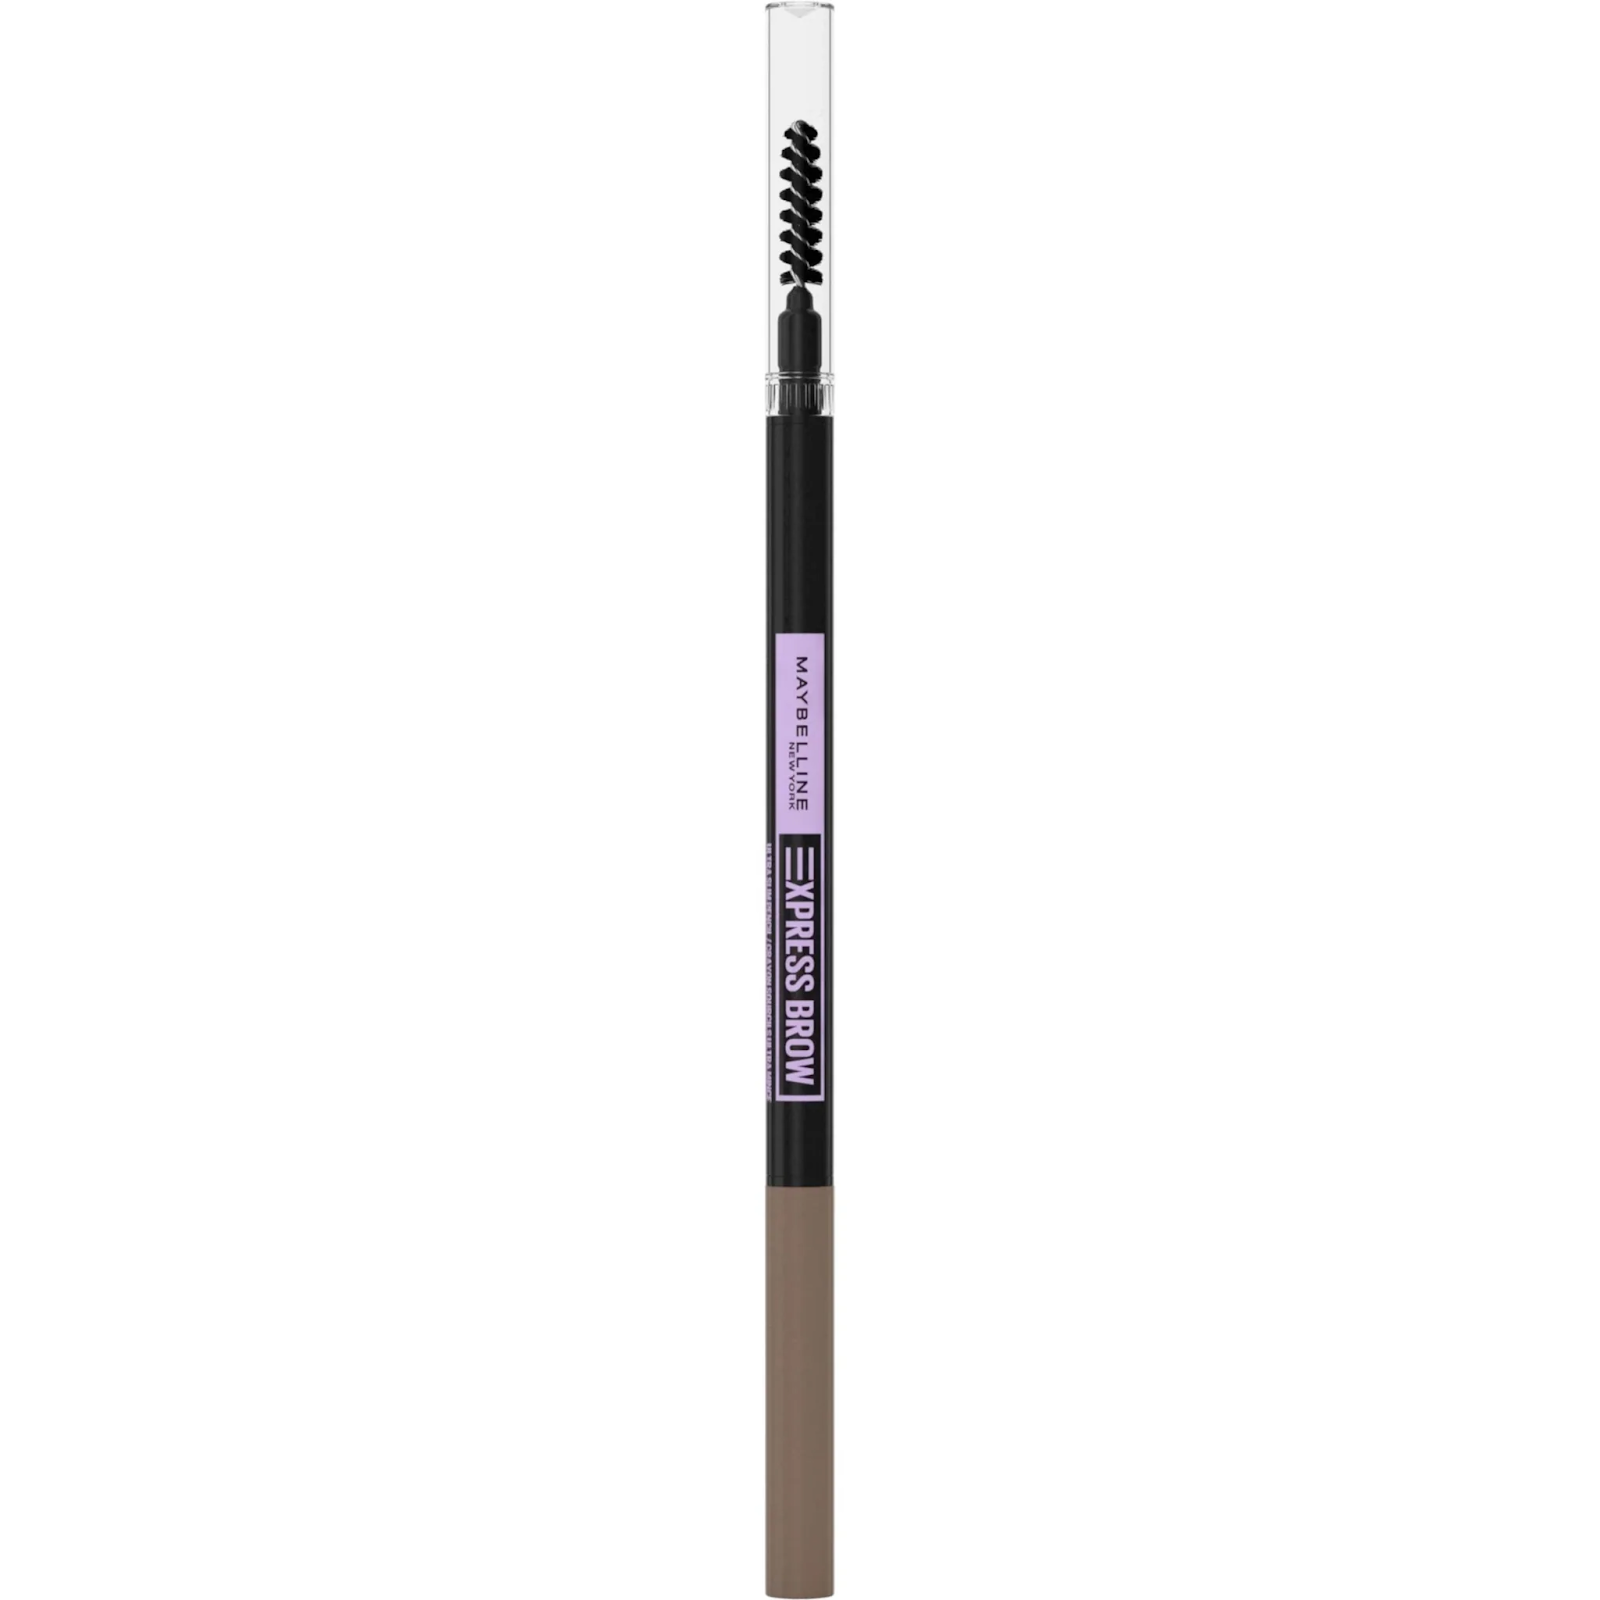
Maybelline’s brow pencil is a great choice for precise eyebrows. It has a really skinny tip for accuracy and a colorful formula that competes well with more expensive options. The pencil is light and creamy, so it goes smoothly through your eyebrow hairs without looking too thick or unnatural. It doesn’t leave any waxy residue either. One end of the pencil has a small tip for making hair-like strokes and defining your eyebrows, while the other end has a soft brush to blend the colors for a natural look. There are seven colors to choose from, covering blonde to black, making it easy to find a match for your hair color. The pencil has a gel-like texture that doesn’t smudge, keeping the color where it should be on your brows, even if you wear it for a long time. It’s nice that you don’t have to press hard to get a strong color. However, because it’s a retractable pencil, the tip can wear down fairly quickly.
BEST BUDGET: E.L.F INSTANT LIFT BROW PENCIL
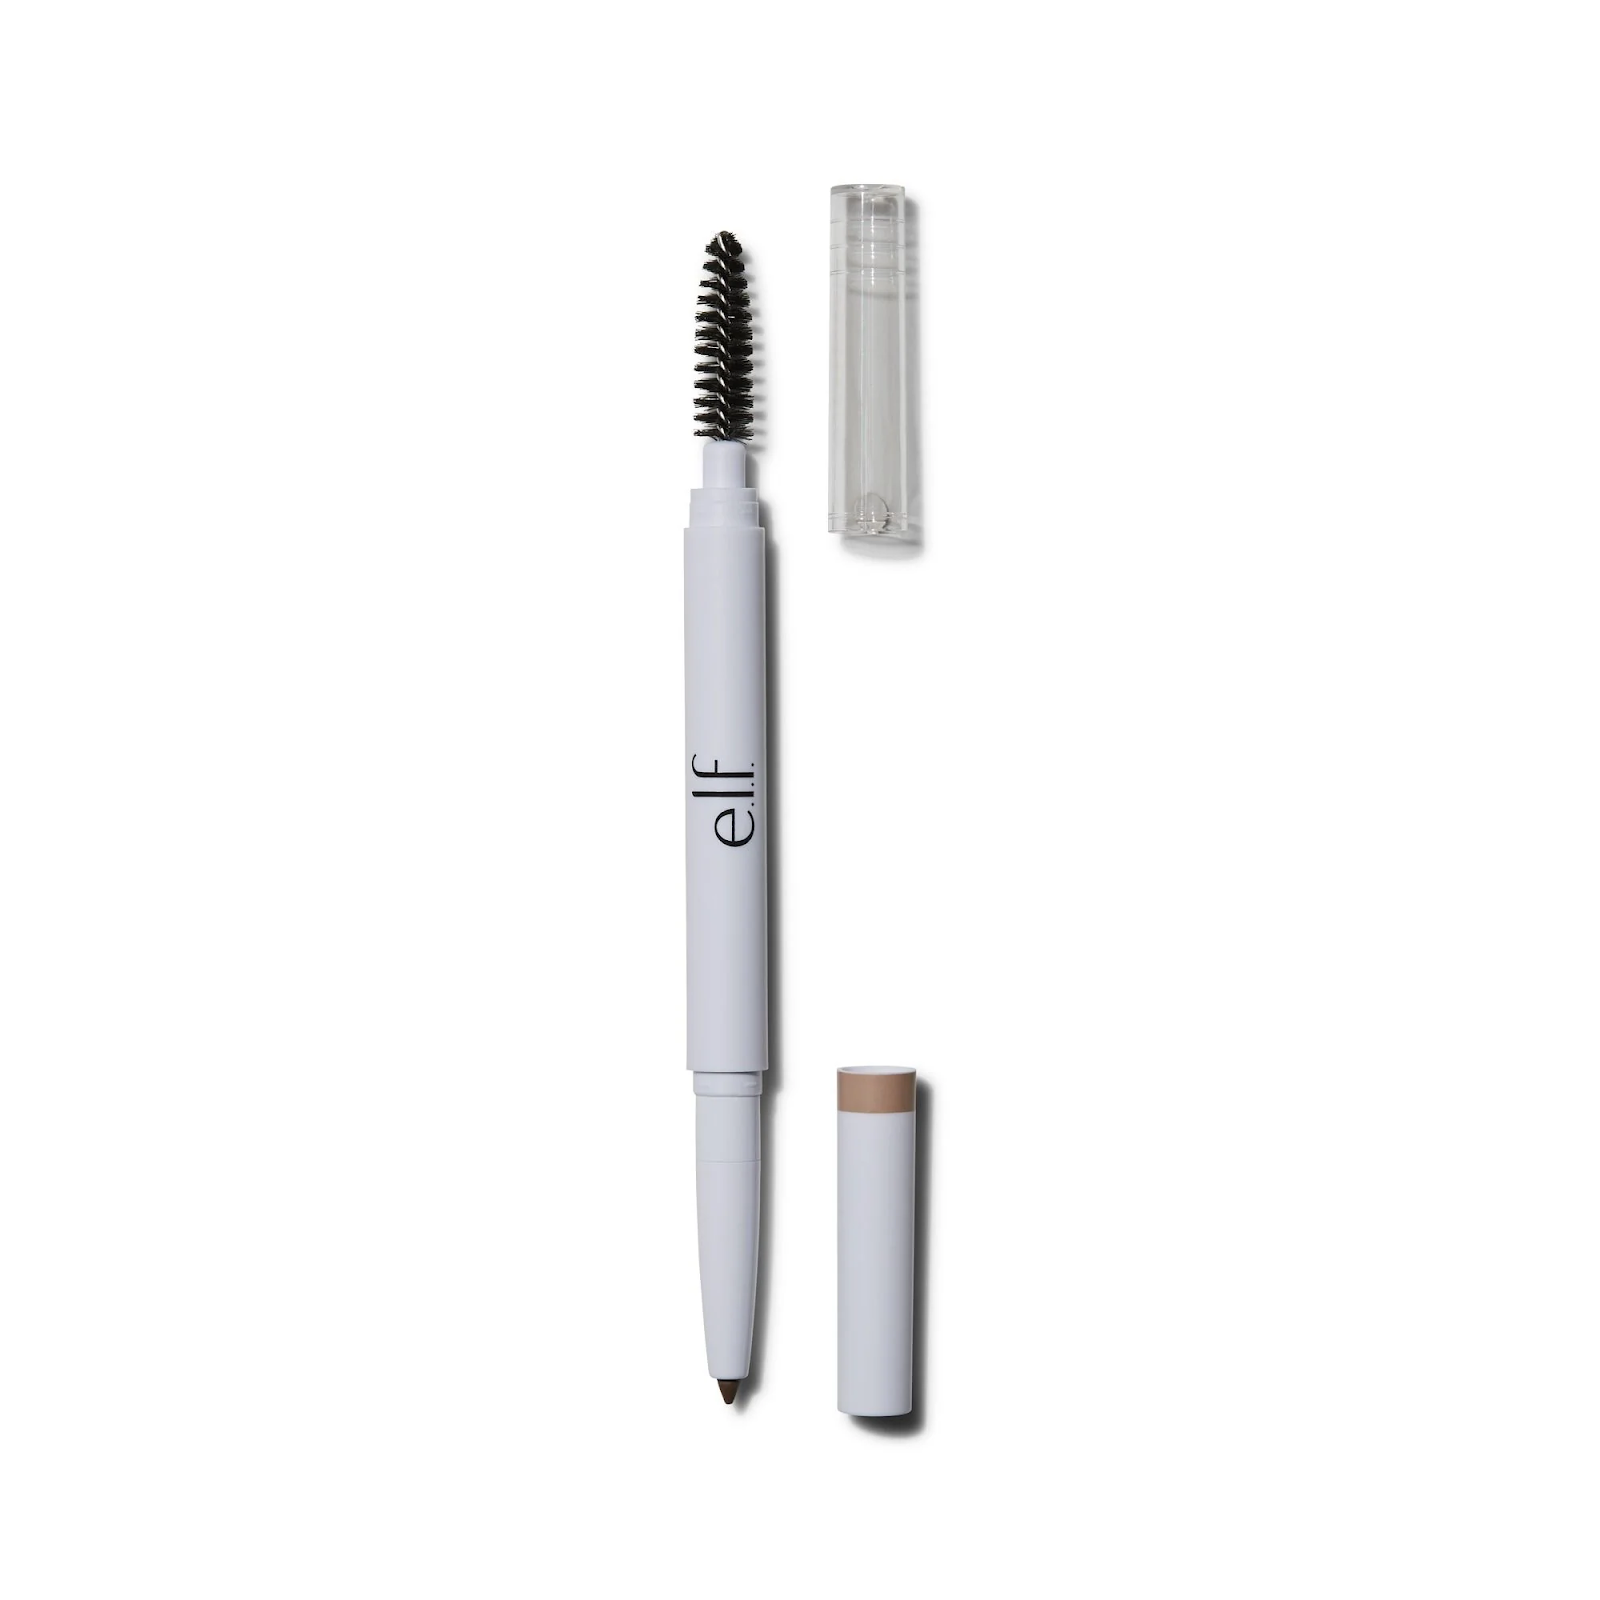
If you have brown, blonde, or red hair, this eyebrow pencil is a fantastic choice, especially if you’re on a budget (it’s under $5!). The E.L.F pencil is a top pick because it’s super affordable and does a great job filling in your eyebrows. It does everything you’d want from a brow pencil – shaping, defining, and filling in sparse areas. The creamy formula is easy to use and gives your brows a thicker look that lasts all day, even after your dinner date. It also comes with a handy built-in spoolie. One thing to note is that the tip becomes less sharp over time, so it’s not the best for creating detailed, hair-like strokes. But overall, it’s a fantastic, affordable choice for fuller, well-defined eyebrows.
BEST WATERPROOF EYEBROW PENCIL: REVLON COLORSTAY BROW PENCIL
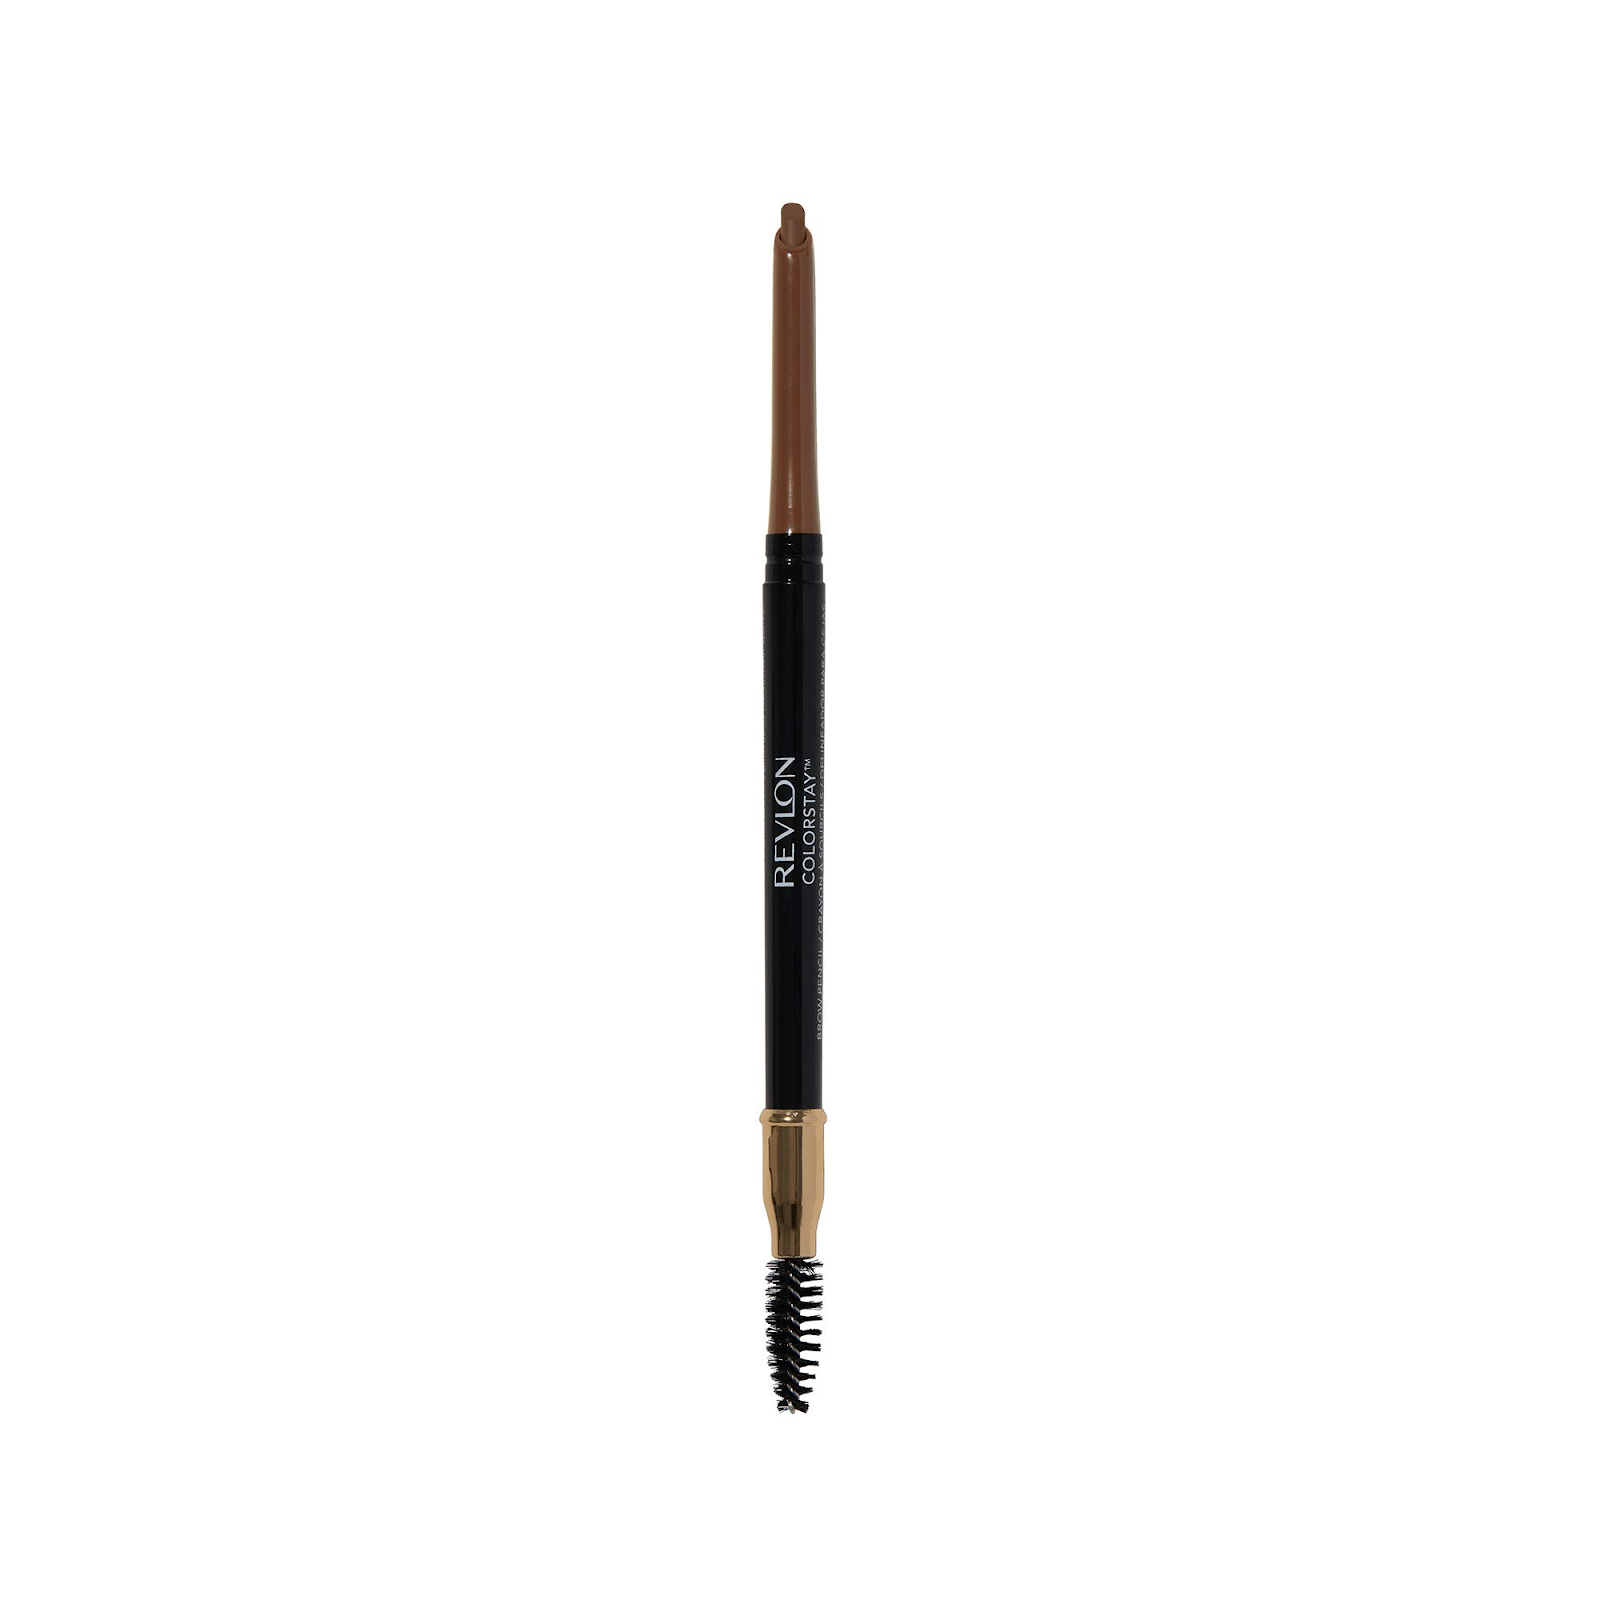
Revlon’s Colorstay Brow Pencil stands out for its remarkable staying power, providing a fine and precise application that mimics the look of natural hair. The waterproof formula ensures that the finish lasts for up to 14 hours. According tocustomers’s reviews, the pencil goes on lightly, creating a natural appearance, and the built-in brush blends it seamlessly. The users also notes the ability to adjust the darkness by pressing harder and praises the ease of matching the pencil to their hair and skin tone on the first try. However, it’s essential to be cautious, as the micro-tip is thin and breakable. Despite this drawback, the pencil glides on smoothly and effortlessly, making it a reliable choice for long-lasting, natural-looking brows.
BEST SMUDGE-PROOF: NYX PROFESSIONAL MAKEUP LIFT N SNATCH!
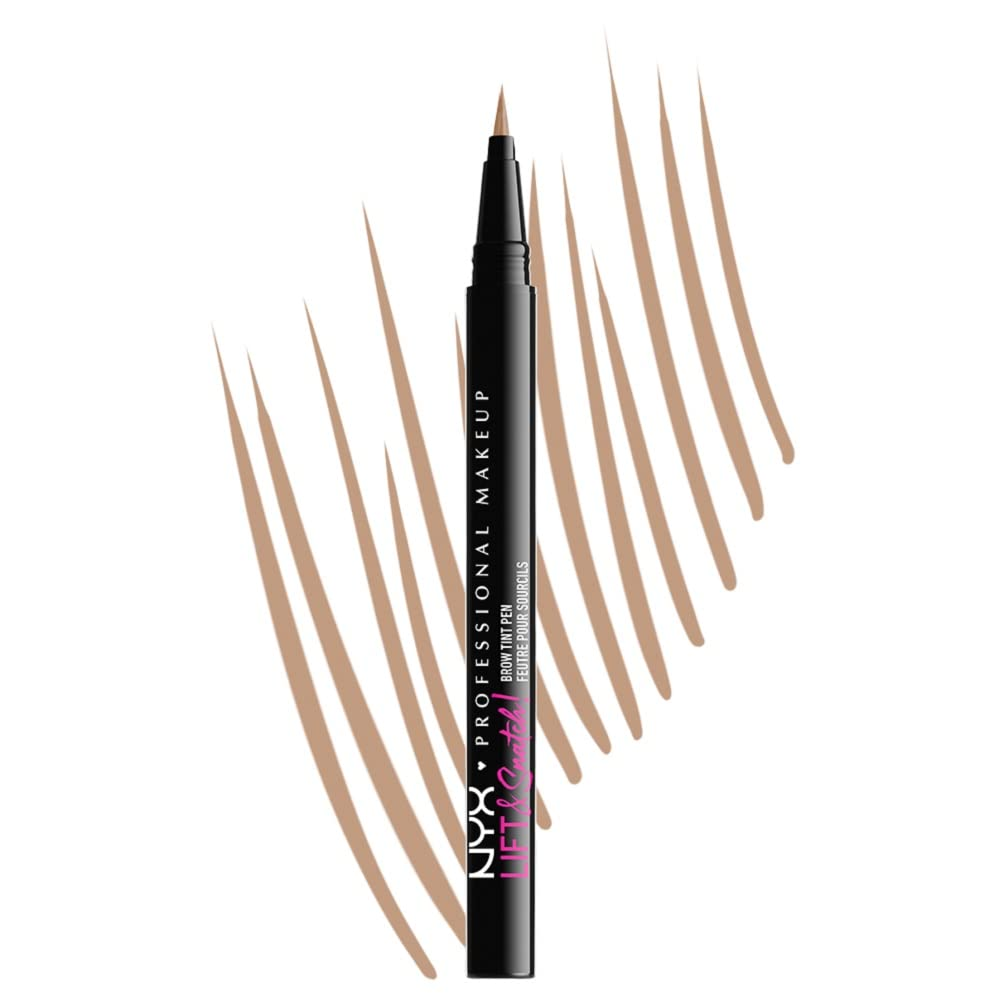
Even though eyebrow trends change a lot, having thick and well-defined eyebrows is always stylish. NYX’s Brow Tint Pen, recommended by makeup artist Bobbie Riley, stands out because of its flexible brush with a sharp tip. You can use it at different angles to fill in thin spots or create thicker lines. This smart design makes it easy to control the brush while shaping your eyebrows quickly. The pens come in 10 shades, and they feel light on your skin, unlike heavy pomades. They are also smudge-proof and buildable, letting you choose how dark you want the color. Once you get the hang of using the liquid formula, the color stays in place for up to 16 hours. The only downside is that it might take some trial and error to master the application technique.
BEST FOR LONG WEAR: MILANI STAY PUT PRECISION BROW PENCIL
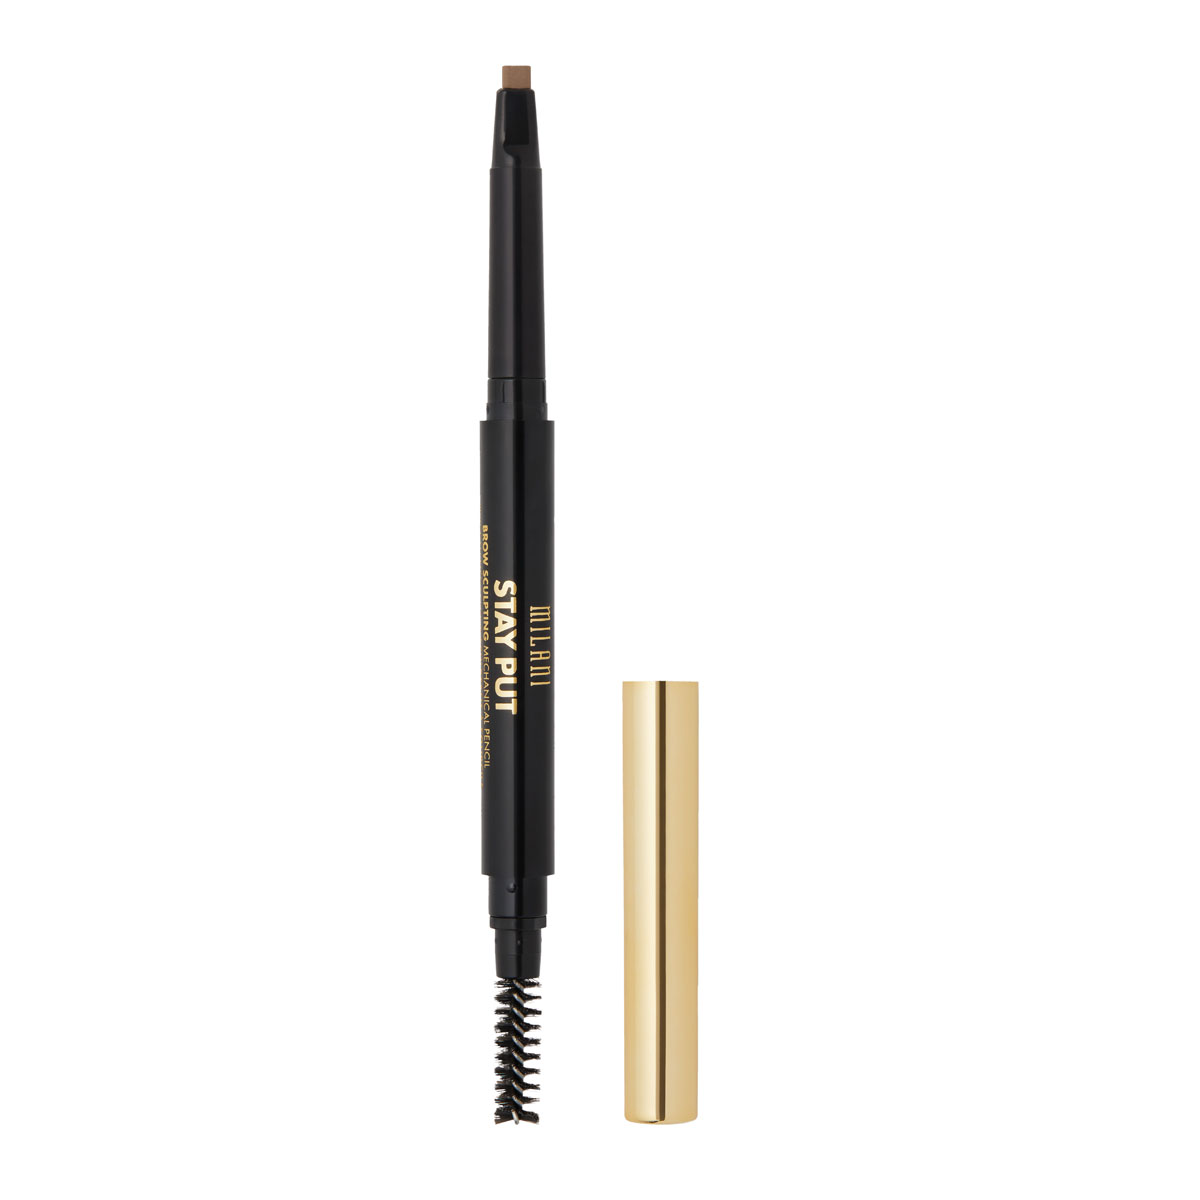
This eyebrow pencil is great because it has a really thin tip that helps make your eyebrows look natural with realistic strokes. It gives a strong color that lasts all day without fading or smudging. There’s also a spoolie on the other end for blending. Just be careful when using it because the tip can break easily. If you want a pencil that stays on all day without smudging, especially if you’re careful with the thin tip, give this one from Milani a try. It gives intense color, resists fading and smudging, and has a thin tip for precise strokes. Just watch out for the thin tip breaking easily.
BEST FOR BLONDE: ULTA BEAUTY ULTRA SIM BROW PENCIL

We really like Ulta’s brow pencil, especially if you have light-colored brows. It offers 12 shades, with five designed for blonde hair like taupe, ash taupe (great for cooler tones and gray hair), blonde, ash brown, and soft brown. While it’s not waterproof and doesn’t stay on as long as some others, the pencil has a super-fine tip, making it easy to create natural-looking strokes. We appreciate that it comes in several light shades, has a precision tip, and is clean and cruelty-free. On the downside, it’s not waterproof, and its longevity falls short compared to some alternatives.
BEST FOR A NATURAL-FINISH: PHYSICIAN’S FORMULA SLIM BROW PENCIL
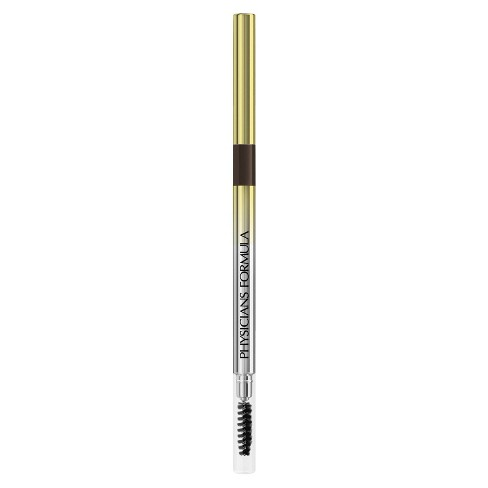
If you want a pencil that shapes your brows without making them look too bold, try this retractable eyebrow pencil. It makes precise strokes and is great for filling in gaps, giving you smooth and well-defined brows. You can even use it as an eyeliner, and it won’t smudge or go everywhere, even after a whole day. It could be a game-changer in your makeup routine. Just keep in mind that there are only a few shades available.
BEST NATURAL: BURT’S BEES NATURAL BROWN PENCIL
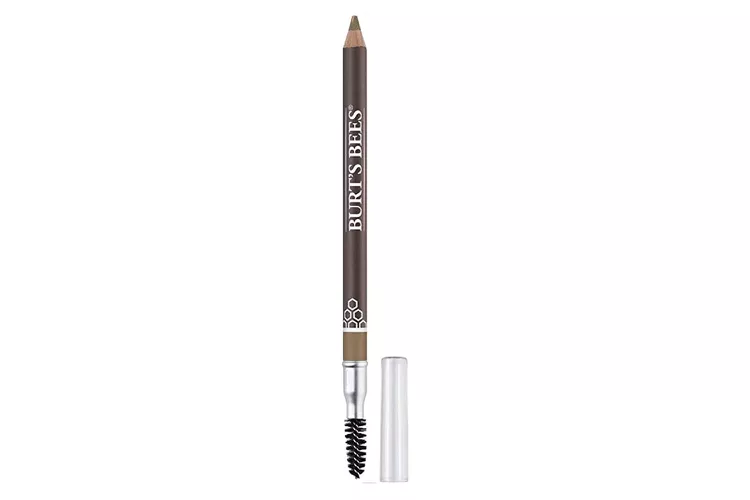
Burt’s Bees made an eyebrow pencil that not only works but also has good stuff from nature. It’s made with friendly ingredients like moisturizing jojoba oil and shea butter, and it’s 99.9 percent natural. Even the wood for the pencil comes from sustainable sources. It’s great for shaping and filling in sparse brows because it goes on smoothly and evenly. But if you want really thin lines, it might not be the best choice. Also, it’s a bit tricky to sharpen.
BEST CRUELTY-FREE: RIMMEL KIND & FREE BROW DEFINER
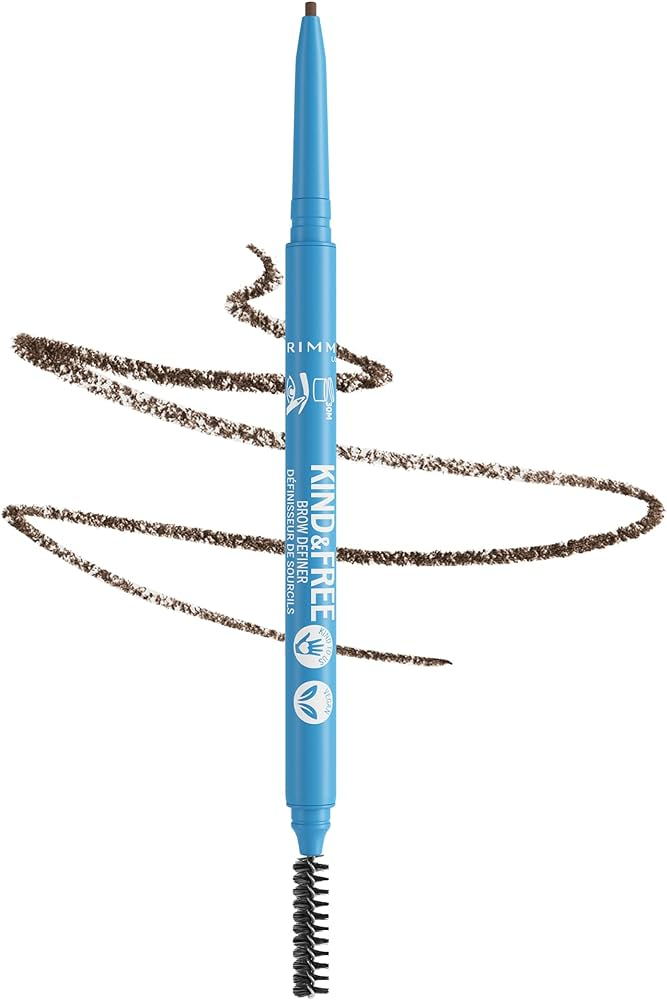
This eyebrow pencil has a thin 1.7 mm tip, allowing for precise application and delivering well-groomed, natural-looking eyebrows. A notable advantage is that it is fully compliant with vegan and cruelty-free standards, and it is formulated without added flavorings or minerals. The included eyebrow brush is appreciated for its small, pointed tip, ensuring continued usefulness. Users of this product express high satisfaction. While this formula excels in being vegan and cruelty-free, one potential downside is that it may smudge slightly throughout the day.
BEST FOR SPARSE BROWS: WET n WILD ULTIMATE EYEBROW RETRACTABLE DEFINER PENCIL
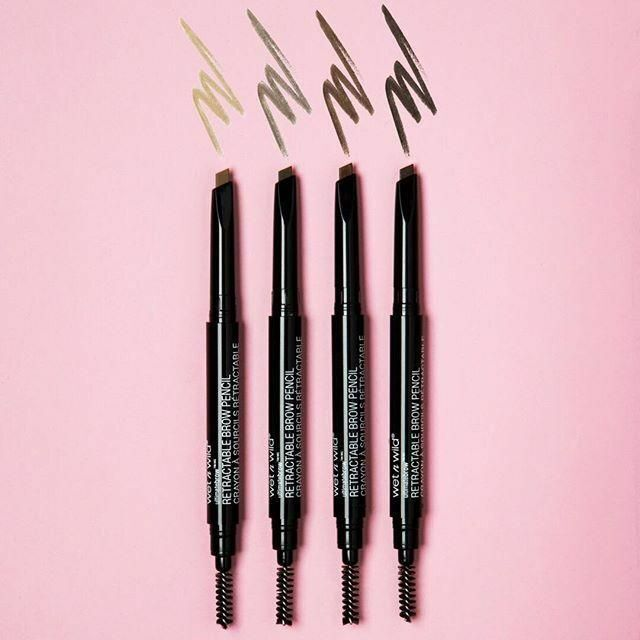
Wet n Wild has a solution for sparse eyebrows with its retractable triangular head pencil. The anti-rub formula ensures long-lasting color by coating hairs with a blend of pigment and brush wax. This product stands out for its durability, surpassing some higher-end alternatives you might have tried. It stays in place without smudging, and the slanted tip allows for easy one-swipe application. The brush is also commendable, providing a non-waxy and non-greasy feel. However, one drawback is that it may stain when worn throughout the day.
BEST FOR OILY SKIN: MORPHE BROWN DUAL-ENDED PENCIL & SPOOLIE
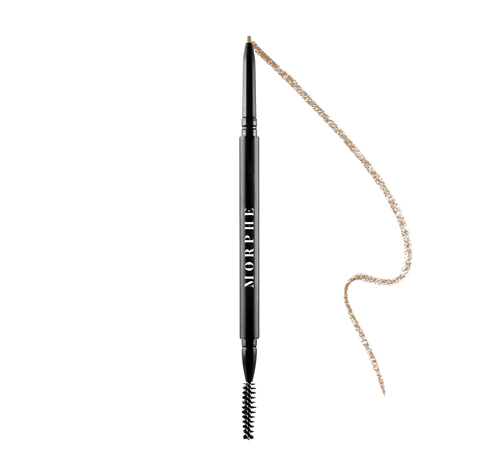
You’ve probably faced the frustration of makeup melting off during the day if you have oily skin. Morphe’s dual-ended mechanical pencil tackles this issue with a hard wax formula, ensuring lasting color without pulling on the skin. A satisfied customer notes, “Best eyebrow pencil around!! I can’t believe how affordable it is. Smooth application, not blurry. Wearing it all day, I received so many compliments! An absolute gem.” The pencil is highly pigmented, but one drawback is that the formula can be a bit drying.
BEST FINE POINT: JUVIA’S PLACE I SCULPT, I SHADE BROW PENCIL
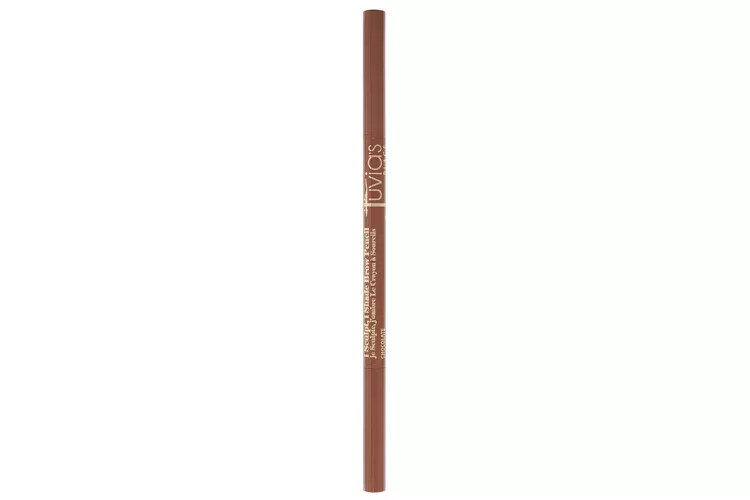
Though a bit pricier than the aforementioned products, we adore this pencil for its ability to draw fine, hair-like lines. Equipped with an ultra-slim precision tip, the retractable pencil achieves a completely natural and sculpted appearance. The long-lasting formula glides on smoothly, avoiding any cakey look. The built-in brush at the opposite end is a favorite for adding fullness by fluffing up the brows. The drawback is the limited shade range – currently offering only four options.
BEST COLOR PAYOFF: THE LIP BAR VEGAN BROWN GEL + BROW PENCIL

Highlighted for its impressive pigmentation, angled pencil tip for enhanced definition, and adherence to vegan and cruelty-free standards, The Lip Bar’s brow gel and pencil combo boasts notable features. The creamy formula ensures a smooth application, but its standout quality lies in the exceptional color payoff. Utilize the angled pencil tip for precision and filling in sparse areas, and then groom your brows with the attached spoolie and gel. However, adjusting to the gel-like consistency may take some time, and the product falls short in longevity compared to some alternatives we’ve tested.
BEST SHADE RANGE: JOAH BEAUTY BROWN
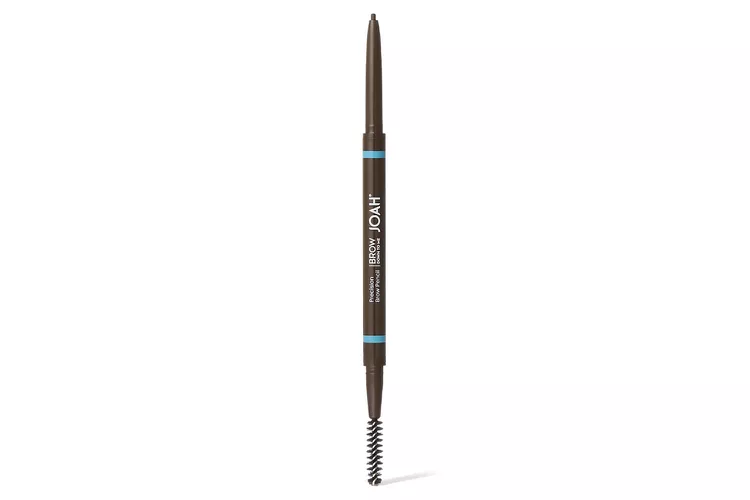
JOAH Beauty Brown is a good choice for eyebrows. It helps make them look nice. The pencil has a fine tip, so it’s good for making your eyebrows just right. It’s also not too expensive. Its micro tip and cream formula, which settle into a fine powder once applied, provide a natural finish for brows; they’ll look just like your own, just a little more fine-tuned. The pencil has you covered if you just need to fill in a few sparse areas, but since they’re not highly-pigmented, it can take time to build up the colors if you want bolder results. So, if you want something that stays on all day, you might want to try something else.
BEST FOR DEFINED ARCHES: COLOURPOP BROW BOSS PENCIL
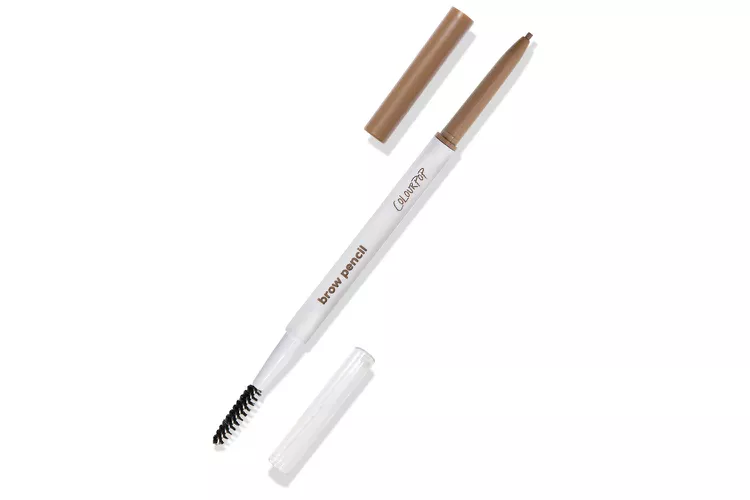
This retractable eyebrow pencil stands out with its super-thin precision tip, allowing you to outline your brows, create feather-like strokes, and achieve precise definition. The long-wearing formula is a favorite, resisting smudging and fading for several hours. With nine available shades, from soft black to warm blonde, you can effortlessly find the perfect match for your brows. However, it’s worth noting that some users have experienced issues with the tip breaking or falling out. Despite this, we appreciate the retractable precision tip, the long-lasting formula, and the variety of shades. On the downside, the tip’s tendency to break or fall out is a potential drawback.
HOW TO APPLY EYEBROW PENCIL
Applying an eyebrow pencil can help define and enhance your eyebrows. Here’s a step-by-step guide on how to apply an eyebrow pencil
Start with Clean Brows
Begin your eyebrow routine by ensuring your eyebrows are pristine and free of any makeup or oils. Use a mild cleanser or a reliable makeup remover to thoroughly cleanse the brow area, creating a clean and smooth surface for precise eyebrow pencil application.
Brush Your Brows
Use a spoolie brush to comb through your eyebrows, smoothing out any messy hairs and making your eyebrows look neat. This helps create a good base for applying the eyebrow pencil, making it easier to get a polished and natural look.
Choose the Right Shade
When choosing an eyebrow pencil, go for a color that’s like your own eyebrows or a bit lighter. It’s best to steer clear of shades that are too dark because they might not look natural. Stick to a color that enhances your eyebrows without making them seem too heavy or artificial.
Outline Your Brows
Start by drawing short, light lines along the top and bottom edges of your eyebrows. Follow the natural shape of your brows to create a clean outline; this defines your eyebrows without making them look too bold or unnatural.
Fill in Sparse Areas
If you have sparse or empty brow areas, use a pencil to fill them in with short, thin strokes. Mimic the look of natural hair for a more realistic appearance. Be skillful and meticulous in this step because it is easy to draw the wrong eyebrow shape.
Blend with a Spoolie
After applying the pencil, use the spoolie brush again to blend the product and soften harsh lines. This helps create a more natural and polished finish. At this step, you are almost done with beautiful eyebrows.
Set with Brow Gel (Optional)
If you want to set your eyebrows in place and add some extra definition, you can use a clear or tinted brow gel. This step is optional but can help keep your eyebrows in shape throughout the day.
Clean Up Edges (Optional)
If needed, you can use a concealer or highlighter around the edges of your eyebrows to clean up and define the shape further.
HOW WE RESEARCHED EYEBROW PENCIL
To create this list, our team of editors and contributors spent hours researching the top eyebrow pencils available today. We carefully evaluated each product, considering factors such as the variety of colors available, the size and shape of the pen tip, their waterproofness, and how long they last. To ensure our recommendations match real-world performance, we personally tested several pencils. Additionally, we sought guidance from celebrity makeup artist and several other experts, gaining valuable insights into choosing the right eyebrow products. Key attributes we tested for each drugstore eyebrow pencil included the variety of colors available, the size and shape of the tip, their water resistance, and their durability.
WHAT TO LOOK FOR IN A DRUGSTORE EYEBROW PENCIL
When searching for a drugstore eyebrow pencil, there are several key factors to consider.
Firstly, focus on the pencil’s shade range to ensure there’s a suitable match for your natural eyebrow color. Look for pencils that offer a variety of shades to accommodate different hair tones.
Secondly, consider the pencil’s formula and texture. Opt for a pencil with a smooth and blendable formula that doesn’t feel waxy or greasy, allowing for easy application and a natural finish.
Lastly, assess the pencil’s design and features. Dual-ended pencils with a thin applicator on one side and a spoolie brush on the other can facilitate precision and blending, simplifying your eyebrow grooming routine.
Additionally, check customer reviews for insights into factors like longevity, smudging, and ease of use before making your selection.
FAQ
1. Is it bad to sleep with an eyebrow pencil on?
Yes. We strongly advise against leaving any makeup on overnight. Even underneath eyebrow hair, pores can still get clogged, leading to breakouts.
2. Should eyebrows be darker or lighter?
Your eyebrows should be one to two shades darker than your hair and have a less vibrant color.
3. Which eyebrow shape is most attractive?
The soft angled eyebrow shape is highly desired. It ascends straight and gently curves around at the top before descending.
4. Who has the best eyebrows in the world?
Leading the rankings is Kylie Jenner, claiming the top spot with an impressive EPI score of 12 – her soft-angled brows harmonize flawlessly with her square face shape.
5. Do good eyebrows make you prettier?
Choosing the correct eyebrow shape can enhance your look and give you a more youthful appearance.
CONCLUSION
When choosing a drugstore eyebrow pencil, it’s important to consider your individual needs and preferences. Some factors to keep in mind include the type of tip you prefer, the formula (waterproof, smudge-proof, etc.), the shade range, and the price. Considering factors such as your desired finish, ease of application, and individual preferences, you can confidently choose a drugstore eyebrow pencil that suits your needs and enhances your overall makeup routine. With so many great options available, you’re sure to find a drugstore eyebrow pencil that you love.