The cat eye nail trend has taken the beauty world by storm for its undeniable style and glamour. This technique involves using a magnetic polish that creates a mesmerizing shimmer when applied with a magnet. By strategically moving the magnet, you can manipulate the polish to form a striking line down the center of your nail, reminiscent of a cat’s eye. Not only is this look visually stunning, but the cat’s eye stone is also believed to symbolize wealth and good fortune. Experiment with different colors and line placements to create your own unique and luxurious cat eye manicure.
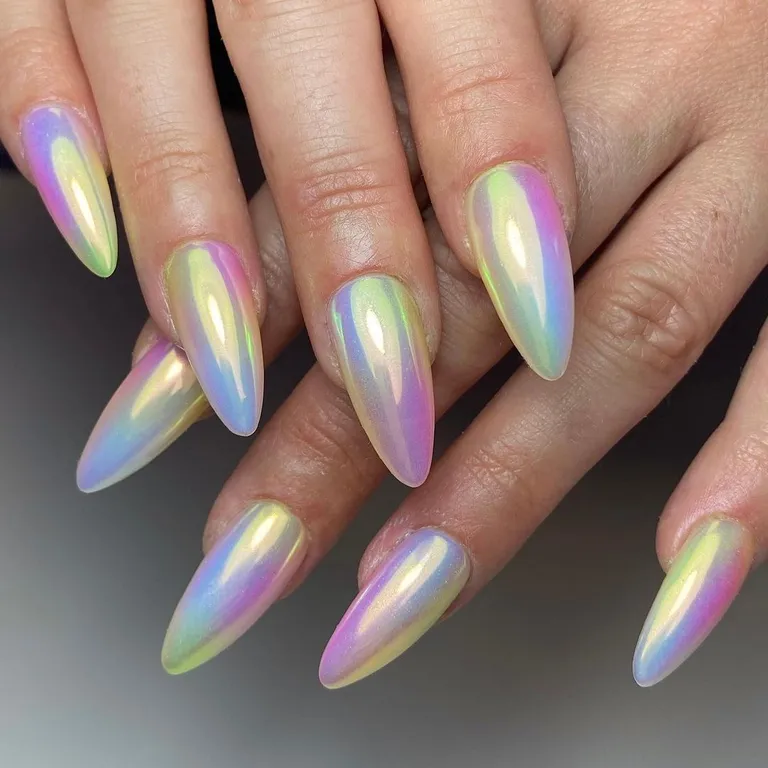
Pearly Cat Eye Nails

Indulge in the luxurious and glamorous allure of pearl-inspired nails. The iridescent sheen of pearly nail polish, combined with the captivating cat eye effect, creates an undeniably feminine and attention-grabbing manicure.
Pink and Yellow Cat Eye Nails

Create a bold and eye-catching manicure by pairing pink and yellow with the cat eye trend. This unexpected color combination creates a striking contrast that is sure to turn heads. For the best results, choose a long and pointed nail shape to enhance the feminine and high-drama effect.
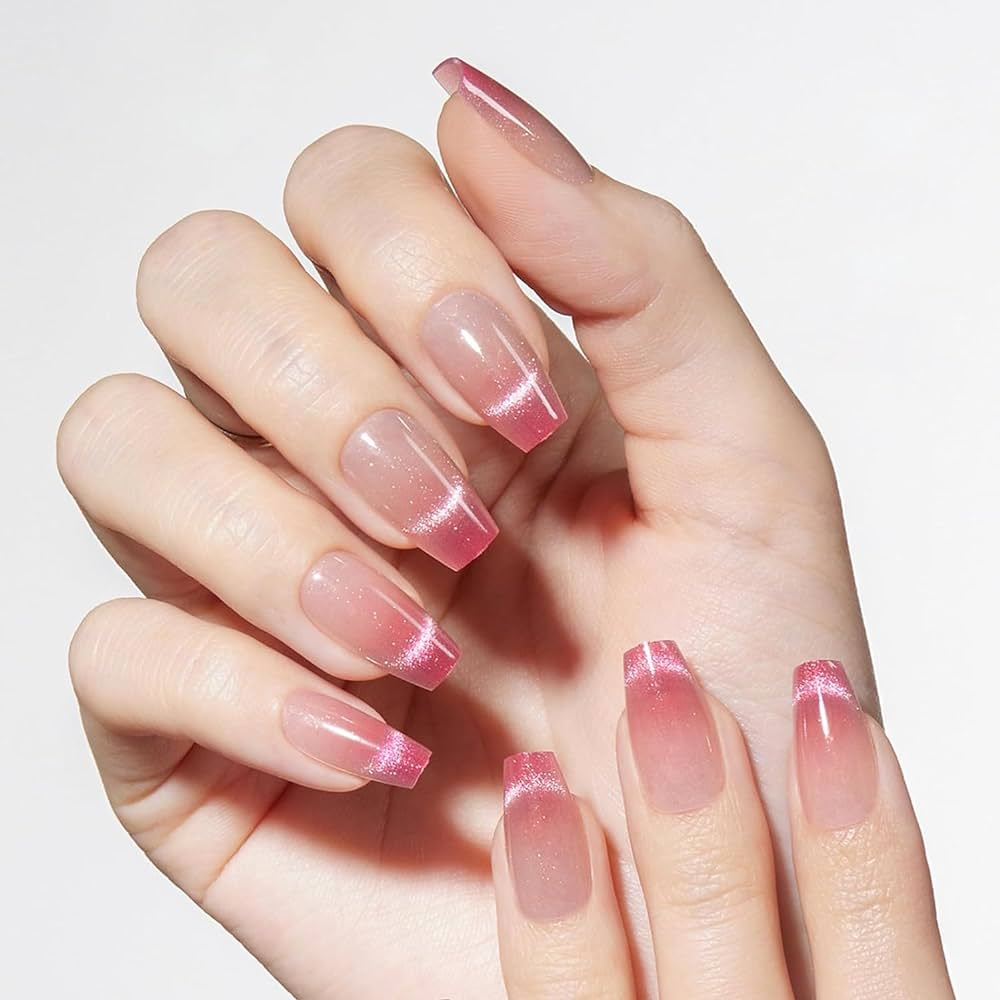
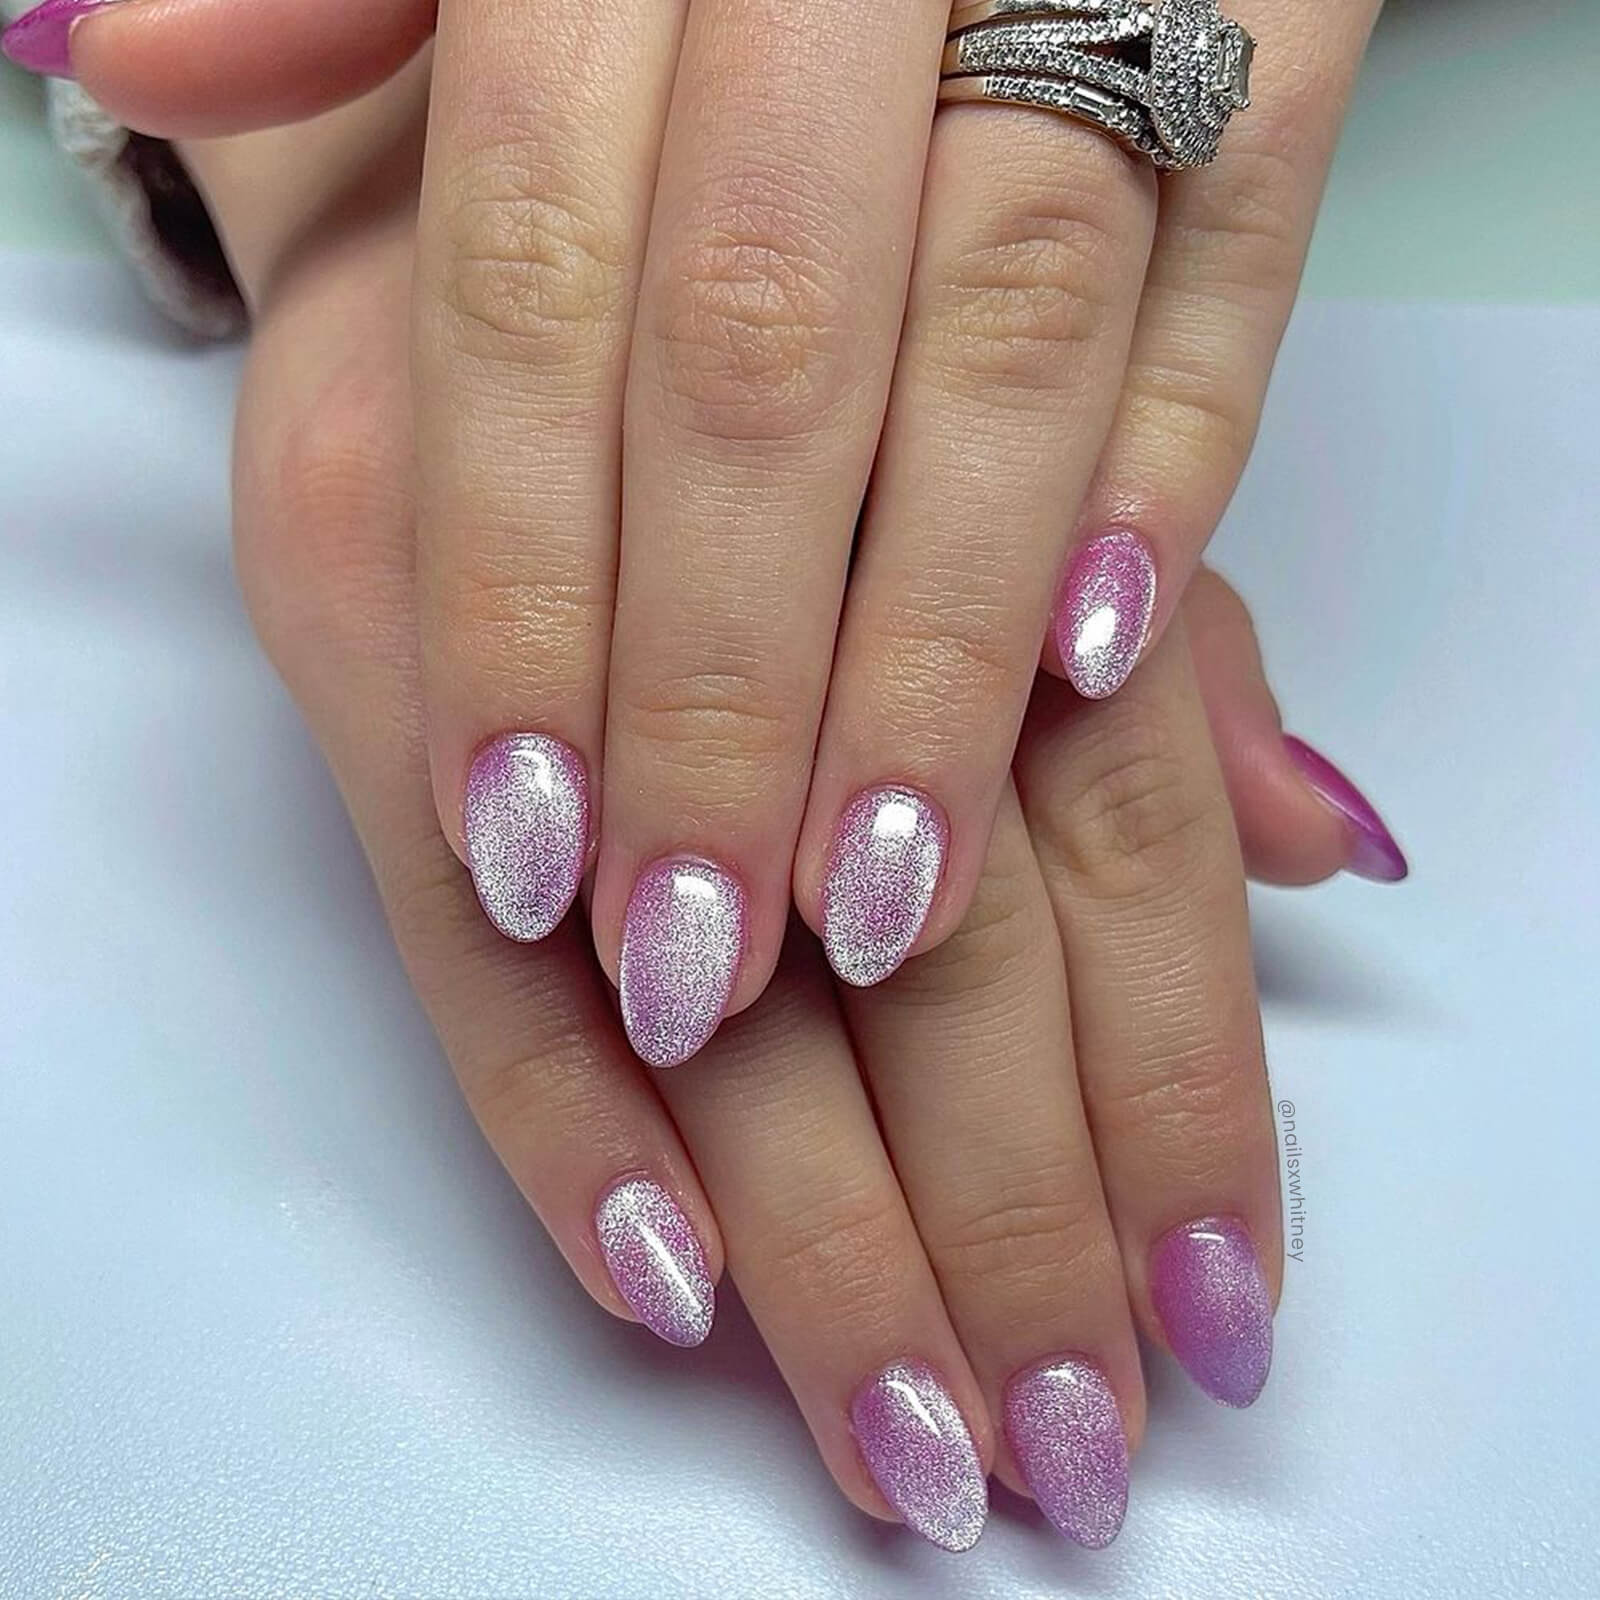
Pink Cat Eye Nails

Pink is a timeless and universally flattering color that complements a wide range of skin tones. Elevate your classic pink manicure with the mesmerizing cat eye trend. The shimmering line of the cat eye effect adds a touch of sophistication and modernity, transforming your pink nails into a chic and eye-catching design.
Purple Cat Eye Nails
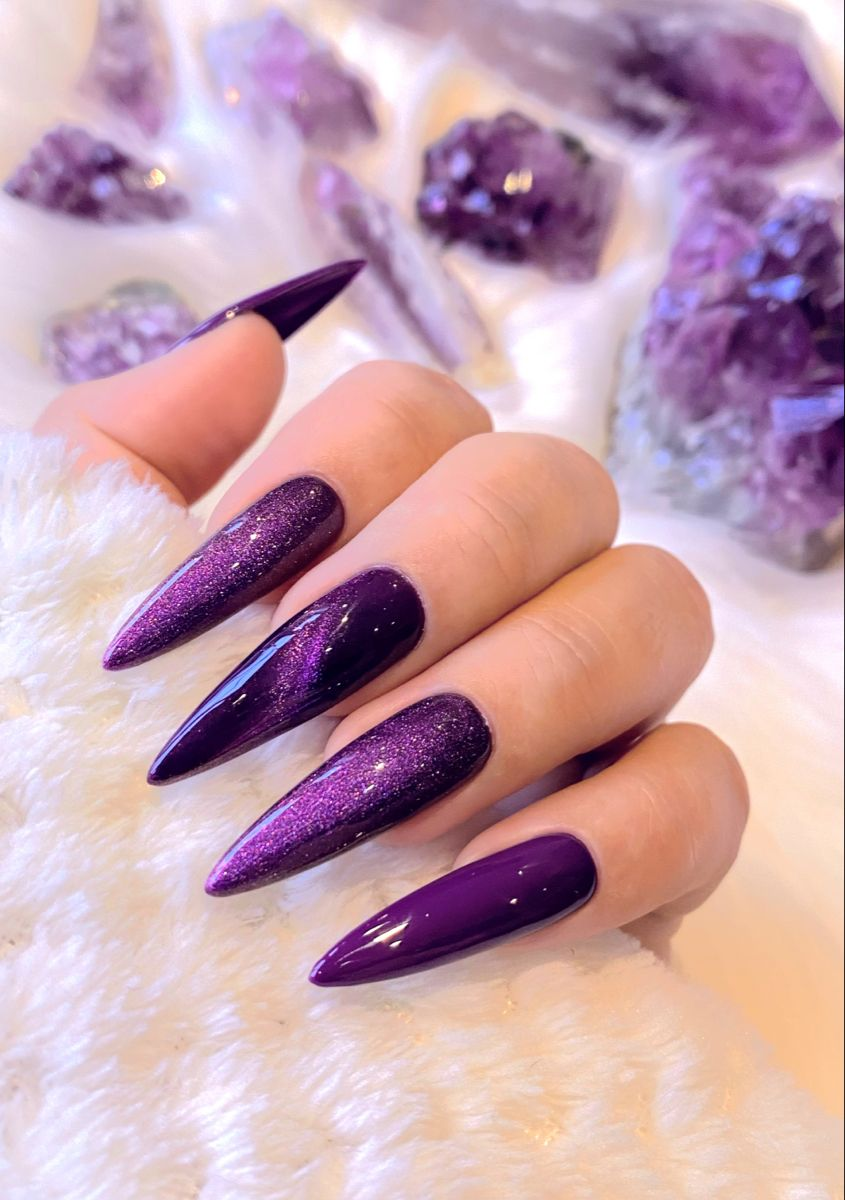
The mesmerizing cat eye effect, with its shimmering line down the center of your nails, creates a visually stunning and captivating manicure. Purple nails, a regal and luxurious color, offer a beautiful alternative to traditional pink. Unleash your inner princess and adorn your nails with the captivating combination of purple and cat eye.
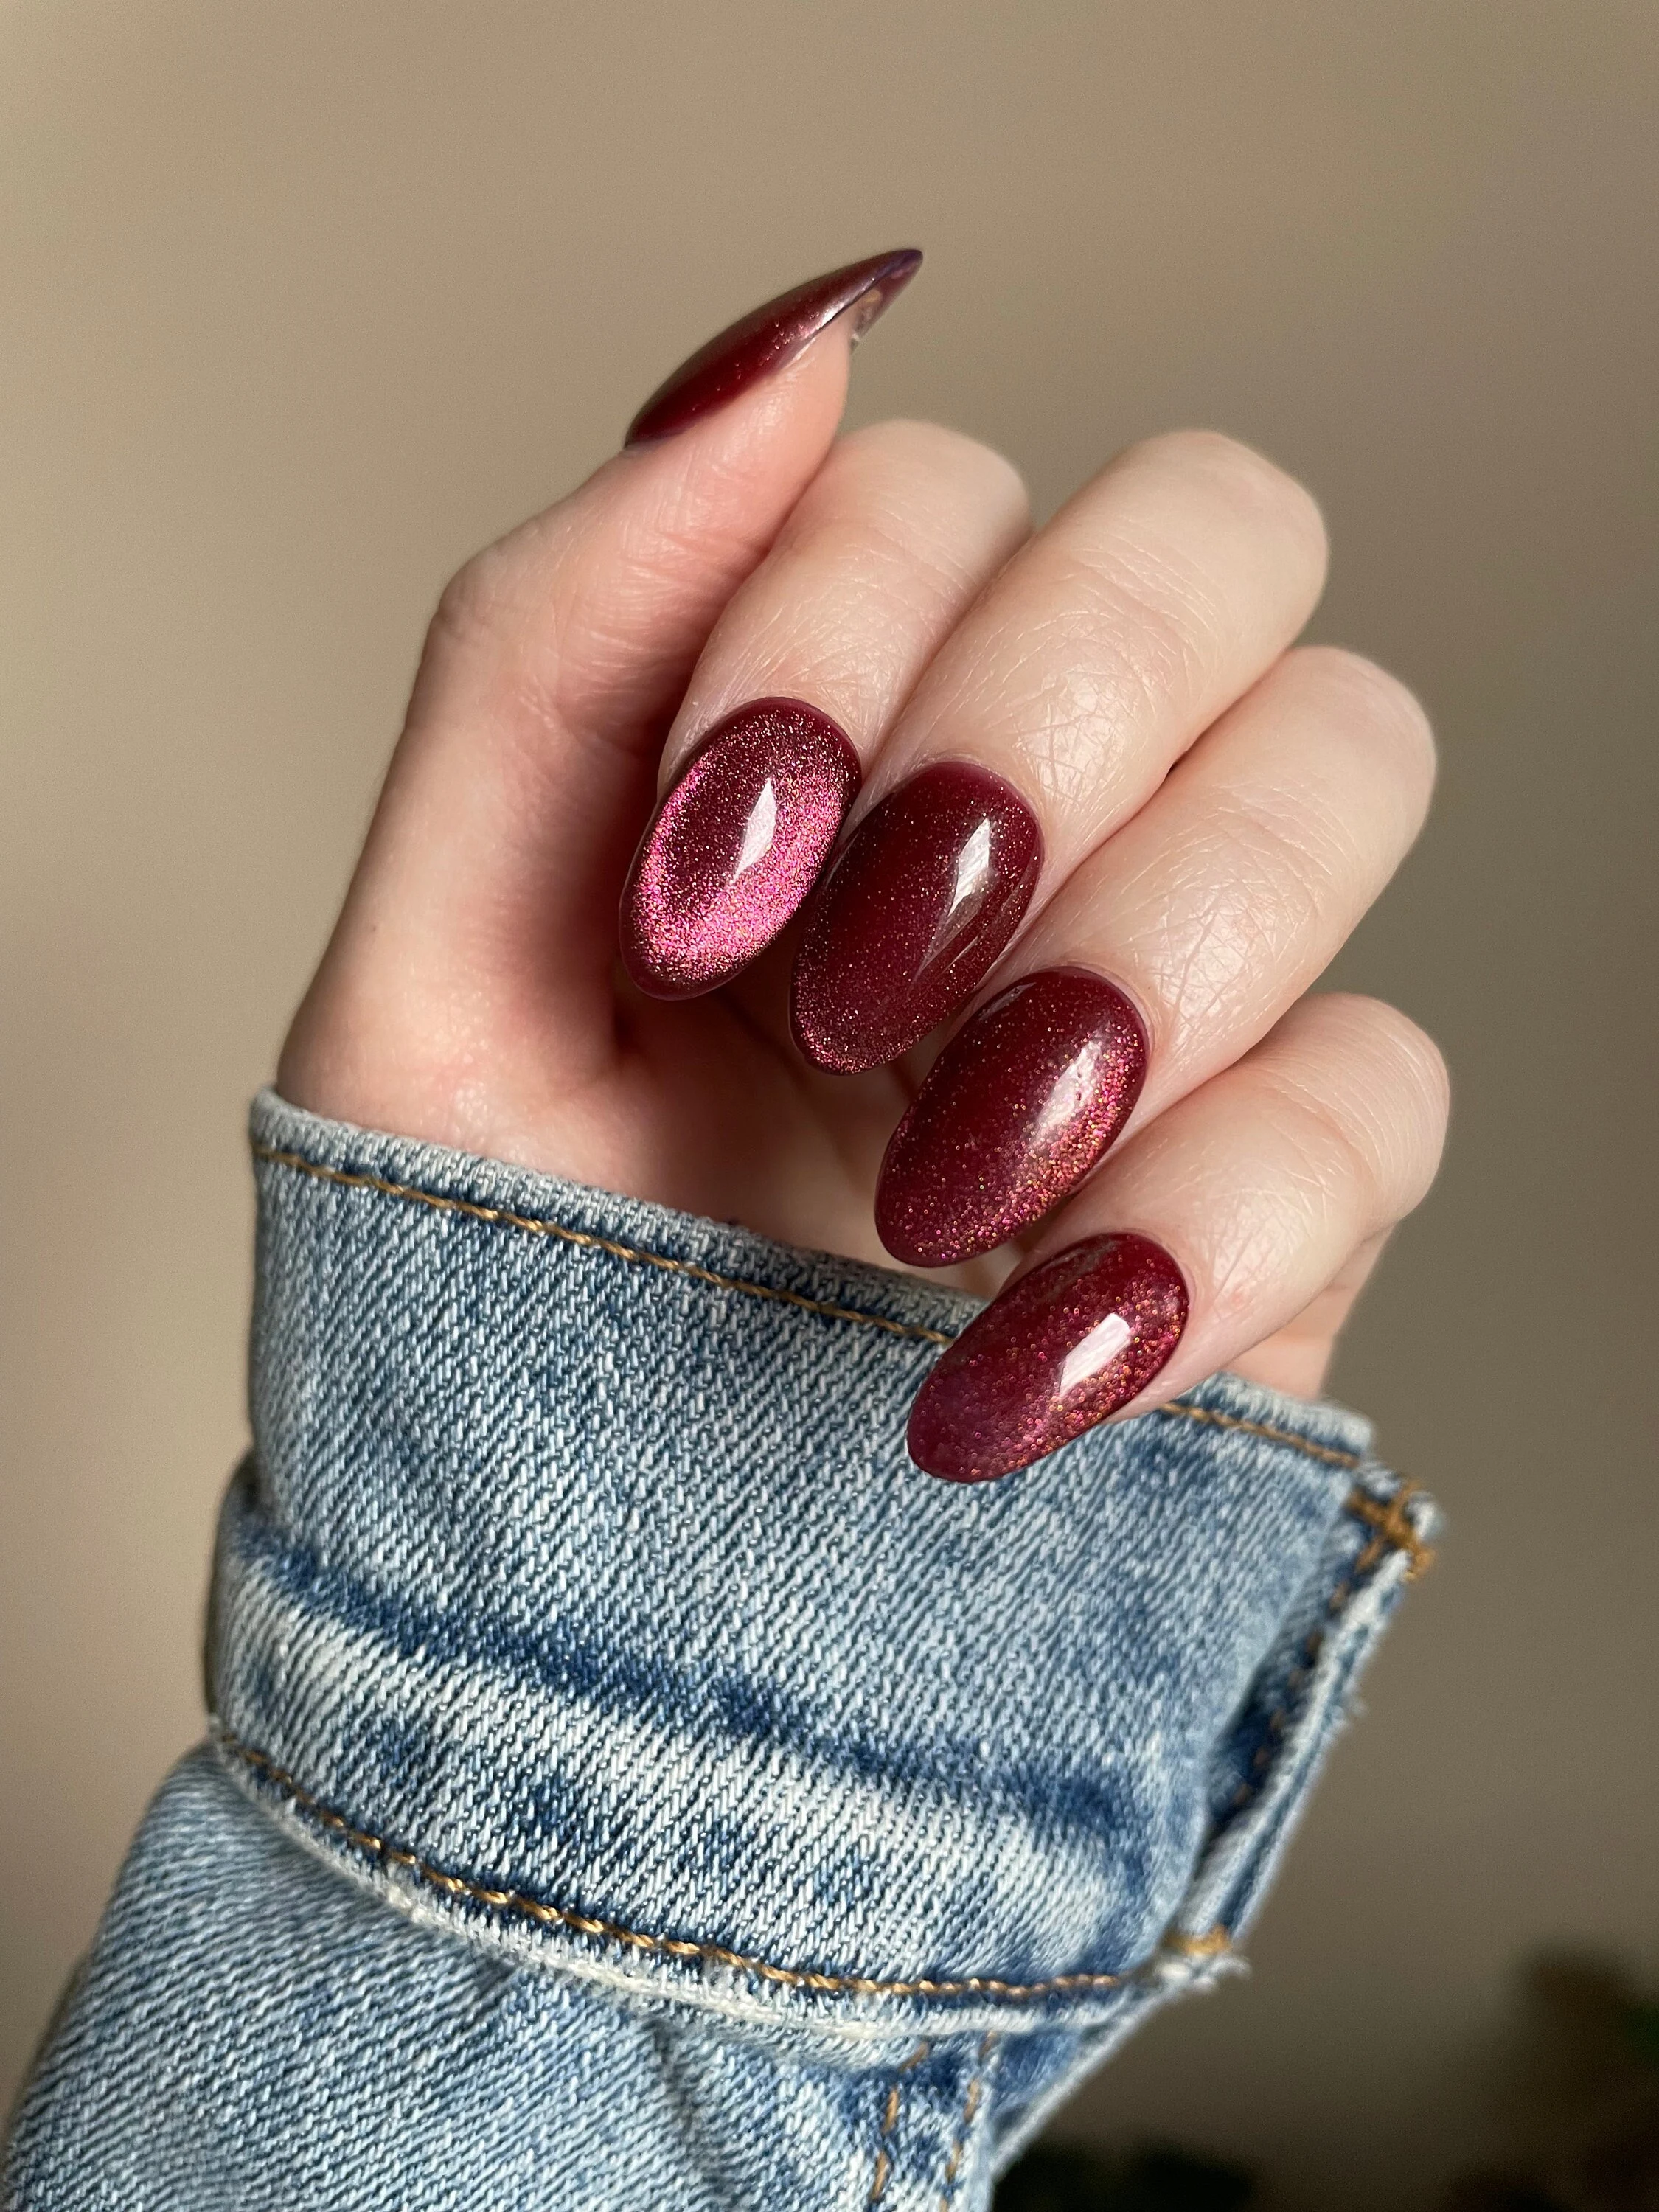
Rich Red Cat Eye Nails
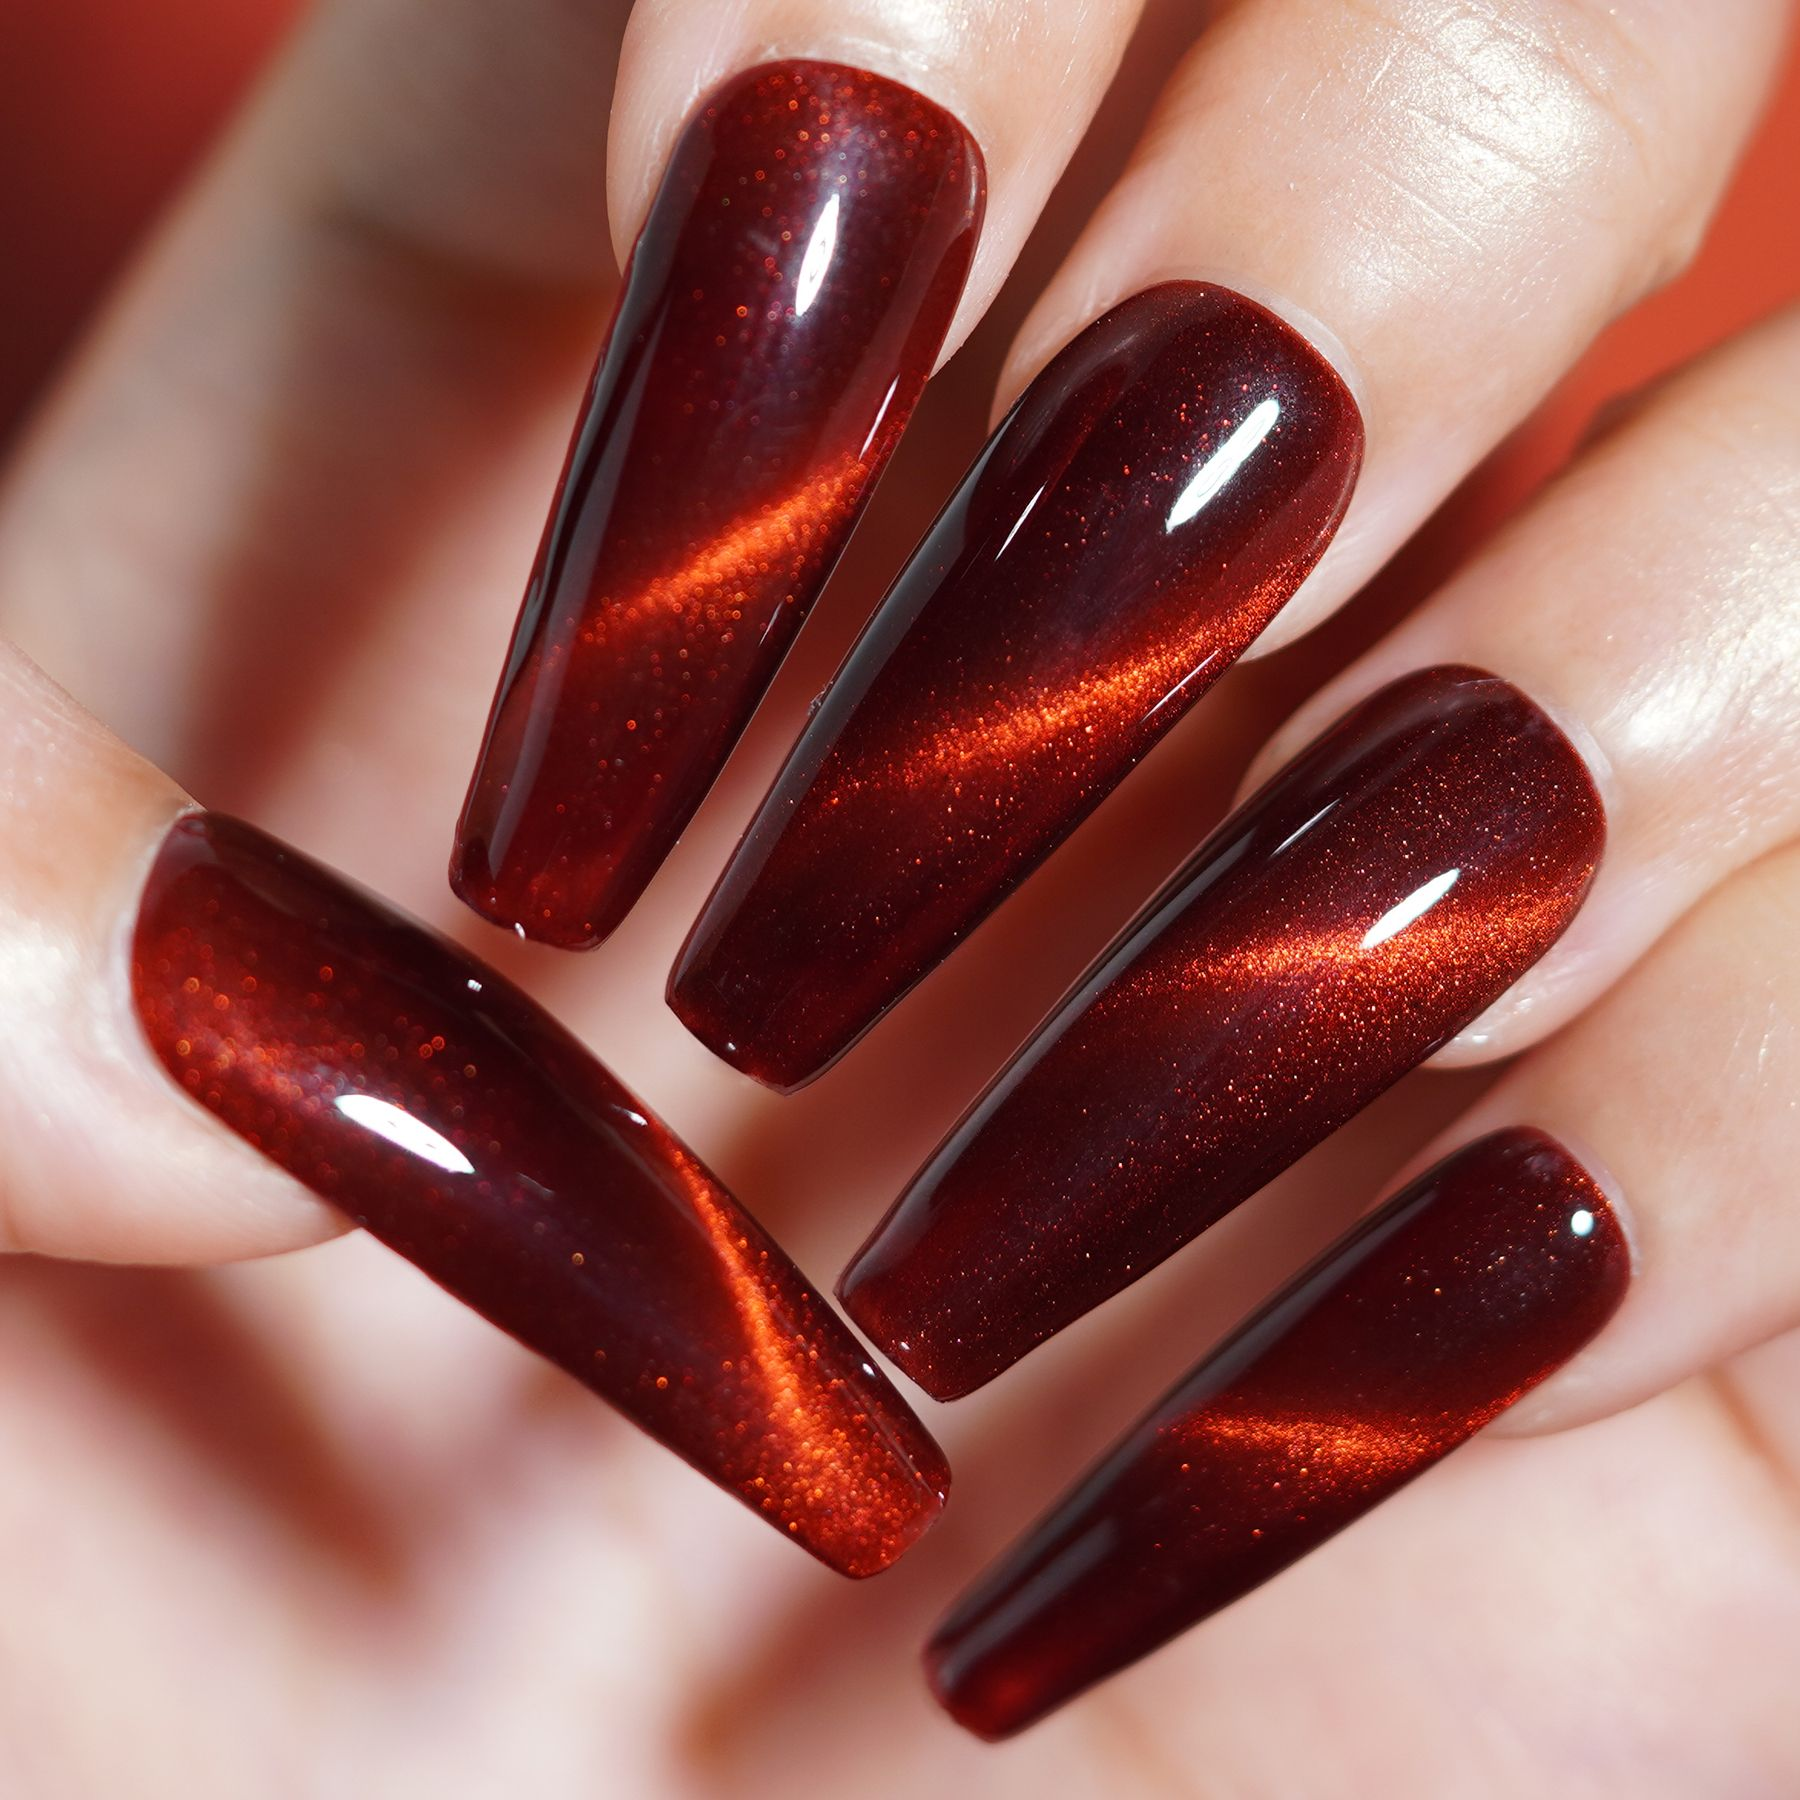
Red nails will draw attention to your hands and make a statement. The rich red color is a bold, bright, feminine, and unmissable option. The cat eye effect will make the color even more noticeable with the shimmering effect, giving you a unique approach to a classic red manicure.
Teal Cat Eye Nails

Teal, a captivating blend of blue and green, is a bold and attention-grabbing color choice for your nails. As a refreshing alternative to traditional colors, teal can be expressive and fun. When paired with the shimmering cat eye line, which runs horizontally along your nails, teal creates a sophisticated and luxurious manicure.
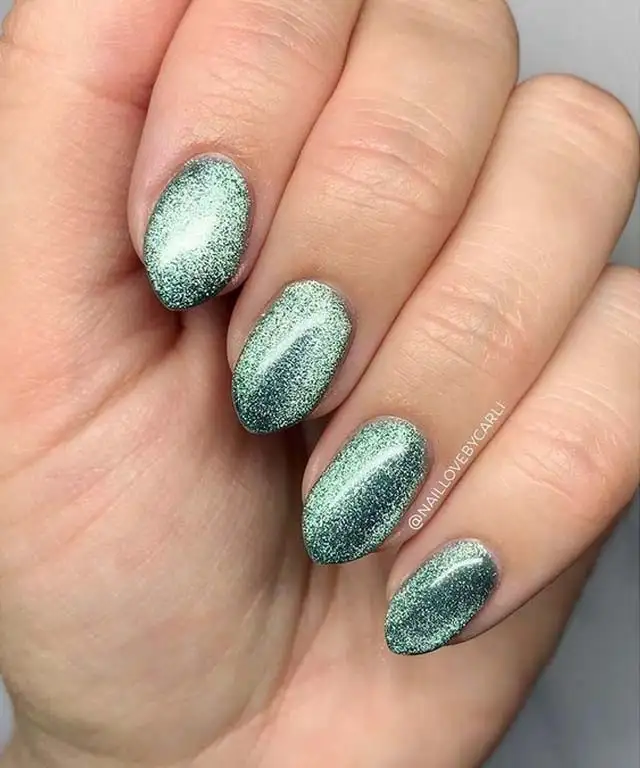
Green Cat Eye Nails
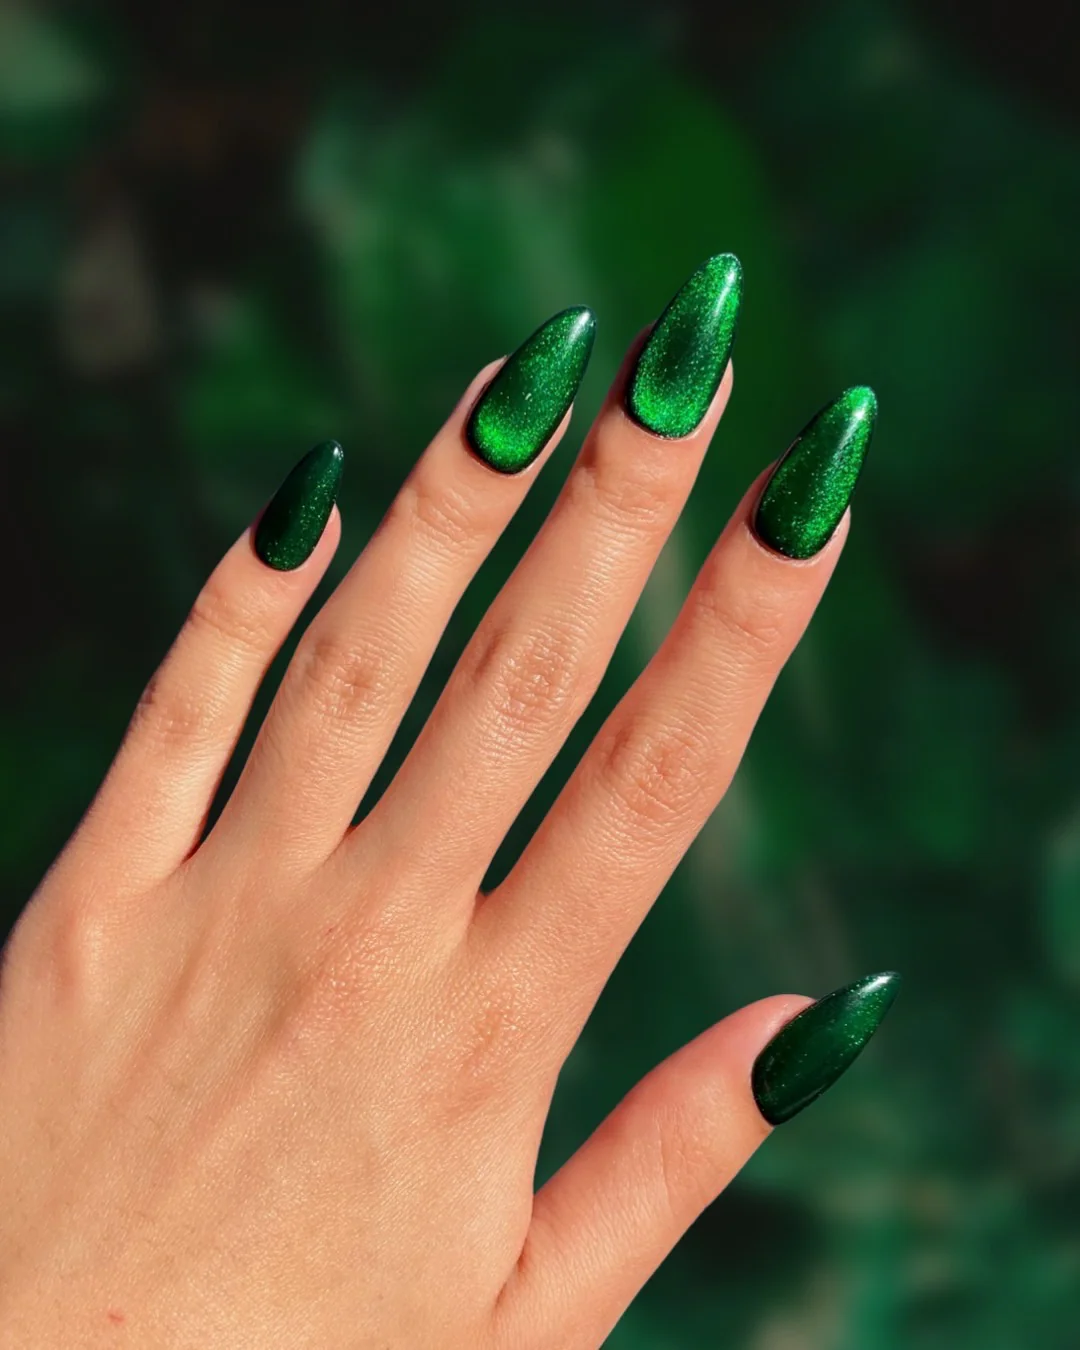
Green is a versatile color that complements a wide range of skin tones. It looks stunning on nails of all shapes and lengths. When paired with the shimmering cat eye effect, green creates a captivating and ultra-feminine manicure that is both stylish and cool.
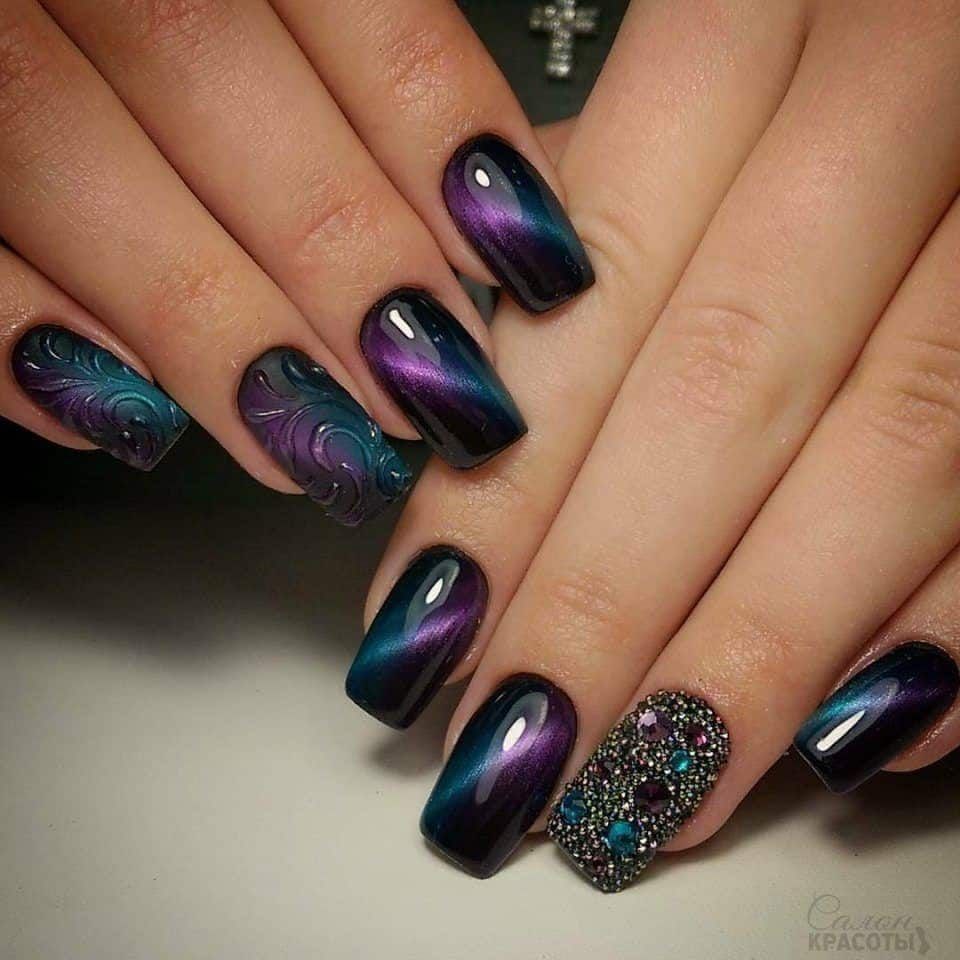
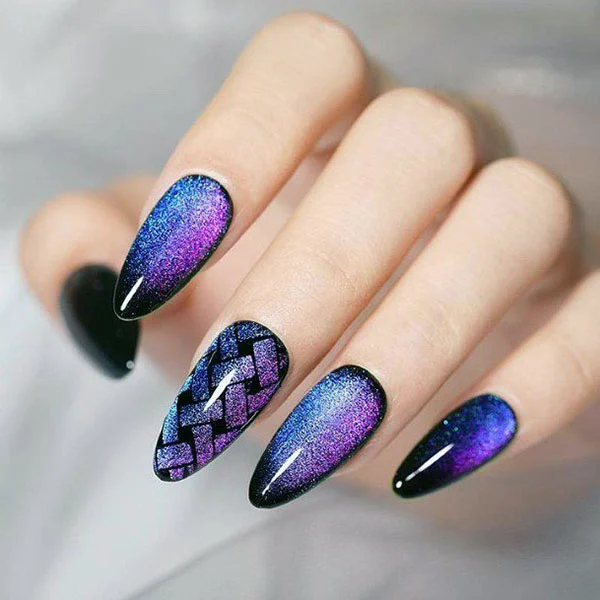
Black Blue and Purple Cat Eye Nails
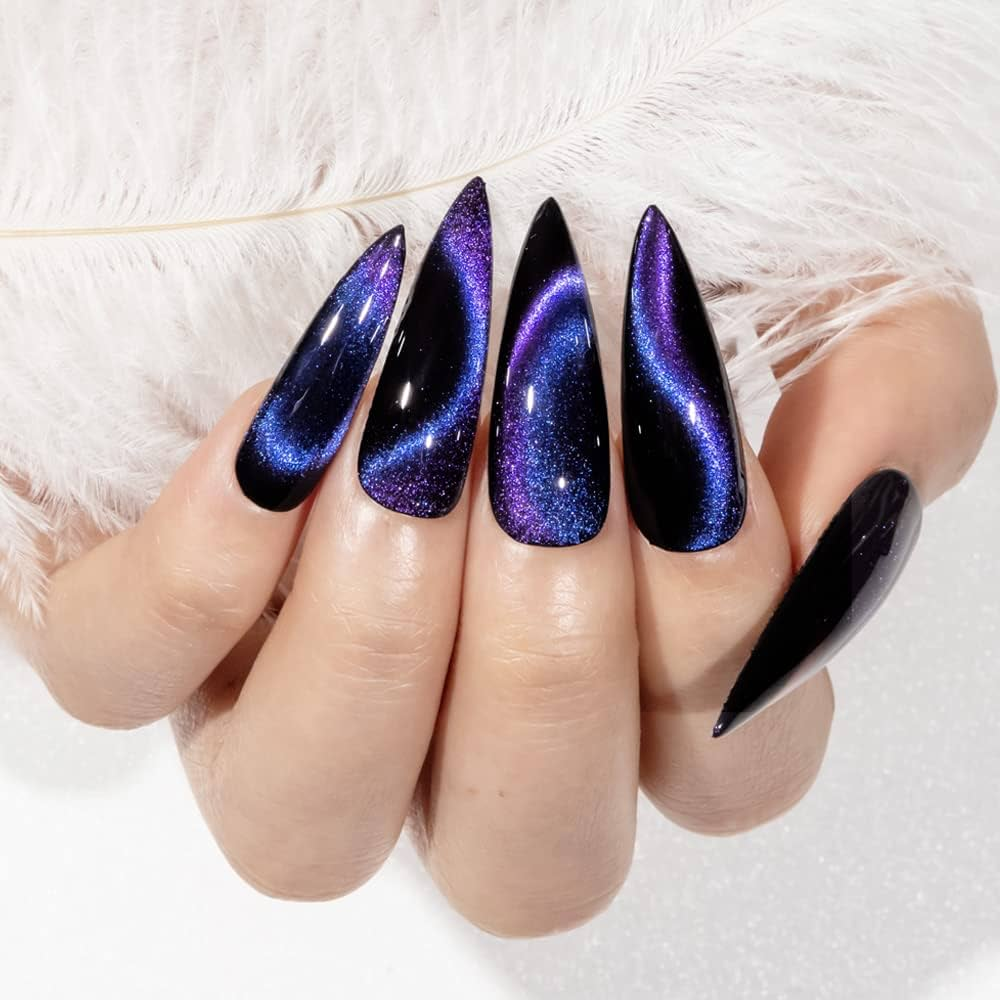
Indulge in the enchanting beauty of cat eye nails, characterized by a delicate, iridescent line that mirrors the captivating gaze of a cat or the mystique of the cat eye gemstone. This customizable trend offers endless possibilities for color combinations. To achieve a breathtakingly celestial appearance, experiment with shades of black, blue, and purple.
Blue Cat Eye with Gold Flakes

Infuse your cat eye manicure with a touch of opulence by pairing your preferred blue shade with glittering gold flakes. The gold enhances the overall sparkle and texture of your nails, lending them a luxurious appearance. Explore different placements of the gold flakes on each nail to create a unique and stylish design.
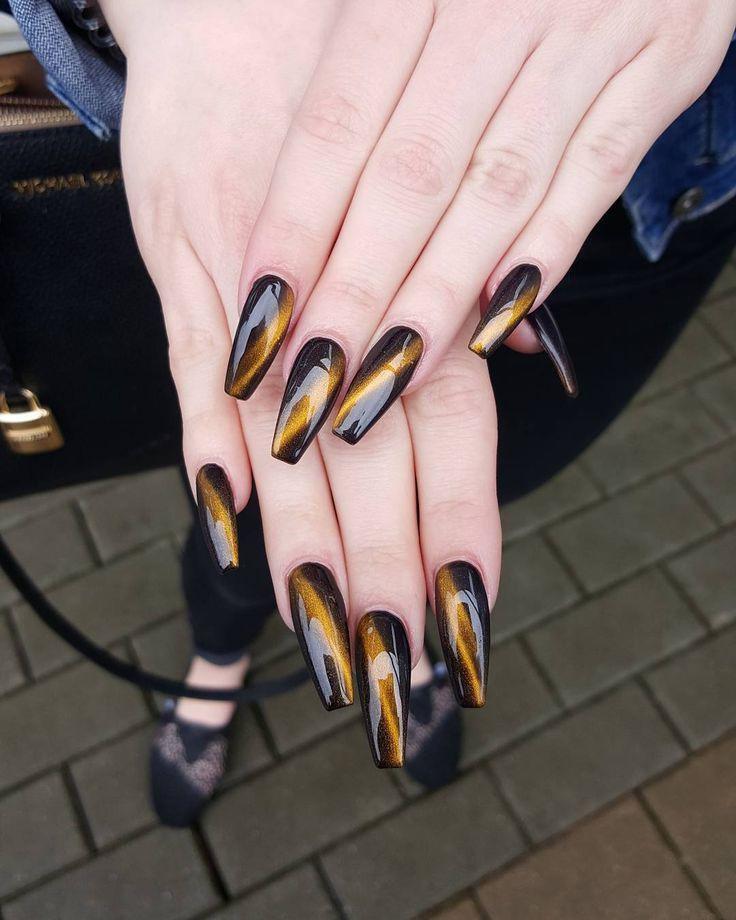
Brown Cat Eye Nails
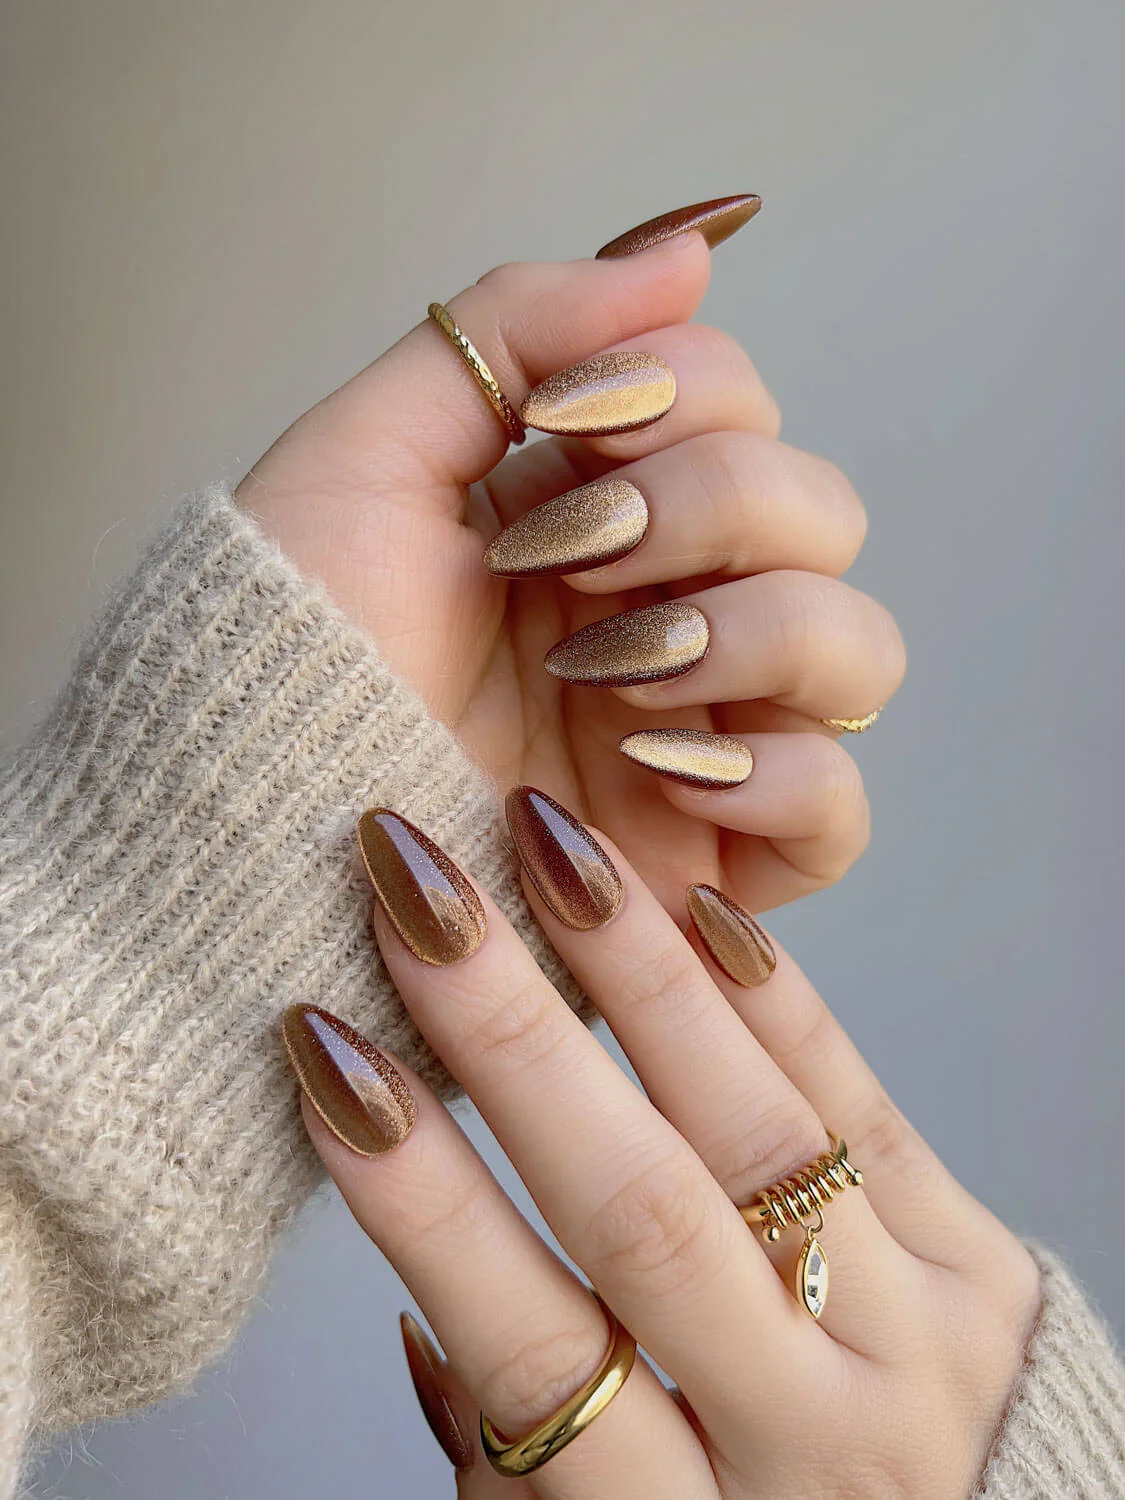
Brown is a versatile color that complements a wide range of complexions and preferences. Choose from deep, moody shades or soft, light browns to suit your personal style. Brown is also an excellent option for a more understated yet sophisticated cat eye manicure.
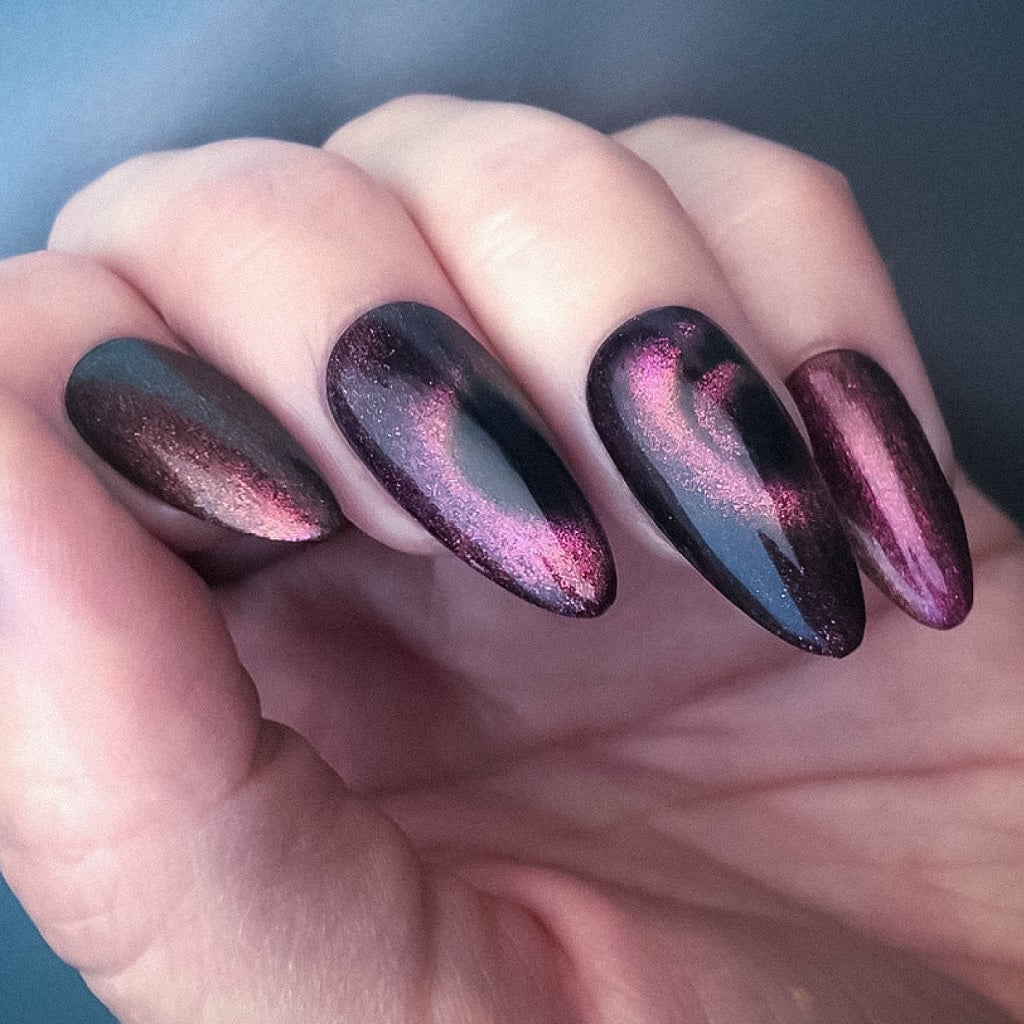
Burgundy Cat Eye Nails
Burgundy provides a striking foundation for your cat eye nail art. The shimmering effect of burgundy cat eye nails is visually stunning and enhances nails of any shape and length.
Cat Eye and Snake Nail Art
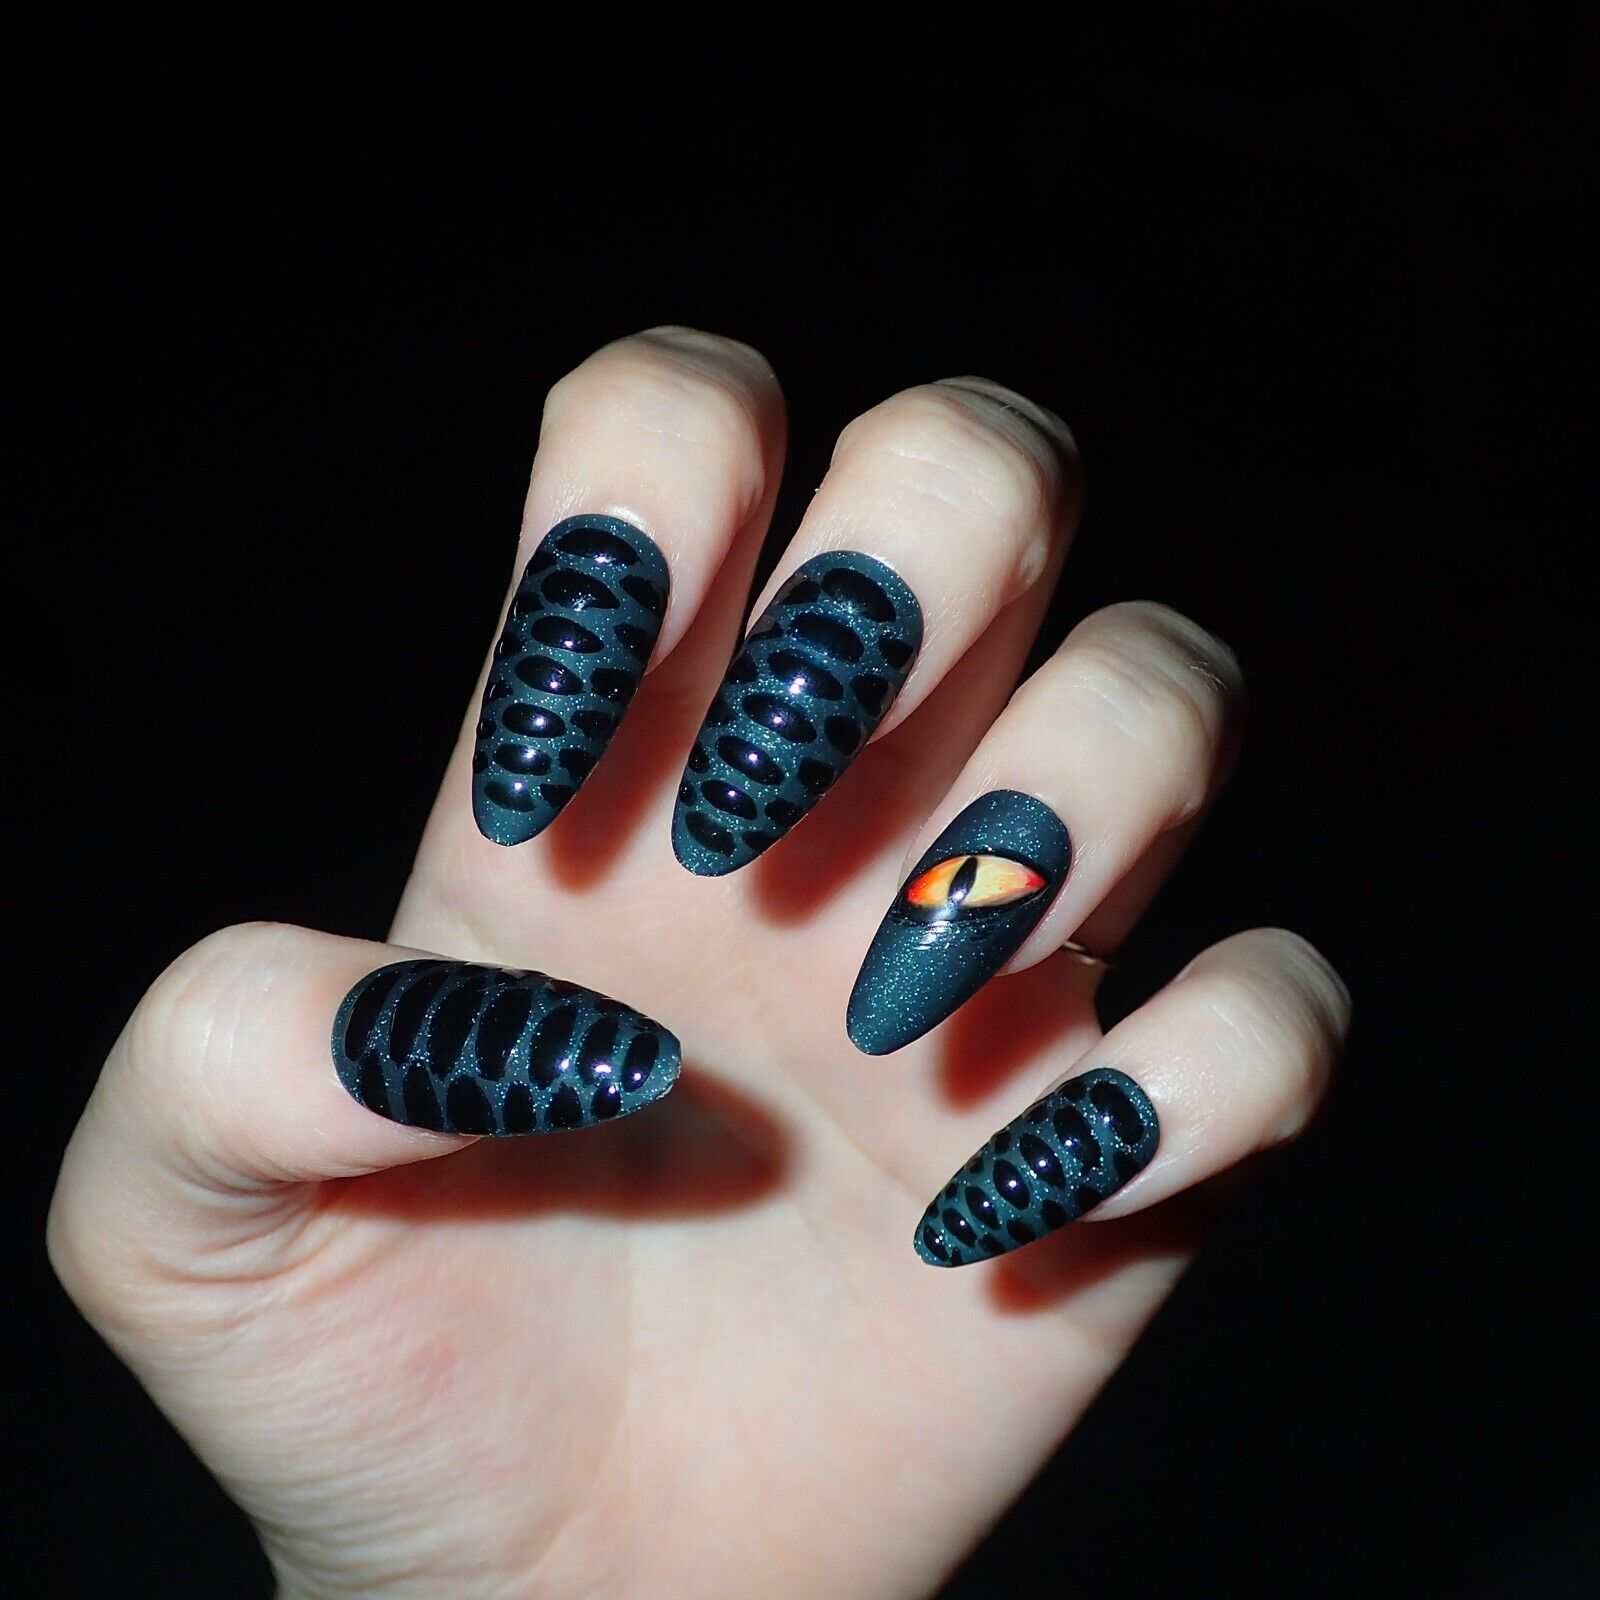
Elevate your cat eye manicure with a touch of snake print, a timeless fashion trend that has seamlessly transitioned into nail art. This combination creates a visually striking and attention-grabbing design. Green and gold are a harmonious color duo that complements most skin tones.
Cat Eye Cool with Feature Nail Art
The cat eye nail trend offers endless possibilities for customization, thanks to its mesmerizing shimmer and versatile color options. Experiment with different patterns on your feature nail to draw attention to your chosen finger and create a unique and eye-catching manicure.
Cat Eye Design with Matte Nails

Matte nails offer a sleek and velvety finish that adds a textural element to your manicure. Pairing matte polish with the cat eye nail trend creates a captivating contrast. To ensure the matte finish remains the focal point, limit the color palette of your designs.
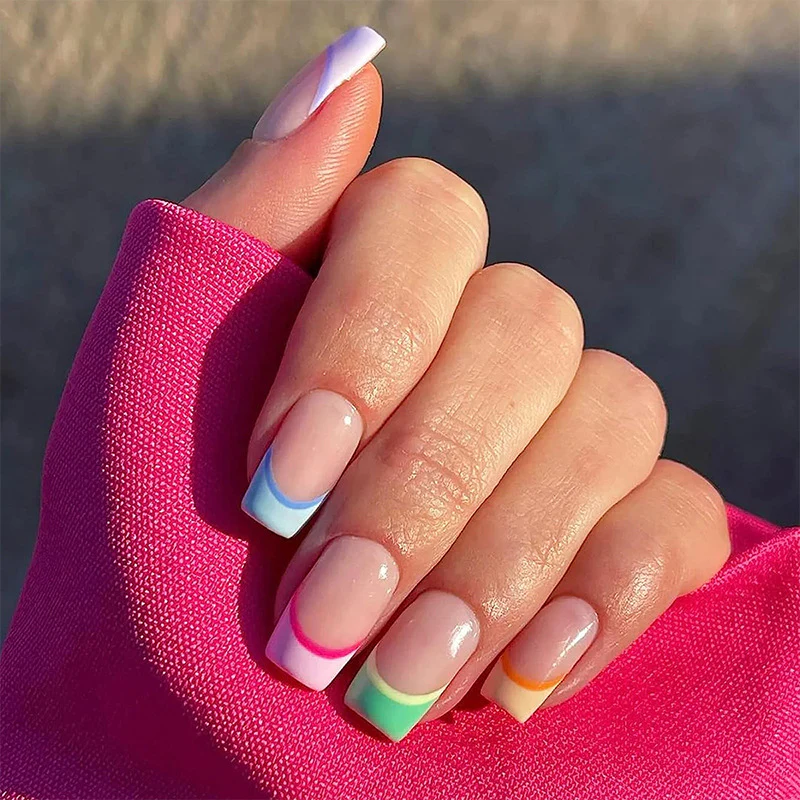
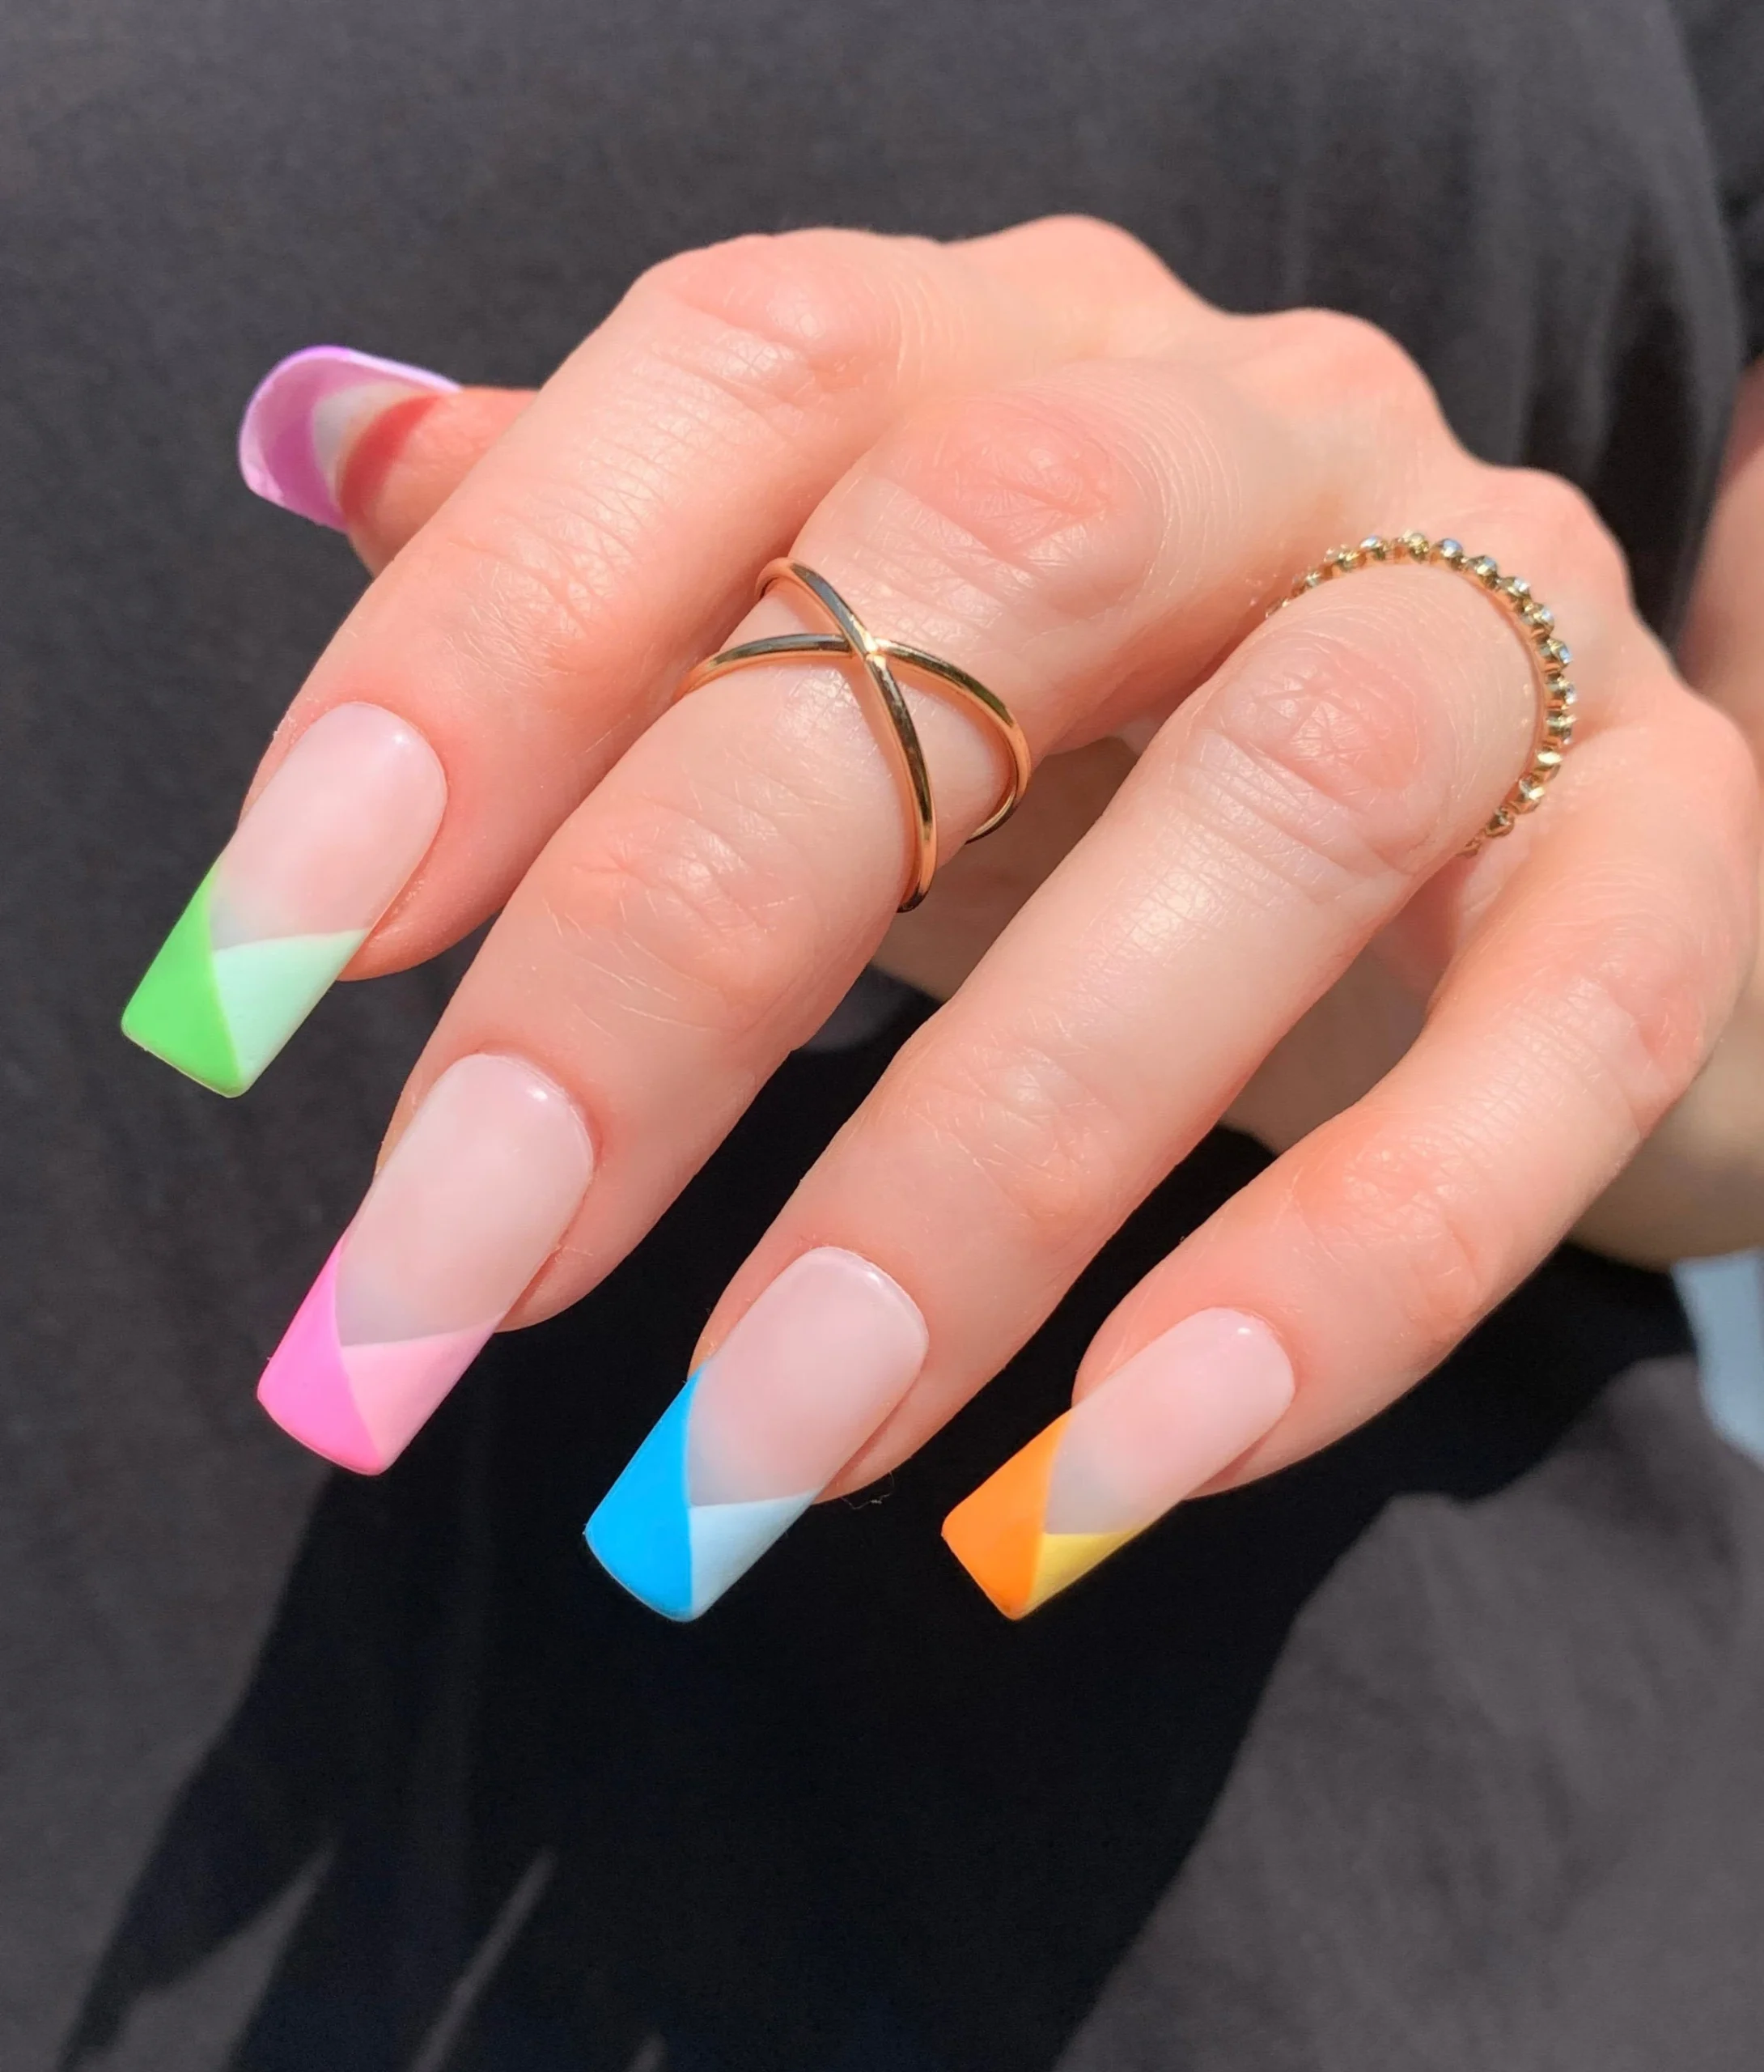
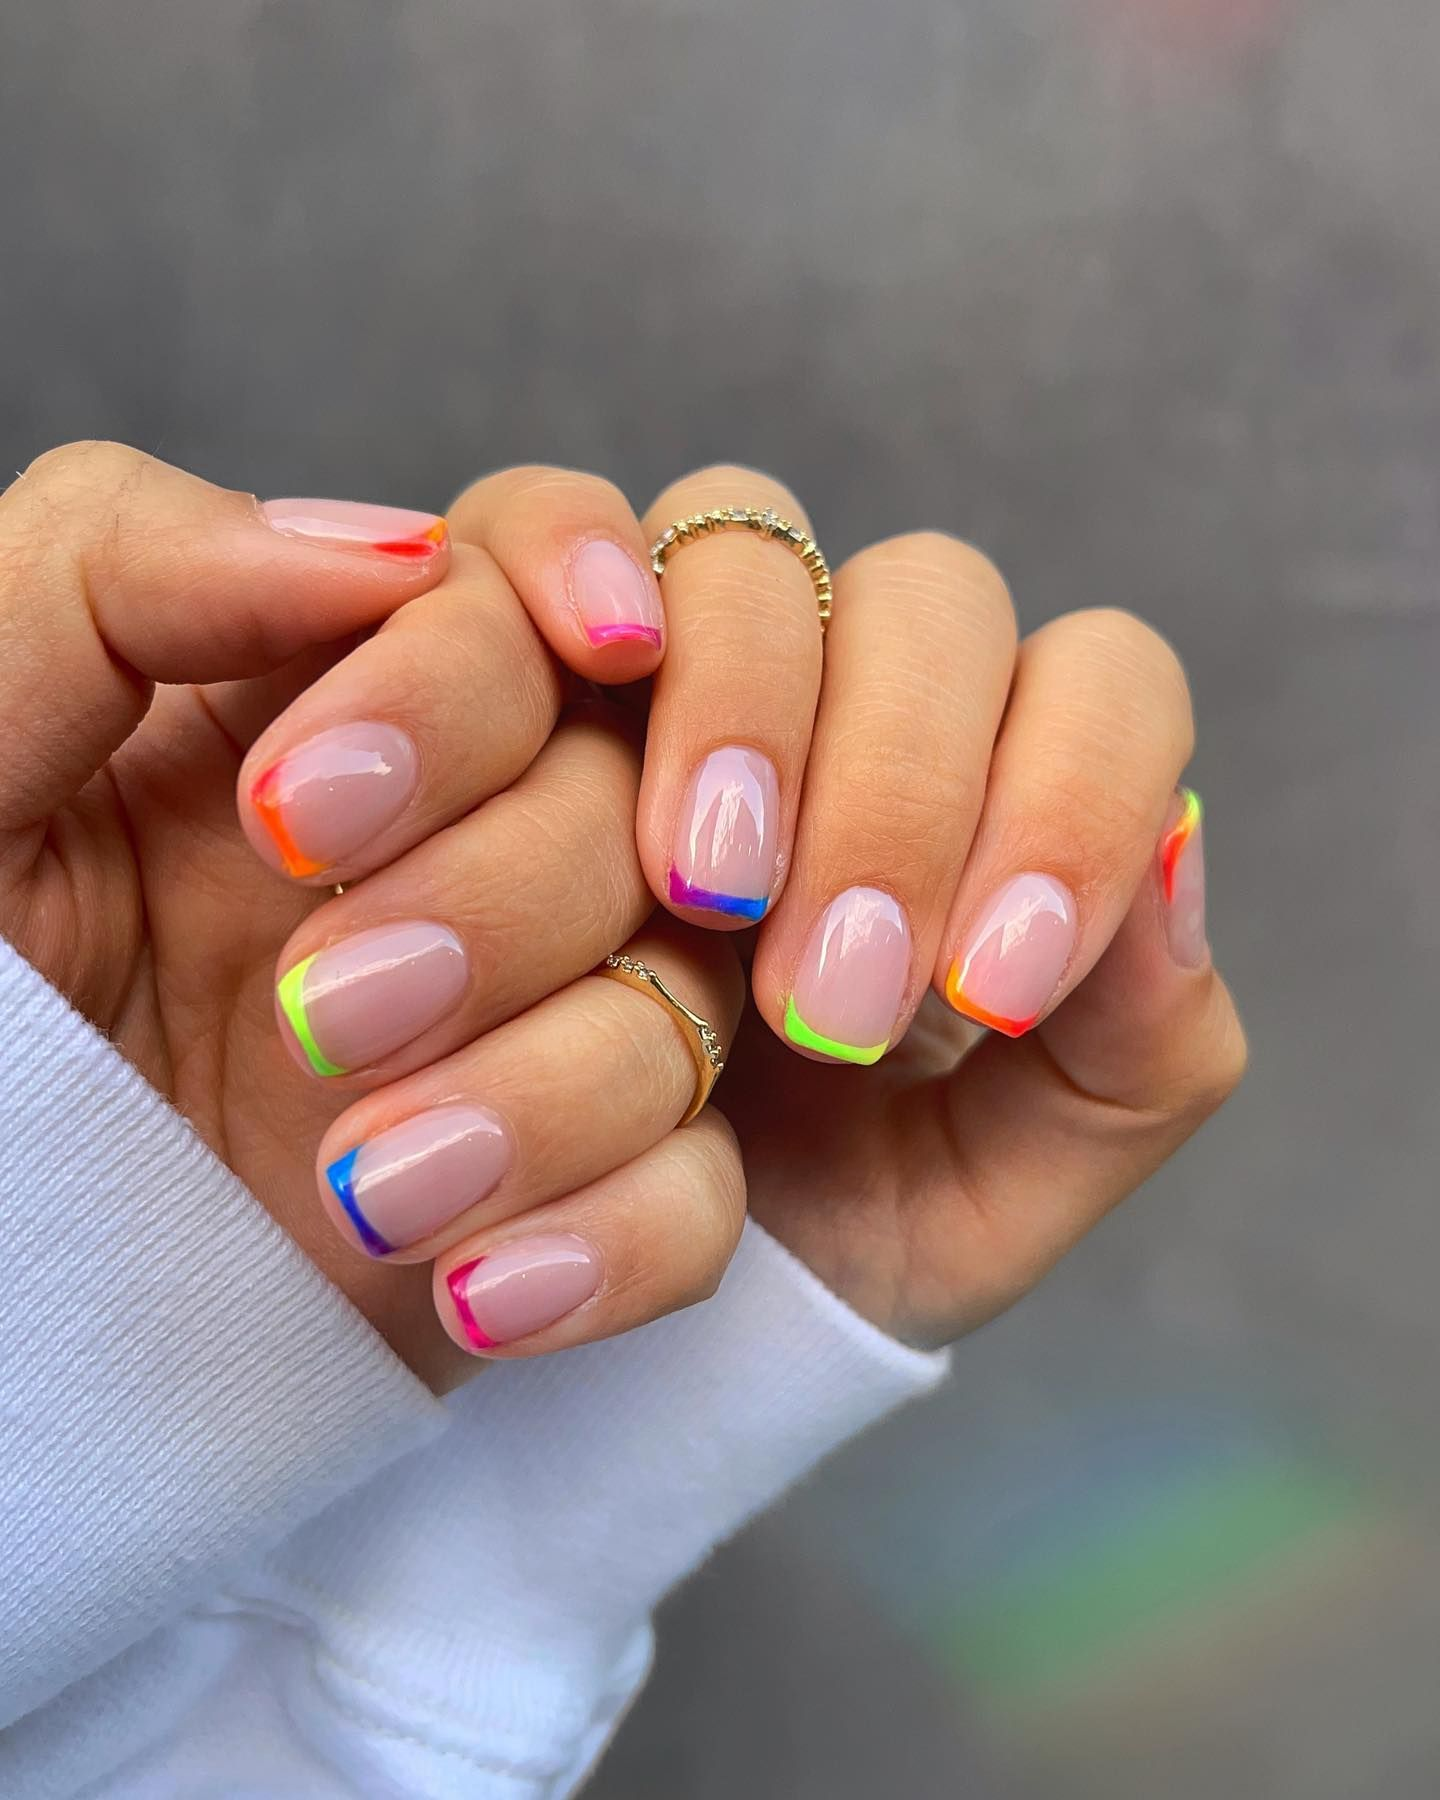
Cat Eye French Tip
The French tip manicure is a timeless classic known for its simplicity and elegance. For a modern twist, incorporate the cat eye technique onto the tips. While this may require more precision, the result is a stylish and unique take on the traditional French tip.
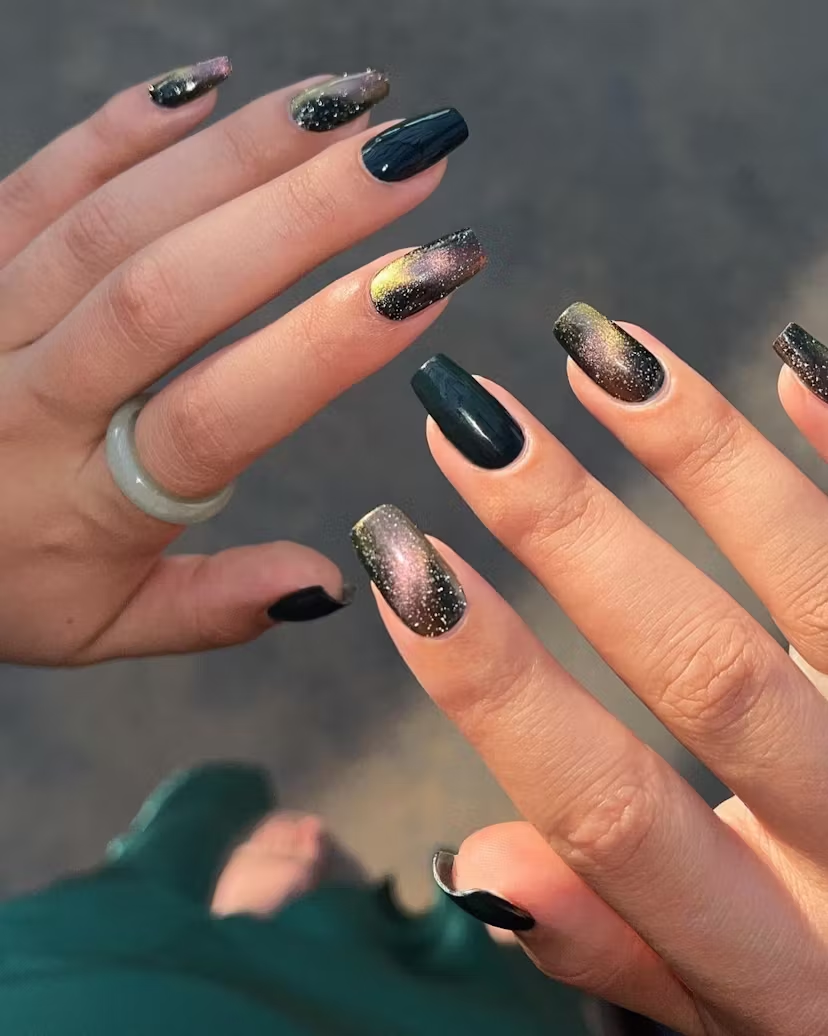
Cat Eye Galaxy Nails
For dreamers and deep thinkers, galaxy nails offer a captivating and expressive manicure. The shimmering cat eye line enhances the space theme, resulting in a visually striking and attention-grabbing design. This is perfect for those who desire a manicure that makes a statement.
Cat Eye Nails with Cat Art Tips
The cat eye nail trend is a captivating and versatile design that allows for endless customization. By combining the shimmering line of the cat eye with playful cat art, you can create a unique and expressive manicure that reflects your personality. Focus your artistic creations on the tips of your nails to enhance the overall design and choose a nail shape, such as a square tip, that complements the artwork.
Cat Eye Nails with Rhinestones

To enhance the already dazzling shimmer of your cat eye nails, consider adding rhinestones. Experiment with different sizes and placements of the gems to create a personalized and luxurious finish.
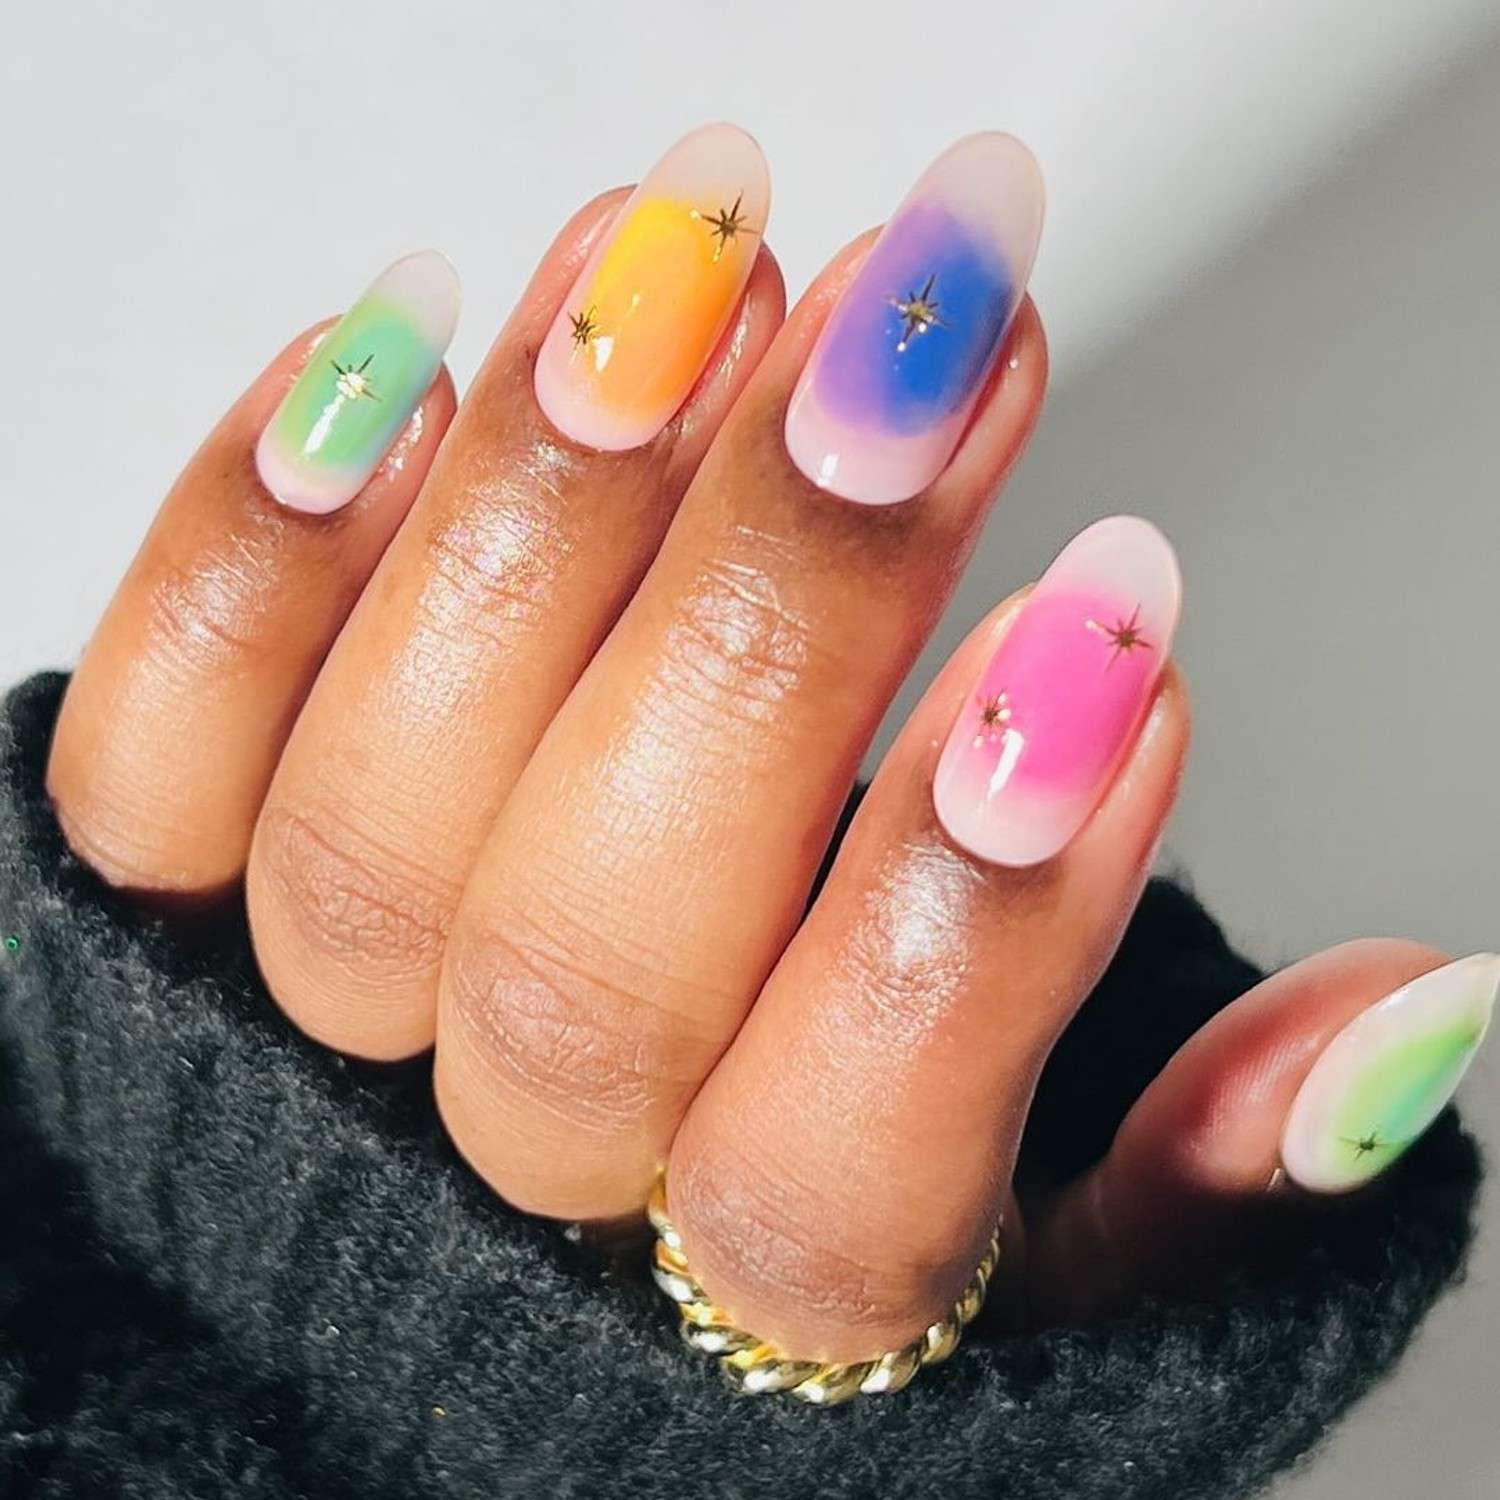
Cat Eye Nails with Stars
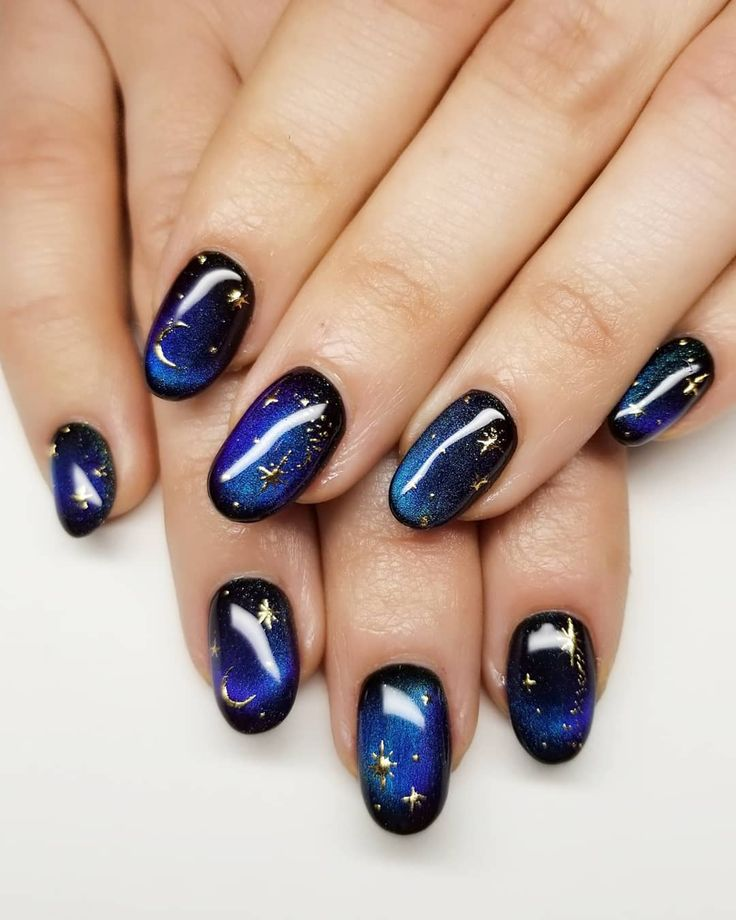
Let your nails reflect your dreams and ambitions with a celestial-inspired manicure. Incorporate star designs into your cat eye nails for a touch of symbolism and sparkle. The shimmering cat eye effect complements the star motif perfectly, creating a meaningful and visually stunning design.
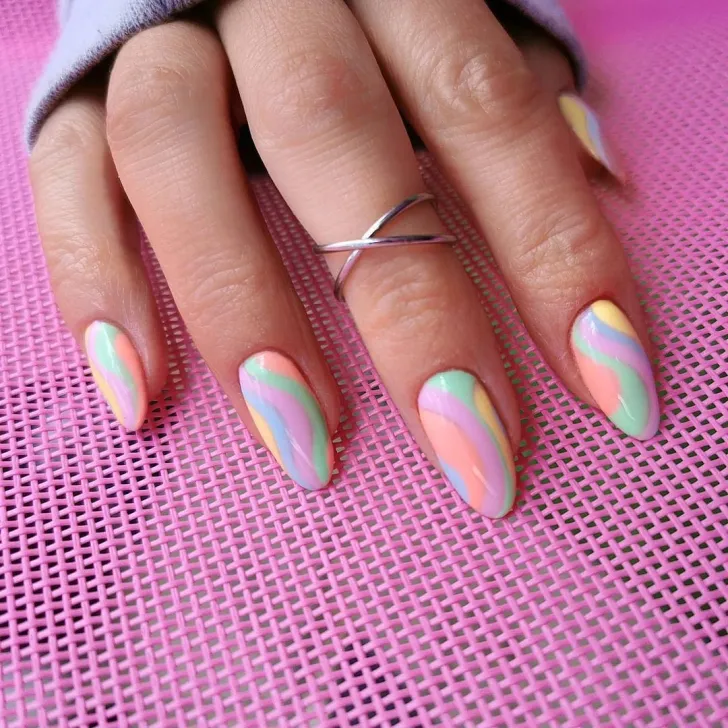
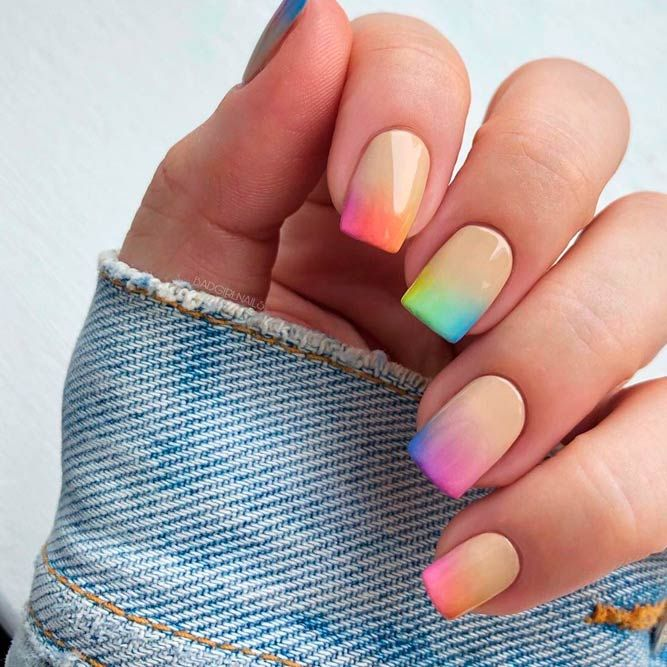
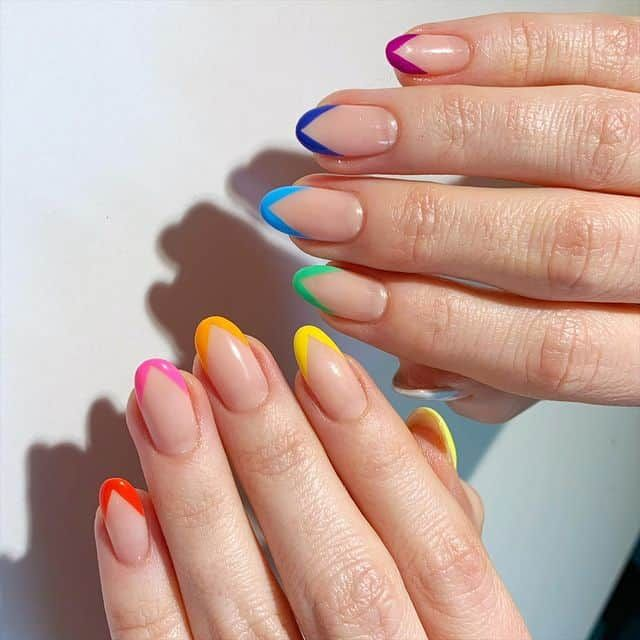
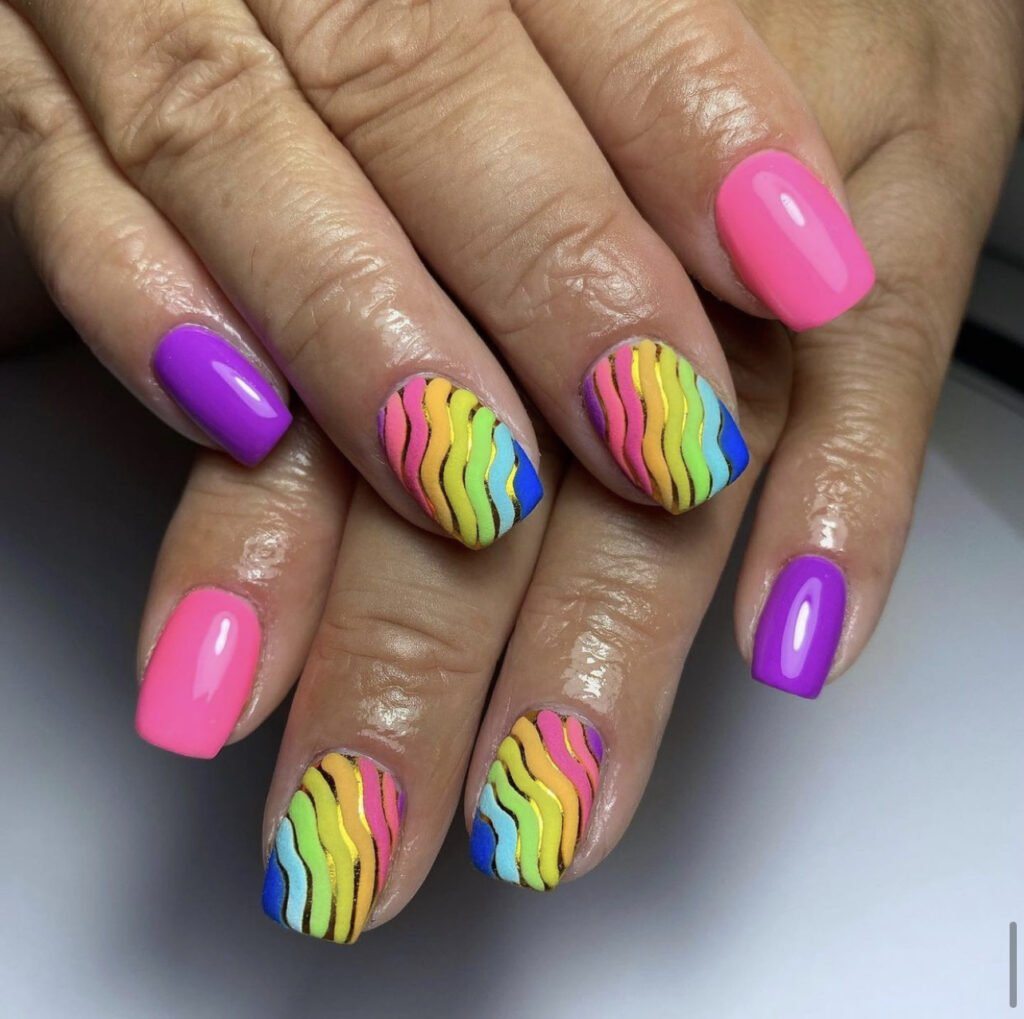
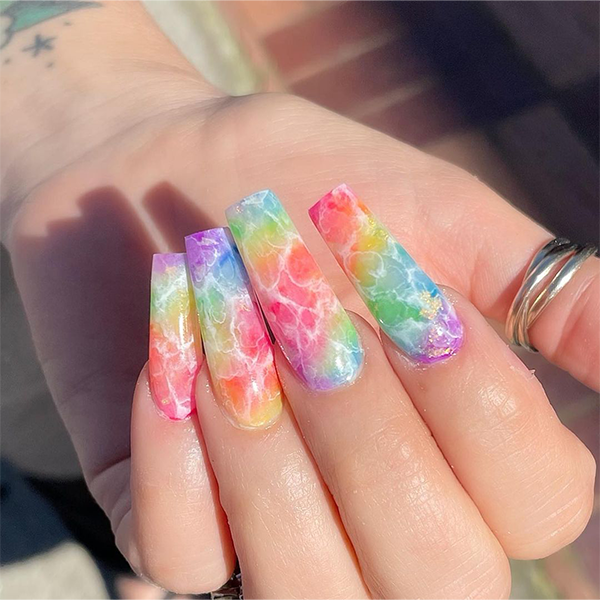
Cat Eye Rainbow Nails
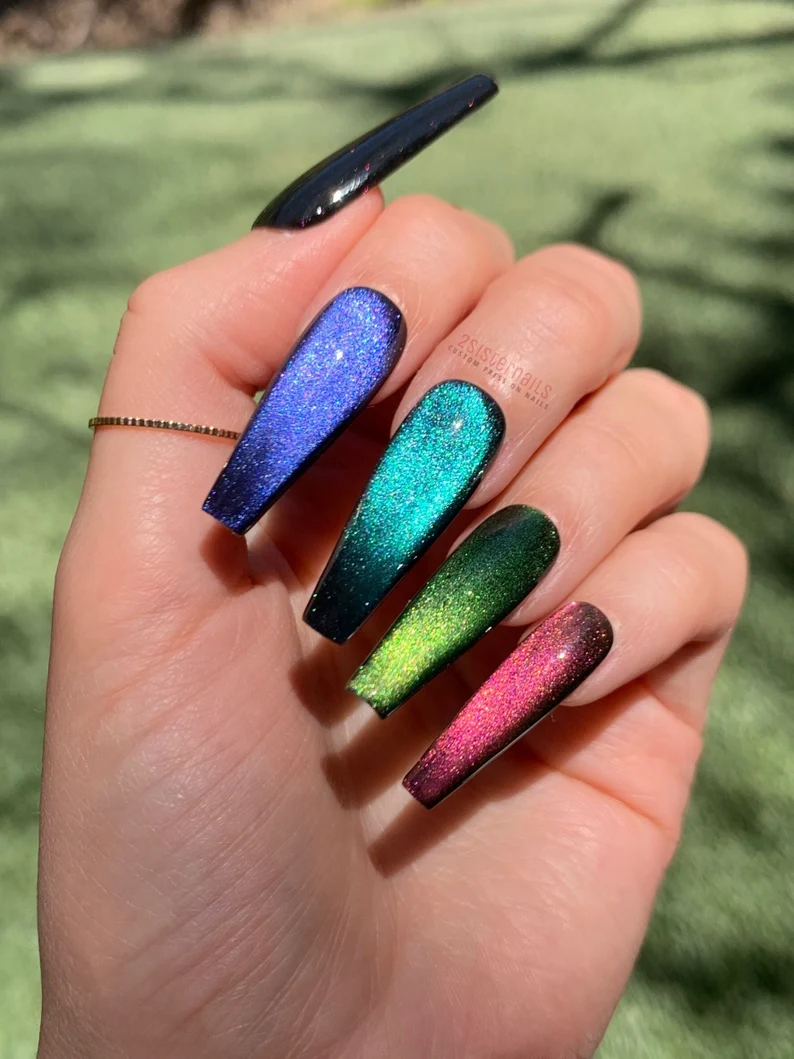
Combine the vibrant and cheerful rainbow trend with the mesmerizing cat eye effect for a fresh and playful manicure. Incorporate a rainbow cat eye line directly in the center of your nails or angle it for an arched effect, creating a unique and eye-catching design.
Cat Eye Toenails

Extend the cat eye trend to your toes for a sparkling and glamorous look. This is perfect for special occasions or showcasing your feet during the summer months. Experiment with different colors to find the ideal option that suits your personal style.
Cat Eye with Black Hole Effect
Capture the allure and mystery of space on your nails with a black hole-inspired manicure. Incorporating the captivating cat eye effect adds a touch of shimmer and cosmic wonder, creating a truly magical and otherworldly design.
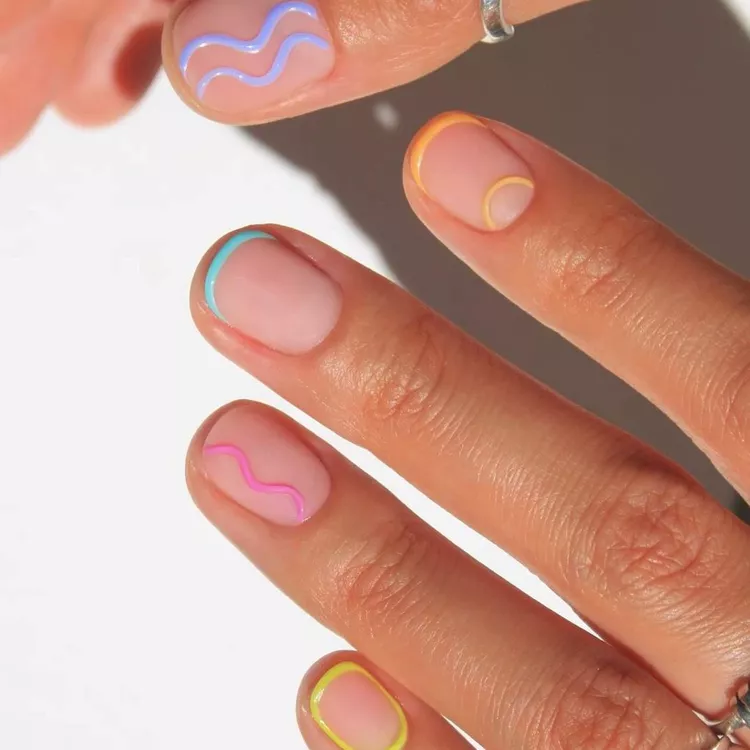
Cat Eye with Criss Cross Design
Create a visually striking manicure with criss-cross nail art. This simple yet effective design adds a contrasting element to your base coat. Apply the criss-cross pattern to all your nails or focus on a single nail to create a feature nail that draws attention to your favorite piece of jewelry.
Creative Cat Eye Nail Design

One of the captivating aspects of the cat eye nail trend is its ability to create unique and personalized designs. The position and size of the central line can vary, allowing you to express your individuality and preferences. Embrace your creativity and experiment with different cat eye variations.
Grey Cat Eye Nails
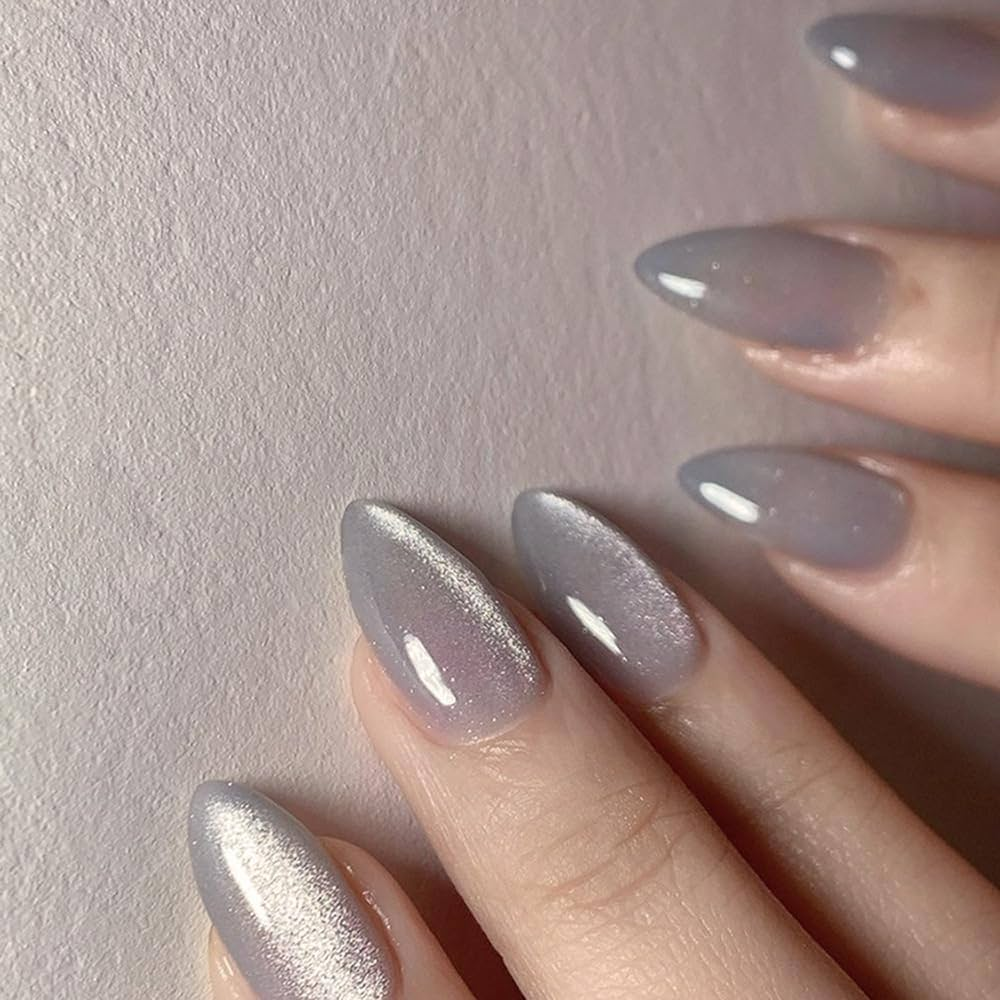
Grey nails offer a versatile and timeless look that complements a wide range of skin tones and ages. Elevate your grey manicure with the cat eye trend for a stylish and universally flattering design. The simplicity of the cat eye technique adds to its appeal.
Gunmetal Blue Cat Eye Nails
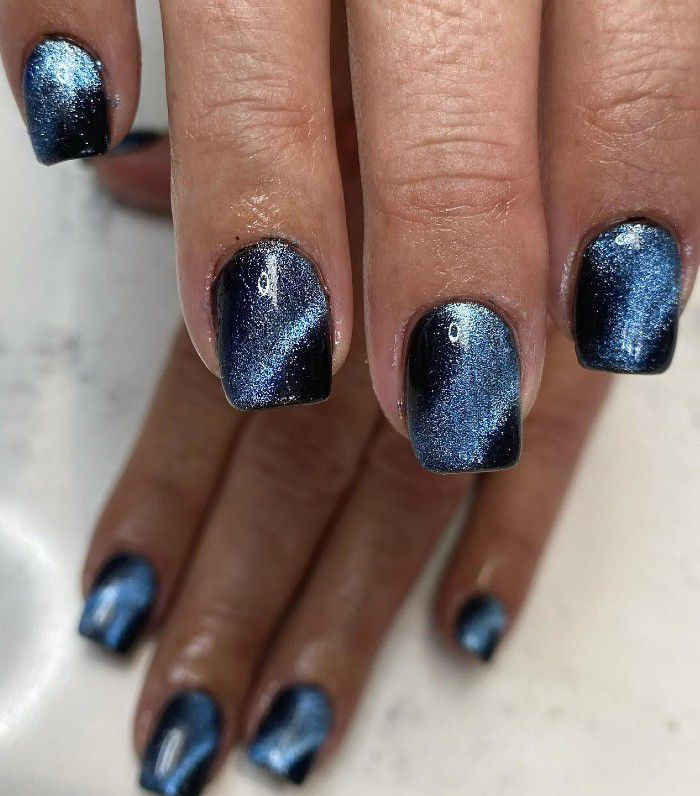
Gunmetal, a dark grey with a hint of blue, is a versatile color that suits a wide range of skin tones. Its futuristic vibe complements the shimmering line of the cat eye trend, creating a fashion-forward and eye-catching manicure.
Mint and Nude Cat Eye Nails
The combination of mint and nude is a timeless and elegant duo that complements various nail shapes. Incorporate the cat eye trend with these colors for a fresh and sophisticated manicure. Experiment with different placements and angles on each nail to create a personalized and unique finish.
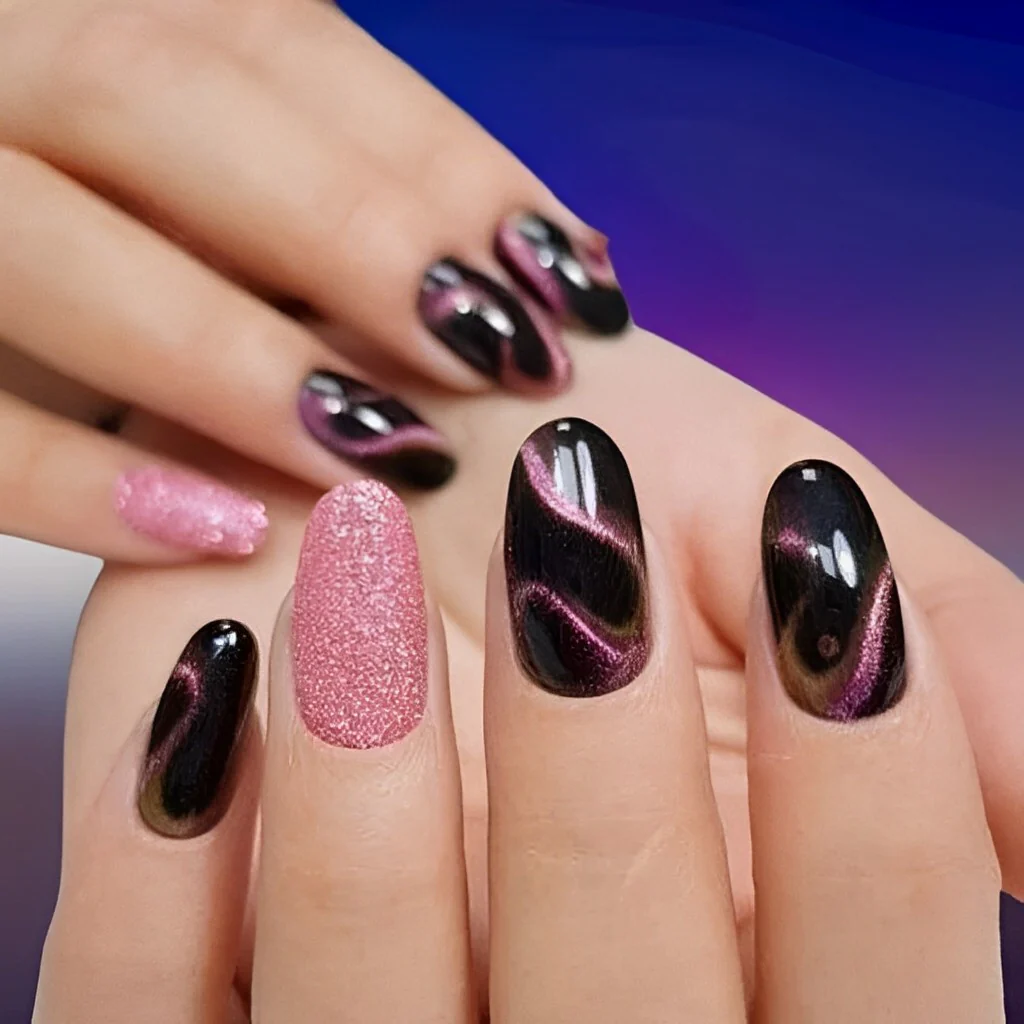
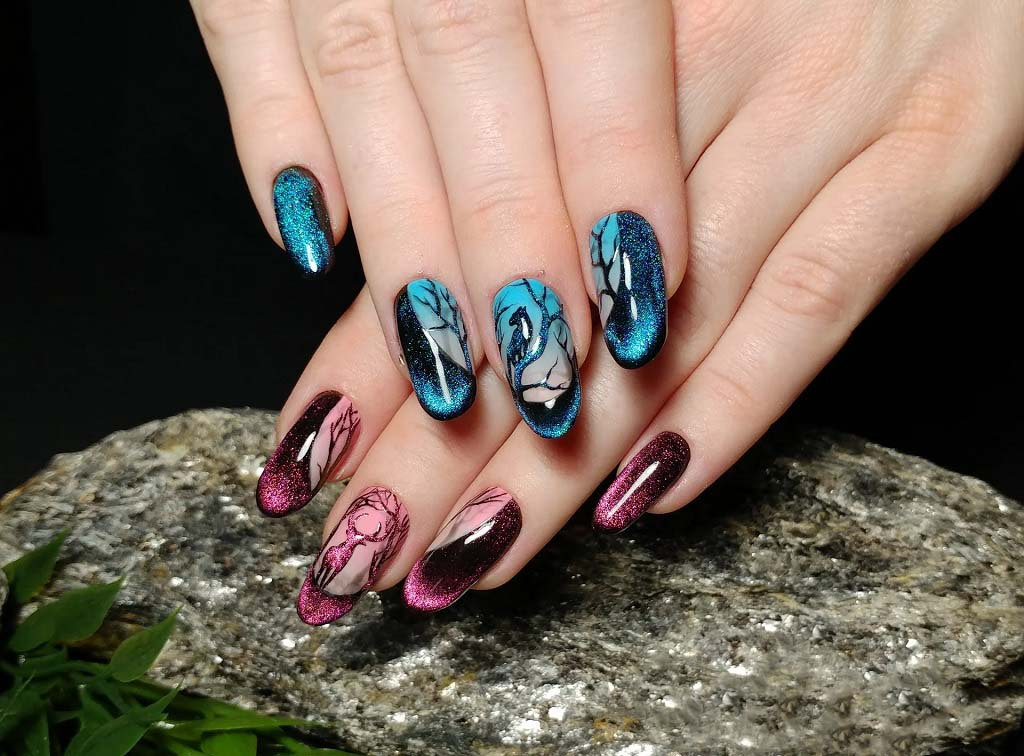
Mix and Match Cat Eye Nails
Don’t limit yourself to a single color or pattern! Mix and match different nail art designs, colors, and techniques to create a personalized and expressive manicure. The cat eye trend is a versatile choice that pairs well with various prints and patterns or can be combined with bold, contrasting colors for a fun and eye-catching look.
Natural Cat Eye Nails

The cat eye nail trend’s versatility allows for endless customization. It complements a wide range of colors and nail art techniques, making it a versatile choice for any style. For a simple yet romantic look, opt for a nude polish as your base, creating a natural and understated manicure with a touch of shimmer.
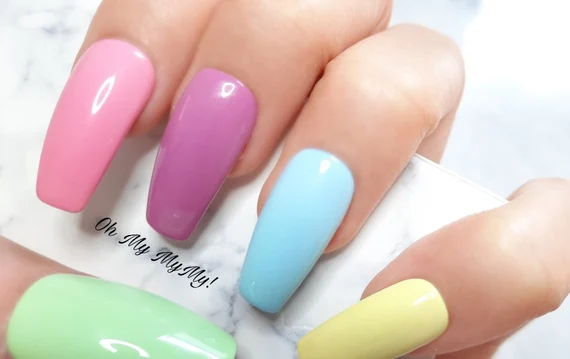
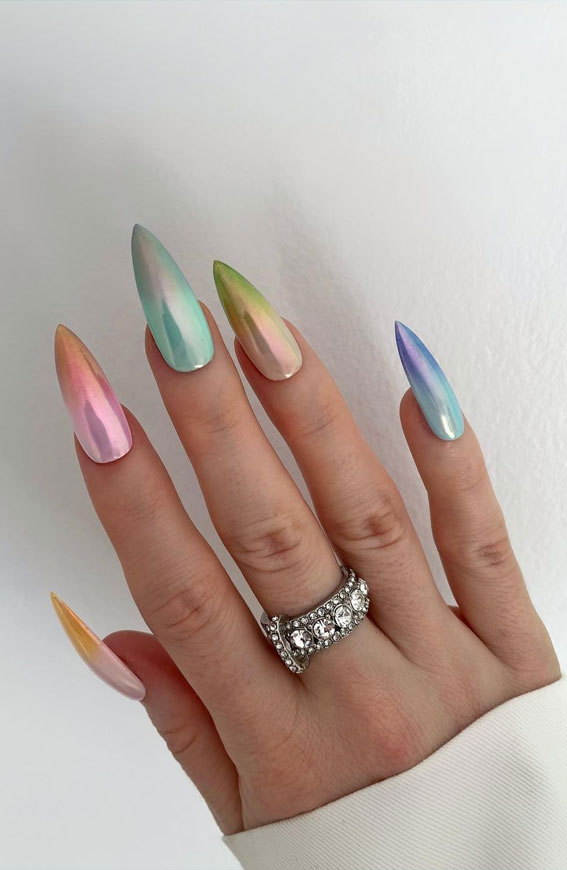
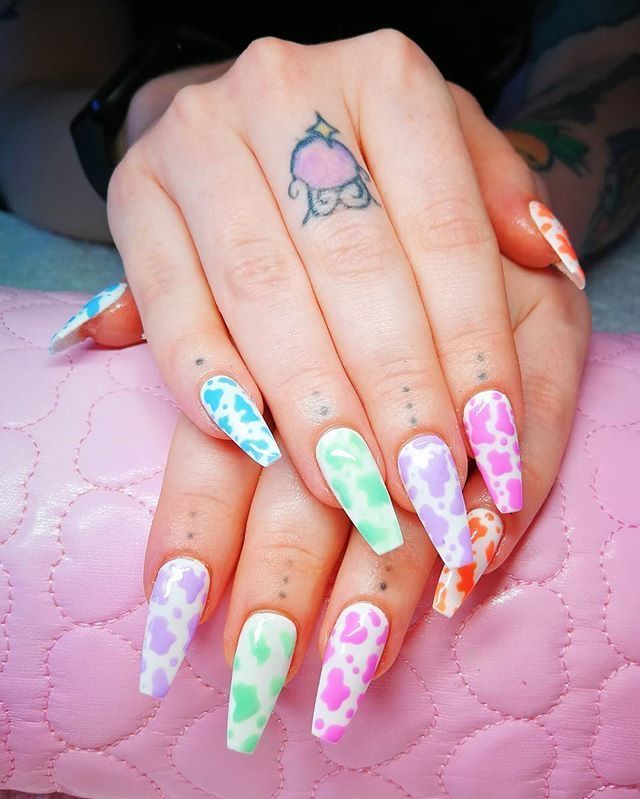
Pastel Cat Eye Nails
Pastel colors are a popular choice for nail art due to their soft, muted tones that complement a wide range of skin tones. For a modern and playful take on pastels, incorporate them into the cat eye trend.
Cat Eye Nails FAQs
1. Why is it called cat eye nails?
Cat eye nails get their name from the resemblance of the shimmering line created by the magnetic polish to the iris of a cat’s eye. The line typically runs down the center of the nail, creating a captivating and eye-catching effect.
This unique design, often paired with dark, jewel-toned colors, adds a touch of glamour and intrigue to any manicure.
2. Are cat eye nails popular?
Cat eye nails are still quite popular. The trend has been around for a few years and continues to be a sought-after style due to its unique and eye-catching appearance. The ability to customize the design with different colors and magnetic manipulations makes it a versatile and appealing option for many nail enthusiasts.
3. How are cat eye nails done?
Cat eye nails are a stunning manicure technique that mimics the mesmerizing effect of a cat’s eye. To achieve this look, apply a metallic polish containing iron powder fragments. Then, use a small magnet to manipulate the polish and create the desired cat eye effect. The aim is to form a horizontal line across the nail, but you can experiment with different thicknesses and shapes to suit your personal style.