Unicorn nails are a delightful choice for those looking to add a touch of whimsy to their short nails this spring. If you adore unicorns, you’re in the right place! We’ve curated 22 enchanting unicorn nail designs perfect for short nails that will make a statement. With a variety of options ranging from cute and playful to vibrant and mystical, there’s something here for every nail shape and length. Dive in to discover how to bring a little magic to your manicure. After a surge of all things magical and sparkly, the unicorn trend is truly at its peak!
PASTEL WATERCOLOR RAINBOW WITH UNICORN ART
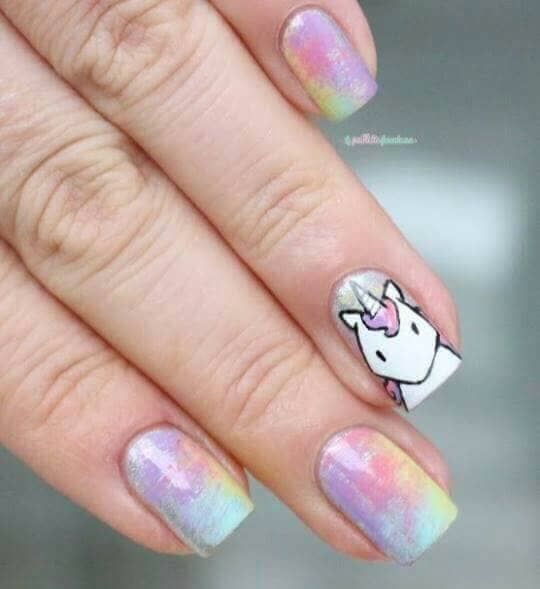
This charming nail art design effortlessly blends the refreshing allure of watercolor nails with an adorable unicorn motif. It would look stunning on natural nails. While the watercolor effect may require a bit of practice to perfect, the unicorn itself is easy to paint, making it a manageable project to tackle at home.
BRIGHT RAINBOW AND UNICORN NAIL ART
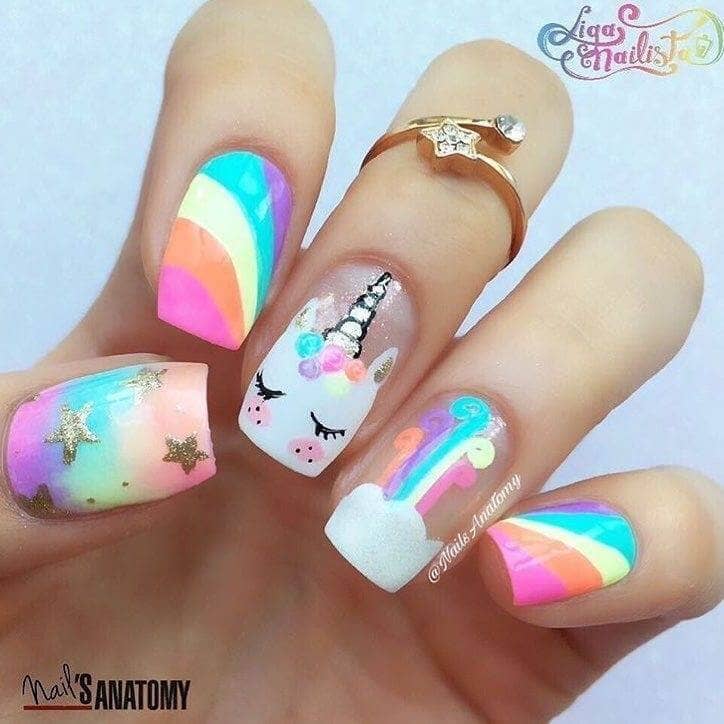
This delightful unicorn nail design showcases the charm of hand-painted nail art in vibrant pastels. Accented with gold glitter stars, the standout feature is the unicorn’s face, complete with closed eyes and rosy cheeks. This playful design is perfect for kids, teens, or anyone with a youthful spirit.
BEAUTIFUL NAILS WITH A UNICORN HORN
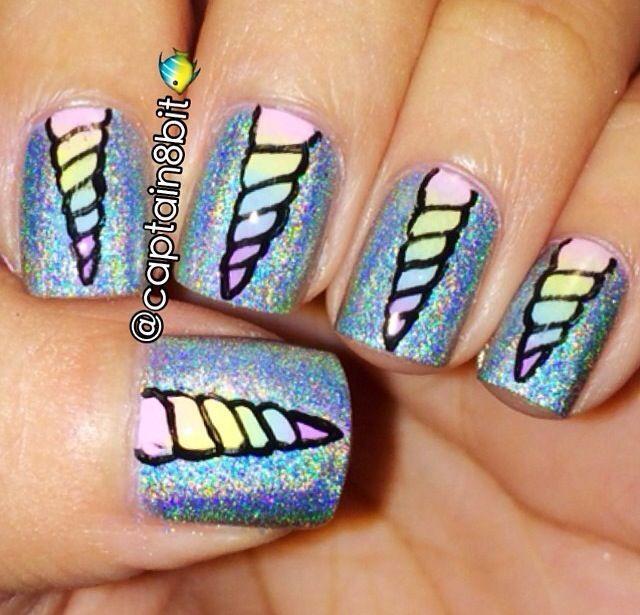
Unicorn nails have become a popular trend, captivating hearts with their whimsical and enchanting charm. One of the most iconic elements of these designs is the unicorn horn, a symbol of magic and wonder. This small but mighty detail can transform a simple manicure into a truly magical masterpiece.
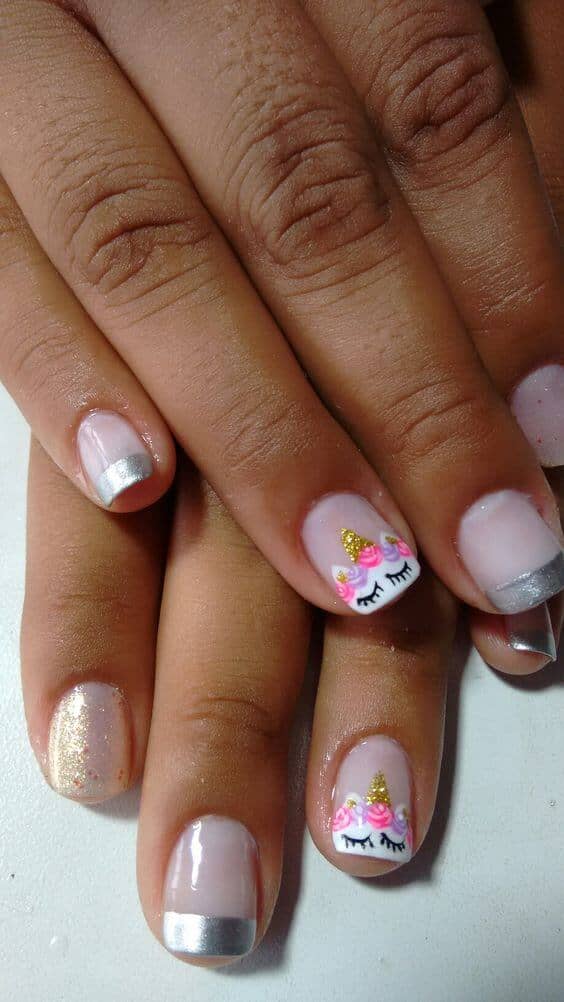
BABY PINK WITH UNICORN ACCENT NAIL

This lovely natural nail design is perfect for anyone. The nails are coated in a soft, glossy baby pink, while one white accent nail features an adorable unicorn face adorned with pink, black, and gold glitter. This design offers a subtle and elegant way to express your love for unicorns without being too flashy for everyday wear.
SILVER FRENCH TIP NAILS WITH UNICORN ART
This charming short nail design puts a playful twist on the classic French manicure. The nails are painted in a beautiful blush pink, with silver chrome accents at the tips. Two nails are lightly dusted with pink glitter, while two others feature delightful unicorn portraits complete with cute eyelashes, a flowing mane, and charmingly detailed horns and ears.
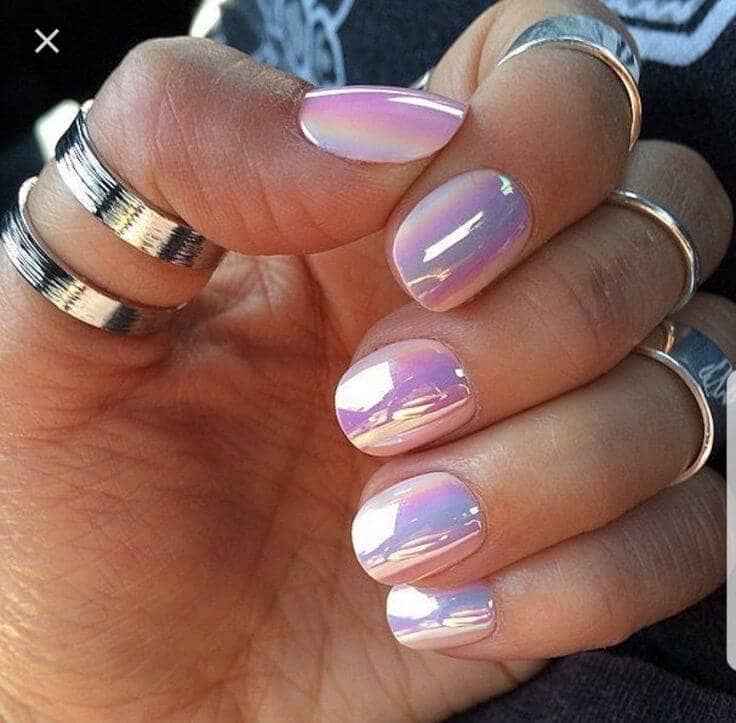
GORGEOUS UNICORN CHROME NAILS
Unicorn chrome nails have taken the beauty world by storm, offering a mesmerizing and ethereal look. The iridescent, holographic finish creates a stunning effect that is both captivating and eye-catching. For those with shorter nails, this trend can be equally as stunning and stylish.
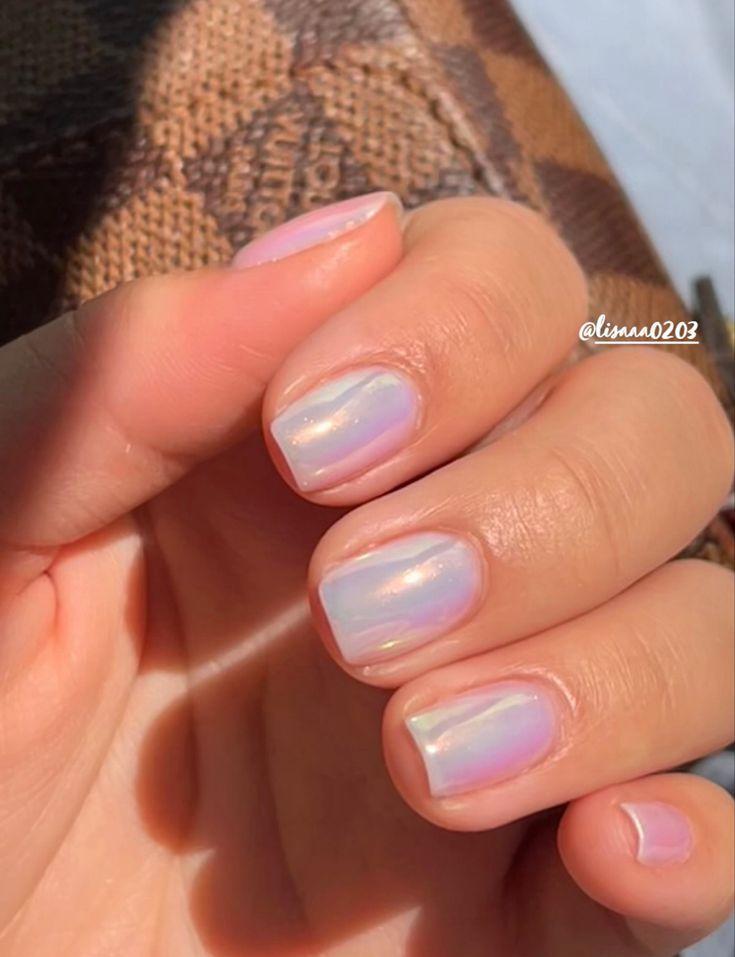
PASTEL PINK IRIDESCENT CHROME POLISH
These pink chrome nails are effortlessly stunning and elegant. A unicorn doesn’t need to be overly adorned to shine; just a few coats of this ultra-shiny chrome polish are enough to make you stand out. This short, natural nail design is practical and perfect for anyone to wear.
GORGEOUS GLITTERY UNICORN NAILS
Glittery unicorn nails are a magical and enchanting trend that combines the whimsical charm of unicorns with the dazzling sparkle of glitter. This combination creates a truly captivating and eye-catching look that is perfect for any occasion.
NUDE OMBRE NAILS
This design starts with soft, neutral shades, like beige or blush, blending seamlessly from the nail bed to the tips, creating a subtle yet elegant gradient. The ombré effect gives the nails a chic, elongated look, which is especially flattering on shorter lengths.
PINK GLITTER WITH UNICORN ART
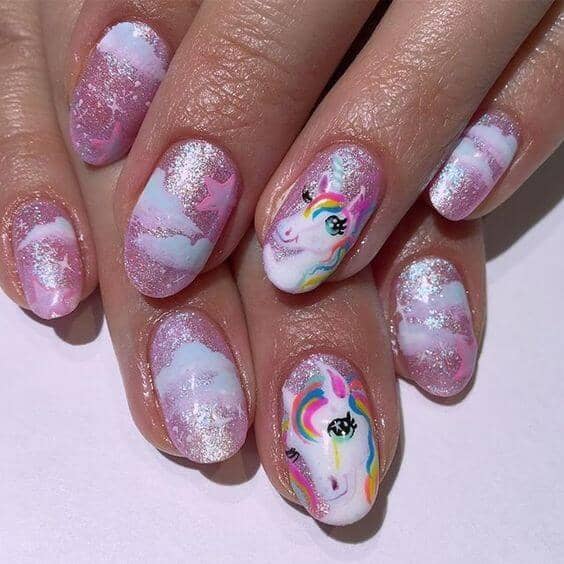
This multidimensional pink glitter design is sure to delight any unicorn lover! The nails feature a uniform base of shiny pink glitter, accented with delicate clouds and stars painted in white. The details and shading are expertly done, culminating in two adorable unicorn faces adorned with rainbow manes and sparkling blue eyes.
BEACHY UNICORN NAILS
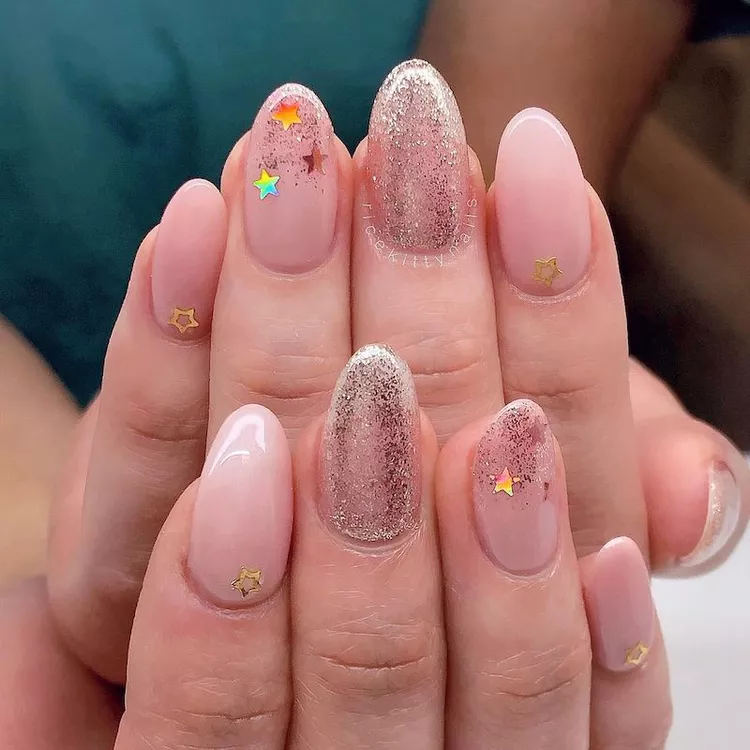
If you love stylish manicures, this nail design could be just right for you! One nail features a beautiful rose-gold luster, while the others have a lovely peachy base. You can easily recreate this look or experiment with different colors to make it your own!
COLORFUL CHROME NAILS
This next nail design draws inspiration from unicorns once again. Most of the nails feature a sleek white chrome finish, while a few black nails showcase a vibrant rainbow design. The chrome nails incorporate colors traditionally linked to unicorns. You can also create colorful nail art using foil for a fun twist!
CUTE SPRING NAILS ACRYLIC COFFIN

Spring is a time of renewal, making it the perfect opportunity to refresh your nails! Acrylic coffin nails are a popular choice for their sleek and stylish look. When paired with charming spring-themed designs, they create a stunning statement. Whether you lean towards pastel shades, floral patterns, or vibrant hues, the options for crafting a beautiful and unique set of spring nails are limitless.
GREY WITH UNICORN ART DESIGN
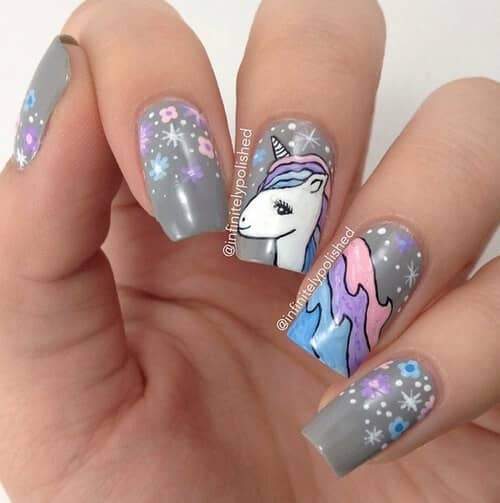
These unique nails feature a medium dove gray base color, beautifully accented with tiny hand-painted flowers, polka dots, and stars. A lovely unicorn with a flowing mane stretches across two adjoining nails. This subtle design may be less bold than some of the others we’ve seen, but it elegantly expresses your love for unicorns.
MATTE PURPLE WITH UNICORN NAIL DESIGN
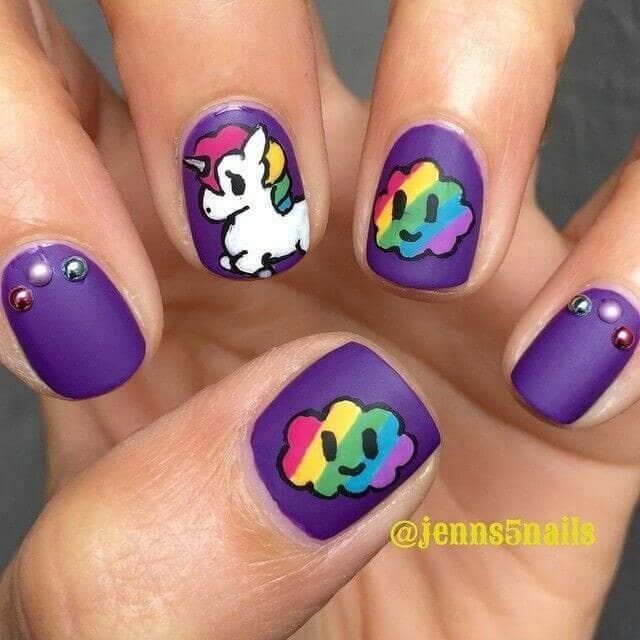
These adorable and easy nail designs feature a matte purple background. On top of this vibrant base, you’ll find two cheerful rainbow clouds and a little unicorn with a colorful mane. The art has a charming, whimsical quality. Additionally, two of the nails are adorned with pearly embellishments in pink and silver, adding a touch of sparkle to the look.
SKY BLUE, CLOUDS, RAINBOWS AND UNICORNS
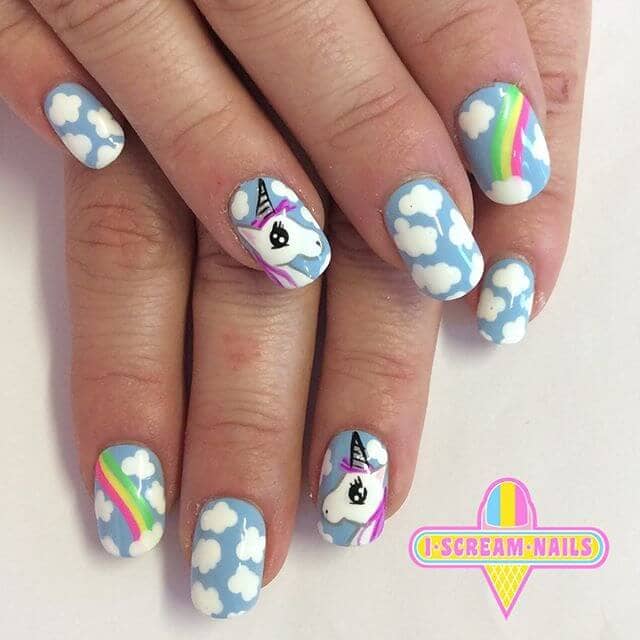
These unicorn nails feature a soft sky blue background adorned with cute white clouds and vibrant rainbows. Two adorable unicorns with big, round eyes and purple manes complete the look. This design is perfect for short natural nails and is comfortable for anyone to wear, including kids.
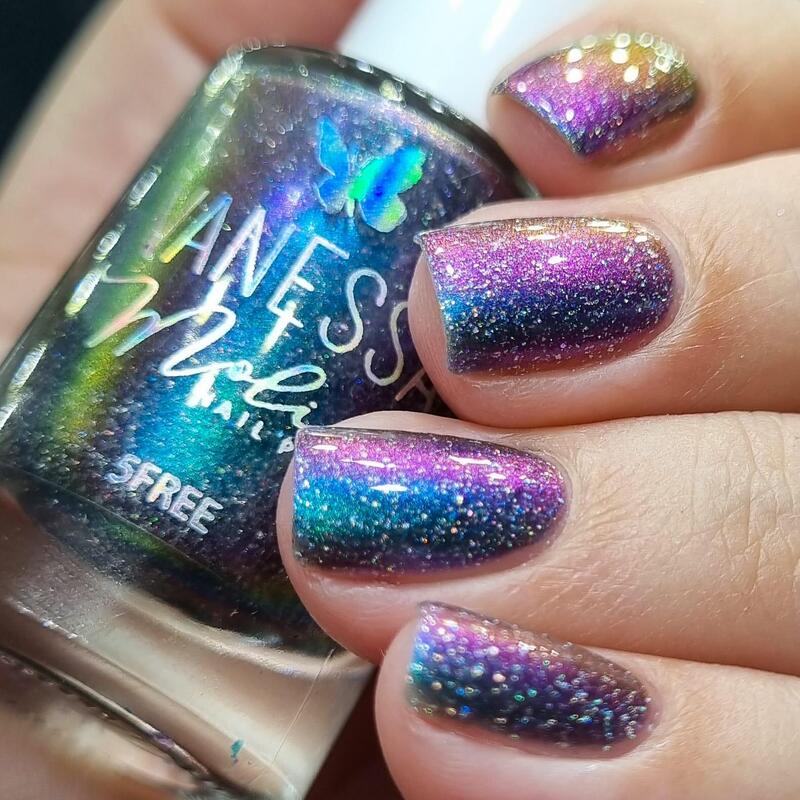
MULTICOLORED RAINBOW GLITTER OMBRE
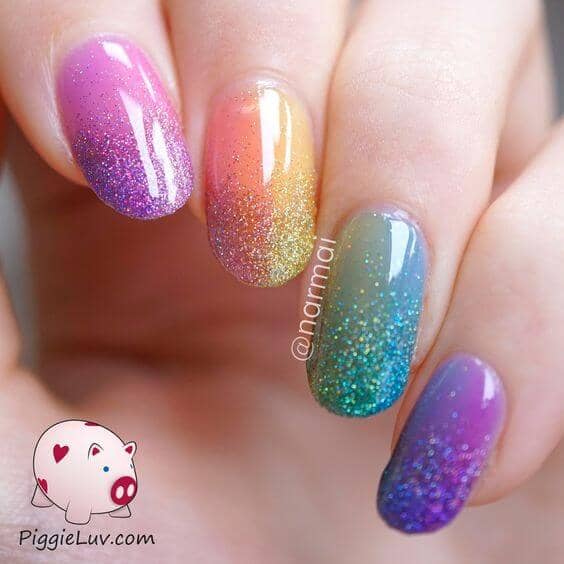
These beautiful rainbow glitter ombre nails coordinate their polish color with the glitter for an extra classy touch. The nails transition from hot pink to vibrant turquoise and purple, with partially yellow and orange accents. Worn a bit longer, they exude grace and elegance. These bright and cheerful nails are a perfect choice for any unicorn lover!
SIMPLE AND PRACTICAL UNICORN DESIGN
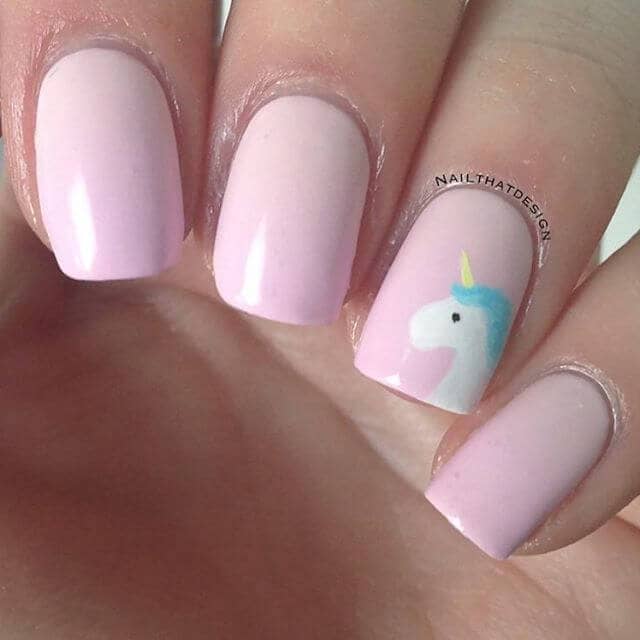
Unicorn nail designs can be sweet and simple, as showcased in this cute and easy short nail design. The nails are painted in a soft pastel pink, with an adorable unicorn featured on the ring finger. This look is easy to recreate at home, requiring just a few nail polish colors.
FANCIFUL PONY NAILS WITH PINKIE PIE

These adorable unicorn nails showcase portraits of a quirky and whimsical pony character, featuring a fun and eclectic mix of designs and techniques. The standout elements are the large pink bows adorning the nails, accented by dazzling crystals on both the bows and the nail beds. This manicure is a playful way for any nail enthusiast to express their passion!
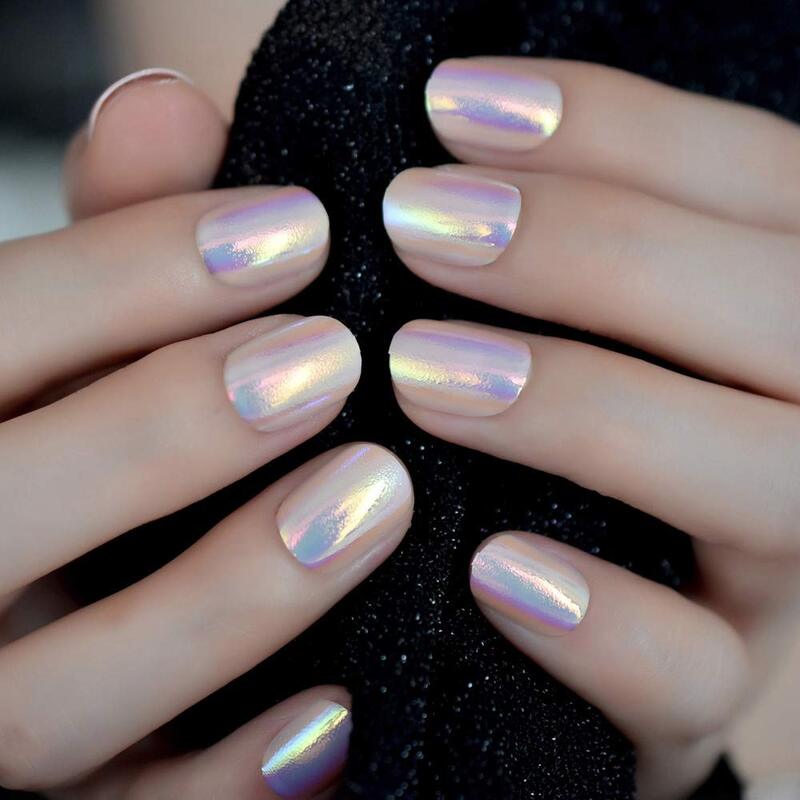
METALLIC NAILS WITH UNICORN DESIGNS

This short nail design features a practical oval shape with a softly pearled metallic surface. The combination of the pearly metallic finish and soft pastel pink makes these nails truly eye-catching. Two of the nails are embellished with “water drops” created with metallic polish layered over the pink. Additionally, one nail showcases an adorable unicorn portrait, adding a whimsical touch to the overall look.
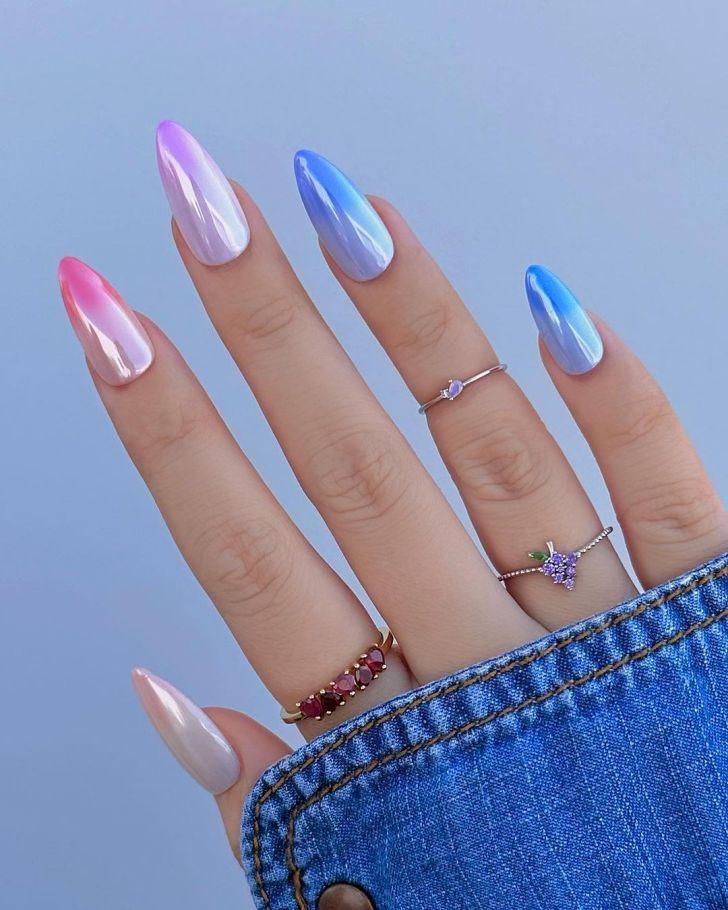
FAIRY DUST UNICORN NAIL DESIGN
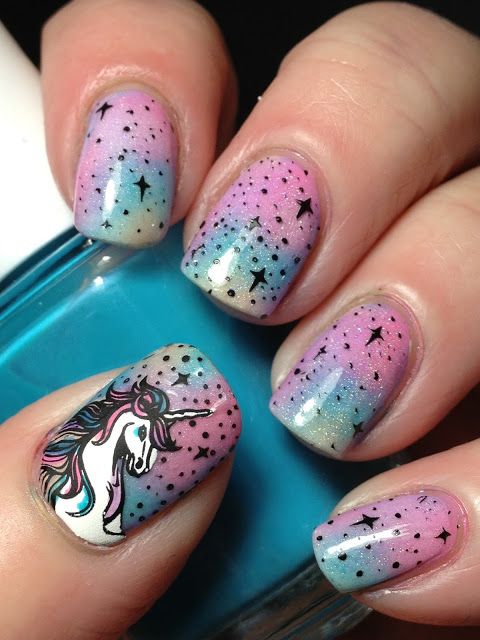
No matter the theme, ombre designs always leave a lasting impression. This subtle yet beautiful unicorn nail design features a pink and blue ombre base that graces the fingertips. Tiny dots and stars adorn all the tips except the thumb, creating a magical fairy dust effect. The thumb, meanwhile, showcases an intricately detailed unicorn with flowing pink and blue hair, adding a delightful charm to the overall look.
UNICORN FEATURES ON WHITE TIPS AND GLITTER ACCENTS

With closed eyes and a golden horn, this unicorn nail design is one of the easiest you’ll find online. What makes it truly stunning is the combination of bright glittery glossy tips alternating with baby pink pastel coats. The creature’s adorable purple and pink flower-like hair adds an extra touch of charm, making this design a must-try inspiration!
CONCLUSION
Unicorns, with their magical allure and mythical charm, have captured our hearts for centuries. Incorporating these enchanting creatures into your nail art can add a touch of whimsy and fantasy to your spring look. This guide has showcased 22 captivating unicorn nail designs specifically tailored for short nails, ensuring that you can embrace this trend without compromising on style. Whether you prefer minimalist designs or intricate artwork, there’s a unicorn-inspired look to suit your personal taste. So, let your imagination run wild and unleash your inner unicorn with these enchanting nail art ideas.