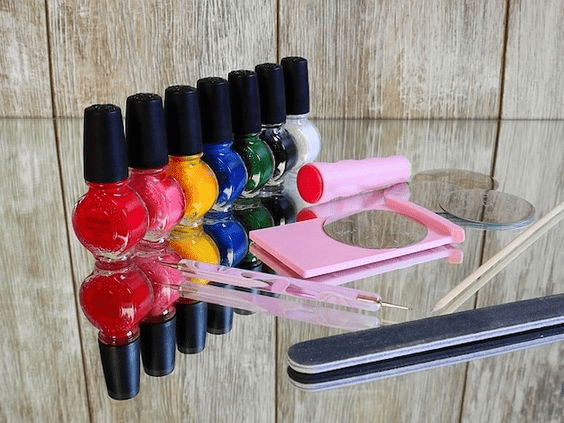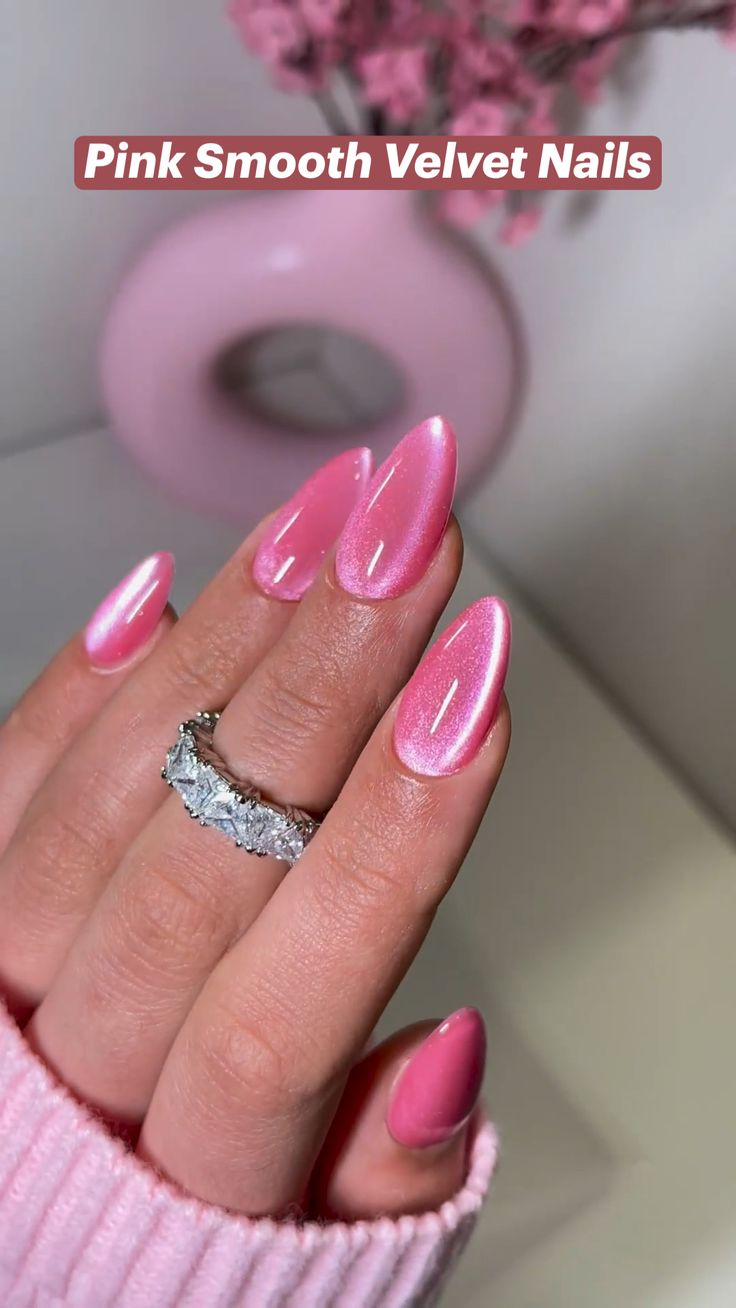
While silver and yellow gold nails have long been salon favorites for their glamorous appeal, it’s time to embrace the mood-boosting, glow-inducing charm of rose gold. This versatile shade deserves a spot in your seasonal nail rotation across fall, winter, spring, and summer. With countless rose gold nail designs trending on social media, we’ve rounded up 30 stunning ideas for every taste.
ROSY GALAXY
This mesmerizing trend combines the enchanting allure of a galaxy with the delicate elegance of rosy hues, creating a look that is both ethereal and chic. Rosy Galaxy Nails feature a stunning interplay of soft pinks, shimmering purples, and sparkling accents, evoking the depths of the cosmos in a refined, stylish way.
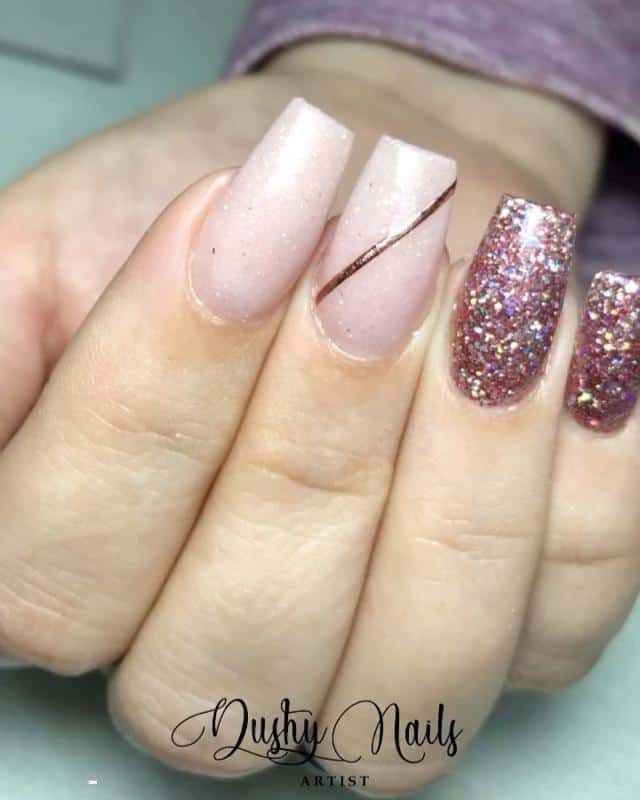
GLITTER DIAGONALS
The glitter creates a striking contrast against the base, adding texture and visual interest while maintaining a chic and contemporary look. Whether you opt for bold, contrasting colors or subtle, complementary tones, glitter diagonals offer a stylish way to infuse your manicure with a bit of glamor and sophistication.
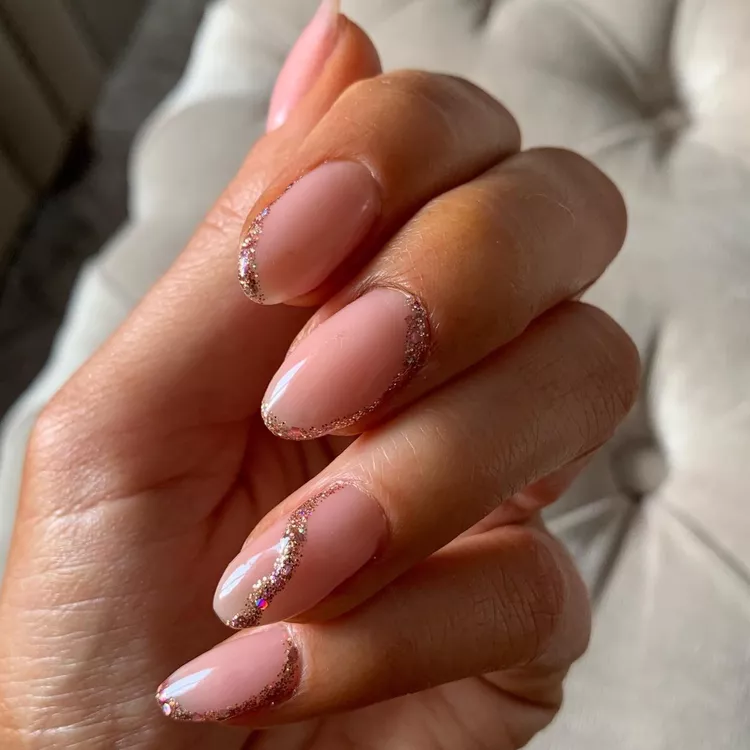
ROSE GOLD AND NUDE

Glittery rose gold triangles elegantly extend into pale nude tips, creating a minimalist mani that exudes sophistication. This stunning combination of soft nude with the sparkle of rose gold offers a chic and understated look that’s simply irresistible.
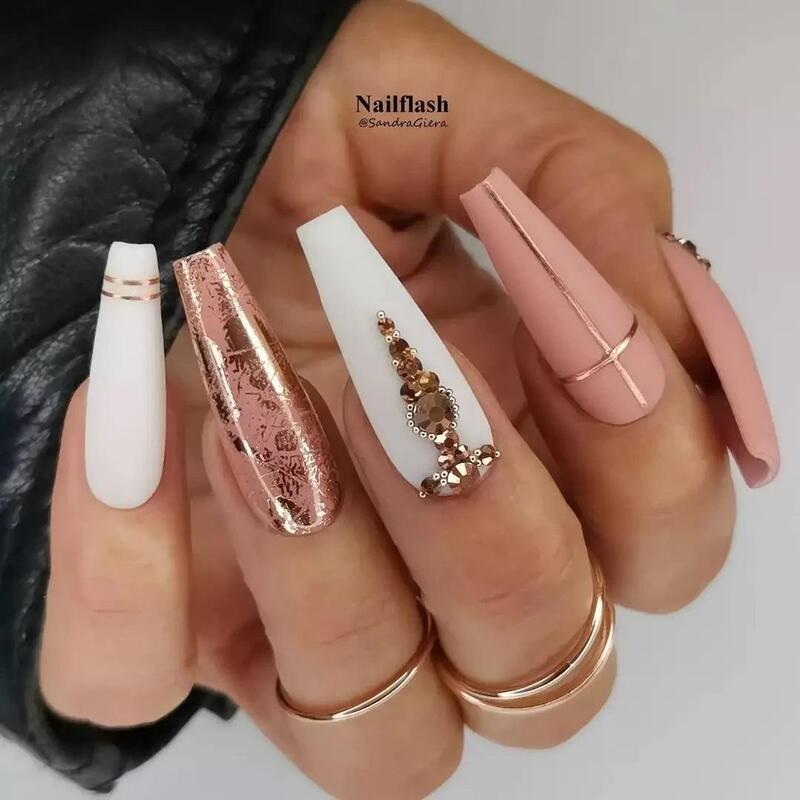
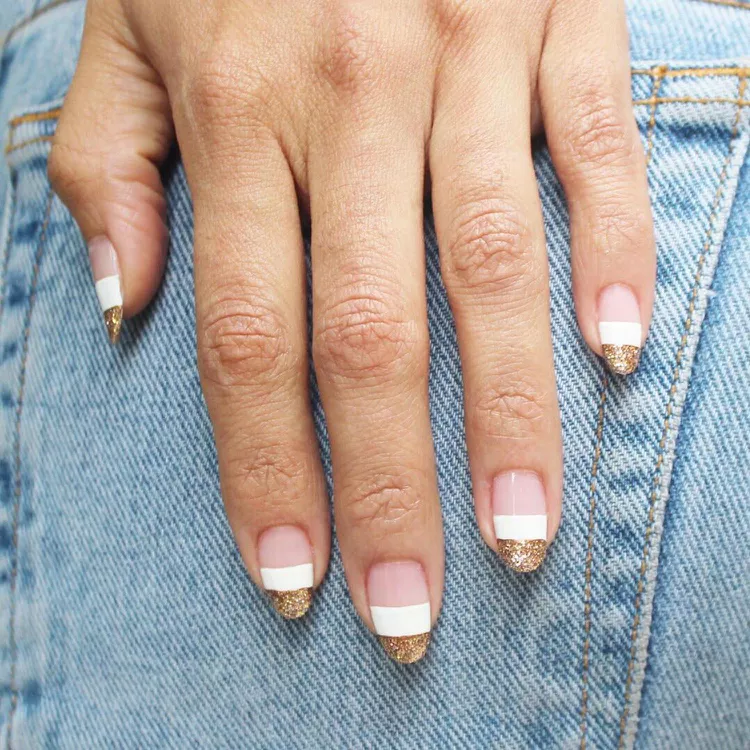
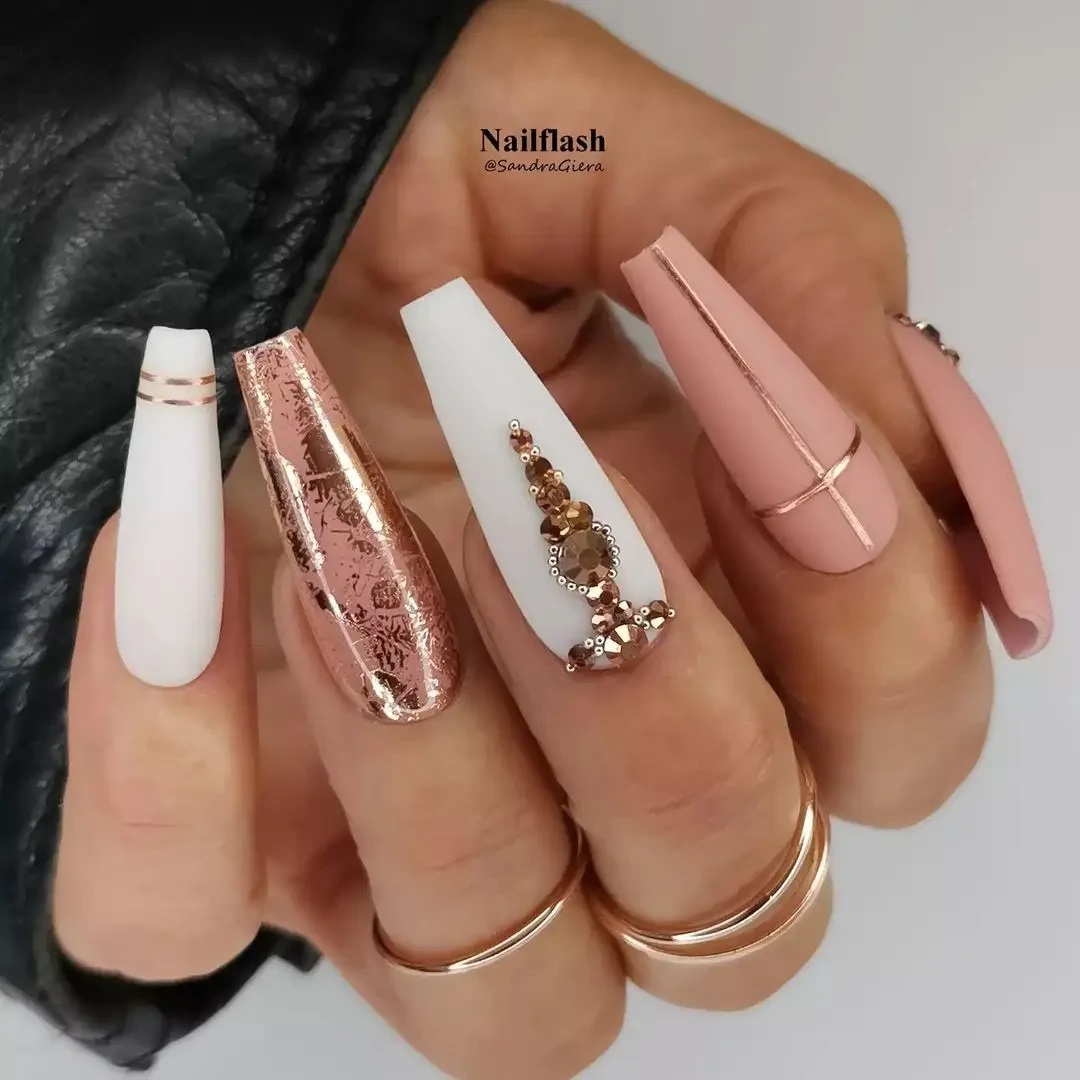
WHITE AND ROSE GOLD NAILS
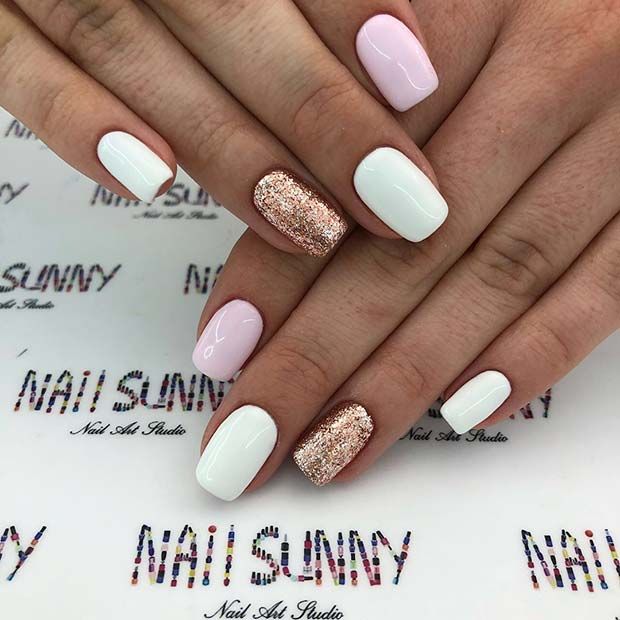
Combine the classic elegance of white nails with the luxurious shimmer of rose gold. This manicure features a clean white base with delicate accents of rose gold foil or glitter, creating a beautiful contrast that is both timeless and modern.
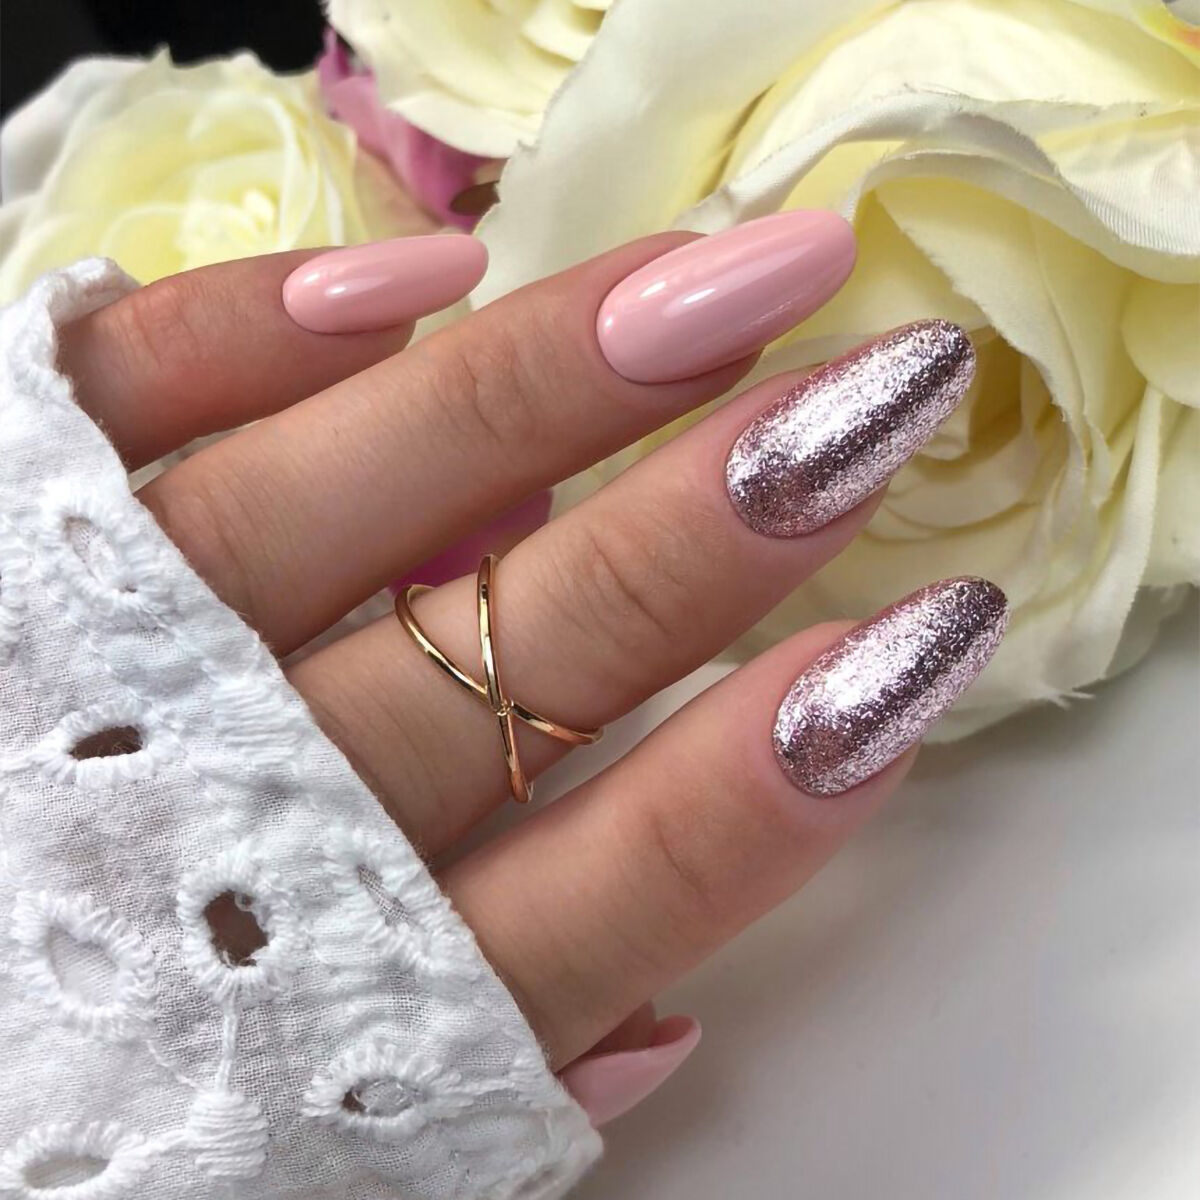
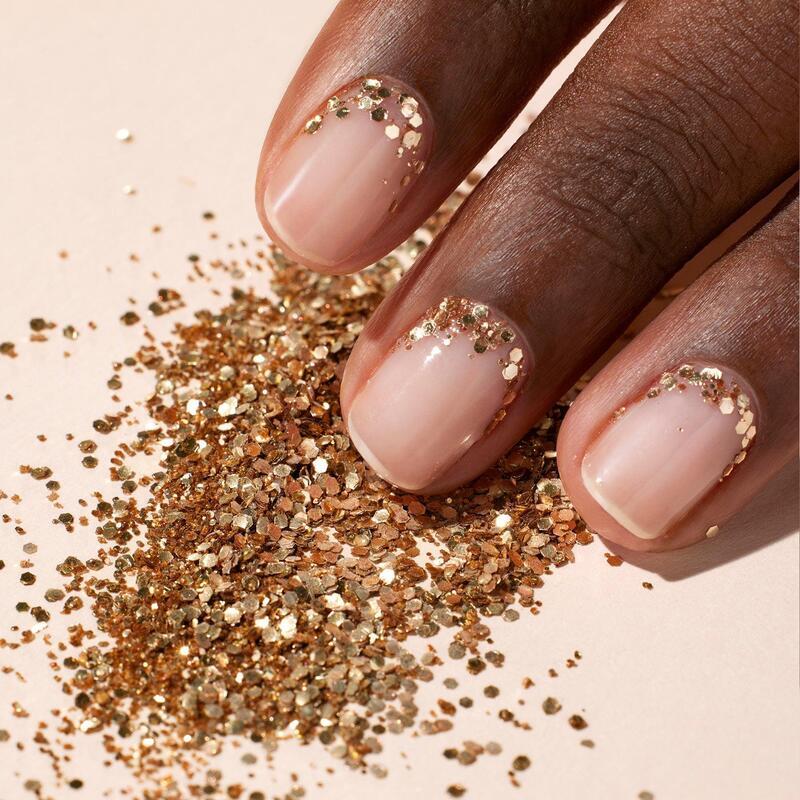
GLITTER ROSE GOLD NAILS
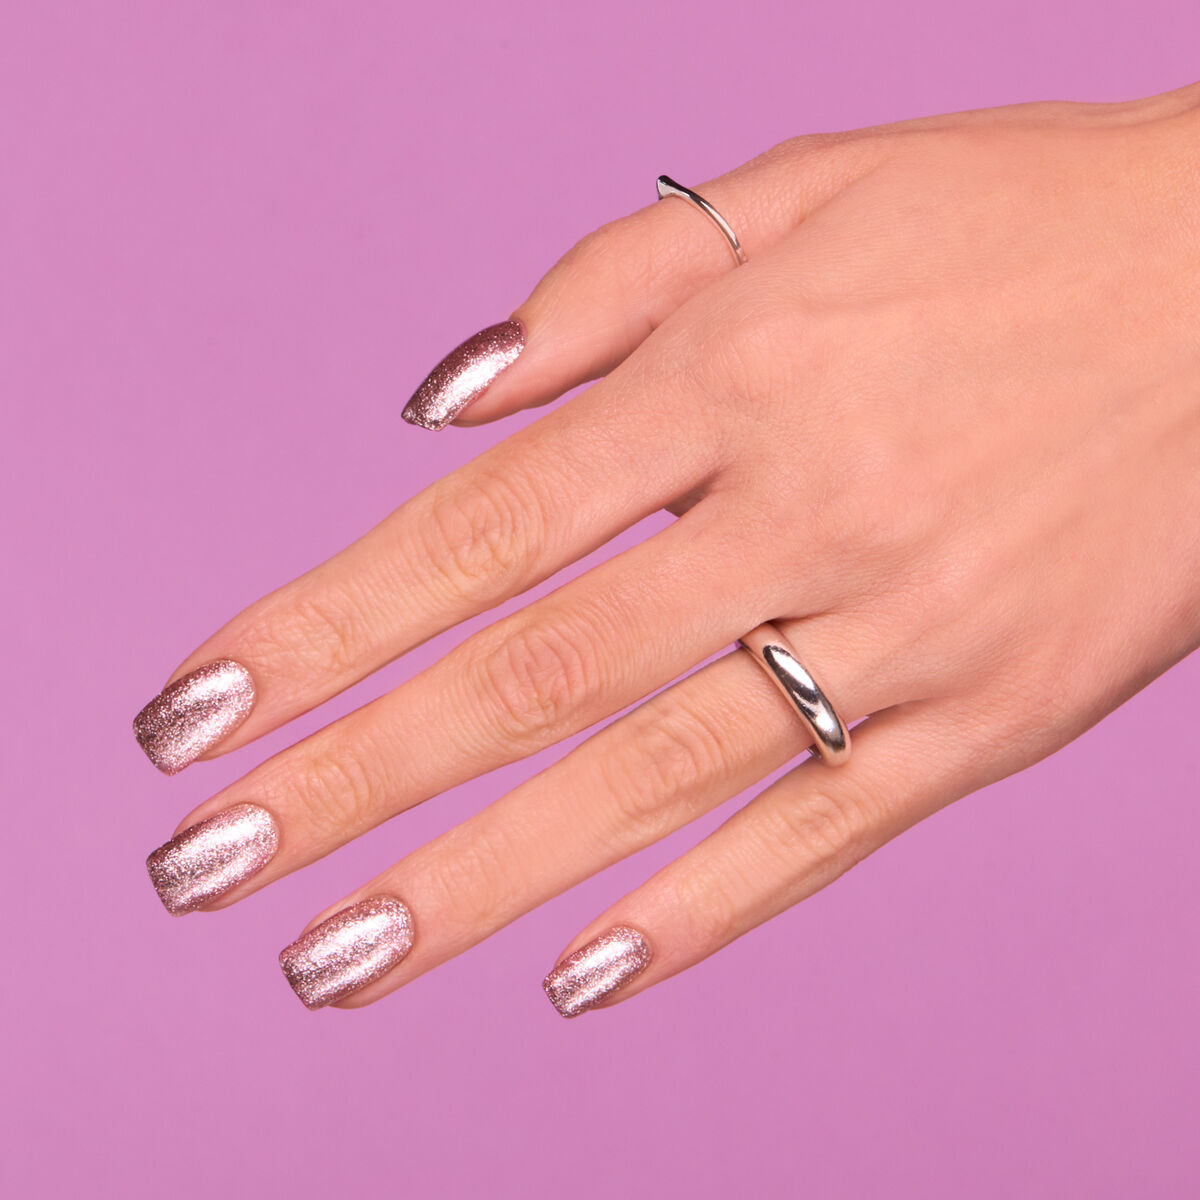
Glitter rose gold nails strike the perfect balance between bold glamor and classic elegance. No matter the season, having this color on hand ensures you’re always ready to shine. To balance the strong rose gold glitter, pair it with a nude pudding shade for a sophisticated look. Use the rose gold glitter for a chic French manicure to create a unique and eye-catching style.
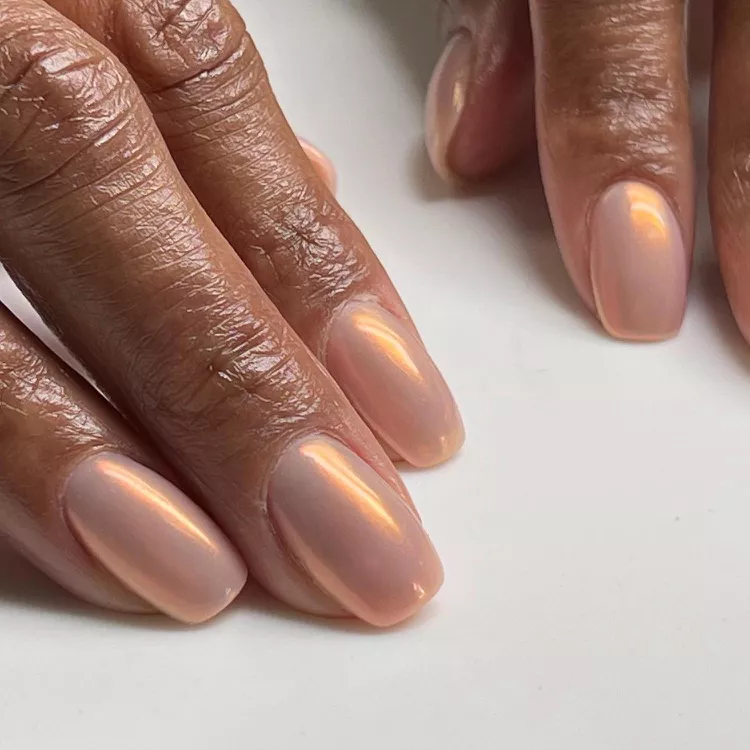
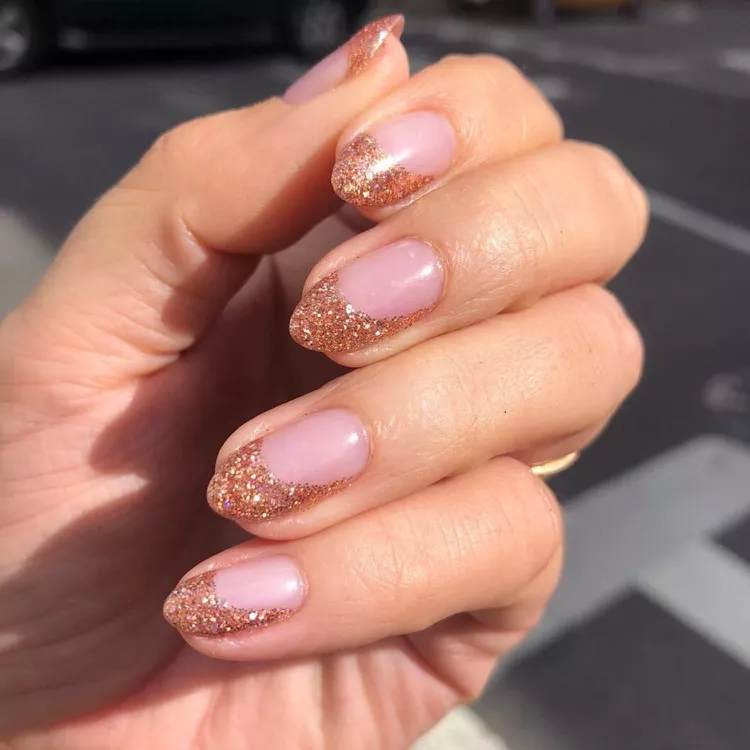
ROSY BASE
These rose gold nails combine simplicity with stunning elegance. To achieve this look, start with a baby pink base for a soft, feminine touch. Use a piece of striping tape to section off the bottom quarter of your nail. Fill the designated area with metallic rose gold polish and you have a chic and sophisticated manicure that effortlessly blends subtlety with glamor.
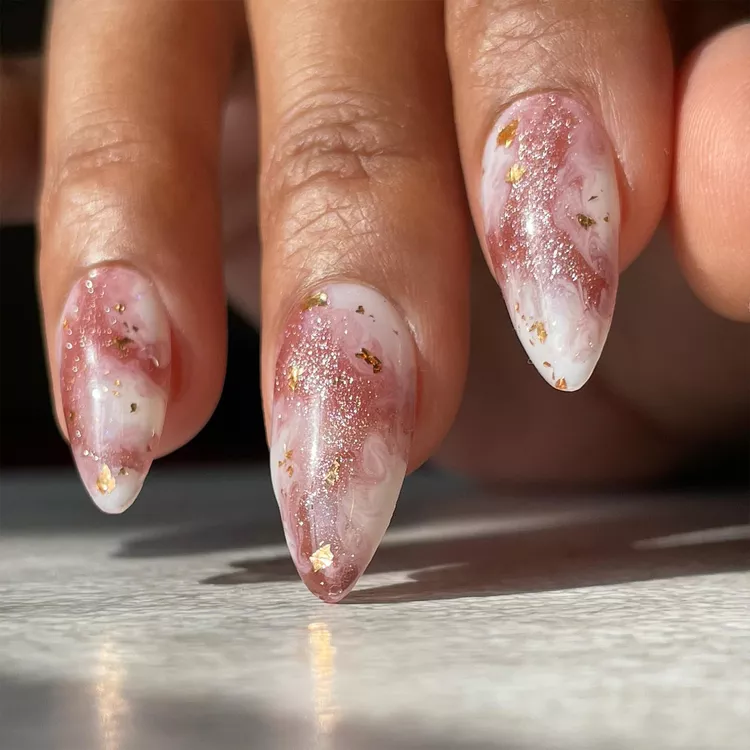
PINK AND GOLD MARBLE NAILS
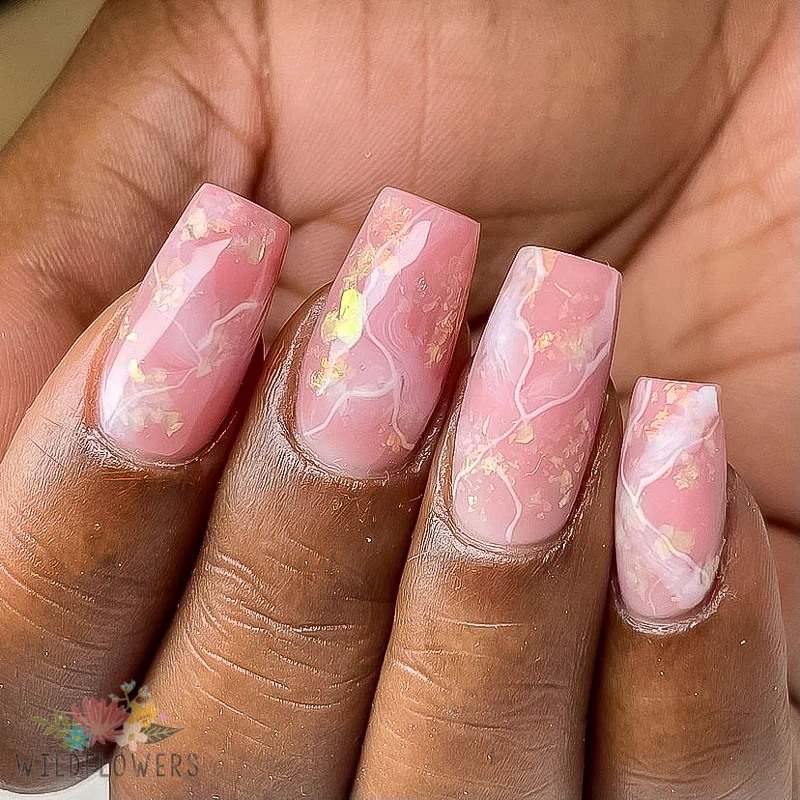
Think marble nails are complicated? Think again! Achieve stunning pink and gold marble designs effortlessly using Transfer Foil and Transfer Foil Glue. Start by applying a gel polish base coat and curing it under a lamp. Next, apply Transfer Foil Glue and cure it again. With these steps, you’re on your way to creating a spectacular marble effect with minimal effort.
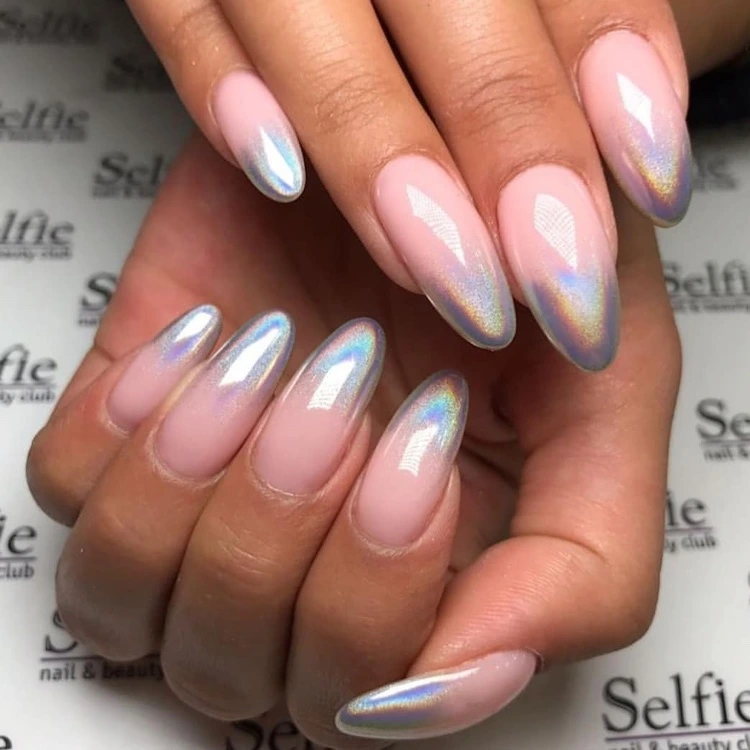
ALLOVER HOLOGRAPHIC
Holographic polish creates a dazzling, prismatic effect on the entire nail. Shimmering colors and reflections change with every movement. Perfect for a bold statement.
METALLIC OMBRE
This style seamlessly blends a metallic hue from one shade to another, creating a gradient effect that adds depth and shine. Start with a base color and gradually transition to a shimmering metallic polish, blending the two shades to achieve a smooth, gradient effect.
ROSE GOLD ALMOND NAILS
Elevate your manicure with the elegant allure of rose gold almond nails. The soft, tapered almond shape enhances the shine and shimmer of the rose gold, creating a beautifully elongated and refined look.
ROSE GOLD CUTICLE
Add a touch of luxury to your manicure with rose gold cuticles. The subtle shimmer of rose gold highlights the cuticle area, giving your nails a sophisticated and polished look.
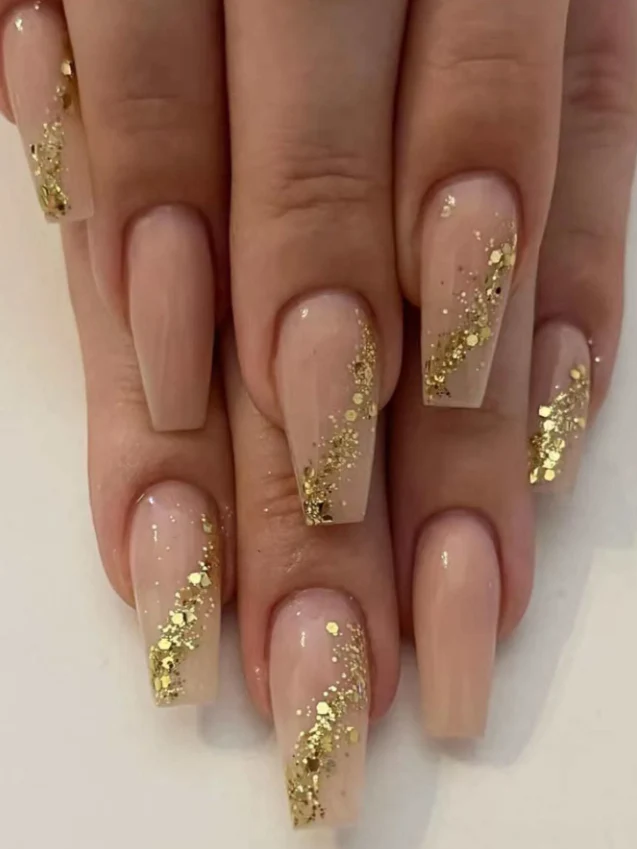
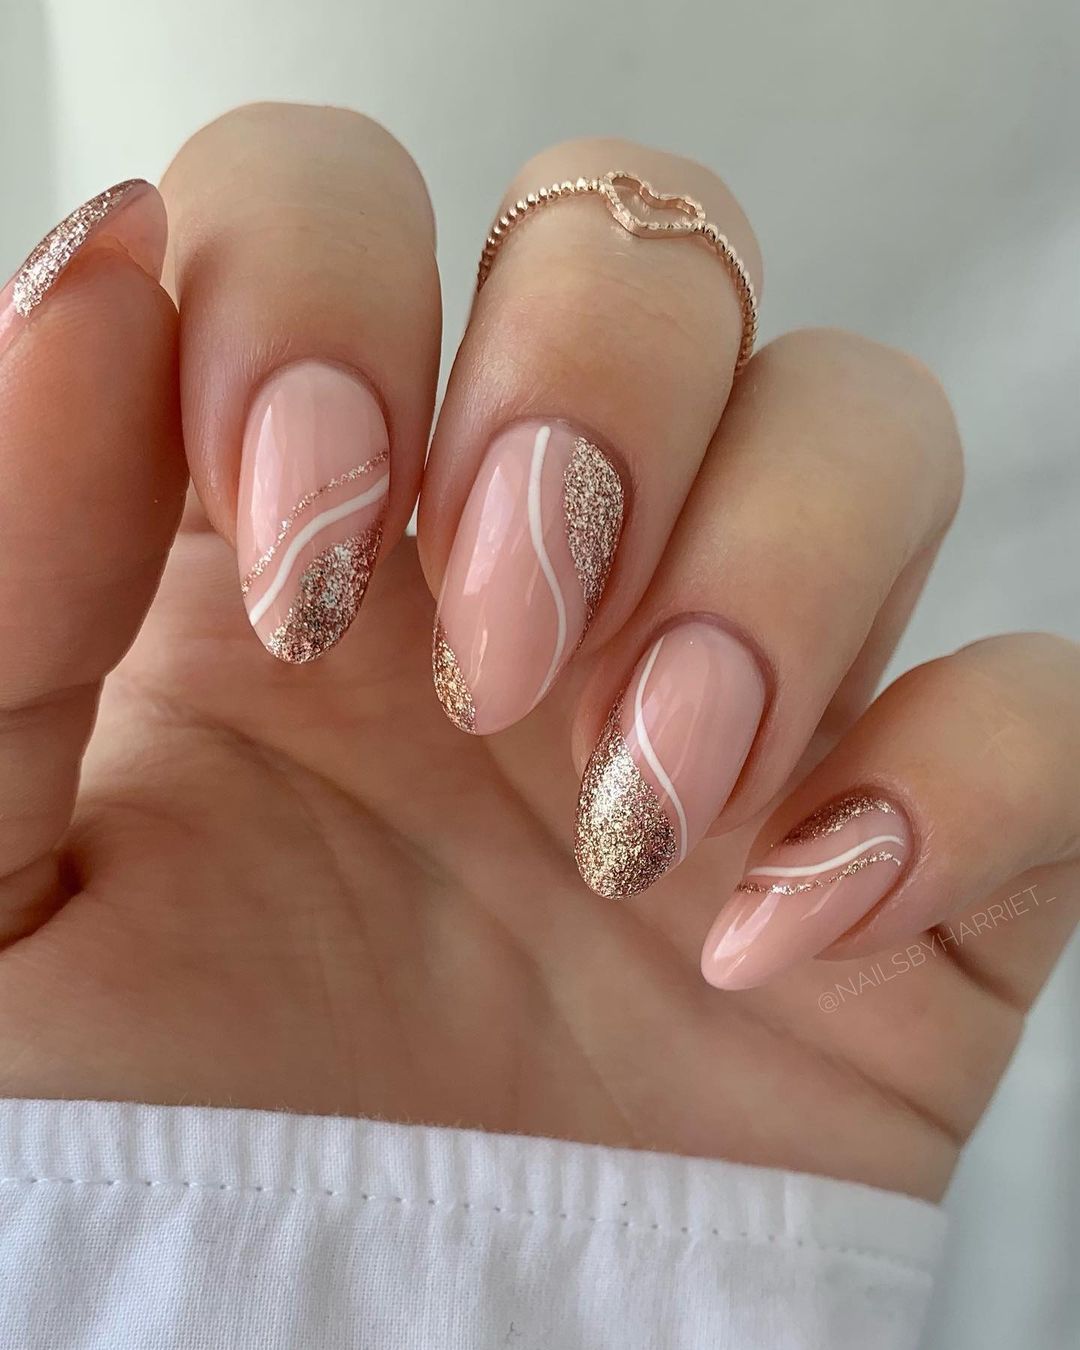
ROSE GOLD GLITTER SWOOPS
Infuse your manicure with dynamic flair using rose gold glitter swoops. This design features bold, sweeping strokes of shimmering rose gold glitter that elegantly arc across the nails, creating a striking and eye-catching effect. The swoops of glitter add a touch of glamor and movement, transforming a classic base color into a dazzling, contemporary look.
COLOR BLOCK
Bold, modern color block nails combine contrasting colors in geometric patterns or segments. Vibrant or complementary shades create a dynamic, eye-catching look.
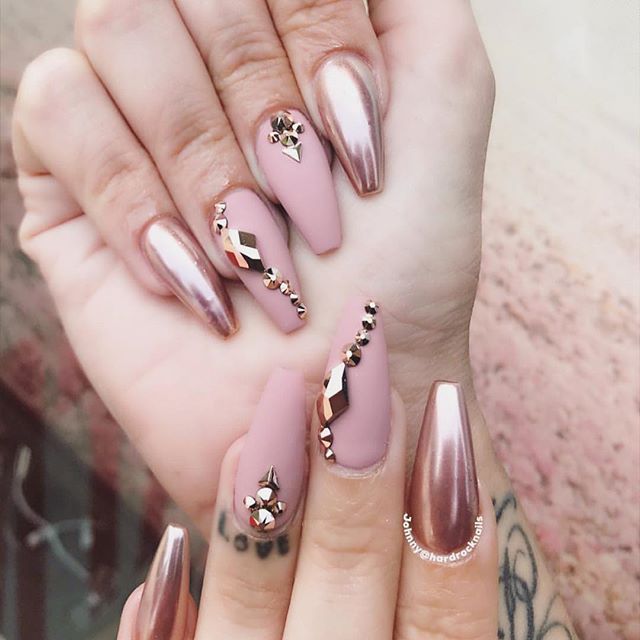
ROSE GOLD CHROME NAILS
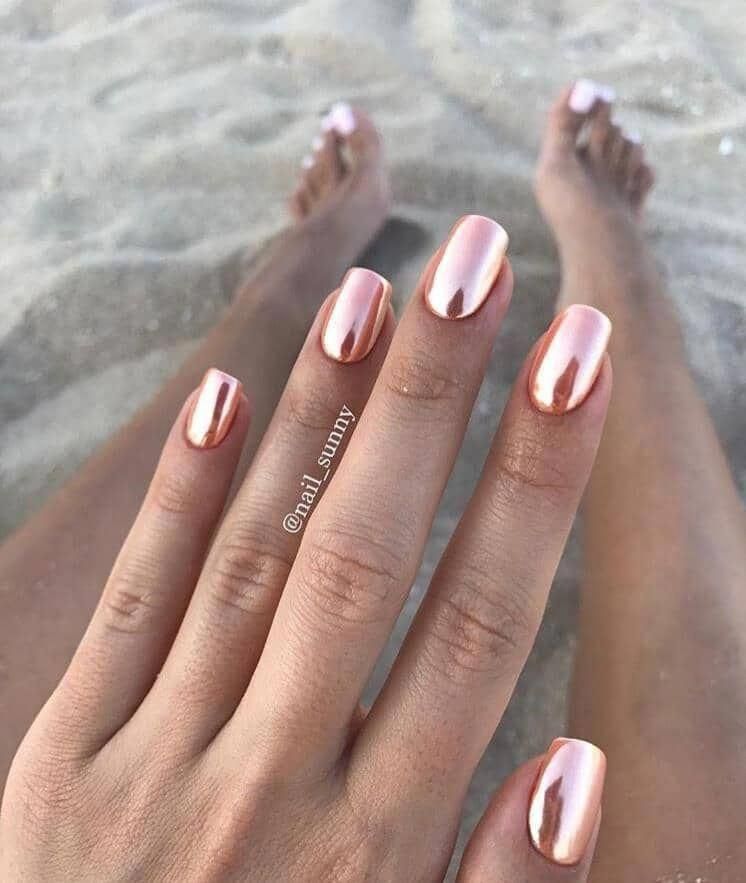
The chrome finish adds a sleek and polished touch, while the rose gold hue brings warmth and sophistication to your manicure. Perfect for making a statement at any event or adding a touch of glamor to your everyday look, rose gold chrome nails offer a bold and elegant twist on classic nail polish.
ROSE QUARTZ FRENCH
The design combines soft, translucent pink tips reminiscent of rose quartz with a subtle, natural base color. This creates a polished and sophisticated look that blends the timeless elegance of a French manicure with the delicate beauty of rose quartz.
NUDE WITH GLITTER CUTICLE
Nude base with glitter accent at cuticle. Subtle sparkle creates a refined contrast for an elegant look.
COFFIN ROSE GOLD NAILS
This design features the edgy, elongated coffin shape, which provides a sleek and dramatic canvas for the luxurious rose gold polish. The rich, metallic hue adds a touch of glamor and sophistication, catching the light with every movement.
SUBTLE SEQUIN ACCENTS
The base color is beautifully complemented by the addition of delicate sequins, offering a touch of shimmer without being overpowering. The sequins add a refined sparkle and a hint of glamor, enhancing your nails with a sophisticated and elegant finish.
ROSE GOLD STARS
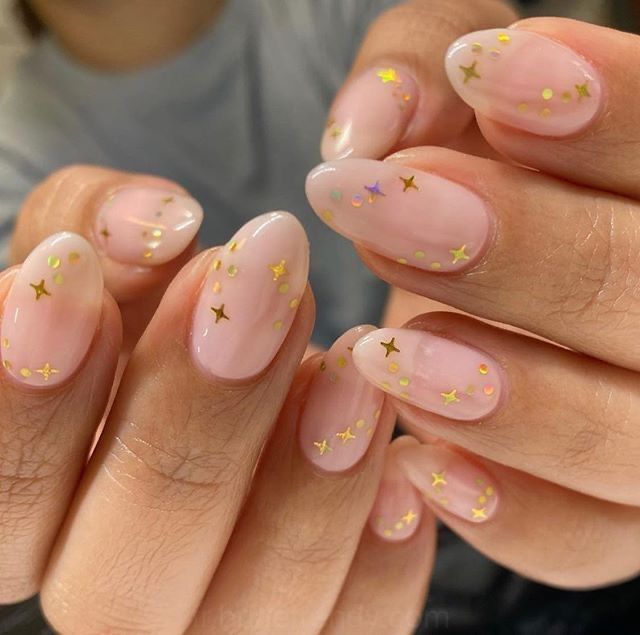
The rose gold stars add a touch of glamor and playfulness, perfect for making a statement at any occasion. Whether you choose to scatter the stars across your nails or create a patterned design, this look combines elegance with a whimsical flair, offering a chic and festive touch to your overall style.
ROSE GOLD DOTS
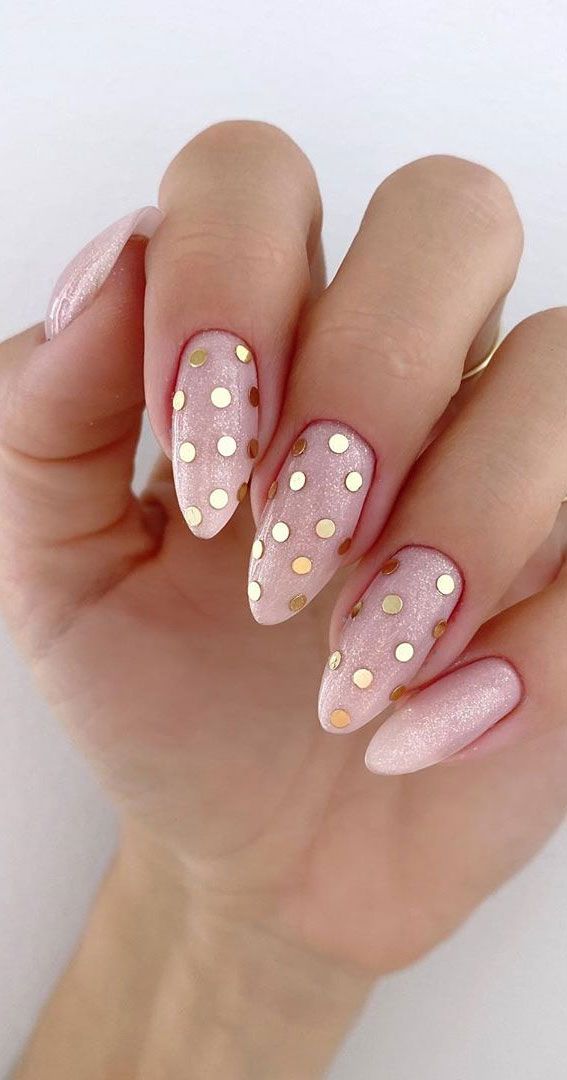
Rose gold dots add a touch of sophistication to any manicure. With their subtle shimmer and refined placement, these dots enhance the base color with a delicate yet eye-catching detail. The rose gold accents offer a warm, luxurious contrast, elevating your nails with a chic and modern touch.
ROSE GOLD CHAMPAGNE OMBRE NAILS
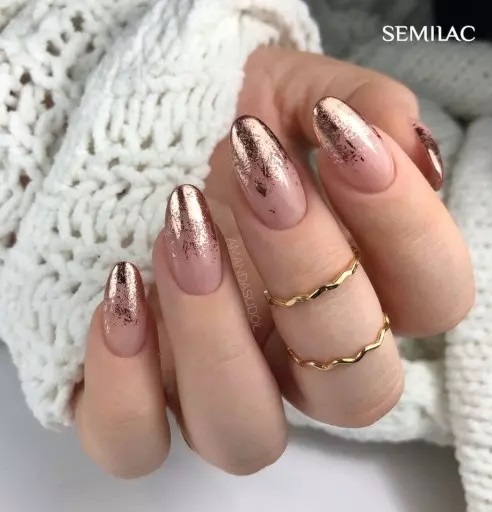
Achieve a glamorous and sophisticated look with rose gold champagne ombre nails. This design features a seamless gradient transition from a soft, champagne base color to a luxurious rose gold tip. The ombre effect creates a stunning, multi-dimensional appearance that catches the light beautifully, adding a touch of sparkle and elegance.
YELLOW TO ROSE GOLD GLITTER OMBRé

Yellow to rose gold glitter ombré. Seamless gradient from vibrant yellow to shimmering rose gold. Adds depth and sparkle.
CHERRY BLOSSOM
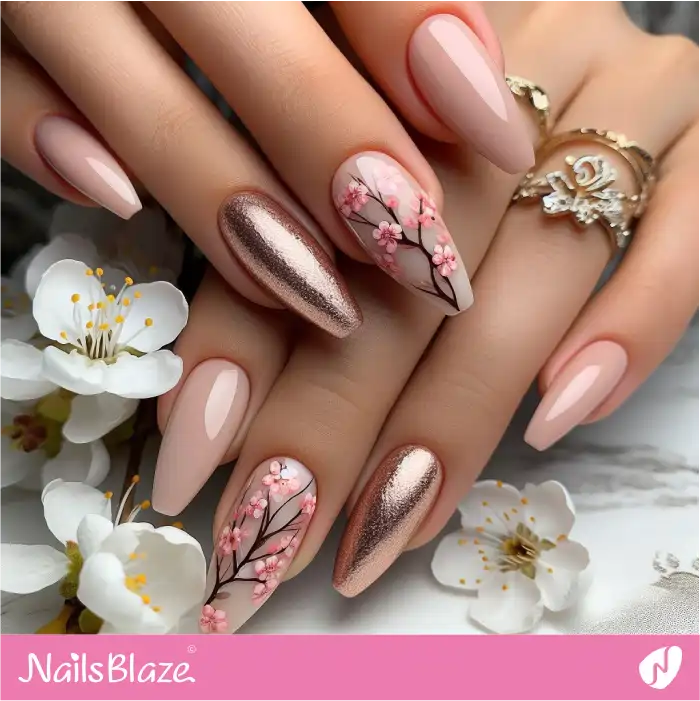
Embrace the essence of spring with Cherry Blossom nails. Delicate cherry blossoms are painted on a soft, neutral base, capturing the beauty of blooming cherry trees. The intricate floral details, highlighted with subtle pinks, whites, and greens, create a fresh and feminine appearance.
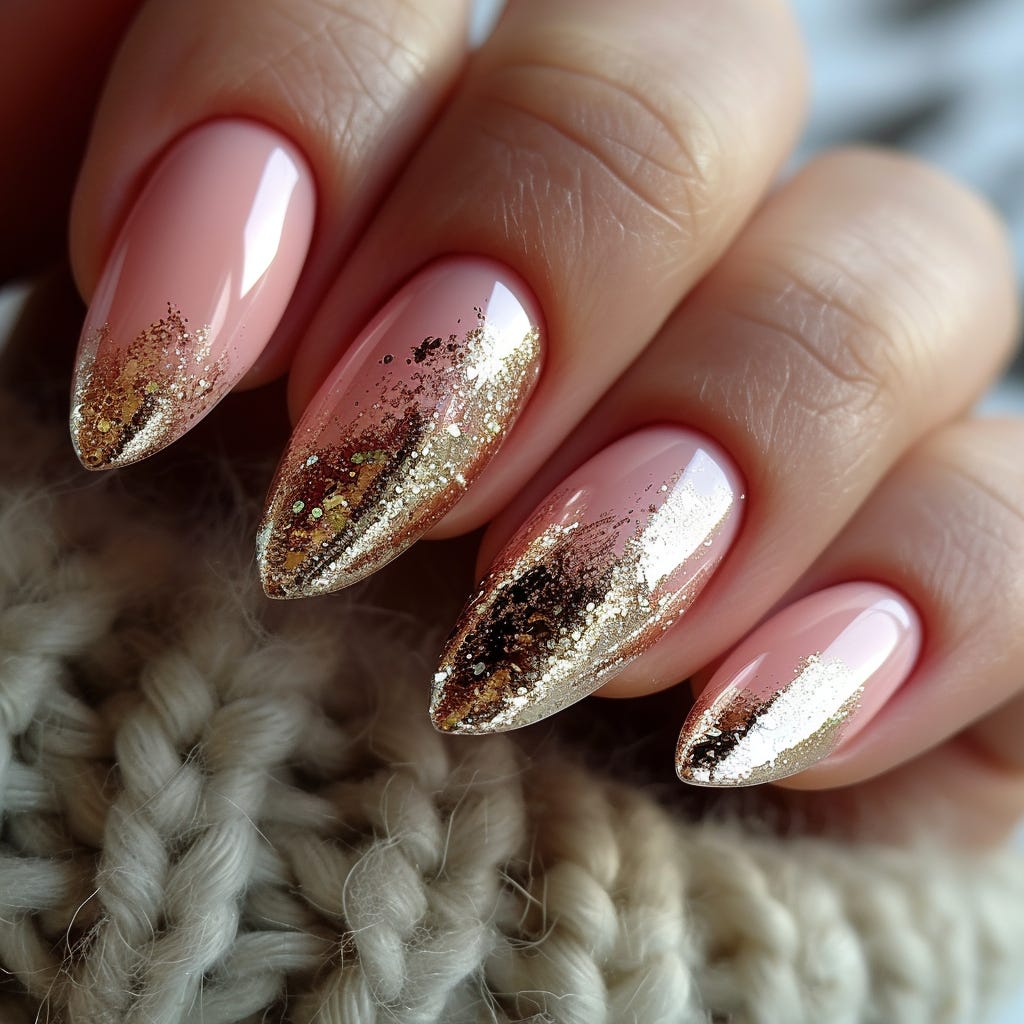
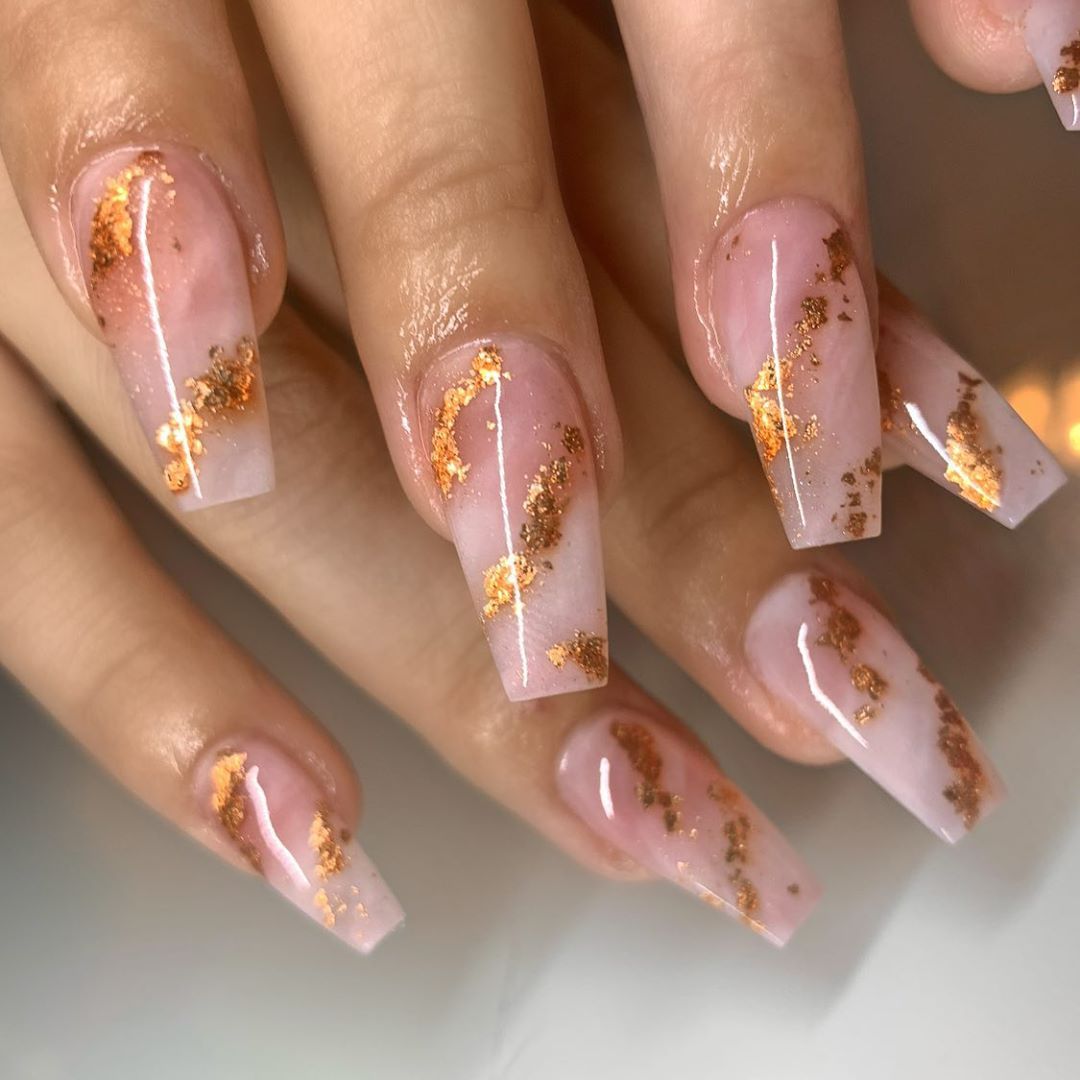
ROSE GOLD FOIL
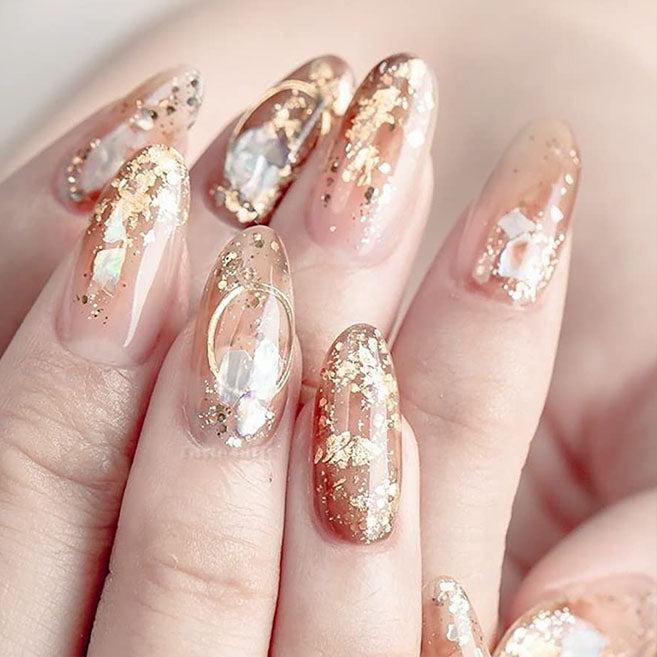
The foil adds a textured, metallic finish that catches the light and enhances your nails with a modern, glamorous touch.
MARBLE SWIRLS
By blending contrasting or complementary colors, you achieve a high-end, artistic effect that resembles polished marble.
BLUE AND ROSE GOLD
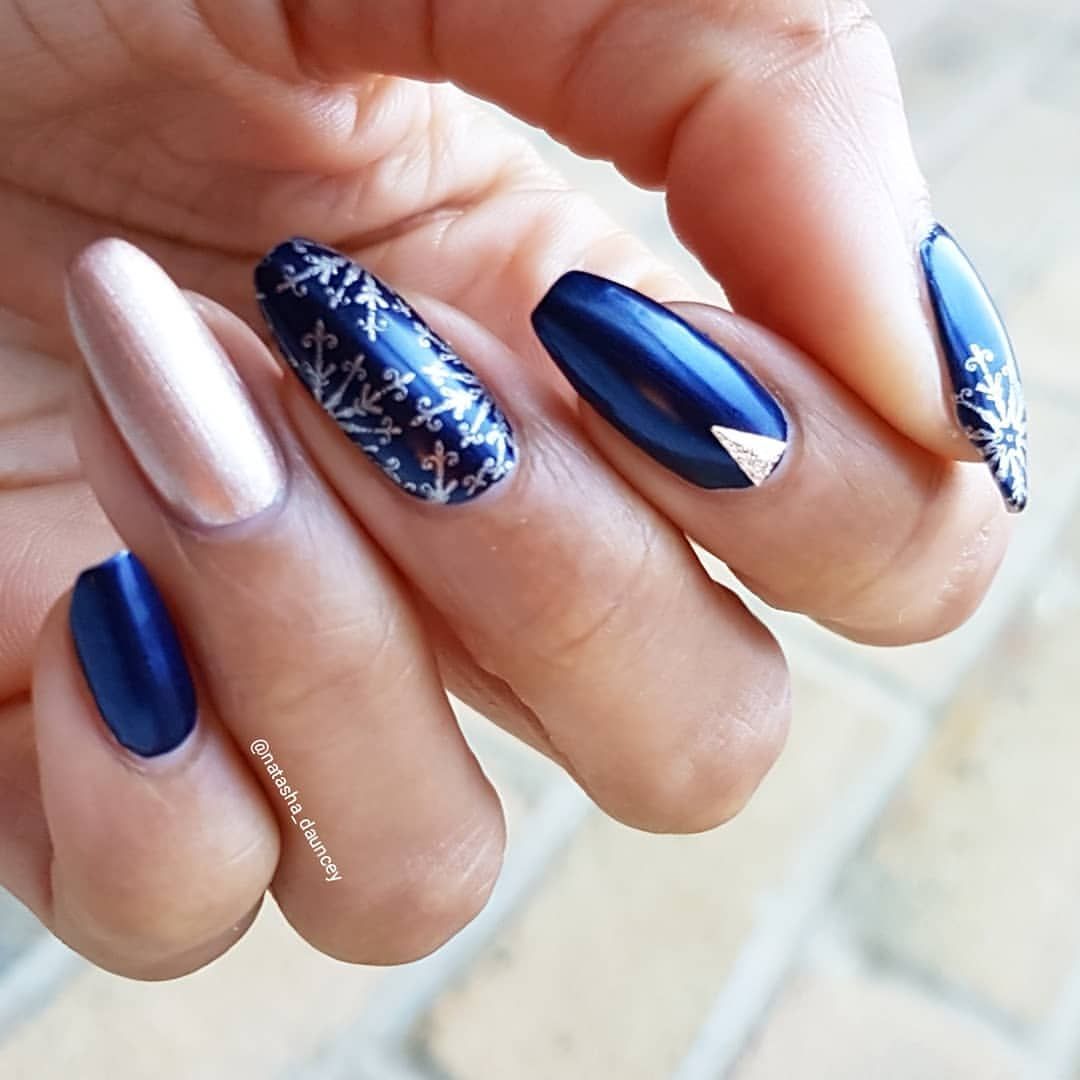
The combination of these two colors creates a sophisticated and eye-catching effect, with the rose gold adding a touch of glamor and warmth to the cool blue.
ROSE AND PINK SWIRLs
The gentle blend of these complementary hues adds a touch of romance and sophistication to your nails.
ROSE GOLD CHROME WITH MILKY MATTE PINK
The milky matte pink adds a subtle, creamy touch, balancing the high shine of the chrome and creating a chic, modern aesthetic.
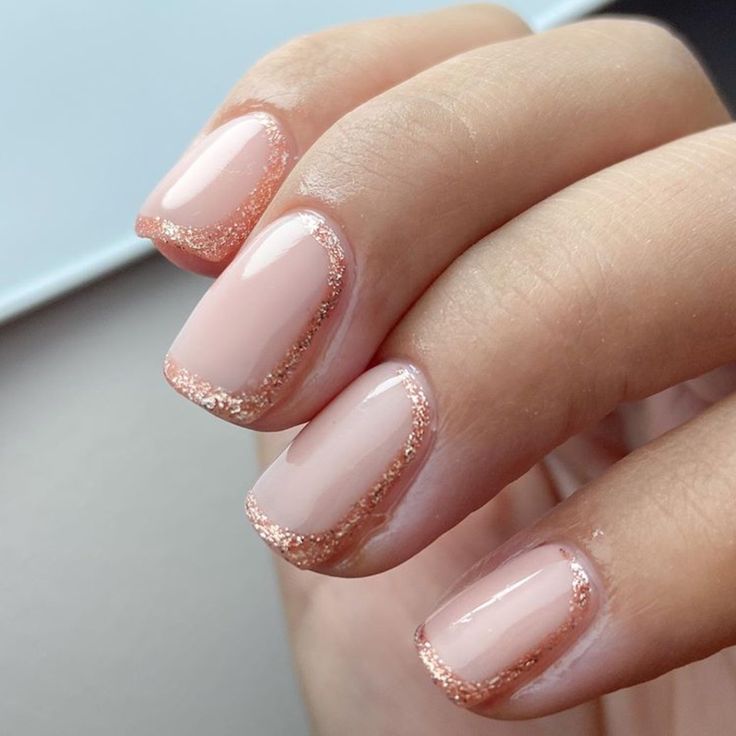
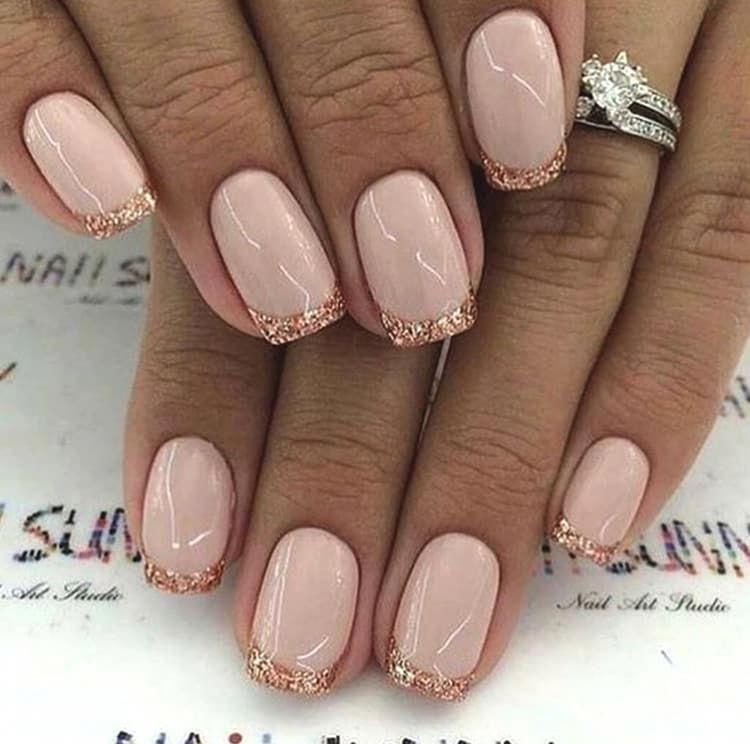
ROSE GOLD FRENCH MANICURE
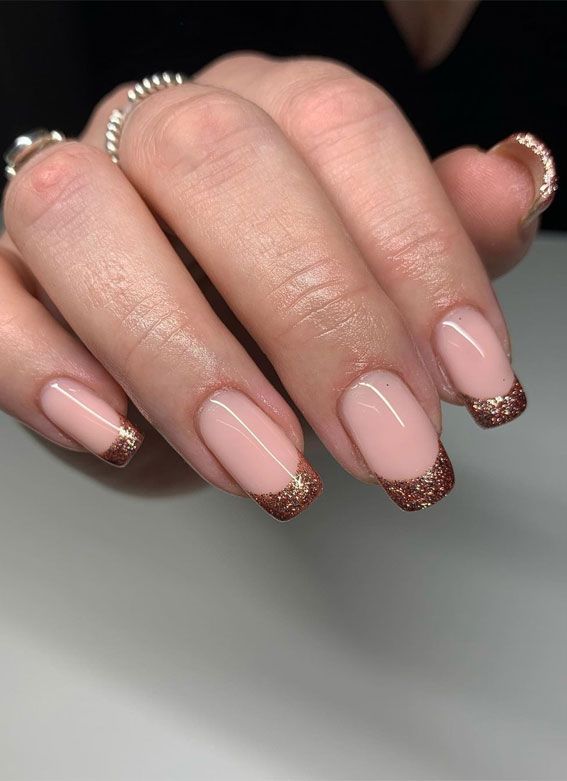
French nails have evolved into a versatile and stylish trend, offering countless variations and combinations. This time, we invite you to try a soft, elegant look using a shade that complements your skin tone. Choose a color from the ‘Naked Nails’ collection that best suits your complexion, and enhance the French tip with a touch of rose gold glitter. This delicate and sophisticated design is sure to leave you delighted with the results
GLITTER AND STRIPES
The combination of glitter and stripes adds a playful yet polished touch, with the glitter bringing a hint of glamor to the crisp, defined lines. Whether you choose to contrast vibrant glitter with neutral stripes or blend complementary colors, this design offers a chic and modern look that is perfect for making a statement at any occasion.
CONCLUSION
Rose gold nails embody the perfect blend of sophistication and modern glamor. With their warm, metallic sheen and versatile appeal, they effortlessly enhance any style, from minimalist manis to bold, intricate designs. Embrace the allure of rose gold nails and let your manicure shine with a touch of luxurious charm.